
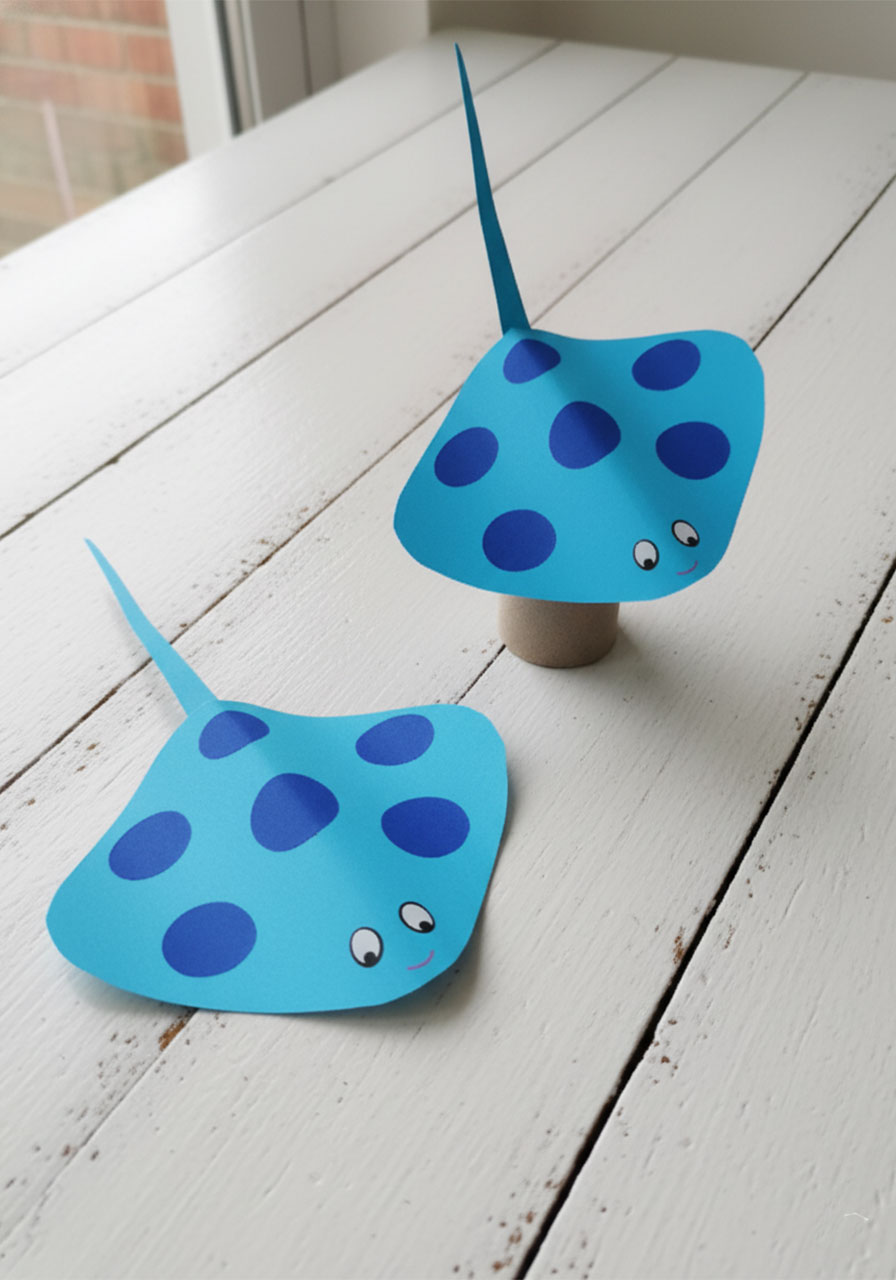
If your little one is obsessed with the ocean (and let’s be honest, which kid isn’t?), this adorable paper stingray craft is about to become their new favorite project. It’s easy enough for young kids to help with, uses supplies you probably already have at home, and takes about an hour to make – which means you get a fun, hands-on activity and a sweet little handmade toy at the end. Win-win!
What makes this craft extra special is the toilet roll base. It turns your flat paper stingray into a three-dimensional toy that can actually stand up on its own. Kids love that. Teachers love that it doubles as a great ocean animal art project. And parents love that the whole thing costs practically nothing to make.
Ready to dive in? Let’s make some stingrays! 🐟
Why You’ll Love This Paper Stingray Craft
Before we get into the how-to, here’s why this little project is such a gem:
It’s budget-friendly. Everything you need is either already in your craft drawer or costs next to nothing at the dollar store. No special tools, no fancy materials.
It works for a wide age range. Younger kids (ages 3–5) can do the decorating and sticker-placing while a grown-up handles the cutting. Older kids (ages 6+) can tackle the whole thing themselves with just a little guidance.
It doubles as a toy. Thanks to the toilet roll base, these stingrays can stand up for display OR be used as little finger puppets and imaginative play props. One craft, hours of fun.
It’s a perfect classroom activity. Teachers, this one’s for you! It fits beautifully into an ocean animals unit, and the steps are simple enough to run with a whole class.

What You’ll Need
Here’s your super simple supply list – nothing complicated here:
Blue (or any ocean color!) cardstock or construction paper
One clean, empty toilet paper roll
Double-sided tape or regular glue
Sticker eyes (or you can draw them on!)
A red or pink marker for the smile
Scissors
Optional: white paper for spots, markers for extra decoration
Pro Tip: Cardstock works much better than regular construction paper for this project – it holds its shape and feels sturdier when the kids play with the finished stingray. If you only have regular paper on hand, that’s totally fine too, just handle it a little more gently!

How to Make a Paper Stingray Craft: Step-by-Step
Follow these simple steps and you’ll have a cute stingray ready to “swim” around in no time. We’ve broken it down so even the youngest crafters can follow along!
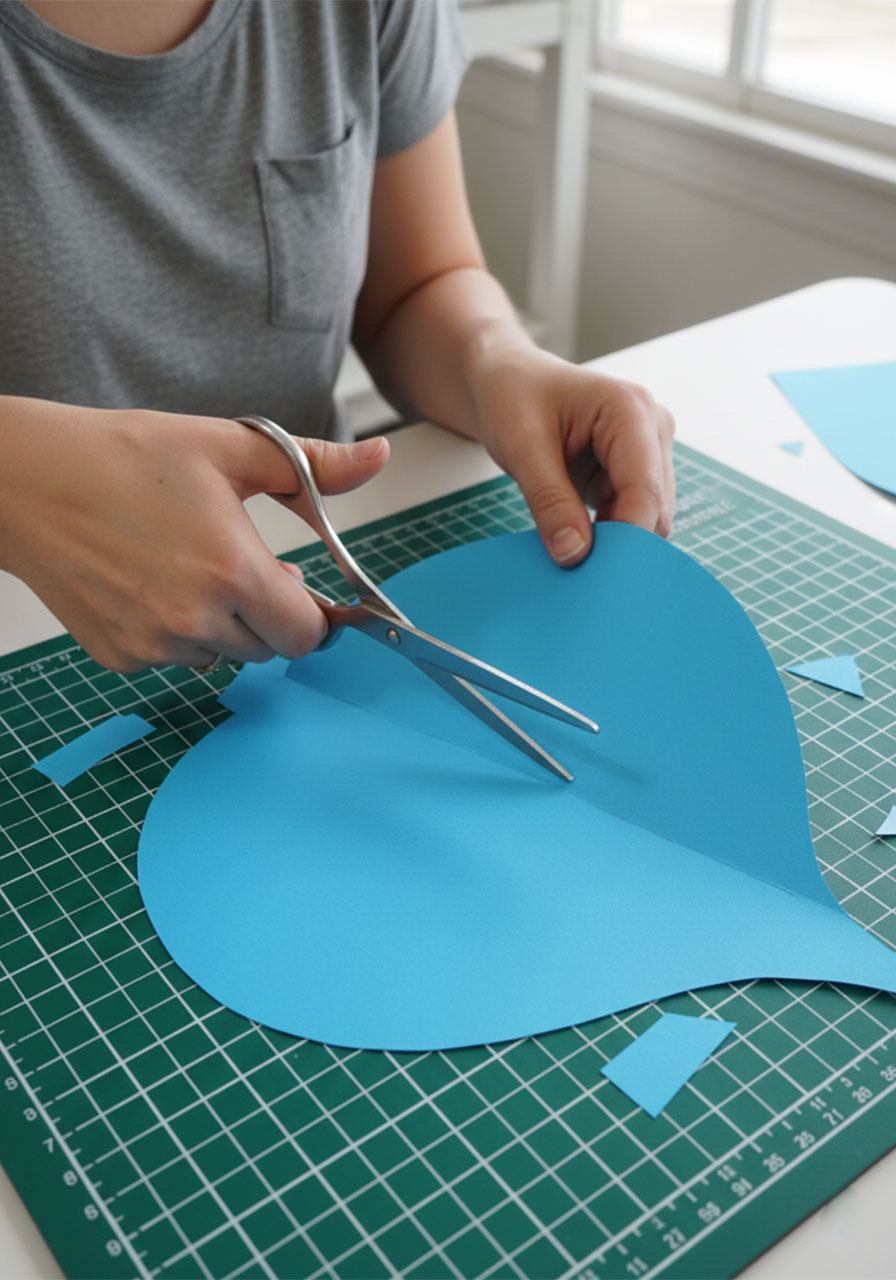
Step 1: Cut Out the Stingray Body
Start with a large sheet of blue cardstock. You’re going to cut out a rounded, oval-ish shape – think of a big egg or a flat circle. The trick is to make one side of the oval slightly narrower and more pointed than the other. That narrower end becomes the stingray’s nose!
Don’t stress about making it perfect. Stingrays are naturally organic and rounded in shape, so a slightly wobbly cut actually looks more realistic. This is a great step to let older kids handle themselves.
Step 2: Attach the Toilet Roll
Here’s where the magic happens! Take your clean toilet paper roll and add double-sided tape around the top rim. Then press the roll firmly onto the underside of your stingray body, positioning it so it sits beneath the nose area and runs down toward the center of the body.
The roll should be pointing downward when the stingray is lying flat – it acts as both a stand and a fun hand grip for play. Press down firmly and hold for a few seconds to make sure it’s secure.
Parent/Teacher Tip: This is the fiddliest step, so it’s best done by a grown-up or an older child with adult supervision. Regular glue works too, but you’ll need to let it dry completely before moving on.

Step 3: Make and Attach the Tail
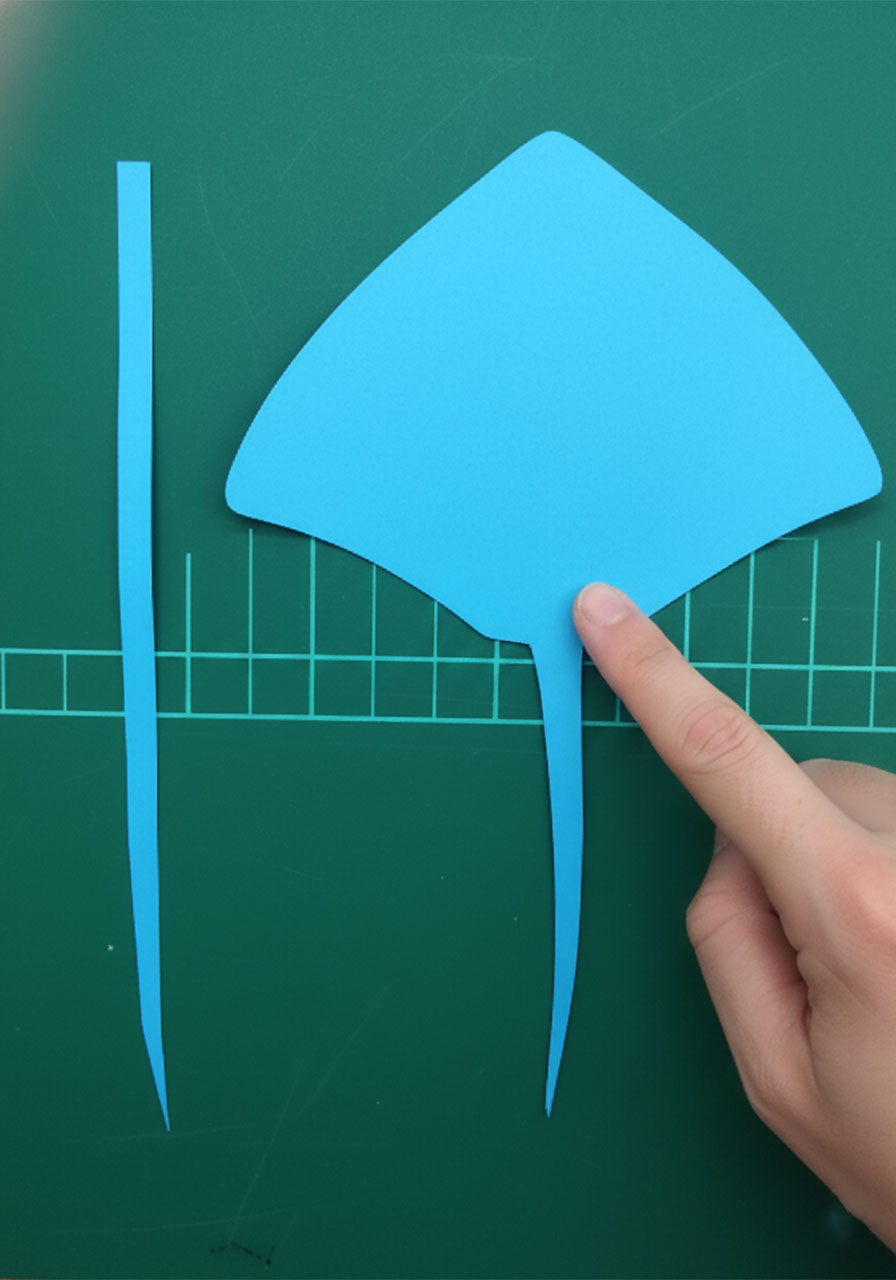
Cut a long, thin, pointed strip from your blue cardstock. This is your stingray’s tail! It should taper to a sharp point at the end – just like a real stingray’s tail.
Flip your stingray body over and glue or tape the tail to the underside, attaching it at the back end of the body (the wider, rounder end – opposite the nose). Let it stick out behind the stingray for a dramatic, realistic look.
Step 4: Add the Face
Now for everyone’s favorite part – giving your stingray some personality!
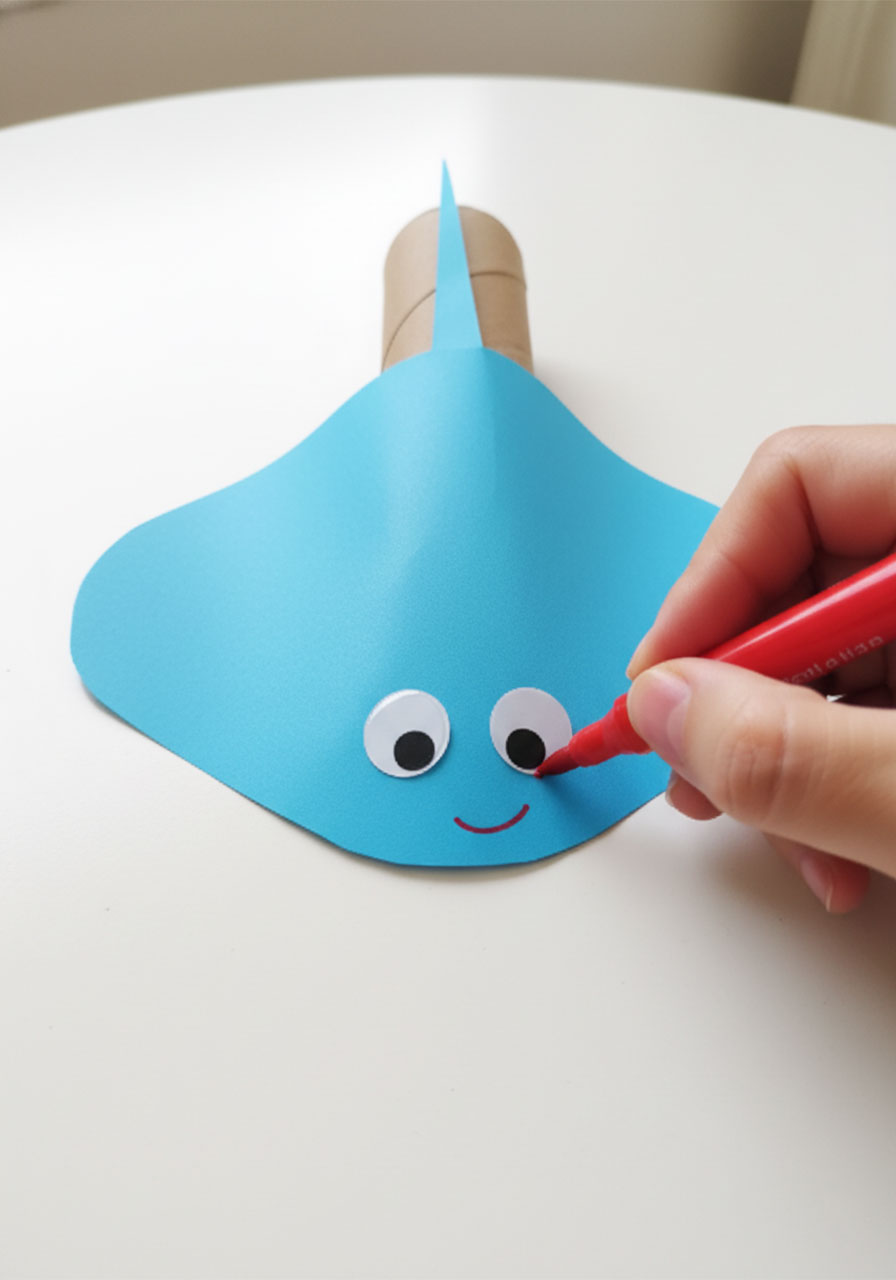
Place two sticker eyes near the nose end of the stingray. If you don’t have sticker eyes, simply cut two small oval shapes from white paper, draw black pupils on them, and glue them on.
Then grab your red or pink marker and draw a small, curved smile just below the eyes. Keep it simple – a gentle curved line is all it takes to make this little guy totally irresistible.
Step 5: Decorate Your Stingray
This is where you get to make your stingray truly one-of-a-kind! Here are some ideas:
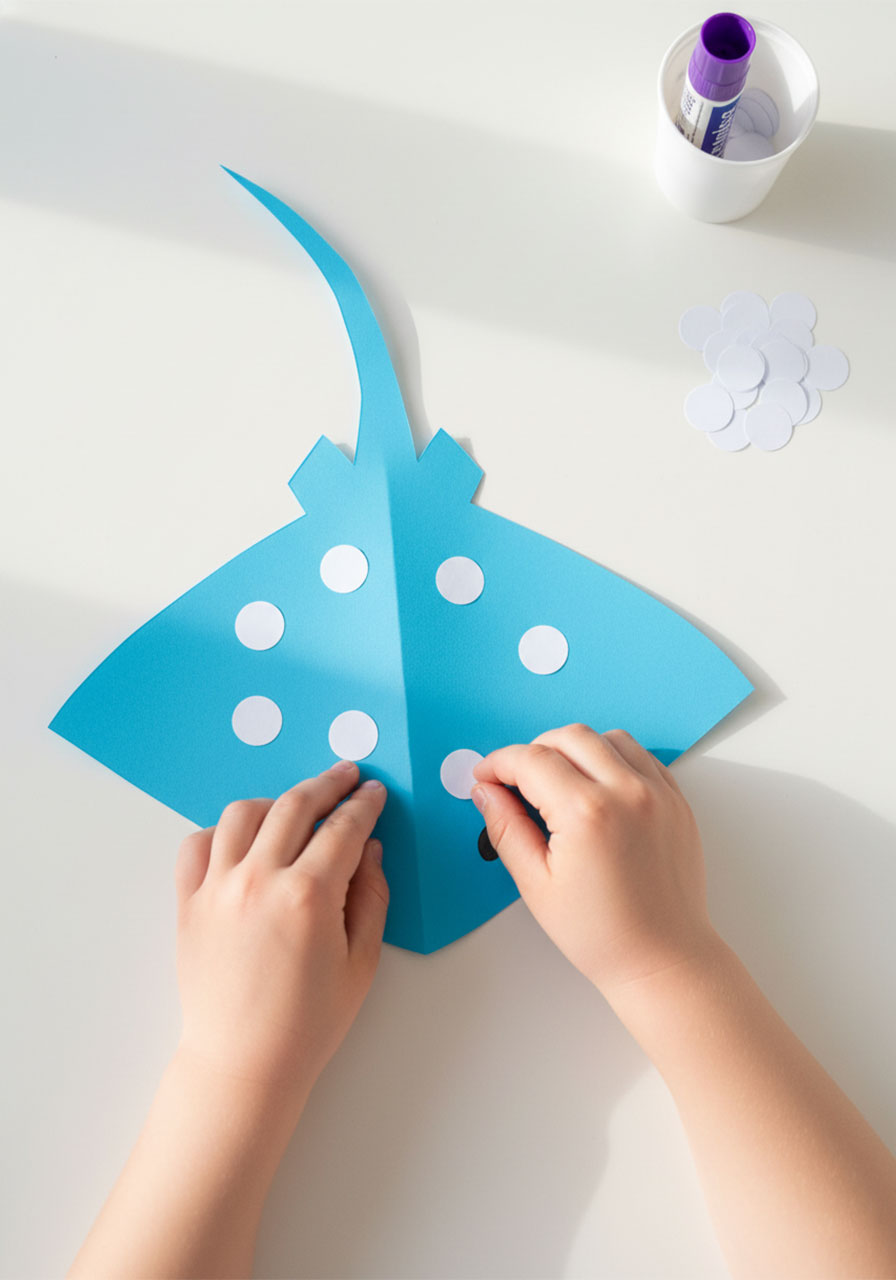
Spots: Cut small oval or circle shapes from white or lighter blue paper and glue them across the top of the body (like image 6). This is the most popular option and gives a beautiful, realistic look.
Stripes: Use a marker to draw stripes or swirling patterns across the body.
Glitter: A little glitter glue on the edges makes for a magical “deep sea” effect.
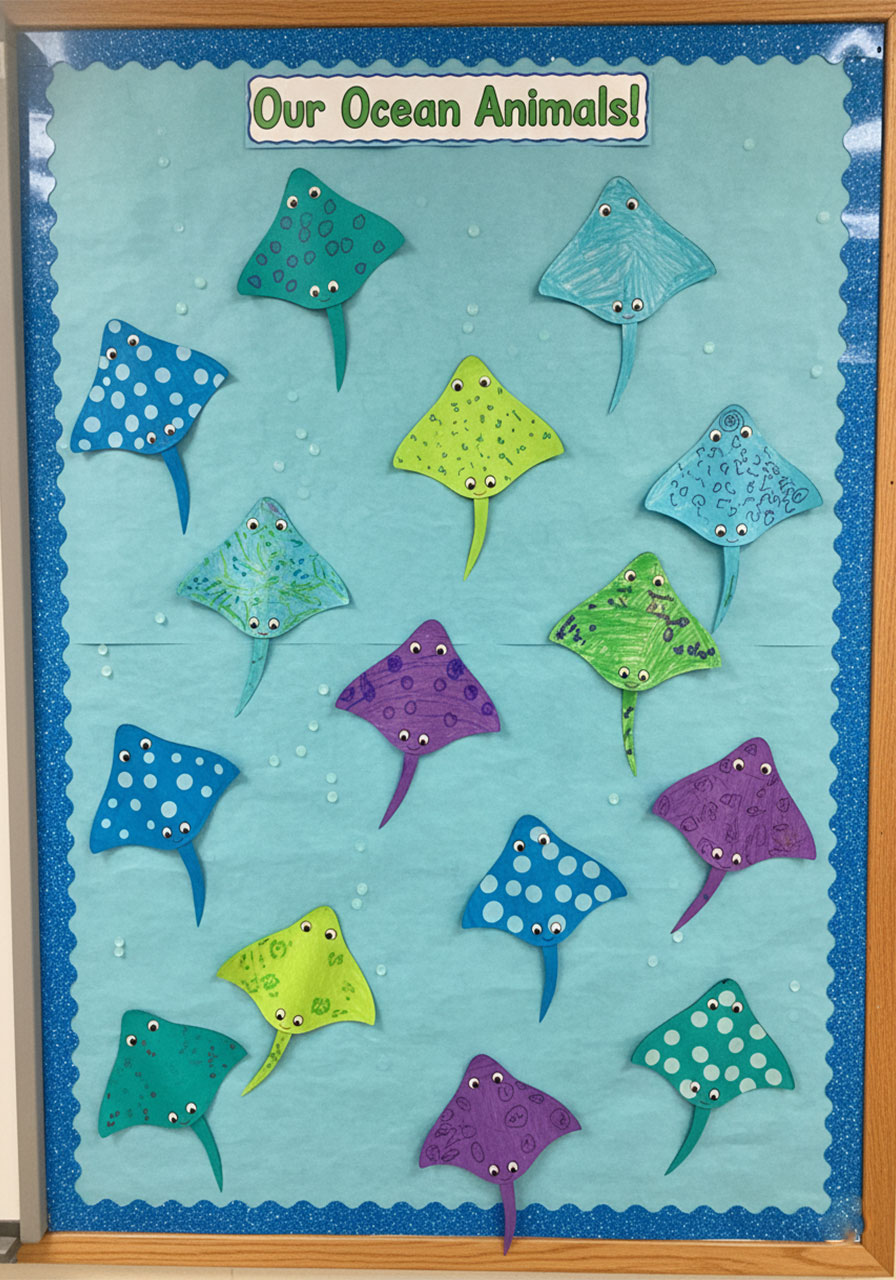
Color mixing: Try making stingrays in multiple colors – teal, purple, green. An ocean of stingrays is twice the fun!
Let everything dry completely before playing with your finished stingray.
Tips for Doing This With a Group or Classroom
Planning to make these with a class or a group of kids at a party? Here are a few tips to make it run smoothly:
Pre-cut the bodies. Save time (and little fingers!) by cutting out the stingray body shapes ahead of time. Kids can then jump straight to the fun parts – decorating and adding the face.
Set up a decoration station. Put out bowls of pre-cut spots, markers, stickers, and glitter so kids can customize their stingrays independently. It turns into a mini creative studio!
Use glue sticks for younger kids. They’re easier to control than liquid glue and dry faster, which means less waiting and more playing.
Display them as a class ocean scene. Once everyone’s stingray is finished, set them all up together on a blue tablecloth or bulletin board for an adorable group display. Instant ocean mural!
Ways to Play With Your Finished Stingray
One of the best things about this craft is what happens after it’s made. The toilet roll base makes these stingrays surprisingly versatile as toys. Here are some ways kids love to play with them:
Ocean imaginative play: Set up a “deep sea” scene with blue fabric or paper as the ocean floor. Add some toy fish, shells, and rocks, and let the kids’ imaginations take over.
Storytelling props: Make a whole cast of ocean animals (octopus, shark, crab!) and use them to tell stories together. This is brilliant for language development in early childhood classrooms.
Learning tool: Use the stingray as a visual aid when talking about ocean animals. Kids love learning about real stingrays when they have a cute handmade version in their hands!
Display piece: They look adorable lined up on a shelf or windowsill. Your little one will be so proud to show off their creation.

Make It a Full Ocean Craft Day!
Can’t stop at just one ocean animal? We totally get it – the ocean is endlessly inspiring! Here are some other easy ocean crafts that pair perfectly with this stingray project:
Paper plate jellyfish (add ribbon tentacles for extra fun!)
Toilet roll octopus (cut the bottom of the roll into tentacles)
Paper bag shark puppet
Painted rock hermit crabs
Make an afternoon of it and you’ve got an entire ocean animal collection by the end of the day. Perfect for a summer camp activity, a rainy day at home, or an end-of-unit celebration in the classroom!
Frequently Asked Questions
What age is this craft best for?
This craft works well for kids ages 3 and up. Younger kids (3–5) will need help with the cutting and toilet roll attachment, but can fully participate in decorating and adding the face. Kids ages 6 and up can handle most steps independently.
Can I use regular paper instead of cardstock?
Yes! Regular construction paper works fine, though the finished stingray will be a little more delicate. For a sturdier toy that holds up to lots of play, cardstock is the way to go.
What if I don’t have sticker eyes?
No problem at all! Cut small oval shapes from white paper, draw a black circle for the pupil, and glue them on. You can also simply draw the eyes directly on the stingray with a black marker. Both work great!
How long does this craft take?
From start to finish, expect about 30–60 minutes depending on the age of the child and how elaborate the decorations get. Add extra drying time if you’re using liquid glue.
Can we make multiple stingrays?
Absolutely – and we highly recommend it! Making a little family of stingrays in different colors and patterns is double the fun, and they make a gorgeous display together.
There you have it – a super simple, wildly fun paper stingray craft that any kid (or kid at heart!) will love making and playing with. Whether you’re looking for a rainy day activity, a classroom project, or a quiet afternoon craft, these little stingrays deliver every time.
Happy crafting! 🌊
More Summer Craft & Activity Ideas to Keep the Fun Rolling:
DIY Beach Sand Handprint Keepsake: The Cutest Craft to Make With Kids on Vacation (or at Home!)
How to Make a DIY Paper Spinner: The Easiest Kids Craft for Endless Outdoor Fun
Beaded Pipe Cleaner Butterflies (Easy Step-by-Step Craft for Kids!)
How to Make Moon Sand With Only 2 Ingredients (Kids Go Absolutely Wild for This!)
Easy Jellyfish Suncatcher Craft for Kids (That Looks Stunning in a Window!)
