
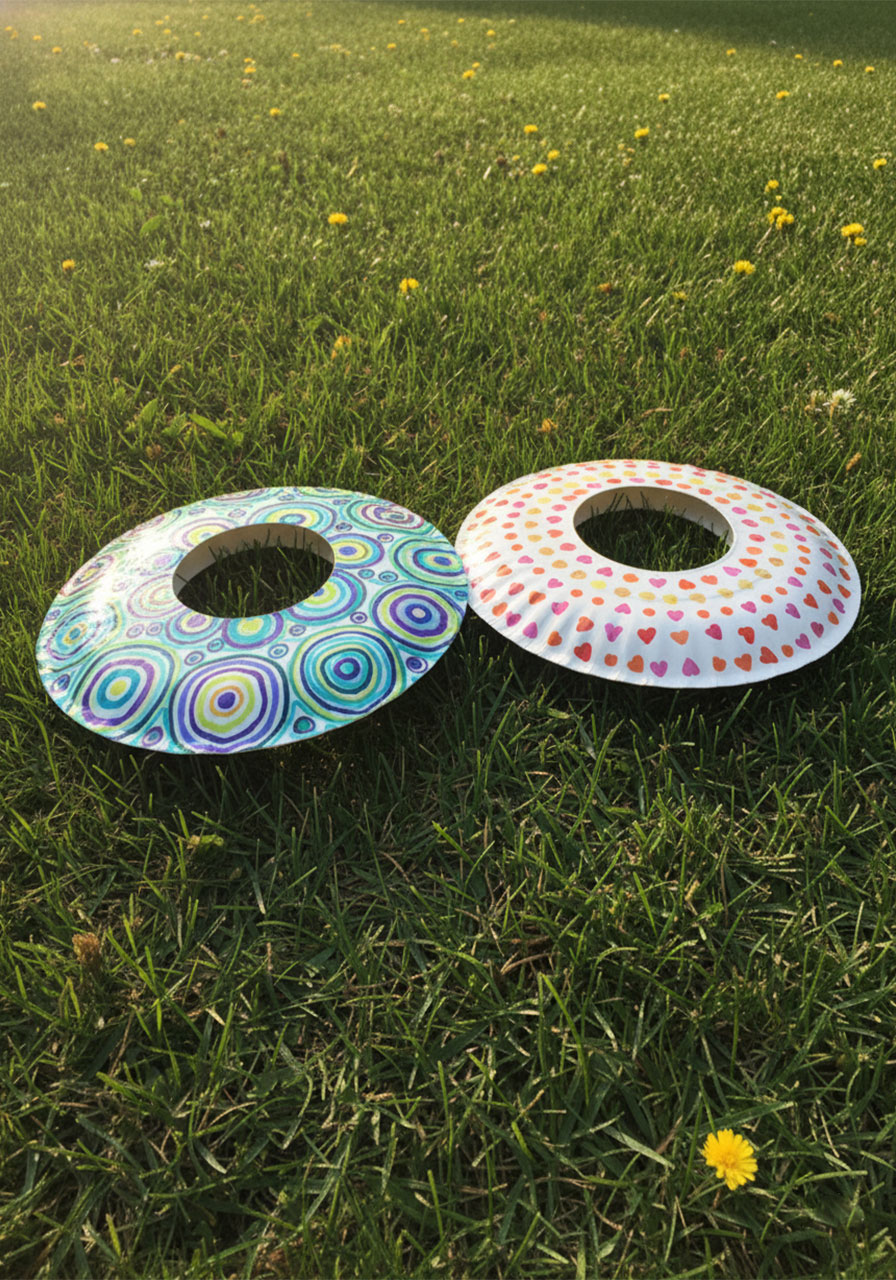
Summer is officially here – and you know what that means. Longer days, restless kids, and that classic question: “But what are we going to DO?”
This paper plate frisbee craft is your new best answer.
In under 30 minutes, kids can design, build, and toss their very own frisbee – no store run required. Everything you need is probably already sitting in a drawer right now.
And yes, these are surprisingly fun to throw. Even better? They’re soft enough to use indoors on a rainy day, which makes them a total win for parents and teachers alike.
Why You’ll Love This Activity
Paper plate frisbees hit that sweet spot where crafting meets active play. Kids get to express themselves decorating their frisbee, then immediately run outside and use it – which means the excitement doesn’t die the second the glue dries.
They’re also a fantastic option for younger kids who struggle with heavy plastic frisbees. These are lighter, easier to grip, and way more forgiving when they go sideways (and they will go sideways – that’s half the fun).
Teachers, this one is a summer camp and classroom goldmine. Every kid ends up with a unique frisbee they made themselves, and cleanup is a breeze.

What You’ll Need
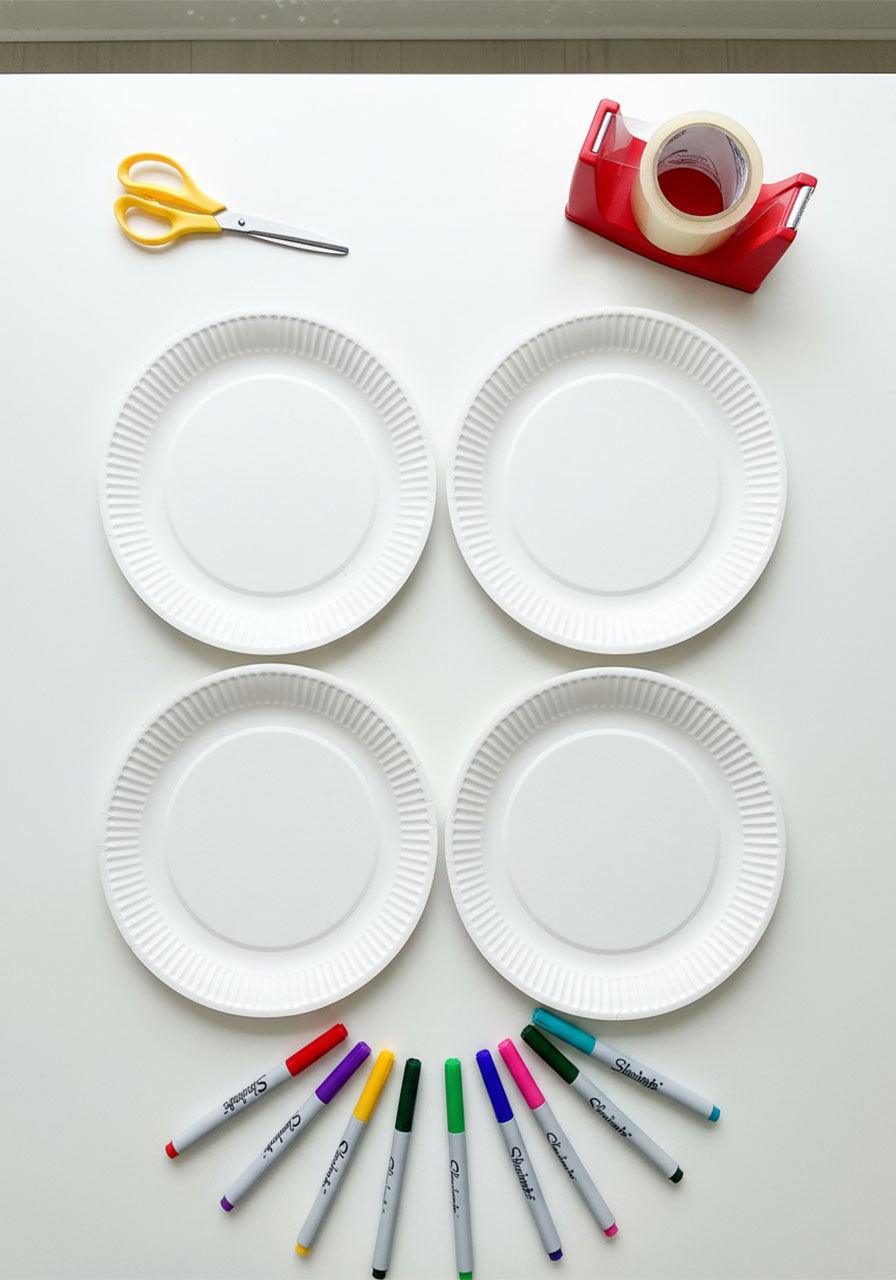
Here’s the full supply list. The quantities below are per frisbee, so just multiply for a group!
2 paper plates (standard size, not the flimsy kind)
Colorful markers or crayons
Scissors
Clear shipping tape (the wide roll kind)
Pro Tip: Go for Sharpie markers if you have them. The colors stay vibrant even after taping and look amazing when the frisbee is flying through the air.
How to Make Paper Plate Frisbees – Step by Step
Step 1: Tape Both Plates (Right Side Up)
Lay both paper plates flat on your workspace with the eating side facing up – as if you were about to serve dinner on them.
Cover the front of each plate completely with clear shipping tape. Overlap the strips slightly as you go so there are no gaps. Don’t worry about the edges yet – just let the extra tape hang off the sides.
Once each plate is covered, use your scissors to trim away any excess tape around the rim. You want a clean edge.
This tape layer is what gives your frisbee its durability. Don’t skip it!

Step 2: Decorate!
Now flip both plates over so the taped side is down. The bottoms of the plates are now facing up – this is your canvas.
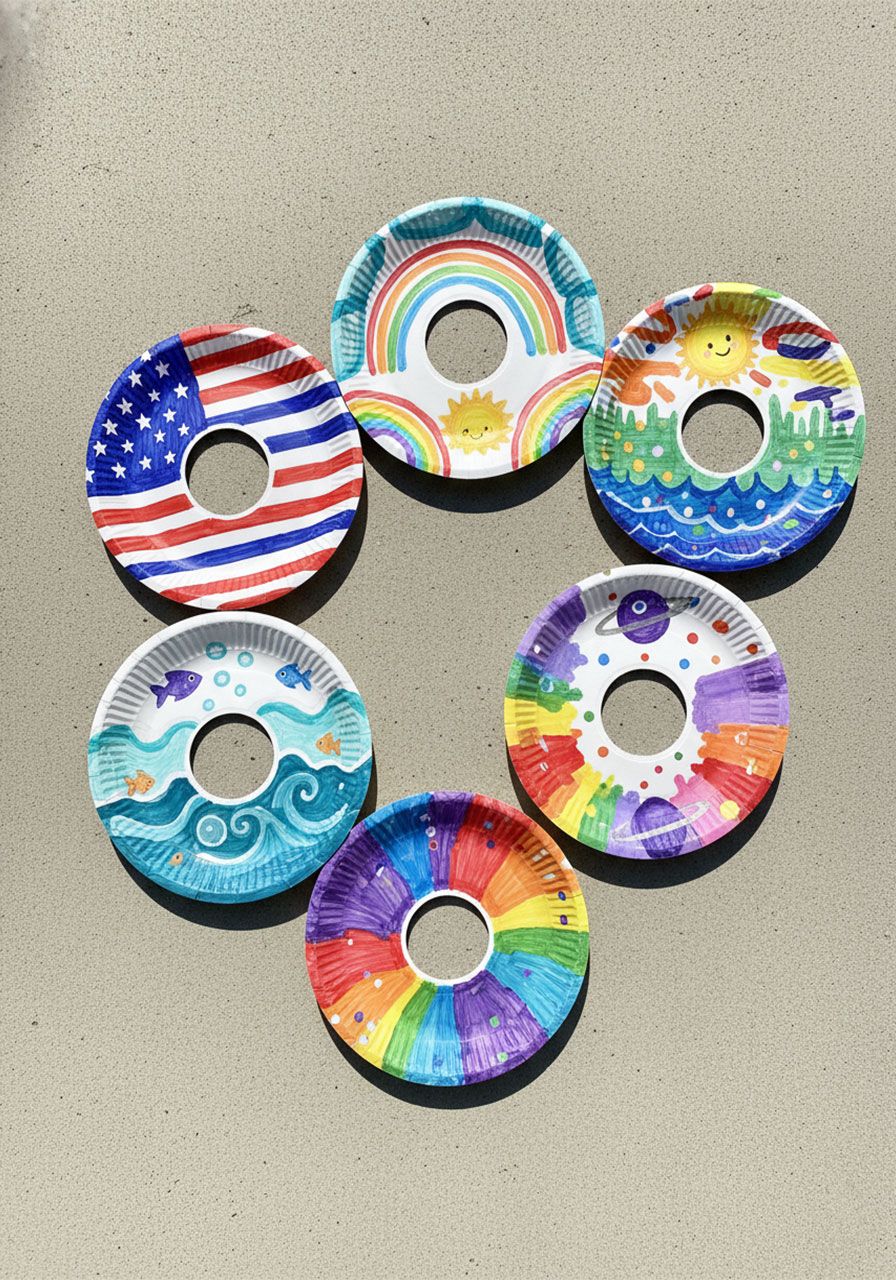
Let kids go wild with markers or crayons. Flowers, stripes, zigzags, their name, a rainbow – whatever they love. The more colorful, the better it looks mid-air.
This is the most popular part of the activity, so give it time. Don’t rush the decorating – it’s where the ownership and pride come in.
Fun idea for groups: Give each kid a theme. One does “space,” one does “ocean,” one does “jungle.” Then compare designs before you play!

Step 3: Cut Out the Center Circle
Here comes the part that makes it fly.
Hold both plates together with the decorated sides facing outward (like a sandwich with the pretty parts on the outside). Cut a circle out of the center of both plates at once.
The hole should be roughly the size of a tennis ball – big enough to give the frisbee its aerodynamic shape, but not so big it loses structure. A good rule of thumb: trace a small bowl or a CD as a guide.
Teacher/parent note: Younger kids will need help with this step. Pre-cutting the center holes for a whole group ahead of time is a great time-saver.
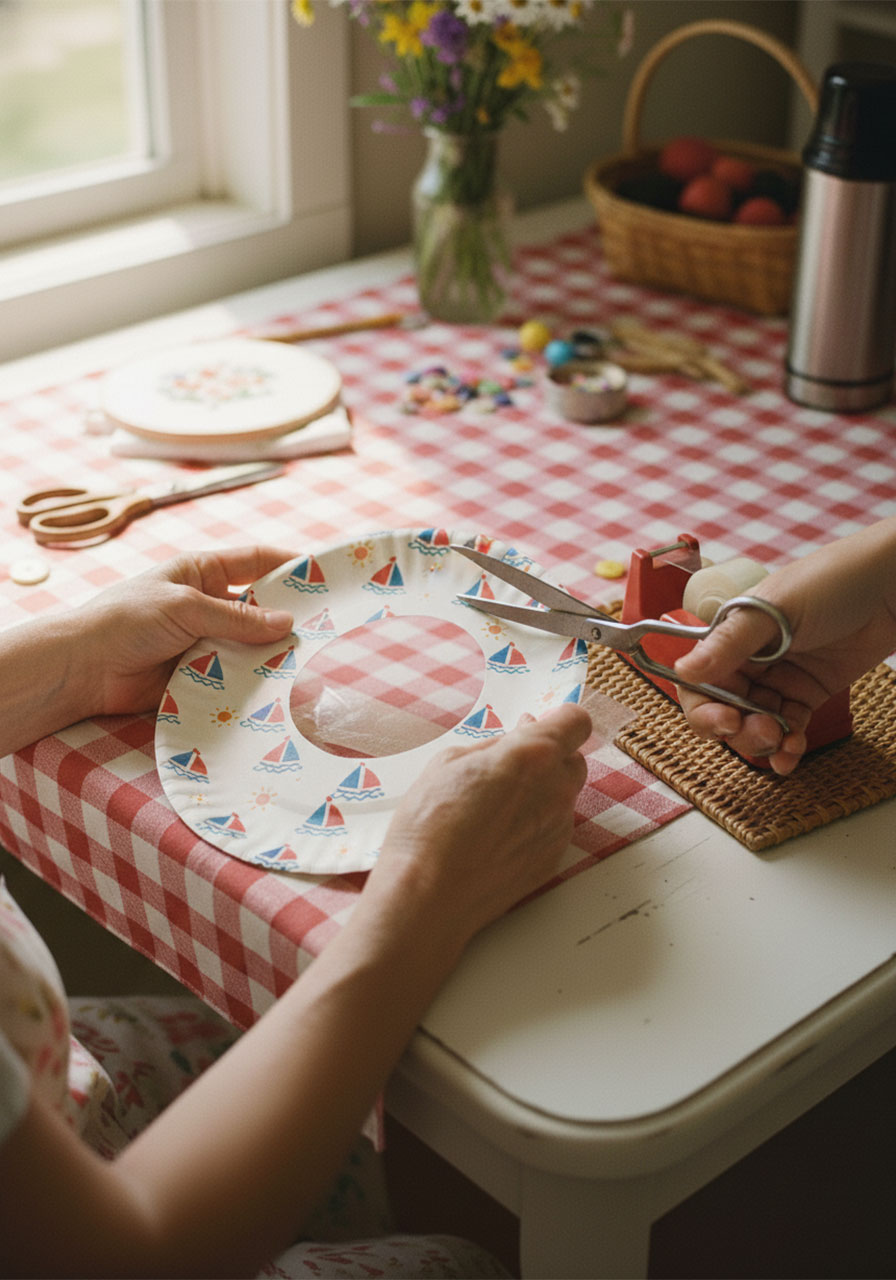
Step 4: Tape the Decorated Sides
Now lay each plate separately with the decorated side facing up.
Cover the decorated side of each plate with clear tape, just like you did in Step 1 – overlapping strips, working your way across. When you reach the center hole, fold the excess tape through the hole and press it down on the back.
Trim any rough edges around the outside rim so everything looks clean and tidy.
This step seals and protects all that beautiful artwork. The tape also gives the frisbee a nice smooth surface that helps it glide through the air.

Step 5: Put It All Together
Place the two plates together with the decorated sides facing outward – your frisbee design should be visible on both the top and bottom.
Run clear tape all the way around the outer edge, pressing firmly to bond the two plates together. Work your way around the full rim until it’s completely sealed.
Give it a gentle squeeze – it should feel solid and sturdy, not floppy.
Step 6: Go Play!
That’s it. Seriously – you’re done!
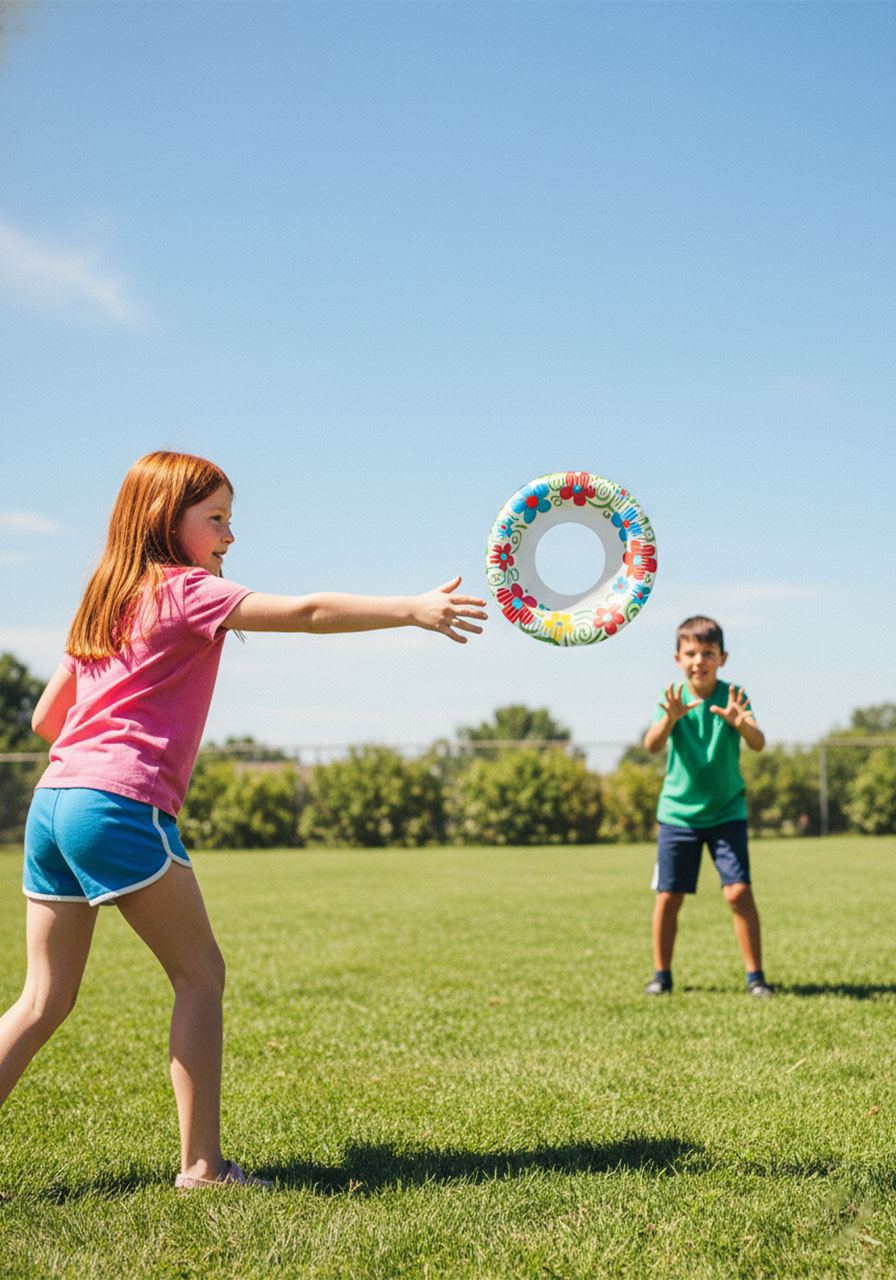
Head outside and start tossing. These fly surprisingly well with a smooth flick of the wrist. Challenge kids to see who can throw the farthest, or set up a target (a hula hoop on the ground works great) for a simple game of frisbee golf.
Rainy day? They’re gentle enough to toss inside a hallway or living room without knocking things over.
Tips to Make This Craft Even Better
A few extra ideas to level up the experience – whether you’re doing this with one kid at home or a whole class at camp.
Make it a contest: After everyone finishes decorating, vote on categories like “most colorful,” “most creative,” and “best design.” This adds excitement and makes every kid feel like a winner before the throwing even starts.
Try a theme: Tie the craft to whatever you’re already doing. Fourth of July? Red, white, and blue frisbees. End-of-year party? Have each kid decorate theirs with something they loved about the school year.
Use fabric tape instead of shipping tape: It comes in patterns and colors, and makes the finished frisbee look extra polished. Great upgrade for older kids or special events.
Set up a throwing challenge: Use sidewalk chalk to draw targets or distance lines on the driveway. A little friendly competition goes a long way.
Great for Groups, Camps, and Classrooms
This activity is a natural fit for summer camps, after-school programs, birthday parties, and classroom reward days.
The supplies are cheap, the instructions scale easily, and every child walks away with something they made themselves – which makes it genuinely special.
For a group of 10–20 kids, prep all your materials in individual bags ahead of time: two plates, a few markers, and a short strip of tape per child. It keeps things moving smoothly and minimizes chaos.
Bonus: Because every frisbee is uniquely decorated, there’s zero confusion about who made which one. No name-labeling required!

Supplies Quick Recap
2 paper plates per frisbee
Colorful markers or crayons
Scissors
Clear shipping tape
Optional: stickers, foam stickers, or washi tape for extra decoration
More Summer Craft & Activity Ideas to Keep the Fun Rolling:
Summer Crafts for Kids That Are Easy, Fun, and Mess-Approved
15 Best Fun-Filled Kids Summer Activities to Try Now
How to Make Paper Umbrellas: A Super Fun Craft for Kids (With or Without the Raindrop Extras!)
Easy Paper Stingray Craft Kids Will Love (Step-by-Step)
DIY Beach Sand Handprint Keepsake: The Cutest Craft to Make With Kids on Vacation (or at Home!)
How to Make a DIY Paper Spinner: The Easiest Kids Craft for Endless Outdoor Fun

I am confused, the photos show decorated dinner sides of the plate? Isn’t it the other side that is decorated?
Hi, logically you just need to decorate the back of the plate. But me and my kids prefer decorating both sides.