
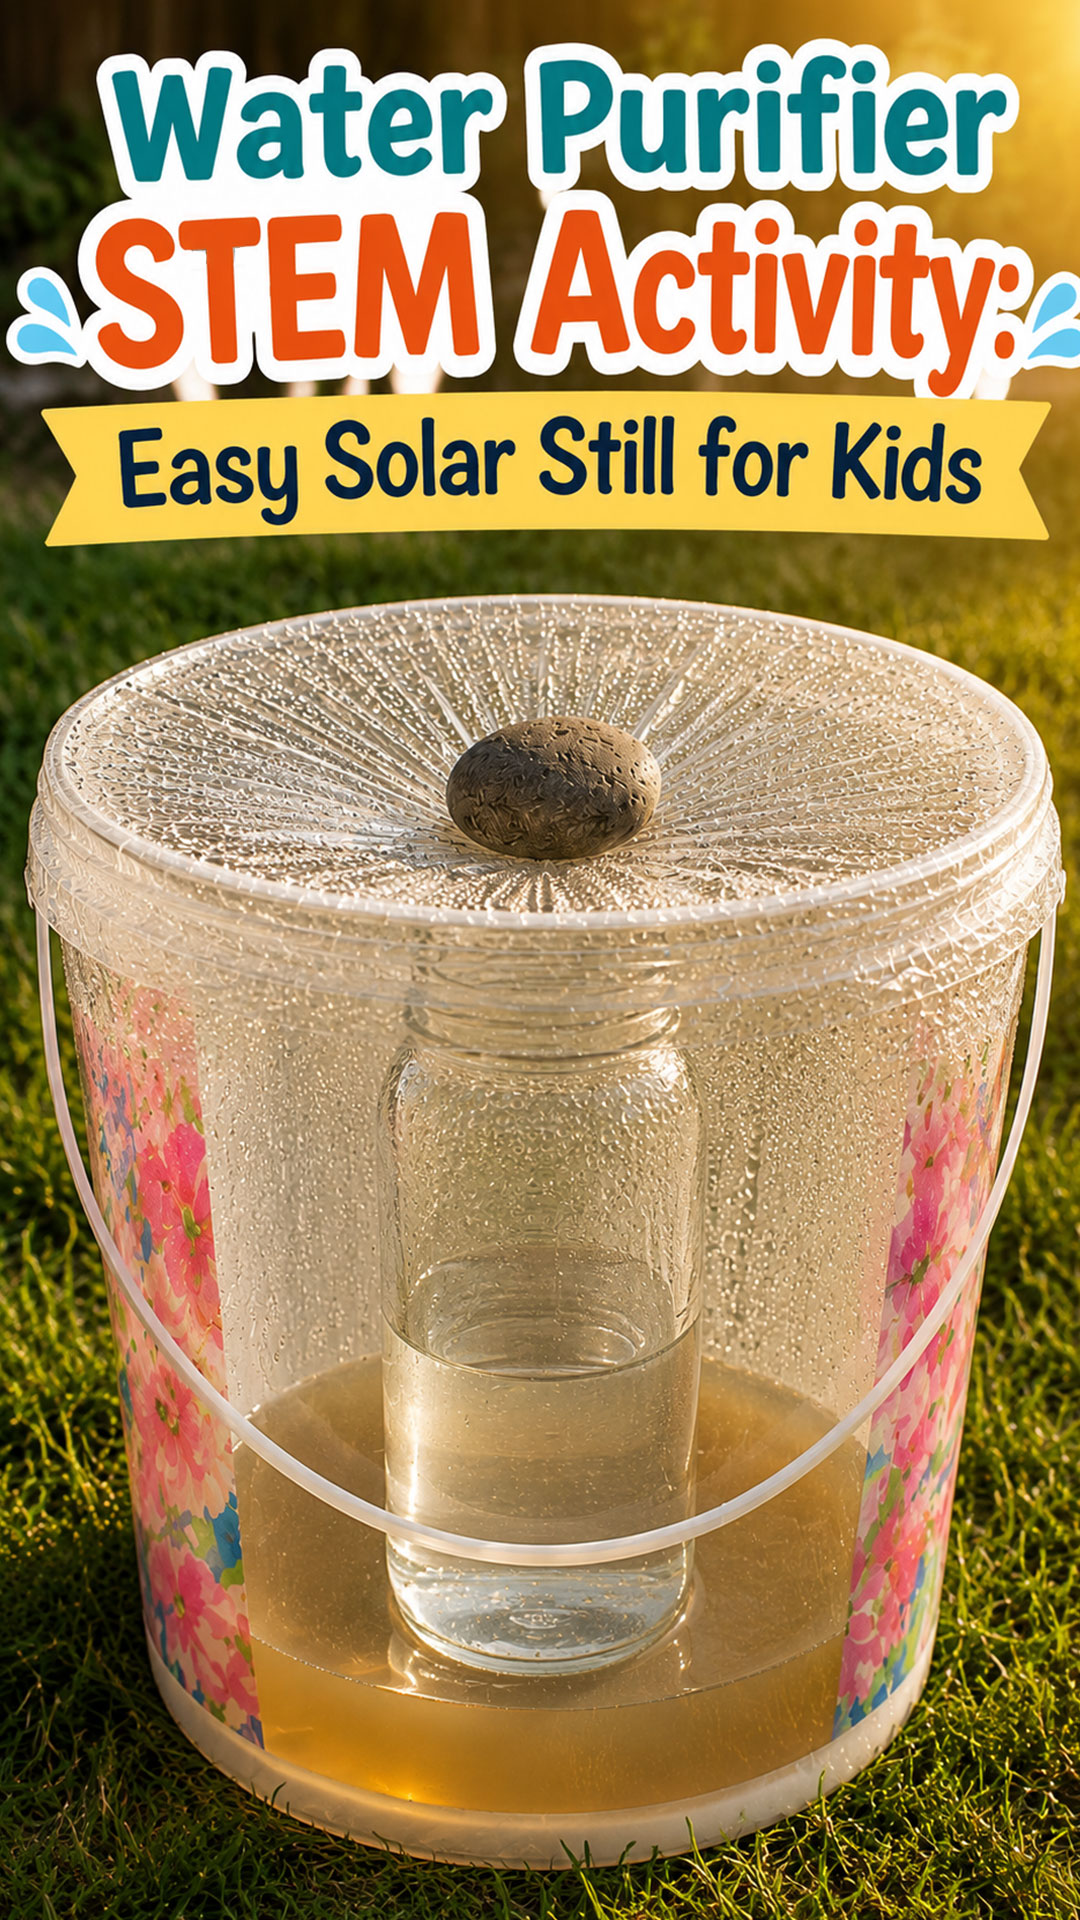
Raise your hand if you’ve ever had a kid ask, “But how do people get clean water if there’s no faucet?” This solar still experiment is your answer – and it’s one of the most satisfying STEM activities you’ll ever set up in a backyard, classroom, or homeschool science block.
With just a bucket, a jar, and some plastic wrap, you can show kids exactly how the sun purifies water. No fancy lab equipment. No complicated setup. Just real science happening right in front of their eyes.
This is one of our all-time favorite STEM activities, and once you try it, you’ll understand why. It’s cheap, it’s low-prep, and it delivers a genuine “whoa” moment when kids see clean water collecting in the jar.
Why Teachers and Parents Love This Activity
A solar still isn’t just a fun way to pass a sunny afternoon. It’s a real survival skill, a hands-on chemistry lesson, and a visual demonstration of the water cycle – all rolled into one simple setup.
If you’re teaching evaporation, condensation, or the water cycle, this activity makes the invisible visible. Kids don’t just hear about evaporation. They watch it happen.
It’s also a fantastic fit for a survival-themed unit or summer camp week. Pair it with our buddy burner emergency stove for a full afternoon of “what would you do if the power went out” style learning.
Looking for more no-prep outdoor science? Check out our full list of backyard summer camp activities for kids.

What Exactly Is a Solar Still?
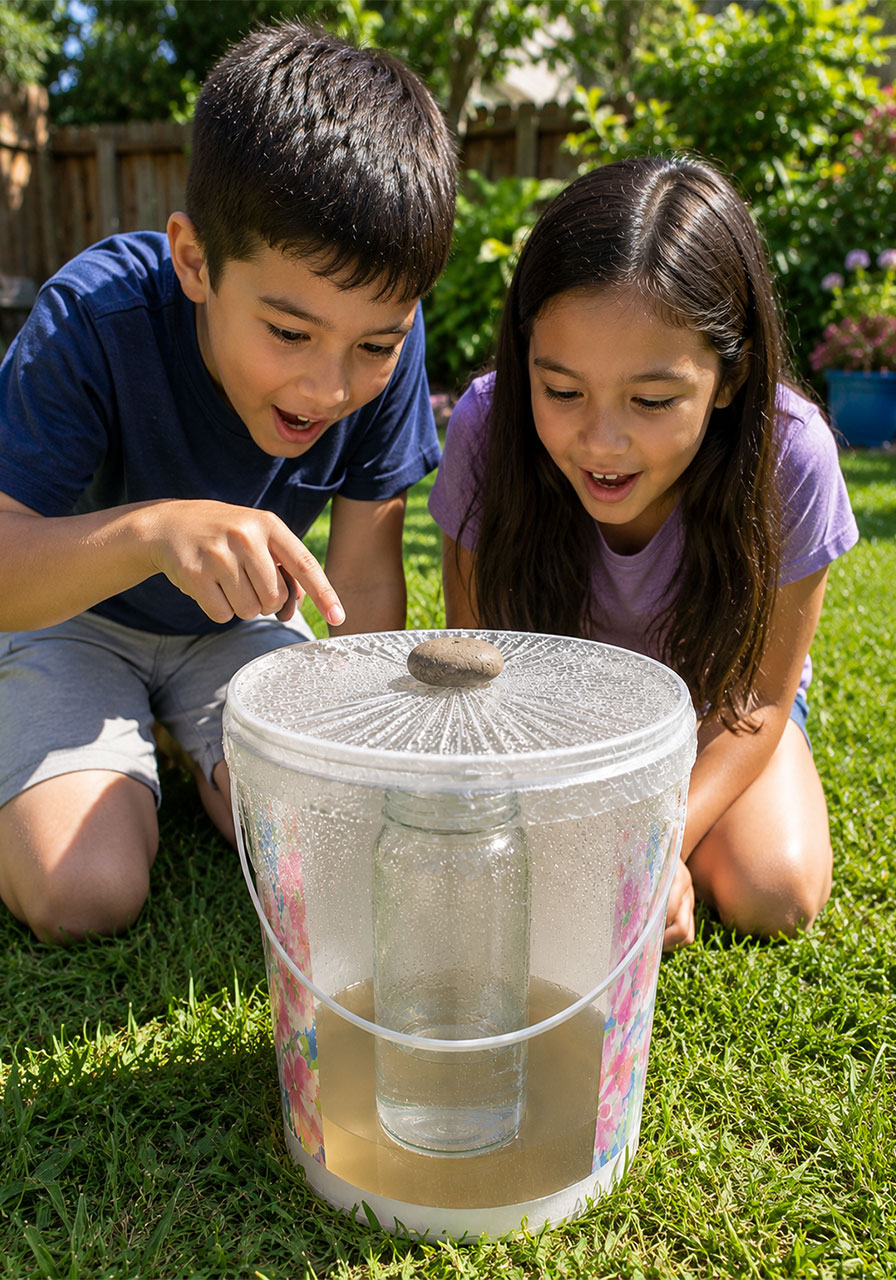
A solar still is a simple device that uses heat from the sun to purify water. It works through two basic processes: evaporation and condensation.
Dirty or contaminated water evaporates, leaving behind salt, dirt, and other impurities. The water vapor then rises, hits a cooler surface (in our case, plastic wrap), and condenses back into liquid form. That condensed water is clean and safe to drink.
It sounds almost too simple to work. That’s exactly why kids find it so fascinating – and exactly why it’s such a powerful teaching tool.
Quick Overview
Best for: Ages 5 and up, with adult supervision for younger kids
Time needed: 5-10 minutes to set up, 4-8 hours (or a full sunny day) for results
Setting: Outdoors, in a spot that gets direct sun most of the day
Prep level: Low. You likely already have most of these materials at home.
What You’ll Need
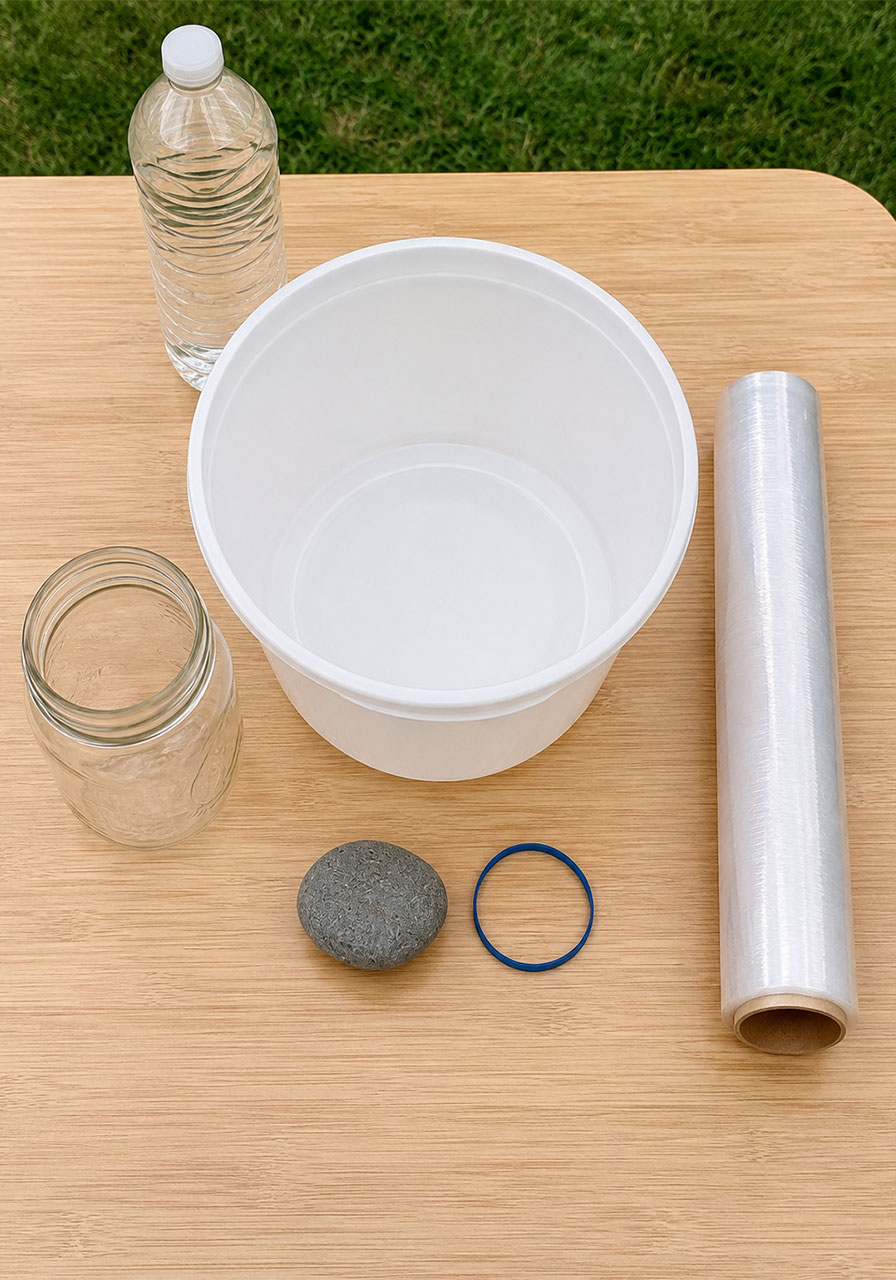
A clean glass jar
A wide plastic bucket or bowl
Plastic wrap
A small rock
A rubber band or tape
Water (tap water, pond water, or salt water – more on that below)
That’s it. No batteries, no special ordering, no trip to a science supply store. This is a raid-your-kitchen-drawer kind of project.
How to Make a Solar Still: Step-by-Step Instructions
Follow these steps exactly and you’ll have a working solar still in minutes. The setup is foolproof, but a couple of small details matter, so read through before you start.
Step 1: Pick your sunny spot.
Find a location that gets direct sunlight for most of the day. This is the single most important factor for success. A shady spot simply won’t generate enough heat to evaporate the water.
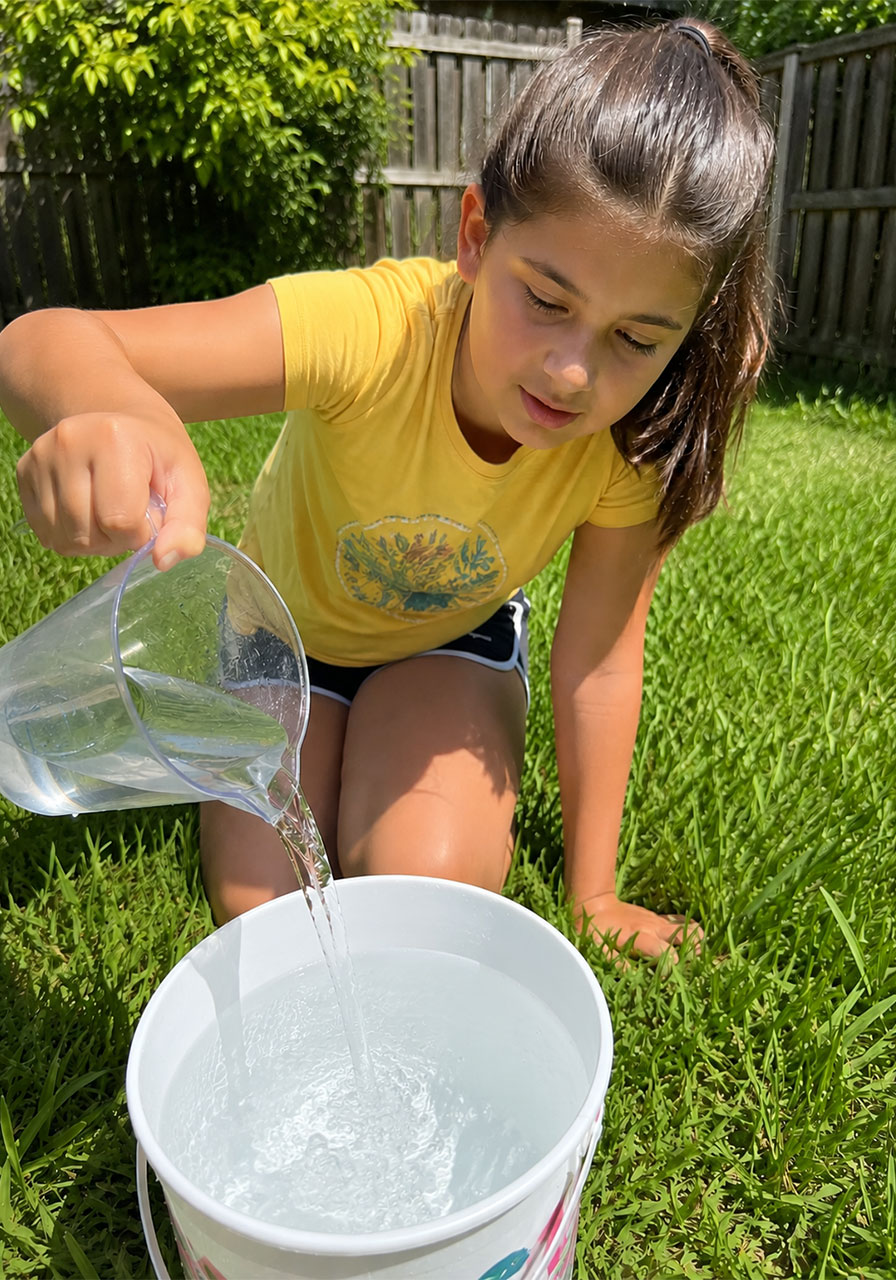
Step 2: Add water to the bucket.
Pour an inch or two of water into your large plastic bucket or bowl.
Step 3: Make it messy (on purpose).
To really show kids the purifying power of a solar still, use water that isn’t clean. Pond water works great. You can also stir a little dirt into tap water. This step is optional, but it makes the “before and after” much more convincing for kids.
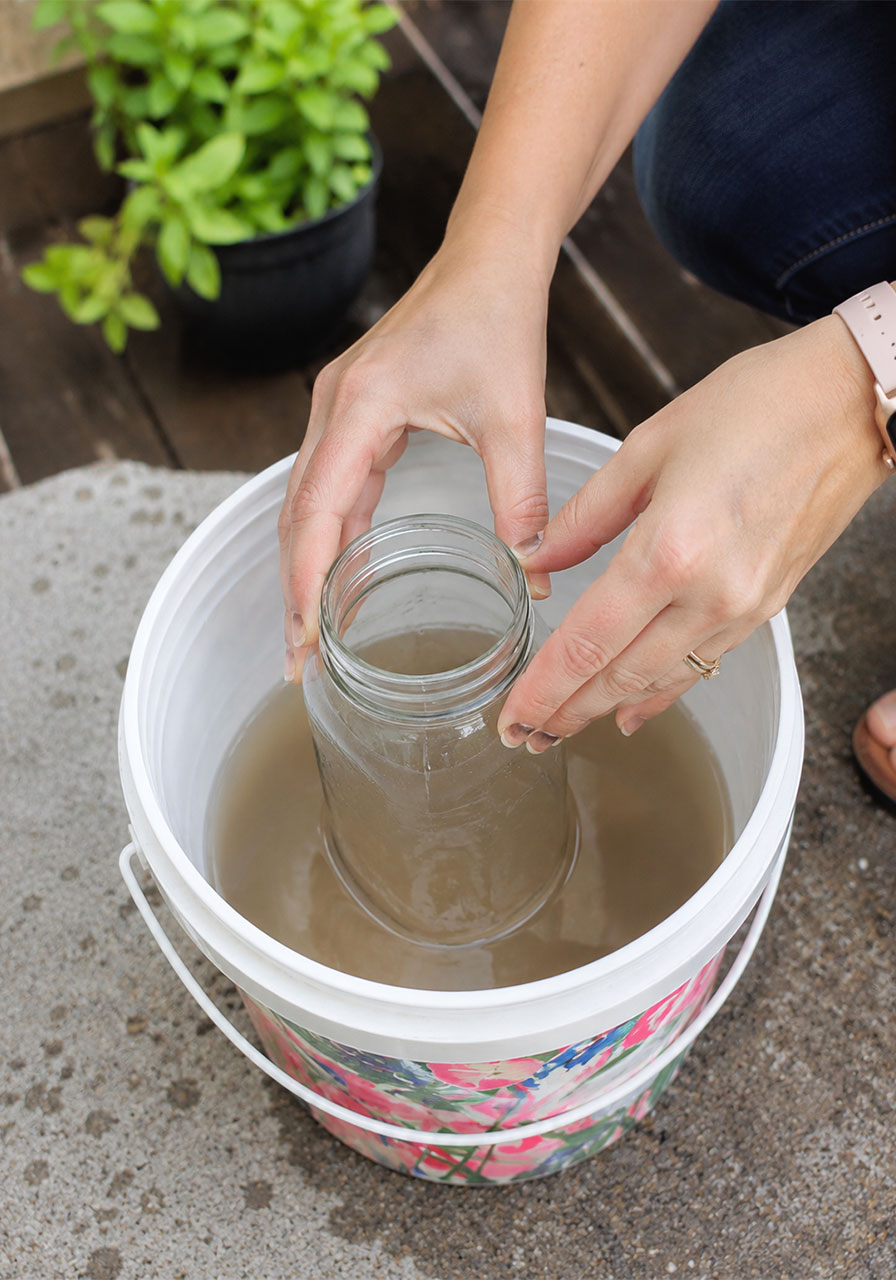
Step 4: Place the jar in the center.
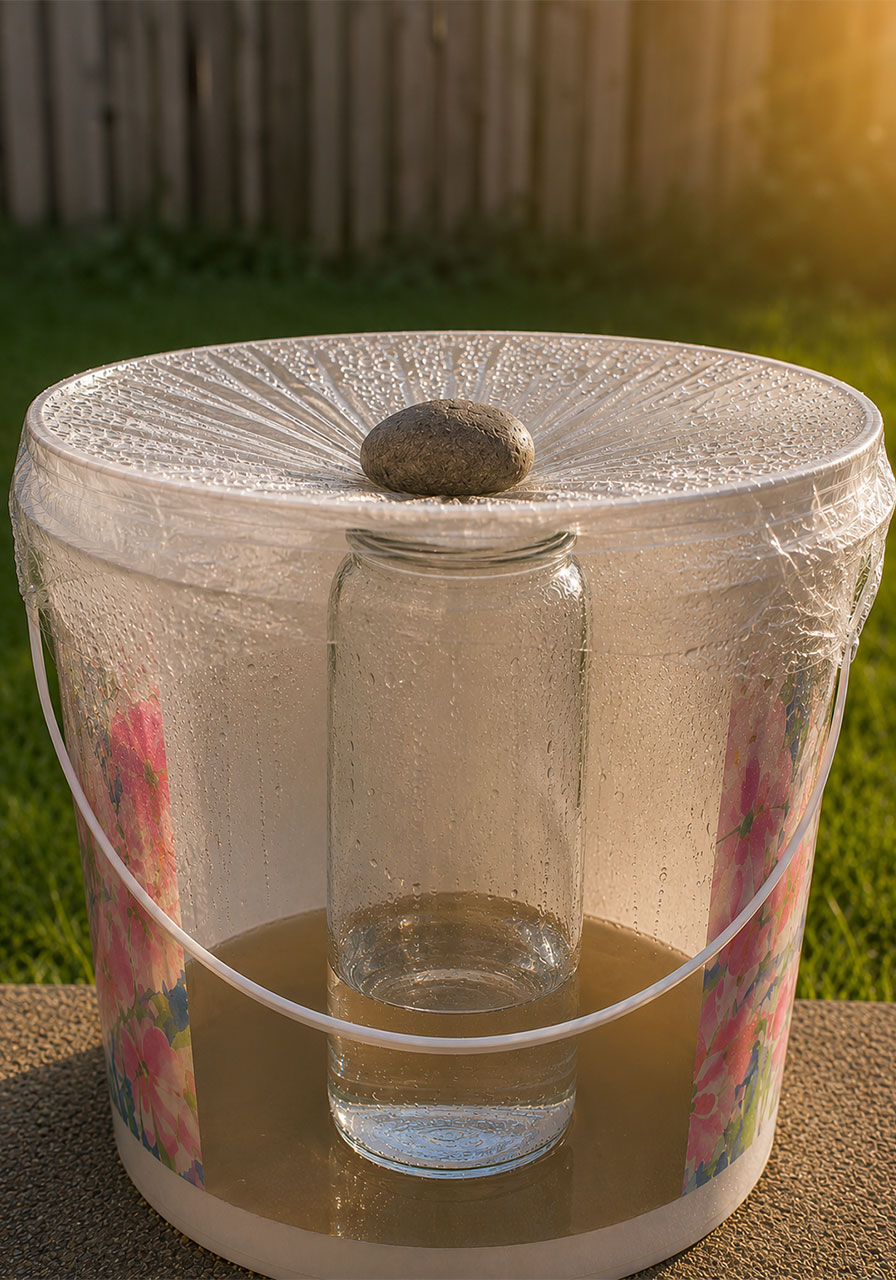
Set your clean, empty glass jar in the middle of the bucket. Be extra careful here – you don’t want any of the dirty water splashing or dripping into the jar itself. The jar needs to stay completely clean and empty at this stage.
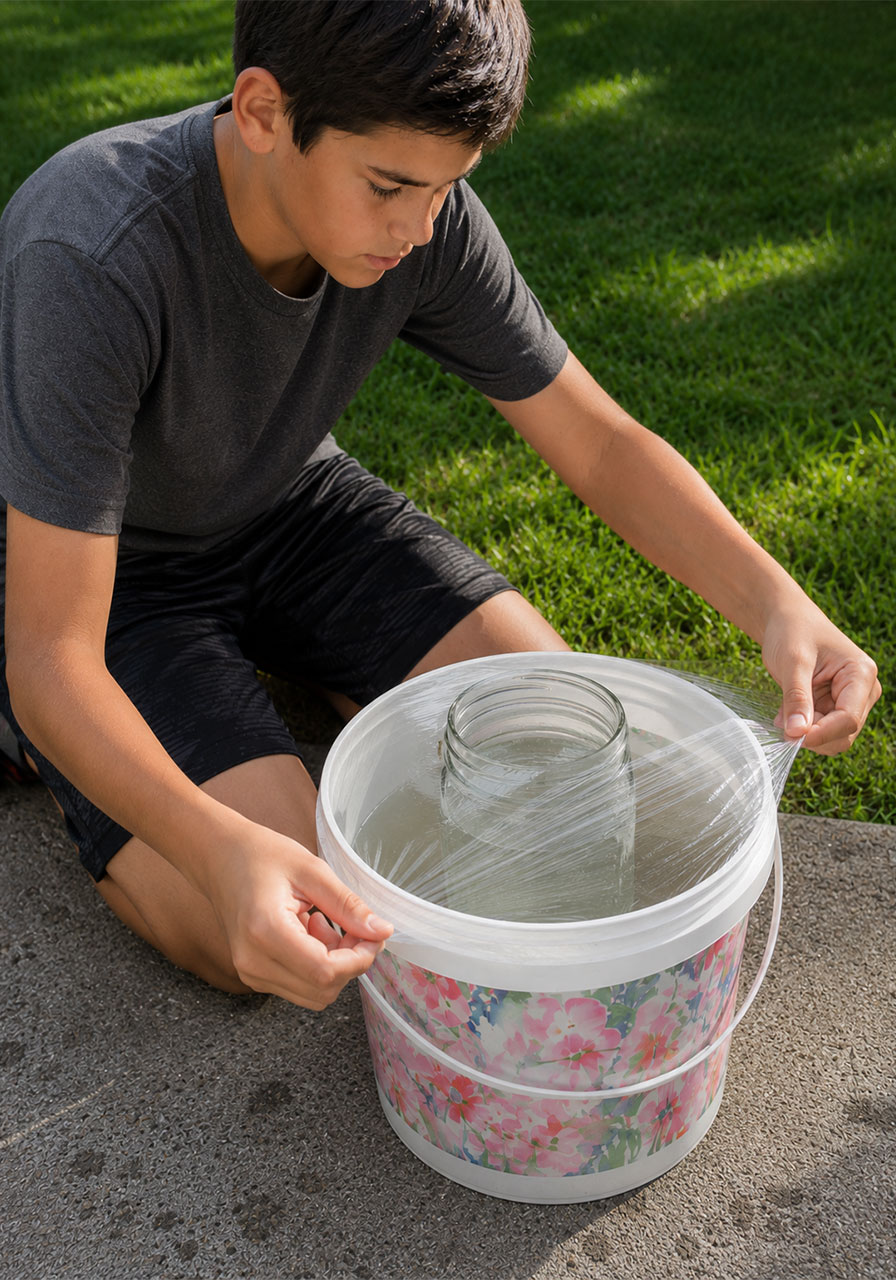
Step 5: Cover the bucket with plastic wrap.
Stretch plastic wrap tightly over the top of the entire bucket. You want a solid seal around the edges. Some brands cling well on their own. If yours is slipping, secure it with a large rubber band or a strip of tape.
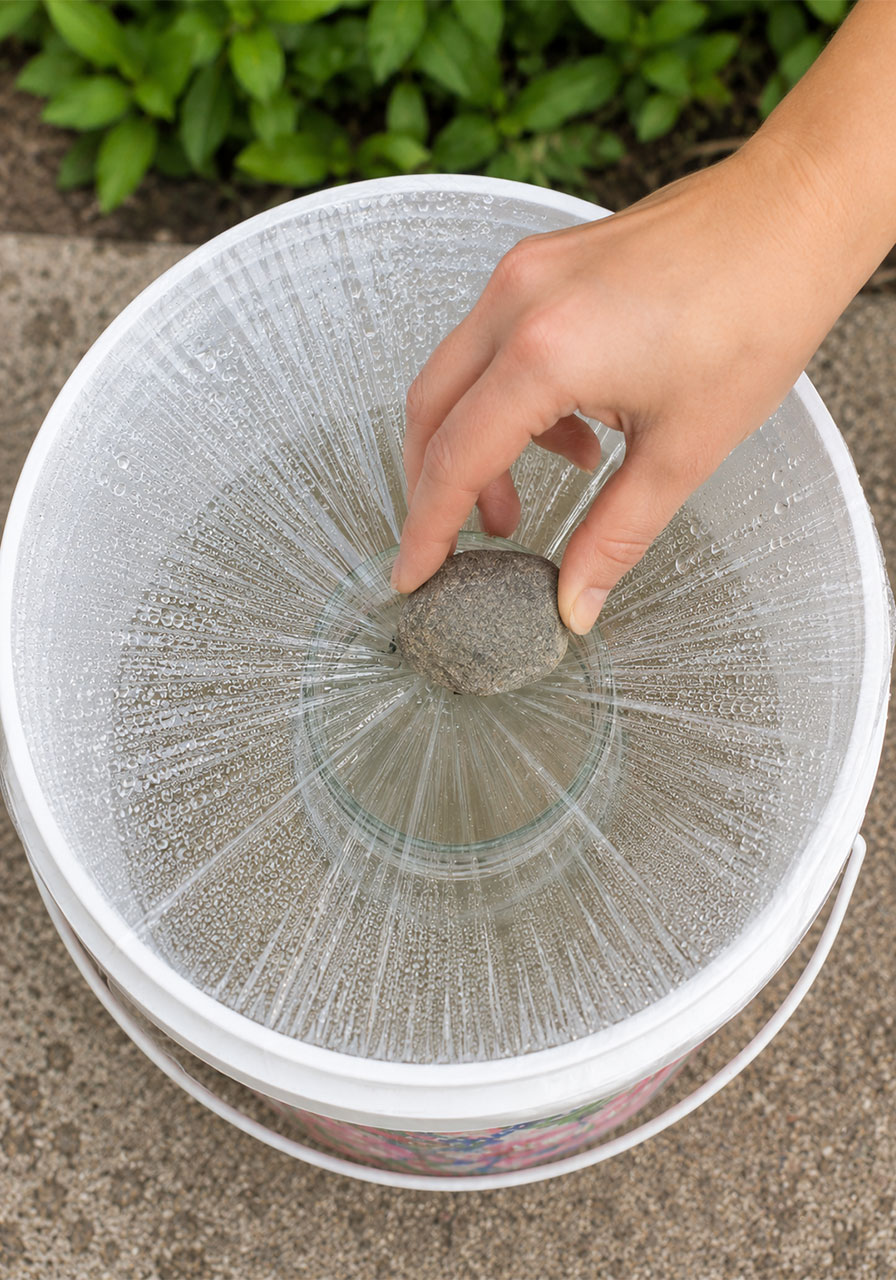
Step 6: Add the rock.
Place a small rock on top of the plastic wrap, directly above the jar. This weight creates a slight dip in the plastic, which is the key to the whole experiment. Without it, water droplets won’t have anywhere to go.
Step 7: Let it work.
Set your solar still somewhere it won’t be disturbed and let it sit for several hours, or ideally a full day.
This waiting period is the perfect opportunity to keep the momentum going with another activity. Try a no-prep trail marking scavenger hunt, or fire up a solar oven and make s’mores while you wait.
What’s Actually Happening Inside the Bucket
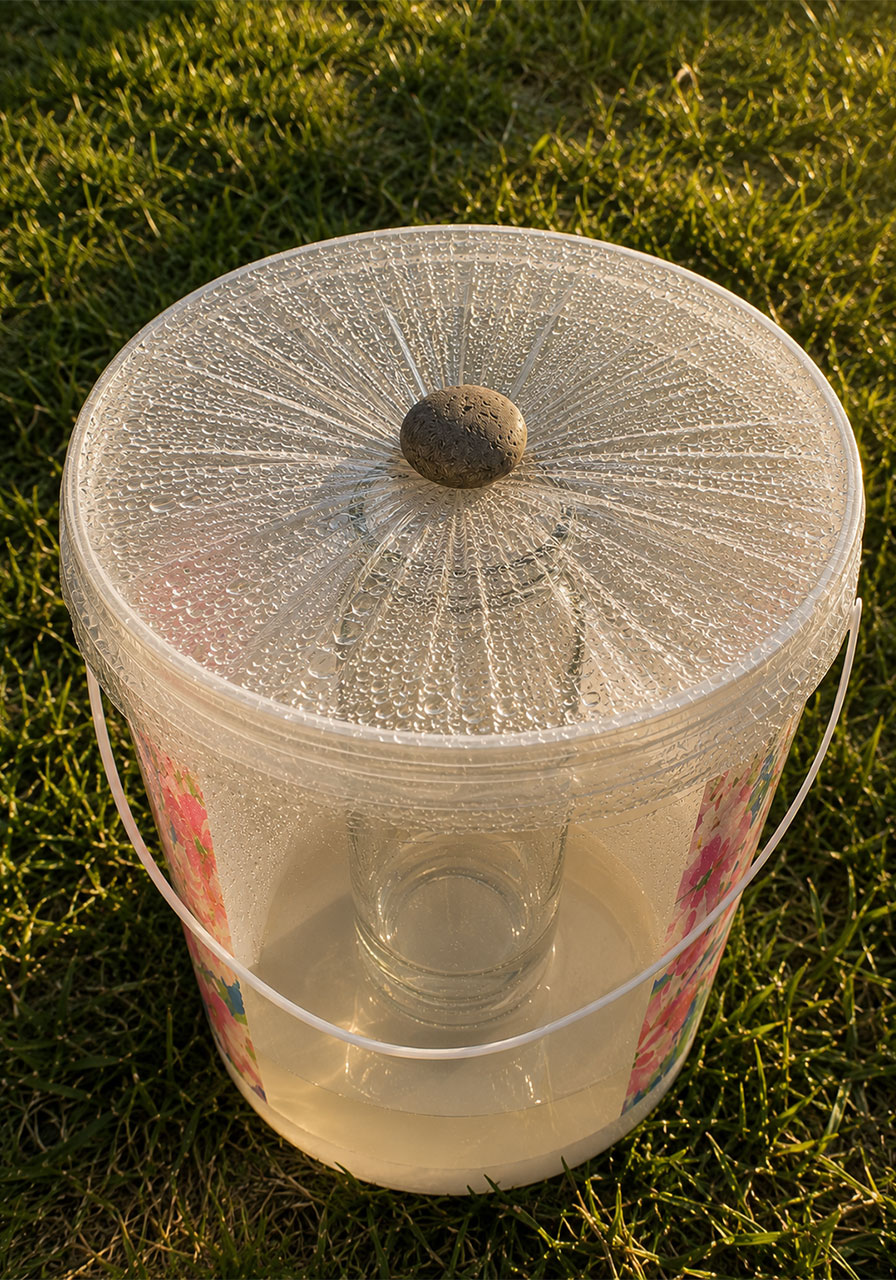
As the sun heats the bucket, the water inside starts to evaporate. That water vapor rises and hits the underside of the plastic wrap, which is cooler than the air inside the bucket.
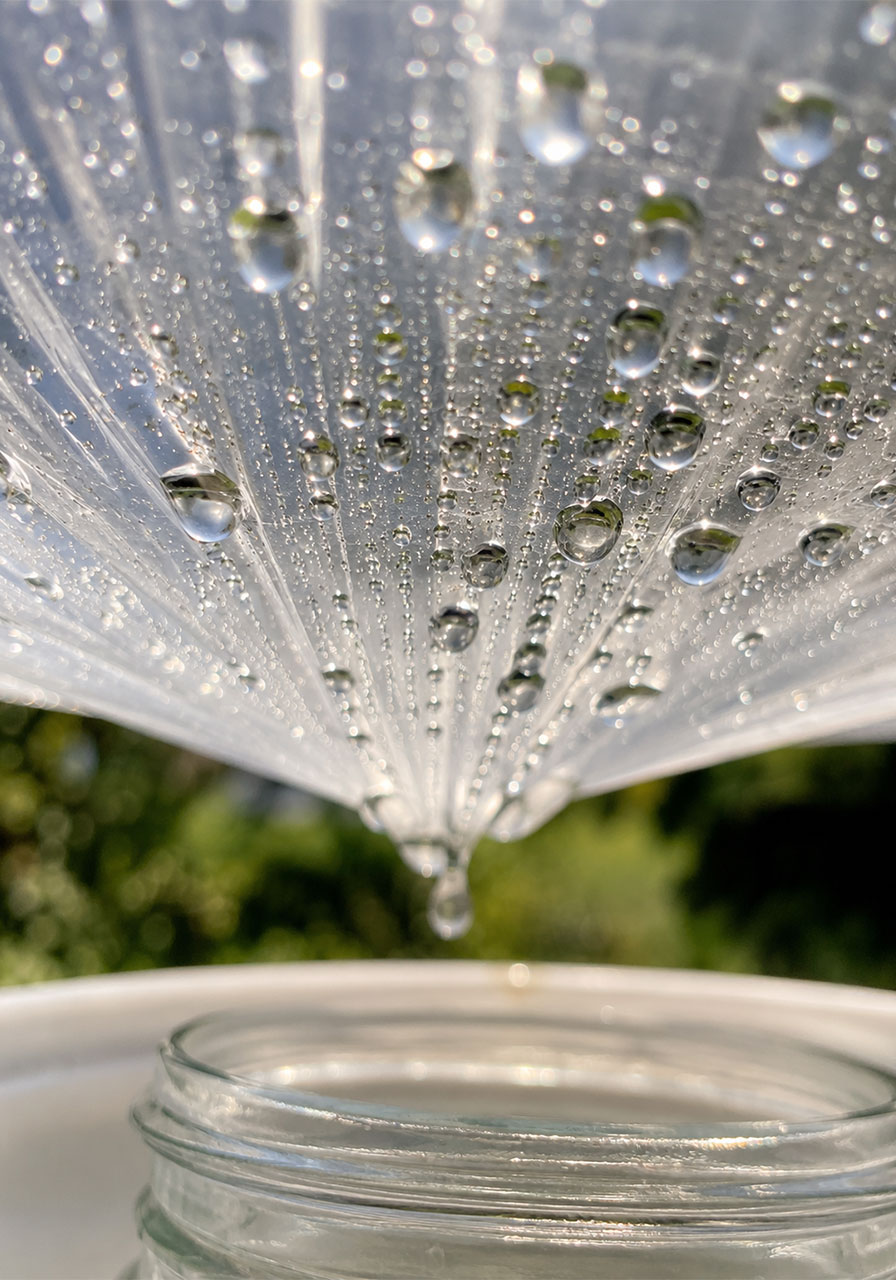
When warm vapor hits a cooler surface, it condenses back into liquid droplets. You’ll actually be able to watch this happen – the underside of the plastic wrap will fog up and then bead with water.
Because of the rock’s weight, the plastic wrap forms a downward point directly over the jar. Gravity pulls the water droplets toward that low point, and they drip straight down into the clean jar below.
The result is water that’s been separated from dirt, sediment, and other impurities left behind in the bucket. What’s collecting in the jar is genuinely purified water.
Pro Tip
Don’t skip the “dirty water” step if you want maximum impact with kids. Watching clean water collect in the jar while dirty water sits in the bucket is the moment that makes this experiment click. It’s the difference between reading about purification and actually seeing it happen.
Fun Variation: Try It With Salt Water
Want to take this experiment even further? Swap your water source for salt water instead of dirty water.
Kids can taste-test a tiny bit of the salt water first (with supervision), then compare it to the water that collects in the jar. The purified water won’t taste salty at all, and it’s perfectly safe to drink.
This variation is especially powerful for older kids studying desalination or ocean science, since it demonstrates the exact principle behind large-scale water purification plants.
How Long Does It Take?
Plan for at least four to eight hours of direct sunlight for noticeable results. A full sunny day will give you the best yield.
This isn’t a fast method of purifying water, and that’s an important, honest point to make with kids. In a real survival situation, a solar still is reliable but slow. We let our own solar still run for a full day and collected about an inch of drinkable water in the jar. That’s a great result for a single day, and it’s more than enough to make the science lesson land.
Troubleshooting: What If It’s Not Working?
No water is collecting. Check your sunny spot. If the bucket is in partial shade for part of the day, evaporation will be much slower. Move it somewhere with full sun and try again.
The plastic wrap seal is loose. A loose seal lets moisture escape instead of condensing. Reinforce the edges with a rubber band or tape and make sure the wrap is pulled tight.
Water isn’t dripping into the jar. Double check that your rock is centered directly over the jar. If the dip in the plastic wrap isn’t lined up with the jar opening, the droplets will run off to the side instead of falling in.
Frequently Asked Questions
Is the water from a solar still actually safe to drink?
Yes. The evaporation and condensation process leaves dirt, salt, and many contaminants behind in the original container, producing clean water in the jar. That said, for a classroom demonstration, treat this as a science lesson rather than an actual drinking water source.
What age group is this best for?
This activity works well for elementary-aged kids through middle schoolers. Younger kids can help pour water and place the rock, while older kids can dig into the science of evaporation and condensation in more depth.
Can I do this activity in a classroom?
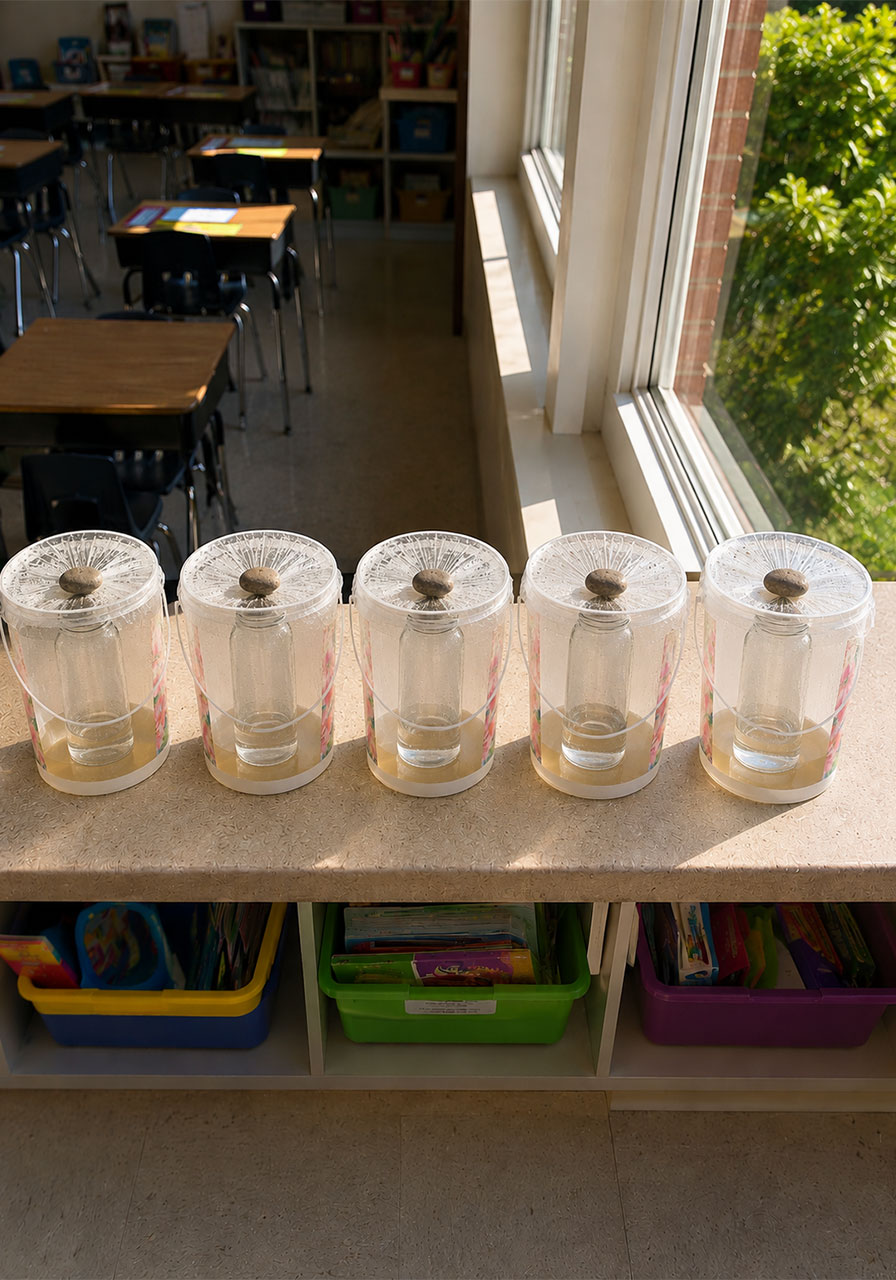
Absolutely. Set up several solar stills on a sunny windowsill or take the class outside to a sunny courtyard. Multiple stills also make a great compare-and-contrast lesson, especially if you vary the water source or the amount of direct sun each one gets.
How many solar stills can I set up at once?
As many as you have buckets and jars for. This is an easy activity to scale up for a full classroom or a group of camp kids, since each setup only takes a few minutes.
More STEM and Survival Skills to Try Next
Once your solar still experiment is done, keep the learning going. This activity pairs perfectly with a broader survival skills theme or a full week of hands-on summer science.
