
You need an activity that looks like magic but costs less than a coffee.
Yes? Then get ready, because this homemade lava lamp delivers exactly that.
It takes five minutes to set up. It uses ingredients already hiding in your kitchen. And it turns any kitchen table, classroom desk, or back porch into a mini science lab.
Whether you’re a teacher planning a quick STEM station or a parent trying to survive a triple-digit summer afternoon, this one’s a guaranteed win.
Best of all? It teaches real science while it entertains. That means less screen time guilt and more “wow, look what I made!” energy.
Let’s dive in.
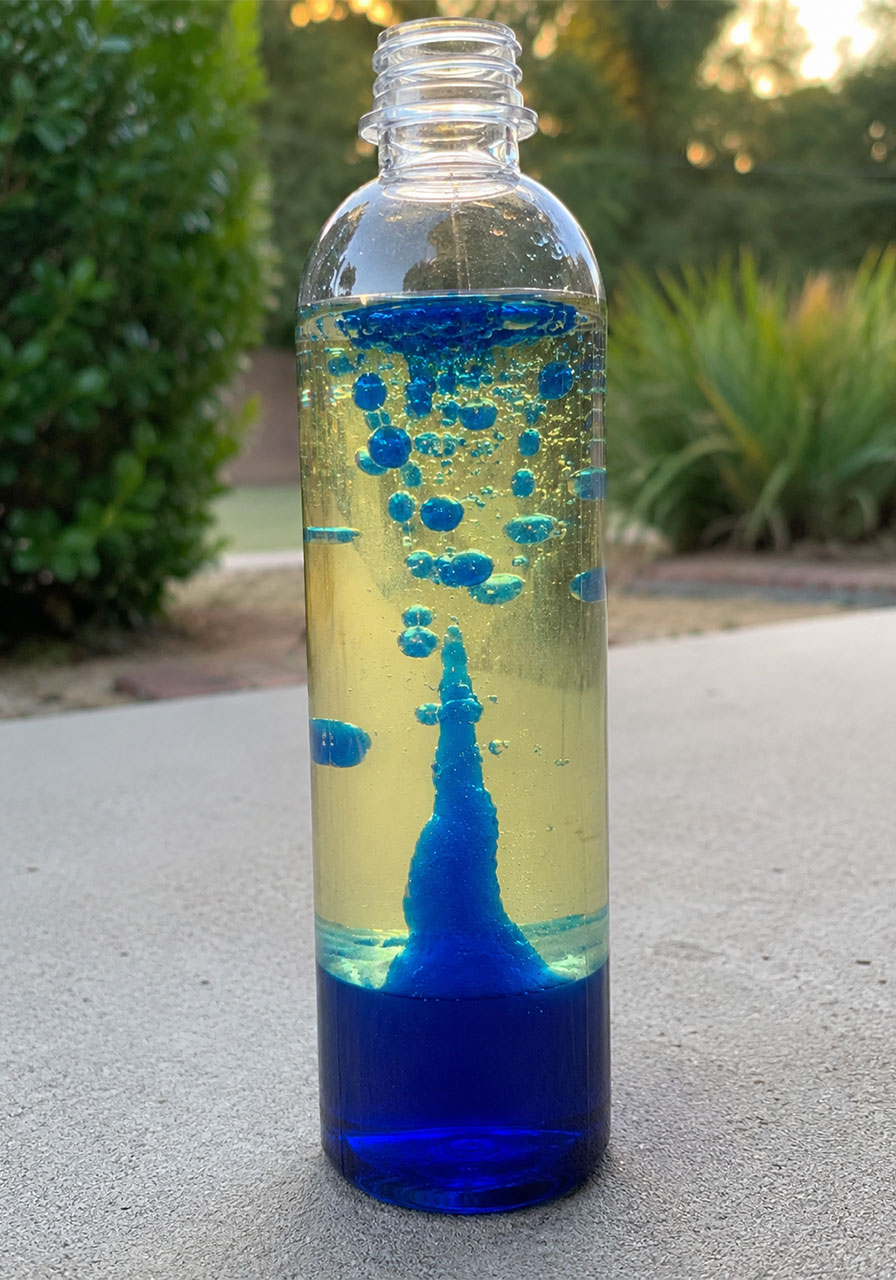
Why This Activity Is a Total Win for Teachers and Parents
Lava lamps are nostalgic. If you grew up in the 70s (or had a groovy relative who did), you probably remember staring at one for hours.
Now your kids get to make their own, and actually understand why it works.
This project checks every box on the “perfect activity” list.
It’s cheap. It’s fast. It requires zero electricity or heat, which makes it safe for classrooms and little hands alike.
It’s also endlessly repeatable. Once you build it, you can screw the cap back on and bring it out again days later with just one more fizzy tablet.
And it sneaks in a real lesson on liquid density, without ever feeling like a lecture.
That’s the kind of hands-on learning that sticks.

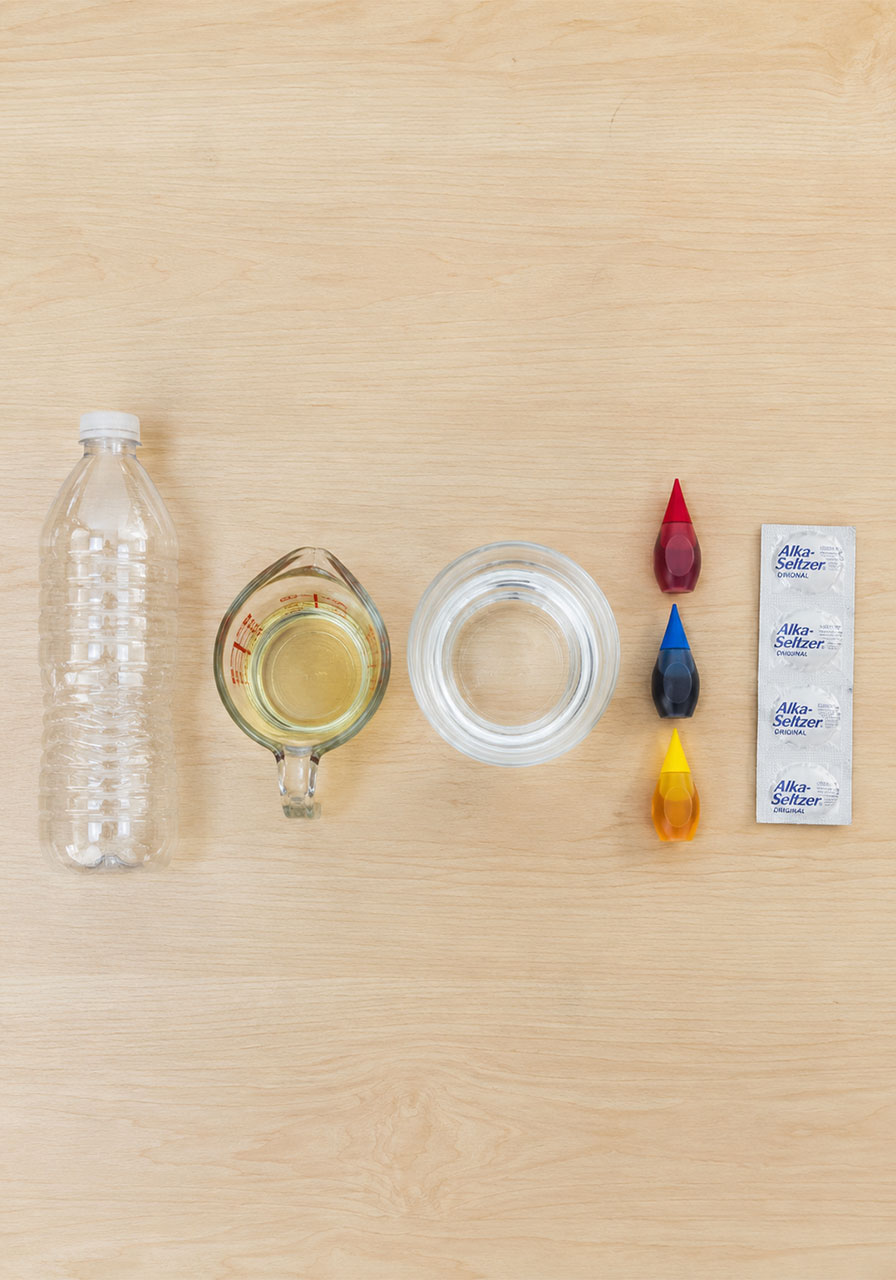
What You’ll Need
Best for: Classrooms, homeschool science time, birthday party stations, or a rainy-day rescue at home.
Time to Make: About 5 minutes of prep, plus unlimited minutes of watching in awe.
Group Size: Works for one curious kid or a whole classroom of them, as long as everyone gets their own bottle.
- An empty, clear plastic water bottle
- Vegetable oil
- Water
- Food coloring (any color you like)
- Alka-Seltzer tablets (or a similar effervescent tablet)
Pro Tip: Let your kids empty the water bottle themselves first. It’s a sneaky way to get them hydrated before the fun begins, and it gives them ownership over the whole project from step one.
How to Make Your Lava Lamp
Follow these steps in order. There is no wrong way to enjoy this, but this sequence gets you the best “lava” effect.
1. Fill the empty water bottle about two-thirds full with vegetable oil.
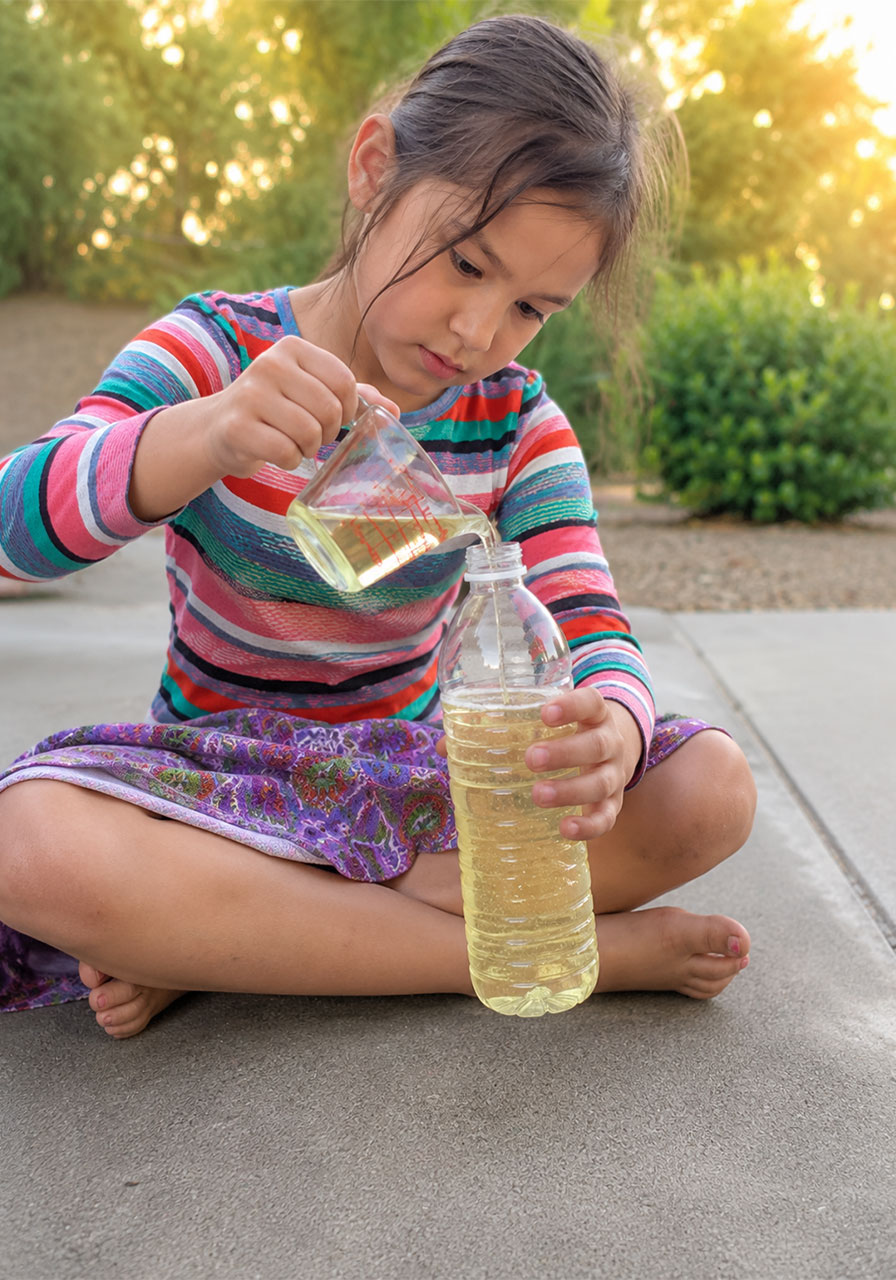
2. Add water to fill the rest of the bottle, leaving a small gap of empty space at the top.
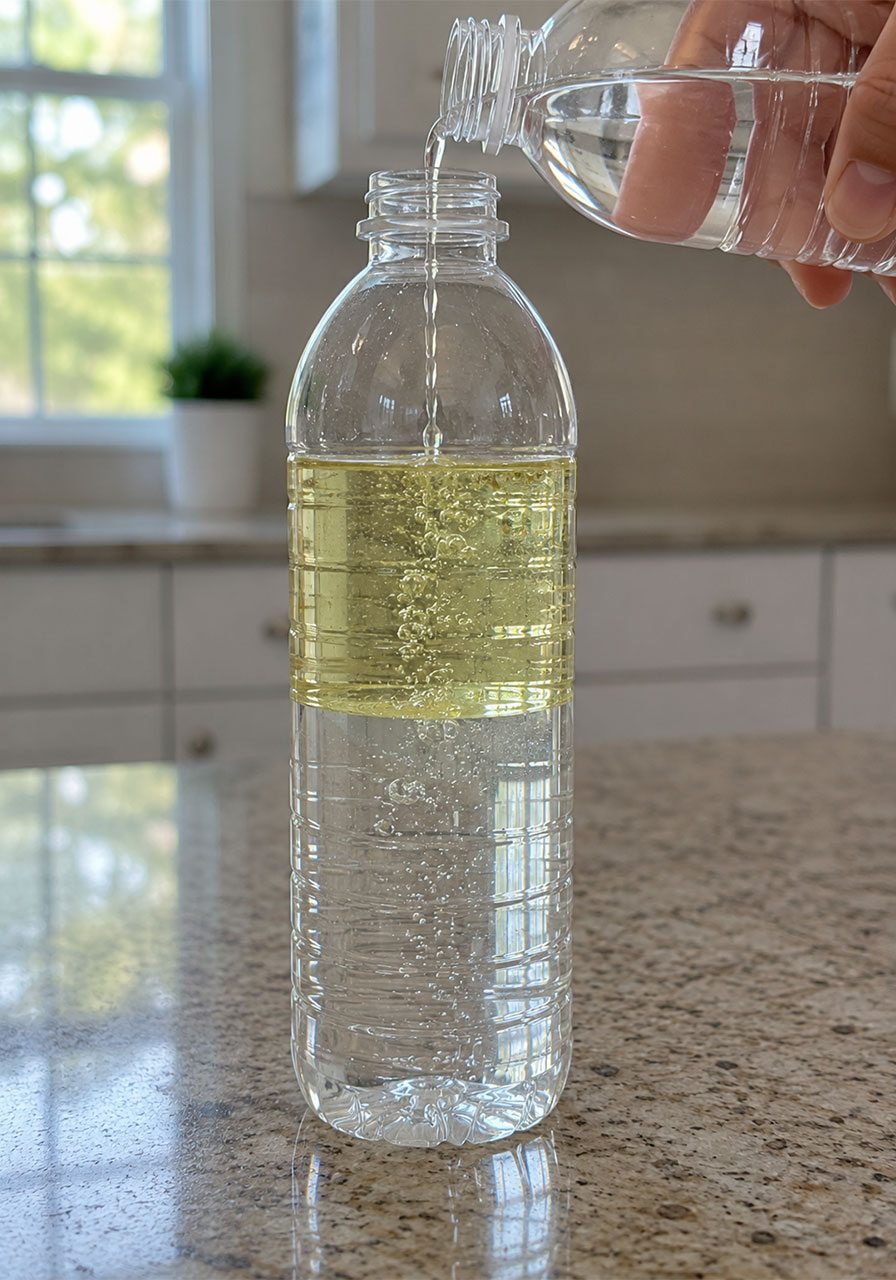
3. Watch closely. You’ll notice the water sinks straight to the bottom and the oil floats on top. That’s your first science moment, and we’ll explain exactly why below.
4. Add several drops of your chosen food coloring.
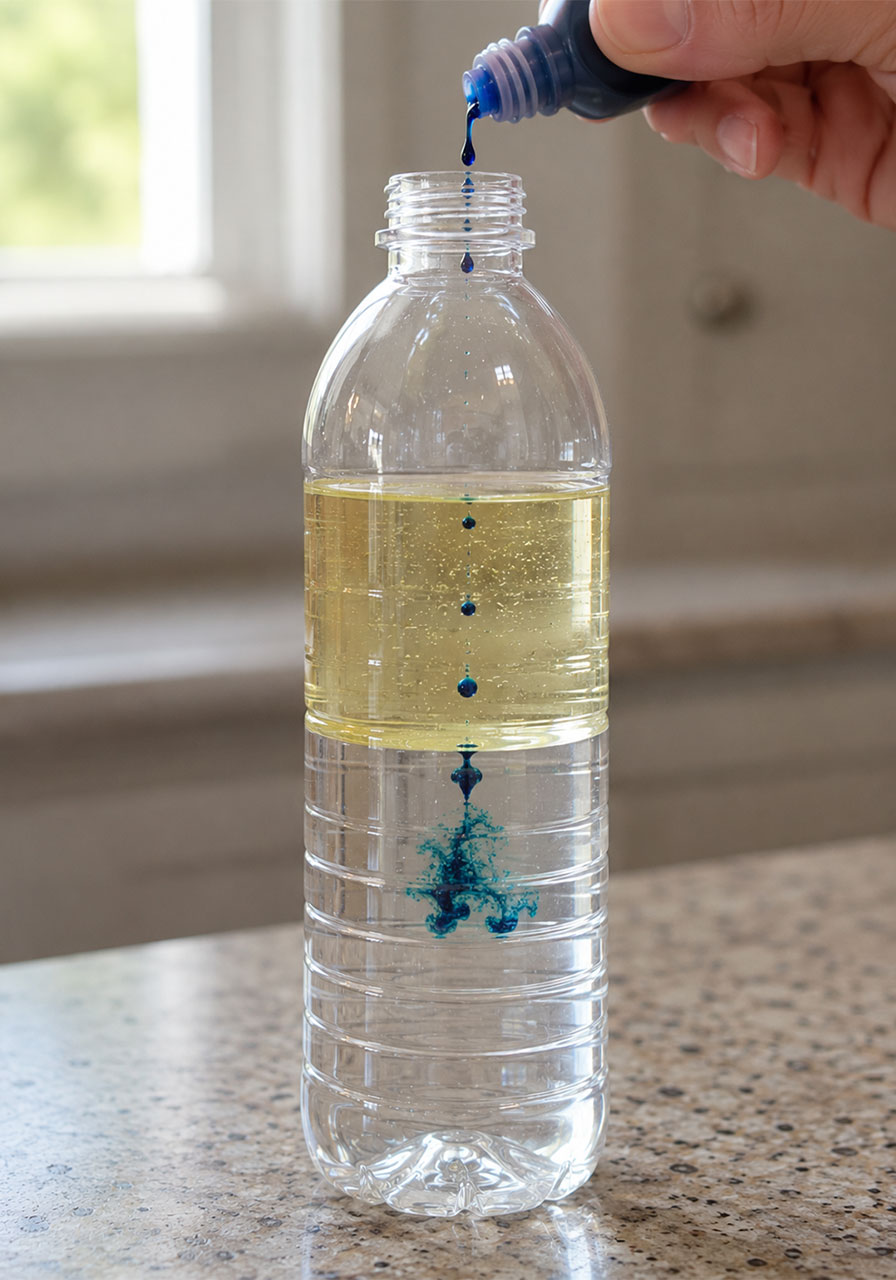
5. Stir gently with a chopstick or spoon. The coloring will mix only with the water layer, not the oil. Do not shake the bottle, since shaking creates tiny bubbles in the oil that make your lava lamp look cloudy instead of clear.
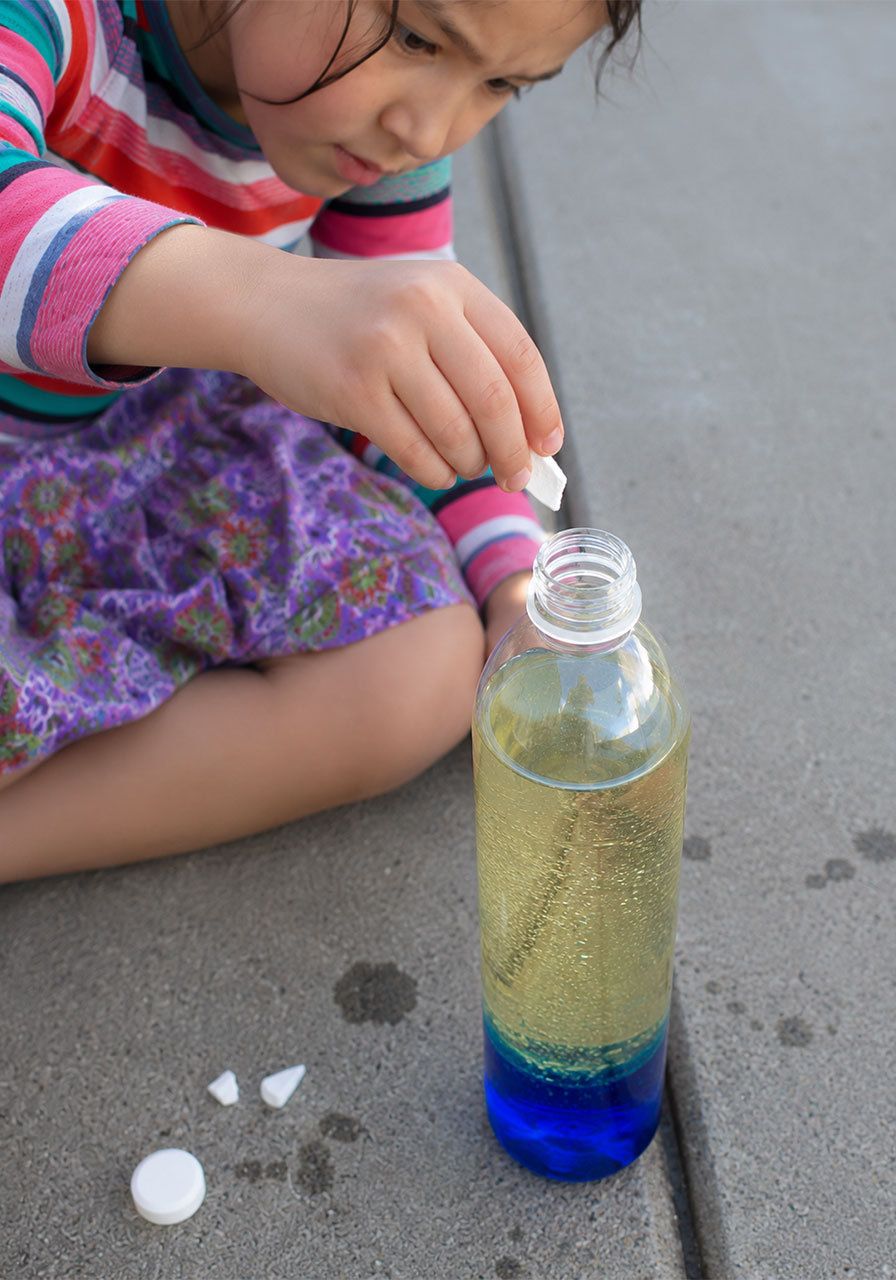
6. Break one Alka-Seltzer tablet into four small pieces.
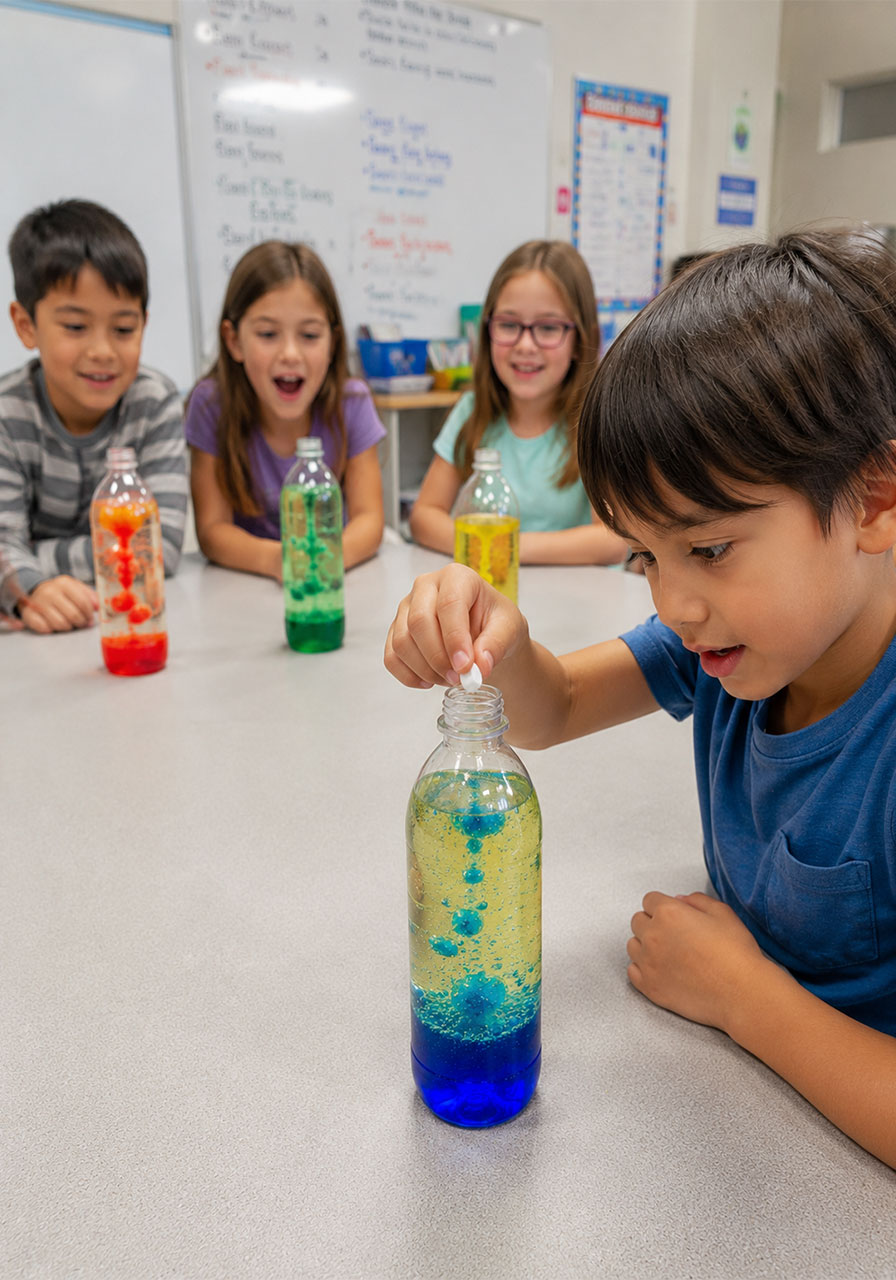
7. Drop in one piece at a time and watch the magic happen.
That’s it. Five simple steps between you and a homemade lava lamp that actually works.
The Science Behind the Magic (Yes, This Part Is Actually Fascinating)
Here’s the moment every teacher and parent secretly loves: the explanation.
Oil and water don’t mix. That much you probably already knew.
But why does the water sink below the oil instead of the other way around?
It comes down to density. Water is denser than oil, meaning it packs more mass into the same amount of space. Since it’s heavier for its size, water sinks to the bottom while the lighter oil floats on top.
Now here’s where the tablet comes in.
When you drop in a piece of Alka-Seltzer, it sinks down through the oil and lands in the water layer, where it starts to dissolve.
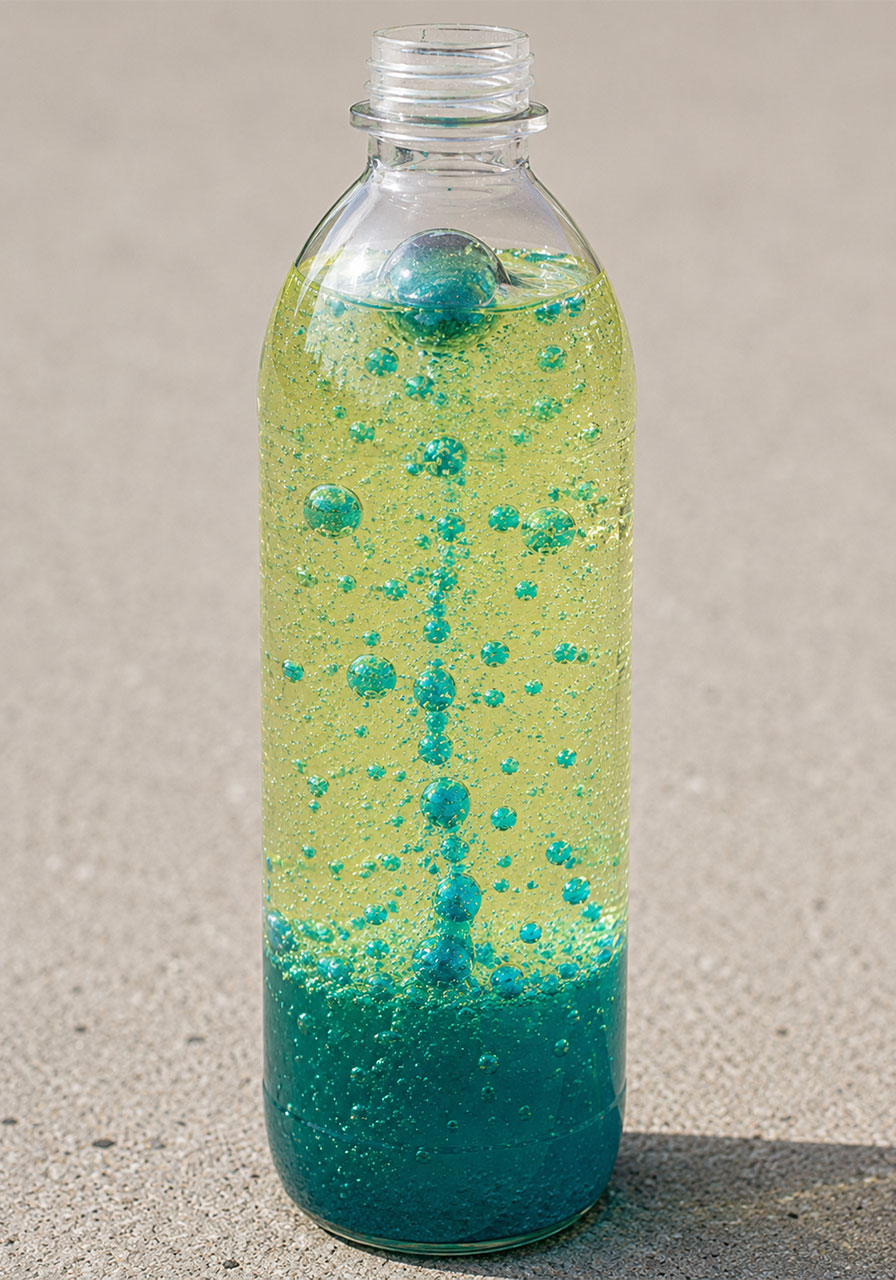
As it dissolves, it releases carbon dioxide gas. Those gas bubbles are lighter than both the water and the oil, so they rise straight up through the bottle.
Each bubble carries a little bit of the colored water along for the ride.
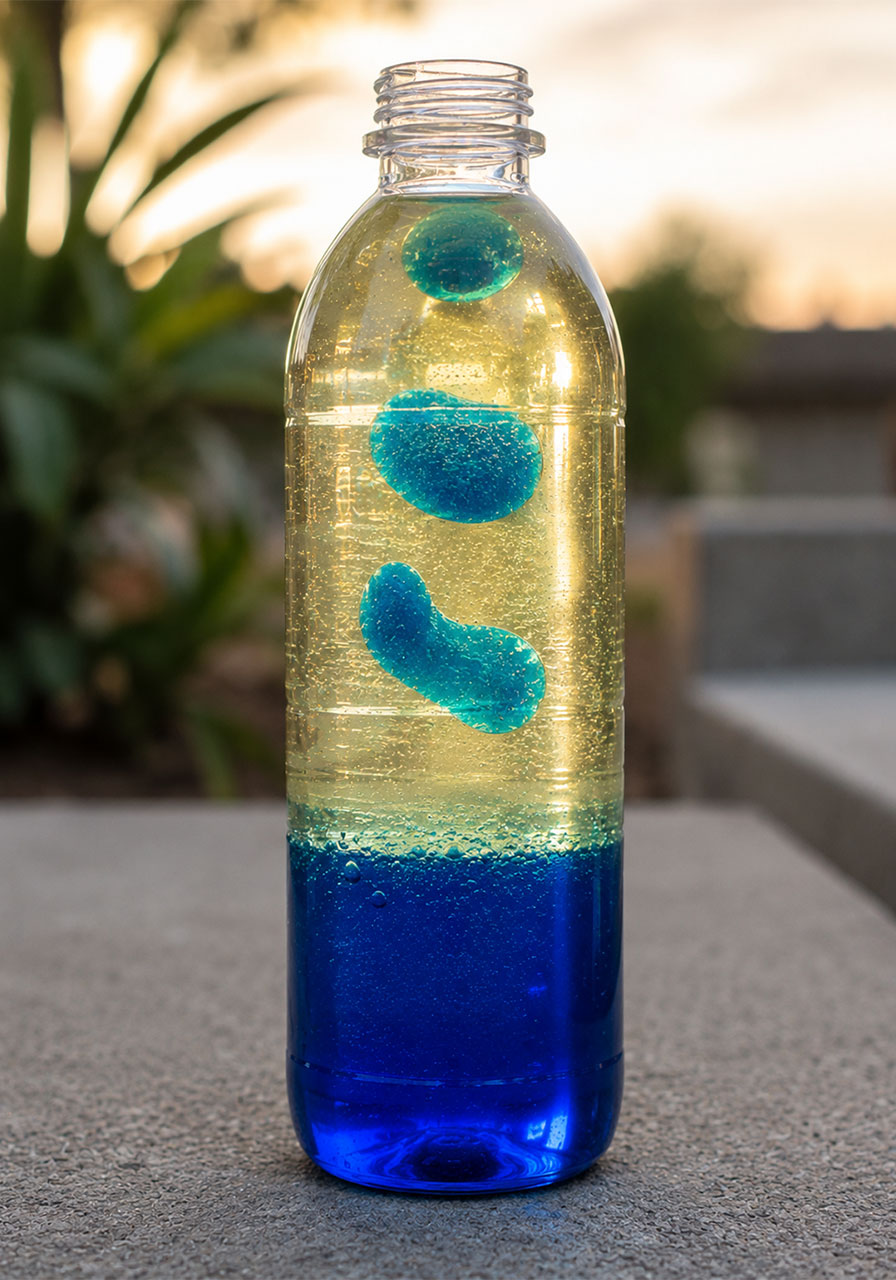
Once the bubble reaches the top and pops, the water it was carrying loses its lift. Gravity takes over, and the colored water sinks right back down to join the rest.
That rise-and-fall cycle repeats over and over, which is exactly what creates that mesmerizing lava lamp effect.
It’s a simple, visual way to teach density and chemical reactions, all without opening a textbook.
Pro Tips for the Best Results
Keep the bottle still after mixing in the food coloring. Shaking traps air bubbles in the oil and makes it look foggy instead of crystal clear.
Use a clear, colorless water bottle for the best visual effect. You want to see straight through to those glowing color blobs.
Drop the tablet pieces in one at a time rather than all at once. This keeps the reaction going longer, so the fun lasts longer too.
Screw the cap on tightly when you’re done. That way, you can bring the same bottle back out days later. Just drop in a fresh piece of tablet and the show starts all over again.
Fun Variations to Try
Mix two different food coloring shades in the same bottle for a tie-dye lava lamp effect.
Add a few drops of glitter to the water layer before sealing, for an extra sparkly version that’s perfect for a birthday party favor station.
Turn it into a classroom experiment by having each student predict what will happen before the tablet goes in, then compare results across different bottles.
Use a flashlight underneath or behind the bottle in a dim room for a glowing, lava-lamp-at-night moment that kids find absolutely mesmerizing.
Perfect For Any Setting
This activity works just as well in a classroom as it does at a birthday party or a lazy Saturday at home.
Teachers can turn it into a quick STEM station between lessons, or a full density and chemical reactions unit.
Parents can use it as an indoor rescue plan on a scorching summer day, when the pool is closed but the boredom isn’t.
It also makes a fantastic party activity. Set up a few bottles at a science-themed birthday party and let each guest make and take home their own lava lamp.
Kid-friendly: Yes, with adult supervision for handling the tablets.
Classroom-friendly: Absolutely, and a great tie-in for any lesson on states of matter or chemical reactions.
Adults will enjoy it too. There is something universally satisfying about watching those colorful blobs rise and fall, no matter how old you are.
Frequently Asked Questions
Can I reuse the same bottle more than once?
Yes. Just screw the cap on after the reaction settles down, and save it for another day. When you’re ready to play again, simply drop in a fresh piece of Alka-Seltzer tablet.
What happens if I shake the bottle instead of stirring?
Shaking mixes tiny air bubbles into the oil layer, which makes the whole lamp look cloudy instead of clear. Stick to gentle stirring with a chopstick or spoon for the clearest result.
Is this safe for young children?
With adult supervision, yes. Just make sure kids don’t eat the tablet pieces, since Alka-Seltzer is meant for the reaction, not for snacking.
Do I need a fancy container?
Nope. A simple, clear, empty water bottle works perfectly. The clearer the plastic, the better your lava lamp will look.
The Bottom Line
Some of the best learning moments happen when kids don’t even realize they’re learning.
This lava lamp activity delivers a “wow” reaction, a hands-on science lesson, and a party trick you can pull out again and again, all from ingredients you probably already have at home.
Because the best gatherings, classrooms, and lazy afternoons are the ones filled with a little bit of wonder.
Keep this one in your back pocket. You’ll be reaching for it more often than you expect.
