
Got a pile of sticks collecting by your back door? Turns out that’s not clutter – it’s a free STEM kit waiting to happen.
This Stick Raft Building STEM Challenge turns an ordinary backyard afternoon into a full-blown engineering lab. Kids design, build, and test their own floating rafts using nothing but sticks, string, and a little imagination.
It’s the kind of activity that checks every box: hands-on learning, outdoor time, screen-free fun, and a finished product kids are genuinely proud of. Best of all, it costs next to nothing and works for a huge range of ages.
Whether you’re a teacher planning a STEM unit or a parent looking for a weekend win, this challenge delivers real engineering practice disguised as pure backyard fun.
Why This STEM Challenge Works So Well
Building a raft that actually floats isn’t as simple as it sounds, and that’s exactly the point. Kids have to think like real engineers: testing materials, solving problems, and redesigning when things don’t go as planned.
This project naturally walks kids through the engineering design process. They brainstorm ideas, sketch a plan, build a prototype, test it in water, and then improve their design based on what happened.
It also sneaks in some serious skill-building. Kids practice fine motor skills while tying knots, problem-solving when their raft tips over, and even basic physics concepts like buoyancy and weight distribution, all without ever opening a textbook.
And because every raft looks different, there’s no “wrong” way to do this. Every kid gets to bring their own creativity to the challenge, which makes the final testing moment feel like a real celebration of their work.
Best for: Kids ages 4-12, classrooms, homeschool STEM units, summer break, scout groups, and backyard afternoons.
Time to Complete: 45-90 minutes, depending on age and raft complexity.
Group Size: Works for one child or a whole classroom of builders.
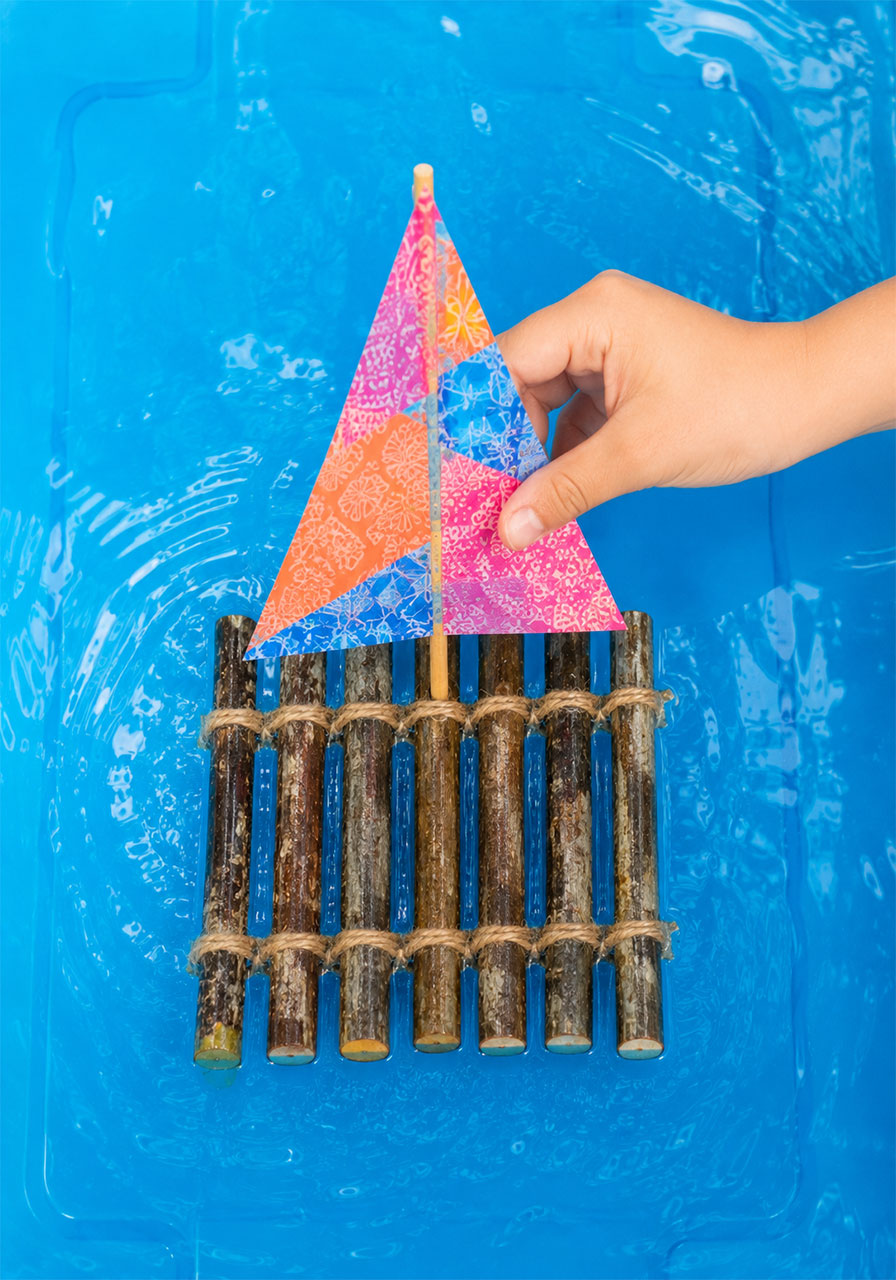

What You’ll Need
Part of what makes this project so appealing is how little it requires. Chances are you already have most of these supplies sitting around your house or garden.
A handful of sticks (roughly the same length works best)
String, twine, or thin garden wire
Scissors or a junior hacksaw for trimming sticks (adult supervision recommended)
A low-temperature glue gun (optional, for attaching a mast)
Paper, fabric scraps, or wallpaper samples for sails
Markers or Sharpies for decorating sails
A large container of water, a kiddie pool, or a nearby shallow stream for testing
Optional: a few drops of blue food coloring, because “play water” always looks more inviting when it’s bright blue
How to Run the Stick Raft Building STEM Challenge
To get the most learning (and the most fun) out of this project, break it into three clear stages: Brainstorm, Design, and Build & Test. This mirrors exactly how real engineers approach a problem.
Step 1: Kick Off With Brainstorming
Start by presenting the challenge without giving away any answers. Simply ask, “Can you build a raft out of sticks that actually floats?”
Resist the urge to jump in with solutions, even when kids ask direct questions. If a child asks, “Do all sticks float?” turn it back around with something like, “That’s a great question – how could you find out?”
This is also the perfect moment to let kids set their own bonus challenges. Some might want their raft to carry the most weight. Others might want it to be the fastest, survive a mini waterfall, or stay afloat the longest.
Letting kids choose their own goal gives them ownership over the project, and ownership is what turns a simple craft into genuine STEM learning.
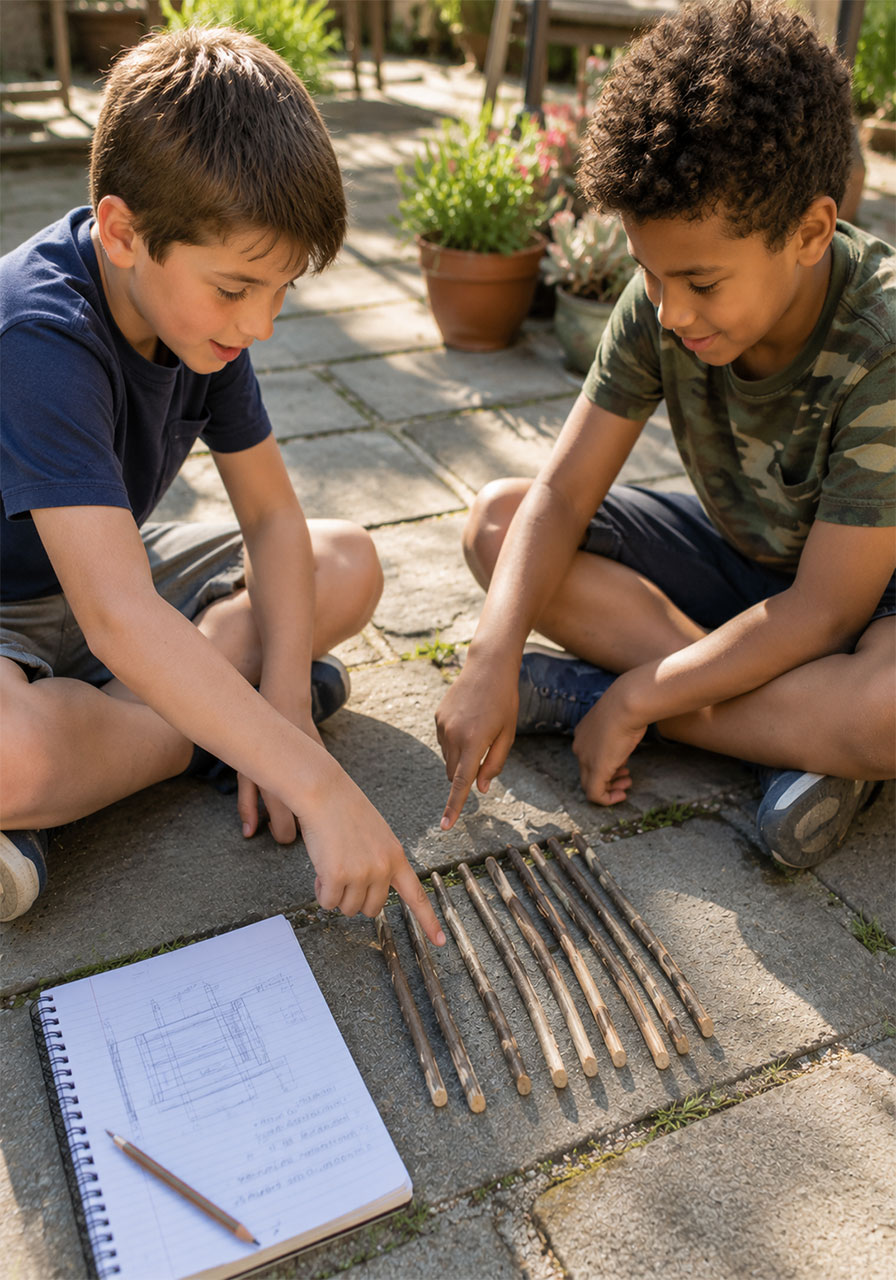
Step 2: Move Into Designing
Once the ideas are flowing, have kids think through their plan before they start building. What materials will they need? How big should the raft be? Will it have a sail?
For younger children, this can simply be a conversation. For older kids, hand them paper and have them sketch and label their raft design first.
This planning step matters more than it might seem. It teaches kids to think ahead and troubleshoot problems on paper before they waste time and materials in real life.
Step 3: Build, Test, and Improve
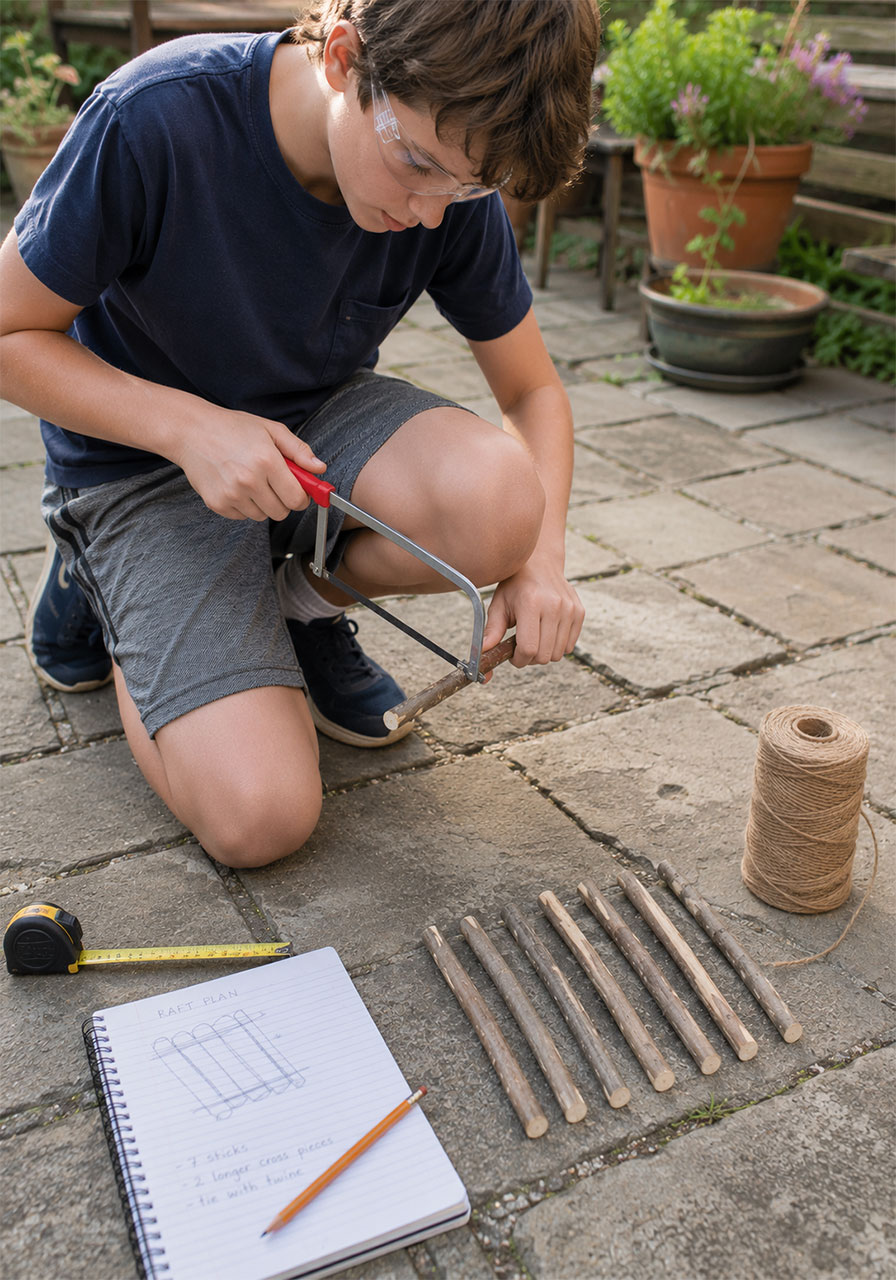
Now for the fun part: bringing the design to life. Start by gathering sticks and trimming them to roughly the same length using scissors or a junior hacksaw.
Next comes the tricky part: connecting the sticks. A simple over-under weaving technique with string, similar to how garden trellis panels are made, works well for building a sturdy, flat raft base.
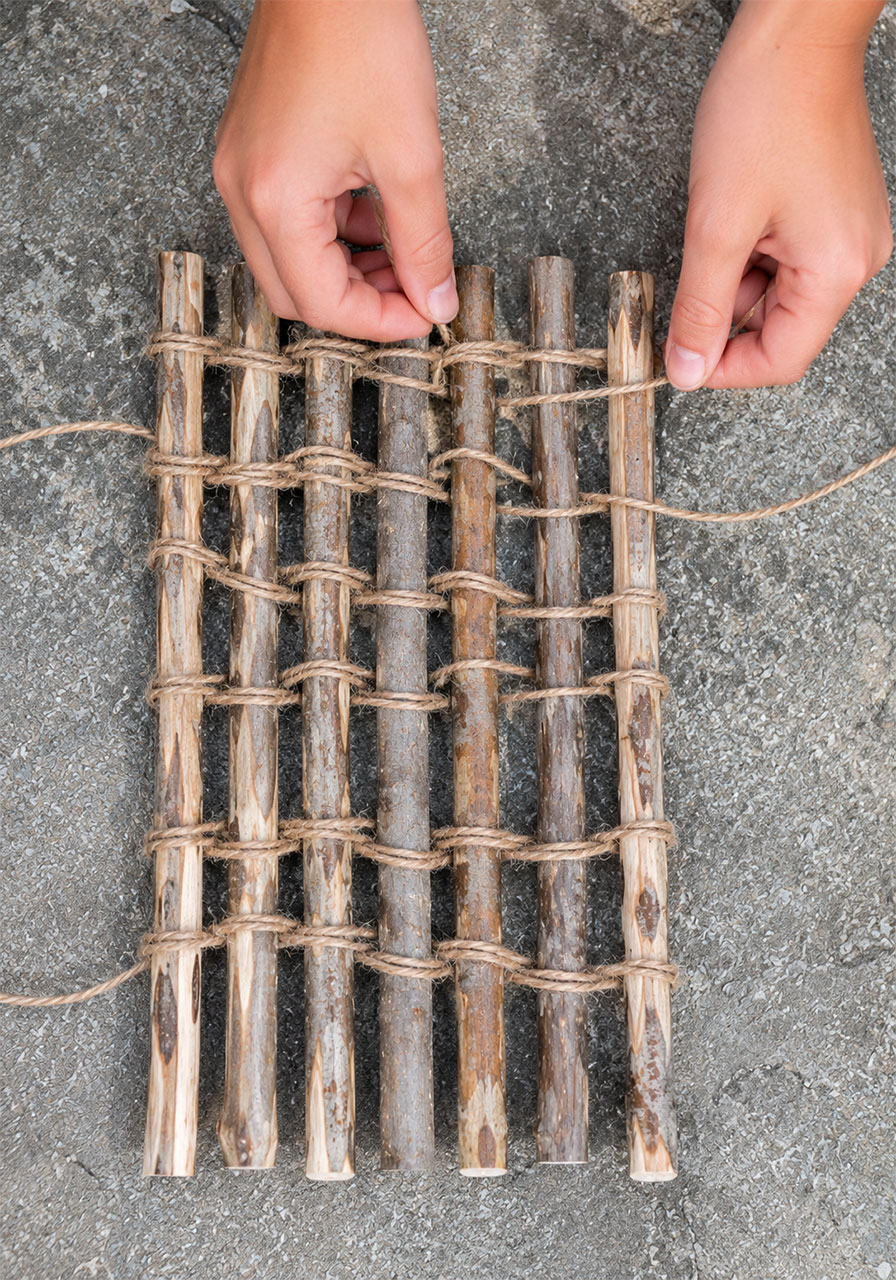
Many kids find that a single layer of woven sticks feels floppy. If that happens, encourage them to add a few stabilizing sticks running in the opposite direction across the base.
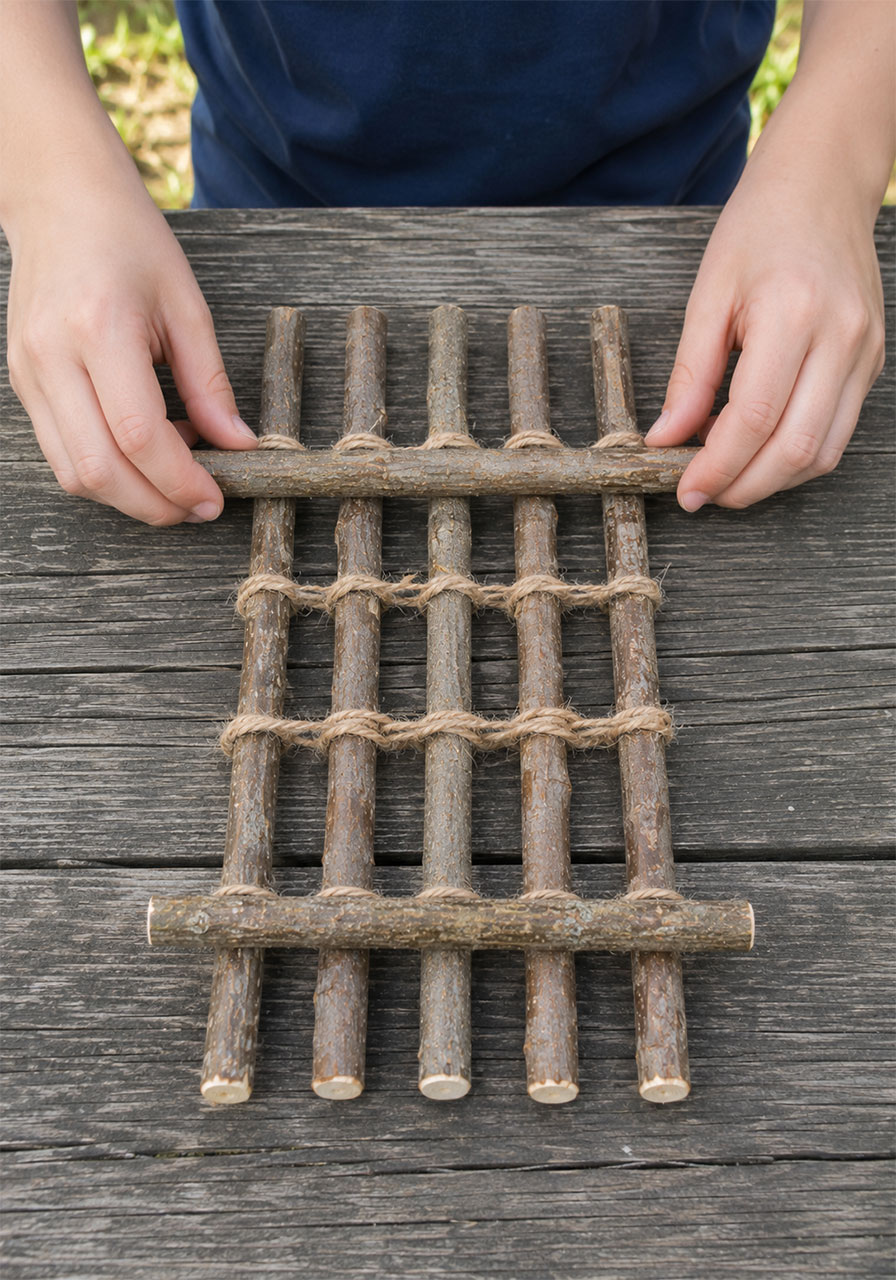
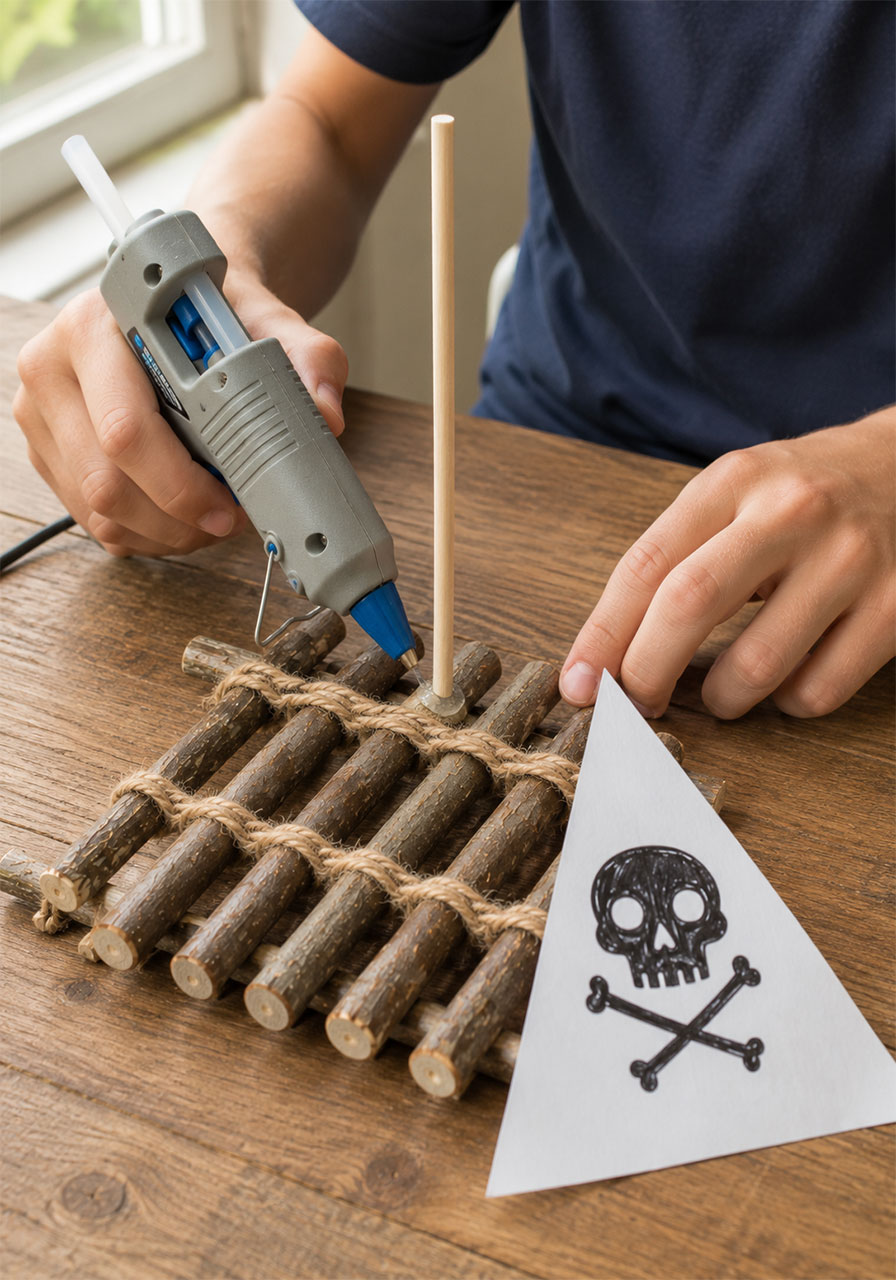
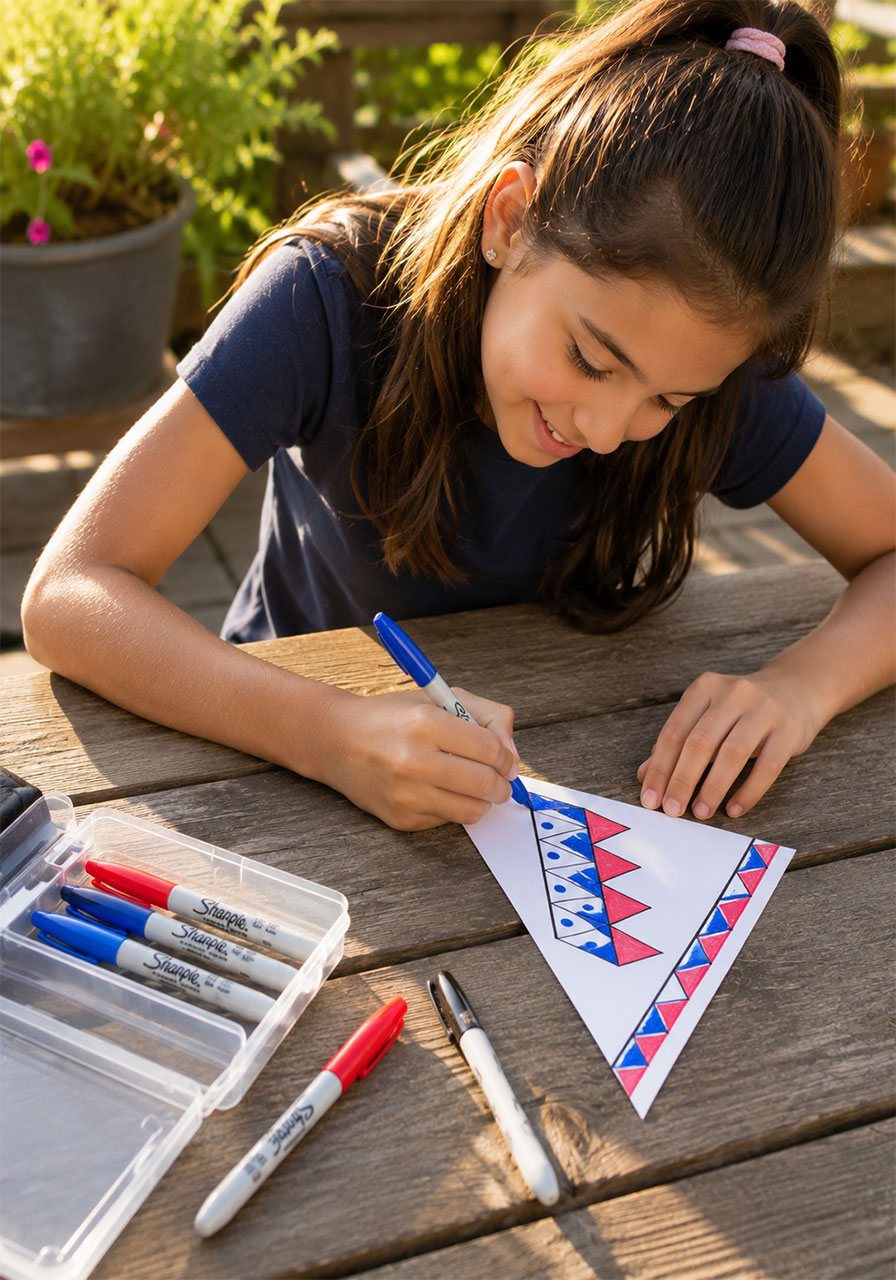
Once the base feels solid, it’s time to add personality. A stick mast can be attached with a dab of low-temperature glue, and a paper or fabric sail can be decorated with markers, cut paper shapes, or fabric scraps.
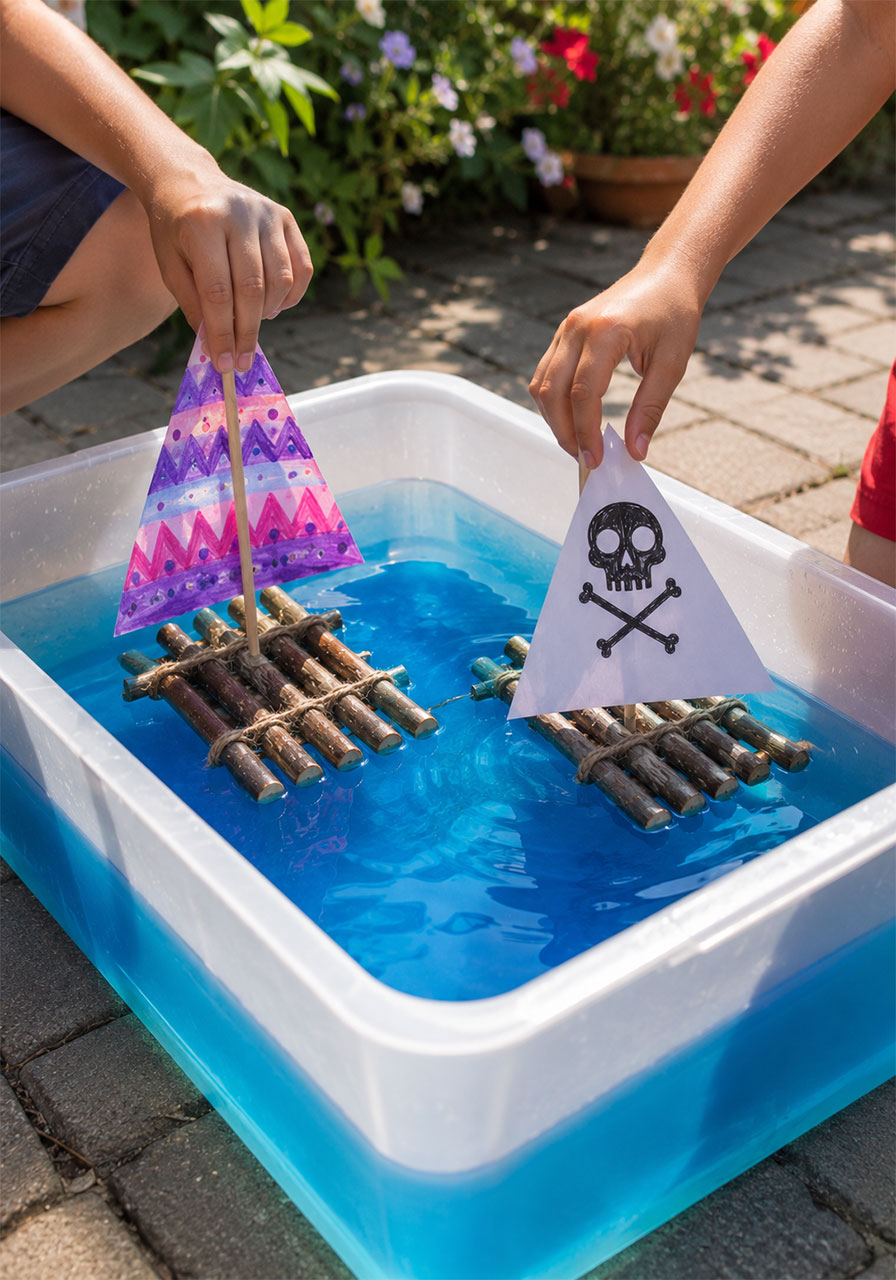
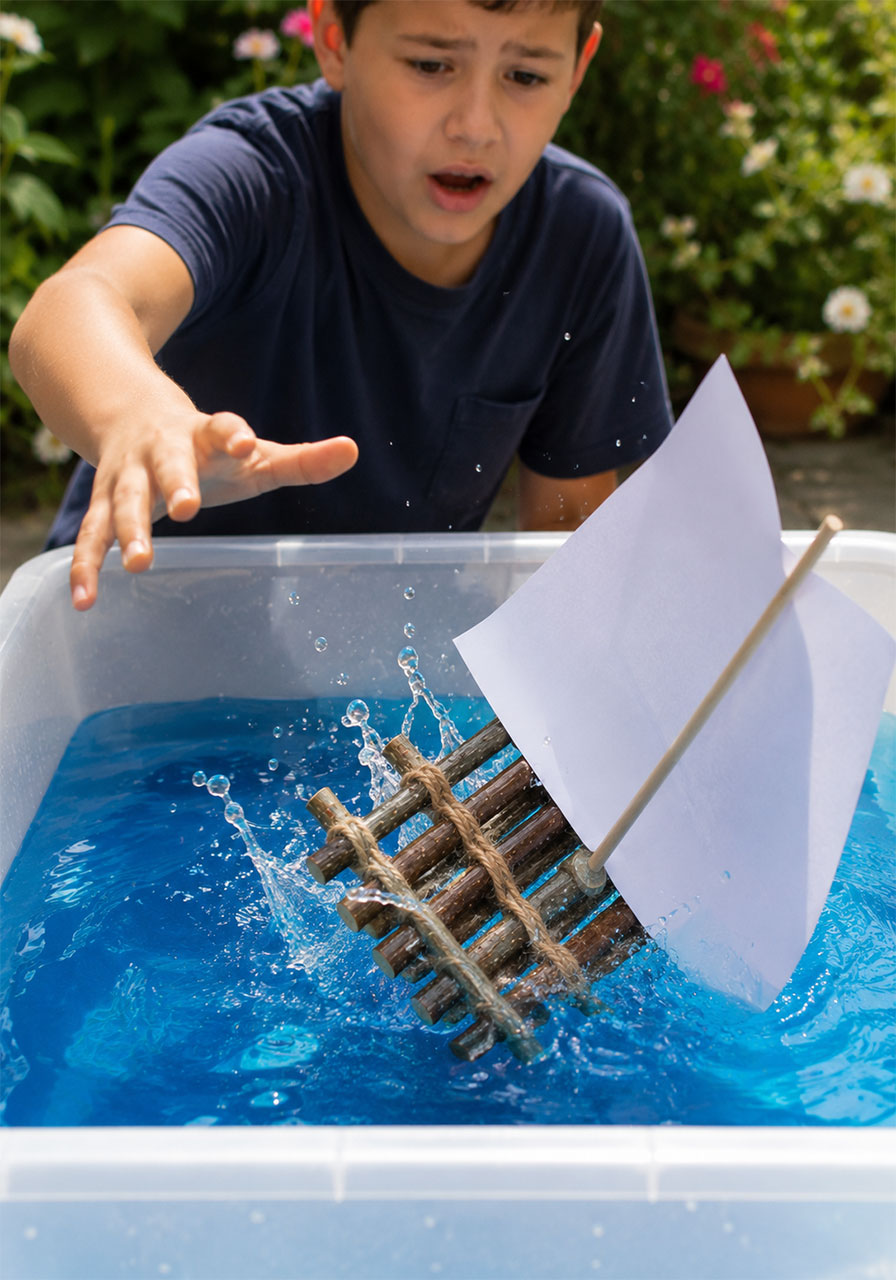
Finally, the moment of truth: testing. Fill a large container, storage bin, or kiddie pool with water and let the rafts set sail.
Watch closely and take notes together on what works. If a raft tips over, it’s likely because the sail is too large or the mast is positioned off-center, both easy fixes for round two.
Take the Challenge Further: Test in Real Water
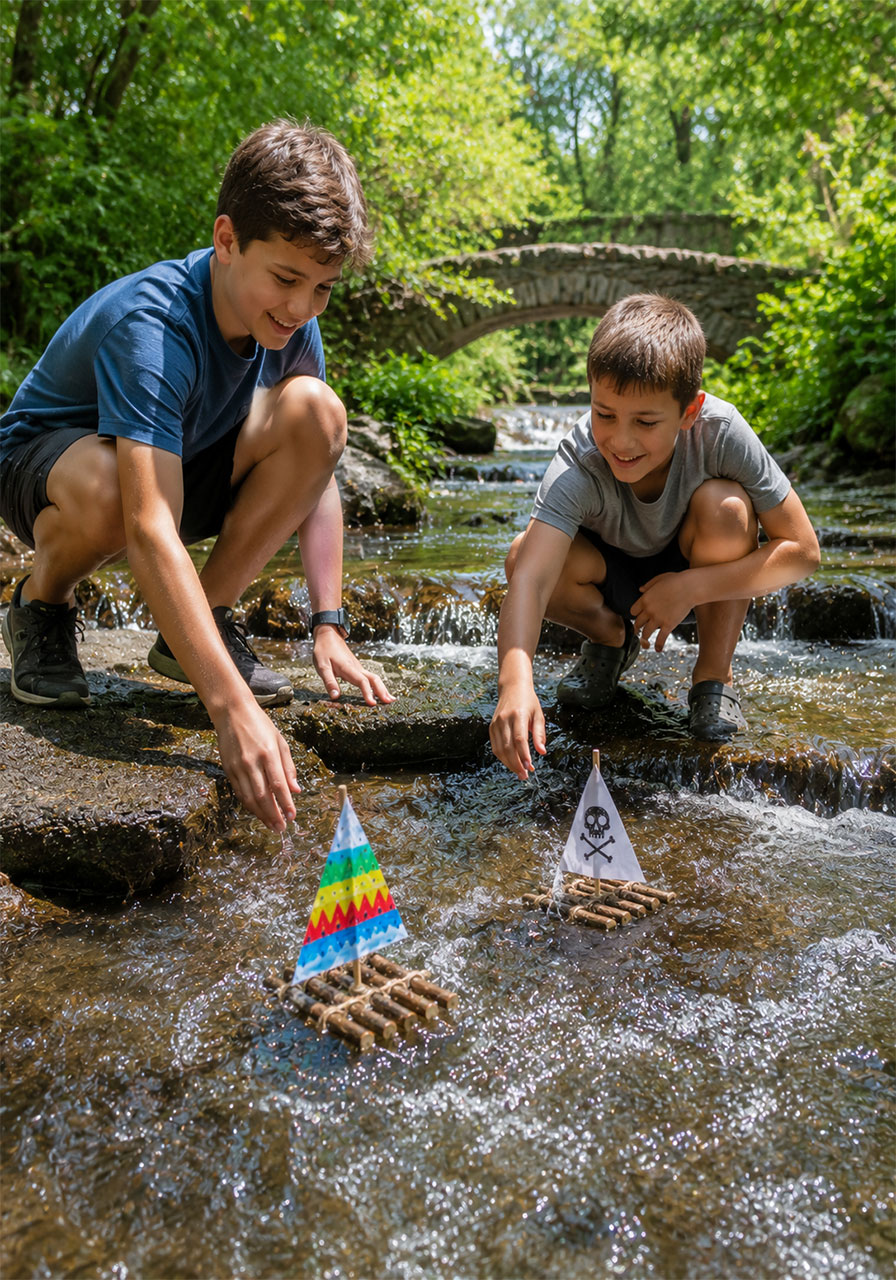
Once rafts pass the backyard test, consider taking the challenge outdoors to a shallow stream or creek, always with close adult supervision.
Real moving water introduces a whole new set of variables. Currents, small waterfalls, and uneven surfaces test a raft’s stability in ways a calm tub of water simply can’t.
This extra step also connects the activity directly to nature, giving kids a chance to observe real-world water movement while applying what they learned during testing.
Pro Tips for a Smooth STEM Session
A little preparation goes a long way with this activity. Keep these tips in mind to help kids get the most out of their raft-building experience.
Let mistakes happen. A raft that sinks or flips over isn’t a failure, it’s data. Encourage kids to ask, “What can I change next time?” rather than starting over from scratch.
Match materials to age. Younger children may need help cutting or tying, while older kids can usually handle scissors, hacksaws, and hot glue guns with supervision.
Keep a few extra sticks on hand. Designs almost always change mid-build, and having backup materials keeps momentum going instead of pausing for another supply run.
Document the process. Take photos at each stage, brainstorming, building, and testing, to create a simple STEM journal kids can look back on and be proud of.
Easy Ways to Adapt This Activity
This raft challenge is flexible enough to grow with your child’s skills or fit into a classroom setting with multiple students working at once.
For younger kids: Simplify by skipping the weaving technique and instead using pre-cut sticks glued onto a flat piece of cardboard as a base.
For older kids or classrooms: Add a “weight test” challenge, where students predict and then measure how many coins or small toys their raft can carry before sinking.
For a competitive twist: Host a raft race, either in a container of water indoors or in a shallow stream outdoors, and time how long each raft stays afloat.
For a classroom STEM unit: Pair this activity with simple lessons on buoyancy, density, or the engineering design process to reinforce the “why” behind what students are building.
Why Kids and Teachers Both Love This Project
What makes this challenge stand out isn’t just that it’s fun, it’s that the learning happens naturally through play. Kids aren’t being lectured about buoyancy; they’re discovering it firsthand when their raft either floats or flips.
For teachers and homeschool parents, this activity checks off engineering design, teamwork, problem-solving, and outdoor learning goals all in one simple, low-cost session.
For parents just looking for a screen-free afternoon activity, it delivers something even better: genuine engagement, real pride in a finished product, and a request to “do it again” almost every time.

Frequently Asked Questions
What ages is this STEM activity best for?
This challenge works well for kids ages 4 through 12. Younger children may need more hands-on help with cutting and tying, while older kids can take on the full design and build process independently.
Do I need special materials to try this?
Not at all. Sticks, string, and paper are the only true essentials, making this one of the most budget-friendly STEM activities you can offer.
Is this safe for a classroom setting?
Yes, as long as any cutting tools like hacksaws or hot glue guns are used with adult supervision. Many teachers set up cutting and tying as a supervised station within a larger activity rotation.
What if the raft sinks during testing?
That’s part of the learning process. Encourage kids to examine what happened, whether the sticks were too heavy, the weave too loose, or the sail too large, and try a redesign.
Ready to Build?
With just a handful of sticks and a little string, this Stick Raft Building STEM Challenge turns any backyard, classroom, or campsite into a hands-on engineering lab. Gather your materials, set the challenge, and let the kids take it from there.
Because sometimes the best STEM lessons don’t come from a worksheet, they come from watching a homemade raft survive its very first wave.
