
Got a stack of old, scratched-up CDs sitting in a drawer somewhere? Don’t toss them just yet! We’re turning them into something way more fun (and way more useful) than a coaster: a homemade spinning top that doubles as a hands-on physics lesson for kids.
This CD spinning top craft is one of our all-time favorite STEM activities, and it’s easy to see why. It takes just four simple materials, comes together in minutes, and keeps kids entertained way longer than you’d expect from something this simple. Better yet, it sneaks in real science concepts like potential energy, kinetic energy, friction, and gravity, all while your kids think they’re just playing with a toy they made themselves.
Whether you’re a teacher planning a classroom STEM station, a homeschool parent looking for a low-prep science lesson, or just a parent hoping to get the kids off screens for an afternoon, this project checks every box. It’s mess-light, budget-friendly, and genuinely fun to watch in action (those spinning colors are mesmerizing).
This activity also aligns with the Kindergarten Next Generation Science Standards (NGSS) for Pushes and Pulls, covering Disciplinary Core Ideas PS2.A, PS2.B, and PS3.C. So if you’re a teacher who needs a lesson that’s both fun and standards-aligned, you’re in the right place.
Let’s get spinning!
Why Kids Love This Activity (And Why You Will Too)
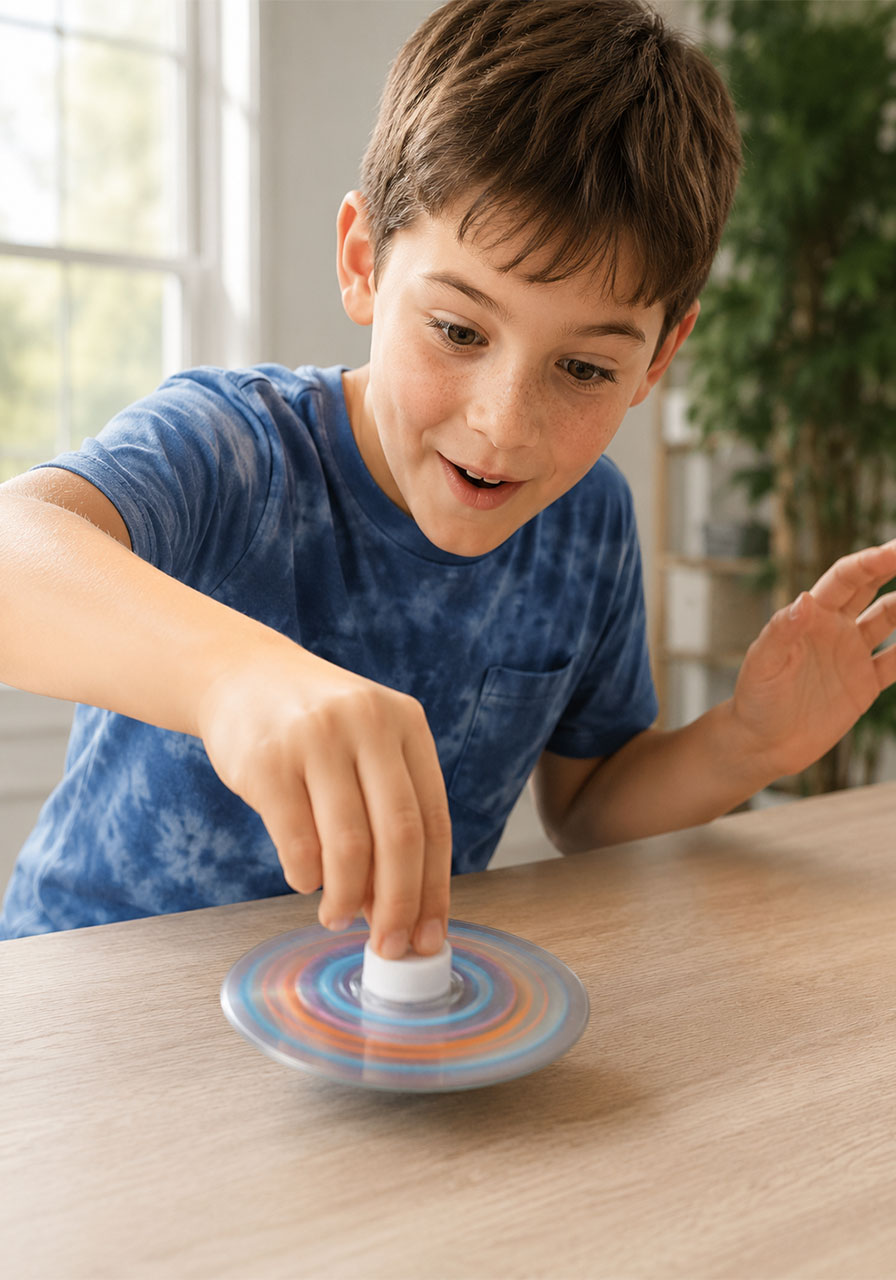
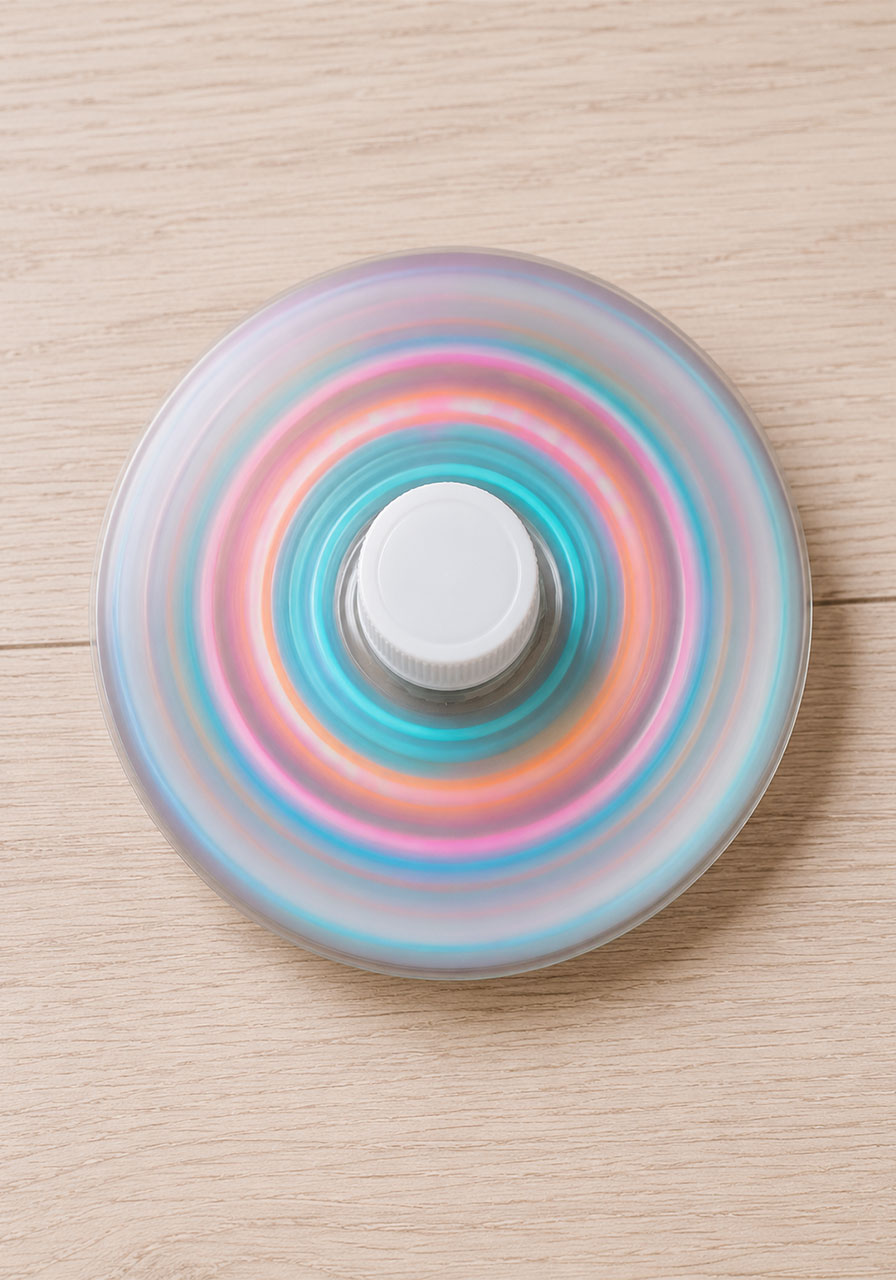
There’s something almost magnetic about watching a spinning top do its thing. The colors on the CD blur into rainbow rings, the top wobbles and dances across the table, and kids can’t help but want to try it again and again.
That repetition is actually a huge part of the learning here. As kids spin their tops over and over, they naturally start experimenting. They’ll notice that a harder spin lasts longer. They’ll try flipping the top upside down just to see what happens. They’ll race their top against a sibling’s. Every one of these moments is a tiny science experiment, even if it doesn’t feel like one.
We’ve watched kids spend a solid twenty minutes just testing their tops on different surfaces, comparing whose top spins the longest, or seeing how many times they can flip a top before it falls. That kind of focused, self-directed exploration is exactly what makes STEM activities like this one so valuable.

What You’ll Need
One of the best parts of this craft is how few supplies it actually requires. Chances are good you already have most of these sitting around the house.
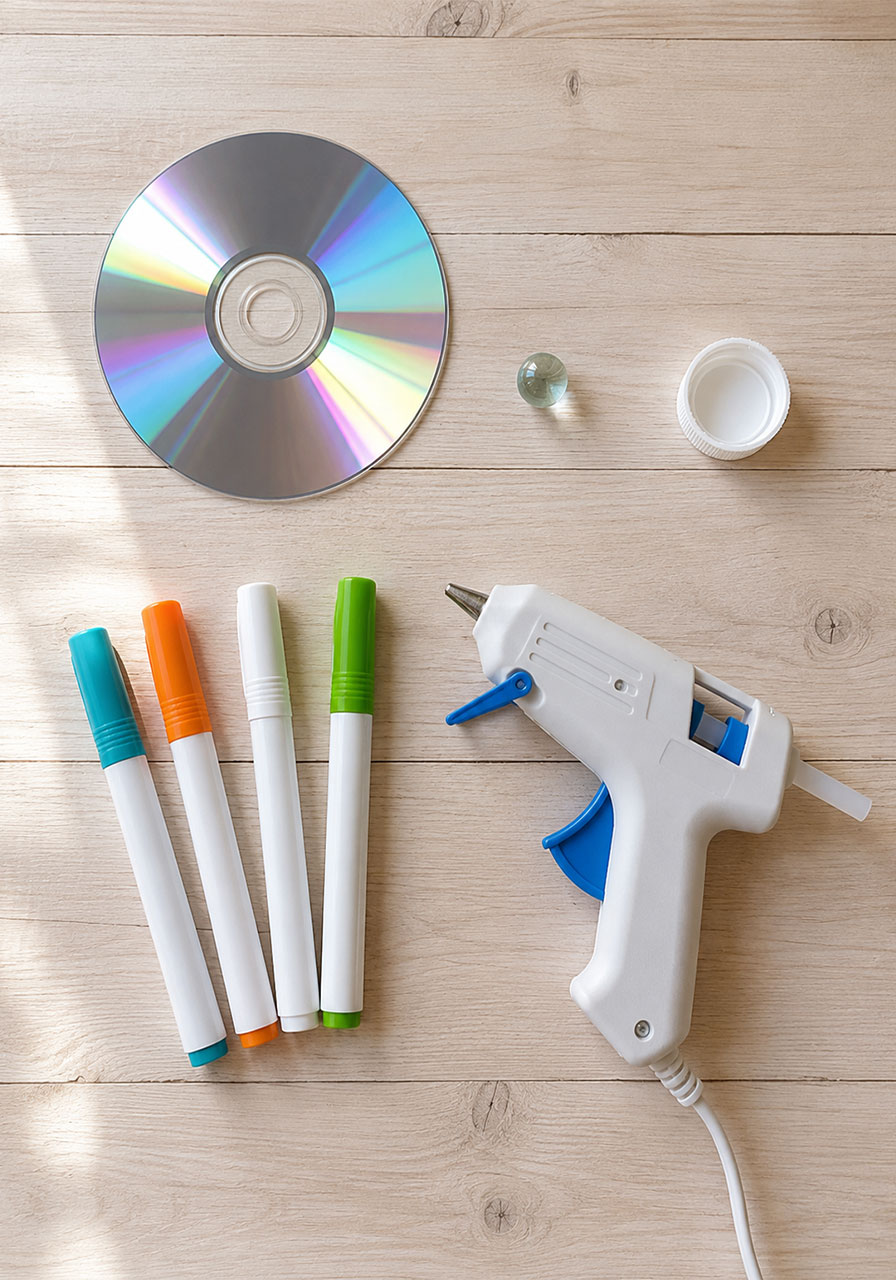
- 1 CD or DVD (an old, scratched, or unwanted one works perfectly, or grab a pack of blank CDs)
- 1 marble
- 1 small plastic cap from a water bottle or similar bottle
- A hot glue gun and glue sticks
- Optional: chalk markers or paint pens for decorating
A quick note on the hot glue gun: this is the one step in the project that needs an adult’s hands, especially with younger children. The glue gun gets hot, and you want a strong, secure bond so the marble and cap don’t pop off mid-spin. If you’re working with a classroom full of kids, it helps to pre-glue the marbles onto the CDs ahead of time and let the kids focus on decorating and gluing the cap on with supervision.
How to Make a CD Spinning Top
Follow these four simple steps and you’ll have a working spinning top in no time.
Step 1: Decorate Your CD
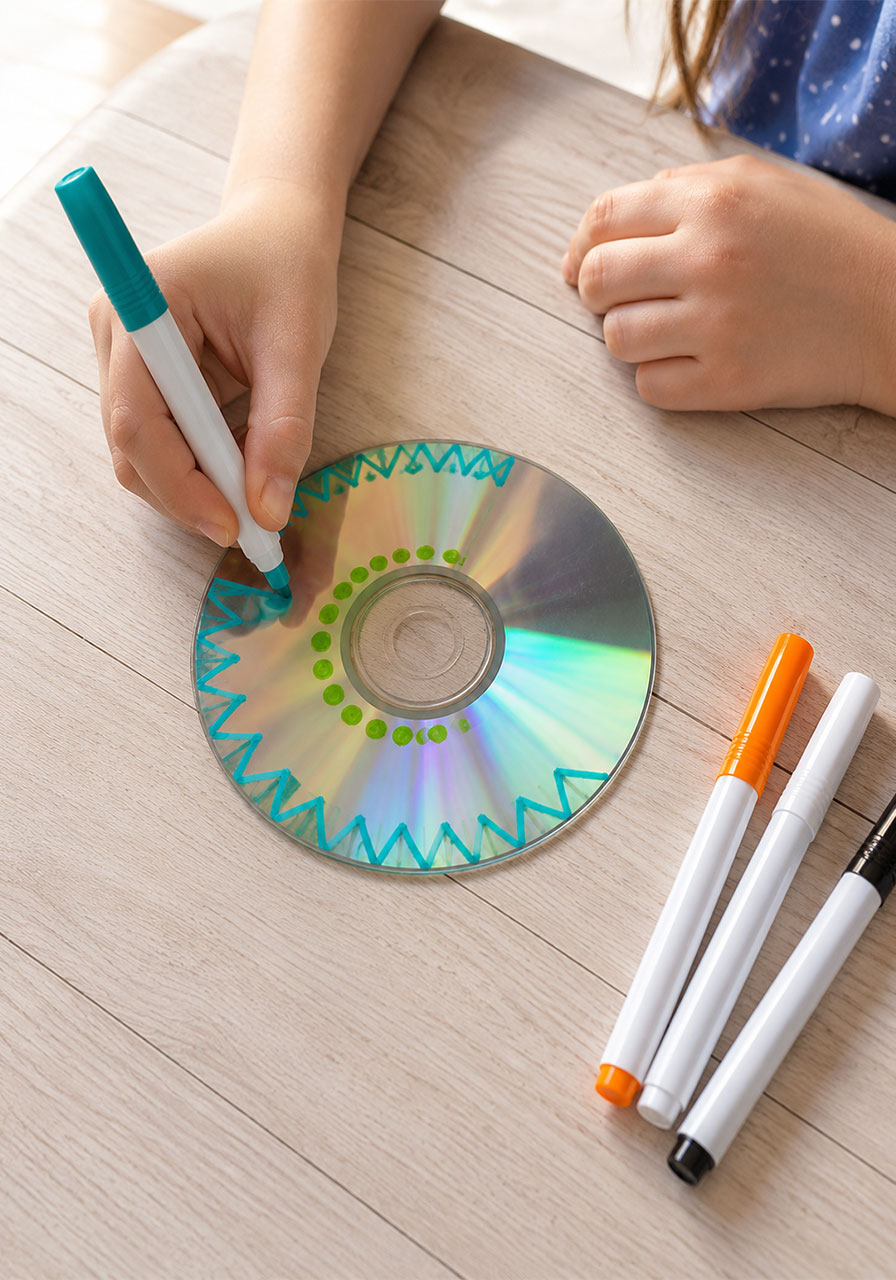
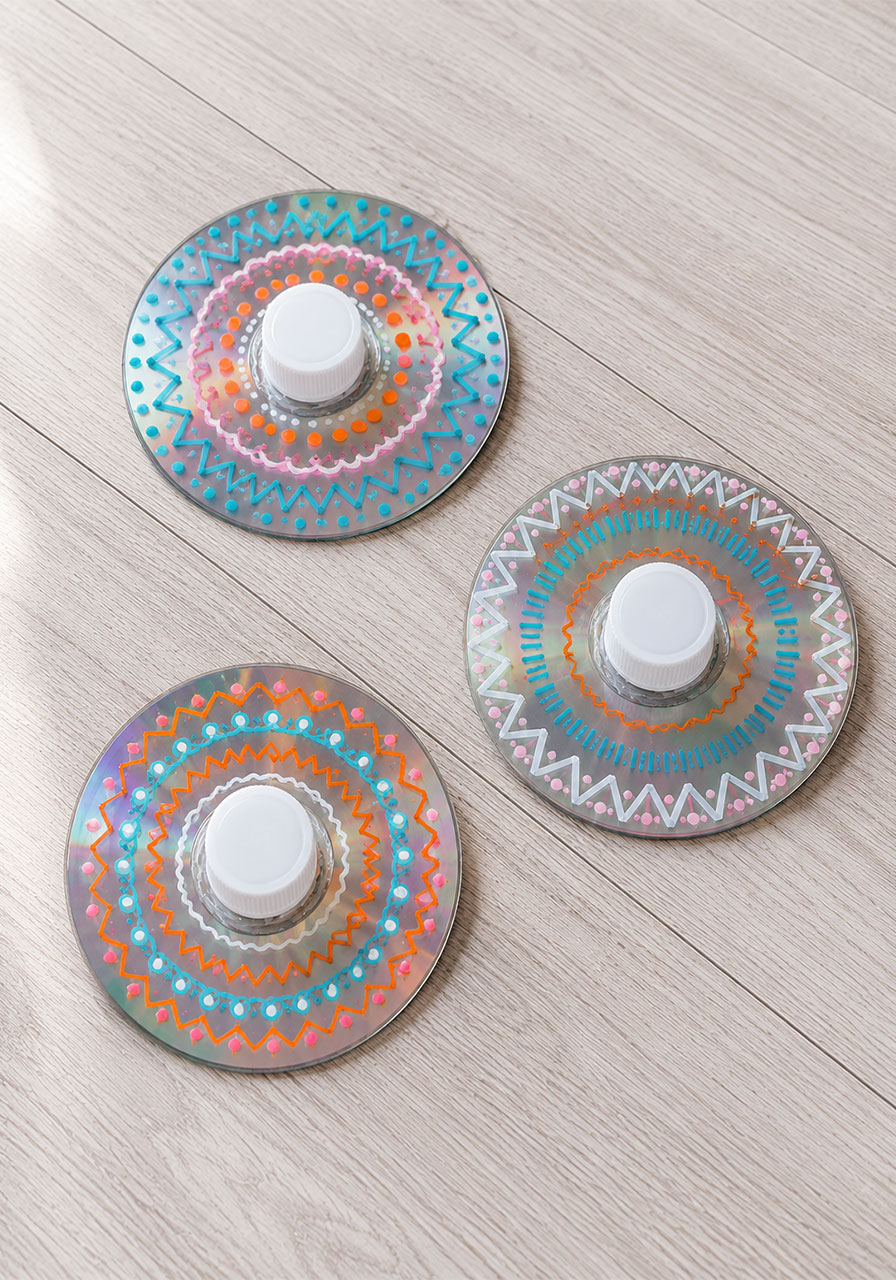
Start by decorating the shiny side of your CD. Chalk markers work beautifully here because the color shows up bold and bright against the reflective surface, and they wipe off easily if your child wants to start over. Encourage kids to draw circles, spirals, zigzags, or patterned rings radiating out from the center hole. These circular designs aren’t just pretty. Once the top starts spinning, they’ll blur into striking color patterns, which is a fun mini-lesson in motion and visual perception all on its own.
Don’t worry about “perfect” designs here. Even simple dots or stripes look incredible once the top is in motion.
Step 2: Glue the Marble to the Center
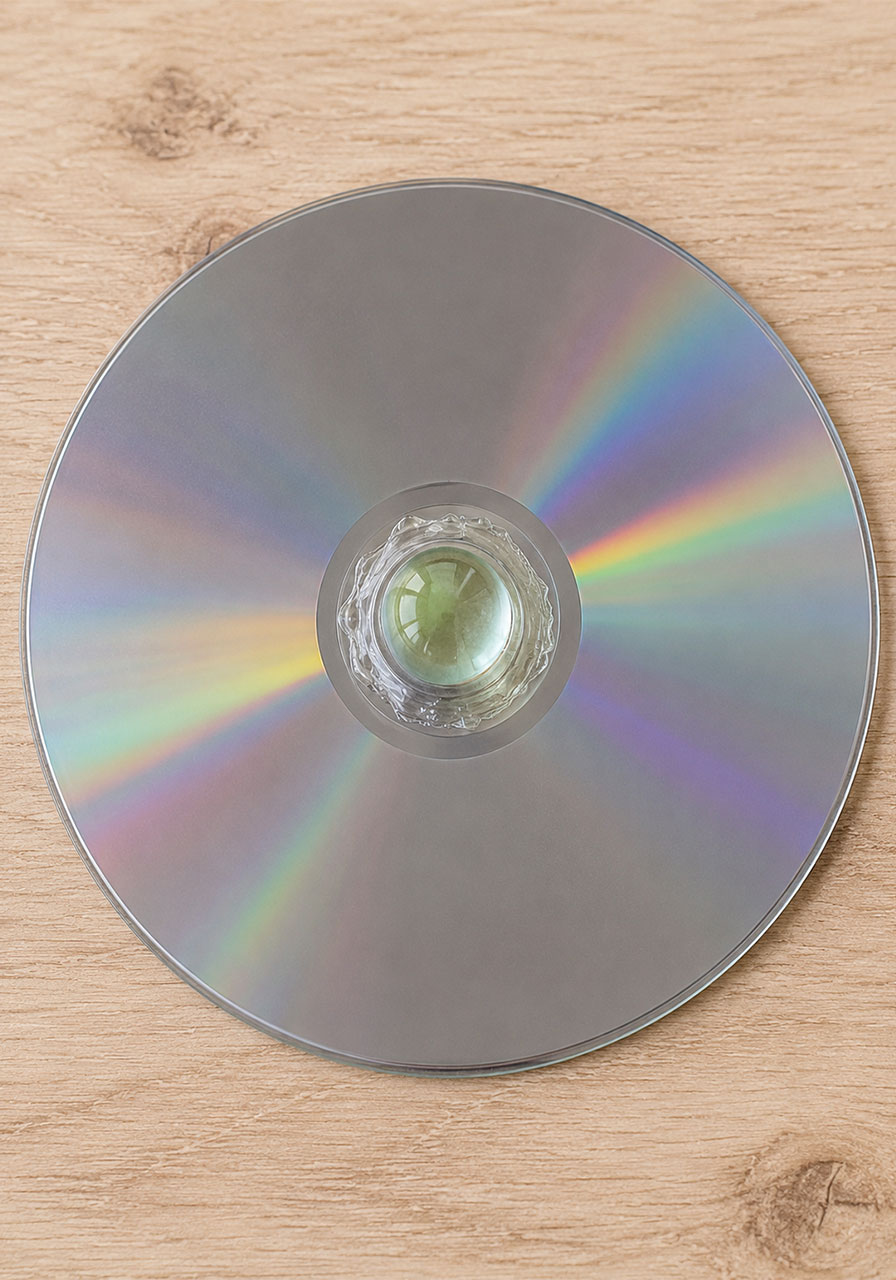
Flip your decorated CD over so the plain, non-decorated side is facing up. Using the hot glue gun, add a generous amount of glue around the center hole and press the marble firmly into place, right in the middle of the hole. To keep the CD steady while the glue dries, set it down on top of a small lid or bowl so the marble has room to sit without rolling around.
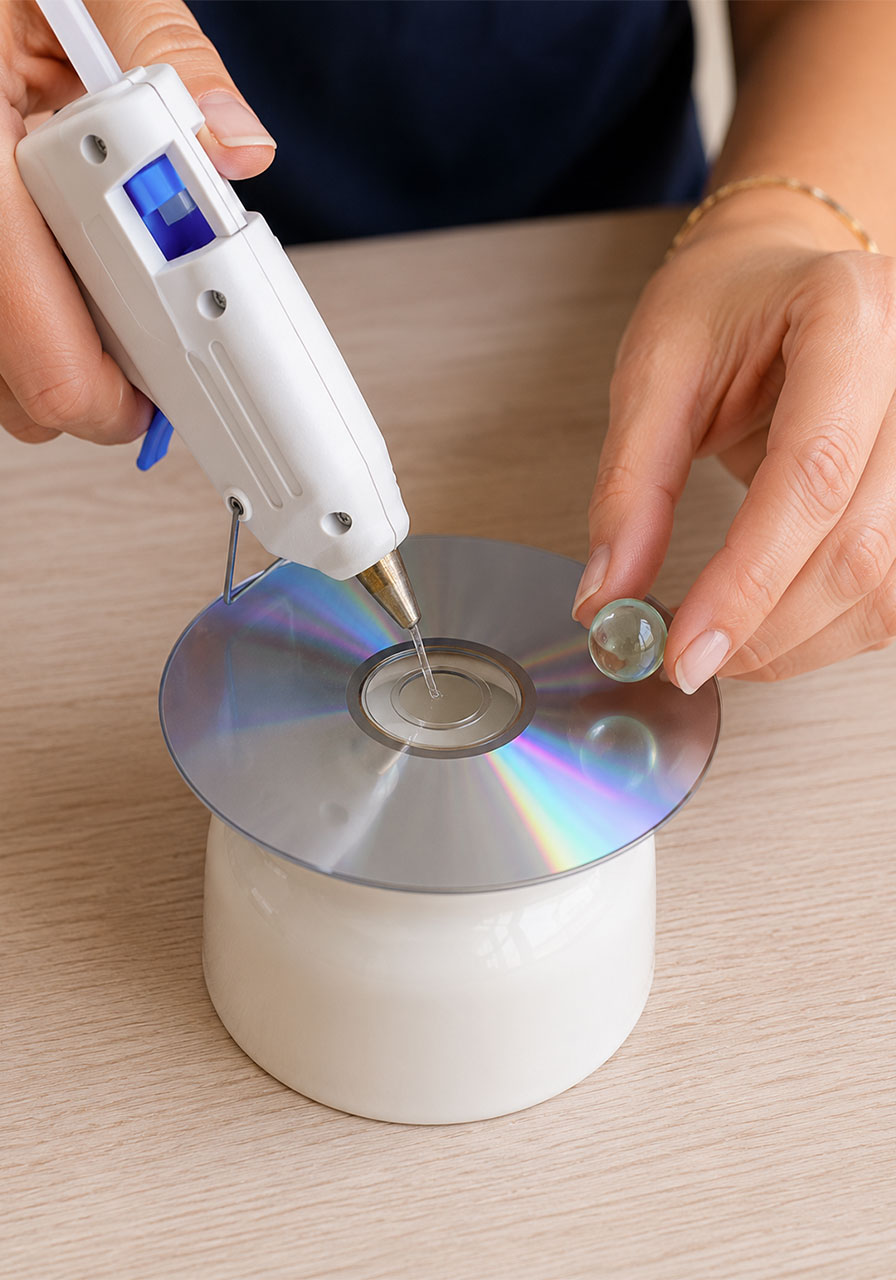
This step needs an adult, especially for younger kids, both for the hot glue and to make sure the marble is centered. A marble that’s off-center will cause the top to wobble unevenly right from the start.
Step 3: Glue the Bottle Cap to the Top
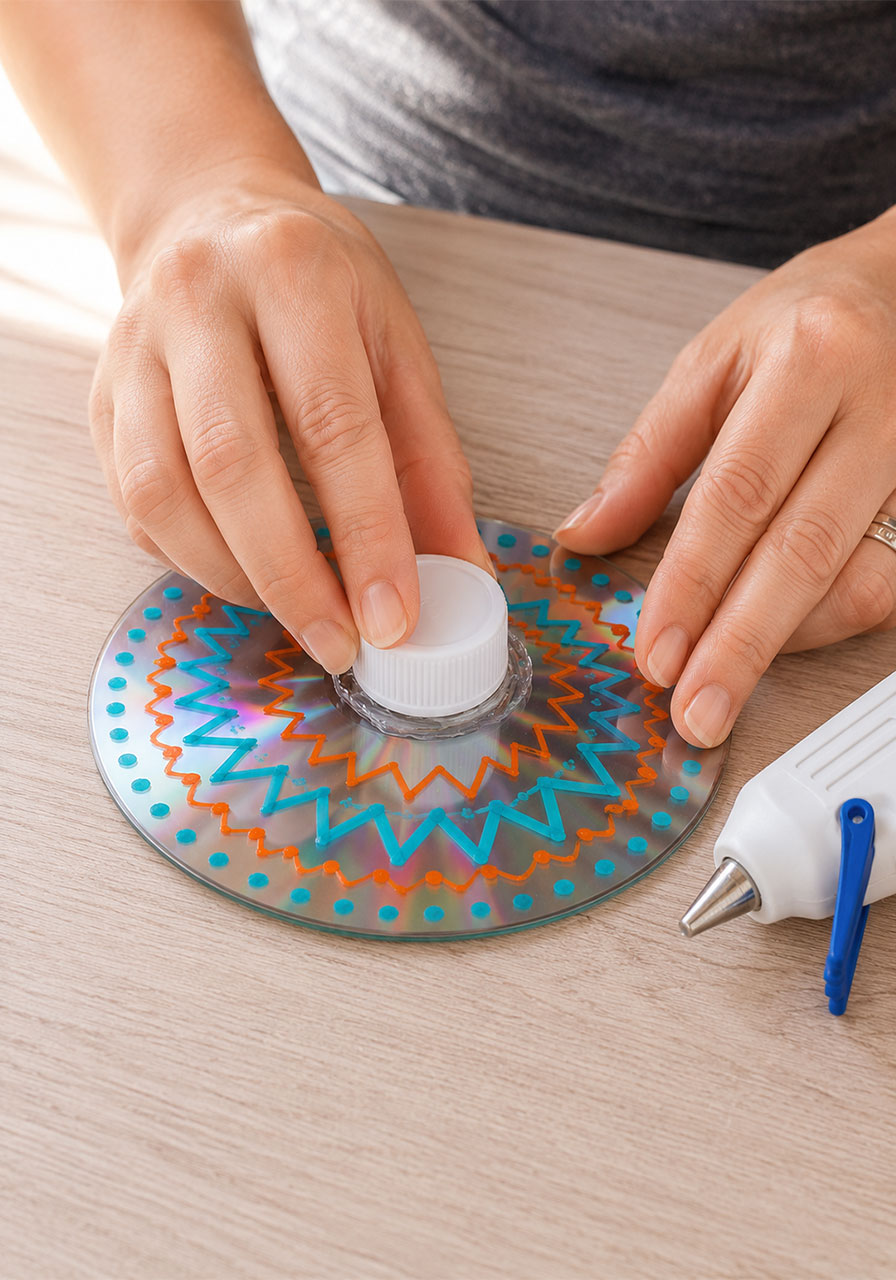
Now turn your CD back over so the decorated side faces up. Add a ring of hot glue around the center hole and press a small plastic bottle cap firmly on top, centered directly over the marble underneath. This cap becomes the handle kids will use to spin the top, so make sure it’s glued down securely and centered.
Again, this is an adult step if you’re working with younger children. A little extra glue here goes a long way toward making a top that holds up to repeated spinning.
Step 4: Let It Dry, Then Spin!
Give the glue a few minutes to fully set and cool. Once it’s dry, pinch the plastic cap between your fingers, give it a quick twist, and let go. Watch as your CD top spins across the table in a blur of color.
And that’s it. Four simple steps and you’ve got a homemade toy that also happens to be a full-blown physics lesson.
The Science Behind the Spin
Here’s where this simple craft turns into a genuine STEM activity. While young kids won’t grasp every term listed below, they absolutely can observe, describe, and start predicting the top’s motion, which is exactly the kind of early scientific thinking these standards are designed to build.
When you spin the top, you’re converting stored energy, called potential energy, into energy of motion, called kinetic energy. That’s what gets the top moving in the first place.
Eventually, though, every top slows down and falls over. Two forces are responsible for that. The first is friction between the tip of the top and the surface it’s spinning on. That friction gradually saps the top’s energy and slows its spin. The second is gravity. As the top loses speed, it naturally starts to wobble. Once it tilts even slightly, gravity takes over and pulls it the rest of the way down.
For an even deeper dive, especially if you’re working with older kids or a classroom, we recommend pairing this activity with the video “Science is the Tops” from the Children’s Museum of Houston. It’s a fantastic visual explanation of top physics, and it even shows kids how to build a spinning top out of cardboard and a marker that draws as it spins, which makes a great follow-up project.
Take It Further: Ideas to Extend the Learning
If your kids (or students) are having a great time with their spinning tops, don’t stop there. These simple extension questions turn a fun craft into a full inquiry-based science lesson.
Try spinning the top on different surfaces, like a hardwood floor, a carpet, a table, or even outside on concrete. Ask your child to predict which surface will let the top spin the longest before you test it out.
Experiment with different designs on the CD and see how each one looks while spinning. Stripes, spirals, and dots all create very different visual effects once the top is in motion.
Ask kids to brainstorm other materials that could work as the tip of a top instead of a marble. Would a bead work? A bottle cap alone? Testing out their ideas builds problem-solving skills right alongside the physics lesson.
Challenge kids to think of other materials a top could be made from besides a CD. A cardboard circle? A plastic lid? This is a great way to introduce the idea of testing and comparing different designs, which is a core part of the engineering design process.
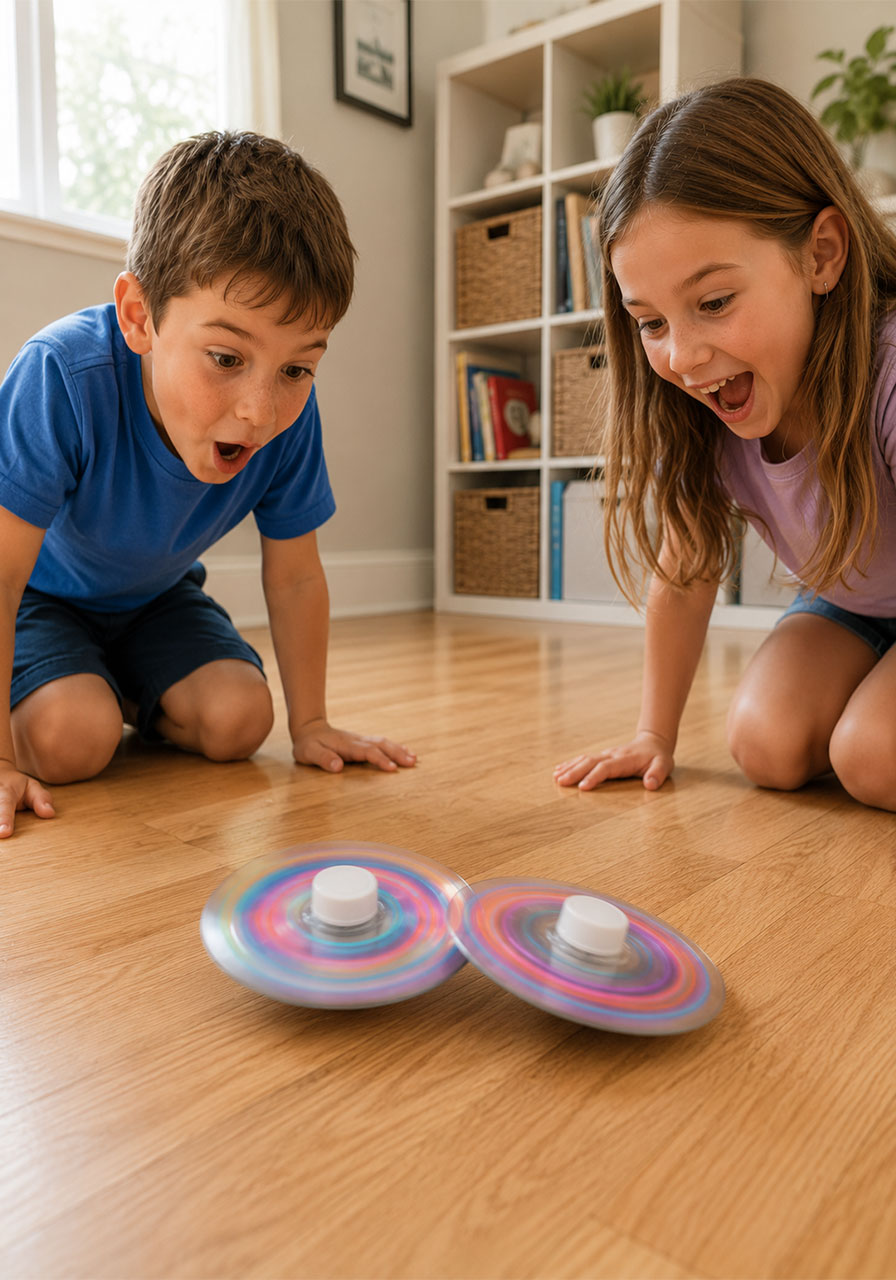
Spin two or more tops at the same time and see what happens when they touch or collide. This one is always a classroom favorite and opens up a natural conversation about motion and collisions.
A Real Classroom and Home Favorite
One of our young testers, six-year-old Theo, took this activity in a direction we didn’t expect. Instead of just spinning his top right-side up, he flipped it over to see if it would still work upside down. It did, though it spun differently, and he was thrilled to report his discovery. That’s the real magic of this activity: it invites kids to experiment on their own terms, and every discovery, even an accidental one, becomes a genuine learning moment.
This is exactly the kind of open-ended exploration that makes an activity worth repeating. A worksheet has one right answer. A spinning top has endless possibilities.
Frequently Asked Questions
What age is this activity best for?
This craft works wonderfully for preschool through elementary-age kids. Younger children will need an adult to handle the hot glue steps, while older kids (roughly ages 7 and up) may be able to manage most of the gluing themselves with supervision.
How long does a CD spinning top usually spin?
It depends on the surface, how hard you spin it, and how well-centered the marble and cap are, but a well-made top can spin anywhere from 15 seconds to over a minute on a smooth, hard surface.
Can I use a DVD instead of a CD?
Yes! DVDs work just as well as CDs for this project. Either one gives you the same flat, round shape needed for a spinning top.
What if I don’t have chalk markers?
Regular paint pens or permanent markers work too. Chalk markers are nice because they show up brightly on the reflective CD surface and are easy to wipe off and redo, but they’re not required.
Is this activity safe for a classroom of young students?
Yes, as long as an adult handles the hot glue gun. We recommend pre-gluing the marbles to the CDs ahead of time for large groups, then letting students focus on decorating and helping glue on the caps under close supervision.
Wrap-Up: A STEM Activity Worth Repeating
This CD spinning top craft proves that some of the best STEM activities don’t need a big budget or a long list of supplies. With a few household items and a little hot glue, you can hand kids a toy they’re proud to have made themselves, one that also teaches real physics concepts through hands-on, repeatable play.
Whether you’re setting this up as a weekend activity at home or a full science lesson in the classroom, we think this one earns a permanent spot in your STEM activity rotation. Give it a try, and don’t be surprised if your kids ask to make a whole set of tops to race against each other.
