
Raise your hand if you’ve ever stared down a Sunday night trying to plan Monday’s science lesson (or a rainy-day activity for your own kids) with zero time to spare.
That was me a few months ago. I’d seen these adorable spinning tops made from pennies floating around online, and they’d been sitting on my “someday” project list for way too long.
This week, someday finally arrived. We made a batch of penny spinners with my own kids, and I’m not exaggerating when I say it was an instant hit.
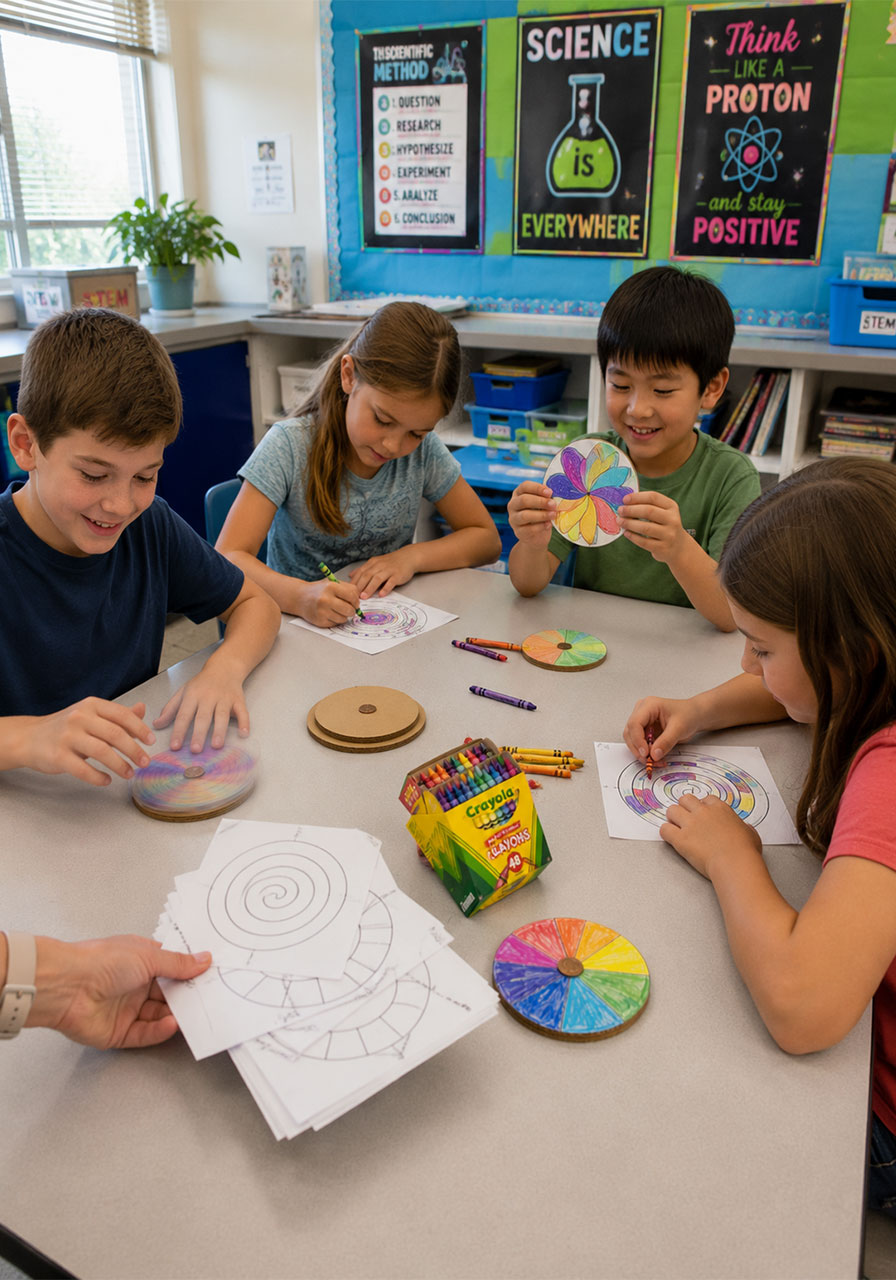
Here’s the best part: this isn’t just a cute craft. It’s a genuine, hands-on physics lesson disguised as a coloring project. Kids get to test, spin, tweak, and watch real science happen right on their kitchen table or classroom desk.
Below, you’ll find the exact supplies, step-by-step instructions, a printable template, and a simple breakdown of the physics behind why these little tops spin at all. Let’s dive in.
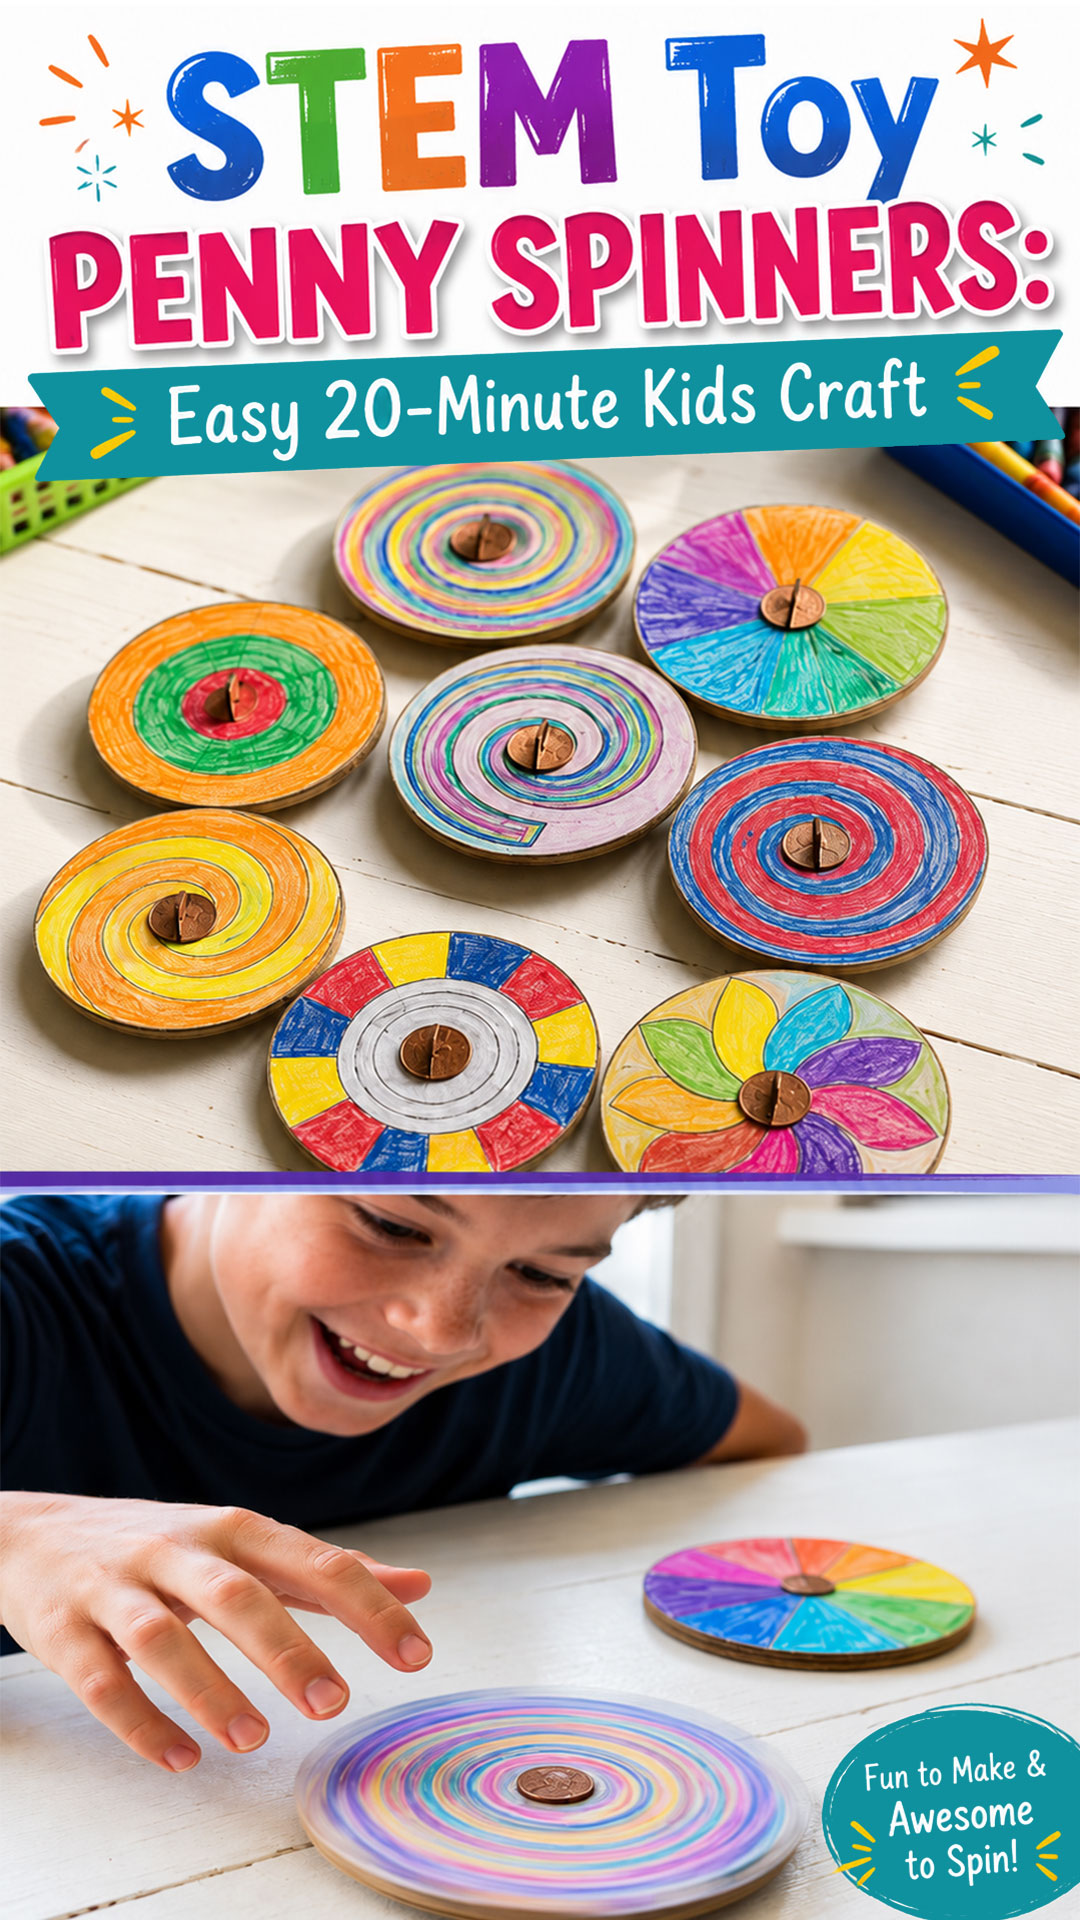
Why Penny Spinners Are a Teacher and Parent Favorite
Before we get into the how-to, here’s why this activity earns a permanent spot in your STEM lineup.
Low cost, high impact: You likely already have every supply you need at home or in your classroom closet.
Fast setup, big payoff: Most kids can finish a spinner in 15 to 20 minutes.
Built-in differentiation: Younger kids can simply color and spin. Older kids can experiment with balance, weight, and design to see how each change affects the spin.
Real science, no lecture required: Torque, energy, and motion become visible and tangible instead of just words in a textbook.
Easy to scale: Perfect for one curious kid at the kitchen table or an entire classroom of 25.
Best for: Ages 4 and up, with adult help for the youngest crafters.
Time to Make: 15-20 minutes.
Group Size: Works beautifully solo, in pairs, or as a whole-class activity.
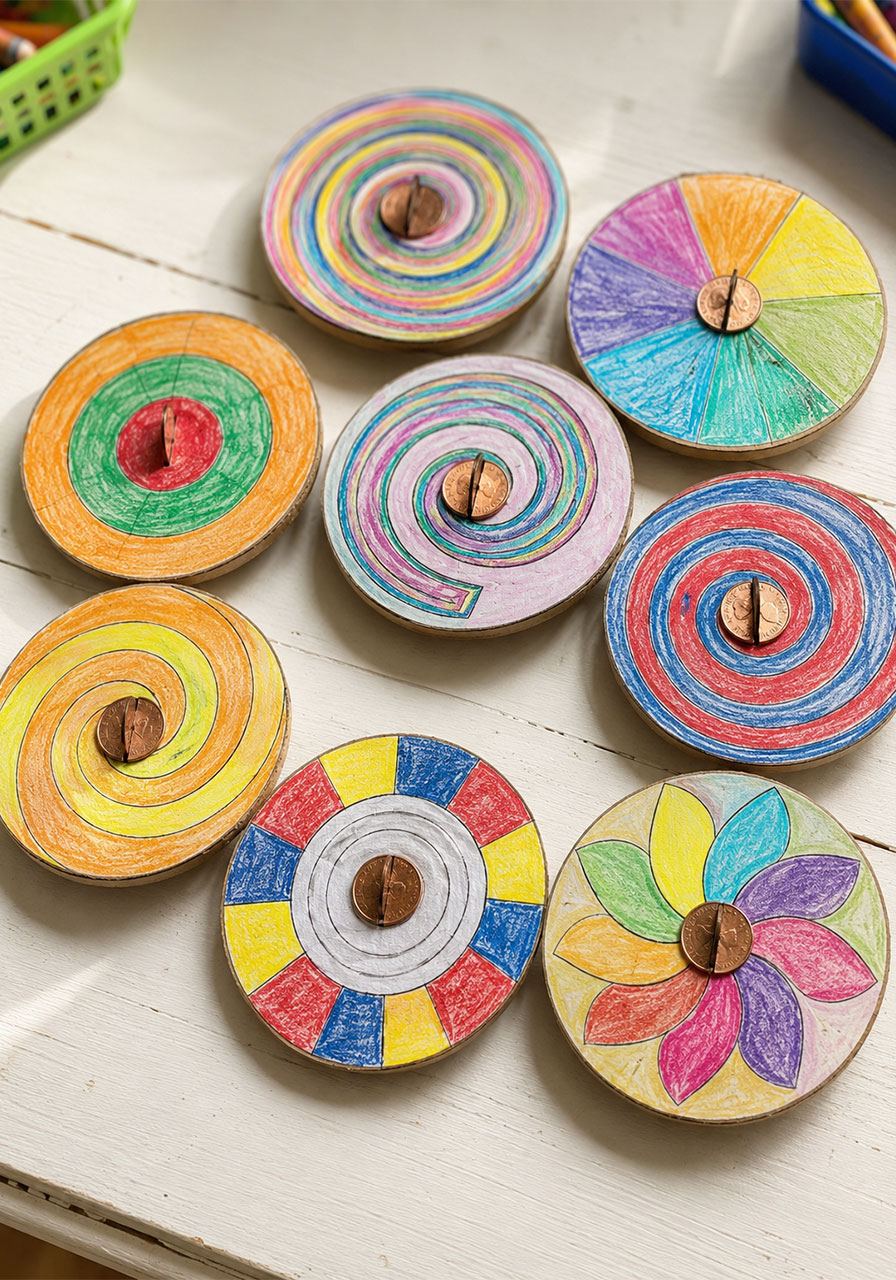

What You’ll Need
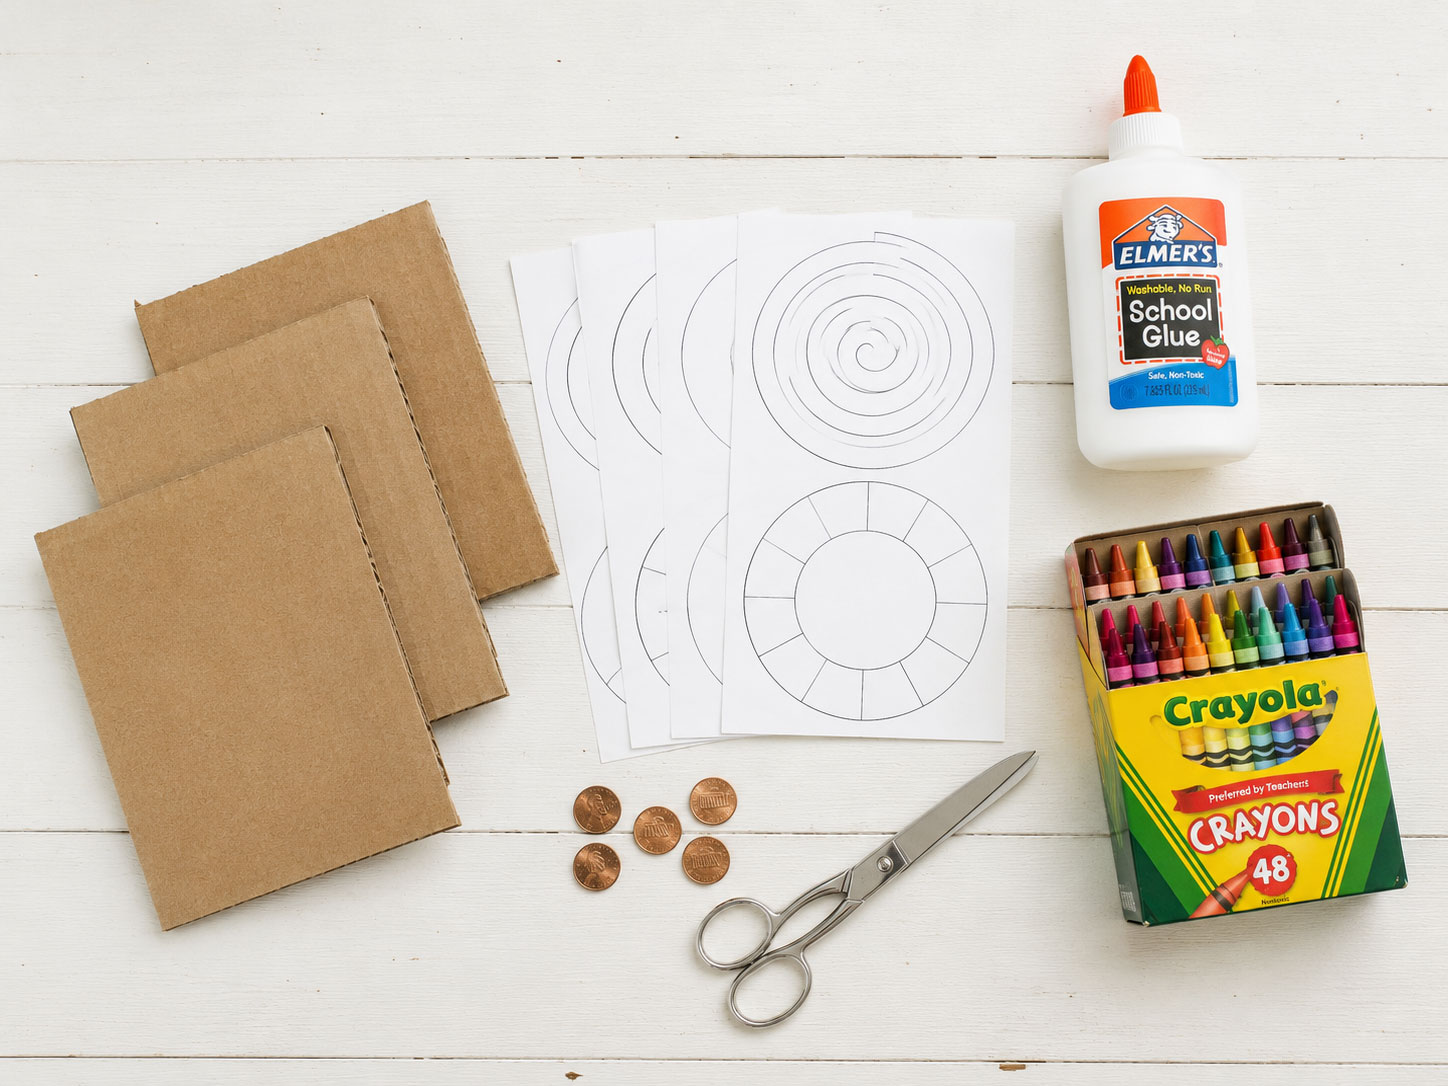
Here’s your full supply list. Nothing fancy, nothing expensive.
- Cardboard (a flattened cereal box or shipping box works great)
- Printed penny spinner templates (grab the download below)
- Pennies
- Crayons or markers
- Glue
- Scissors
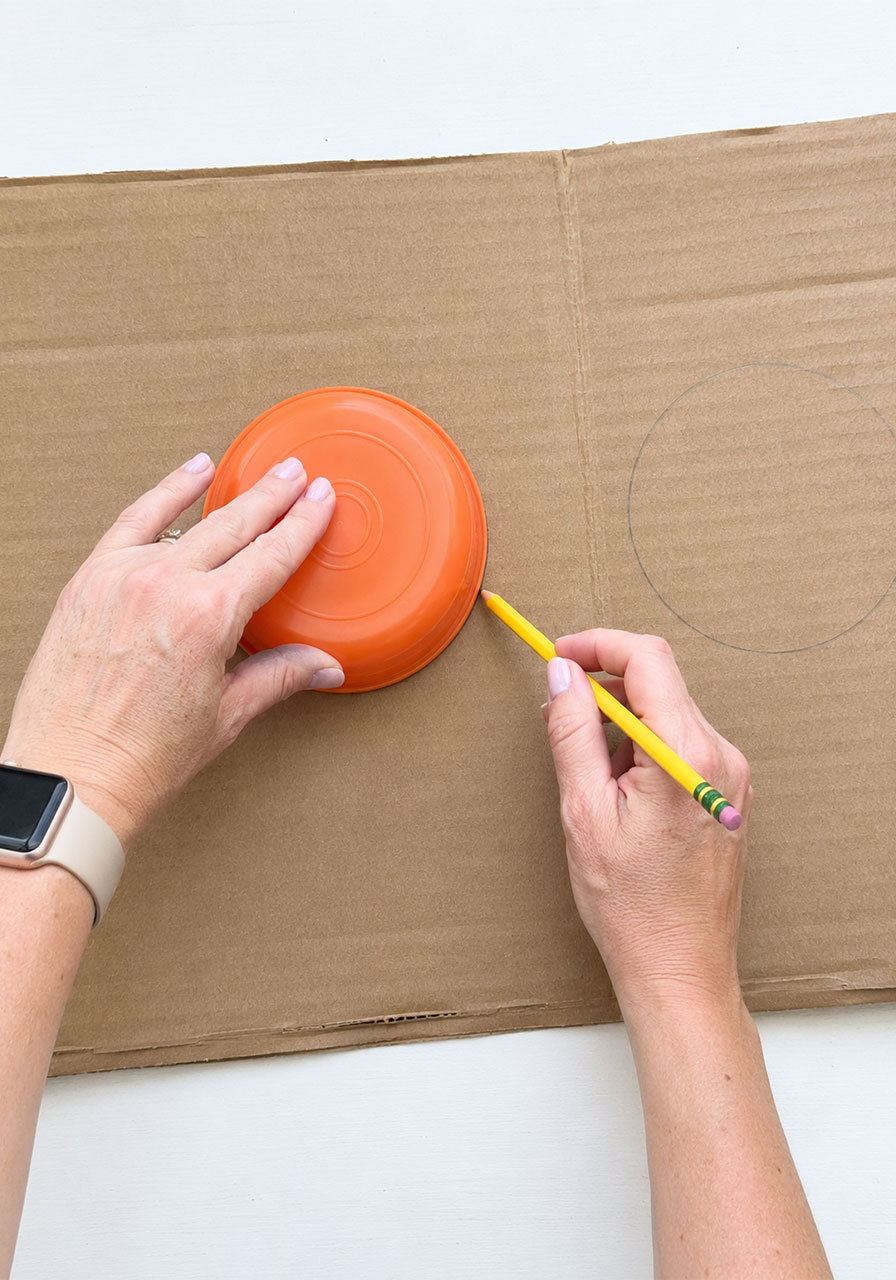
A quick note before you start: our printable templates are 4.5 inches in diameter. If you’d rather skip printing, you can trace a small bowl or round container instead. A kids’ cereal bowl is the perfect size.
How to Make Your Penny Spinners: Step-by-Step
Follow these steps in order, and you’ll have a working spinner in no time.
1. Cut your cardboard circles.
Trace your template or bowl onto the cardboard, then cut it out. Cut one circle for every spinner you plan to make.
2. Slit the center.
Use your scissors to cut a small, tight slit through the very center of the cardboard circle. This is where the penny will slide in, so keep it snug. If the slit is too wide, the penny will wiggle loose and your spinner won’t spin properly.
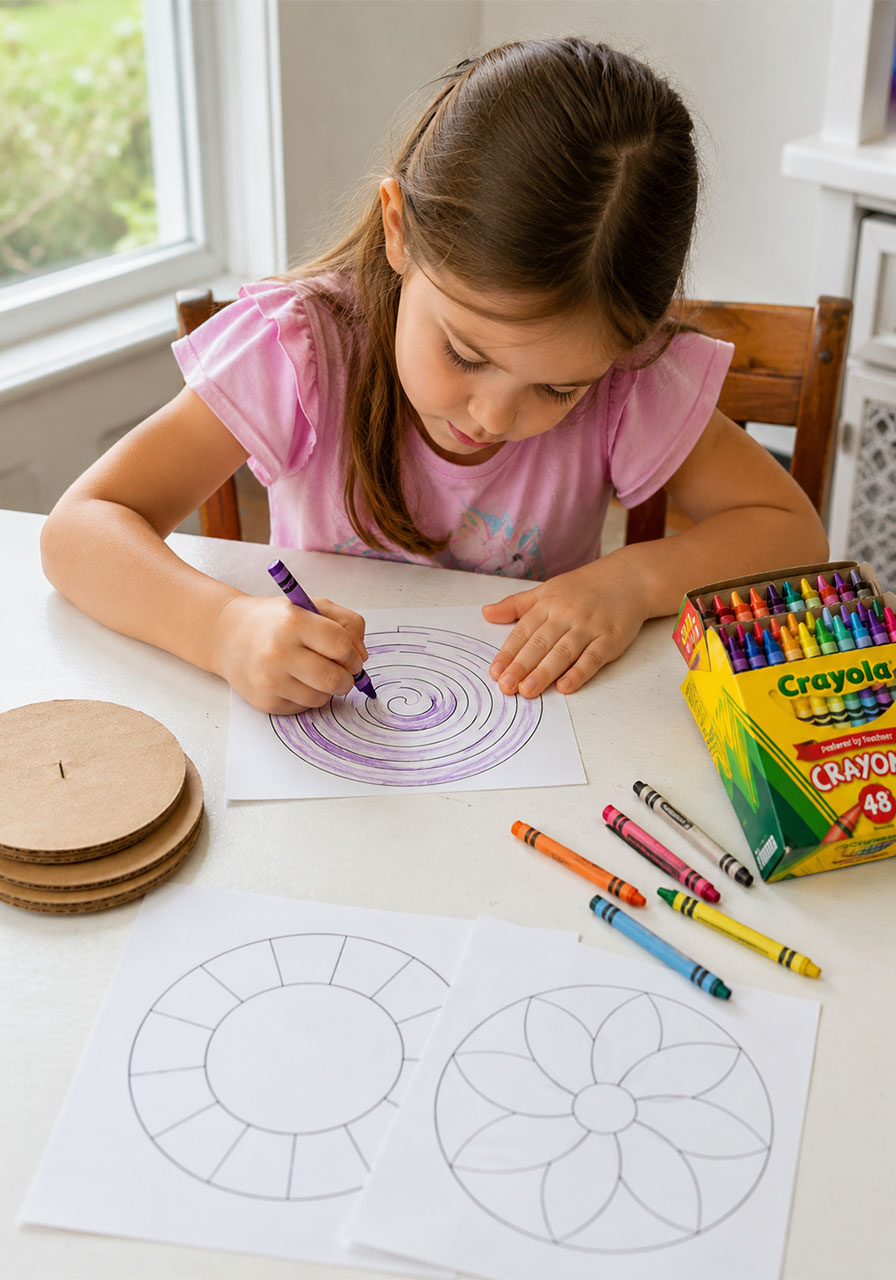
3. Color your template.
Print out the design templates and let kids go wild with crayons or markers. Our set includes 8 different patterns, from spirals to pie-slice color wheels to a flower design, so there’s something for every kid’s style.
4. Cut out the colored template.
Once it’s colored, carefully cut around the circle.
5. Slit the template to match.
Cut a small slit in the center of the colored paper circle, lining it up with the slit in the cardboard.
6. Glue it in place.
Spread a thin layer of glue on the cardboard circle, then press the colored template on top so the two slits line up.
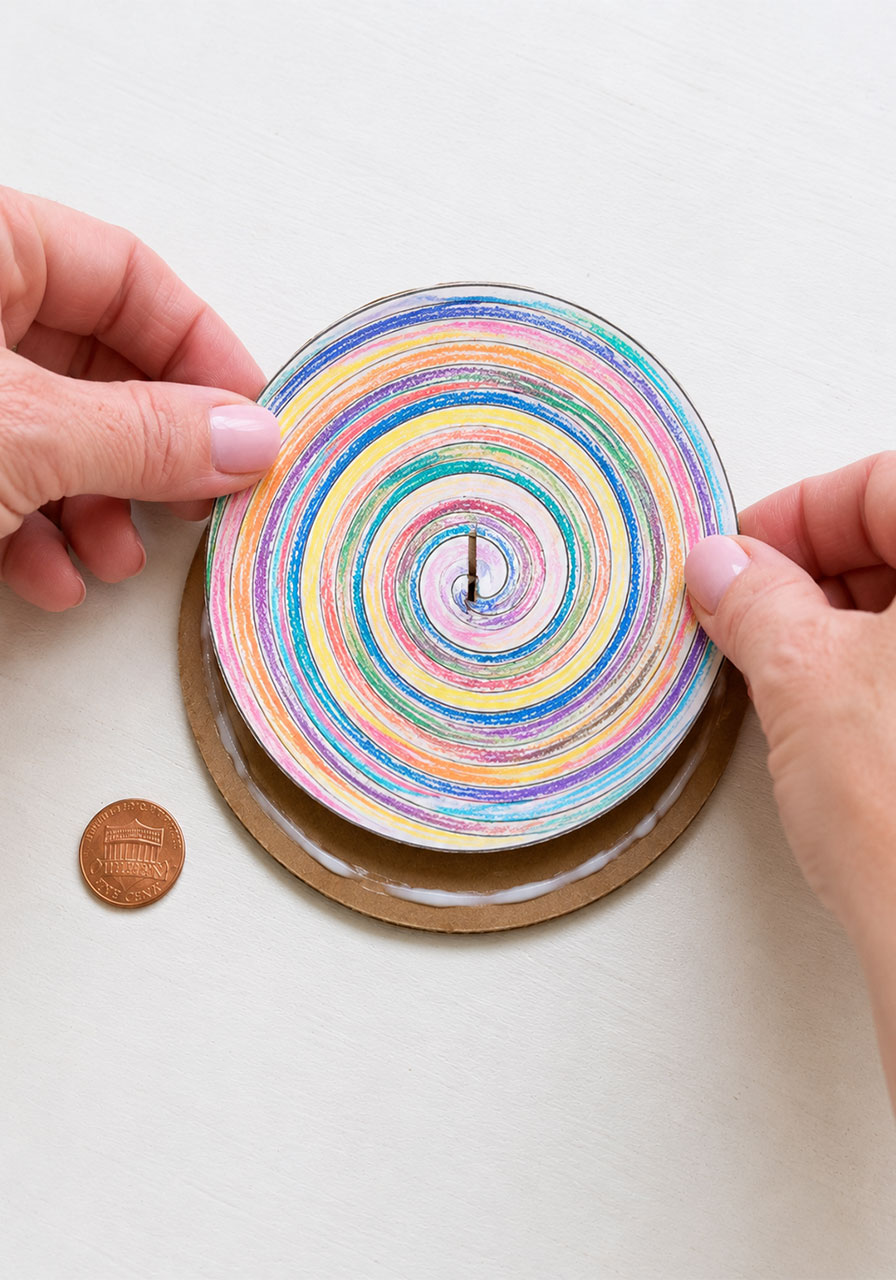
7. Insert the penny.
Slide a penny through the matching slits so it sits flat in the center of the spinner.
8. Spin it!
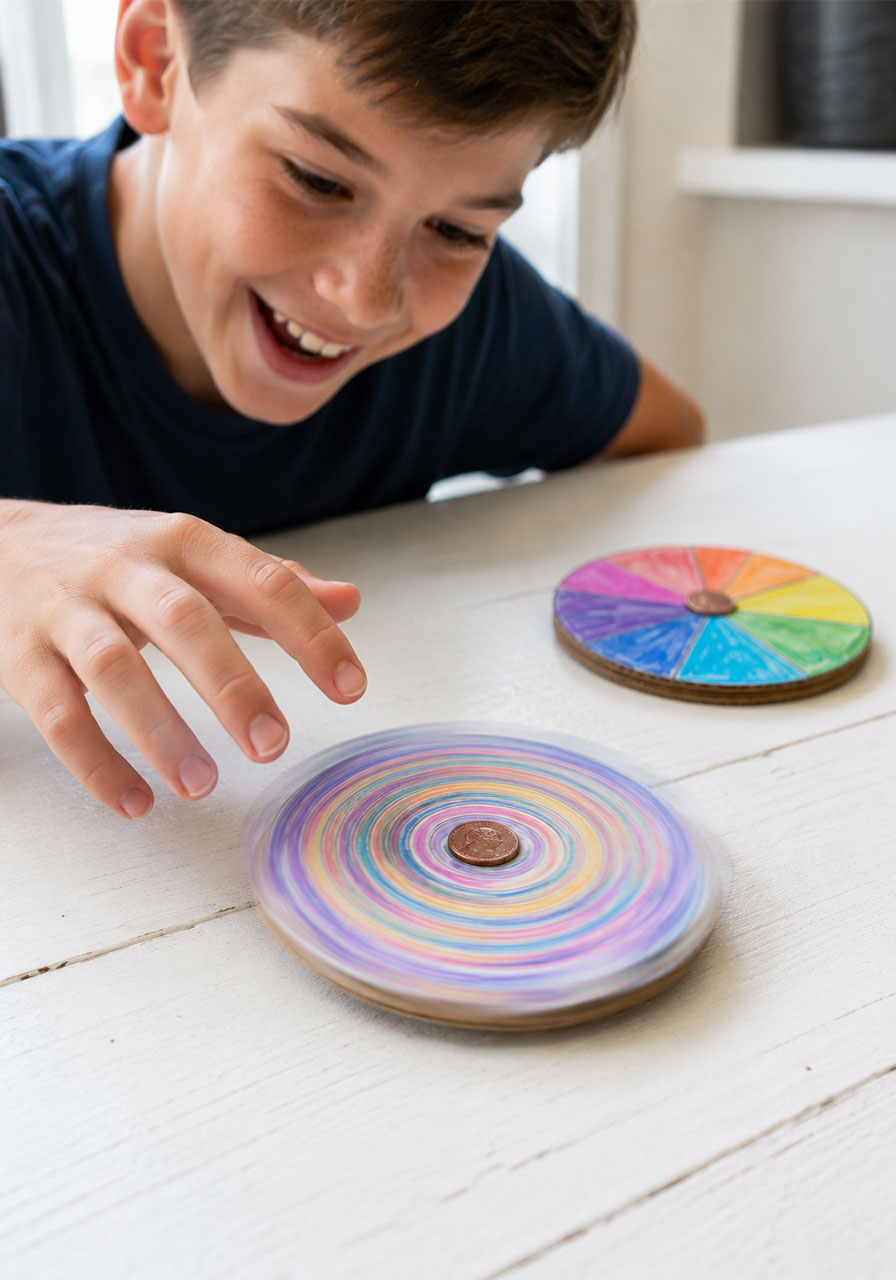
Hold the penny between two fingers, give it a quick twist, and let go. Watch it go.
Pro Tip: If your spinner wobbles more than it spins, check that the penny is sitting perfectly centered and flat. An off-center penny is almost always the culprit behind a wobbly top.
The Science Behind the Spin
Here’s where this craft turns into a real science lesson, and it’s genuinely one of the best parts of this activity.
Ask your kids or students a simple question first: why does a spinning top stay upright instead of just falling over? Let them guess before you explain. This is a great way to spark curiosity before diving into the vocabulary.
Then walk through these key concepts together.
Torque: Torque is the force that makes something spin in the first place. When you twist the penny with your fingers, you’re applying torque to get the spinner moving.
Potential and kinetic energy: Before you spin it, your penny spinner is holding potential energy, or stored energy waiting to be used. The moment it starts spinning, that stored energy becomes kinetic energy, the energy of motion.
Axis of rotation: Every spinning top rotates around an invisible line running through its center, called the axis of rotation. This is exactly why keeping that center penny straight and centered matters so much for a smooth spin.
Newton’s Third Law: According to Newton’s Third Law of Motion, an object will keep rotating on its axis until an outside force acts on it and stops it.
Friction and gravity: In a perfect world, a perfectly balanced top on a perfectly flat surface would spin forever. But real life has friction and gravity working against it. Friction between the spinner and the table gradually slows it down, causing that telltale wobble, while gravity eventually pulls it down to one side.
This is a fantastic moment to ask kids: what do you think would happen if we spun it on a smoother surface, like glass, instead of a carpet? Let them test their prediction and see if they’re right.
A Bonus Science Lesson: Spinning Colors
If you print the color wheel or rainbow pie-slice templates, you’re sitting on a second science lesson without even trying.
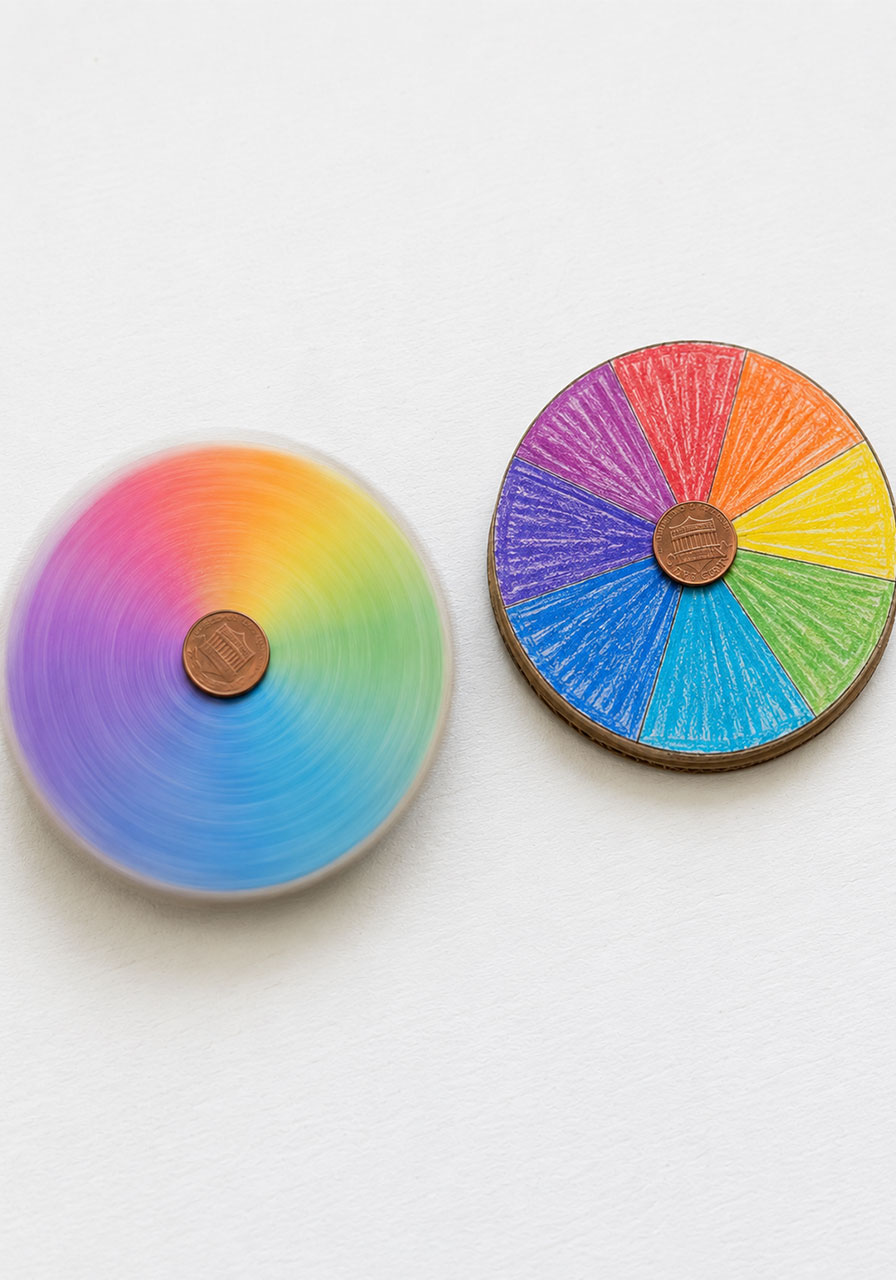
Have kids color one of the pie-slice patterns using true rainbow colors, then spin it as fast as they can. Ask them to watch closely and describe what happens to the colors.
At high speed, those separate colors will start to blur together, giving a sneak peek into how our eyes and brains process fast-moving color and light. It’s a simple, visual way to introduce the idea that white light is actually made up of every color combined.
Fun Variations to Try
Once the basic spinner is a hit, try these twists to keep the learning going.
Spin time contest: Time each spinner with a stopwatch and see whose design spins the longest.
Weight test: Try adding a second penny or a small washer to the center and compare how it changes the spin.
Surface test: Spin the same top on a table, a carpet, and a smooth countertop, then compare the results.
Design challenge: Ask kids to predict which pattern will look the “coolest” while spinning, then test their guess.
Tips for Using This in the Classroom
Teachers, this one is genuinely easy to run with a full class.
Pre-cut the cardboard circles ahead of time so class time is focused on coloring, assembling, and experimenting rather than cutting cardboard with 25 pairs of scissors.
Pair this activity with a short discussion on force and motion, then let the spinners double as your hands-on lab component. It’s an easy way to meet a physical science standard while keeping kids fully engaged.
For at-home use, this also makes a wonderful quiet-time activity, a rainy day project, or a simple homeschool science lesson that needs almost no prep.
Frequently Asked Questions
What age is this activity best for?
Kids as young as 4 can participate with adult help for the cutting steps. Kids 7 and up can typically handle the entire project independently.
Why won’t my penny spinner spin smoothly?
The most common cause is a slit that’s too wide, letting the penny sit off-center. Check that your penny is centered and that the slit fits it snugly.
Can I use a coin other than a penny?
Yes. Any flat coin works, though pennies are an easy, low-cost choice most households already have on hand.
Do I need to print the templates, or can I draw my own?
Either works beautifully. Printing gives you consistent, ready-to-color designs, but freehand drawing is a great option if you want kids to design their own pattern from scratch.
Ready to Spin?
This penny spinner project checks every box: it’s affordable, it’s fast, and it sneaks in a real physics lesson without kids even realizing they’re learning.
Whether you’re filling a classroom science block or looking for a screen-free afternoon activity at home, this one is a keeper. Grab your cardboard, print those templates, and get spinning.
