
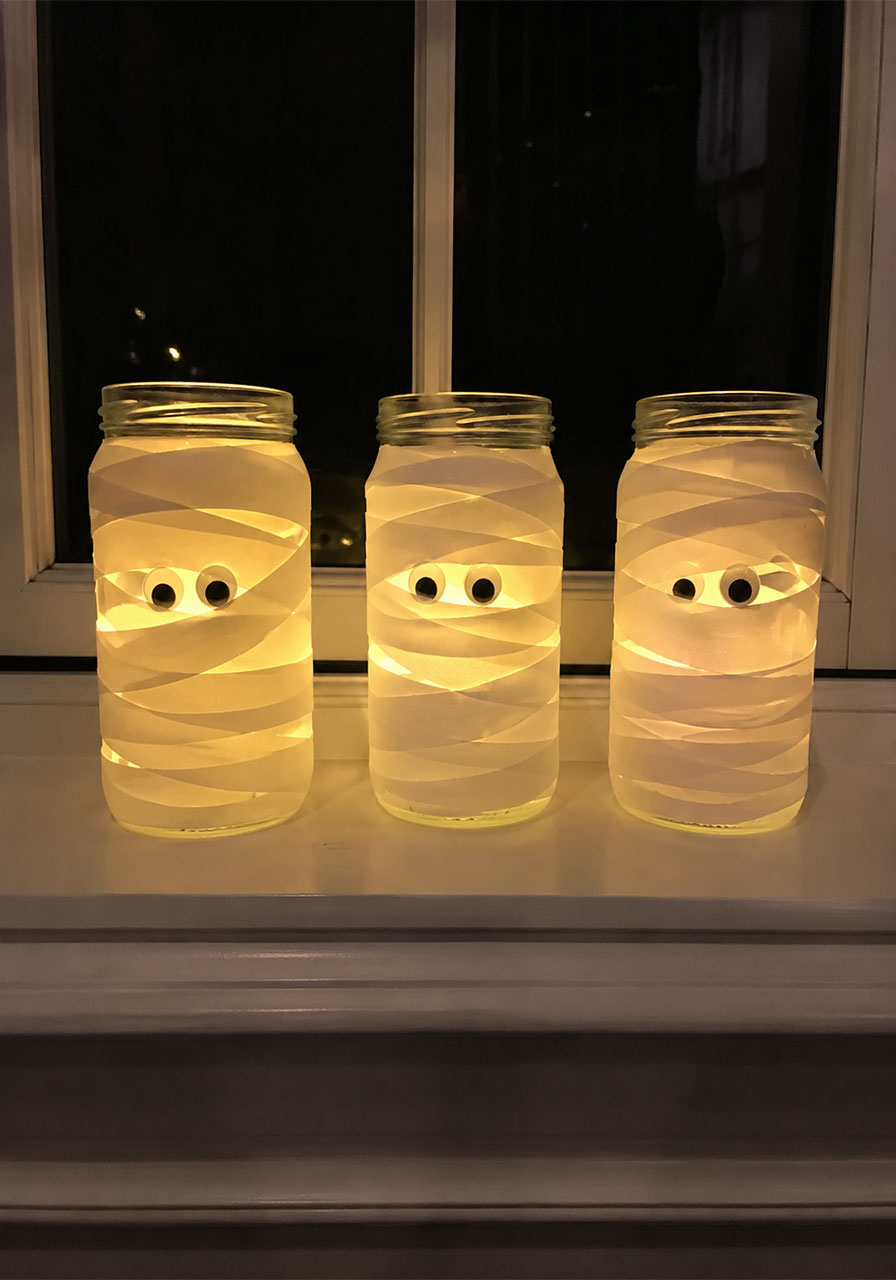
Picture this: it’s the night before your Halloween party, and you’re staring at a bare mantel wondering how to make it feel spooky without spending a fortune or a full weekend on decorations. That’s exactly the problem these Mummy Jar Lanterns solve.
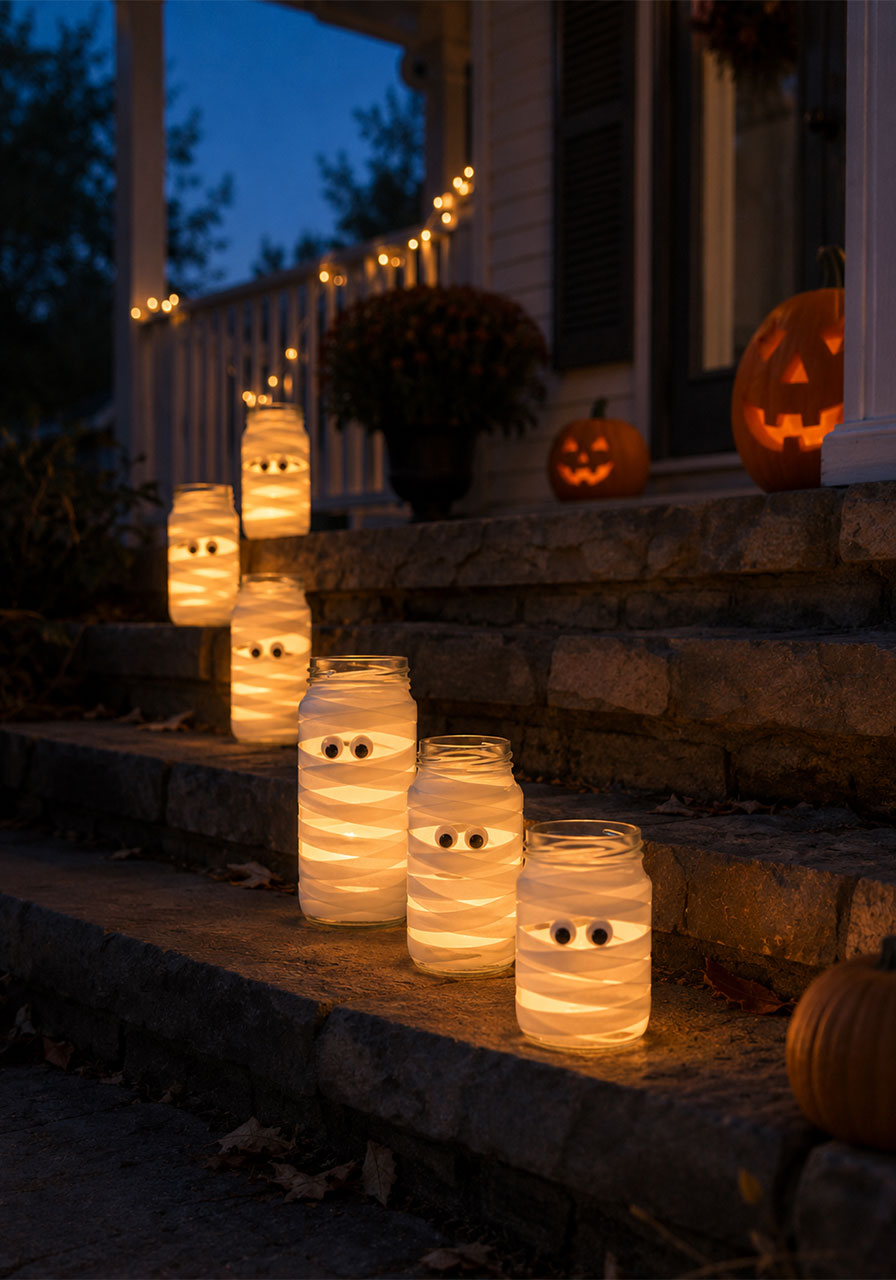
They’re ridiculously simple, they cost next to nothing, and they turn ordinary jars sitting in your recycling bin into glowing little mummy faces that instantly say “Halloween party happening here.” Best of all? Kids of every age can help make them, which means this is one Halloween project you won’t be doing alone at 11pm the night before.
We first started making these years ago as a quick add-on to a Halloween crafts round-up. But every single year, we find ourselves digging out our growing collection of mummy jars and adding a few more to the mix. They’ve become a permanent fixture of our annual Halloween party decor, and once you make your first batch, we’re willing to bet they’ll become a fixture in your house too.
If you’re planning ahead for this year’s Halloween gathering, trick-or-treat table, or spooky movie night, this is the project to bookmark. Let’s get wrapping.
Why This Craft Is a Halloween Party Planner’s Best Friend
Best for: Halloween parties, trick-or-treat porches, spooky movie nights, classroom parties.
Time to make: 10-15 minutes per jar, plus drying time for the glue.
Skill level: Beginner-friendly. This is a genuine kid-friendly craft, not a “kid-friendly” craft that secretly needs an adult to finish it.
Here’s what makes this project such a smart pick if you’re planning a party. It uses supplies you likely already have around the house. It doesn’t require any cutting skills beyond scissors. And it scales beautifully, whether you need three lanterns for a cozy family dinner or twenty lining your front walkway for trick-or-treaters.
There’s also something genuinely charming about a windowsill full of these glowing faces at night. The soft light through the wrapped jar gives just enough spookiness without tipping into anything too scary for younger guests. That balance is exactly what you want for a family Halloween party.

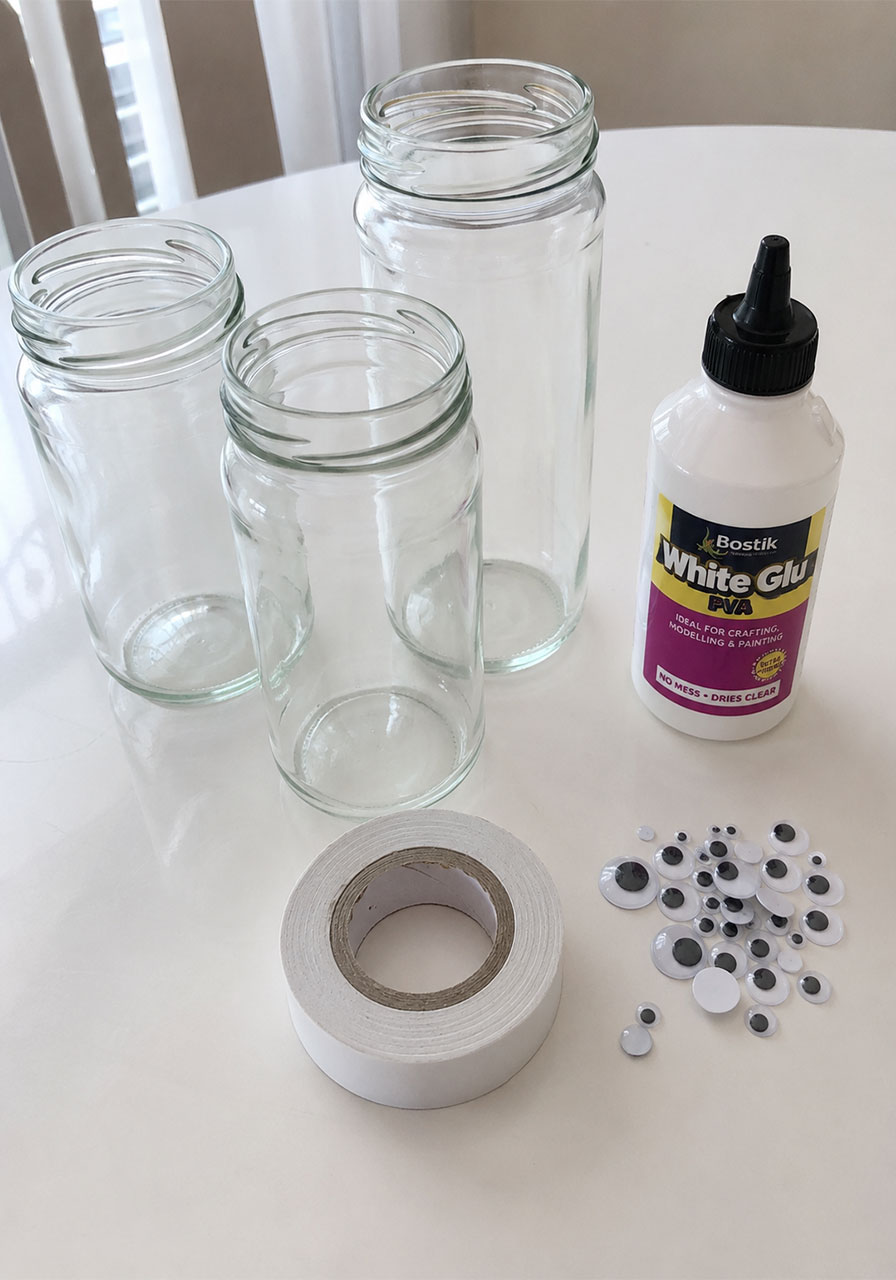
What You’ll Need
Glass jars, any size (jam jars, pasta sauce jars, or mason jars all work great)
Googly eyes, 2 per jar
PVA glue
White tape (electrical tape works best, but see our substitution tips below)
LED tealight candles
Scissors
A quick note on the jars: don’t feel like you need to match them. In fact, a mismatched collection of tall jars, short jars, and wide jars looks even better once they’re all lined up together, glowing side by side. This is a great excuse to finally use up that stash of empty jars you’ve been saving in the pantry.
How to Make Your Mummy Jar Lanterns
Follow these steps in order, and you’ll have a full set of mummy jars ready to glow by tonight.
1. Clean and dry your jar. Make sure any labels are removed and the glass is completely dry before you start. This gives the tape something clean to stick to.
2. Glue on the googly eyes. Add a small dab of PVA glue to the back of each googly eye and press it onto the jar. Place the two eyes close together, roughly in the upper-middle area of the jar, just like a real mummy peeking out through its wrappings.
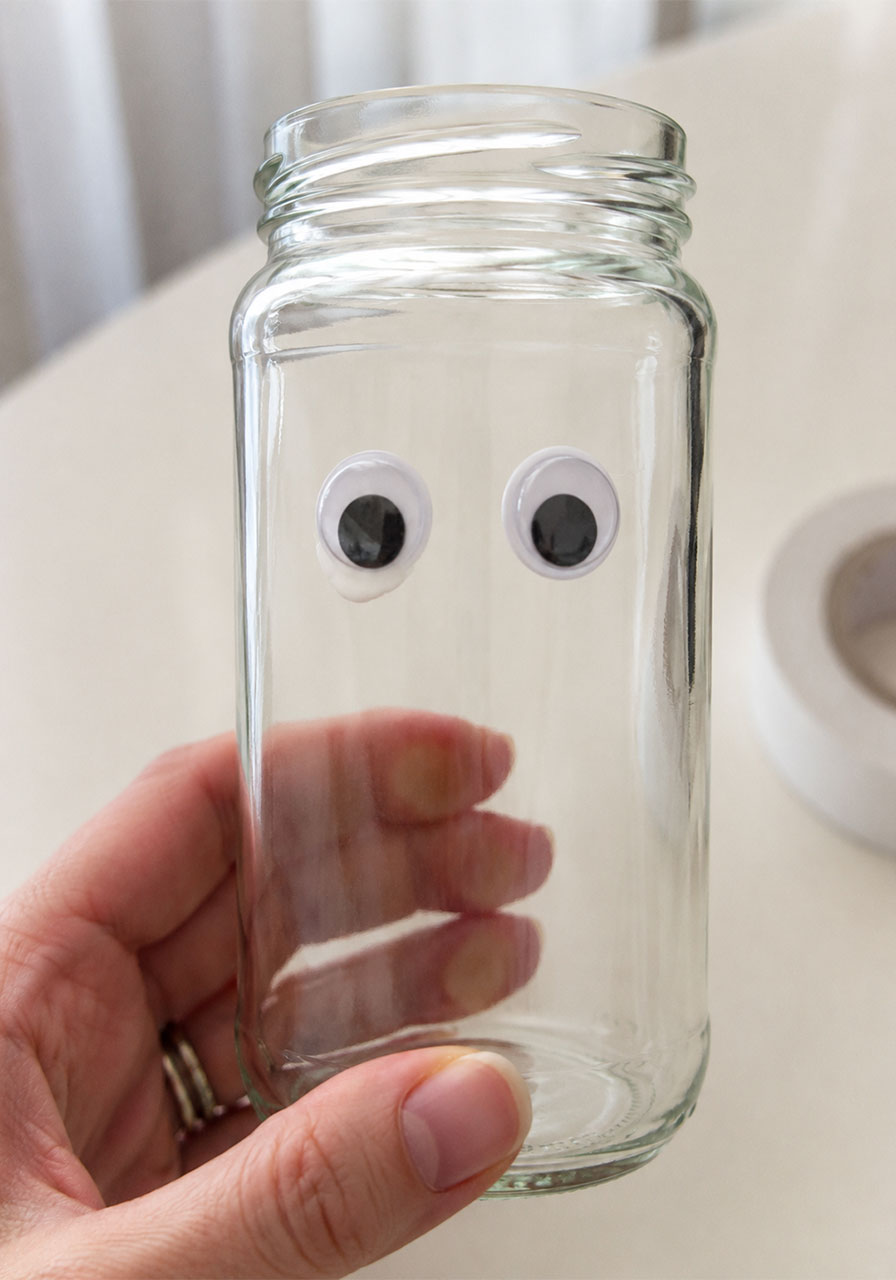
3. Let the glue set slightly before moving on. If it’s still a little wet, you actually have some wiggle room here. You can nudge the eyes into just the right position for that perfect “peeking mummy” look before it fully dries.
4. Start wrapping from the bottom. Take your white tape and begin at the base of the jar, wrapping it around at a slight angle rather than straight across. This angled wrap is what gives the tape that authentic, rumpled bandage look instead of looking like a neatly striped jar.
5. Work your way up, leaving gaps. Continue wrapping upward, overlapping the tape in some spots and leaving small gaps in others. Real mummy bandages aren’t perfectly uniform, and neither should yours be. The imperfections are what sell the effect.
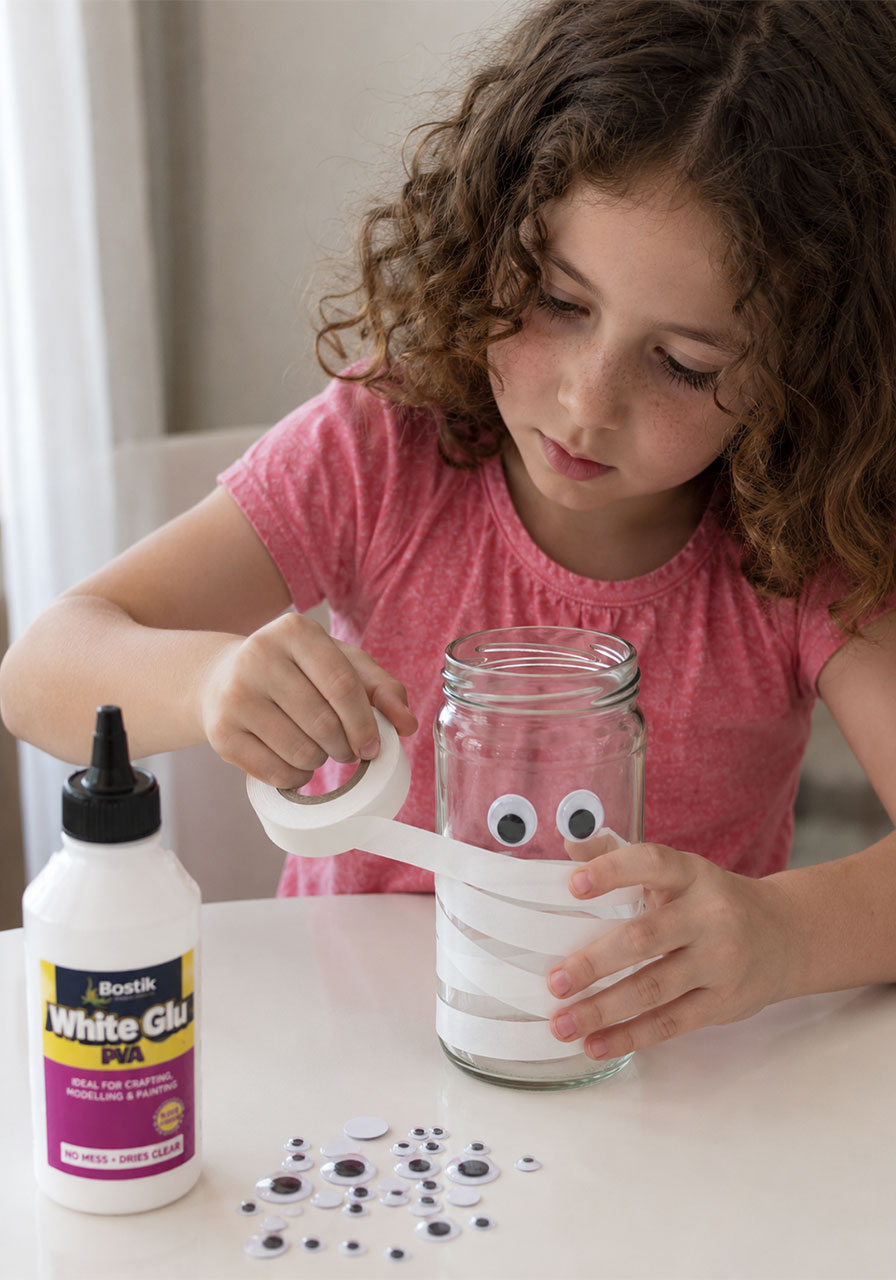
6. Wrap carefully around the eyes. When you reach the eye area, wrap the tape above and below the eyes rather than over them, so they stay peeking out from between the “bandages.” This is the detail that makes the whole jar come to life.
7. Finish wrapping to the top of the jar. Continue up and over the lip of the jar if you like, or stop just below it. Either way looks great once it’s lit up.
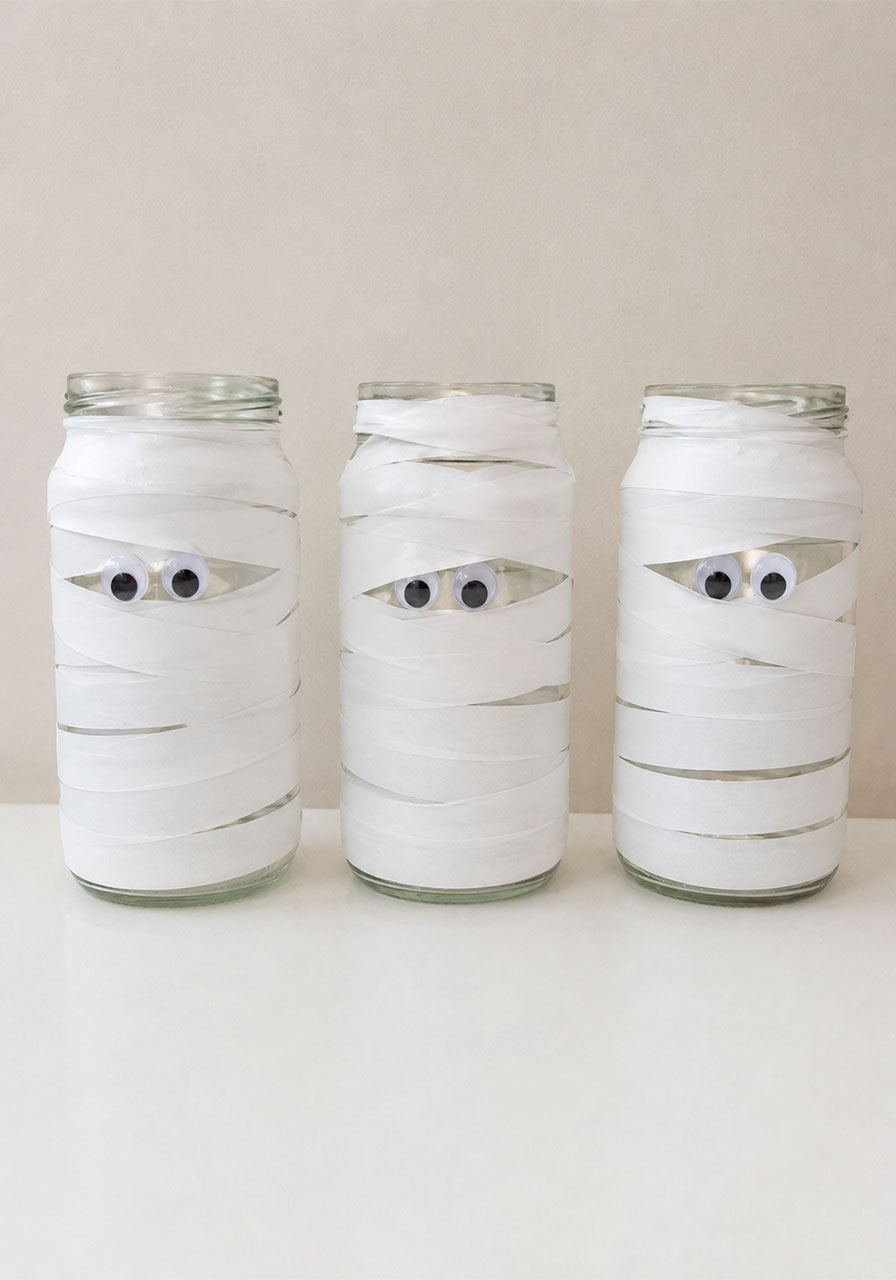
8. Let everything dry fully. Set your finished jars aside for at least 20 to 30 minutes so the glue on the eyes has time to fully set before you move them.
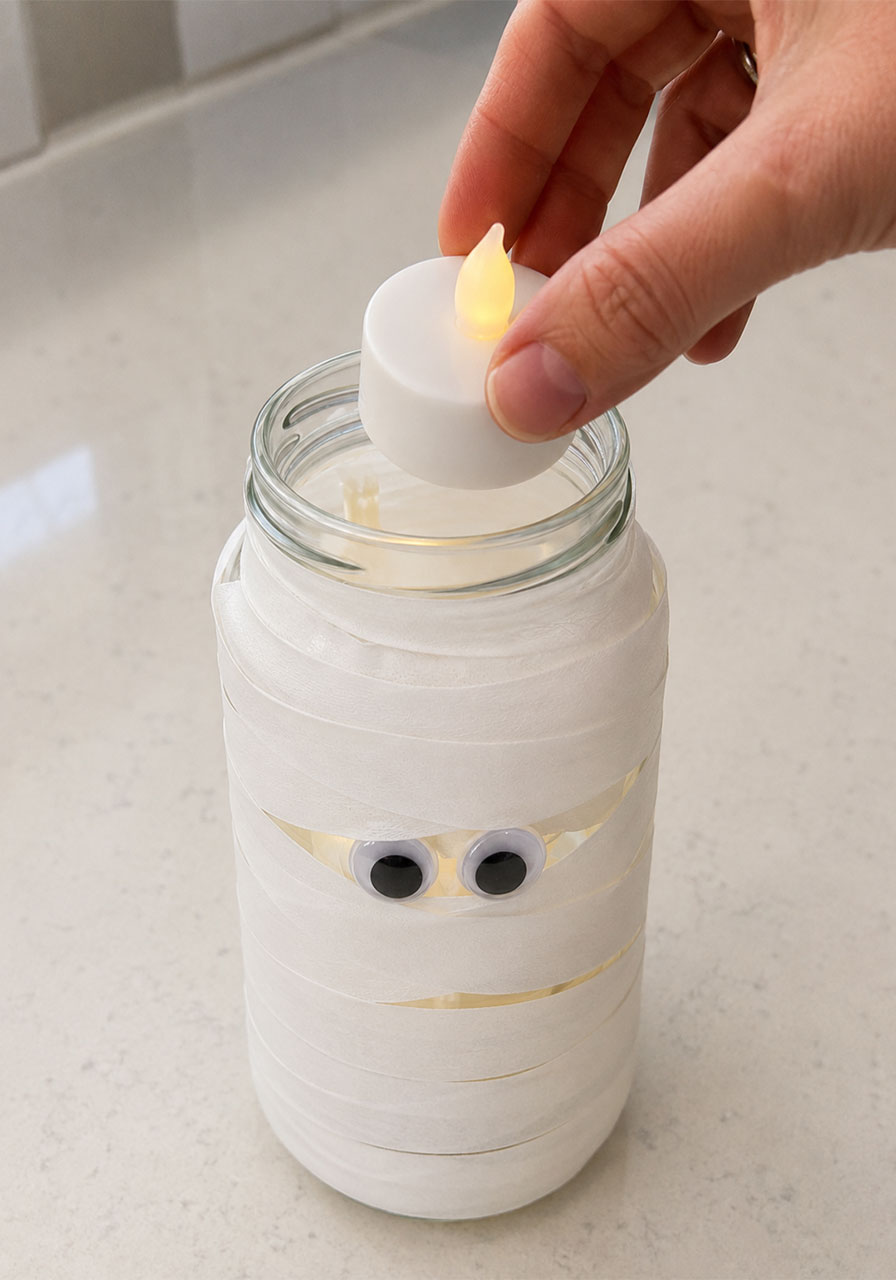
9. Add your light source. Once dry, drop an LED tealight into each jar and switch it on.
And that’s it. You now have your own set of glowing mummy jars ready for the big night.
Pro Tips for the Best-Looking Mummy Jars
Always use LED tealights instead of real flames. Because the jar is wrapped in tape, a real candle flame poses an unnecessary fire risk, especially with kids helping out. LED tealights give you that same warm glow completely safely, and you can reuse them year after year.
Don’t rush the eye placement. Since the googly eyes are really the star of this whole project, take an extra few seconds to step back and make sure they’re sitting at a natural, slightly mischievous angle before the glue dries.
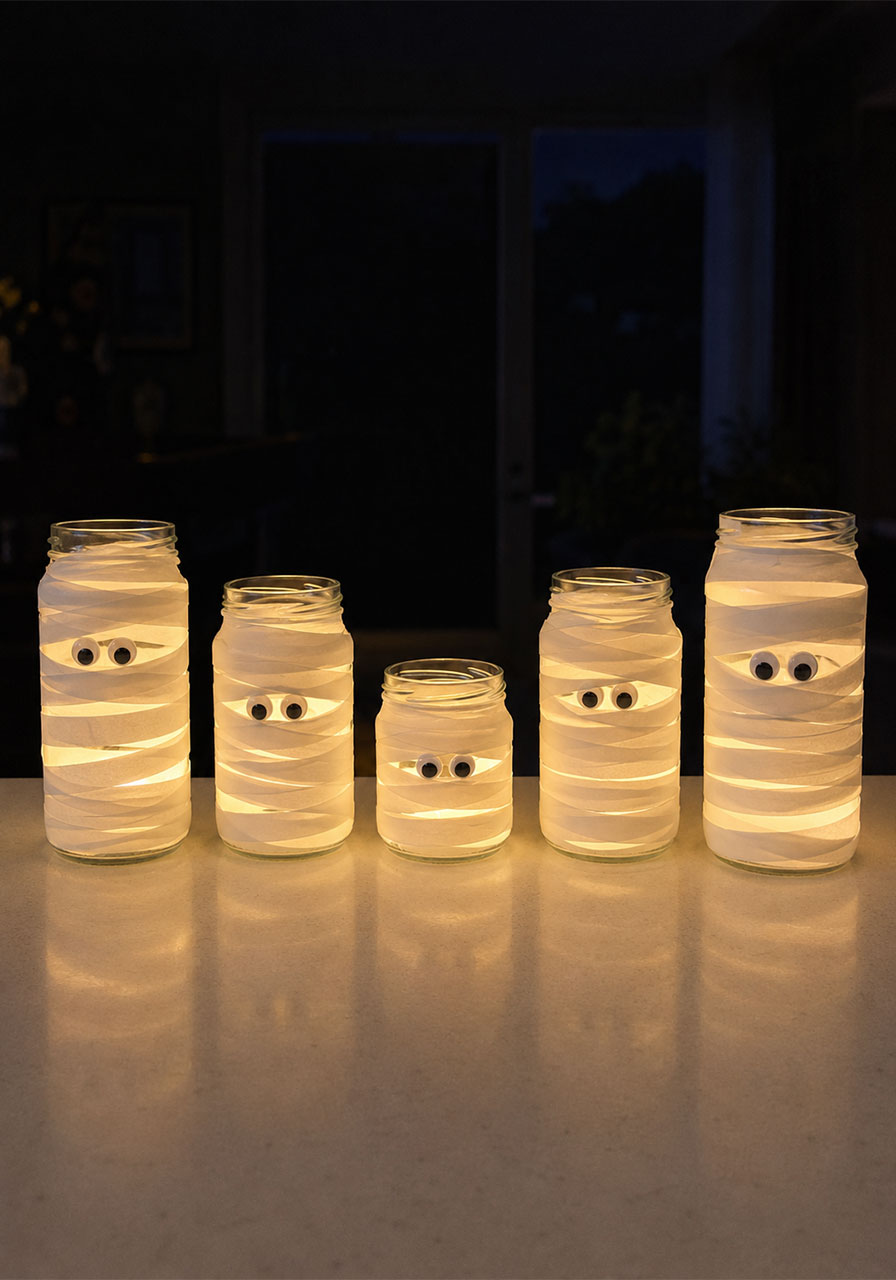
Vary your jar sizes. A row of mummy jars in different heights creates much more visual interest than a uniform line. Save your tall pasta sauce jars for “adult” mummies and your small jam jars for “baby” mummies.
Fun Variations to Try
No electrical tape on hand? Masking tape, washi tape, or even strips of white gauze bandage all work just as well. Gauze bandage actually gives you an even more textured, authentic mummy look if you have some in your first aid kit.
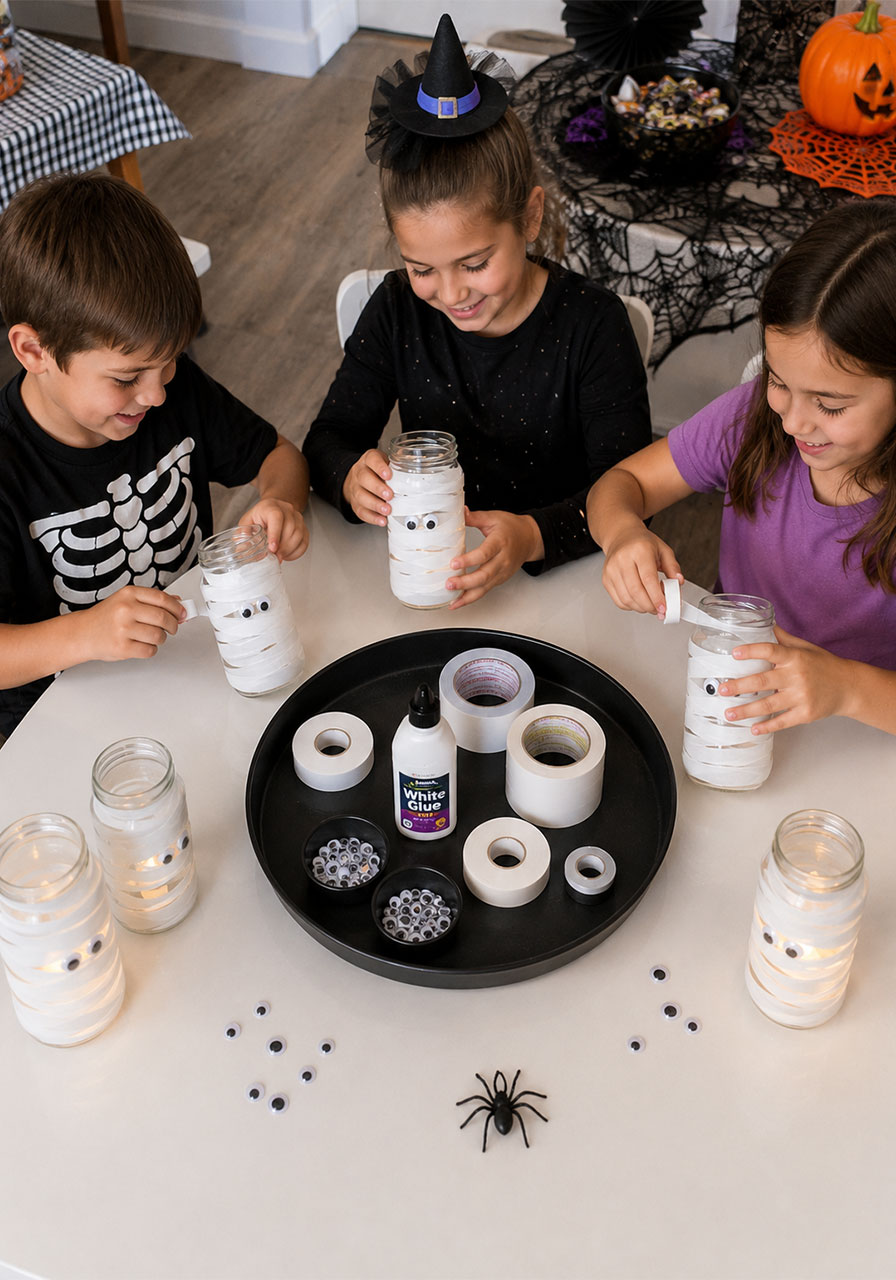
Want to make this a group activity at your party? Set up a mummy jar decorating station with all the supplies laid out, and let your guests each wrap their own jar to take home as a party favor. It’s an easy, low-mess activity that keeps kids entertained while the adults catch up.
For an extra spooky touch, try using colored LED tealights instead of plain white ones. A soft orange or green glow through the white bandages adds a whole new level of eerie to your display.
Where to Use Your Finished Lanterns
These mummy jars are just as versatile as they are easy to make. Line them along your front porch steps to greet trick-or-treaters as the sun goes down. Cluster a group of them on your dining table as a centerpiece for a Halloween dinner. Or set them along a windowsill so they glow out into the street for passersby to enjoy.
Because they’re made from jars you likely already have, and tape you probably already own, this is one of those Halloween decorations that costs almost nothing but delivers a big atmospheric payoff. That’s exactly the kind of party planning win we’re always looking for.
Frequently Asked Questions
How long do these lanterns take to make?
Each individual jar takes about 10 to 15 minutes to wrap and decorate, though you’ll want to allow extra drying time for the glue before handling them.
Are these safe for kids to make on their own?
Yes, this is one of the few Halloween crafts that genuinely doesn’t require much adult intervention. The tape wrapping is simple enough for young children, and using LED tealights instead of real candles keeps the finished lanterns completely safe.
Can I make these ahead of time?
Absolutely, and we actually recommend it. These jars store well and can be made days or even weeks in advance, which makes them a perfect project to knock out during your Halloween party planning ahead of the big night.
What if I don’t have electrical tape?
Masking tape, washi tape, or strips of white gauze bandage all work as substitutes and give slightly different textures to try.
Ready to Start Wrapping
With a stack of empty jars and a roll of white tape, you’re just a few minutes away from a whole collection of glowing mummy lanterns. Whether you’re setting the scene for a full-on Halloween bash or just want a few spooky touches for trick-or-treat night, this is the kind of easy, budget-friendly craft that makes party planning feel a whole lot less overwhelming.
Because when it comes to a great Halloween party, sometimes the simplest ideas end up being the ones your guests remember most.
