
Let me paint you a picture.
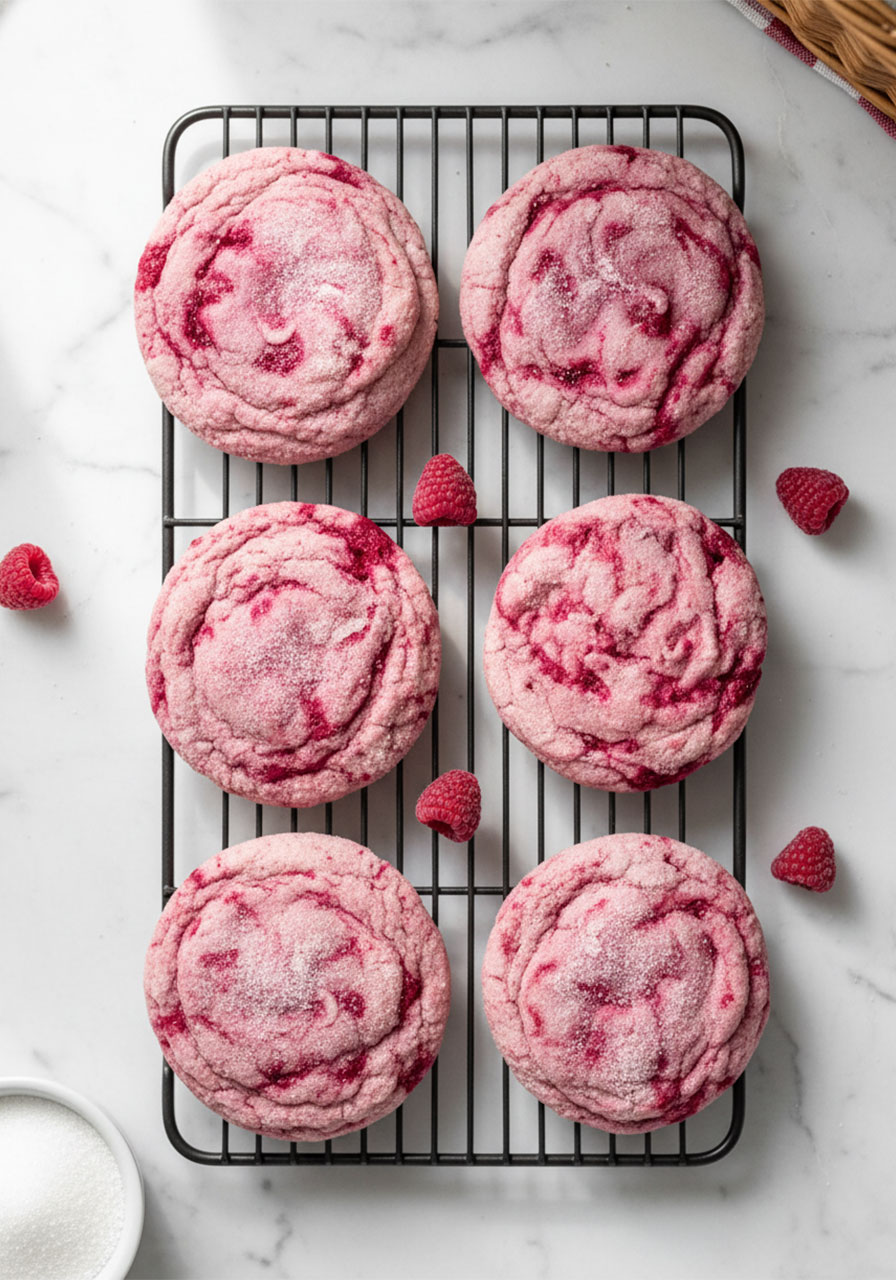
Soft, pillowy cookies with a sugary crunch on the outside. Gorgeous swirls of deep magenta running through a blush-pink dough. A flavor that hits you with just the right amount of tart before melting into pure sugar-cookie sweetness.
Yes. These Raspberry Cookies are that good.
And here’s the part that makes them even more magical: they’re completely eggless, gluten free, nut free, and can easily be made vegan. That means more people at your table get to enjoy them – and you get to be the one who made it happen.
Whether you’re baking for a birthday party, a Valentine’s Day spread, a baby shower, or just a Tuesday when you need something beautiful in your life – this recipe delivers every single time.
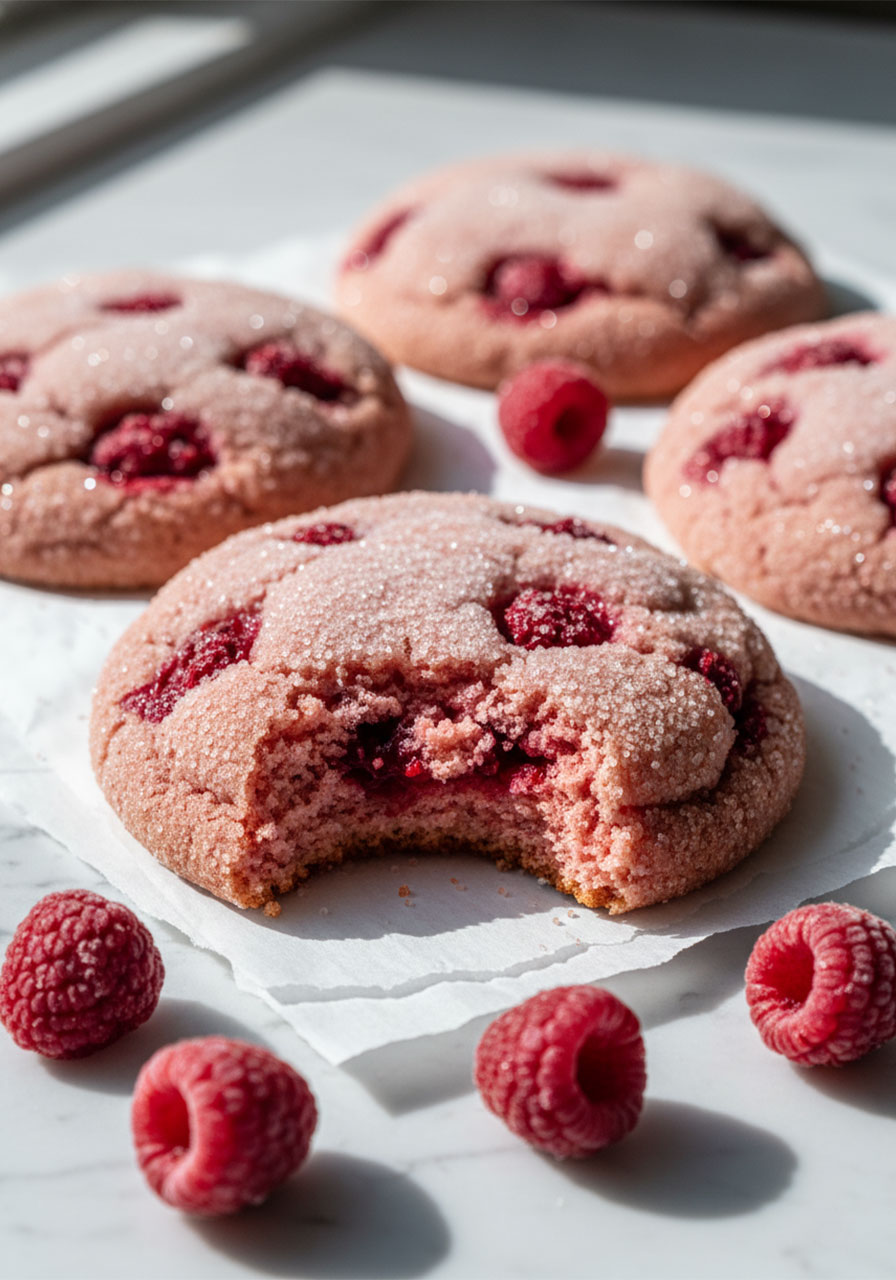
These aren’t just pretty cookies. They’re soft and chewy in the center, slightly crisp on the edges, and stay soft for days (which is basically unheard of for gluten-free baking). The secret? Real frozen raspberries – cooked down into a syrup AND folded in as chunky little jewels throughout the dough.
Ready to bake something unforgettable? Let’s dive in.
Why You’re Going to Absolutely Love These Raspberry Cookies
Before we get into the how, let’s talk about the why – because these cookies earn every bit of their hype.
They’re stunning. The deep crimson raspberry pieces swirled into a soft pink dough create a marbled look that honestly looks like it came from a fancy bakery. No special tools required.
They’re allergy-friendly. Gluten free. Egg free. Nut free. Easily dairy free. This is the cookie you can bring to almost any gathering without having to stress about who can eat what.
They stay soft. Unlike most gluten-free baked goods that turn into a sad, dry brick by day two, these cookies stay pillowy and moist for several days – as long as you store them in the fridge.
They taste like real raspberries. Not fake, artificial raspberry flavor. Real fruit. Real tartness. Real joy.
They’re make-ahead friendly. Freeze the dough balls, pull them out when you need them, and bake fresh. Honestly, a game-changer for entertaining.
These cookies check every single box. Now let’s make them.

What You’ll Need: The Ingredients
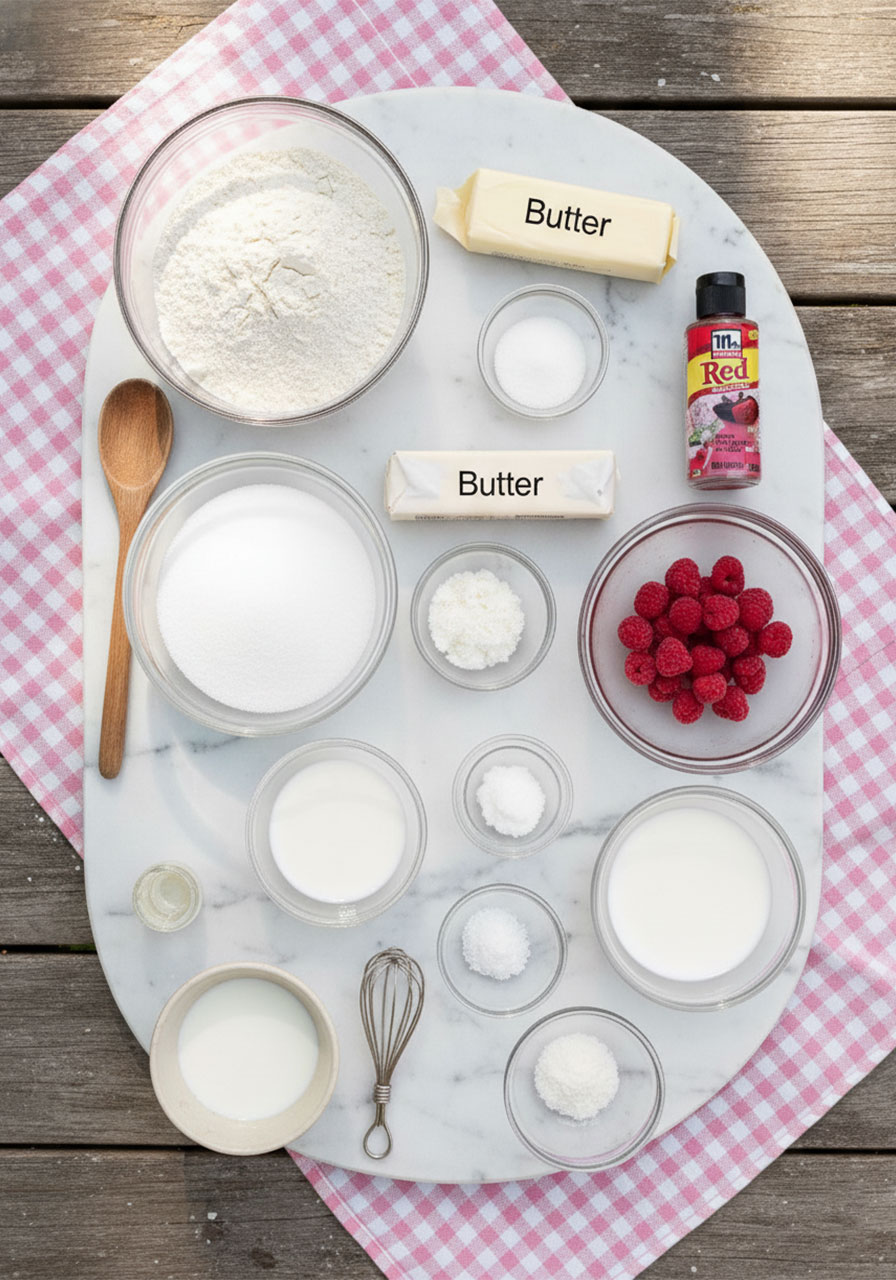
Here’s your full shopping list, with notes on why each ingredient matters.
For the Raspberry Syrup
1 cup frozen raspberries
¼ cup granulated sugar
For the Cookies
2 cups gluten free multipurpose flour (use one with xanthan gum already included)
1.5 tablespoons cornstarch
1.5 teaspoons baking powder
½ teaspoon kosher salt
½ cup unsalted butter or vegan baking stick, room temperature
1¼ cups granulated sugar (plus 2 extra tablespoons, kept separate, for rolling)
2 rounded tablespoons cornstarch mixed with 3 tablespoons water (your egg replacer!)
3 tablespoons milk (or any non-dairy milk)
3 tablespoons of your homemade raspberry syrup
3 drops red food coloring (optional – McCormick liquid works great)
½ cup frozen raspberries, chopped into small pieces
Why These Specific Ingredients?
Gluten Free Flour: Look for a multipurpose blend that already contains xanthan gum. Xanthan gum is what gives the cookies their bounce and keeps them from crumbling apart. If you have nut allergies too, double-check that your brand is made in a nut-free facility.
Cornstarch (in the flour mixture): This is your secret weapon against spreading. Without it, your cookies will melt into flat puddles. Don’t skip it.
Cornstarch + Water: Since there are no eggs in this recipe, this mixture acts as the binder that holds everything together. It’s different from the cornstarch in the flour – you need both.
Frozen Raspberries: Fresh raspberries will make the dough too wet and the cookies will spread everywhere. Frozen is the move – both for the syrup and for the chopped pieces folded into the dough. Keep them frozen right up until you’re ready to use them.
Room Temperature Butter: This one is non-negotiable. Melted butter = cookies that spread into a greasy mess. Cold butter = dough that won’t cream properly. Room temperature is your sweet spot.
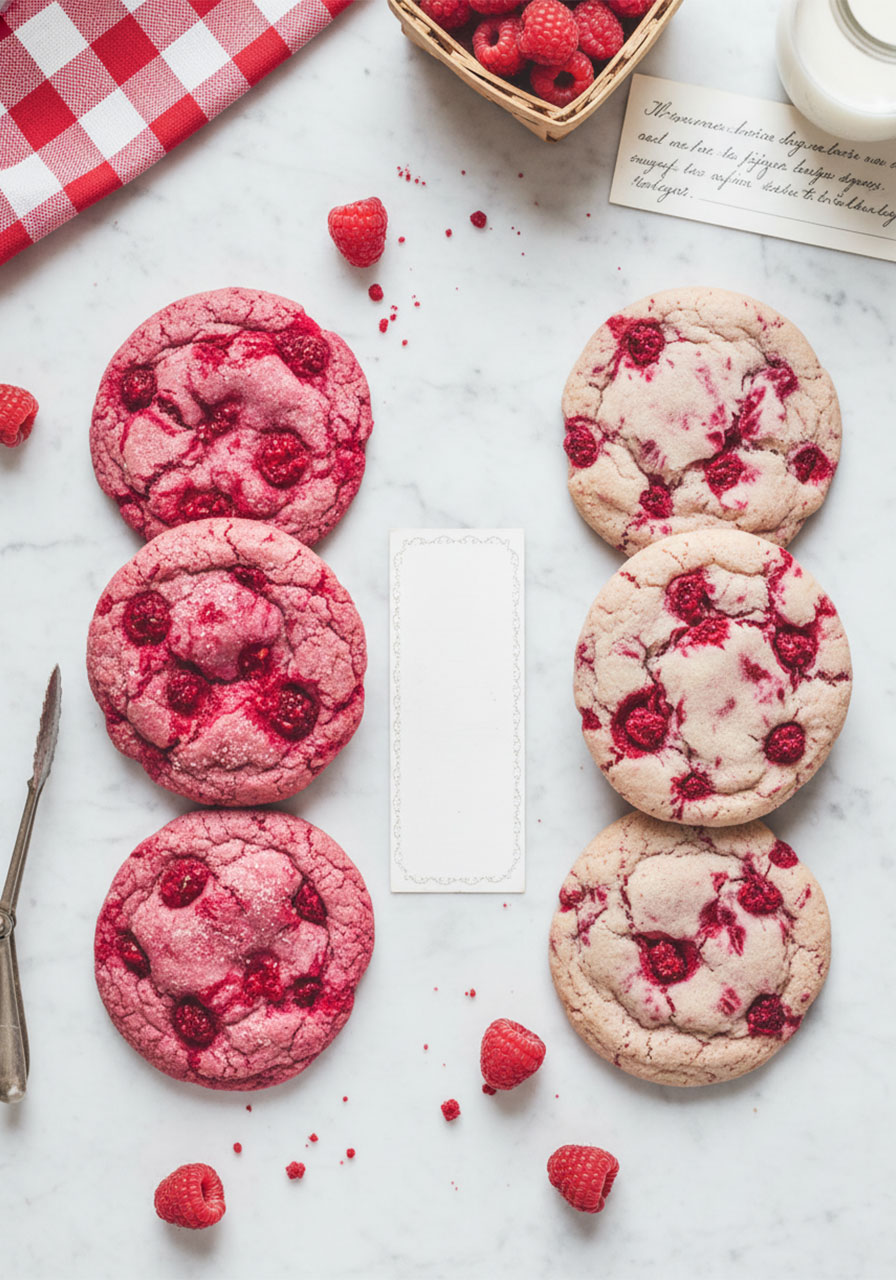
Red Food Coloring: Totally optional! The raspberry syrup naturally tints the dough a soft, pale mauve. Adding a few drops of red just deepens the color to that gorgeous rosy pink you see in the photos. Skip it if you prefer a more natural look – the cookies are equally beautiful either way.
Substitutions & Variations
Want to Make These Vegan?
It’s easier than you think. Just make these four simple swaps:
Use a dairy-free gluten free flour blend
Choose a vegan-certified sugar brand
Swap butter for vegan baking sticks
Use your favorite non-dairy milk (oat, almond, soy – all work)
If you’re using red food coloring, look for a plant-based option or simply skip the color altogether.
Want to Use All-Purpose Flour Instead?
No problem! Use 2 packed cups of regular all-purpose flour (about 336 grams). You’ll still need to freeze the dough before baking – the chilling step is essential regardless of which flour you use.
Want Smaller Cookies?
Use a small cookie scoop and roll the dough into 1-inch balls. Bake at the same temperature (325°F) but reduce the time to 13 minutes. This will make about 24 smaller cookies instead of 12 large ones.
What If You Skip the Food Coloring?
Your cookies will have a very soft, pale mauve color – still absolutely beautiful! The chopped raspberry pieces create gorgeous pops of dark magenta throughout, so the visual contrast is still there. It’s a more natural, understated look that’s honestly just as stunning.
How to Make Raspberry Cookies: Step-by-Step
This recipe has a few more steps than a basic drop cookie, but I promise each one is simple and completely worth it. Walk through these steps once and you’ll have the process totally memorized.
Step 1: Make the Raspberry Syrup
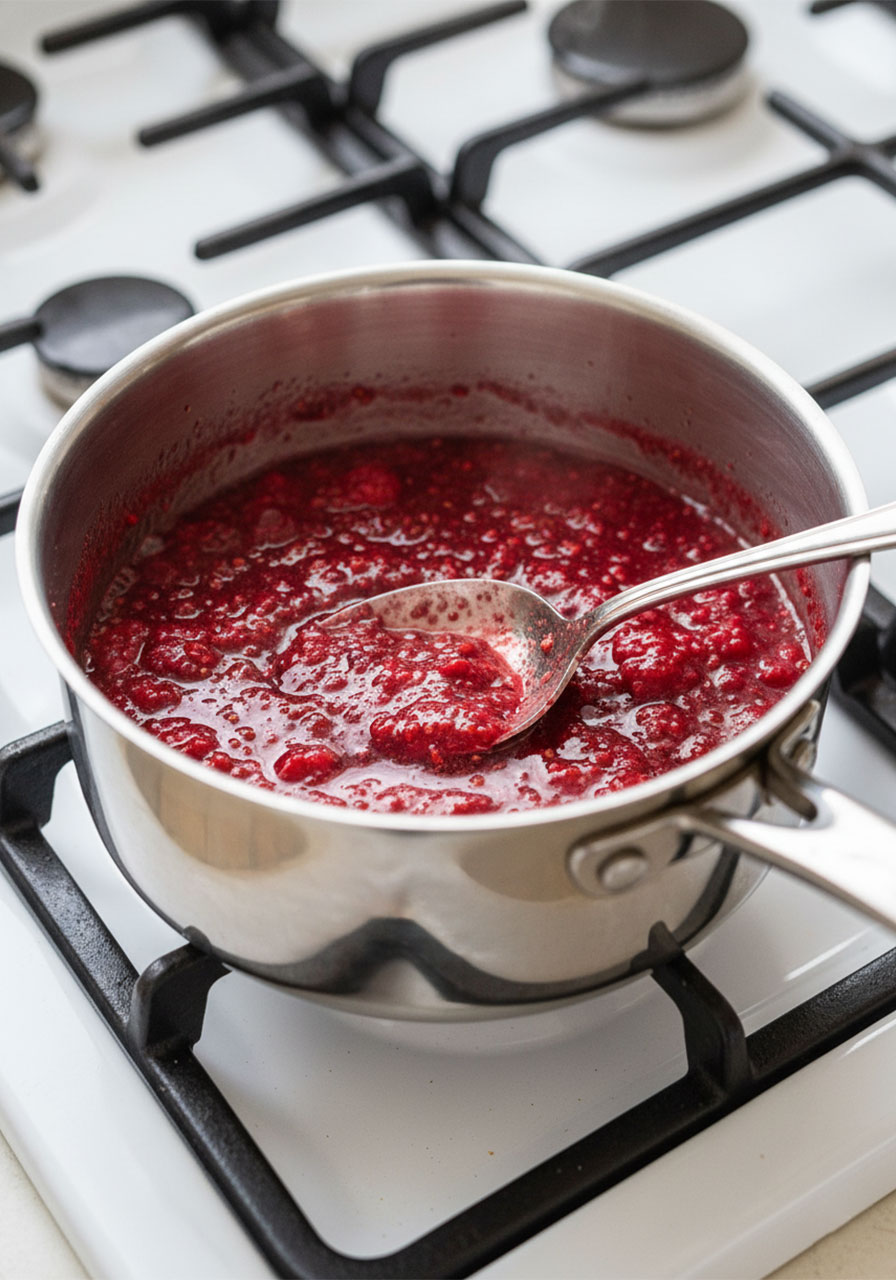
Add 1 cup of frozen raspberries and ¼ cup of granulated sugar to a saucepan over medium heat. Stir constantly as the raspberries break down and everything becomes syrupy and rich – this takes about 10 minutes. It’s okay if it looks a little chunky. That’s normal and beautiful.
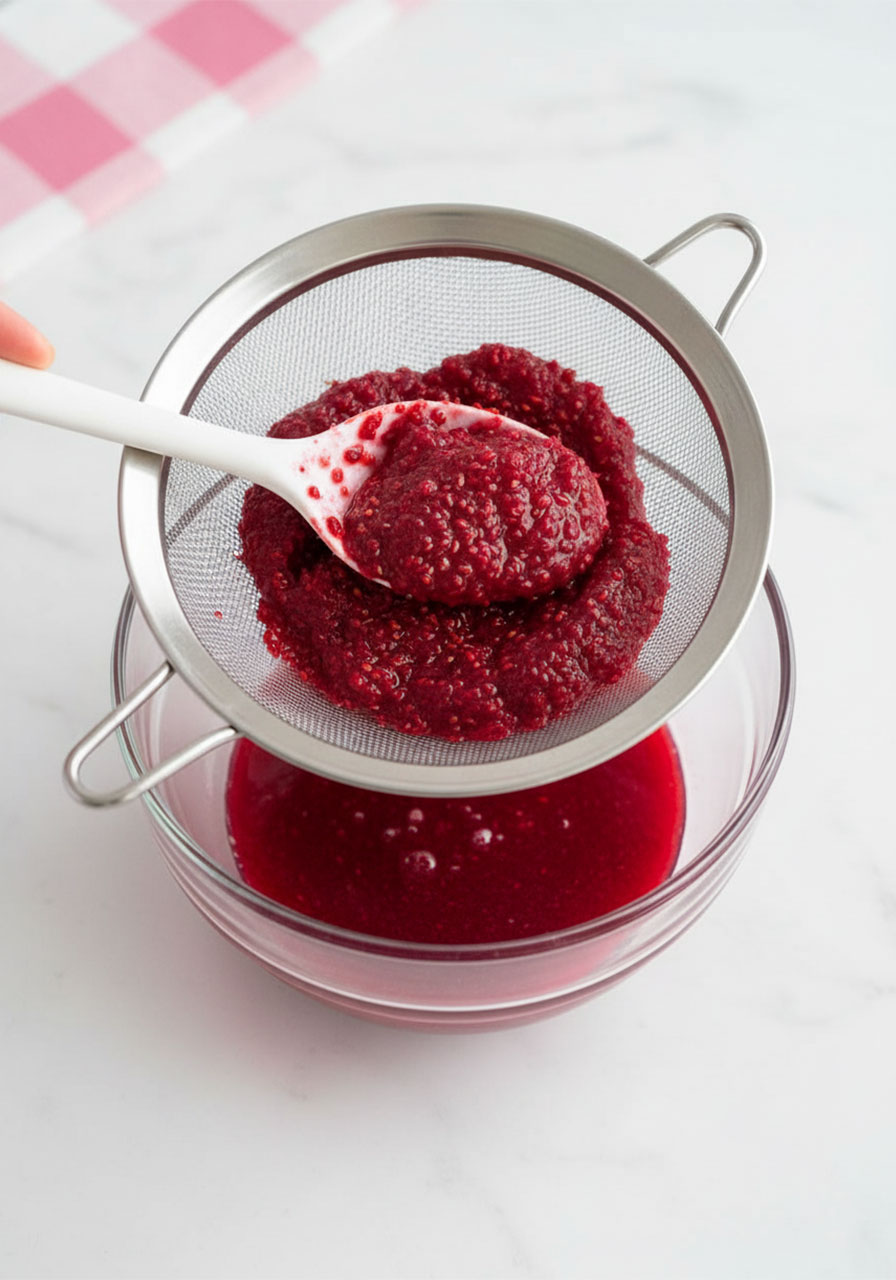
Next, set a fine mesh strainer over a bowl and pour the raspberry mixture through it. Press gently to extract as much liquid as possible. What you’re left with is a deeply flavored, vibrant raspberry syrup – about 2 to 3 tablespoons. Set it aside to cool completely before using.
Don’t skip the straining! If you skip this step, you’ll end up with seeds throughout your cookies AND too much liquid in the dough, causing them to spread flat when baked.
Step 2: Prep Your Chopped Raspberries
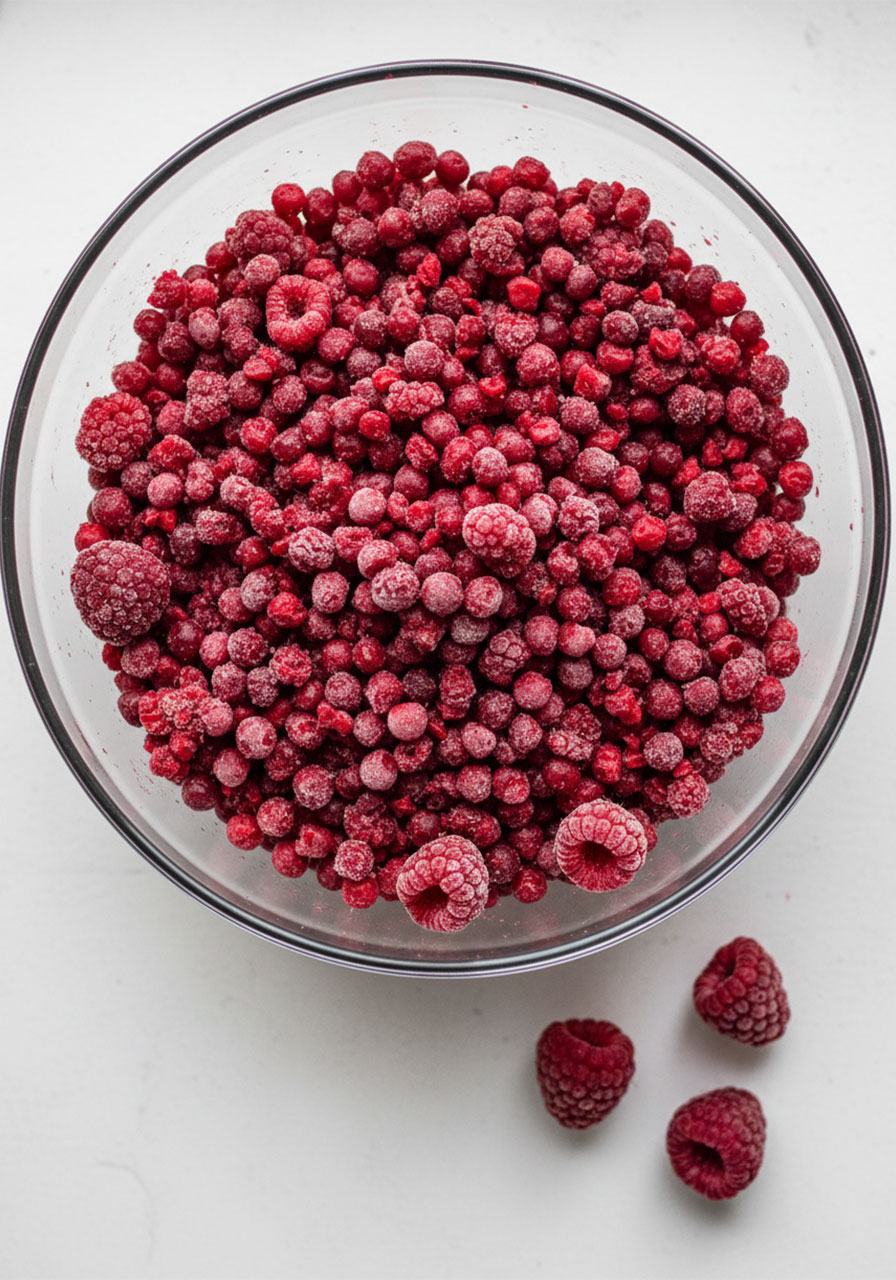
Measure out ½ cup of frozen raspberries. Using a knife, roughly chop them into small pieces – think pea-sized or a little smaller. You want distinct little chunks, not pulp. Over-chopping releases too much moisture, so stay on the gentle side.
Pop the chopped raspberries into a freezer-safe bowl and return them to the freezer immediately. They need to stay frozen until the very moment you add them to the dough.
Step 3: Mix the Dry Ingredients
In a large bowl, whisk together your gluten free flour, baking powder, the 1.5 tablespoons of cornstarch, and the kosher salt. Whisking ensures everything is evenly distributed so no bite of cookie tastes flat or salty.
Set this bowl aside.
Step 4: Make the Cornstarch Water
In a small bowl, stir together the 2 rounded tablespoons of cornstarch with 3 tablespoons of water. It’ll start out thick and gluey – just keep stirring until it becomes thin and watery. This is your egg replacer and it does an amazing job of binding the dough together.
Step 5: Cream the Butter and Sugar
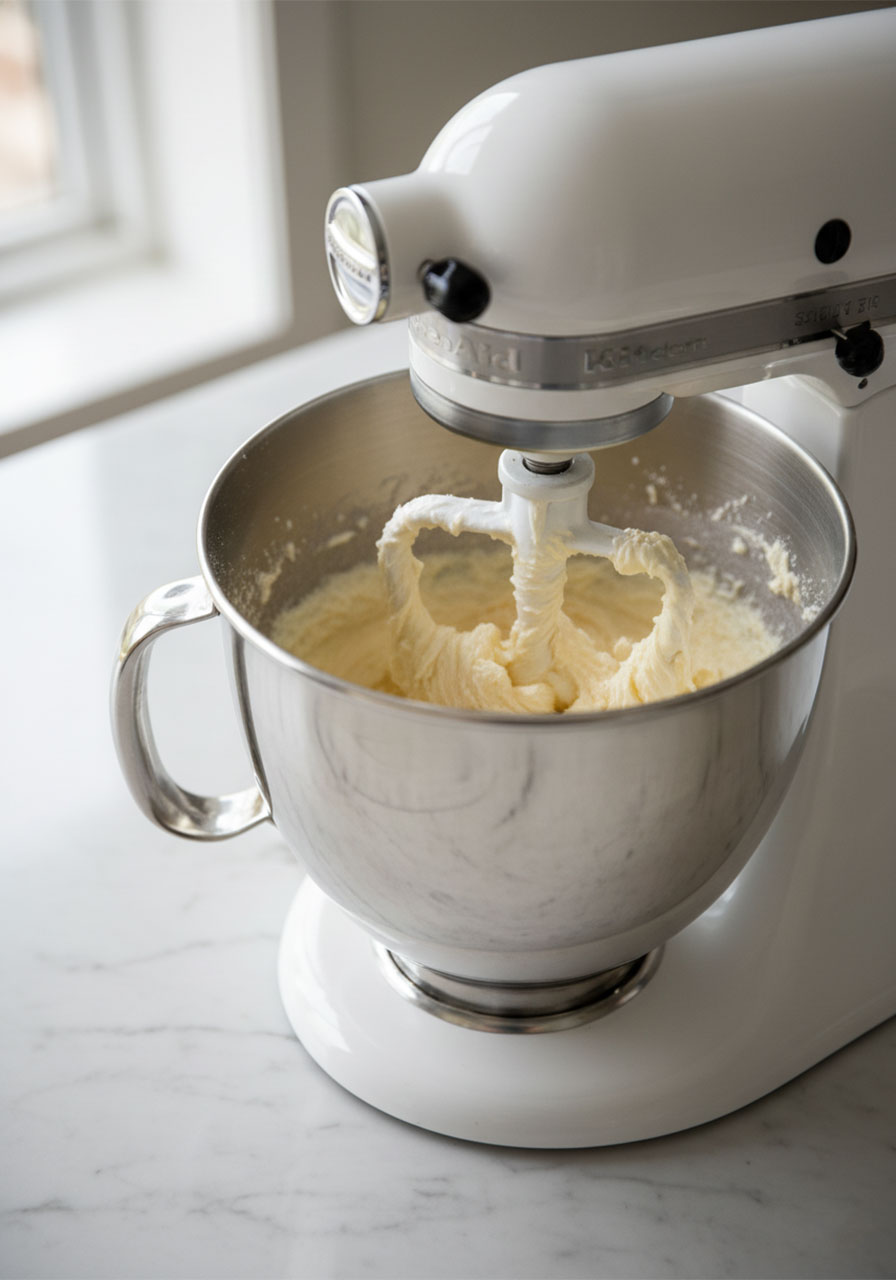
In the bowl of a stand mixer fitted with the paddle attachment (or using a hand mixer), beat the room-temperature butter and 1¼ cups of sugar together for 2 to 3 minutes. You’re looking for a mixture that’s light, creamy, and fluffy. This step incorporates air and sets you up for that perfect chewy texture.
Step 6: Add the Wet Ingredients
With the mixer on low, slowly beat in the cornstarch water mixture, the 3 tablespoons of milk, and the cooled raspberry syrup. The mixture will look a little pink and chunky at this point – don’t panic! That’s exactly right.
Step 7: Combine, Color & Fold
Gradually beat in the flour mixture a little at a time until just combined. Don’t overmix.
Now, if you’re using red food coloring, add 3 to 4 drops and mix until evenly blended throughout the dough.
Finally – the most satisfying step – gently fold in your frozen chopped raspberries using a spatula. The dough will turn into the most gorgeous marbled pink. Be careful not to over-stir at this point or the raspberries will start to melt and make the dough slimy.
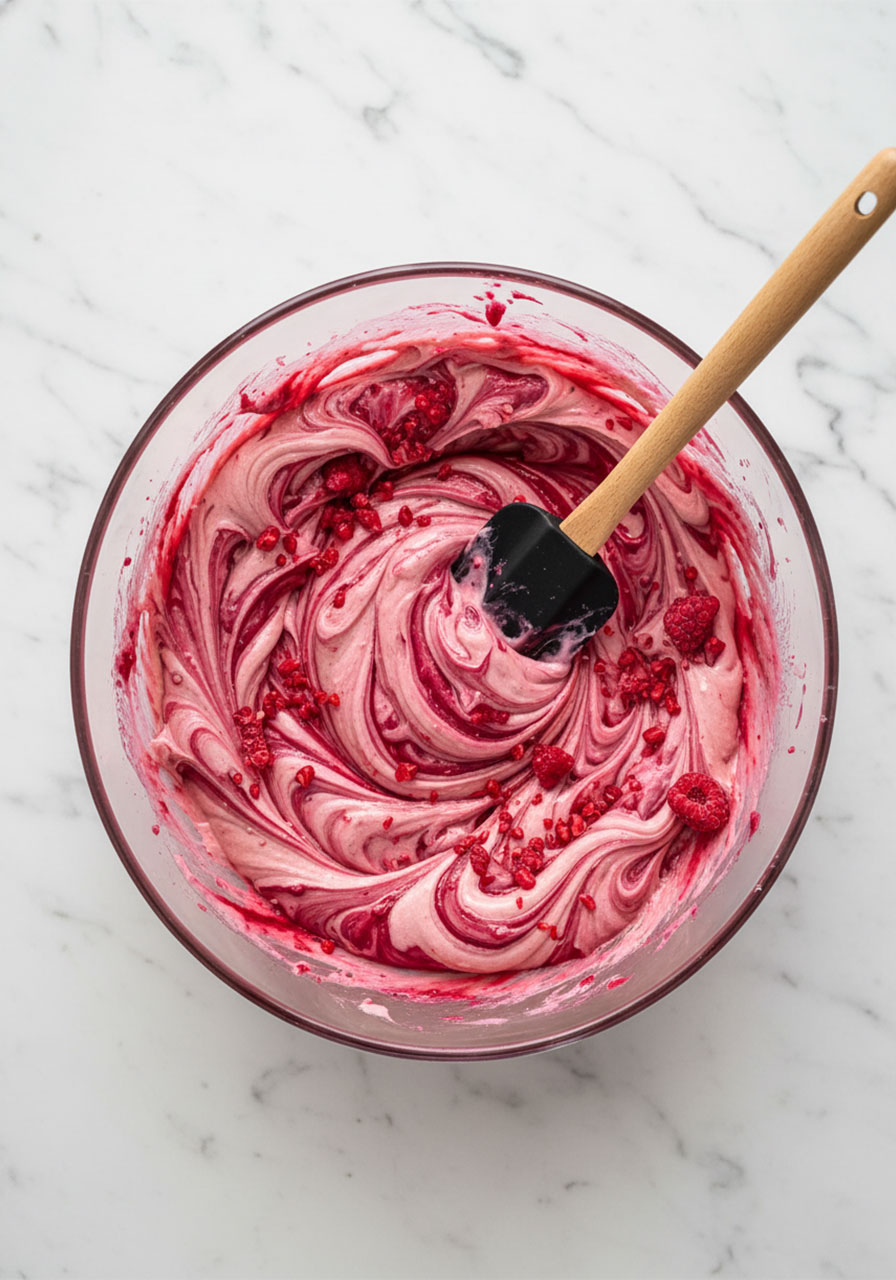
Step 8: Freeze the Dough (Don’t Skip This!)
Cover the bowl with plastic wrap and place it in the freezer for at least 1 hour. This is the most critical step in the entire recipe. The dough MUST go in the freezer – not just the fridge – or the cookies will spread out flat and thin when baked.
I know waiting is hard. Trust the process.
Step 9: Scoop, Roll & Bake
After the dough has chilled for at least an hour, preheat your oven to 325°F and line a baking sheet with parchment paper.
Using a 2-ounce cookie scoop (a large one), scoop out 12 dough balls. Drop each ball into the reserved 2 tablespoons of granulated sugar and roll to coat completely. Place them on the prepared baking sheet about 3 to 4 inches apart.
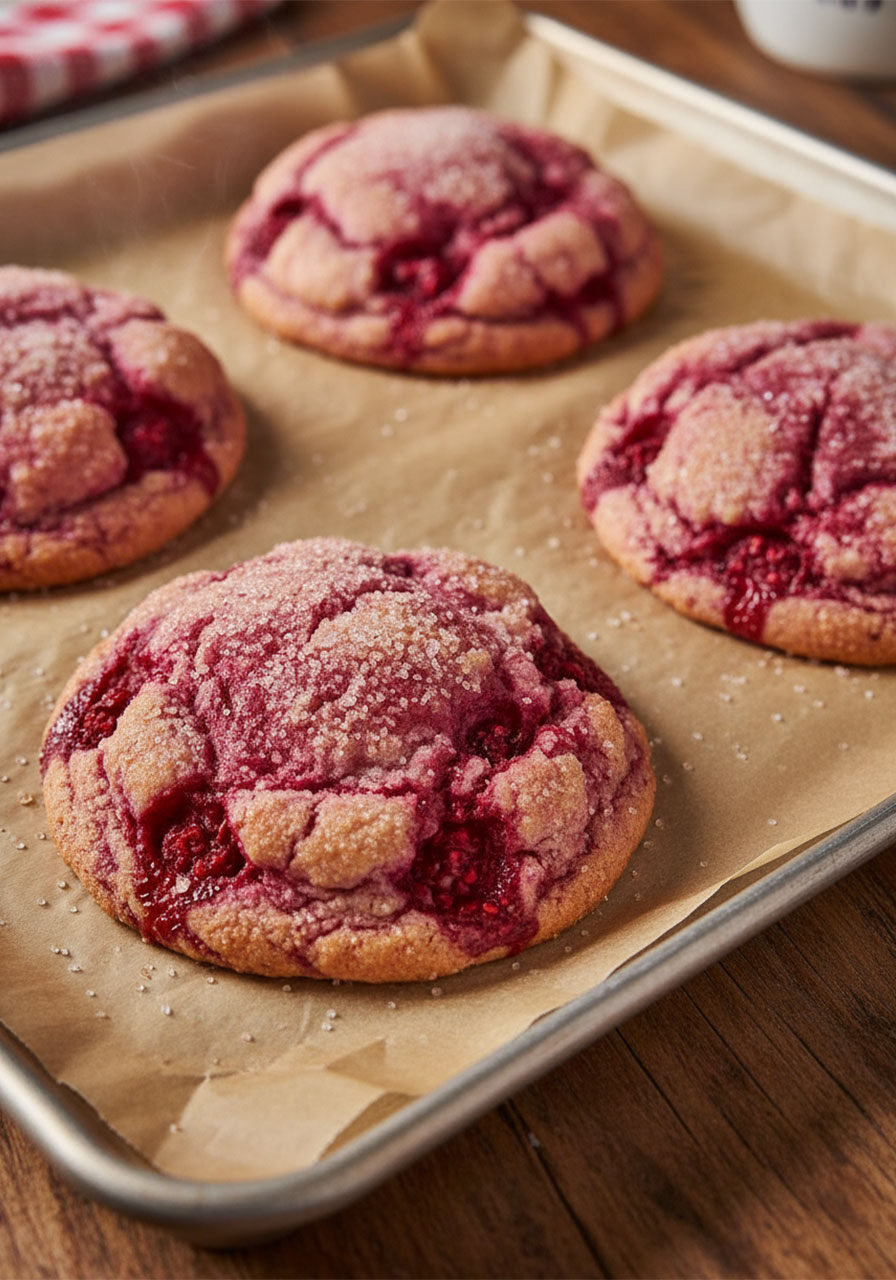
Bake for 15 minutes, or until the bottoms are lightly golden. Only bake 6 at a time – store the remaining dough balls in the freezer while the first batch bakes.
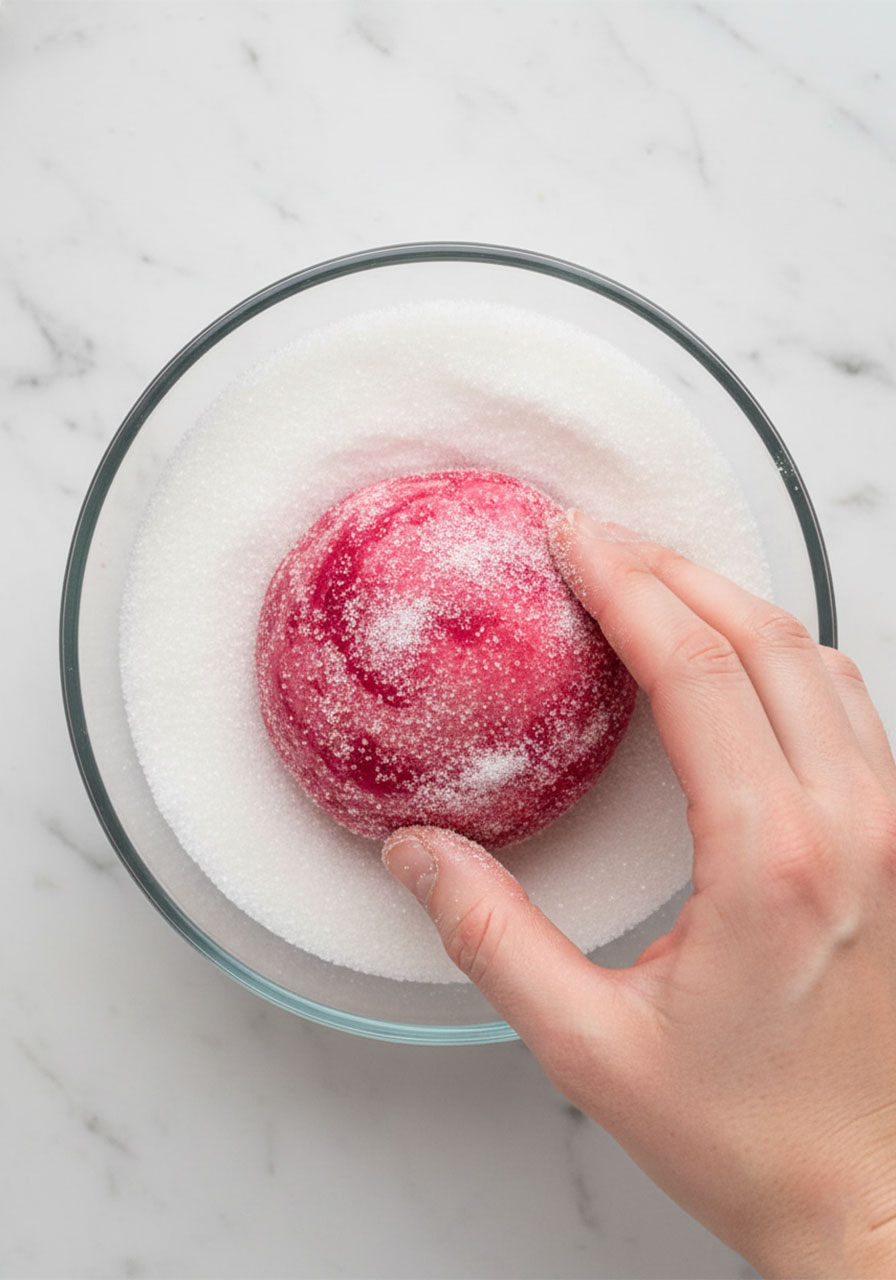
Step 10: Reshape & Cool
The moment the cookies come out of the oven, use a spatula to gently nudge them back into a round circle shape if needed. This is your window – do it while they’re still soft and warm. Let them cool on the baking sheet for 5 minutes before transferring to a cooling rack.
If you skip the reshaping step, they may crack when you try to move them. Just a heads up!
Expert Baking Tips (These Are the Ones That Actually Matter)
I want these cookies to be absolutely perfect for you. Here’s what makes the difference between “pretty good” and “everyone is asking for the recipe.”
Pack your flour cups. When working with gluten free flour, packed cups give better structure and help the cookies hold their shape. Or better yet – use the gram measurement (it’s in the recipe card below).
Room temperature butter is everything. If your butter is too cold, it won’t cream properly. If it’s melted, your cookies will spread. Set it out about an hour before you start baking.
Always strain the raspberry syrup. Seeds in cookies = not the vibe. Extra liquid in the dough = flat cookies. The strainer saves you from both problems at once.
Keep those chopped raspberries frozen. The moment they start to thaw, they release moisture. Add them to the dough straight from the freezer and work quickly.
Freeze, don’t refrigerate. The dough needs the hard freeze to stay structured during baking. An hour in the fridge is not the same as an hour in the freezer. The freezer is the law here.
Wash your cookie scoop mid-way. If the dough starts sticking to the scoop, rinse and dry it before continuing. Sticky scoop = uneven, messy dough balls.
Reshape immediately. You have about 60 seconds after pulling the cookies from the oven before they set. Use a spatula to gently push any edges back into a circle. This step makes them look professional.
What Do These Look Like Without Food Coloring?
Great question – and the answer is: still absolutely gorgeous.
Without red food coloring, the dough bakes up to a soft, pale mauve from the raspberry syrup. The dark crimson pieces of frozen raspberry contrast beautifully against the lighter dough, giving you a naturally marbled, almost watercolor look.
If you’re going the no-coloring route, the dough itself will appear lighter pink, the unbaked balls will look almost cream-colored with pink specks, and the baked cookies will have a subtle blush tone with vivid raspberry pockets throughout.
Both versions are beautiful. It just depends on your mood – bold and vibrant, or soft and natural.
Recipe FAQs
Can I make the dough ahead of time?
Absolutely! In fact, making the dough balls ahead of time is one of my favorite strategies. Scoop the dough into balls, then freeze them on a parchment-lined baking sheet. Once frozen solid, transfer to a zip-top bag. When you’re ready to bake, go straight from freezer to sugar coating to oven – no extra freezing step needed.
Can I make the cookies ahead of time?
Yes! Most gluten free baked goods are best fresh, but these cookies are the rare exception. They stay wonderfully soft for several days, as long as you store them in the fridge in an airtight container. You can absolutely bake them the day before an event and they’ll still be perfect.
Can I use a small cookie scoop?
Yes! Use a small cookie scoop and bake at the same temperature – 325°F – but reduce the time to 13 minutes. Reshape as needed right out of the oven. You’ll get about 24 smaller cookies instead of 12 large ones. Keep the waiting dough balls in the freezer between batches.
Can I swap raspberries for another fruit?
Unfortunately, no. Because these cookies are eggless, the moisture balance is very precise. Different fruits have different water content, and swapping them out almost always leads to dough that spreads uncontrollably. The good news? There are lots of other fruity cookie recipes out there – blueberry, strawberry, lemon blueberry – each developed specifically for the right moisture balance.
Is red food coloring safe for those with celiac or nut allergies?
Many food colorings are not safe, but McCormick liquid food coloring appears to be a reliable choice. According to the brand, any product with a gluten-free label is produced on a dedicated gluten-free line and validated as gluten free. They also state that allergens will always be clearly listed on labels – never hidden under terms like “natural flavors.”
That said, always check labels for yourself, as company policies can change. You can also use plant-based natural food colorings (note: color may vary), or simply skip the food coloring entirely. The cookies will be a soft, natural pale mauve without it.
How do I store raspberry cookies?
Once completely cool, store the cookies in an airtight container in the refrigerator for up to 3 days. Do not leave them at room temperature – the moisture from the raspberries makes them get wet and sticky quickly.
They’re soft and delicious straight from the fridge! If you prefer a warmer cookie, just let them sit at room temperature for 10 to 15 minutes before eating. Personally? I love them cold. They have a refreshing, almost sorbet-like quality that way.
Can I freeze the baked cookies?
It’s best to freeze the unbaked dough balls rather than the finished cookies. The baked cookies are best enjoyed fresh or within 3 days from the fridge. For longer storage, keep a stash of frozen dough balls and bake fresh whenever the craving strikes.
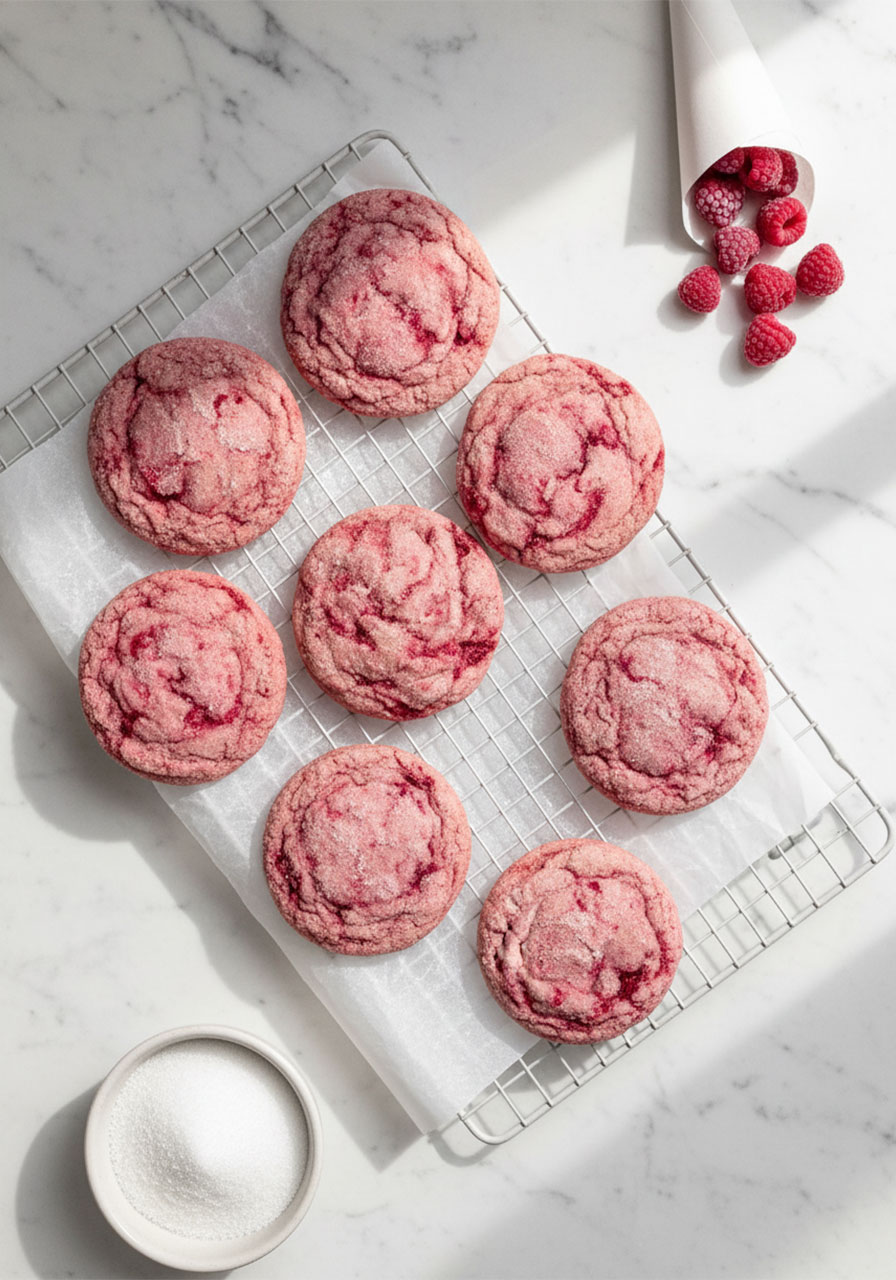
The Little Details That Make These Cookies Party-Perfect
These raspberry cookies aren’t just a dessert – they’re a moment.
They’re the kind of thing you pull out at a bridal shower and watch people stop mid-conversation. They’re what you bring to a spring gathering when you want everyone to feel seen and celebrated. They photograph beautifully, they taste even better than they look, and they happen to work for nearly every dietary need at the table.
The deep pink swirls look especially stunning on a white dessert tray or a marble board. Add a small bowl of fresh or frozen raspberries alongside them, a light dusting of extra sugar, and you’ve got a spread that looks like it took all day – when really the active baking time is under 45 minutes.
Hosting doesn’t have to be complicated to be beautiful. This recipe is proof of that.
Make them for yourself. Make them for your people. Make them just because it’s a Tuesday and you deserve something gorgeous today.
Raspberry Cookies (Soft, Chewy & Gluten Free)
Ingredients
For the Raspberry Syrup:
- 1 cup frozen raspberries
- ¼ cup granulated sugar
For the Cookies:
- 2 cups gluten free multipurpose flour (with xanthan gum)
- 1.5 tablespoons cornstarch
- 1.5 teaspoons baking powder
- ½ teaspoon kosher salt
- ½ cup unsalted butter or vegan baking stick, room temperature
- 1¼ cups granulated sugar, plus 2 tablespoons reserved for rolling
- 2 rounded tablespoons cornstarch + 3 tablespoons water, stirred together
- 3 tablespoons milk (or non-dairy milk)
- 3 tablespoons raspberry syrup (from above)
- 3 drops red food coloring (optional)
- ½ cup frozen raspberries, chopped into small pieces
Instructions
Make the Raspberry Syrup:
- Combine 1 cup frozen raspberries and ¼ cup sugar in a saucepan over medium heat. Stir constantly for about 10 minutes until broken down and syrupy.
- Strain through a fine mesh strainer into a bowl. Press to extract liquid. You should have 2 to 3 tablespoons of syrup. Set aside to cool completely.
Make the Cookie Dough:
- Rough chop ½ cup frozen raspberries into small pieces. Place in a freezer-safe bowl and return to the freezer immediately.
- In a large bowl, whisk together the gluten free flour, baking powder, 1.5 tablespoons cornstarch, and salt. Set aside.
- In a small bowl, stir together the 2 rounded tablespoons cornstarch and 3 tablespoons water until thin and watery. Set aside.
- In a stand mixer with the paddle attachment, beat the butter and 1¼ cups sugar for 2 to 3 minutes until soft and creamy.
- With the mixer on low, slowly add the cornstarch water mixture, milk, and cooled raspberry syrup. Mix until combined. Dough will look pink and chunky – that's correct.
- Slowly beat in the flour mixture a little at a time until just combined.
- If using food coloring, add 3 to 4 drops and mix until evenly blended.
- Gently fold in the frozen chopped raspberries with a spatula. Do not overmix.
- Cover the bowl with plastic wrap and freeze for at least 1 hour. Do not skip this step.
Bake the Cookies:
- Preheat oven to 325°F. Line a baking sheet with parchment paper.
- Using a 2-ounce cookie scoop, scoop 12 dough balls. Roll each in the reserved 2 tablespoons of granulated sugar to coat completely.
- Place dough balls 3 to 4 inches apart on the prepared baking sheet. Bake 6 at a time, keeping remaining dough in the freezer.
- Bake for 15 minutes, or until bottoms are lightly golden.
- Immediately reshape cookies into circles using a spatula. Cool on the baking sheet for 5 minutes, then transfer to a cooling rack.
Notes
- Smaller cookies: Use a small scoop, bake 13 minutes. Makes ~24 cookies.
- Vegan: Use dairy-free GF flour, vegan sugar, vegan baking sticks, non-dairy milk, and vegan food coloring.
- All-purpose flour: Use 2 packed cups (336g). Still freeze the dough.
- No food coloring: Cookies will be a pale, natural mauve. Still beautiful!
- Storage: Airtight container in the fridge for up to 3 days.
- Freezing dough: Wrap dough balls in plastic wrap, then freeze in a zip-top bag for up to 30 days. Bake straight from frozen.
