
Can I be honest with you for a second?
For years, “gluten-free brownie” felt like an oxymoron. You’d bite into one and – dry. Crumbly. Weirdly grainy. Nothing like the real thing.
So I get it if you’re a little skeptical right now. But I promise, this recipe is different.
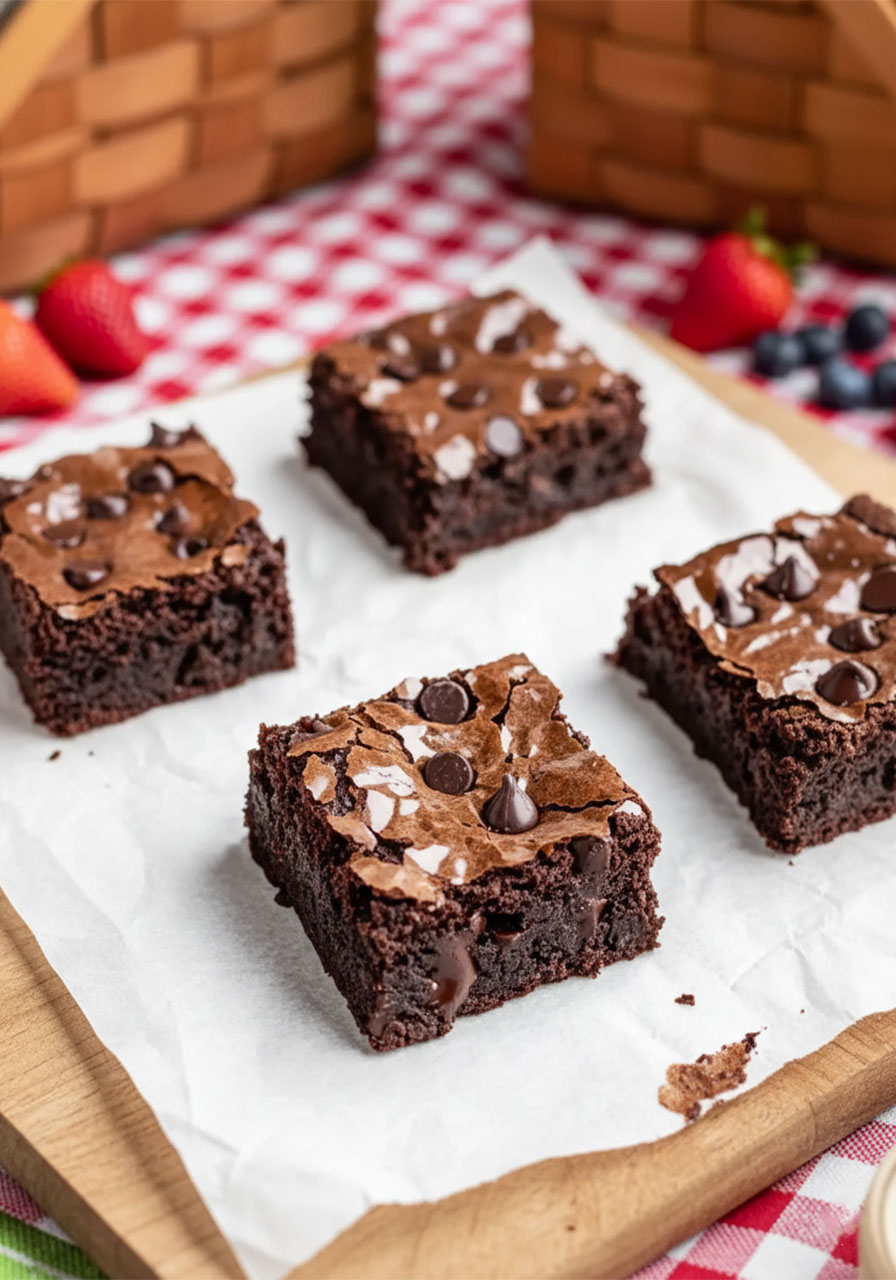
These gluten-free brownies are fudgy, rich, deeply chocolatey, and – here’s the best part – nobody ever guesses they’re gluten-free until you tell them. I’ve made these for book clubs, family gatherings, and last-minute dinner parties. The pan is always empty before the night is over.
Whether you’re gluten-free yourself, baking for a friend with celiac, or just trying something new, you’re going to want to save this recipe.
And the best part? You can have these mixed and in the oven in under 20 minutes. Let’s do this.
Why You’re Going to Love These Brownies
Before we get into the how, let’s talk about the why – because these aren’t just “pretty good for gluten-free.” They’re genuinely great.
They’re the real deal, texture-wise. We’re talking crackly tops, gooey centers, and that satisfying chew you expect from a brownie. No compromise.
Deep, double-chocolate flavor. This recipe uses both unsweetened cocoa powder AND chocolate chips. That layered chocolate punch is everything.
Simple, accessible ingredients. Most of what you need is probably already in your pantry. The gluten-free flour blend is the main specialty item – and it’s available at virtually every grocery store now.
Ready in under an hour. Prep takes 15-20 minutes. Baking takes 30. You can have warm brownies on the table in under an hour, which makes these absolutely perfect for when guests show up unexpectedly.
Foolproof and repeatable. This recipe uses precise measurements and a reliable technique so you get the same gorgeous results every single time.

What You’ll Need – Ingredients Breakdown
Let’s talk about what goes into these brownies and why each ingredient earns its spot.
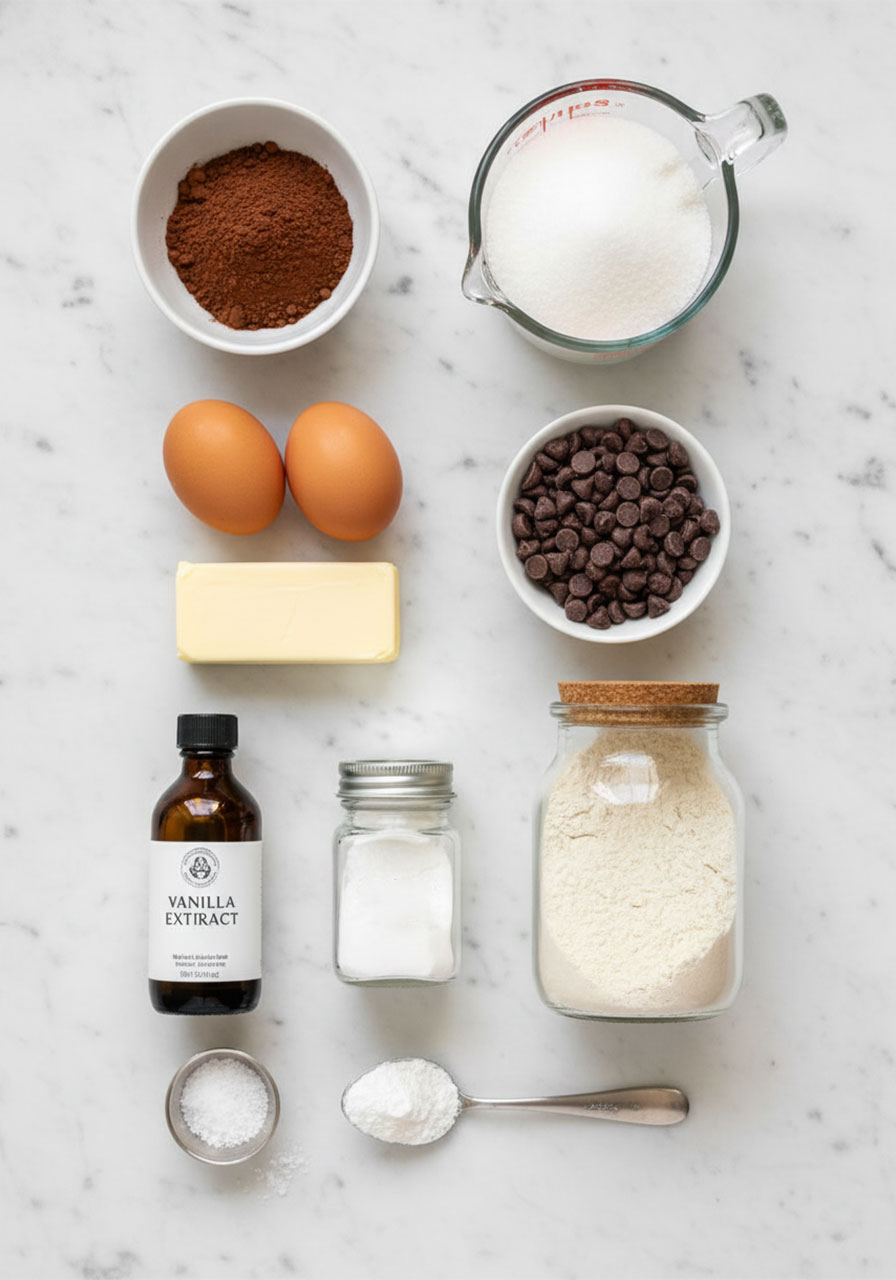
Here’s your full shopping list at a glance:
- 9 tablespoons unsalted butter
- 1 1/4 cups white sugar
- 2 large eggs, room temperature
- 1 teaspoon vanilla extract
- 1 cup unsweetened cocoa powder
- 1/3 cup gluten-free 1-to-1 flour blend
- 2 tablespoons cornstarch
- 1/8 teaspoon xanthan gum (skip if your flour blend already has it)
- 1/8 teaspoon baking soda
- 1/4 teaspoon kosher salt
- 5 oz semi-sweet chocolate chips, divided
Now let’s break down the ones that really matter:
Unsalted butter. This is your fat base – it gives the brownies their rich, dense texture. Unsalted is key because you’re already adding kosher salt separately, which gives you full control over the flavor. Kerrygold is a personal favorite here for its higher fat content, but any quality unsalted butter works beautifully.
White sugar + butter heated together. This isn’t just sweetening the batter. When you warm butter and sugar together before mixing, you’re dissolving the sugar crystals, which is one of the secrets behind that iconic shiny, crackly brownie top.
Two room-temperature eggs. Eggs are the backbone of the structure here. Room temperature matters – cold eggs can cause the melted butter to seize and make the batter grainy. If you forgot to take them out early, just set them in a bowl of warm (not hot) water for 5 minutes.
Unsweetened cocoa powder. One full cup of it. This is where the deep, intense chocolate flavor comes from. Don’t skimp and don’t swap for sweetened cocoa – the recipe is carefully balanced and the extra sugar would throw everything off.
Gluten-free 1-to-1 flour blend. Just 1/3 cup – that’s it. Because this recipe leans on cocoa powder, eggs, and butter for its structure, you need very little flour. A 1-to-1 blend (like King Arthur or Cup4Cup) is pre-formulated to behave like all-purpose flour, so no guesswork needed.
Cornstarch. This is the texture secret weapon. It makes the brownies extra fudgy and tender by softening the protein structure. Don’t skip it.
Xanthan gum. In regular baking, gluten holds everything together. In gluten-free baking, xanthan gum does that job – it binds the ingredients and gives the brownies that chewy, not-crumbly texture. If your flour blend already lists xanthan gum in the ingredients, leave this out entirely.
Semi-sweet chocolate chips. You’re using them two ways – folded into the batter for melty pockets of chocolate inside, and scattered on top for that gorgeous chip-studded finish. Ghirardelli semi-sweet chips are a go-to recommendation, but use whatever brand you love.
Vanilla extract, baking soda, and kosher salt. These are your supporting players. Vanilla rounds out the chocolate flavor. A tiny pinch of baking soda gives the brownies just enough lift without making them cakey. And salt – never skip the salt. It deepens and sharpens the chocolate flavor in a way that’s almost magical.
What Kind of Cocoa Powder Should You Use?
Great question – and it actually matters here.
You have two solid options: natural cocoa powder or Dutch-processed cocoa powder.
Natural cocoa (like Hershey’s unsweetened) gives you a bold, slightly tangy chocolate flavor. Dutch-processed is smoother, deeper, and a little less bitter because it’s been treated with alkali. Both work beautifully in this recipe.
What you cannot use: sweetened cocoa or hot cocoa mix. Those will throw off the sugar balance and you’ll end up with brownies that taste off.
One pro tip: don’t pack the cocoa into your measuring cup. Spoon it in lightly and level it off. Too much cocoa = dry brownies. We don’t want that.
What Gluten-Free Flour Should You Use?
This is the number one question in gluten-free baking, and honestly, it’s simpler than you think.
This recipe works best with a 1-to-1 gluten-free flour blend – meaning it’s designed to swap in place of all-purpose flour cup for cup. Here are the top options:
Better Batter – the original go-to in this recipe
Cup4Cup – great results, widely available
King Arthur Measure for Measure – another fan favorite
Bob’s Red Mill 1-to-1 Baking Flour – easy to find at most stores
One important thing: check the label for xanthan gum. If your flour blend already contains it, skip the xanthan gum listed in the recipe. Too much xanthan makes baked goods gummy – and that’s not the vibe we’re going for here.
Easy Substitutions That Actually Work
Need to make a swap? No stress. Here’s what you can do without losing that perfect fudgy texture:
Butter → Dairy-Free: Coconut oil or dairy-free butter sticks like Earth Balance both work well. Just make sure they’re at room temperature before mixing.
Eggs → Vegan: For each egg, use 1/4 cup mashed banana, 1/4 cup applesauce, or a flax egg (1 tablespoon ground flax + 3 tablespoons water, let sit 5 minutes). The texture will be slightly different, but still delicious.
Chocolate Chips → Your Favorites: Milk chocolate, dark chocolate, dairy-free chips – whatever your heart (and pantry) desires. You can even chop up a chocolate bar.
White Sugar → Alternatives: Coconut sugar or brown sugar both work. Just know they’ll add a tiny bit of moisture and a slightly darker color. Totally fine.
Cornstarch → Other Starches: Arrowroot powder or potato starch work as a 1:1 swap.
How to Make Quick Gluten-Free Brownies – Step by Step
Let’s walk through the whole process together. I promise it’s easier than you think.
Step 1: Prep Your Pan
Start by preheating your oven to 325°F. Lower and slower is the secret to fudgy brownies – high heat dries them out.
Line an 8-inch square baking pan with parchment paper or nonstick aluminum foil, leaving a little overhang on two sides. This creates a “sling” that makes lifting the whole slab out later completely effortless.
If you’re using regular foil, give it a quick spray with nonstick cooking spray. Set the pan aside – you’ll come back to it soon.
Step 2: Melt the Butter and Sugar
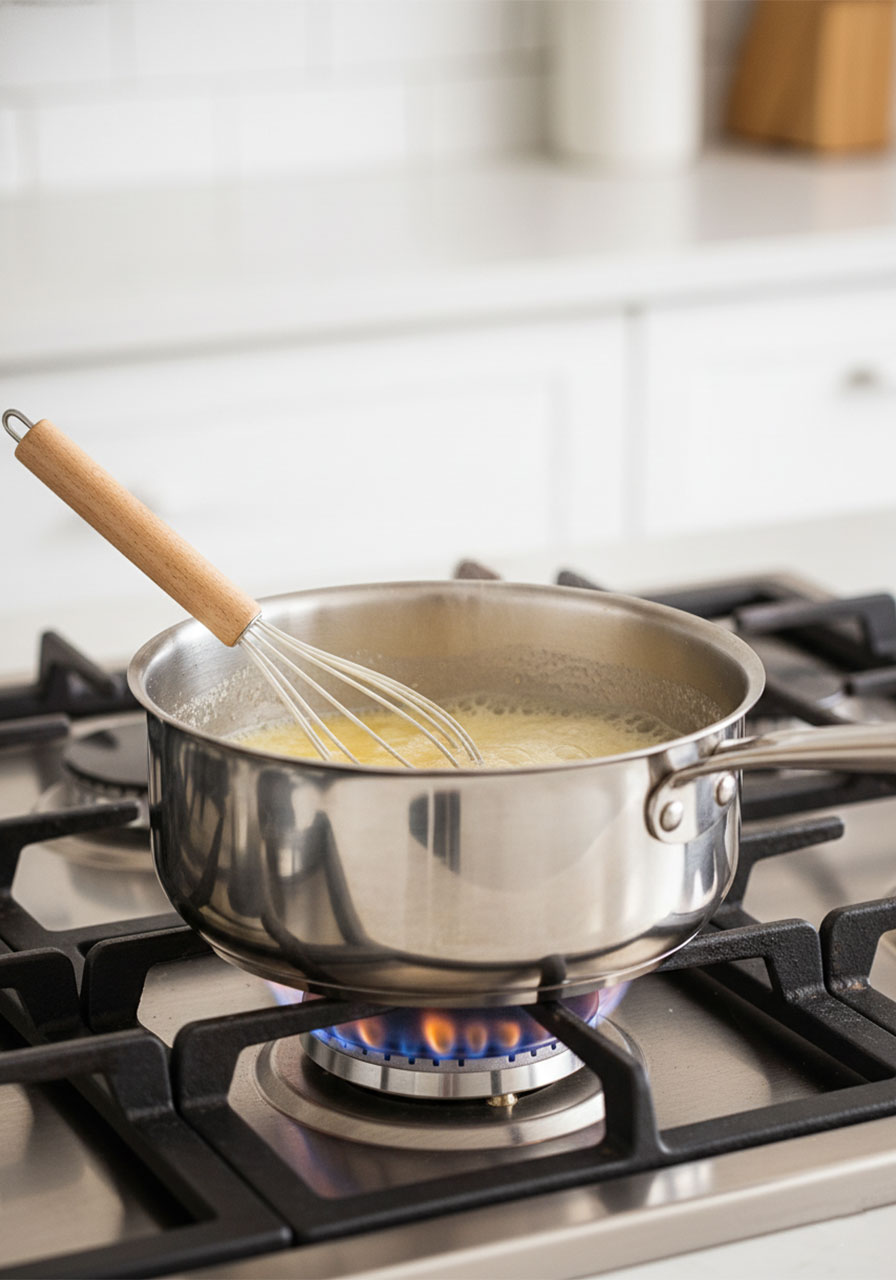
Add the 9 tablespoons of unsalted butter and 1 1/4 cups of white sugar to a small saucepan.
Place it over medium heat and whisk occasionally. You’re looking for the butter to fully melt and the mixture to just start simmering at the edges.
Once it reaches that point, remove it from the heat immediately. You don’t want it to boil or caramelize.
Now – and this is important – let it cool. You’re going to add eggs next, and if the butter mixture is too hot, it will scramble them. To speed things up, set the bottom of the saucepan in a bowl of cool water for a few minutes. Just keep an eye on it so the butter doesn’t solidify.
Step 3: Build Your Batter
Grab a large mixing bowl. Crack in your 2 room-temperature eggs and add the 1 teaspoon of vanilla extract. Whisk them together until they’re well beaten and slightly frothy.
Now, slowly pour the cooled butter-sugar mixture into the eggs while whisking constantly. Slowly is the key word here – you want to temper the eggs gently, not cook them.
Next, sift in the 1 cup of unsweetened cocoa powder. Whisk until it’s fully absorbed and the batter looks dark and glossy.
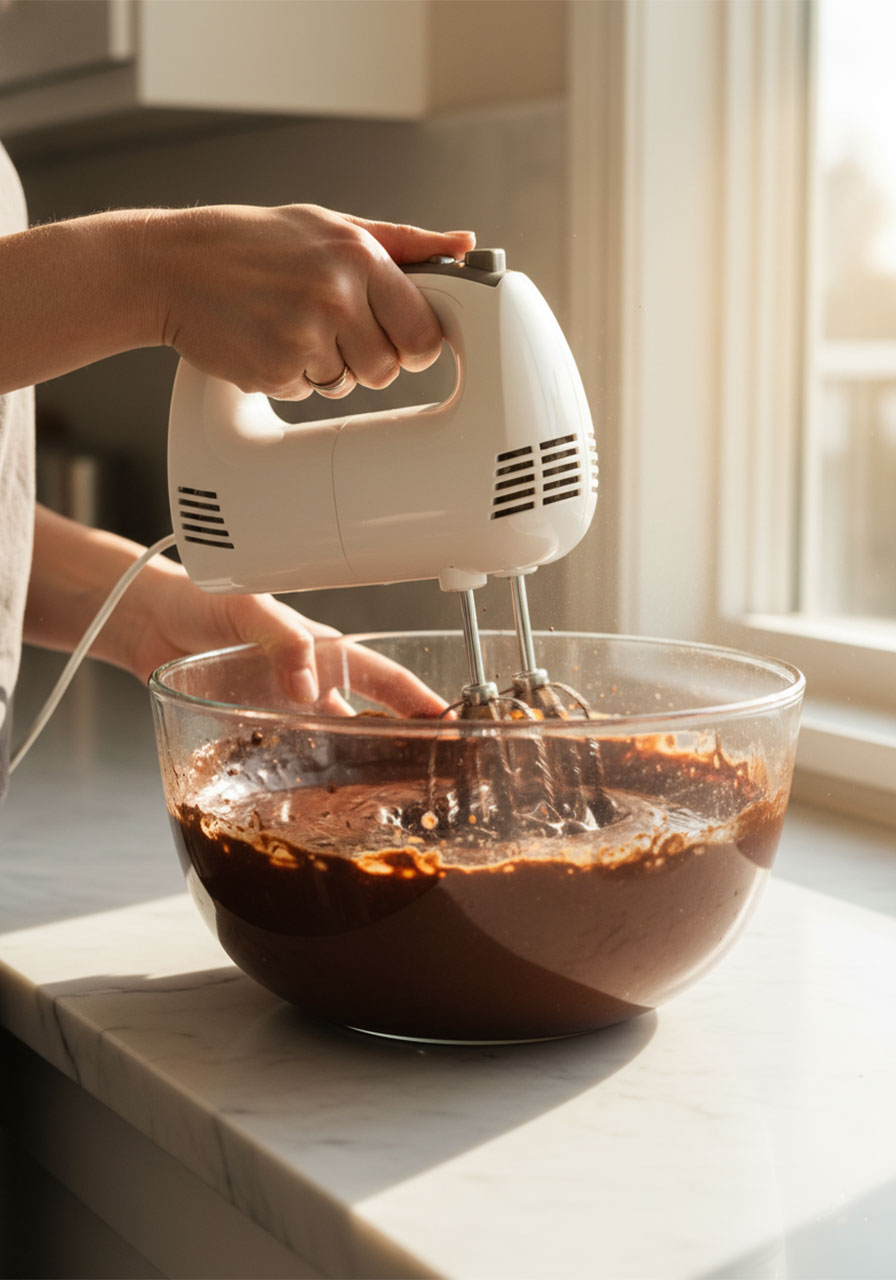
This is the moment to use your handheld electric mixer. Beat the mixture on medium speed for about a minute until it’s very smooth, shiny, and well combined. This step is what gives you that gorgeous crackly top.
Step 4: Add the Dry Ingredients
Switch to a silicone spatula. Add these dry ingredients directly to your batter:
1/3 cup gluten-free flour blend
1/8 teaspoon xanthan gum (skip if your flour already has it)
2 tablespoons cornstarch
1/8 teaspoon baking soda
1/4 teaspoon kosher salt
Stir gently until the dry ingredients are just combined – don’t overmix. A few stirs past “no dry streaks visible” and you’re done.
Now fold in about 4 oz of the chocolate chips. Reserve the remaining 1 oz for the top. Your batter will be thick and sticky – that’s exactly right.
Step 5: Fill the Pan and Bake
Pour the batter into your prepared pan. Use a lightly moistened offset spatula (the water keeps it from dragging) to spread the batter into an even, smooth layer all the way to the edges.
Scatter the remaining chocolate chips evenly over the top. Then give the pan a firm bang on the counter two or three times – this helps the chips press in and eliminates any air pockets.
Slide the pan into the center rack of your preheated oven and bake for about 30 minutes.
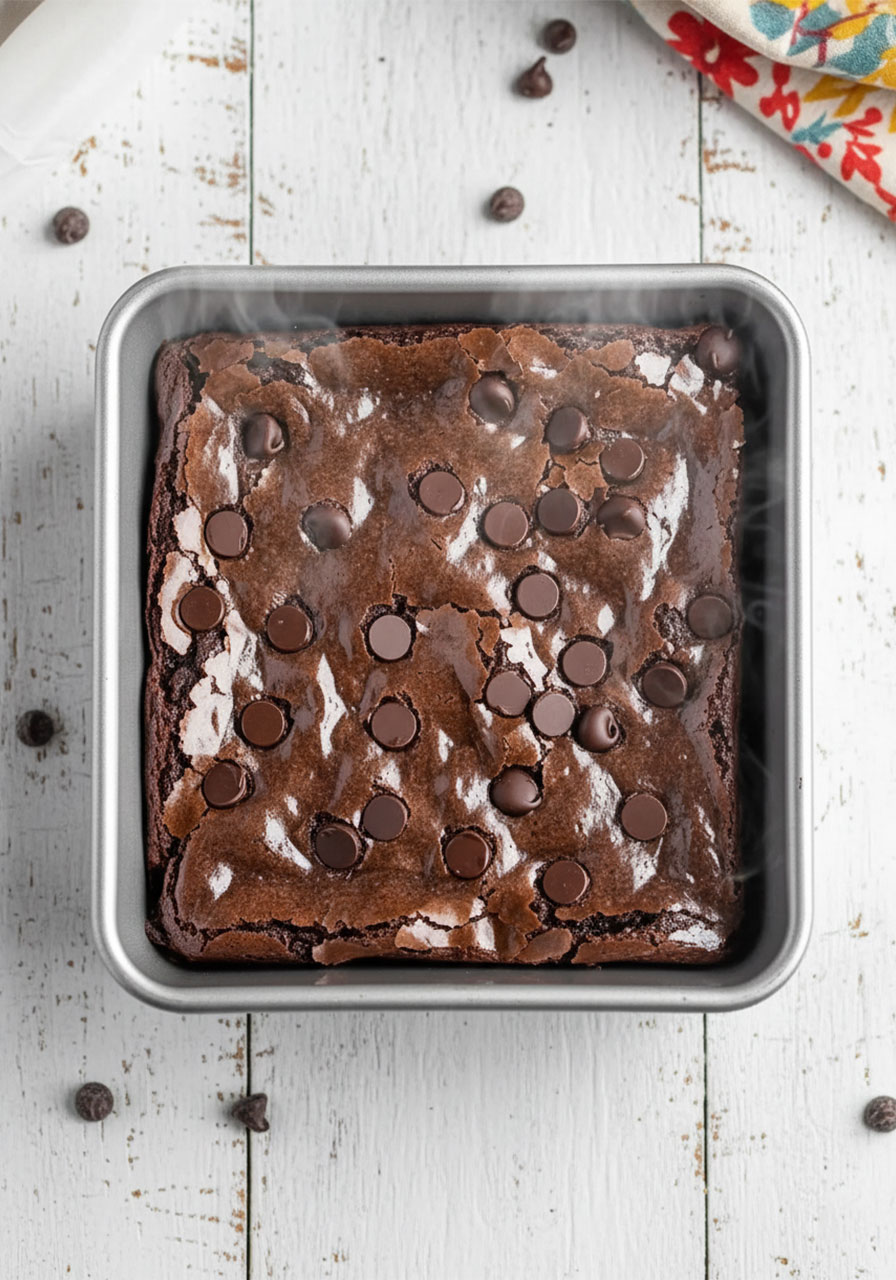
Here’s a key thing to know: don’t rely on the toothpick test. Gluten-free brownies can look underdone on a toothpick even when they’re perfectly baked. Instead, watch for the edges to look set and firm, and the center to no longer appear wet or jiggly when you gently shake the pan. That’s your cue.
Step 6: Cool, Slice, and Serve
When the timer goes off, pull the pan from the oven and set it on a wire rack or folded kitchen towel. Let it cool at room temperature until the pan itself is no longer hot to the touch.
For the cleanest, most satisfying slices, transfer the pan to the refrigerator and chill for about 1 hour. I know the wait feels brutal, but cold brownies slice like a dream.
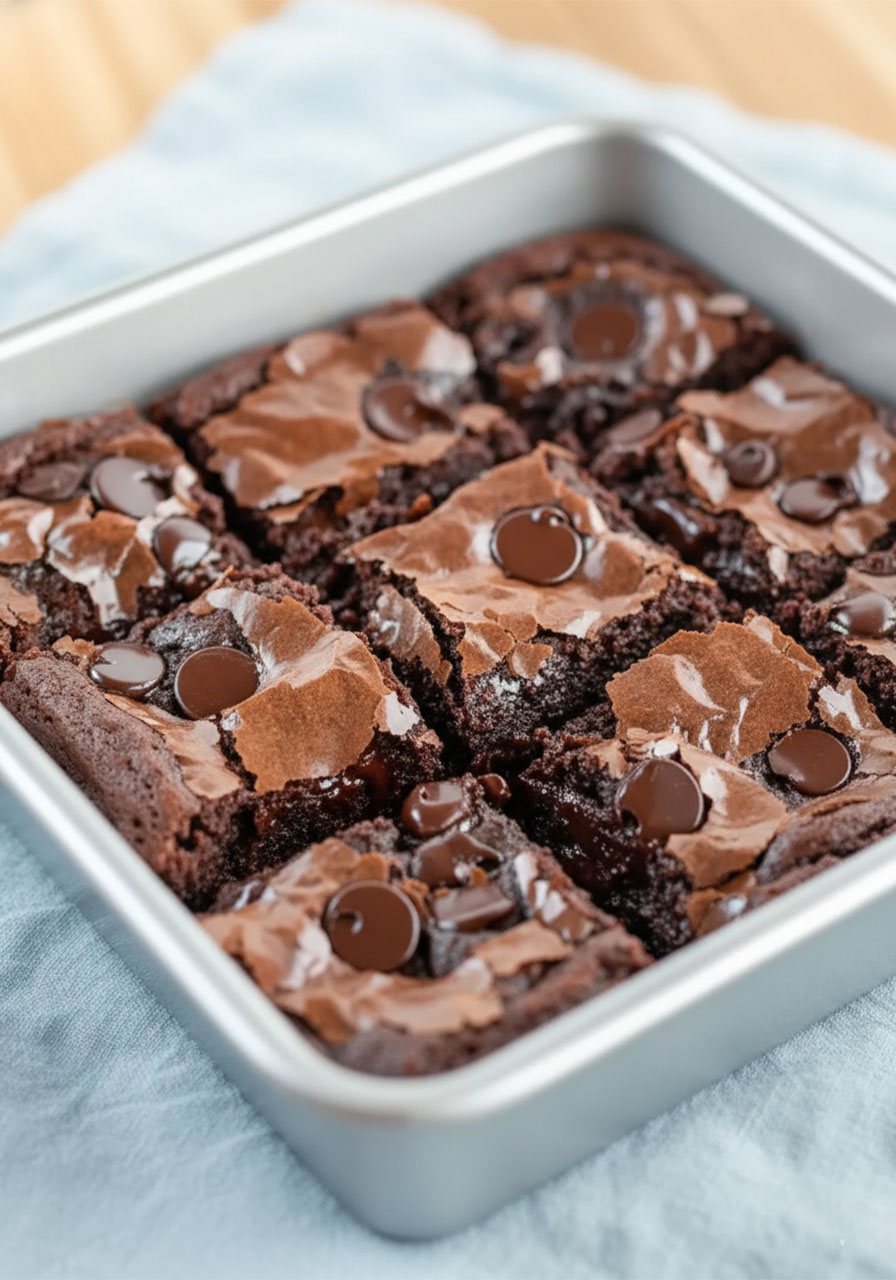
When you’re ready, use the parchment sling to lift the whole slab out of the pan. Peel away the parchment and use a plastic knife or bench scraper (not metal – it drags) to cut into 9 equal squares.
Serve immediately, or wrap individually and freeze for later. They’re incredible either way.
Mistakes to Avoid (So Yours Turn Out Perfect)
Let’s talk about the things that trip people up – because gluten-free baking has a few quirks worth knowing.
Don’t overbake. This is the #1 mistake. With gluten-free brownies, the toothpick test isn’t reliable – they may still look wet in the center even when fully baked. Pull them out when the edges are set and the center no longer looks jiggly. Around 30 minutes at 325°F is your sweet spot.
Use room-temperature eggs. Cold eggs can cause the melted butter to seize up and make your batter grainy. Set your eggs out 30 minutes before you start baking. Easy fix, major difference.
Don’t rush the cooling. I know, I know. The smell is absolutely torturous. But let them cool completely – ideally an hour – before slicing. Better yet, chill them in the fridge for clean, sharp cuts. Worth every minute of the wait.
Use a plastic knife or bench scraper to cut. A metal knife drags and crumbles gluten-free baked goods. A plastic knife (yes, like a butter knife) or a bench scraper gives you those gorgeous clean edges.
Sift your cocoa and flour. If your batter looks gritty or lumpy, sifting is the cure. It takes 30 extra seconds and makes the texture noticeably smoother.
What to Serve With Your Gluten-Free Brownies
These brownies are a total showstopper on their own – but if you want to take them to the next level, here are some simple, crowd-pleasing pairings:
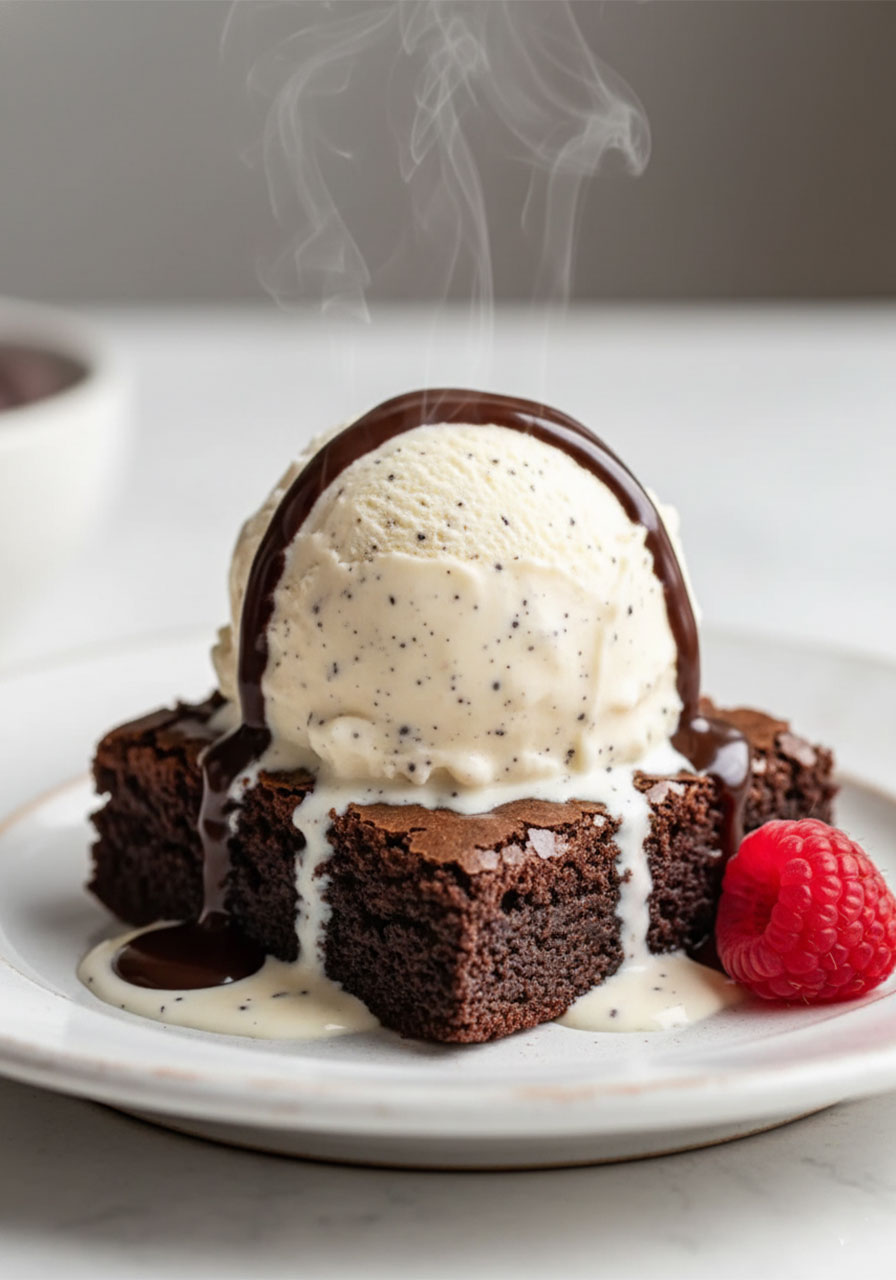
Vanilla ice cream. The classic. A scoop on top of a slightly warm brownie? Pure magic. That hot-and-cold contrast is undefeated.
Fresh berries + whipped cream. Raspberries, strawberries, or sliced cherries add a bright pop of flavor that cuts through the richness. Perfect for a more elegant dessert presentation.
A drizzle of caramel sauce. Set up a little brownie bar at your next gathering – lay out the brownies and bowls of toppings so everyone can customize their own. Your guests will lose their minds.
A hot cup of coffee or cold glass of milk. Sometimes the simplest pairing is the best one. The bitterness of coffee or the creaminess of milk perfectly balances that intense chocolate flavor.
How to Store Your Gluten-Free Brownies
Good news: these keep beautifully.
Room temperature: Store in an airtight container for up to 3 days. Lay a piece of parchment over the top to keep them from drying out.
Refrigerator: If your kitchen runs warm, pop them in the fridge where they’ll stay moist for up to 1 week.
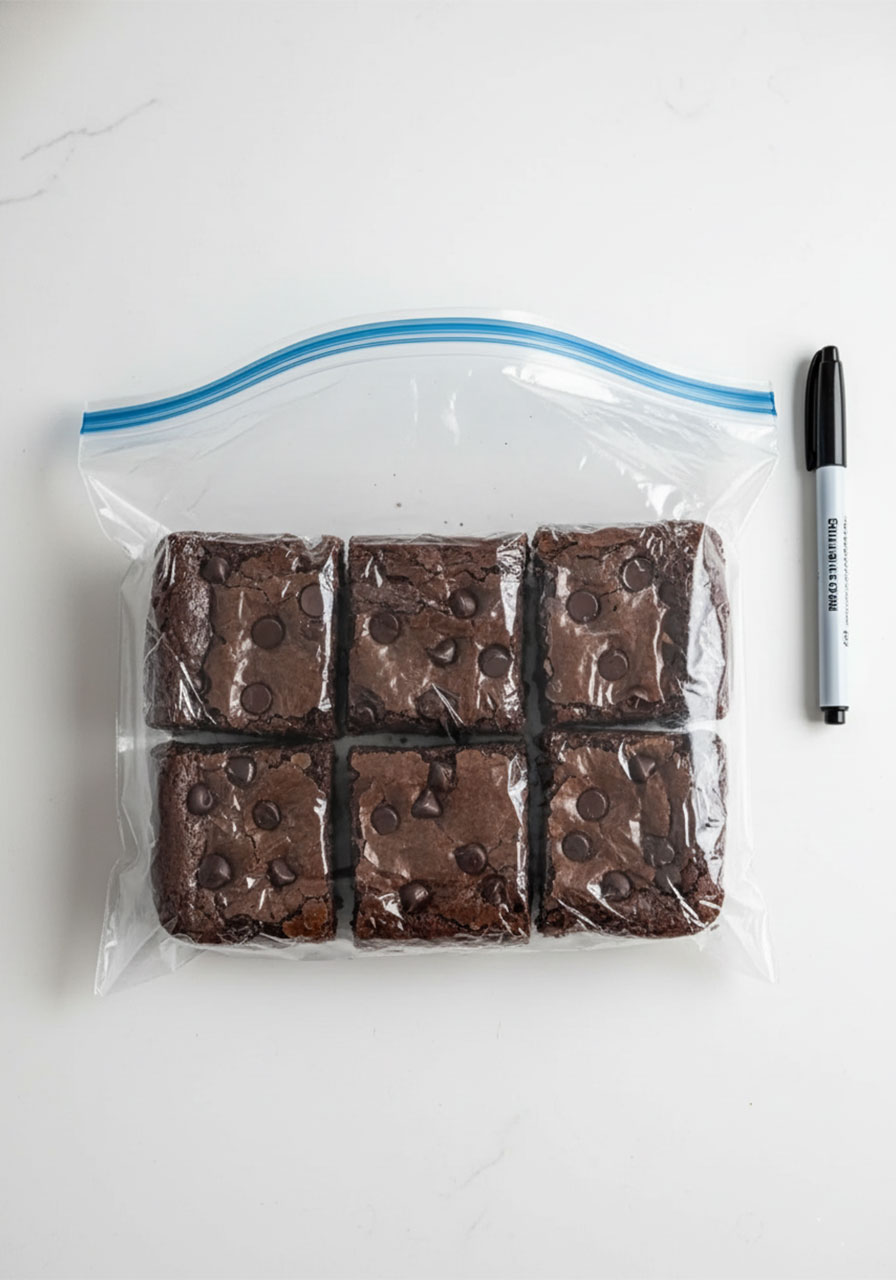
Freezer: These freeze like a dream. Cut into squares, wrap each one individually in plastic wrap, and place in a zip-lock freezer bag. They’ll keep for up to 3 months.
To thaw: Set a brownie out at room temperature for about an hour. Or if you just can’t wait, 10-15 seconds in the microwave brings it right back to warm, gooey life. You’re welcome.
Quick Gluten-Free Brownies
Ingredients
- 9 tablespoons unsalted butter
- 1 1/4 cups white sugar
- 2 large eggs, room temperature (about 70°F)
- 1 teaspoon vanilla extract
- 1 cup unsweetened cocoa powder
- 1/3 cup all-purpose gluten-free flour blend (like Better Batter, Cup4Cup, or King Arthur Measure for Measure)
- 2 tablespoons cornstarch
- 1/8 teaspoon xanthan gum (skip if your flour blend already contains it)
- 1/8 teaspoon baking soda
- 1/4 teaspoon kosher salt
- 5 oz semi-sweet chocolate chips, divided (Ghirardelli recommended)
Instructions
- Step 1: Prep Your Pan. Preheat your oven to 325°F. Line an 8-inch square baking pan with parchment paper or nonstick aluminum foil. If using regular foil, spray lightly with nonstick cooking spray. Set the pan aside.
- Step 2: Melt the Butter and Sugar. Combine the butter and sugar in a small saucepan over medium heat. Whisk occasionally until fully melted and just starting to simmer. Remove from heat and let it cool until it's no longer hot to the touch. (To speed this up, set the bottom of the pan in a bowl of cool water – just don't let the butter solidify.)
- Step 3: Mix the Wet Ingredients. In a large bowl, whisk together the eggs and vanilla until well combined. Slowly pour in the cooled butter-sugar mixture while whisking constantly. Add the cocoa powder and whisk until fully absorbed. Use a handheld mixer to beat everything together until very smooth and glossy.
- Step 4: Add the Dry Ingredients and Chocolate Chips. Add the gluten-free flour, xanthan gum, cornstarch, baking soda, and salt. Stir with a silicone spatula until just combined – don't overmix. Fold in about 4 oz of the chocolate chips (reserving the rest for the top) until evenly distributed.
- Step 5: Fill the Pan and Bake. Pour the batter into your prepared pan. Use a lightly moistened spatula to spread it into an even layer. Scatter the remaining chocolate chips over the top and give the pan a firm bang on the counter to help them stick. Bake in the center of the oven for about 30 minutes, until the edges are set and the center no longer looks wet. Note: the toothpick test isn't reliable here – trust your eyes.
- Step 6: Cool, Slice, and Serve. Let the brownies cool in the pan until the pan is no longer hot. For the cleanest slices, transfer the pan to the refrigerator and chill for about 1 hour. Remove from the pan, peel away the parchment, and cut into 9 squares. Serve immediately or wrap individually and freeze for later.
Notes
- Always use room-temperature eggs. Cold eggs cause the butter to seize and create a grainy batter.
- Sift your cocoa and flour for a smoother, less gritty texture.
- Use a plastic knife or bench scraper (not a metal knife) for clean cuts.
- Don’t rely on the toothpick test – pull the brownies when the center no longer looks jiggly or wet.
- These freeze beautifully for up to 3 months. Wrap each square individually for best results.
Estimated Nutrition (Whole Recipe)
- Calories: 2,200–2,400
- Protein: 20–25g
- Fat: 120–130g
- Carbohydrates: 280–300g
