
If you’re a teacher or parent hunting for a STEM activity that’s cheap, fast, and genuinely impressive, stop scrolling. Paper helicopters are about to become your new favorite go-to.
All you need is a scrap of cardstock, a paper clip, and a pair of scissors. In under five minutes, you’ll have a spinning, twirling little flyer that kids will want to drop, throw, and race again and again.
We tested this activity ourselves, and honestly, we were shocked at how well it worked. It’s now officially one of our most requested activities, and once you see it in action, you’ll understand why.
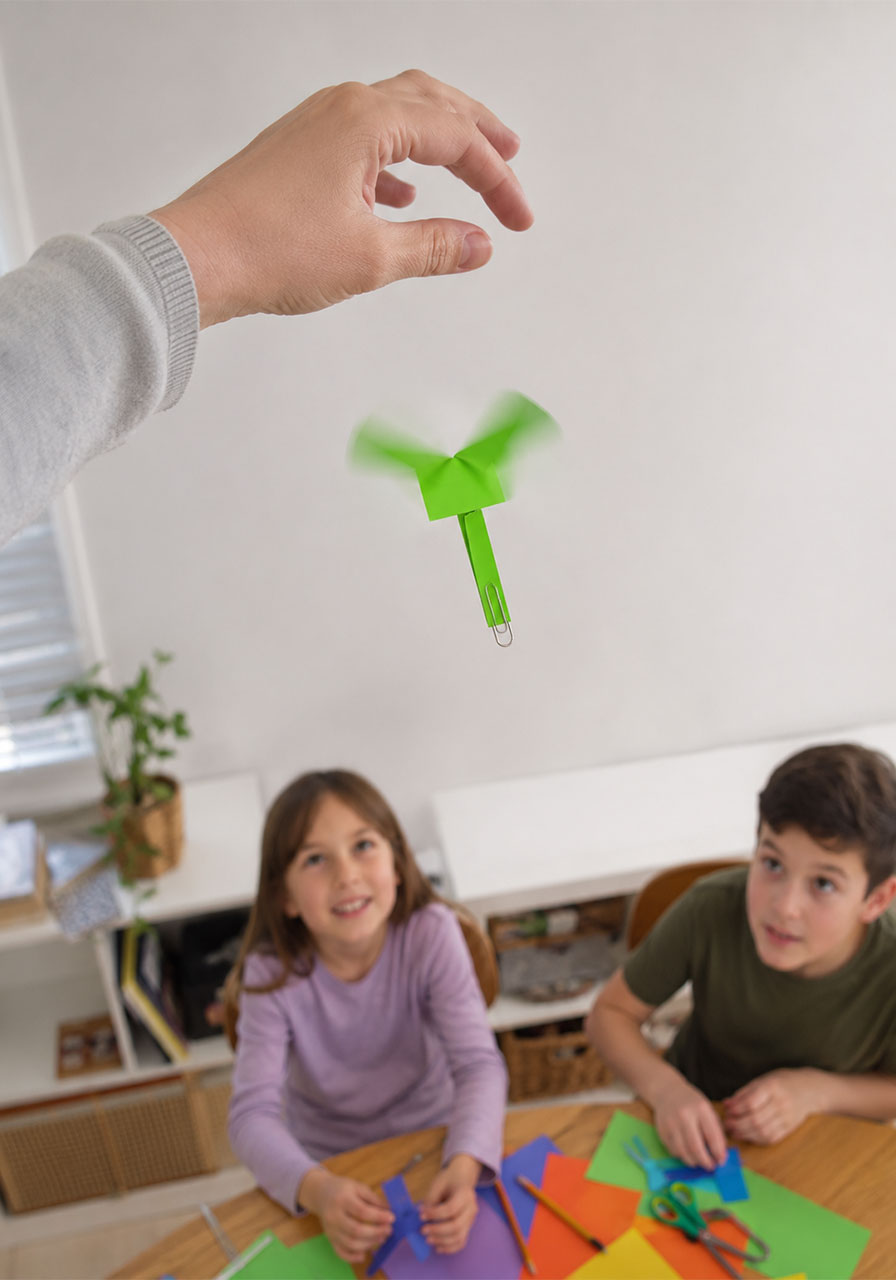
Why This Activity Is a Teacher and Parent Favorite
Paper helicopters check every box on the “great STEM activity” list. They’re low-prep, low-mess, and low-cost, which means you can pull this together during a rainy indoor recess or a Sunday afternoon with zero stress.
They also teach real science without feeling like a lesson. Kids see cause and effect instantly: fold the blades this way, and the helicopter spins one direction. Add a paper clip, and it flies straighter and faster. That kind of hands-on trial and error is exactly what makes STEM concepts stick.
Best of all, this activity scales beautifully. It works for a single curious kid at the kitchen table, or a full classroom of 25 students each testing their own design.

The Science Behind the Spin (Great for Curious Minds)
Here’s the fun part you can share with your kids or students: this spinning motion is called autorotation, and it’s the same principle that lets maple seeds twirl to the ground and helps real helicopters land safely if their engine fails.
As the paper falls, air pushes against the angled blades unevenly. That imbalance forces the helicopter to spin instead of just dropping straight down. The spinning motion actually slows the fall, which is why your helicopter drifts gracefully instead of plummeting.
This is a simple, visual way to introduce big ideas like air resistance, rotation, and force, even to very young learners.
Quick Facts
Best for: Ages 4 and up, individual play or full classrooms
Time to Make: 5 minutes
Time to Play: Unlimited (seriously, kids will not want to stop)
Mess Level: None
What You’ll Need
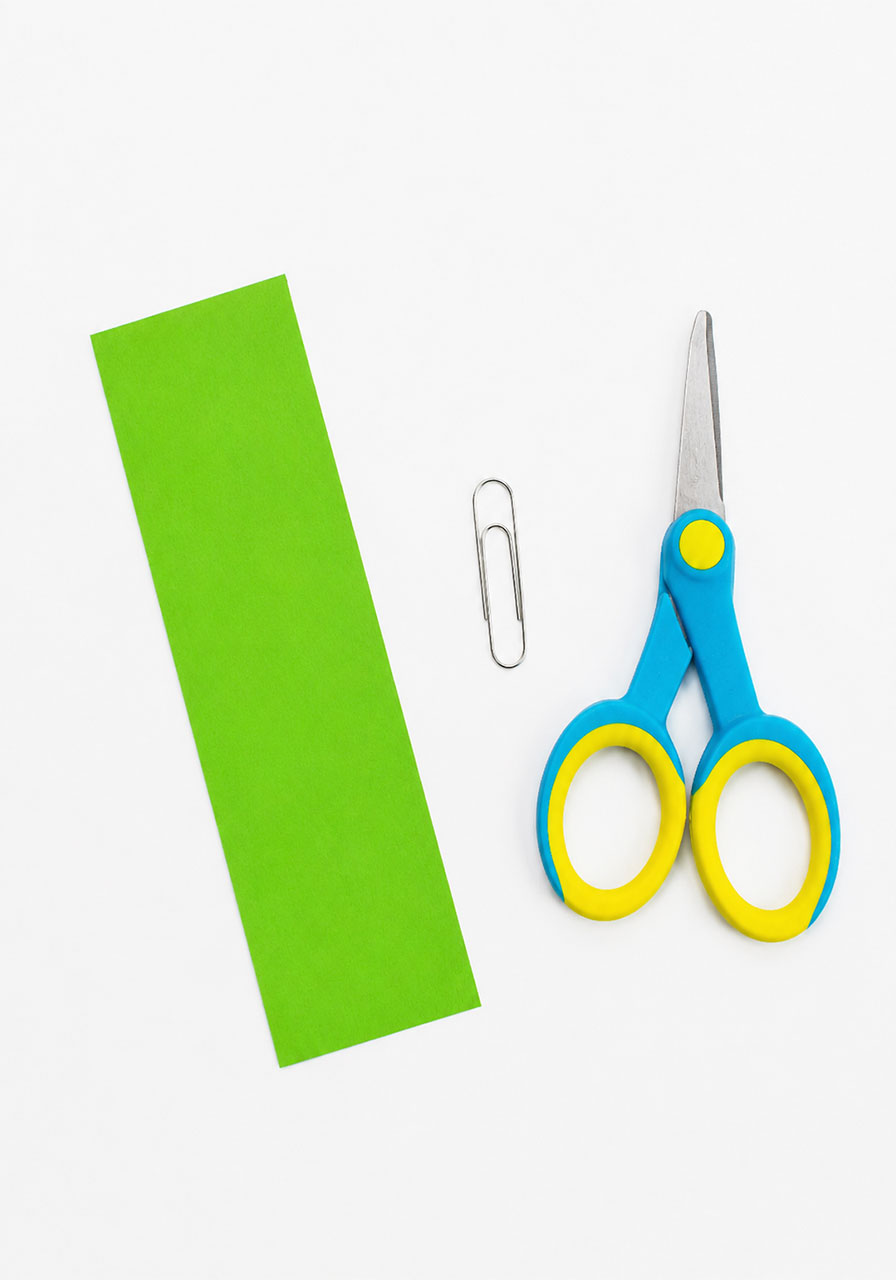
Paper (cardstock works best, but printer paper works in a pinch)
Scissors
A paper clip
That’s it. No glue, no tape, no trip to the craft store required.
How to Make a Paper Helicopter
Step 1: Cut your rectangle.
Cut your paper into a 6-inch by 2-inch rectangle. This size flies beautifully, but feel free to experiment with smaller or larger pieces once you’ve got the hang of it.
Step 2: Cut the center slit.
At one end of your rectangle, cut a straight line about 3 inches up the middle of the paper. This will become your two rotor blades.
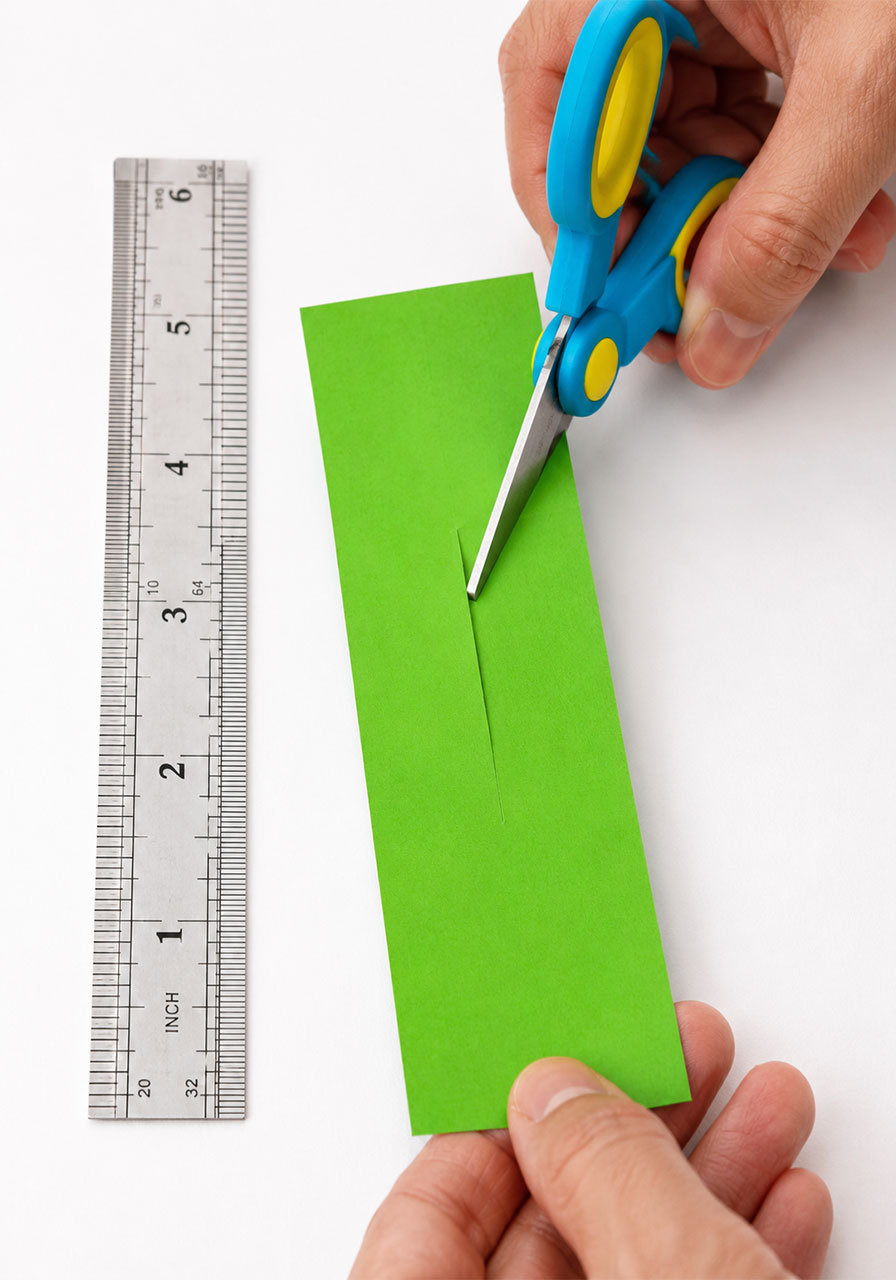
Step 3: Cut the shoulder lines.
On either side of that center cut, make two small horizontal cuts about half an inch above where your first cut ends. These small cuts create the “shoulders” of your helicopter.
Step 4: Fold in the base.
Fold the uncut bottom end of your paper inward, as if you’re folding it in half lengthwise. This creates the stem your helicopter will spin from.
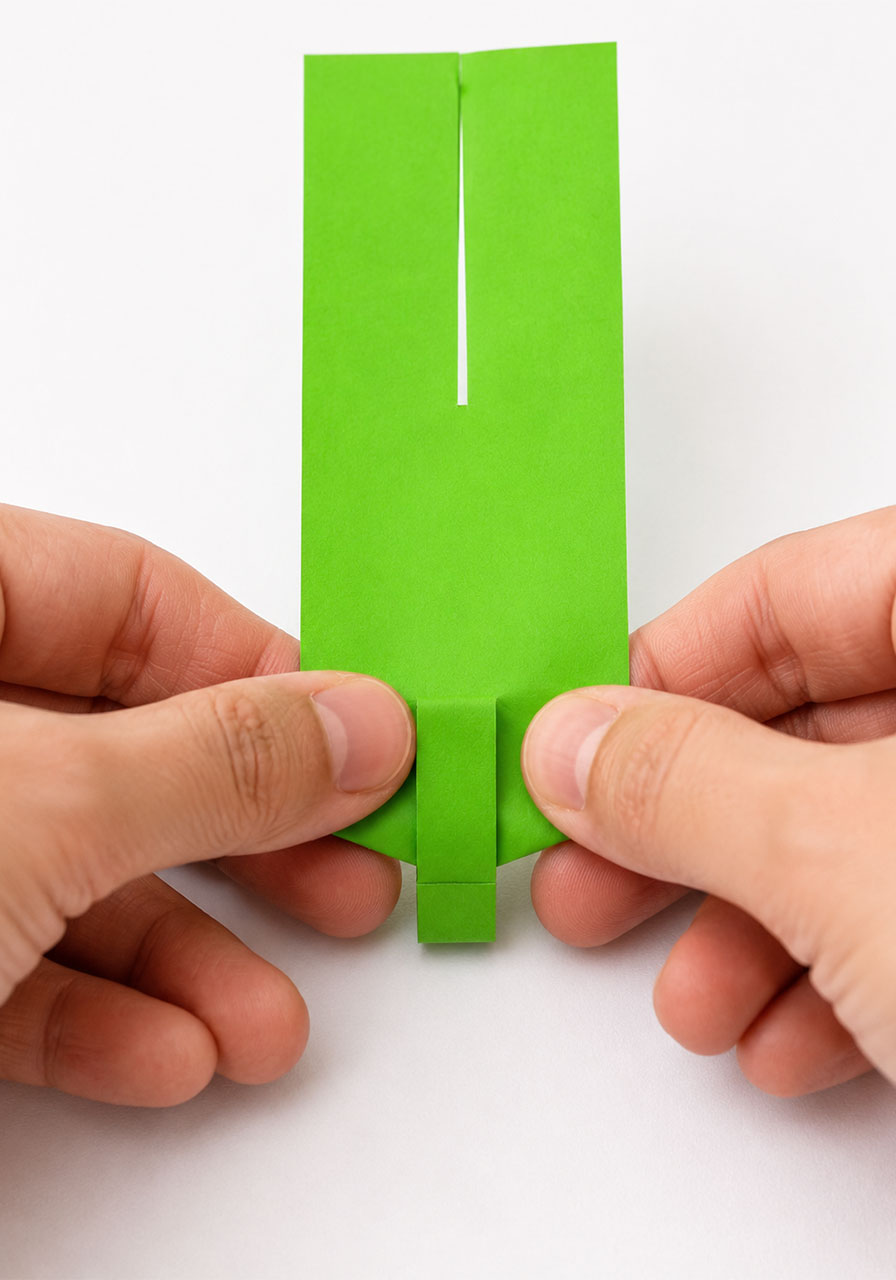
Step 5: Add the paper clip.
Flatten your folded stem and fold up a small piece at the very bottom. Slide a paper clip onto this folded end. The paper clip adds just enough weight to keep your helicopter upright and stable while it’s flying.
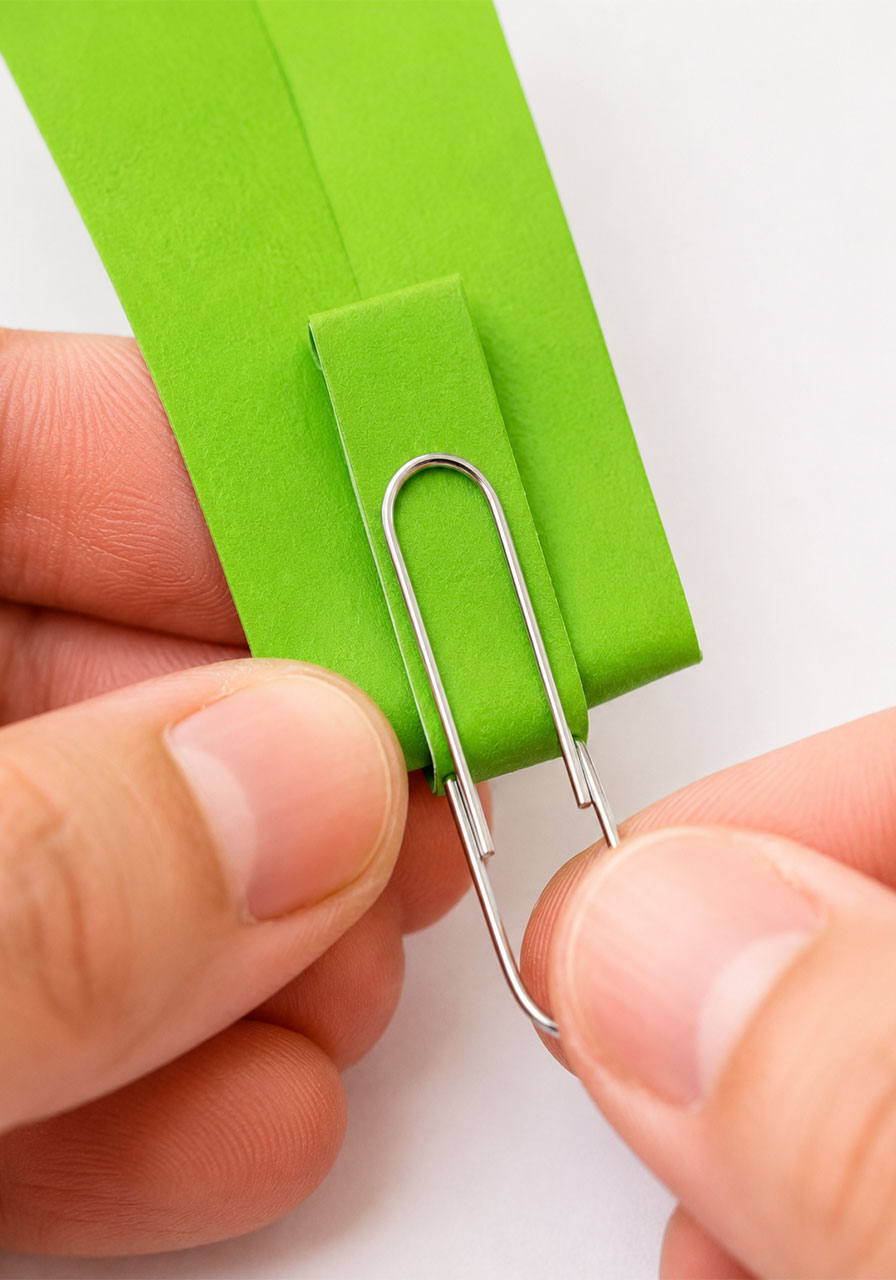
Step 6: Create the blades.
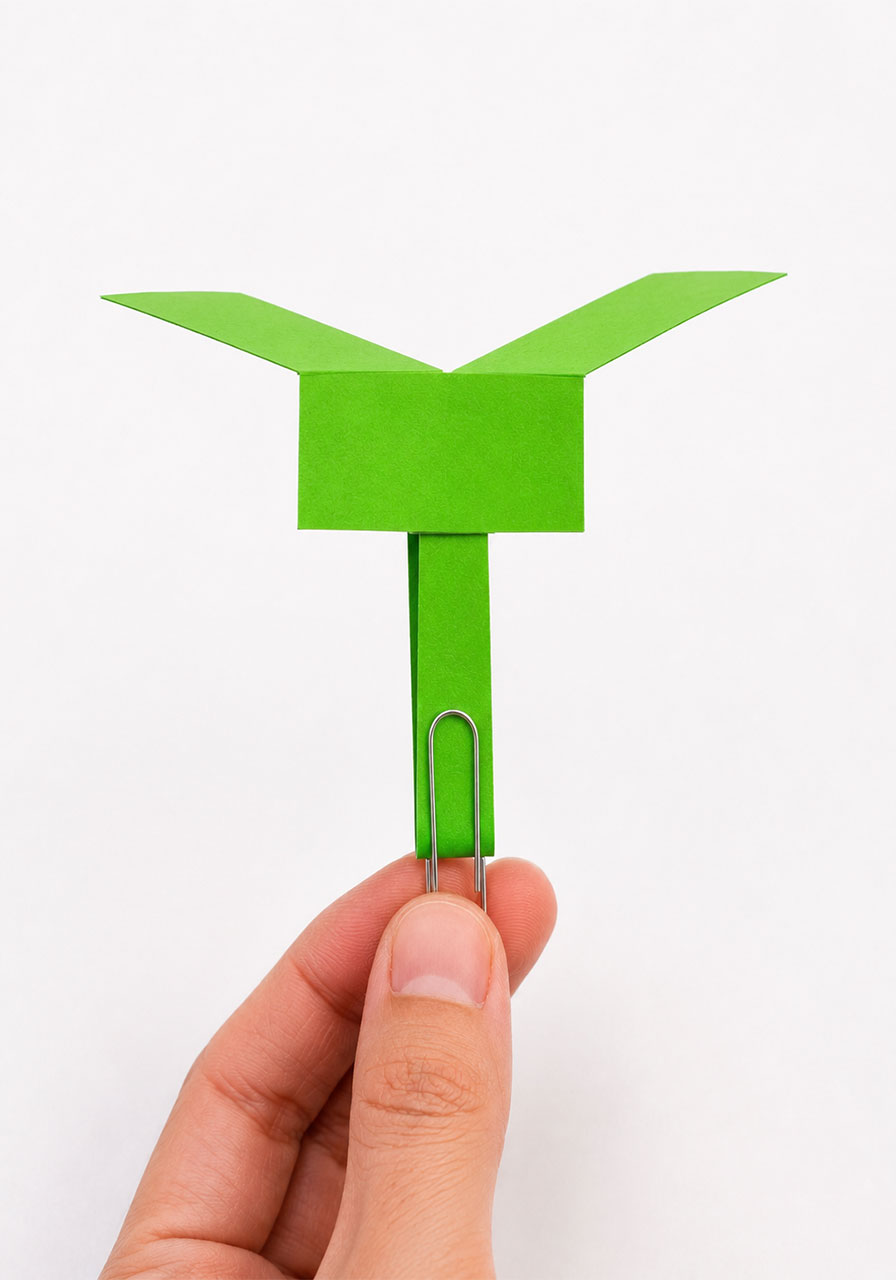
At the top, fold your two cut sections in opposite directions, one forward and one backward. These are your rotor blades, and this is where the magic happens.
And that’s it. Your paper helicopter is ready for takeoff.
Pro Tip
Make several helicopters at once, especially if you’re planning to drop them from somewhere high. Nothing kills the fun faster than climbing up and down a staircase every single time to retrieve just one.
How to Fly Your Paper Helicopter
You’ve got two great options here, and both are worth trying.
The first is to hold the paper clip end and give it a gentle toss, similar to throwing a small paper airplane. This works fine, but it’s not the best way to see your helicopter really shine.
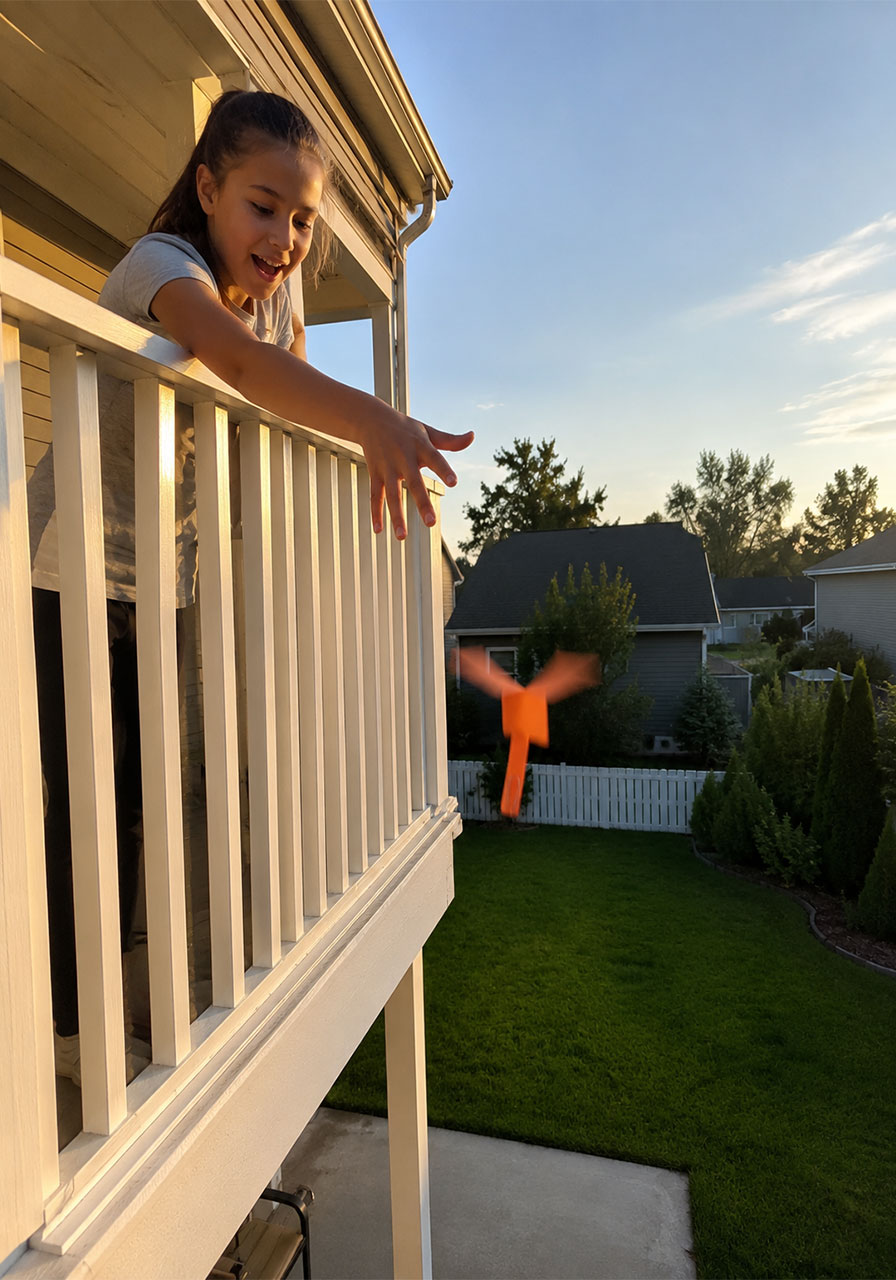
The second option is the real showstopper: find a high spot, like a balcony, staircase, or even standing on a sturdy chair, and simply drop the helicopter straight down. Watch it spin and twirl its way to the ground. It’s genuinely beautiful to watch, and kids will ask to do it again immediately.
Fun Variations to Try
Once your kids or students have mastered the basic design, keep the excitement going with these easy twists.
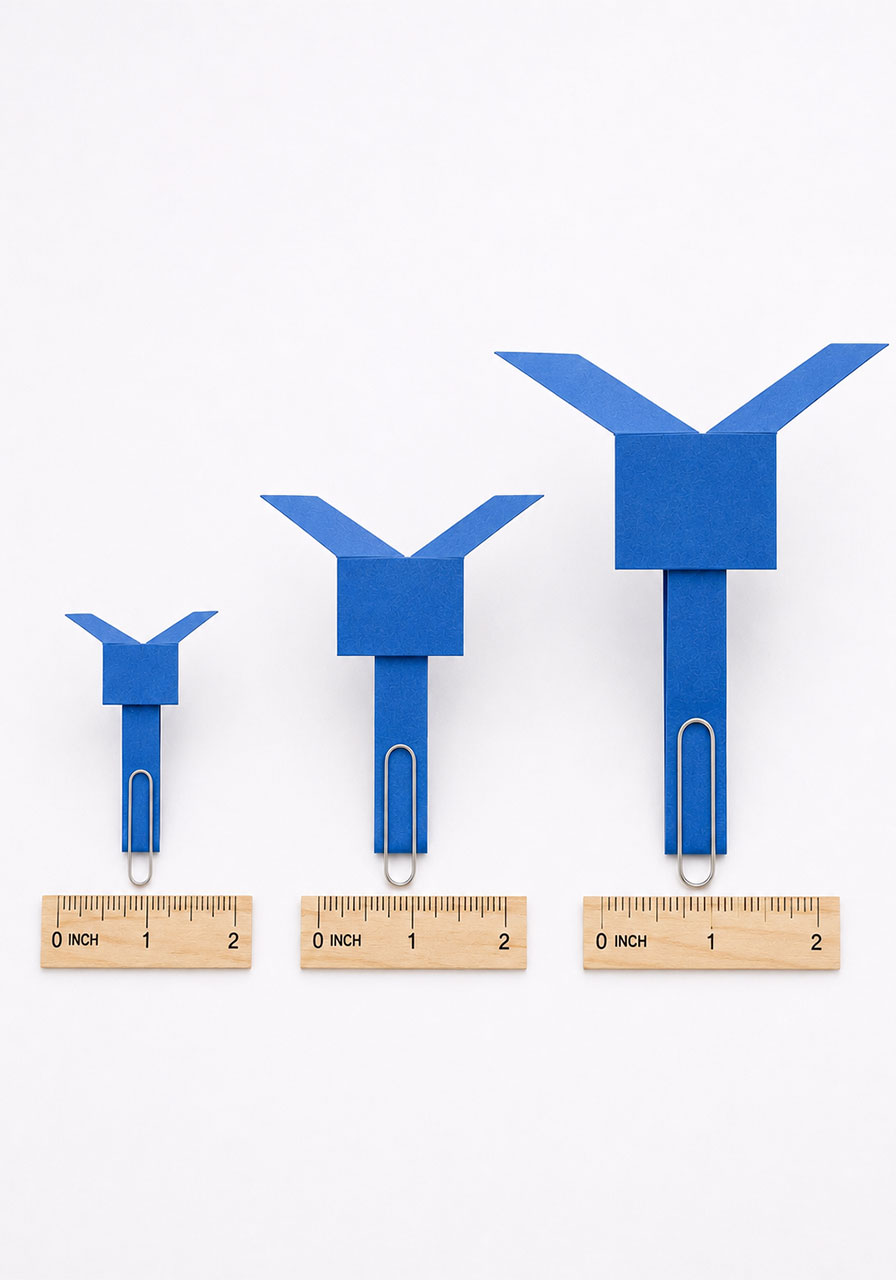
Size experiments: Cut a few helicopters at different sizes, like 4×1.5 inches or 8×3 inches, and compare how they fly. Do bigger helicopters spin slower? Do smaller ones fall faster? Let the kids predict before they test.
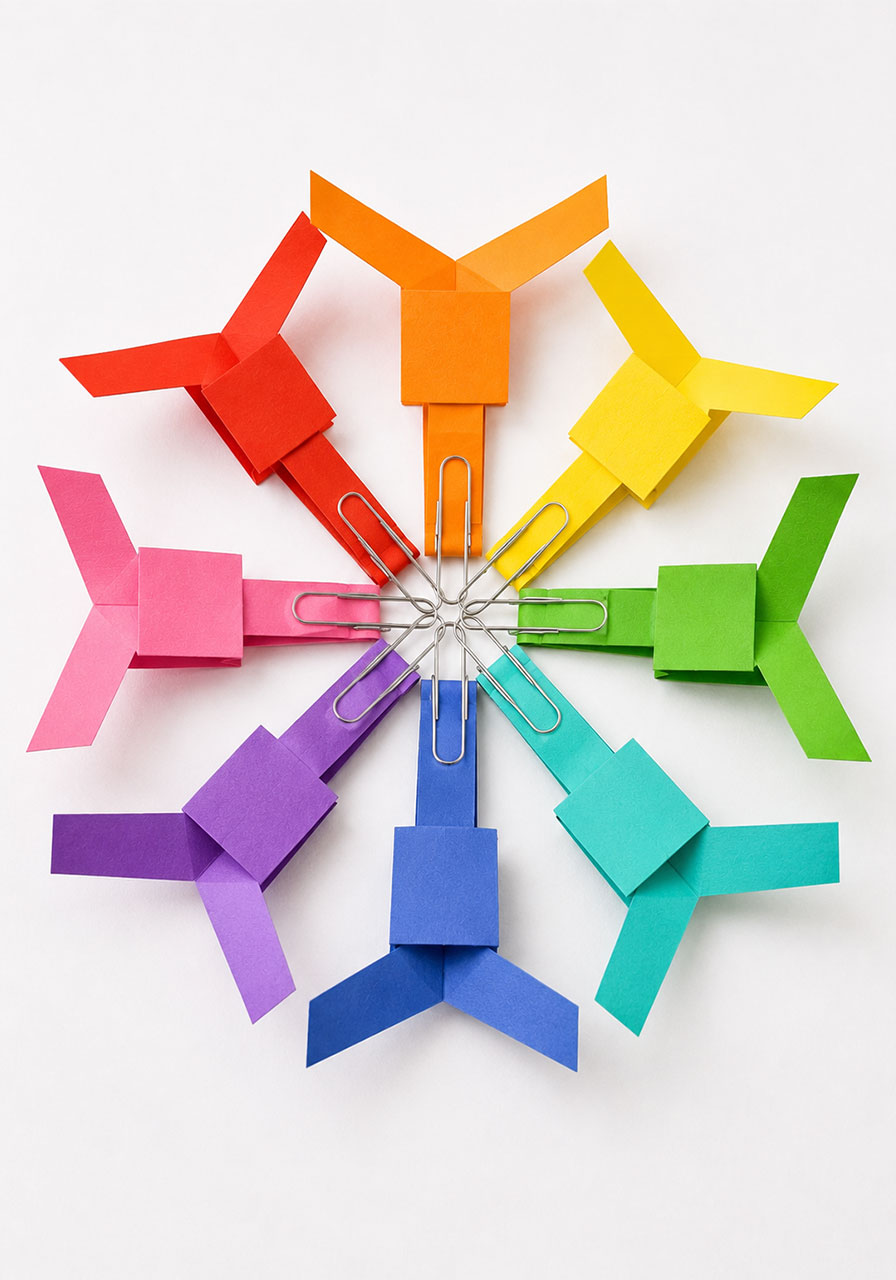
Color and decorate: Use different colored cardstock for each helicopter, then race them side by side from the same height. This is a great way to turn it into a friendly classroom competition.
Weight testing: Try one or two paper clips instead of one, or swap the paper clip for a small binder clip. Talk about how adding weight changes the way it falls.
Mini science fair: Have each student build their own helicopter and time how long it takes to reach the ground from the same height. Whoever’s helicopter stays airborne longest wins.
Tips for Using This in the Classroom
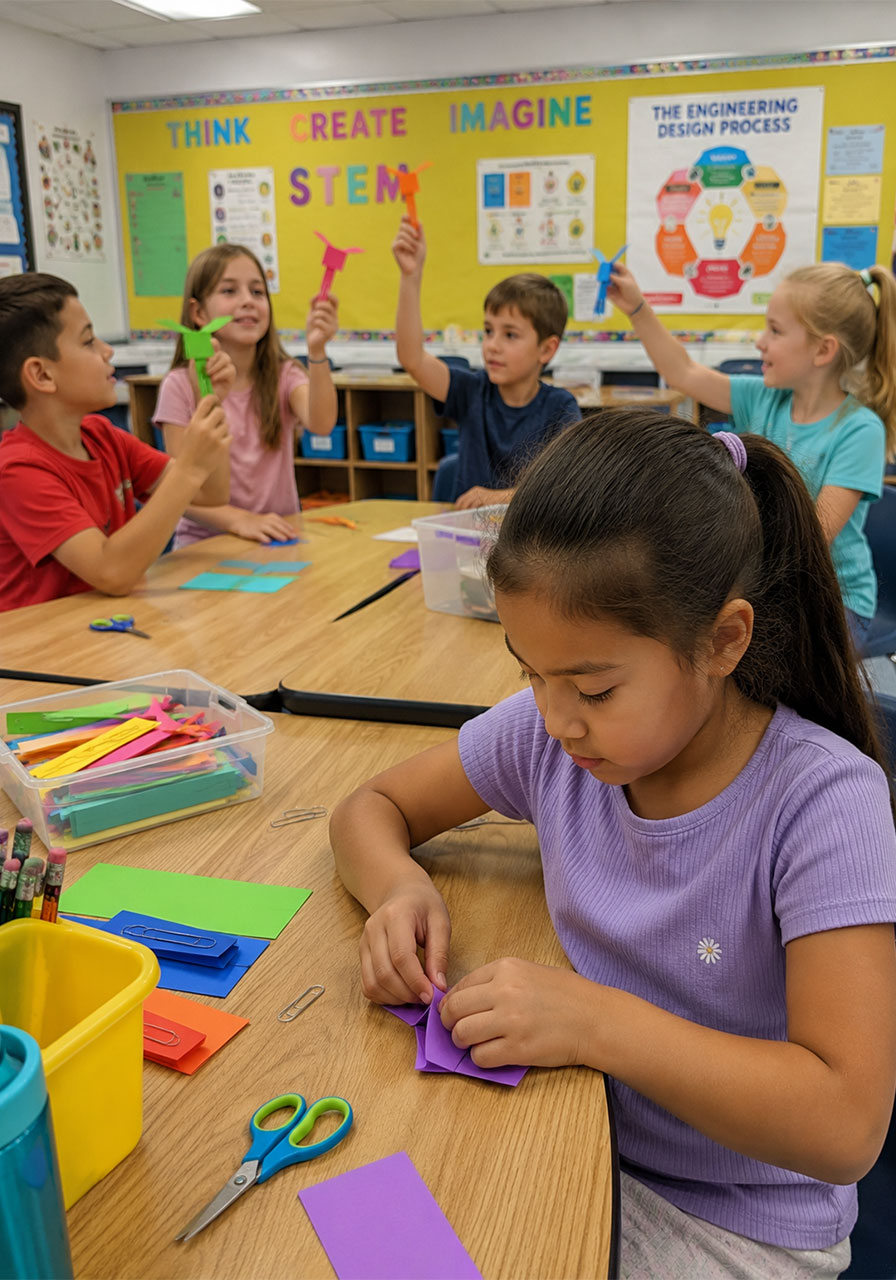
This activity is an easy win for teachers who want a hands-on science lesson without a complicated setup. A few things that make classroom use even smoother:
Pre-cut your rectangles ahead of time if you’re working with younger students who aren’t ready for scissors yet. This lets them focus on the folding and testing, which is where the real learning happens.
Pair this activity with a short discussion on real helicopters, maple seeds, or parachutes to connect it to a broader science unit on flight or forces.
If you have access to a stairwell, balcony, or even just standing on a table with supervision, use it. The higher the drop, the more dramatic and satisfying the spin.
Frequently Asked Questions
Does regular printer paper work, or do I need cardstock?
Cardstock flies best because it holds its shape and folds crisply, but regular printer paper will still work if that’s what you have on hand. Just expect a slightly less sturdy spin.
Why does my helicopter spin instead of just falling straight down?
This is due to a principle called autorotation. Air pushes unevenly against the angled blades as the helicopter falls, which forces it to rotate. It’s the same reason maple seeds spin on their way to the ground.
What age group is this activity best for?
Kids as young as 4 can enjoy dropping and watching finished helicopters, while kids around 6 and up can typically handle the cutting and folding with a little guidance.
Can I reuse the same helicopter over and over?
Yes. Paper helicopters hold up surprisingly well to repeated drops, especially if made with cardstock. Just watch for wear and tear on the folds after heavy use.
Why This Activity Is Worth Adding to Your Rotation
Paper helicopters are proof that the best activities don’t need to be complicated. With a few household supplies and five minutes of your time, you’ll have a STEM activity that keeps kids engaged, curious, and asking to do it again.
Whether you’re a parent looking for a rainy-day fix or a teacher planning a hands-on science lesson, this is one activity that consistently earns its spot as a classroom and household favorite. Give it a try, and don’t be surprised if it becomes one of your most requested activities too.
