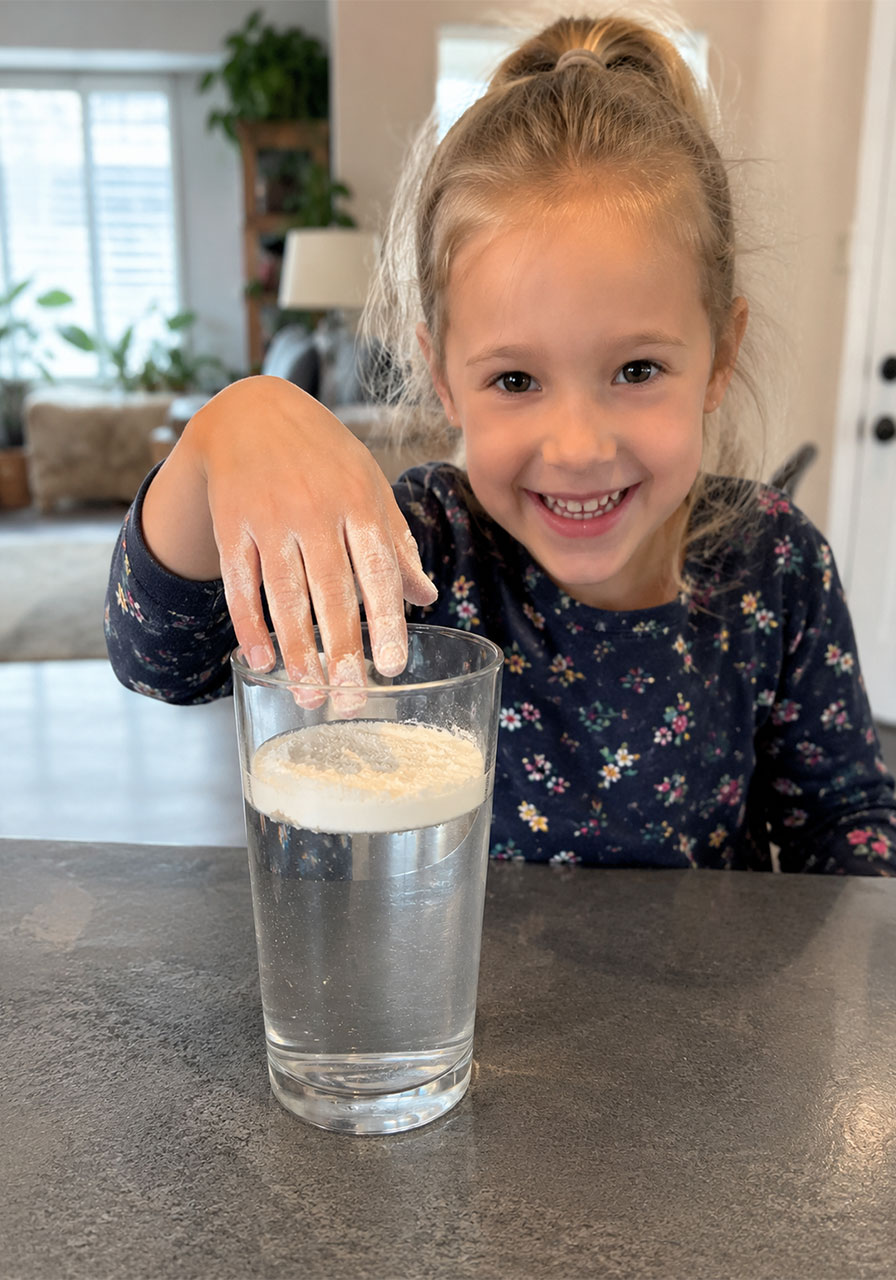
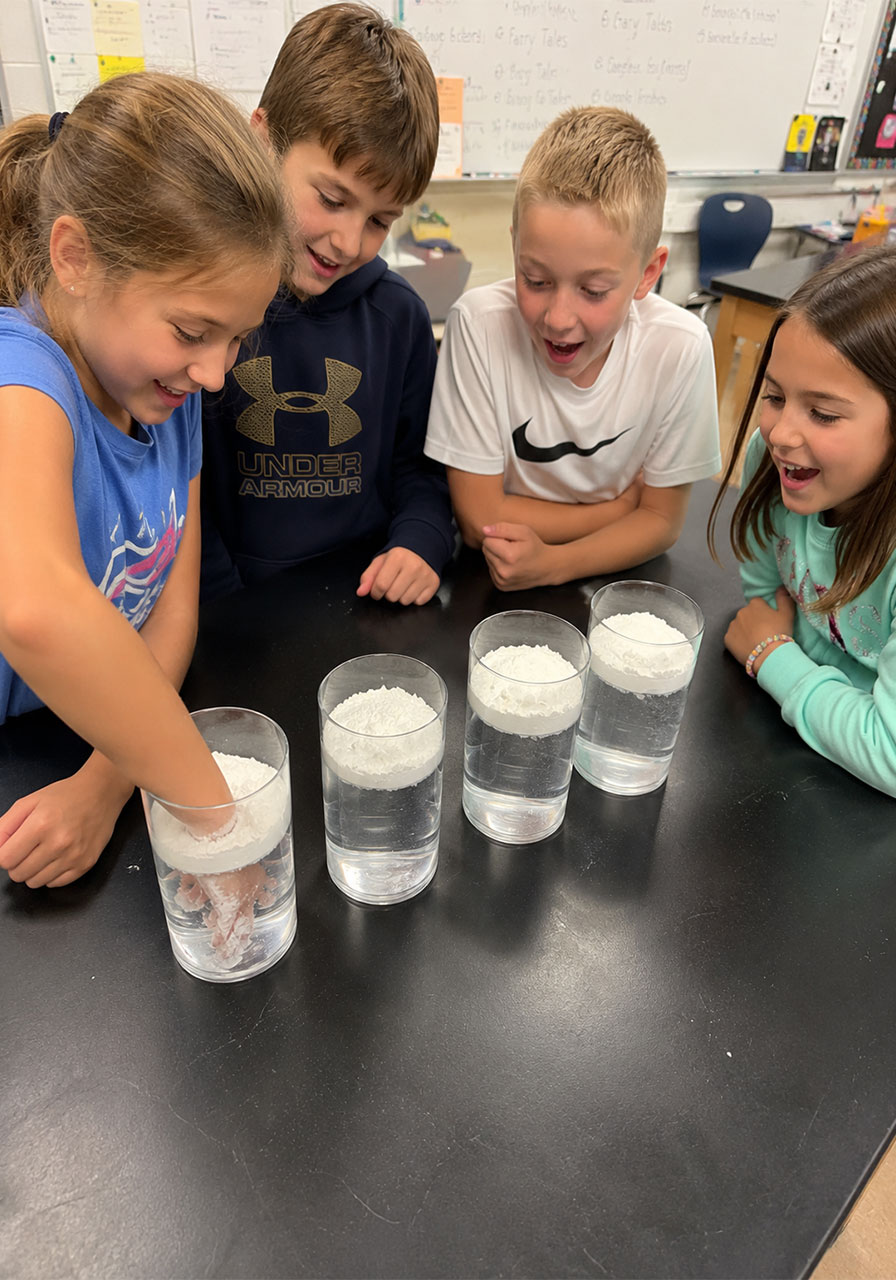
Picture this: your child (or your entire third-grade class) dunks their hand straight into a glass of water. They pull it back out. And their skin is bone dry.
No trick. No sleight of hand. Just real, honest-to-goodness science happening right in front of their eyes.
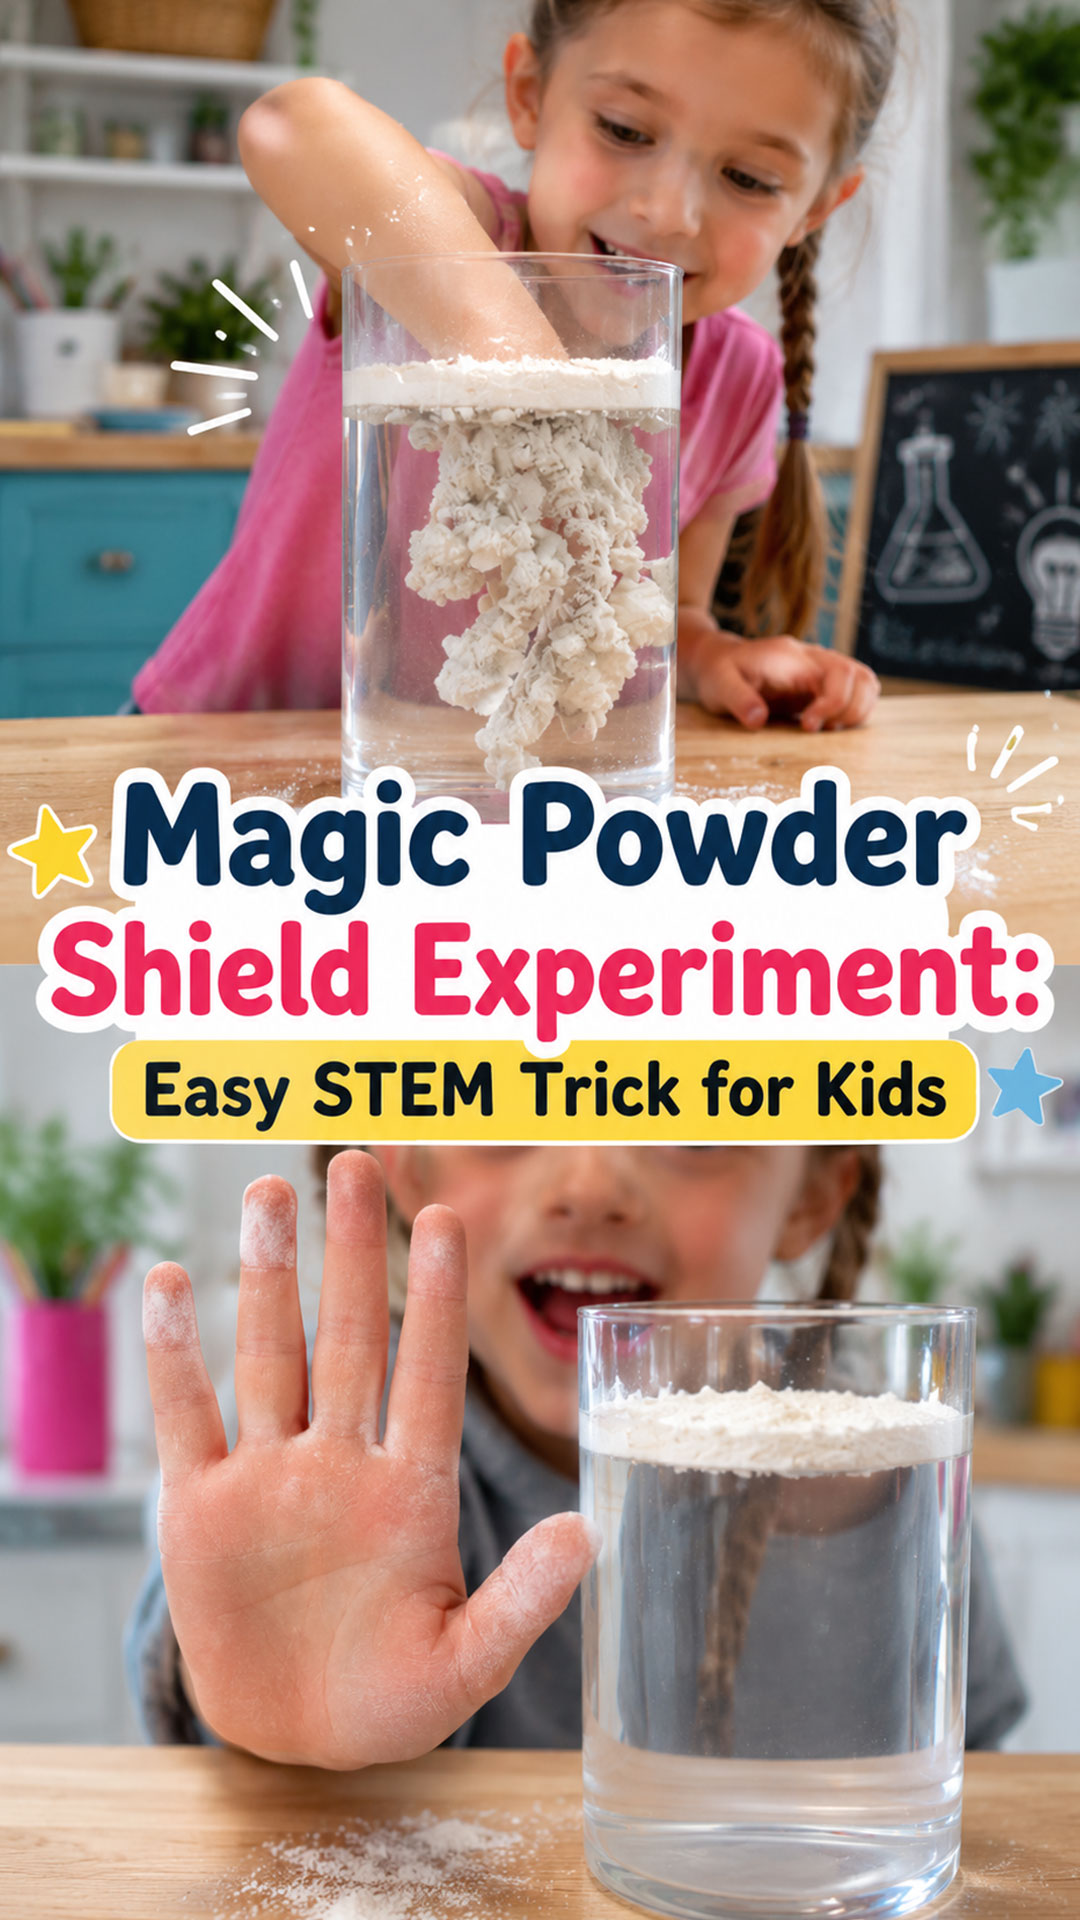
This is the Magic Powder Shield experiment, and it might be the single easiest “wow” moment you can create with two ingredients you probably already have at home. It takes less than five minutes, costs almost nothing, and delivers the kind of reaction that makes kids beg to do it again. And again. And one more time, please.
If you’re a parent hunting for a rainy-day activity that doesn’t involve a screen, or a teacher looking for a science demo that’ll actually hold a classroom’s attention, this one earns its spot in your back pocket. Let’s get into exactly how to pull it off.
Quick Overview
Best for: Kids ages 4 and up, classroom science demos, homeschool STEM lessons, rainy day activities
Time to Play: 5-10 minutes (plus a couple minutes for cleanup)
Group Size: Works as a one-on-one activity or a whole-class demonstration
Mess Level: Low to moderate. A little powder dust goes a long way, so keep it away from carpet if you can.


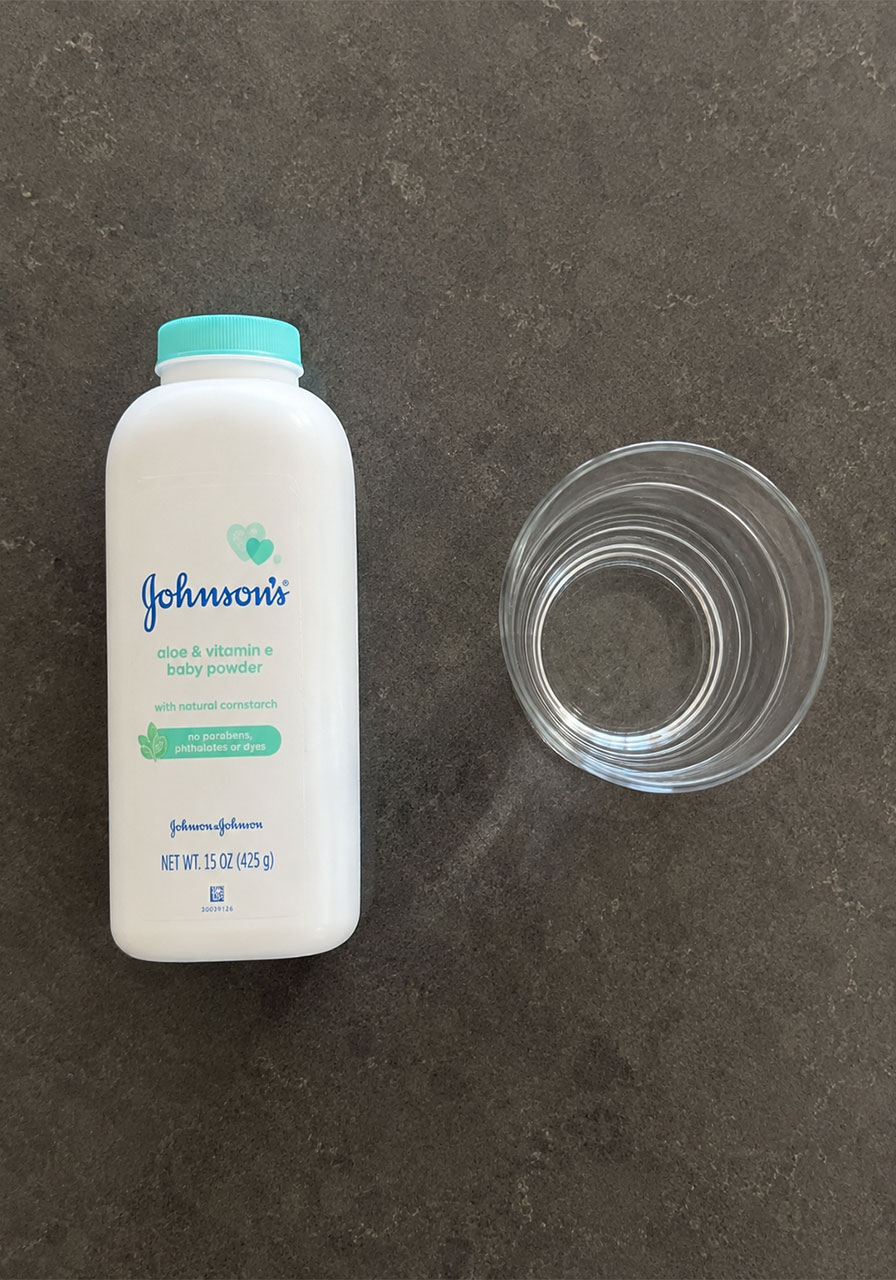
What You’ll Need
A clear glass, filled about three-quarters full with water
Baby powder (talc-based powder works best for this experiment)
A flat, stable surface to set the glass on
A towel nearby, just in case
That’s genuinely it. No trip to the craft store, no ordering supplies online. If you’ve got a baby in the house, or even just an old bottle sitting in a cabinet, you’re already halfway there.
How to Play: Step-by-Step Instructions
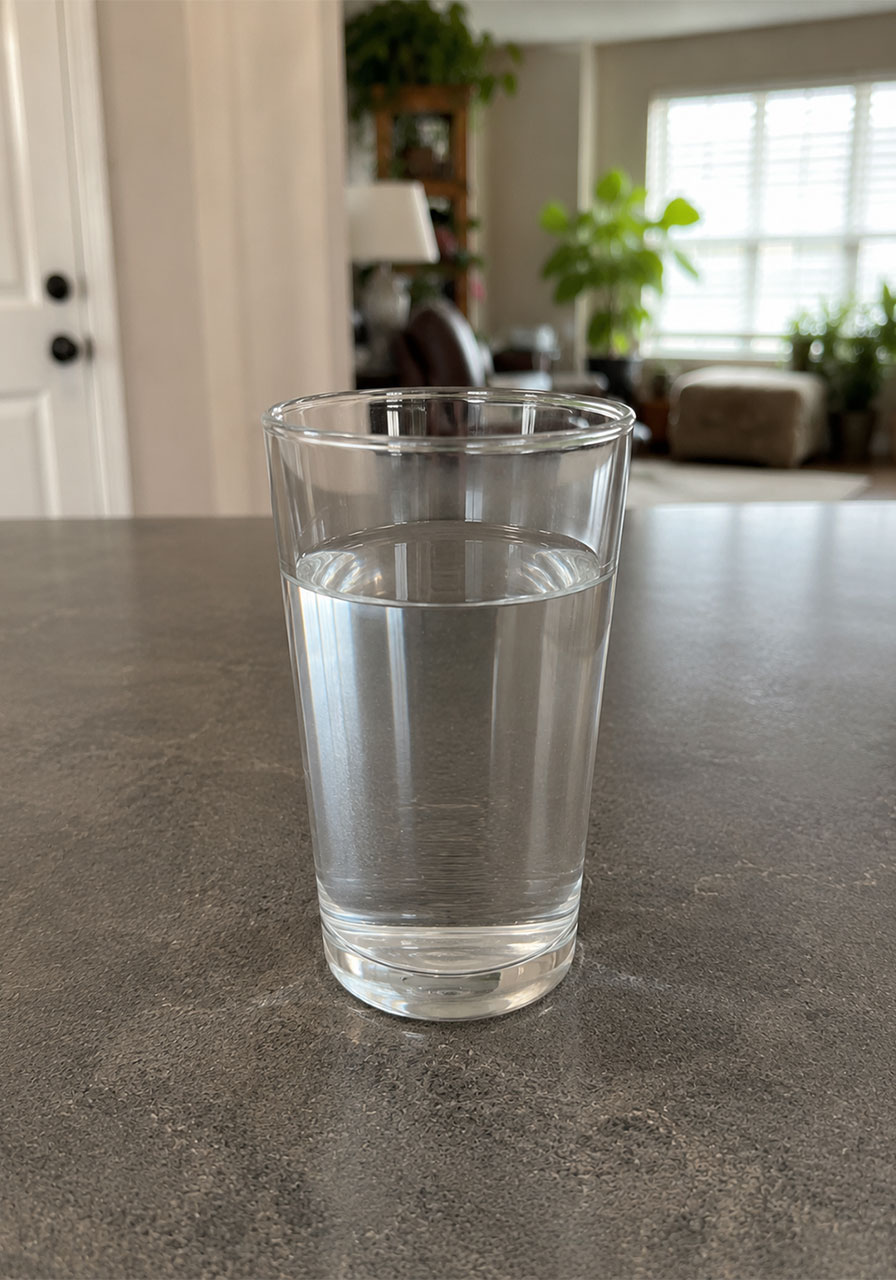
Step 1: Set up your water.
Fill a clear glass with water and place it on a flat, steady surface. A kitchen table or countertop works perfectly. Using a clear glass matters here, since it lets your kids watch what’s actually happening underneath the surface.
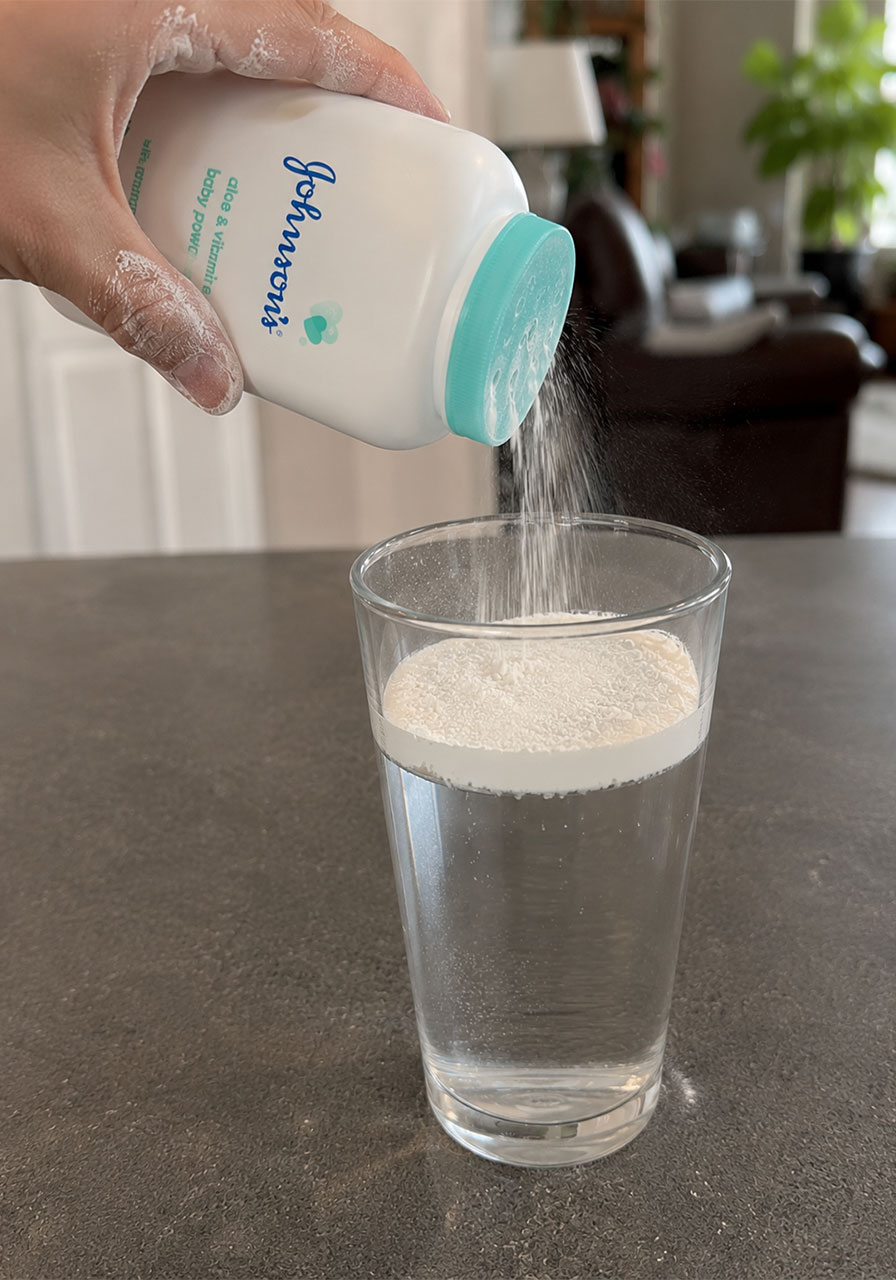
Step 2: Build your shield.
Sprinkle the baby powder generously over the top of the water. Don’t be shy with it. You want a thick, solid layer that completely blankets the surface, with no gaps or thin spots. This layer is what does all the magic, so take your time here.
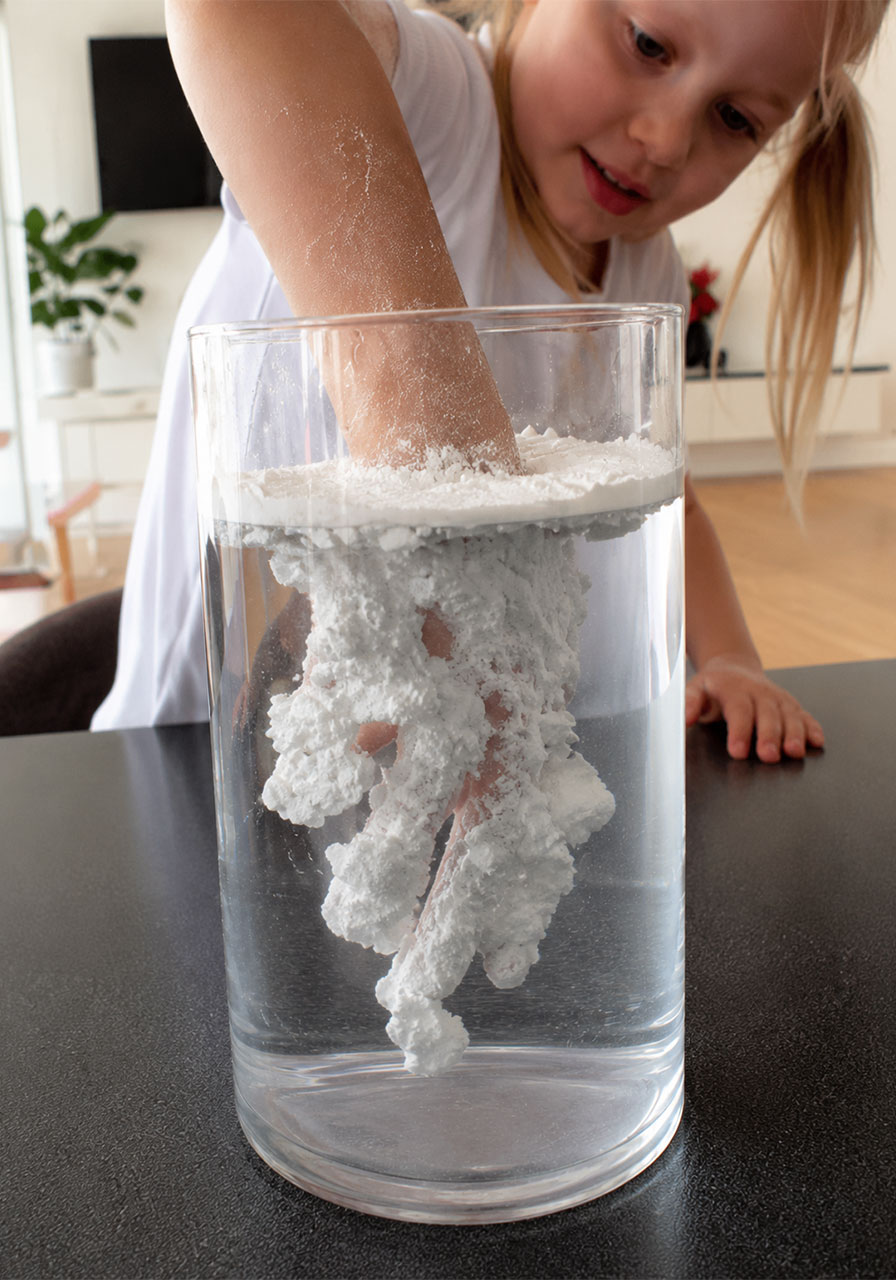
Step 3: Make the dip.
Slowly lower a finger, or your whole hand, straight down through the powder and into the water. Go slow and steady rather than poking quickly. A controlled dip gives the powder layer the best chance to do its job.
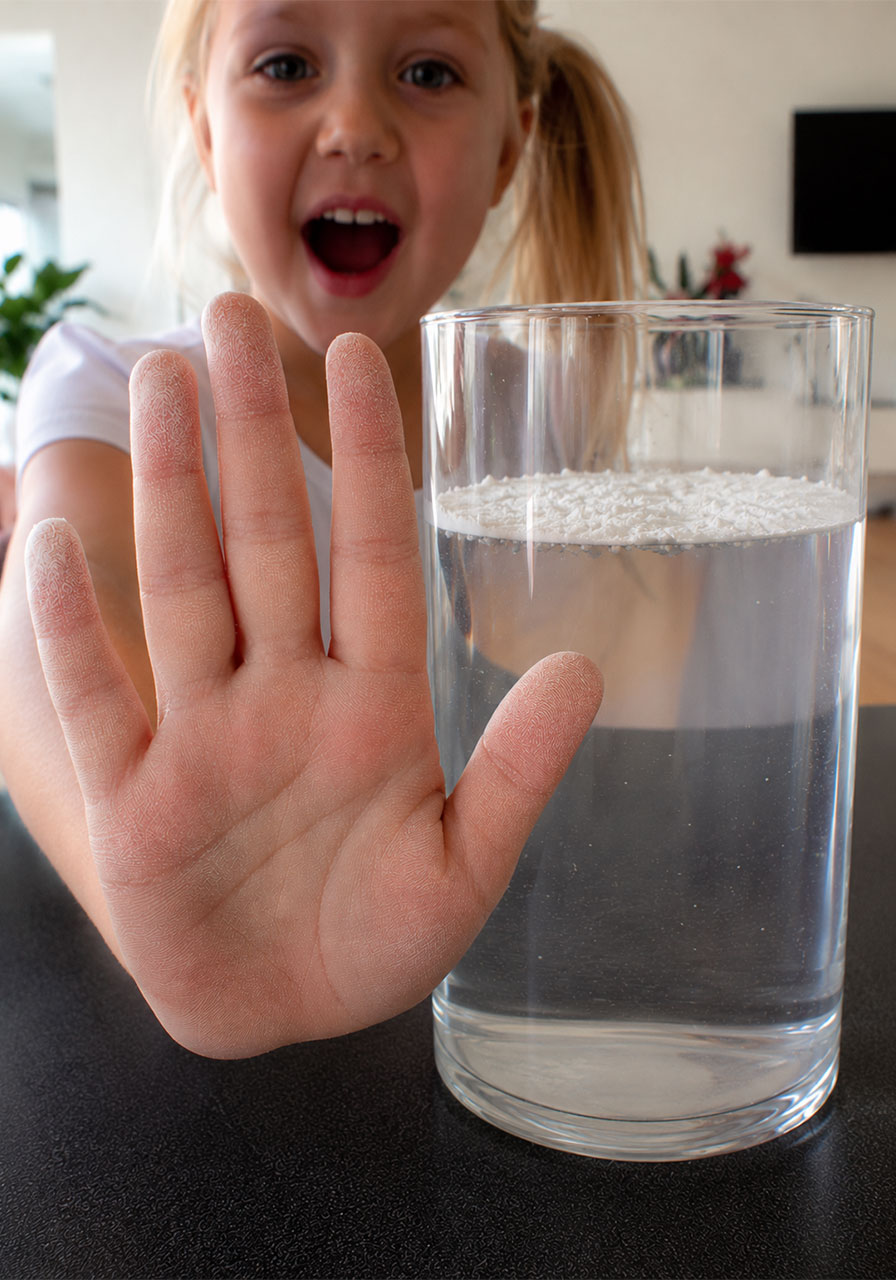
Step 4: Pull back out and reveal.
Lift your hand straight back out of the glass. Your skin will come out completely dry, even though it just spent several seconds fully submerged in water. This is the big reveal moment, so let the anticipation build before you pull your hand out.
That’s the whole experiment. Simple to set up, easy to explain, and it delivers a genuine “wait, what?” reaction every single time.
A Real Reaction, Every Time
We’ve watched kids do this dozens of times, and the reaction never gets old. There’s always a beat of silence right after the hand comes out of the water, followed by an immediate “do it again!” It’s one of those rare activities where the payoff is instant and the explanation is genuinely satisfying, not just a magic trick with a boring answer.
It’s also one of those experiments that works just as well for a single curious four-year-old as it does for a room full of skeptical ten-year-olds who think they’ve seen it all.
The Science Behind It
So what’s actually happening here? This isn’t magic, it’s hydrophobicity in action, and it’s a great, hands-on way to introduce kids to a real scientific concept.
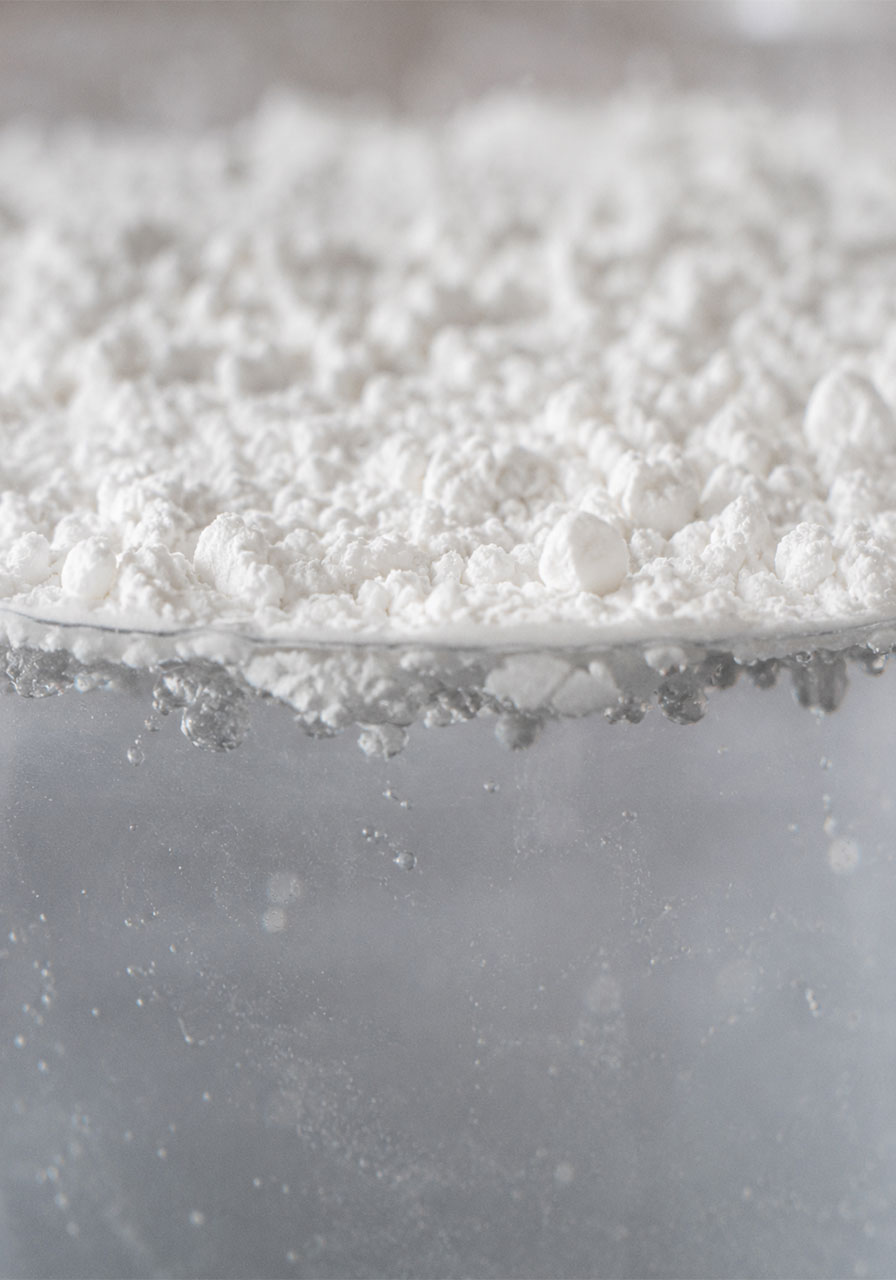
Baby powder is made mostly of talc, which is a naturally water-repelling, or hydrophobic, material. When you sprinkle it across the surface of the water, the tiny powder particles trap a thin layer of air around each other and around your skin as you dip your hand in.
Instead of the water soaking into your skin, the powder coating essentially pushes the water away, keeping a protective air pocket between your hand and the liquid. That’s why your hand stays dry even after being fully submerged.
This same hydrophobic principle shows up everywhere in nature. It’s the reason lotus leaves shed water instantly, and it’s the same idea behind waterproof coatings on rain jackets and umbrellas. This experiment gives kids a simple, visual way to understand a concept that shows up in biology, chemistry, and material science.
Bringing This Into the Classroom
Teachers, this one is an easy addition to a unit on states of matter, surface tension, or material properties. Here’s how to get the most out of it with a group.
Turn it into a prediction activity. Before you dip your hand in, ask students to guess what will happen. Will their hand get wet? Will the powder sink? Getting a prediction on record before the reveal makes the “aha” moment land harder.
Ask the follow-up questions. After the reveal, ask students why they think this happened. Let a few guesses come out before you introduce the term hydrophobic. Kids remember vocabulary better when they’ve already built some intuition around the concept first.
Connect it to the real world. Ask students where else they’ve seen water “bead up” or get repelled. Raincoats, duck feathers, and car wax are all great real-world tie-ins that reinforce the concept beyond the glass of water.
Scale it for group work. If you’re working with a full class, set up several stations with a glass and powder at each one so small groups can run the experiment themselves rather than just watching a single demo up front.
Safety and Mess Management Tips
Baby powder is safe for skin contact, but a few precautions will keep this experiment clean and comfortable for everyone.
Sprinkle the powder gently rather than shaking it aggressively, since a big cloud of airborne powder isn’t pleasant to breathe in, especially for younger kids or anyone with respiratory sensitivities.
Do this activity over a tray, a paper plate, or an easy-to-wipe surface. A little powder dust tends to drift beyond the glass, and it’s much easier to manage on a hard surface than on carpet or fabric.
Keep a towel within reach. While hands come out of the water dry, they’ll usually have a light dusting of powder on them afterward.
Fun Variations to Try
Race the shield. Time how long it takes for the powder layer to break down if you dip your hand in and out repeatedly. Eventually the barrier gives way, and that’s a great lesson in itself about the limits of the effect.
Compare powders. If you have cornstarch or flour on hand, try the same experiment side by side with baby powder and see which one keeps hands dry longest. This turns a single demo into a genuine comparison experiment.
Go bigger. Swap the glass for a shallow bowl or bin of water and let kids dip in a whole hand, or even both hands at once, for an even bigger reveal.
Pro Tip: Layer the powder thicker than you think you need to. A thin, patchy layer is the most common reason this experiment doesn’t work as dramatically. When in doubt, add more powder.
Frequently Asked Questions
Does this work with any powder, or does it have to be baby powder?
Baby powder works best because of its fine, talc-based texture, but cornstarch and some flours can produce a similar, if slightly less dramatic, effect. Baby powder gives the most reliable and repeatable results.
Is this safe for young kids?
Yes, this activity is safe for kids as young as four, with adult supervision. Just avoid letting younger children shake the powder container directly, since a big burst of airborne powder can be irritating if inhaled.
Why did my hand get wet instead of staying dry?
This usually means the powder layer wasn’t thick enough, or your hand moved through the water too quickly. Slow, steady movements and a generous, even layer of powder give you the best results.
How long does the “shield” last?
A single layer typically holds up for several dips before it starts to break down. Once you notice the powder dispersing into the water instead of sitting on top, it’s time to refresh the glass with a new layer.
What grade level is this experiment best suited for?
This works well anywhere from preschool through upper elementary. Younger kids will love the sensory reveal, while older students can dig into the hydrophobic explanation and connect it to broader science concepts.
Ready to Try It?
Grab a glass of water, a bottle of baby powder, and get ready for one of the easiest, most satisfying “wow” moments you can pull off with two household ingredients. Whether you’re filling ten minutes at home or kicking off a science lesson with a genuine hook, the Magic Powder Shield experiment delivers every time.
Because the best STEM activities are the ones that make kids ask “wait, how did that happen?” and then actually stick around for the answer.