
Want a science lesson your students or kids will actually beg you to repeat? This is it.
Ice cream in a bag is one of those rare classroom activities that checks every box. It’s hands-on. It’s cheap. It teaches a real science concept. And at the end, everyone gets to eat the results.
If you’re teaching states of matter, this experiment is your secret weapon. Kids watch a liquid turn into a solid right in front of their eyes, and they get to be the ones who made it happen.
Here’s everything you need to run this experiment at home or in your classroom, plus the science behind why it actually works.
Why This Experiment Is a STEM Teacher’s Best Friend
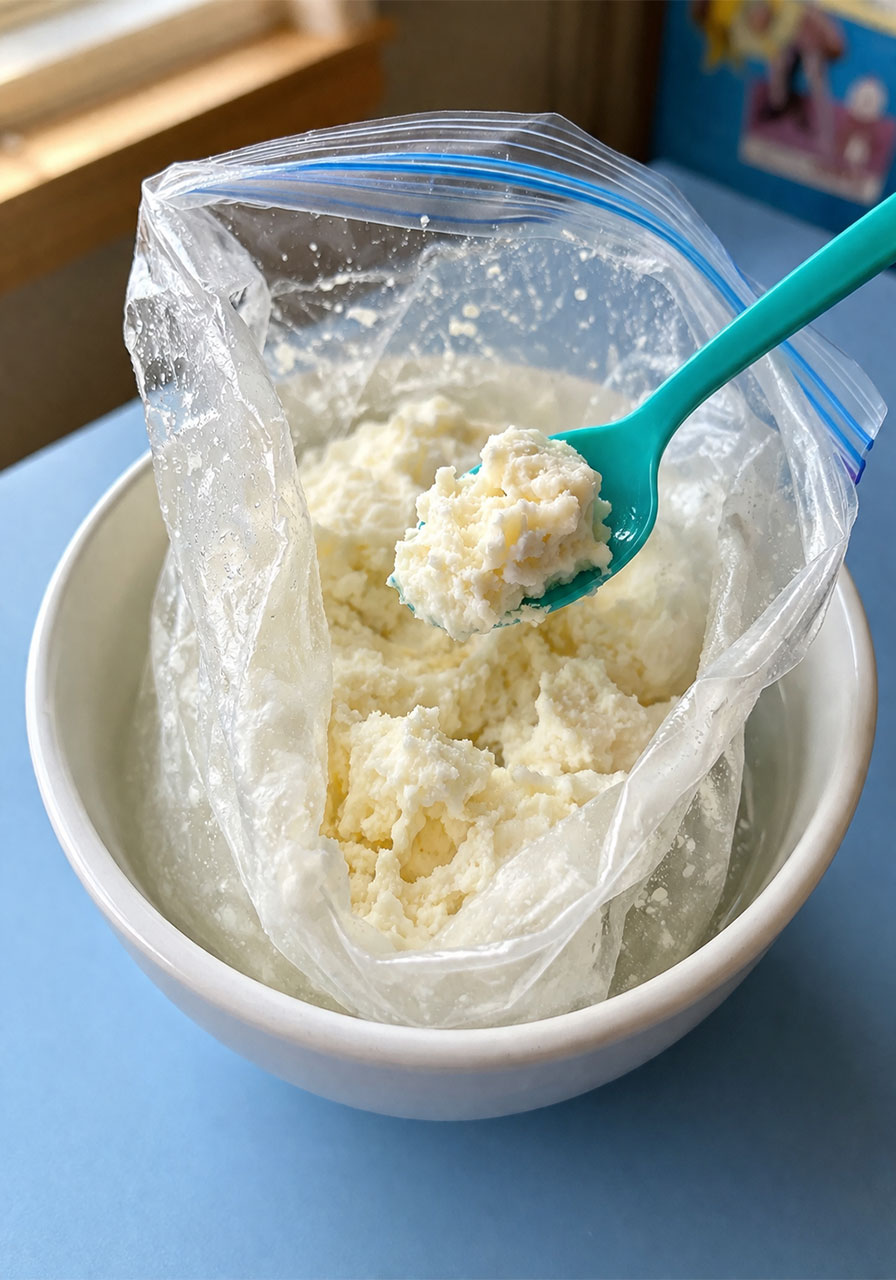
Ice cream is a sneaky-good teaching tool. It’s actually a solid, a liquid, and a gas all at the same time. That’s a mind-blowing fact for a seven-year-old, and it’s the perfect hook to kick off your lesson.
The solid ice crystals, the liquid milk fat, and the trapped air bubbles all come together to create that scoopable texture kids know and love.
As students shake their bags, they’re not just making a snack. They’re running a real investigation, making observations, and collecting data over time, which are core science skills built right into the fun.
Best for: Elementary classrooms (2nd grade and up), homeschool groups, family science night, STEM club activities
Time Needed: 15-20 minutes, plus a few minutes of prep
Group Size: Works for one child or an entire class

What You’ll Need
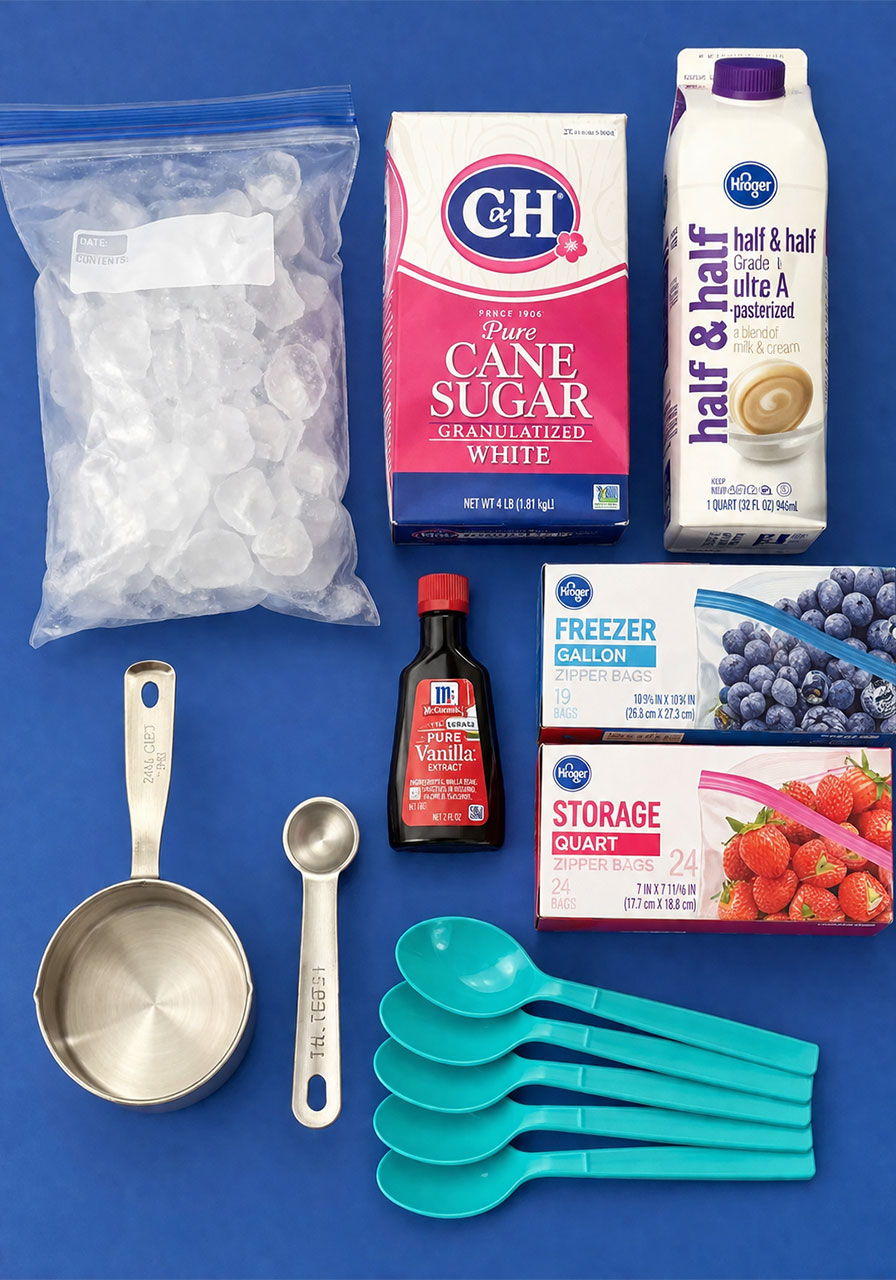
This is a grocery-store shopping list, nothing fancy required. Here’s what you’ll need per student:
- 1 cup half-and-half
- 2 tablespoons sugar
- 1/2 teaspoon vanilla extract
- 3 cups ice
- 1/3 cup rock salt or kosher salt
- 1 sandwich-size zipper bag
- 1 gallon-size zipper bag (shared by 2 students)
- Plastic spoons
- A student lab sheet for recording observations
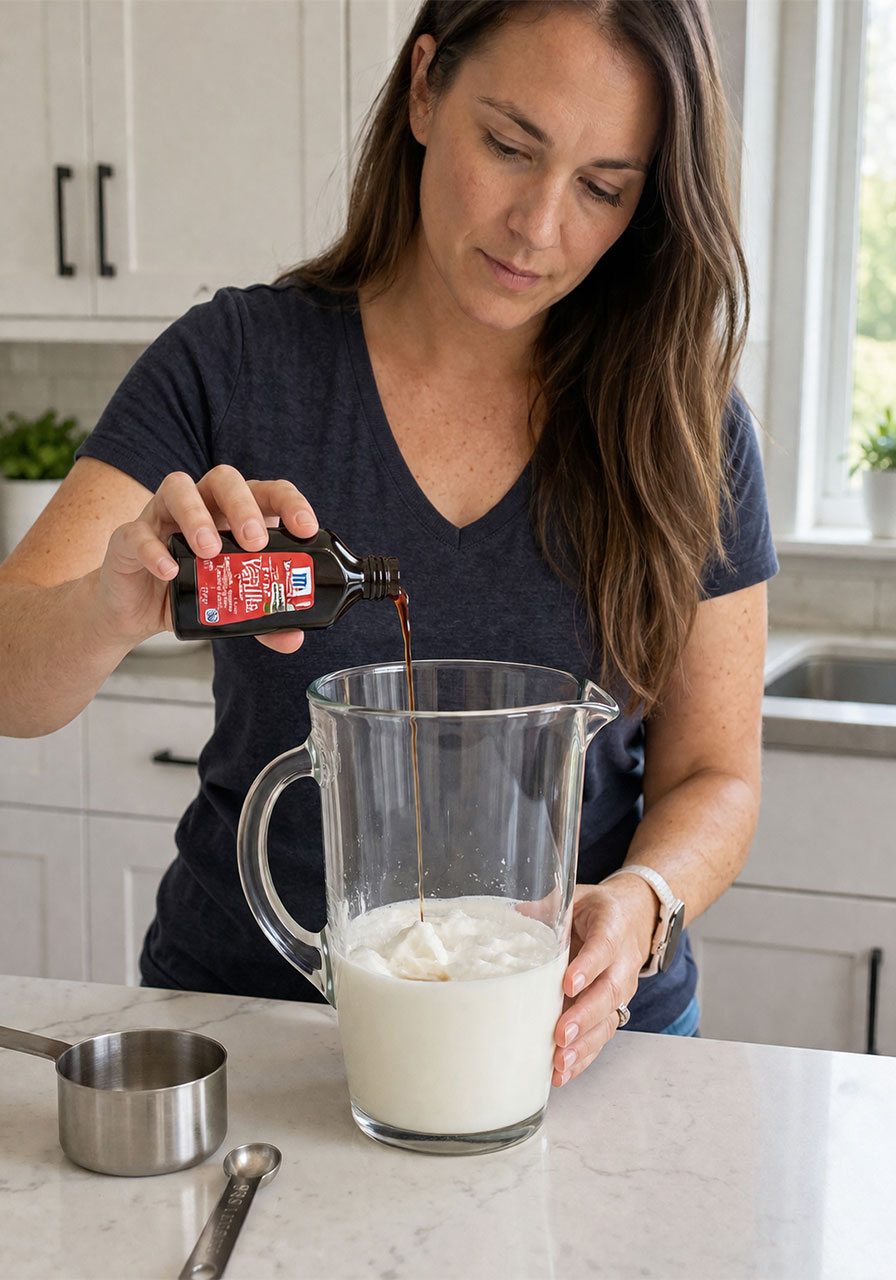
Just multiply the recipe by your headcount. If you’re running this in a classroom, mix a big batch of the half-and-half, sugar, and vanilla ahead of time in a pitcher so you can pour and go.
How to Make Ice Cream in a Bag
Follow these steps in order for a foolproof result every time.
Step 1: Mix the base.
Combine the half-and-half, sugar, and vanilla extract together in a pitcher.
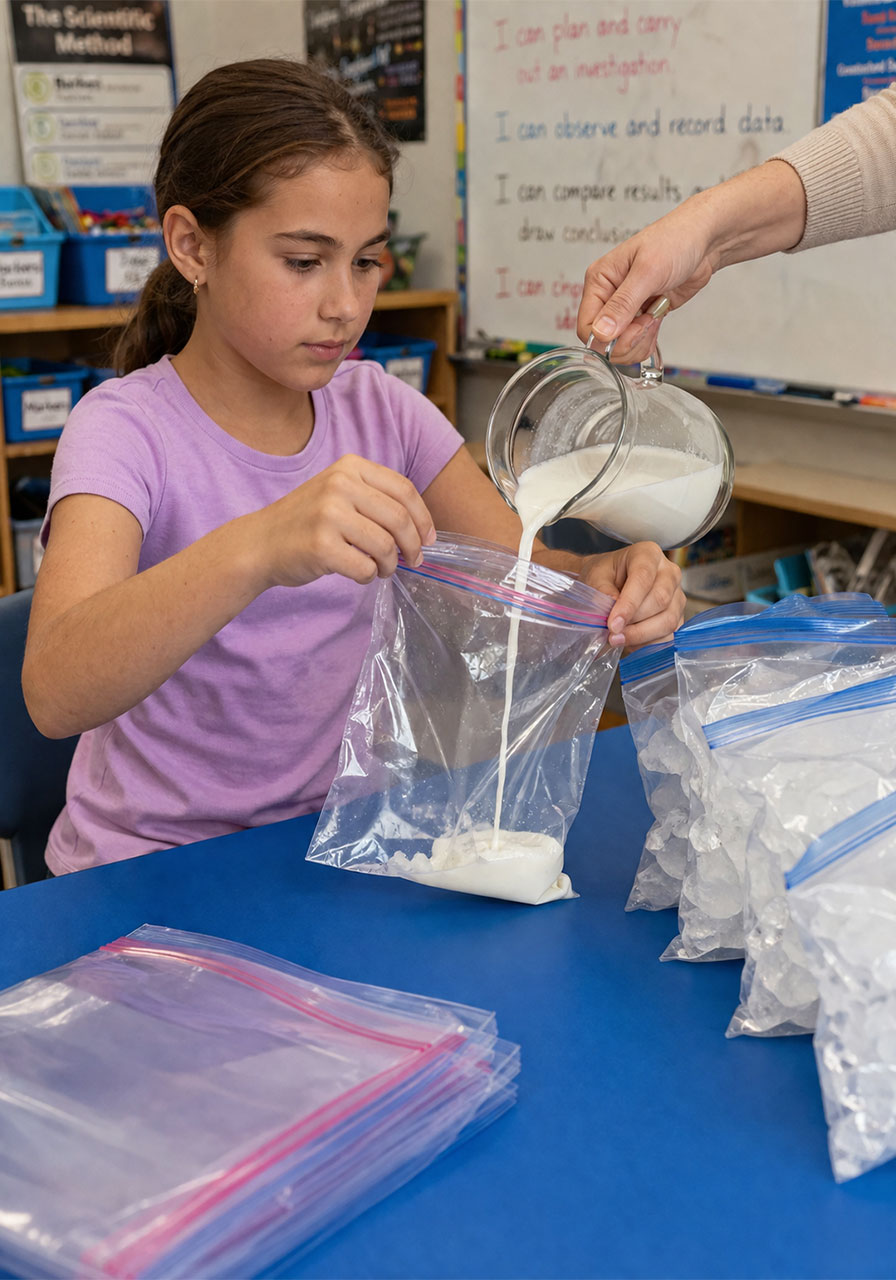
Step 2: Portion it out.
Pour about 1 cup of the mixture into each student’s sandwich-size zipper bag. Seal it tightly.
Step 3: Build the ice bath.
Fill a gallon-size zipper bag about half full of ice. Add 1/3 cup of salt.
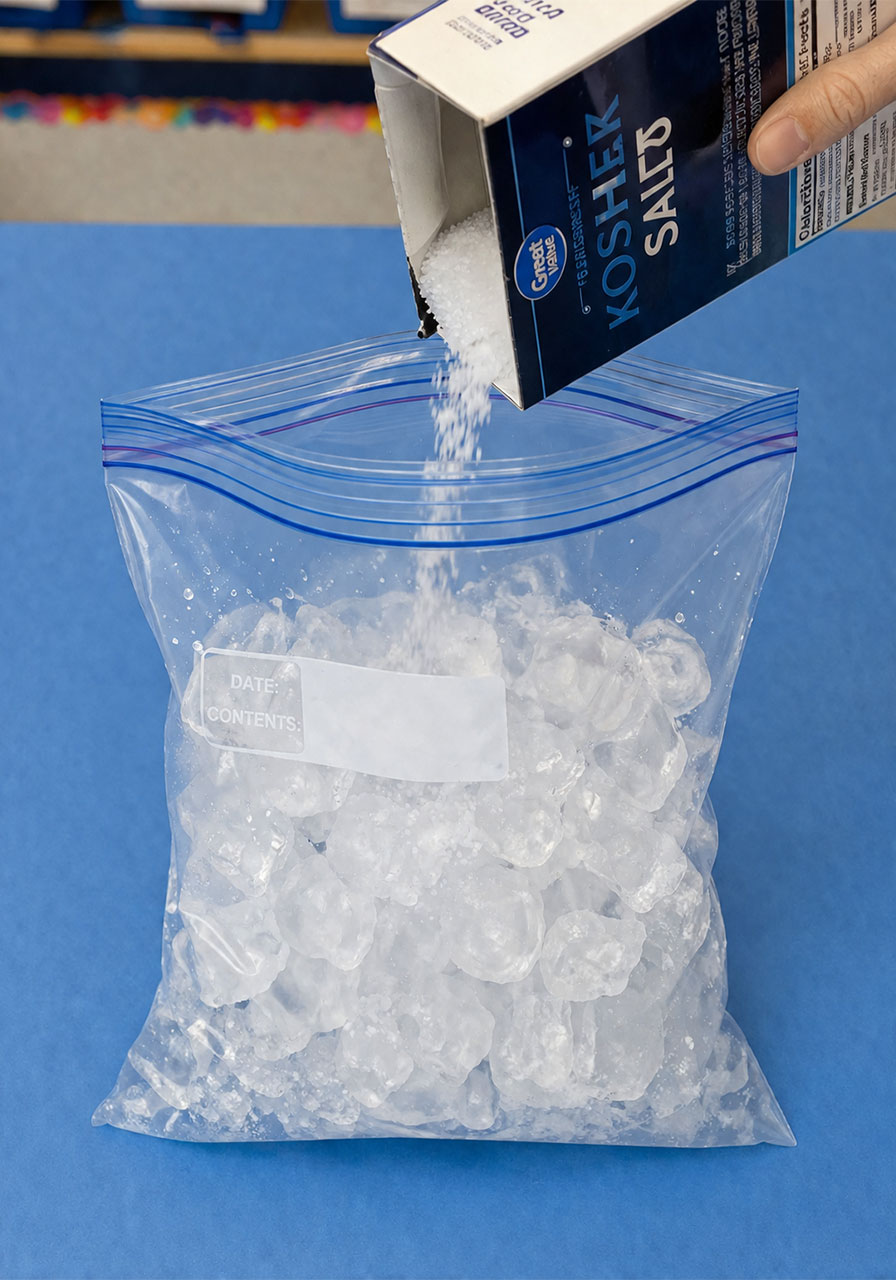
Step 4: Combine and seal.
Place 2 sealed sandwich bags of the mixture inside the large ice bag. Seal the big bag firmly so nothing leaks.
Step 5: Shake it up.
Have students take turns shaking the bag vigorously for 7 to 10 minutes. This is the fun (and arm-tiring) part.
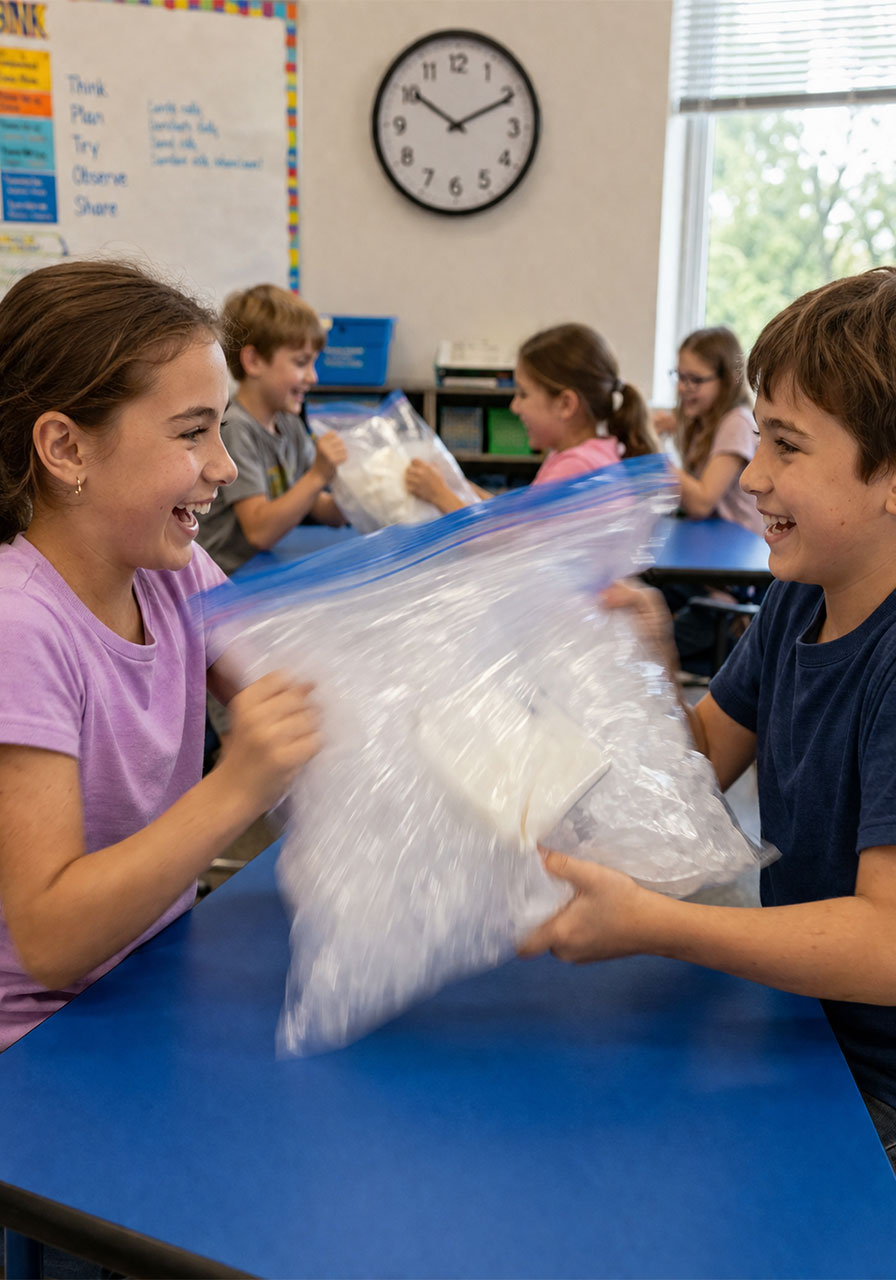
Step 6: Pause and observe.
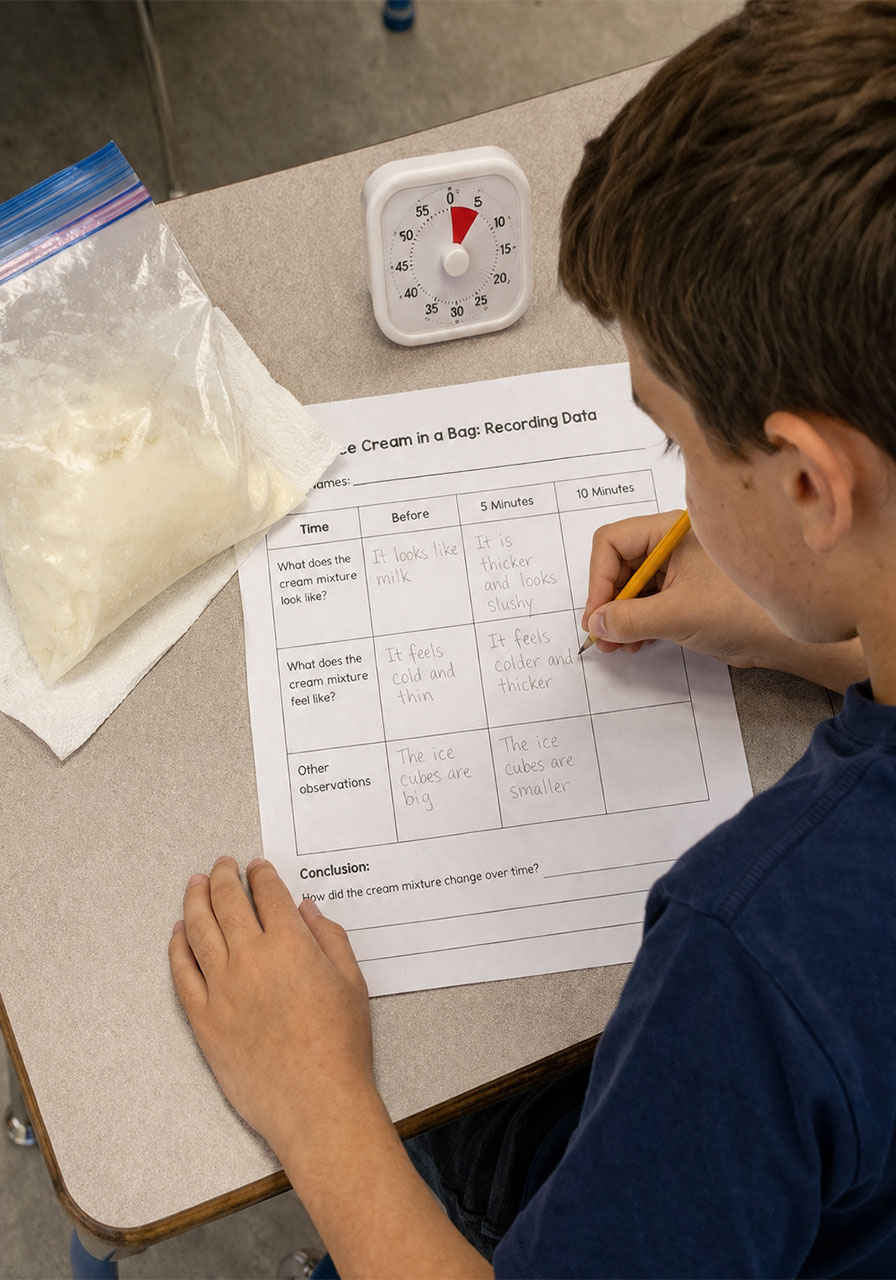
Have students stop periodically to feel the bag and record what they notice on their lab sheet.
Step 7: Dig in.
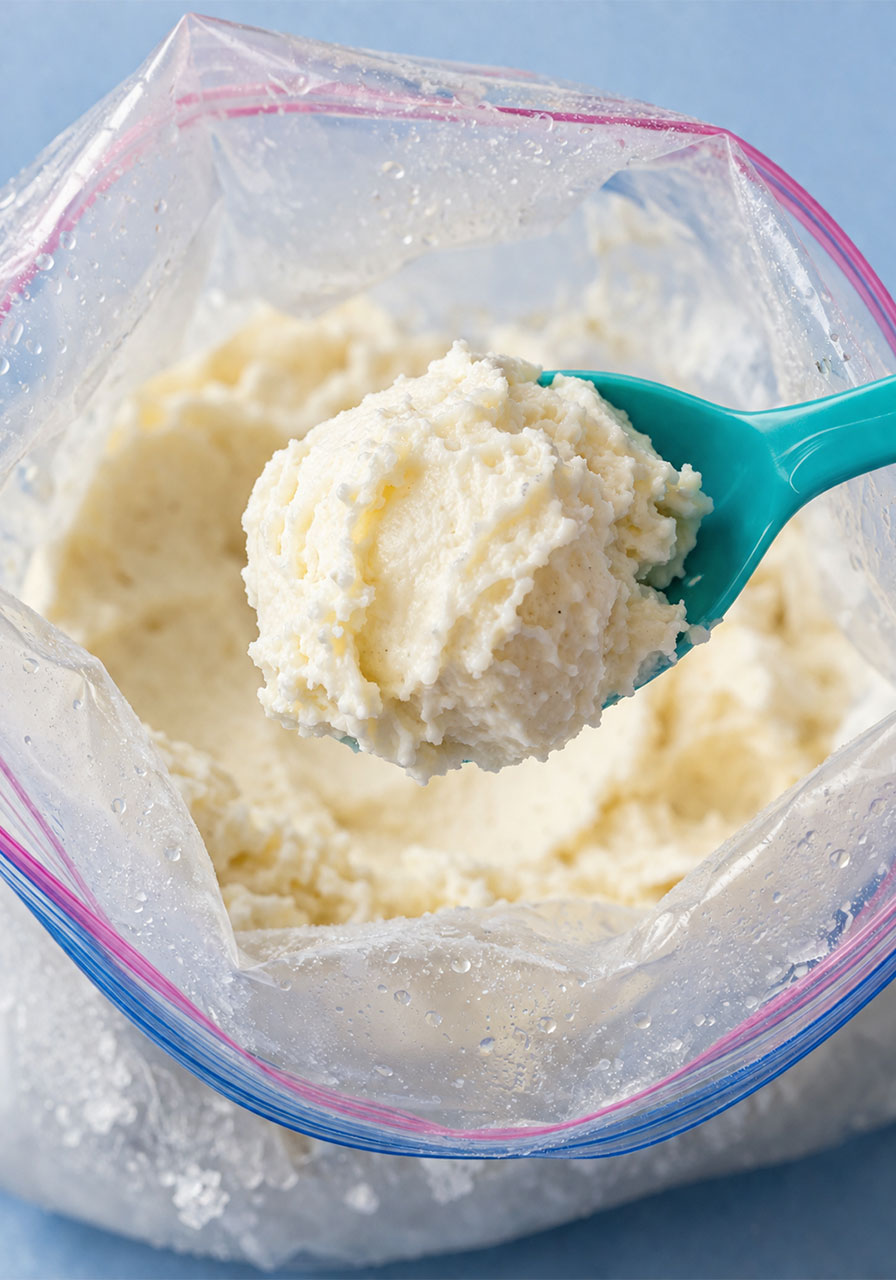
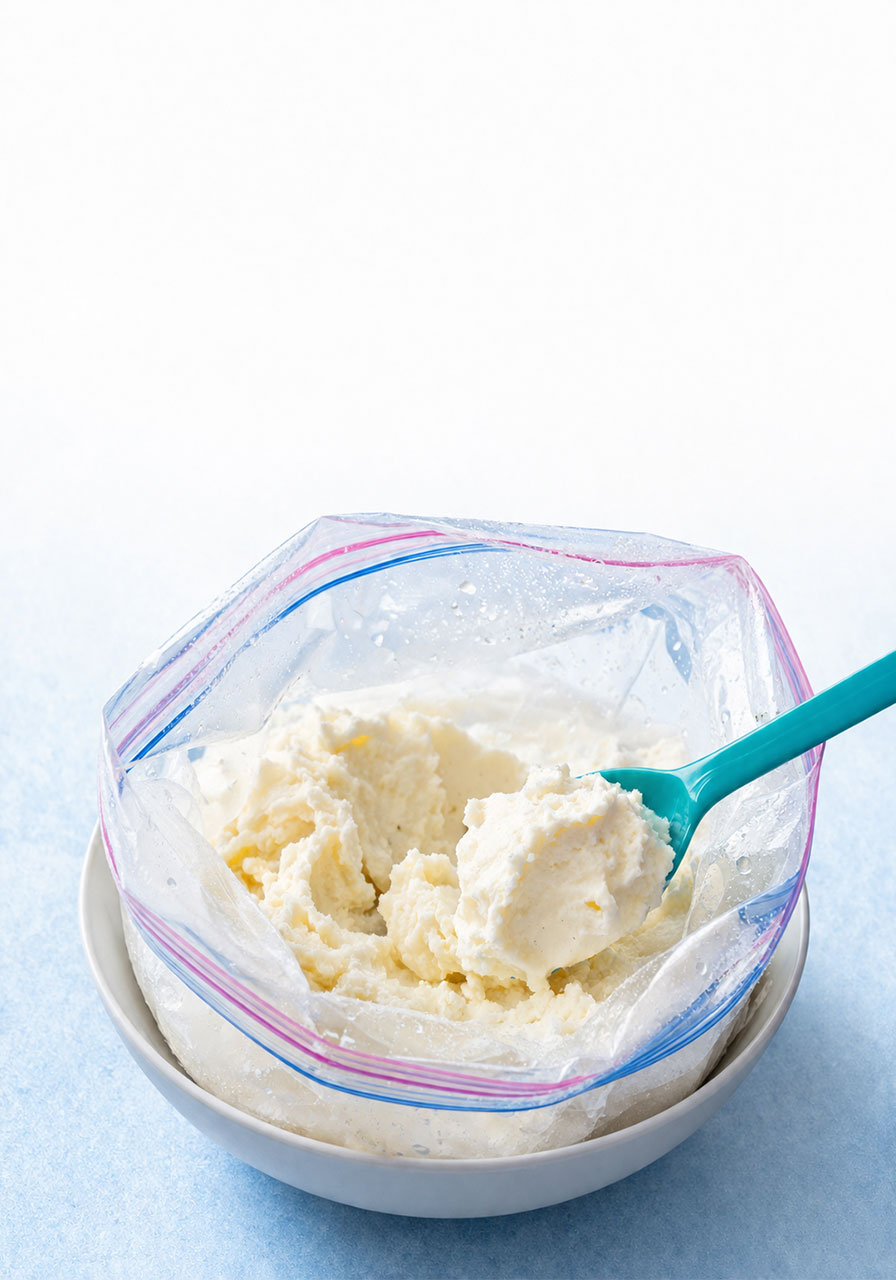
Once the mixture has thickened into ice cream, open the small bag, grab a spoon, and enjoy the results of your experiment.
Turning It Into a Real Investigation
The eating part is great, but the data collection is what makes this a true science lesson instead of just a snack activity.
Have students describe the state of their mixture before they start shaking. Is it a liquid or a solid? What does it look like?
Next, have them record their observations at set checkpoints: after 1 minute, after 5 minutes, and after 10 minutes of shaking.
Once everyone’s ice cream is ready, bring the class back together and compare notes. How long did it take each group to reach a solid, scoopable texture?
This is a great moment to ask whether the amount of shaking made a difference, and to talk about why some bags may have frozen faster than others.
While students fill out their lab sheets, encourage them to describe the color, texture, and shape of their ice cream. Point out that while it was still liquid, it took the shape of its container, which is a key property of matter worth reinforcing.
The Science Behind Why It Works
Here’s the part that turns this from a fun snack into a genuine science lesson.
Adding salt to the ice lowers its melting point. That might sound backwards, but it means the ice can get colder than 32 degrees Fahrenheit without melting.
As the salty ice melts, it pulls heat out of its surroundings, which in this case is the bag of cream mixture sitting right next to it.
Since the ice cream mixture isn’t pure water, it needs to drop a little below freezing to solidify. The salt makes that possible by dragging the surrounding temperature down.
That heat transfer is what turns your liquid mixture into a solid scoop of ice cream, and it’s a perfect, edible example of how temperature changes matter.
Don’t Skip the Reversal Demo
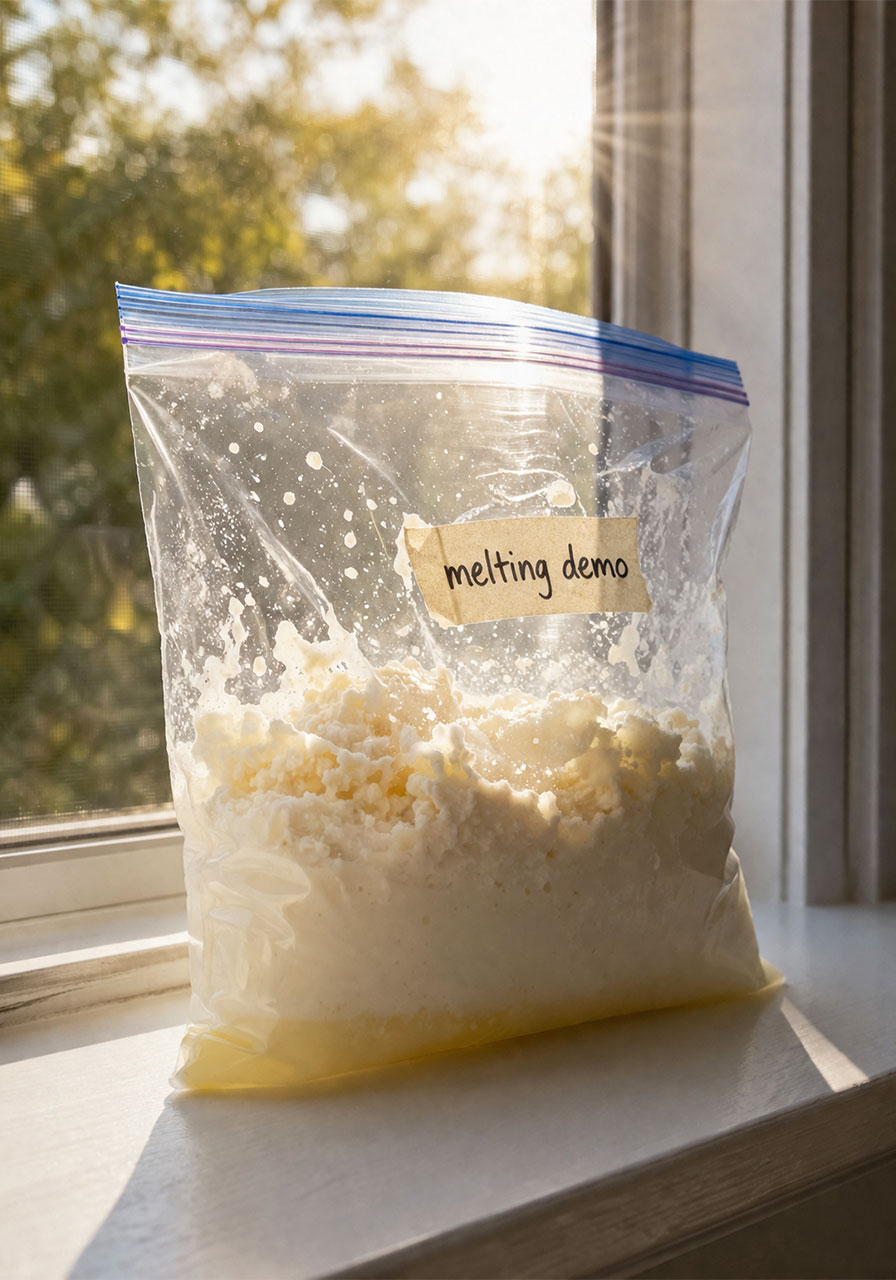
For an extra layer of learning, make one bonus bag of ice cream and use it to demonstrate a reversible change.
Set the extra bag in a sunny window or leave it out on the counter and let students watch it melt back into a liquid.
This is a simple but powerful way to show that heating and cooling matter doesn’t always create a permanent change. Water freezing and ice cream melting are both reversible, unlike something like baking a cake.
Pro Tips for a Smooth Experiment
A few small adjustments can save you a lot of classroom chaos.
Double-bag everything. Salt water has a way of finding tiny holes in zipper bags, so a second layer of protection keeps hands and desks dry.
Have students wear mittens or wrap their bag in a dish towel while shaking. The bag gets very cold, and this keeps little hands comfortable through the full 7 to 10 minutes.
Set a visible timer so students know how much shaking time is left. It also gives you natural checkpoints for those observation notes.
Keep wet wipes or paper towels nearby. Between the salt, the ice, and the condensation, things get a little messy, in the best way.
Easy Variations to Try
Once you’ve run the basic version, these tweaks keep the experiment fresh for repeat lessons or different age groups.
Swap the vanilla for a different mix-in, like cocoa powder or a few drops of mint extract, to talk about how ingredients affect the final product.
For a dairy-free version, substitute a canned coconut milk or oat-milk creamer for the half-and-half. It still solidifies using the exact same science.
Try timing teams against each other to see who reaches “ice cream texture” first, then discuss what variables might explain the differences.
Frequently Asked Questions
Is this safe for students with dairy allergies?
Yes, as long as you swap in a non-dairy creamer or coconut milk. The chemistry works the same way regardless of the liquid you use.
How long does it really take?
Most bags reach a soft-serve texture within 7 to 10 minutes of steady shaking. Colder ice and more salt will speed things up.
Can I do this experiment at home with just my own kids?
Absolutely. Scale the recipe down to however many kids you have, and it works just as well around the kitchen table as it does in a full classroom.
What if the mixture never solidifies?
Double-check that you’re using enough salt and that the bag is being shaken continuously. Not enough salt is the most common reason a batch stays runny.
Bring the Fun (and the Learning) to Your Next Lesson
This changing matter experiment gives students a hands-on way to understand how temperature transforms liquids into solids, and it does it with zero boring lecture time.
It’s affordable, it’s mess-manageable, and it ends with a treat every kid will want to make again.
Keep this one in your back pocket for your next states of matter unit, indoor recess day, or family science night. It’s proof that the best learning moments are the ones that taste as good as they teach.
