
If you’re looking for a hands-on STEM activity that will genuinely wow a room full of kids, this is the one. We call it the Magical Color Explosion, and it’s hands-down one of our most-loved experiments ever.
All you need is milk, food coloring, baby powder, and a drop of dish soap. Within seconds, you’ll have swirling, dancing colors that look like pure magic – but it’s actually real chemistry happening right in front of you.
Whether you’re a teacher planning a science center, a homeschool parent building out a unit on states of matter, or just a mom or dad trying to survive a rainy afternoon, this experiment checks every box. It’s quick, it’s mess-friendly, it’s cheap, and it teaches real science concepts kids can actually see with their own eyes.
Let’s walk through exactly how to set it up, why it works, and how to turn it into a full learning moment instead of just a fun trick.
Why This Experiment Is a Teacher and Parent Favorite
Before we get into the steps, it helps to know why this activity works so well for kids.
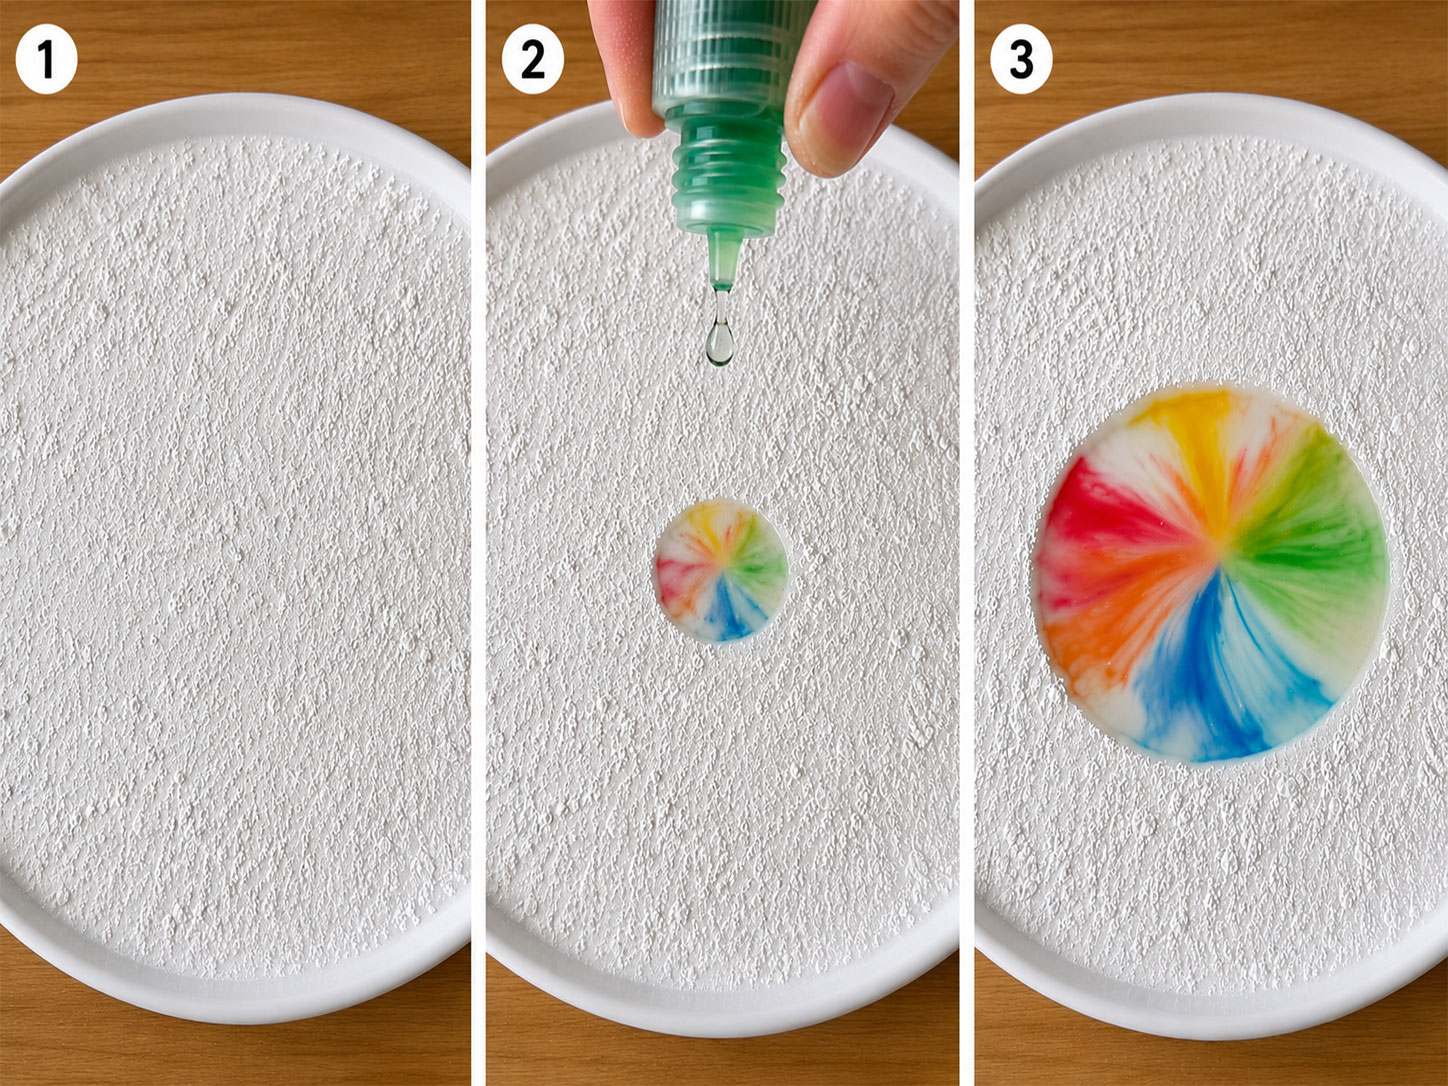
First, it’s visual. Kids don’t need to imagine what’s happening – they watch the colors bloom, swirl, and separate in real time. That instant feedback is what makes science exciting for young learners.
Second, it’s fast. You don’t need a 45-minute lesson block. This experiment takes about 5 minutes to set up and run, which makes it perfect for a classroom transition activity, a science center rotation, or a quick weekend project at home.
Third, it’s genuinely educational. This isn’t just a pretty visual – it’s a simple, powerful introduction to surface tension, polarity, and fat molecules, concepts that tie directly into elementary and middle school science standards.

What You’ll Need
Best for: Preschool through upper elementary, classroom science stations, homeschool STEM lessons, rainy day activities
Time to Complete: 5-10 minutes
Group Size: Works for 1 child or a full classroom (just use multiple plates)
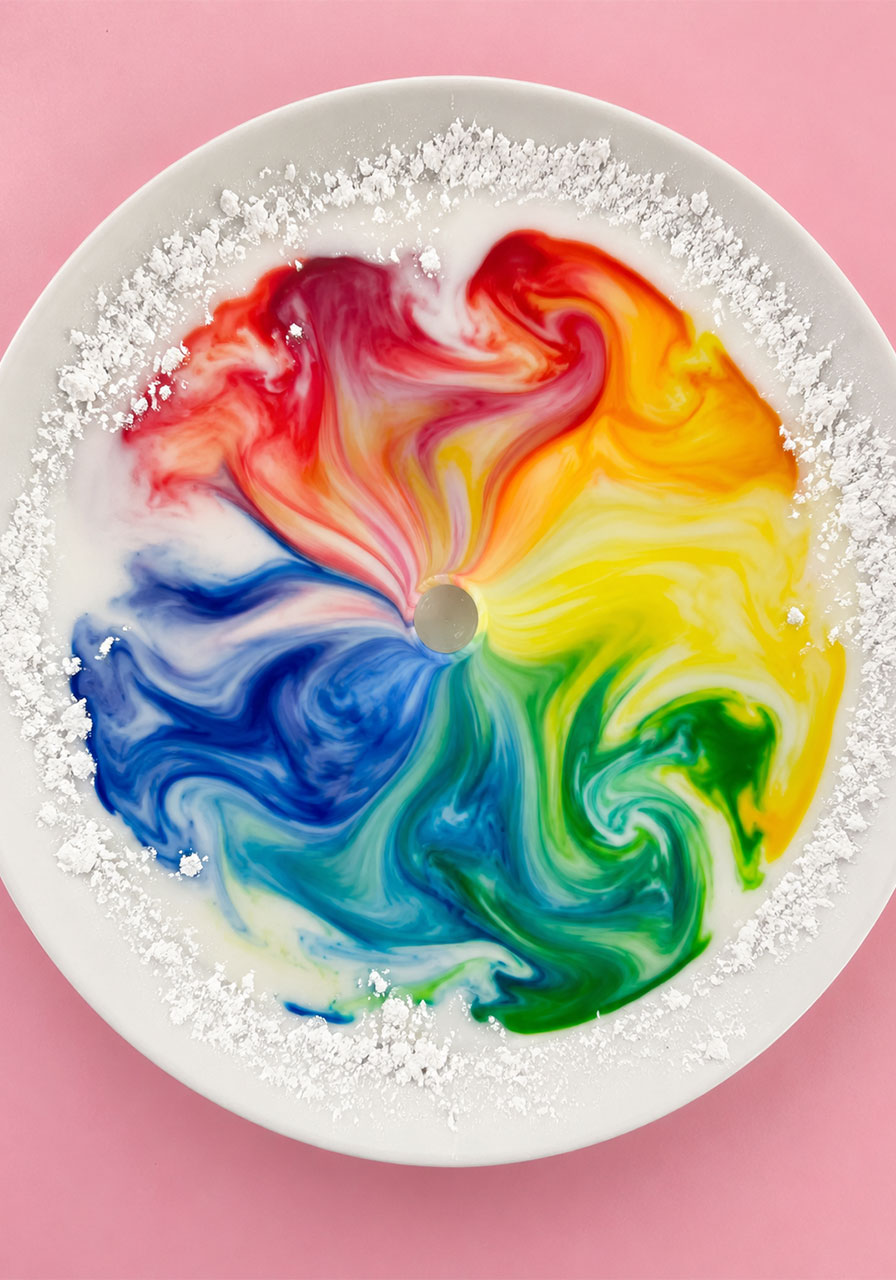
Here’s exactly what to gather before you start:
- A shallow plate or dish (a flat dinner plate works great)
- Whole milk (full-fat milk works best – we’ll explain why below)
- Food coloring in a few different colors
- Baby powder or cornstarch
- Dish soap
- A cotton swab or eyedropper (optional, but useful for controlled drops of soap)
Pro Tip: Skip the skim or low-fat milk if you can. Whole milk or even half-and-half has more fat content, and that fat is actually the star of this whole reaction. More fat means a bigger, more dramatic color explosion.
How to Play – Er, How to Do the Experiment
Follow these steps in order for the best results. Each one matters, so don’t skip ahead.
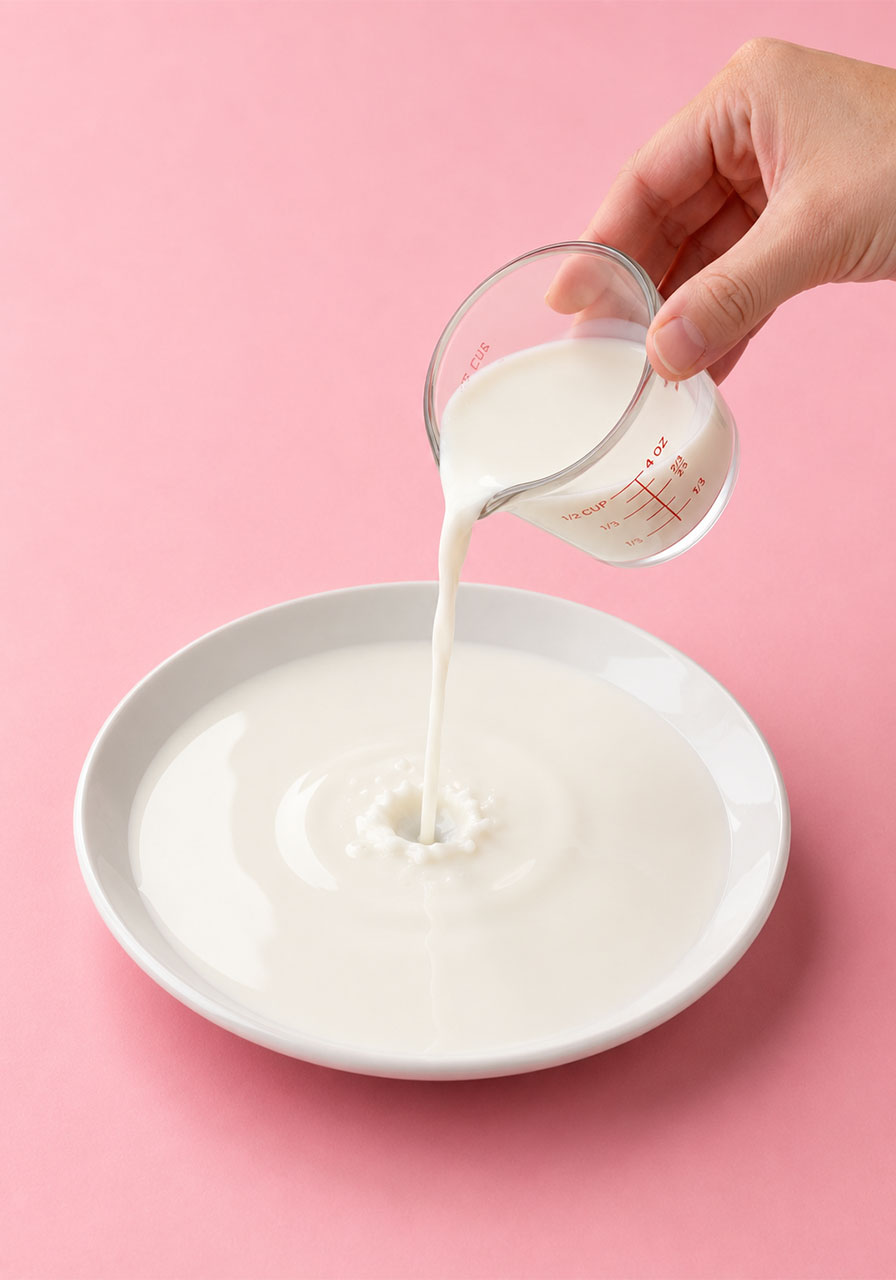
Step 1: Pour the milk.
Pour a thin, even layer of milk onto your plate. You want enough to fully cover the bottom of the plate, but you don’t need it deep – about a quarter inch is plenty.
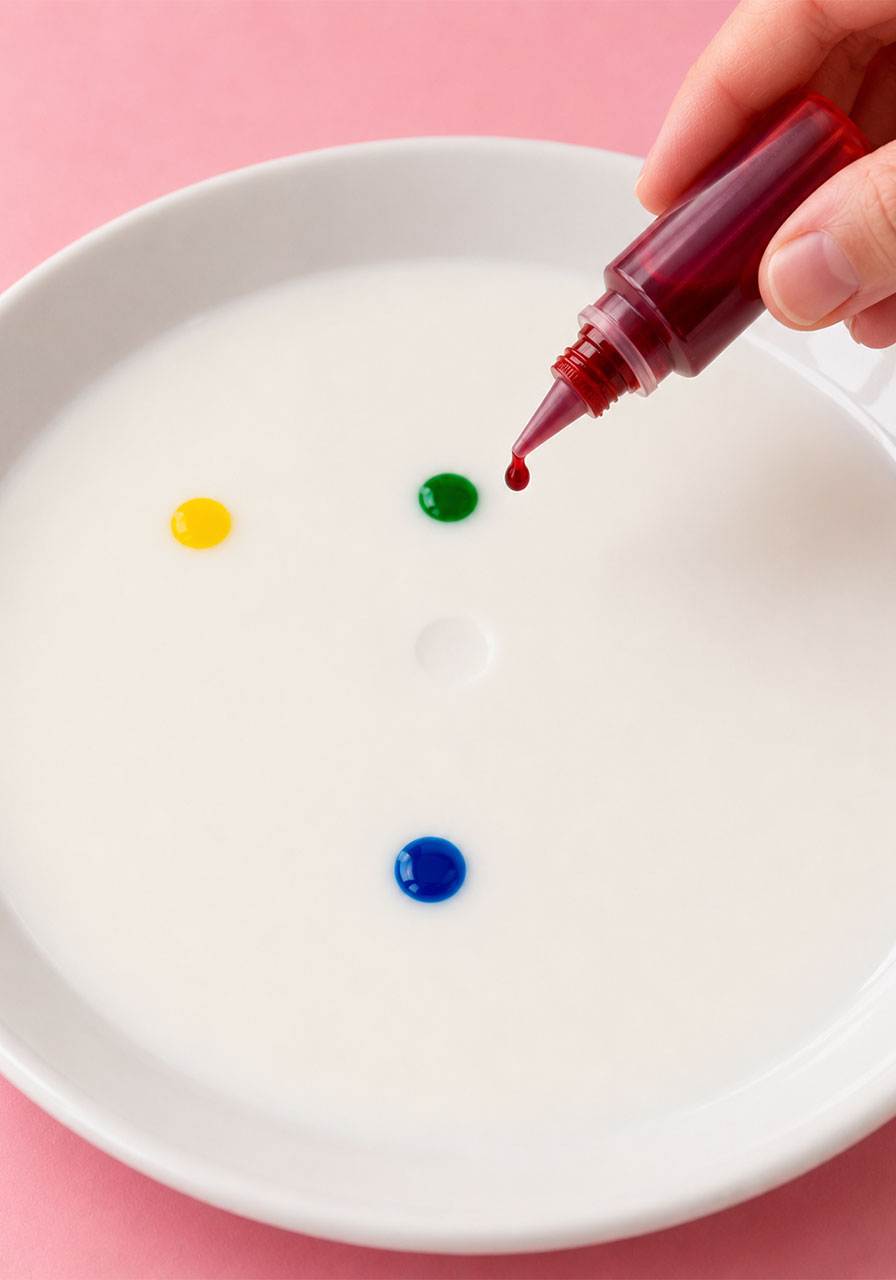
Step 2: Add the food coloring.
Add a few drops of different food coloring around the plate. Leave a little open space in the very center of the plate – that’s where the magic will happen in a later step. Try to space your colors out so you can watch them interact once the reaction starts.
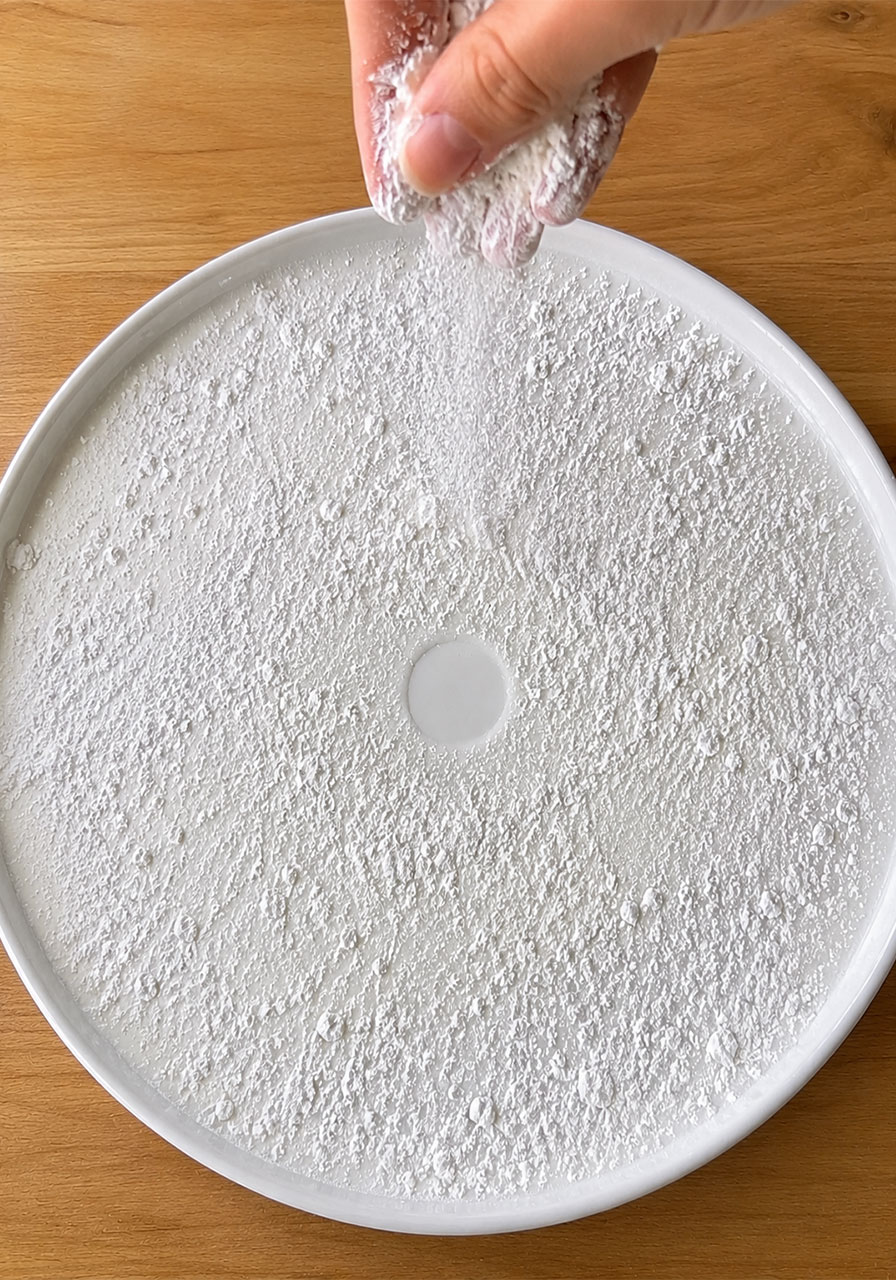
Step 3: Sprinkle the baby powder.
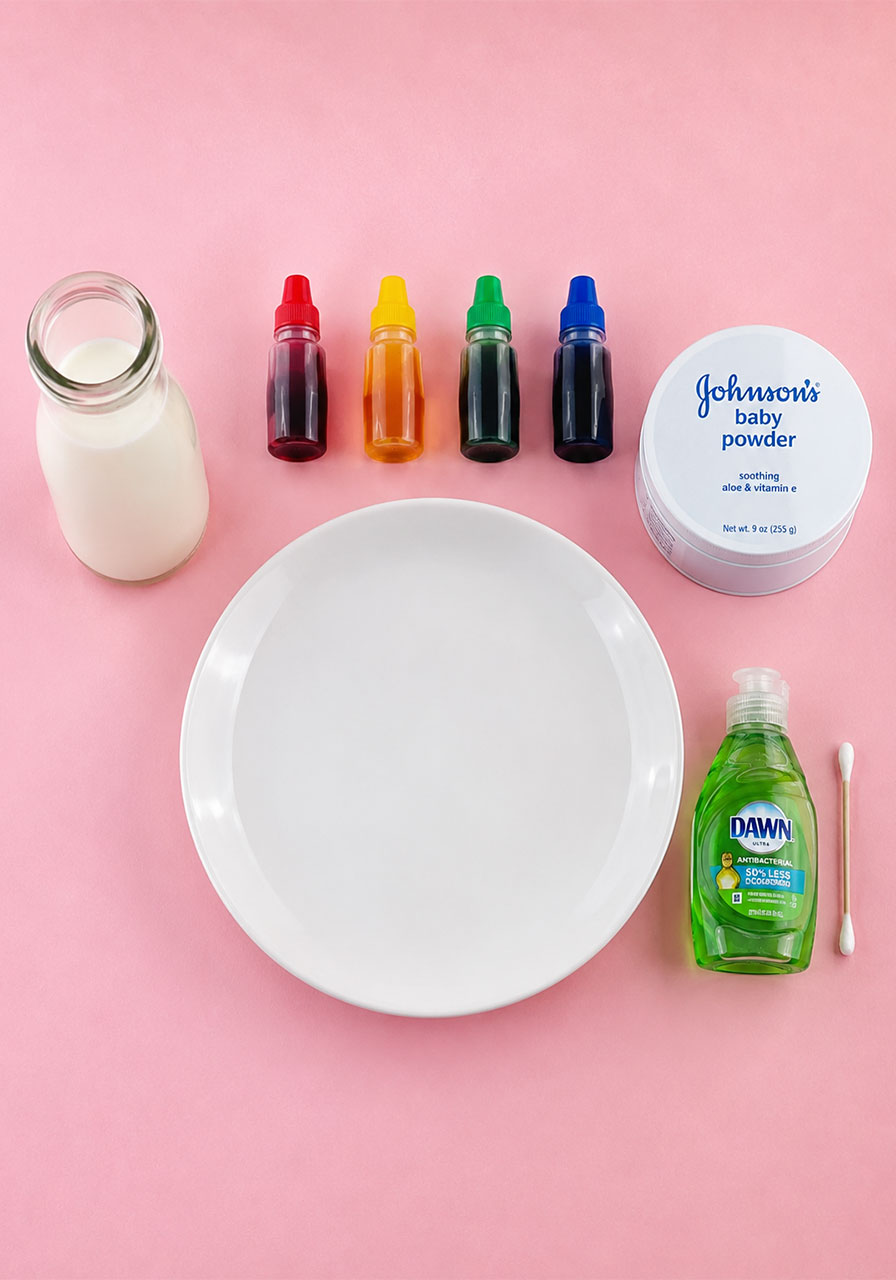
Lightly dust baby powder (or cornstarch) over the entire surface of the milk. This step is what gives the colors somewhere to travel and creates that beautiful marbled, cloud-like texture you see in the final result. Don’t worry about being too precise here – a light, even dusting is all you need.
Step 4: Add one drop of dish soap.
This is the moment everyone waits for. Add a single drop of dish soap right in the center of the plate, in that open space you left in Step 2. Then sit back and watch.
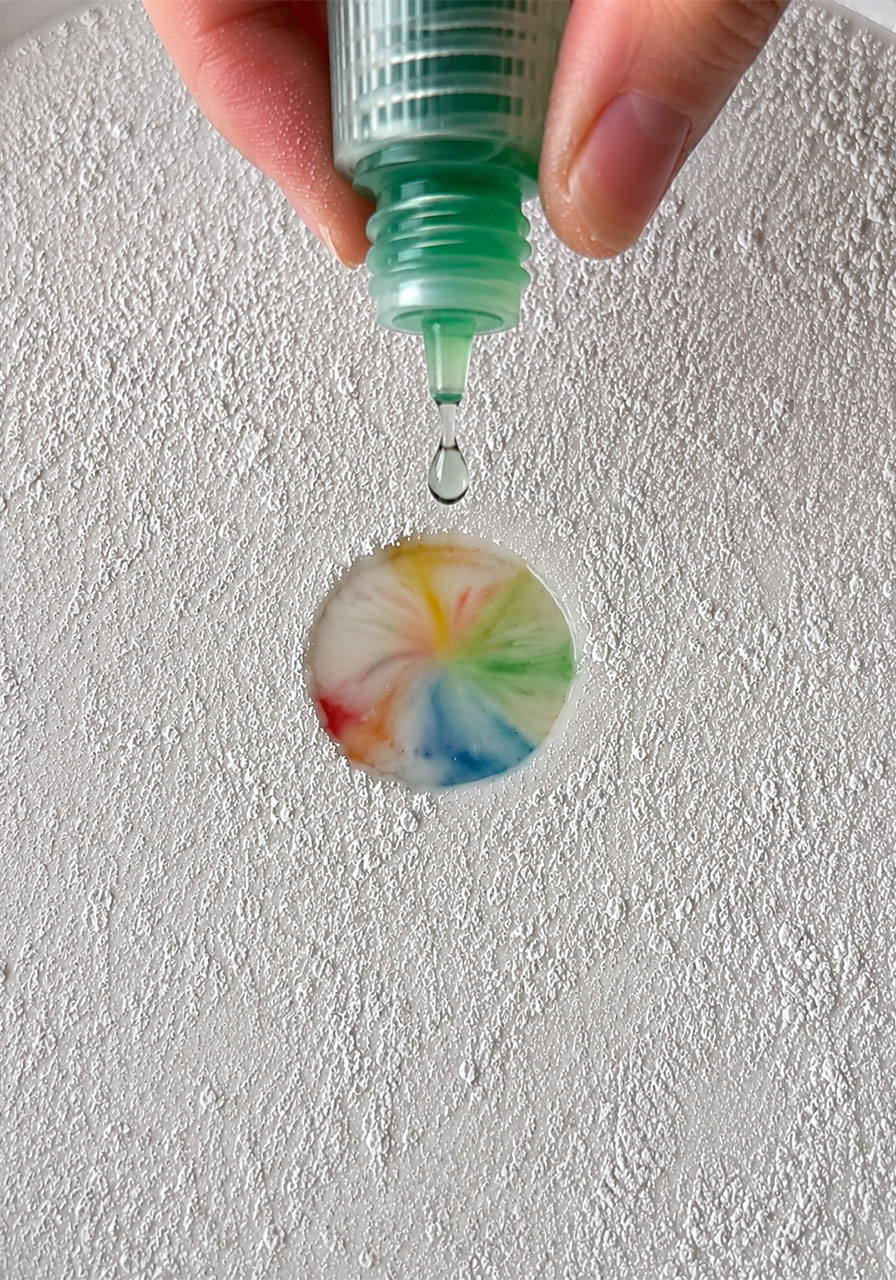
Step 5: Watch the colors explode.
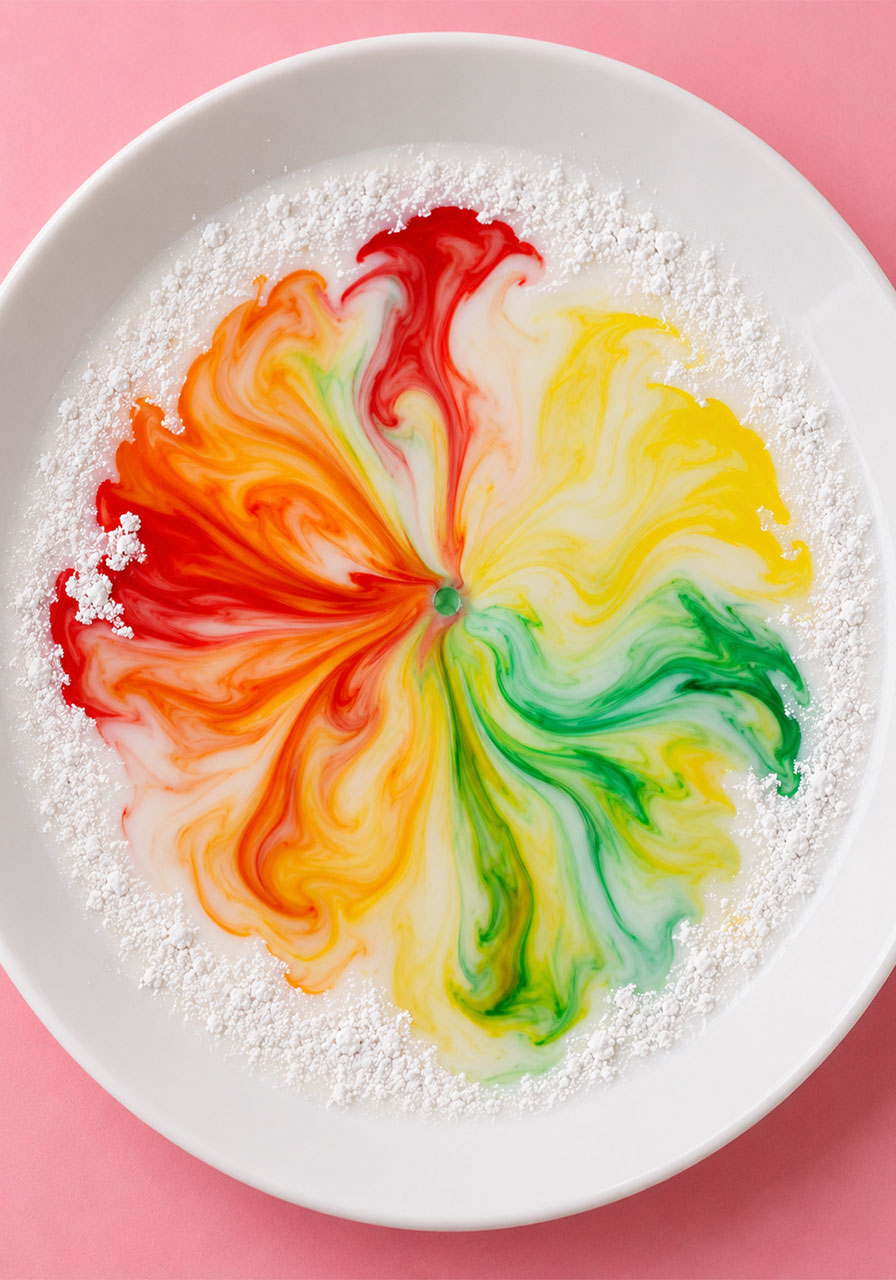
Within seconds, the colors will burst outward, swirling, blooming, and mixing into gorgeous patterns. This reaction moves fast, so make sure everyone is watching before you add the soap.
Pro Tip: Want to keep the show going? Add a second or third drop of dish soap in different spots once the first reaction slows down. Each new drop kicks off another burst of color and movement.
The Science Behind the Magic (Perfect for Classroom Discussion)
This is where the real learning happens, and it’s worth talking through with your kids or students before or after the experiment.
Milk isn’t just water. It’s made up of water, proteins, and tiny droplets of fat that are suspended and held together by surface tension. Surface tension is what keeps the surface of a liquid “held together,” almost like an invisible skin.
When you add food coloring, the color sits on top of the milk without moving very much, because that surface tension is holding everything in place.
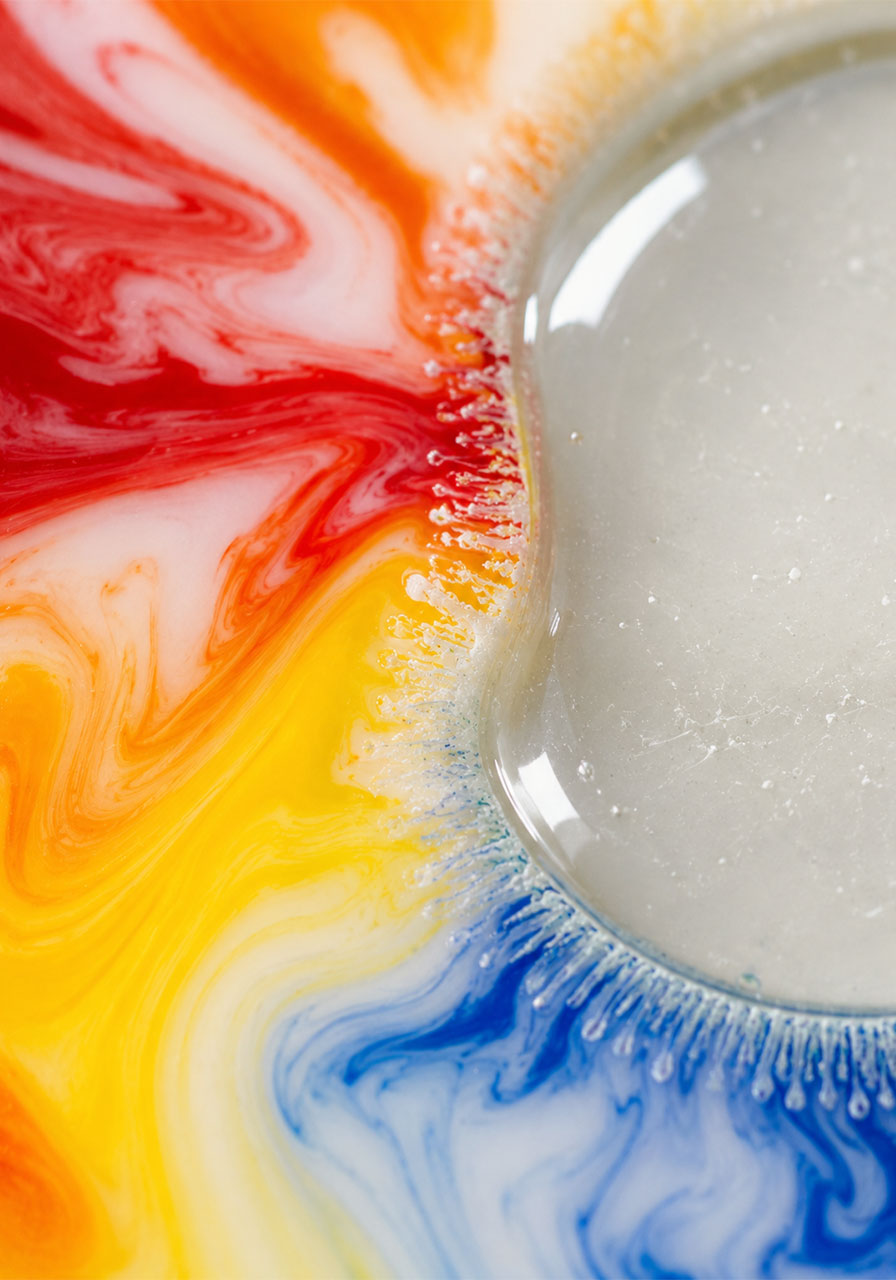
Dish soap changes everything. Soap molecules are attracted to fat and repelled by water at the same time. The moment that drop of soap hits the milk, it races across the surface searching for fat molecules to bond with, breaking the surface tension as it goes.
As the soap breaks apart the fat molecules and surface tension, it sends the food coloring flying across the plate in swirling, chaotic patterns. That’s the “explosion” you’re seeing – it’s really soap molecules racing to grab onto fat, dragging color along with them.
This is a fantastic, simple way to introduce concepts like surface tension, fat and water interactions, and even basic chemical reactions to young learners, without any complicated vocabulary required.
Tips for Using This in the Classroom
If you’re a teacher planning this for a group, a few small adjustments will make it run smoothly.
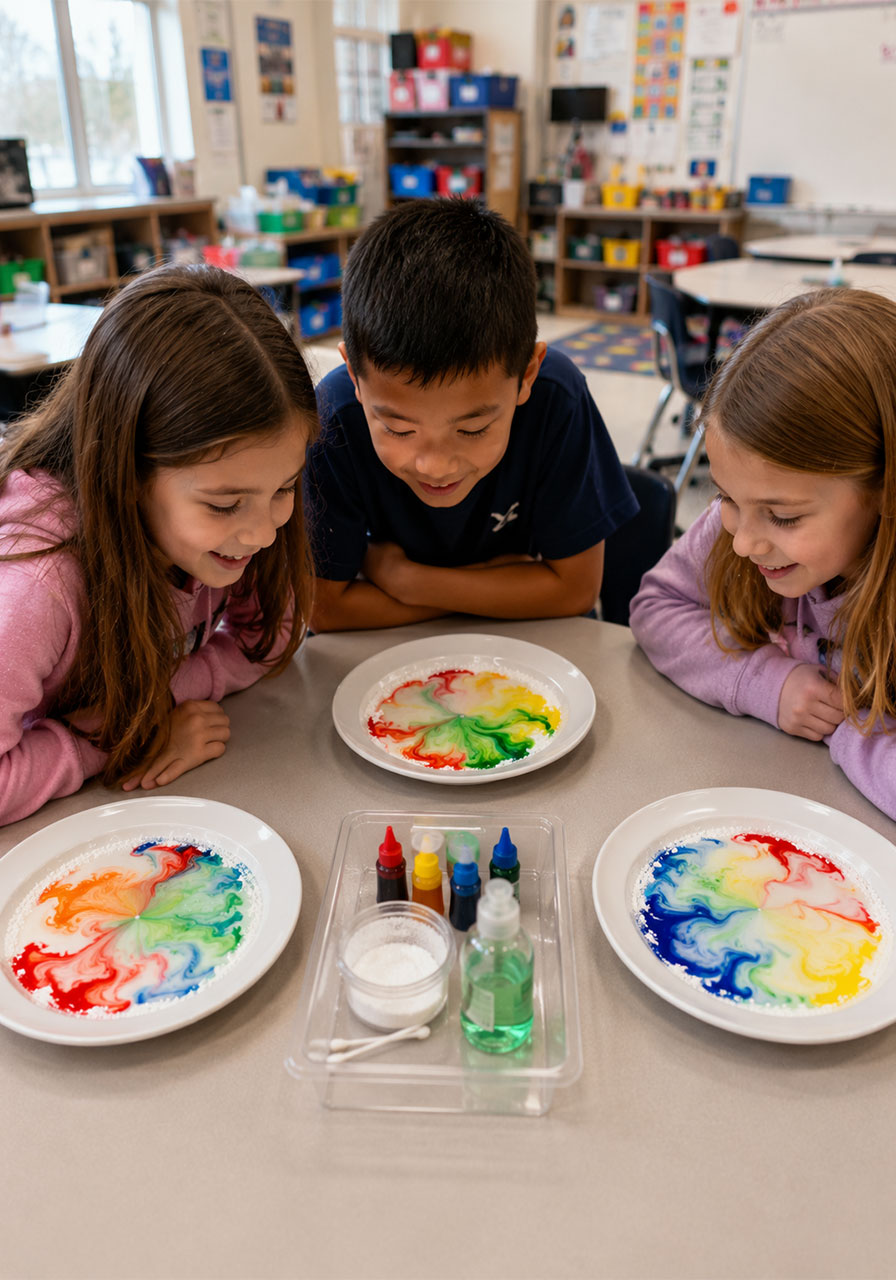
Set up individual small plates or shallow bowls for each student or small group, rather than one large communal plate. This keeps things organized and gives every child their own hands-on moment.
Pre-pour the milk before class starts if you’re working with younger students, so they can jump straight into the food coloring and soap steps.
Ask guiding questions while the reaction happens. Try: “What do you think will happen when we add the soap?” or “Why do you think the colors are moving away from the soap?” These simple prompts turn a fun activity into a real science lesson.
Have paper towels and a tray ready nearby. This experiment is low-mess compared to most STEM activities, but milk and soap can still get a little splashy.
Tips for Doing This at Home
If you’re a parent running this on a weekend afternoon, here’s how to make it even easier.
Cover your table with a plastic tablecloth or place the plate on a baking sheet to contain any spills.
Let your kids choose their own color combinations. Watching their favorite colors swirl together adds a personal, exciting element to the whole activity.
Take a video. The movement happens fast, and it’s genuinely mesmerizing to watch back in slow motion.
Turn it into a repeatable activity. Because the ingredients are so simple and inexpensive, this is one experiment kids will ask to do again and again.
Fun Variations to Try
Once you’ve done the classic version, here are a few ways to switch things up and keep the learning going.
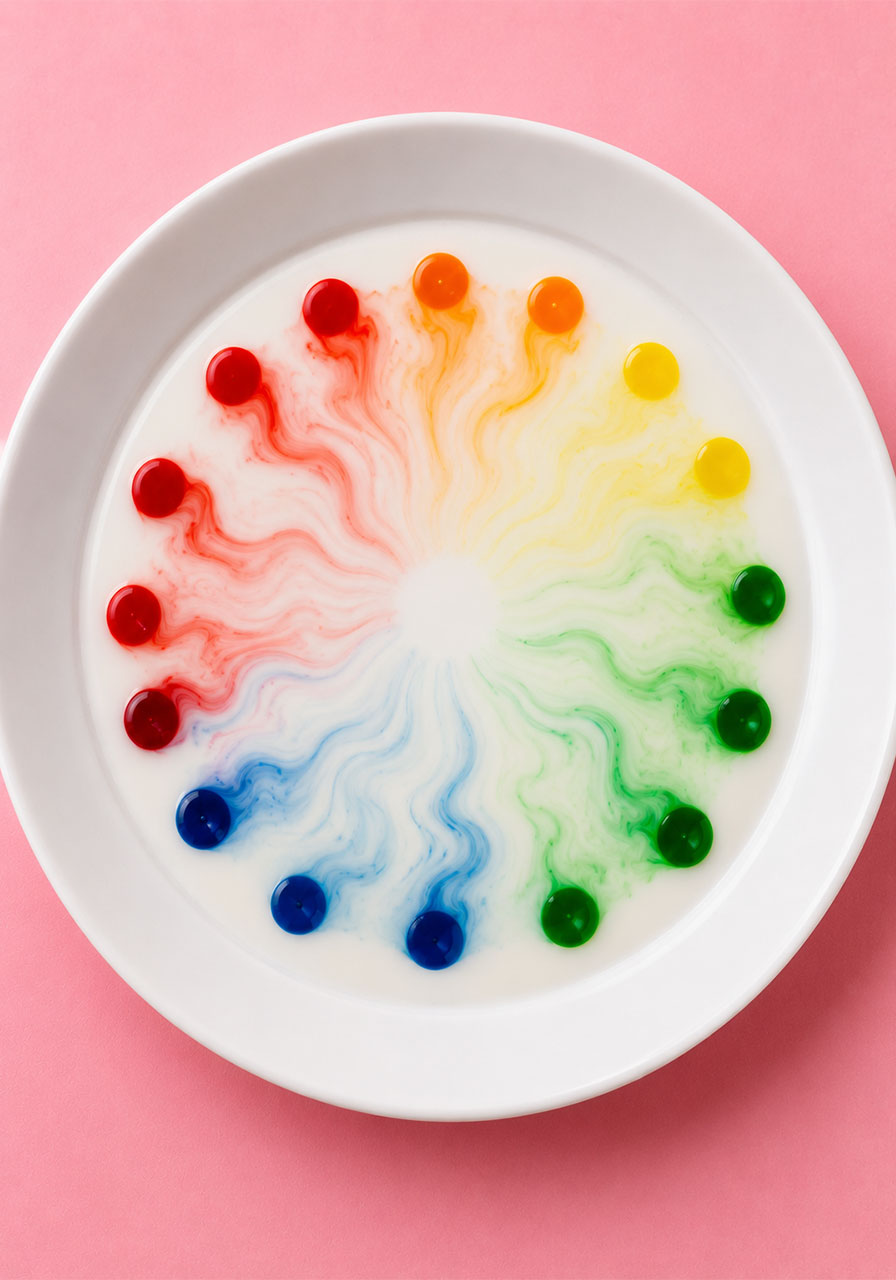
The Rainbow Ring: Instead of random color placement, arrange your food coloring drops in a neat circle around the edge of the plate before adding the soap. This creates a striking ring effect as the colors rush toward the center.
The Fat Content Experiment: Try the activity with skim milk, whole milk, and half-and-half side by side. Ask your kids or students to predict and observe which one creates the biggest reaction, and talk about why fat content matters.
The Soap Comparison: Test different types of soap, like dish soap versus hand soap versus shampoo, to see which one creates the most dramatic movement.
A Few Safety Notes
This activity is generally very safe and low-mess, but a few reminders are worth passing along, especially with younger children.
Food coloring can stain hands, clothing, and countertops, so consider using washable food coloring or having kids wear an old shirt or smock.
Supervise young children closely and remind them that the milk mixture is for observing, not tasting, once soap has been added.
Clean up right away once you’re finished, since milk left sitting out can start to smell after a while.
Why This Activity Belongs in Your STEM Toolkit
Great STEM activities don’t need to be complicated or expensive to be effective. This experiment proves that some of the best learning moments come from a few kitchen staples and a little curiosity.
It’s visual, it’s fast, it’s affordable, and it sparks genuine questions from kids about how and why things work the way they do. Whether you’re filling a classroom science block or looking for your next weekend activity idea, the Magical Color Explosion delivers real “wow” factor along with real learning.
Keep this one in your back pocket. It’s the kind of activity that turns “I’m bored” into “can we do that again?”
