
Want to see your kids’ jaws drop in about ten seconds flat? This one does it every time.
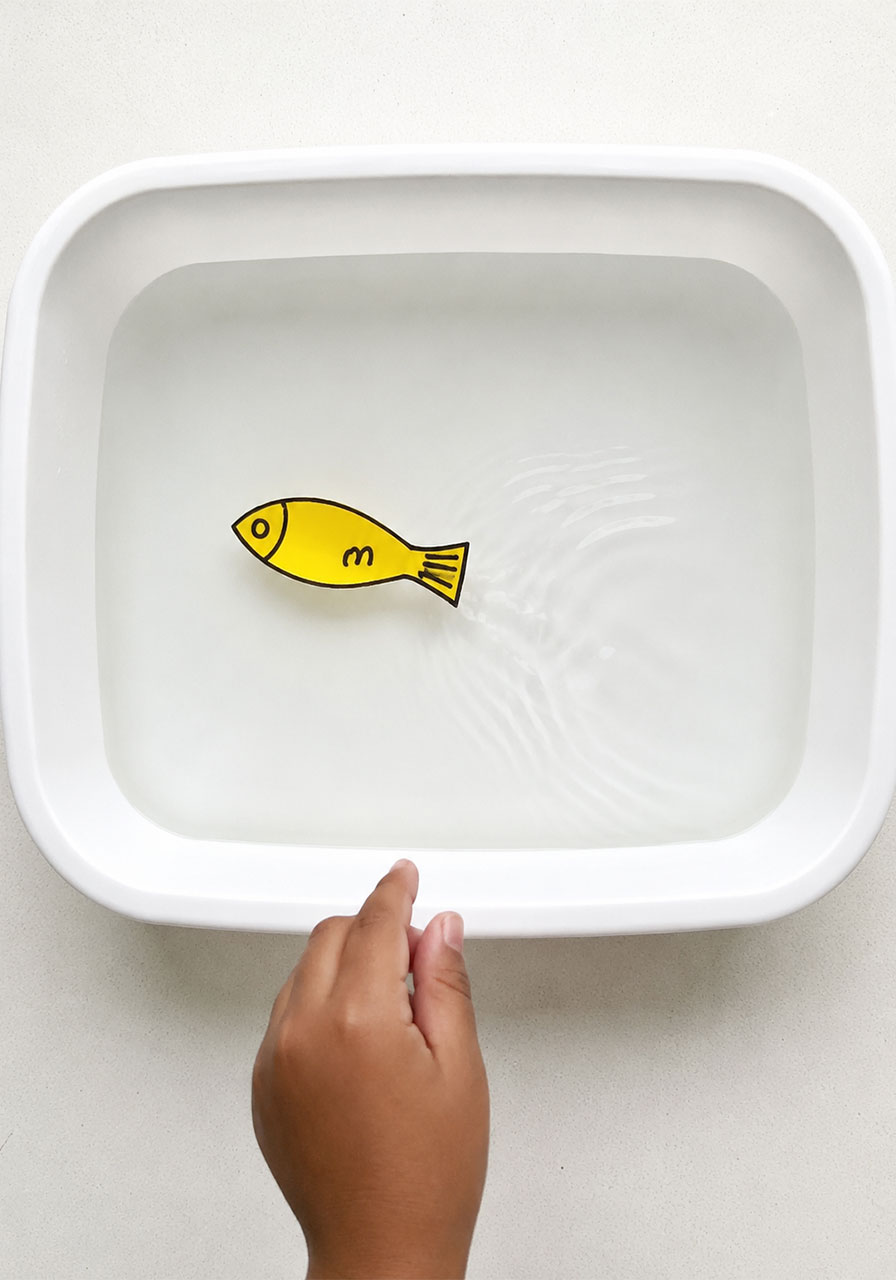
All it takes is a paper fish, a shallow tray of water, and a tiny dab of dish soap. Set the fish down, add the soap, and watch it “swim” across the water like it has a motor inside.
No batteries. No magnets. No tricks up your sleeve. Just real science happening right in front of little eyes.
This is one of those hands-on experiments that makes STEM feel like magic. It is perfect for classrooms, homeschool science time, rainy afternoons, or that moment when you need five minutes of quiet wonder before dinner.
I’ve tested this one myself with a real group of kids (and a real pile of craft foam scraps), so I can tell you exactly how to make it work on the first try.
Why This Experiment Is a Total Winner for Kids
Toddlers and preschoolers love it because it genuinely looks like magic. There is no obvious cause for the fish to move, so the surprise factor is huge.
Older kids and elementary students get even more out of it, because you can pause right after the “wow” moment and ask, “Okay, but why did that happen?” That question is where the real learning kicks in.
Teachers, this is an easy one to run as a small group rotation or a whole-class demo. Parents, this is a five-minute activity using stuff you already have in your kitchen drawer.
Best for: Toddlers, preschoolers, and elementary-age kids. Great for classrooms, homeschool, and STEM nights.
Time to Play: About 10-15 minutes, including setup.
Group Size: Works for one curious kid or a whole classroom taking turns.

What You’ll Need
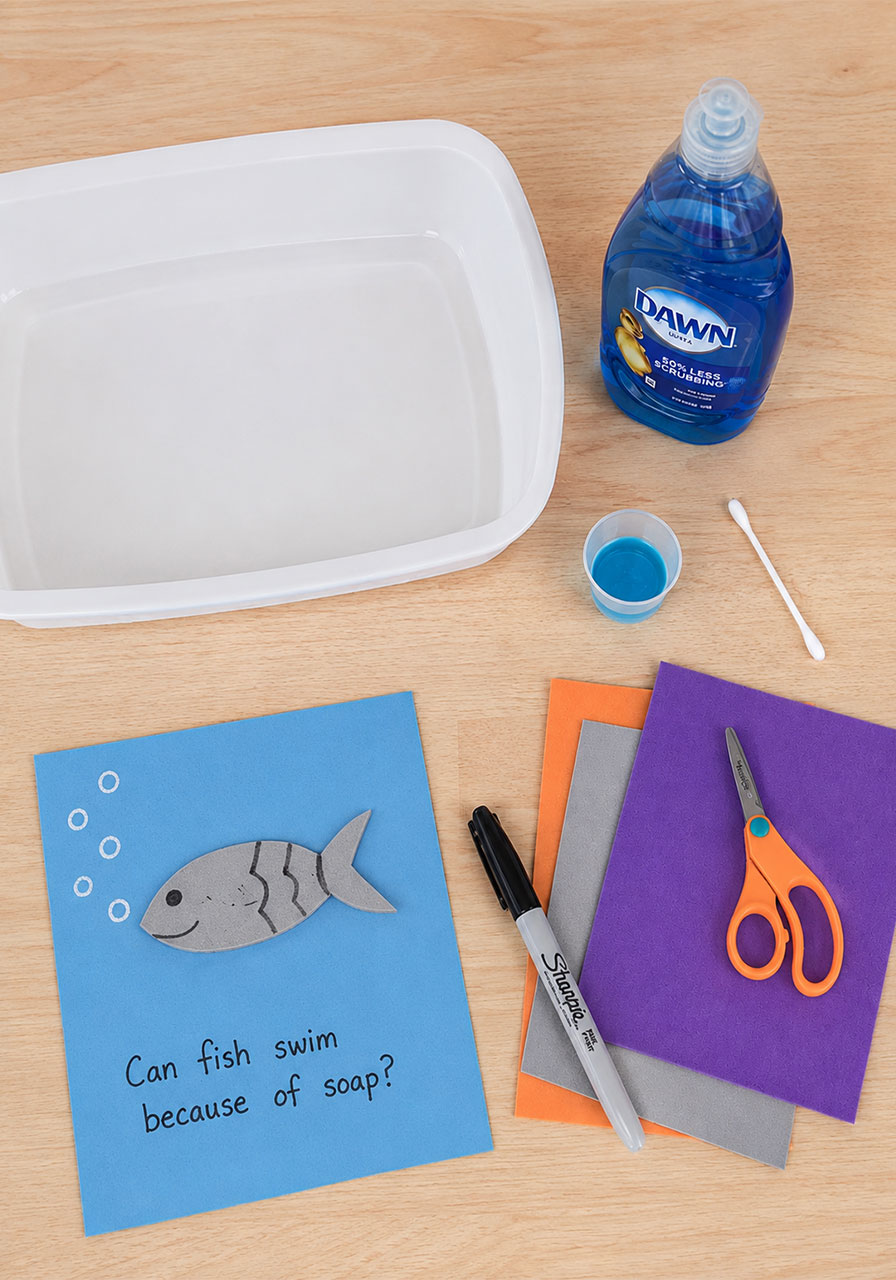
A shallow baking dish or tray (long enough for the fish to “swim” across)
Craft foam sheets, any colors
A permanent marker, for decorating your fish
Scissors
Liquid dish soap (Dawn works great)
A small cup or bowl to hold the soap
A cotton swab (Q-tip)
Water
Quick note: craft foam works best because it’s lightweight and floats easily. If you don’t have foam on hand, cardstock can work too, though foam tends to hold up better and glide more smoothly.
How to Play: Step-by-Step Instructions
Follow these steps in order, and your fish will swim on the very first try.
Step 1: Cut Out Your Fish
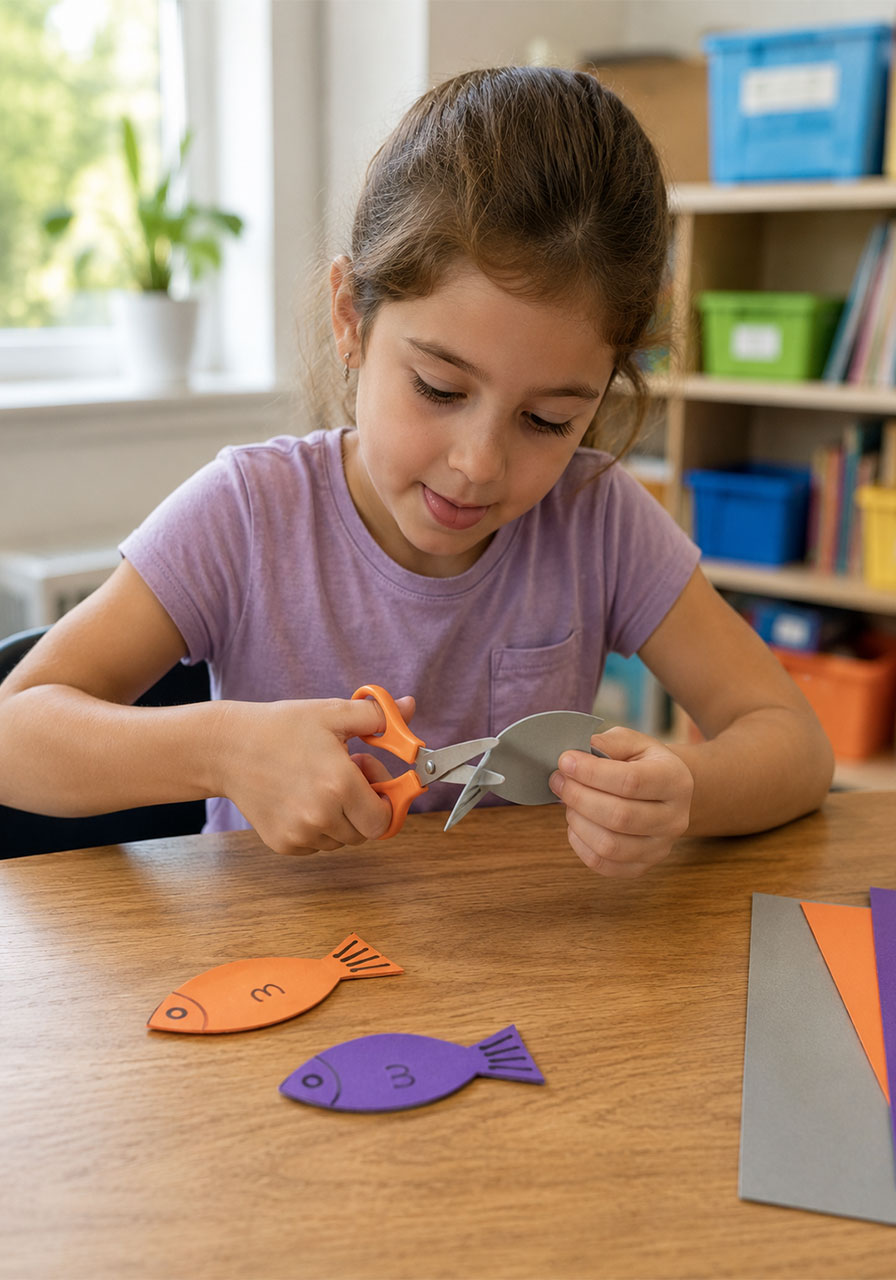
Cut fish shapes out of craft foam. This is a fun part for kids to help with, especially if they’re old enough to handle scissors safely.
Here’s the one detail that matters most: your fish needs a V-shaped notch cut into the tail. This little notch is what makes the whole experiment work, so don’t skip it.
Once the basic shape is working, let your kids get creative and test other tail shapes too. Does a straight tail swim as well as a V-shaped one? That’s a great mini-experiment on its own.
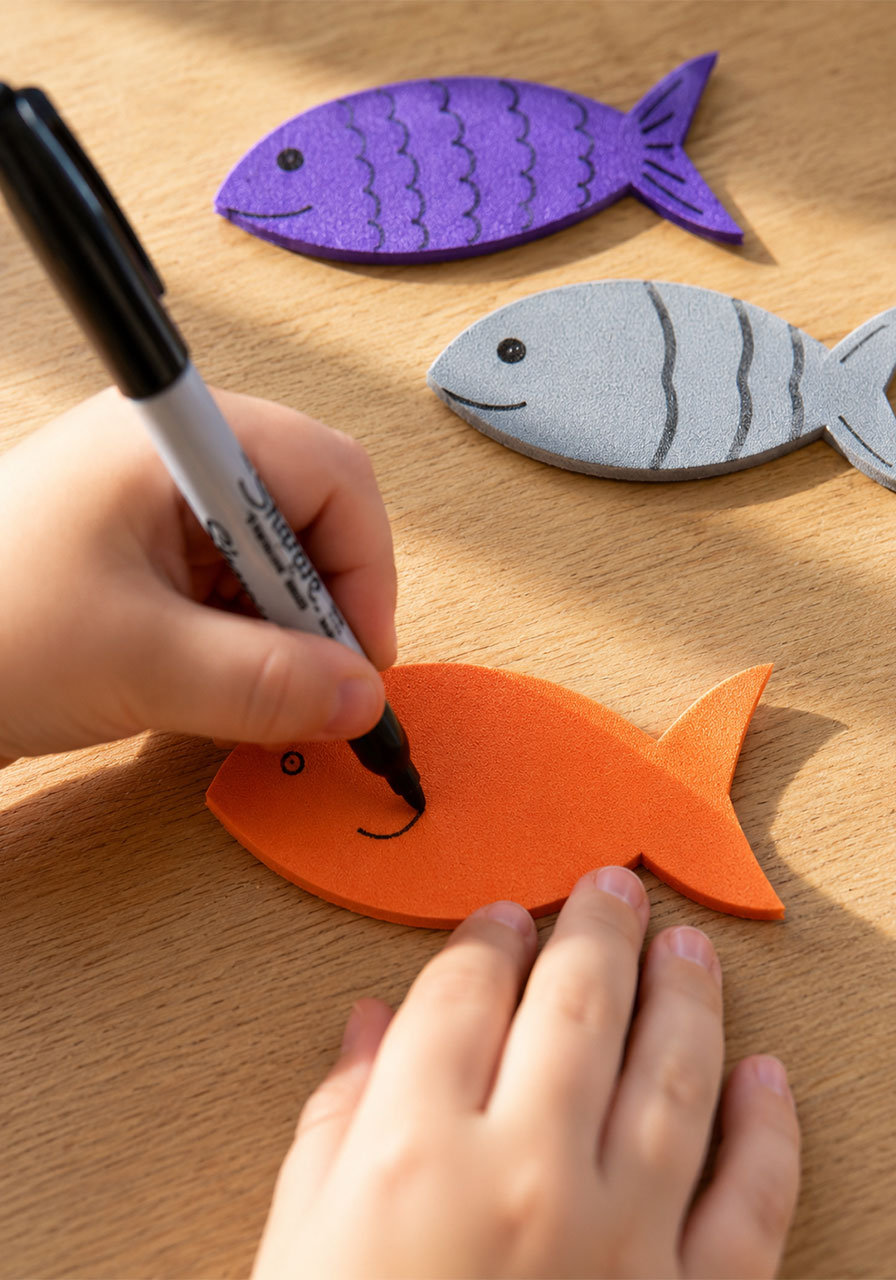
Step 2: Decorate the Fish
Use a marker to draw on eyes, scales, stripes, or whatever fun details your kids want. This step adds personality and makes the experiment feel like a craft project, not just a science lesson.
If you’re doing this in a classroom, this is also a great moment to let each child personalize their own fish before the big reveal.
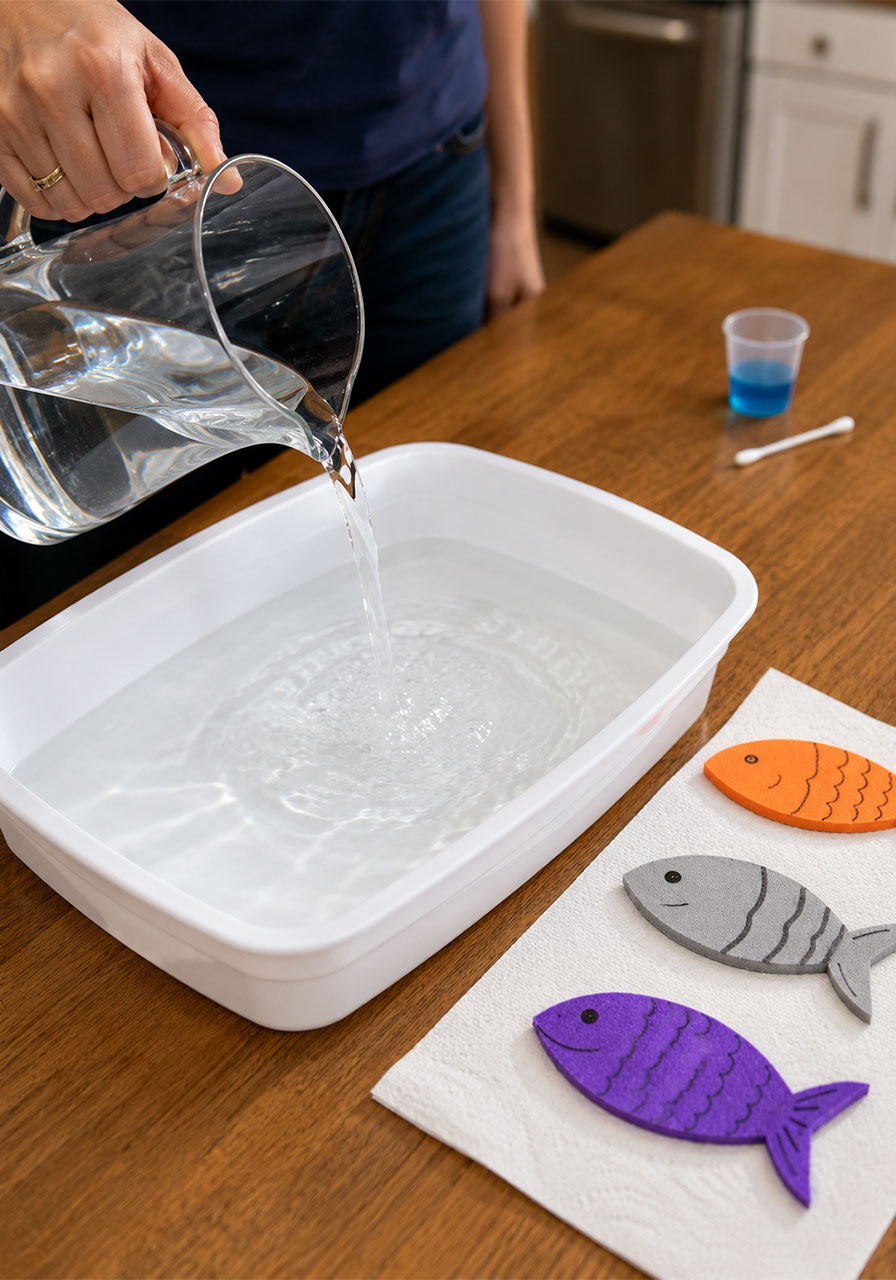
Step 3: Fill the Tray with Water
Pour a couple of inches of water into your baking dish or tray. You want enough water for the fish to float and glide freely, but you don’t need it deep.
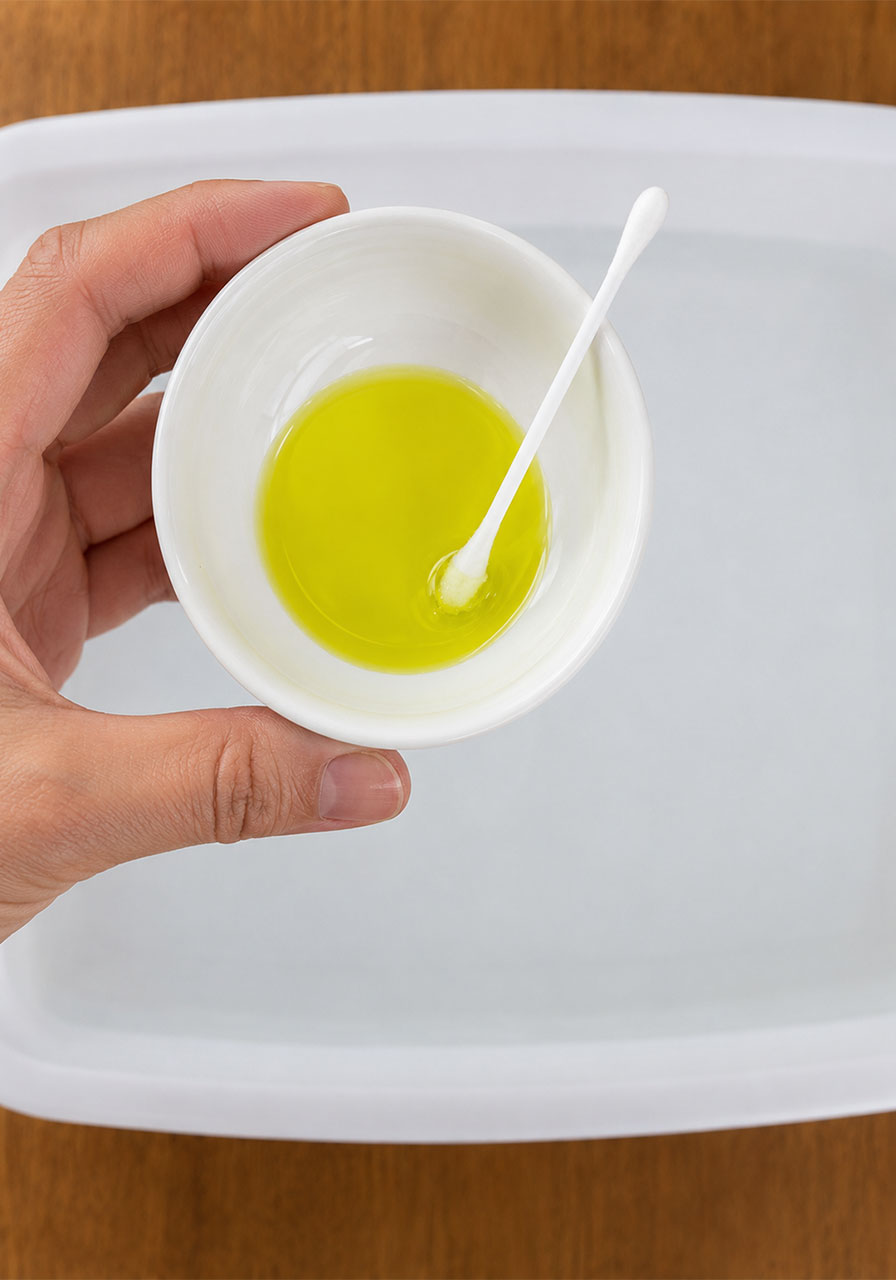
Step 4: Prep Your Soap
Pour a small amount of dish soap into a little cup or bowl. You really don’t need much, just enough to dip a cotton swab into.
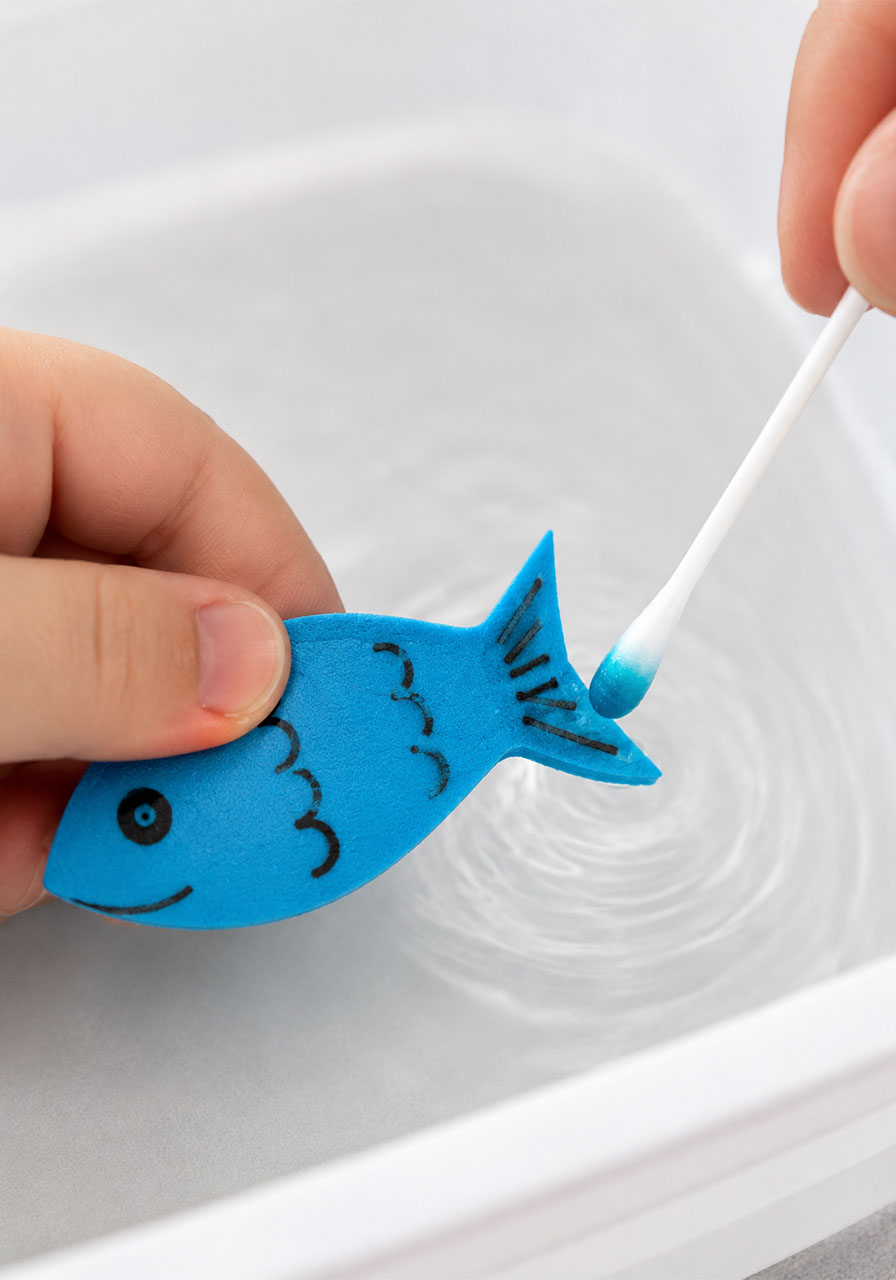
Step 5: Add Soap to the Fish Tail
Dip your cotton swab into the soap, then dab it right onto the tip and underside of the fish’s tail, exactly where that V-notch is.
This is the key step, so take your time here. A light dab is all it takes.
Step 6: Set the Fish in the Water and Watch It Swim
Gently place your fish in the water. Within seconds, it should glide forward like it’s swimming on its own.
This is the moment kids will want to see over and over. Let them soak it in, then get ready for the inevitable, “Do it again!”
Pro Tip: Fresh Water for Every Swim
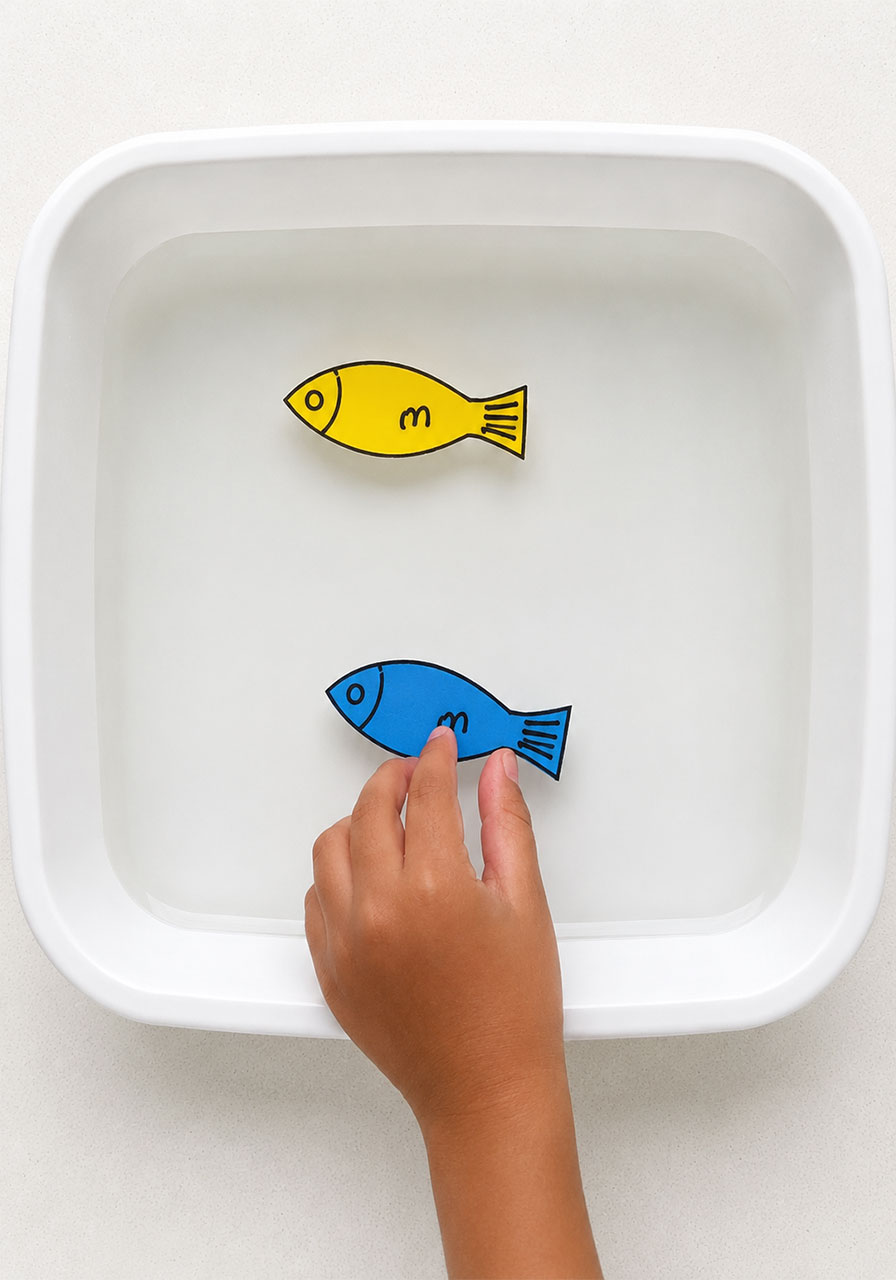
Here’s something worth knowing before you start: you cannot reuse the same water for a second swim.
Once soap touches the water, it spreads out everywhere, not just around the fish. That means the special difference in surface tension that makes the fish move is gone for good in that batch of water.
So if your kids want to watch it swim again (and they will), just dump the water, rinse the tray, and start fresh. It only takes a minute, and it’s worth it for round two, three, and four.
Fun Variation: Race Two Fish at Once
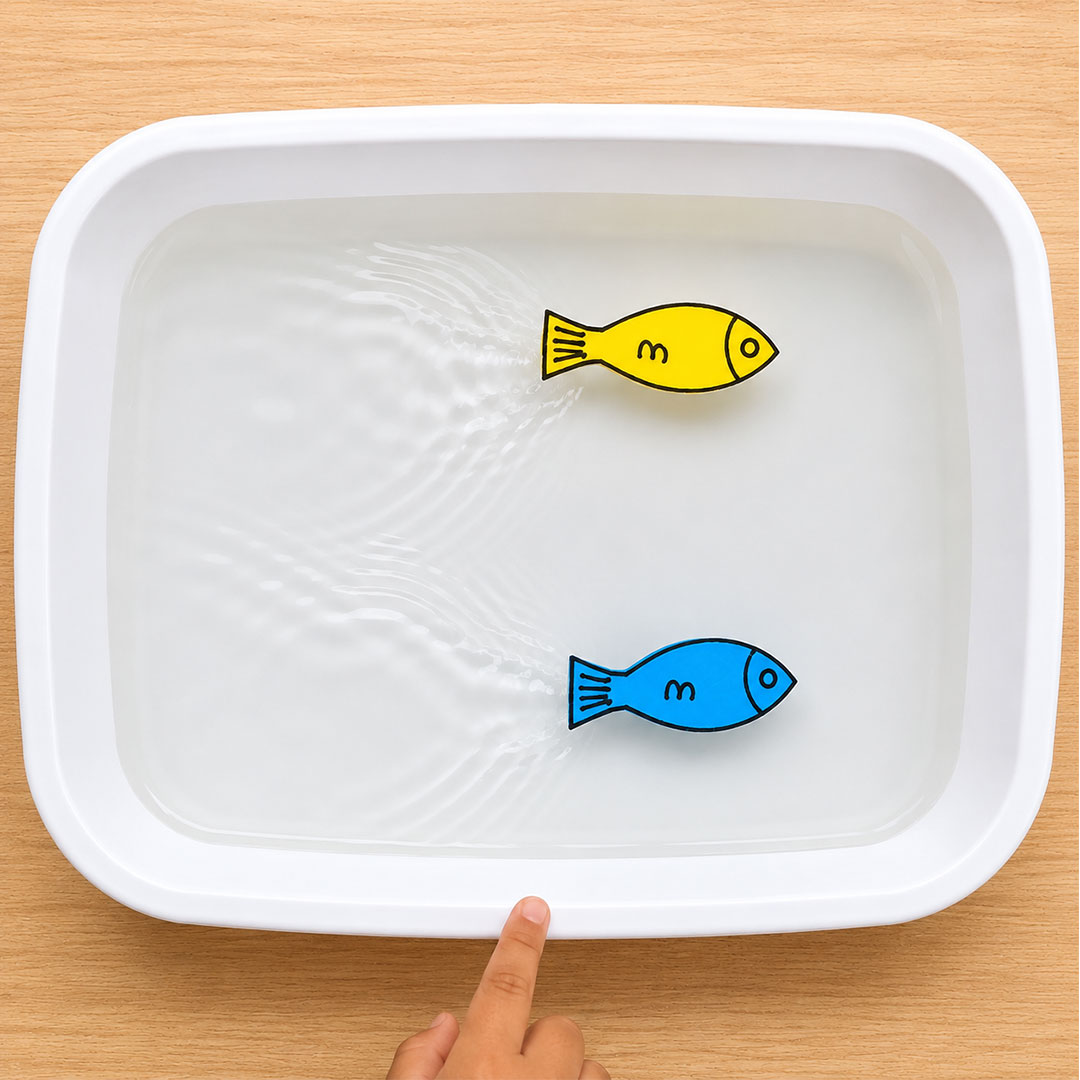
Once your kids have the basic experiment down, try setting two or three fish in the water at the same time.
Add soap to each tail and let them race across the tray together. This turns the activity into a friendly little competition and works great for siblings or classroom pairs.
You can also experiment with different fish sizes and shapes to see which ones swim fastest. This is a simple way to turn one experiment into an entire afternoon of testing and comparing.
The Science Behind the Swimming Fish
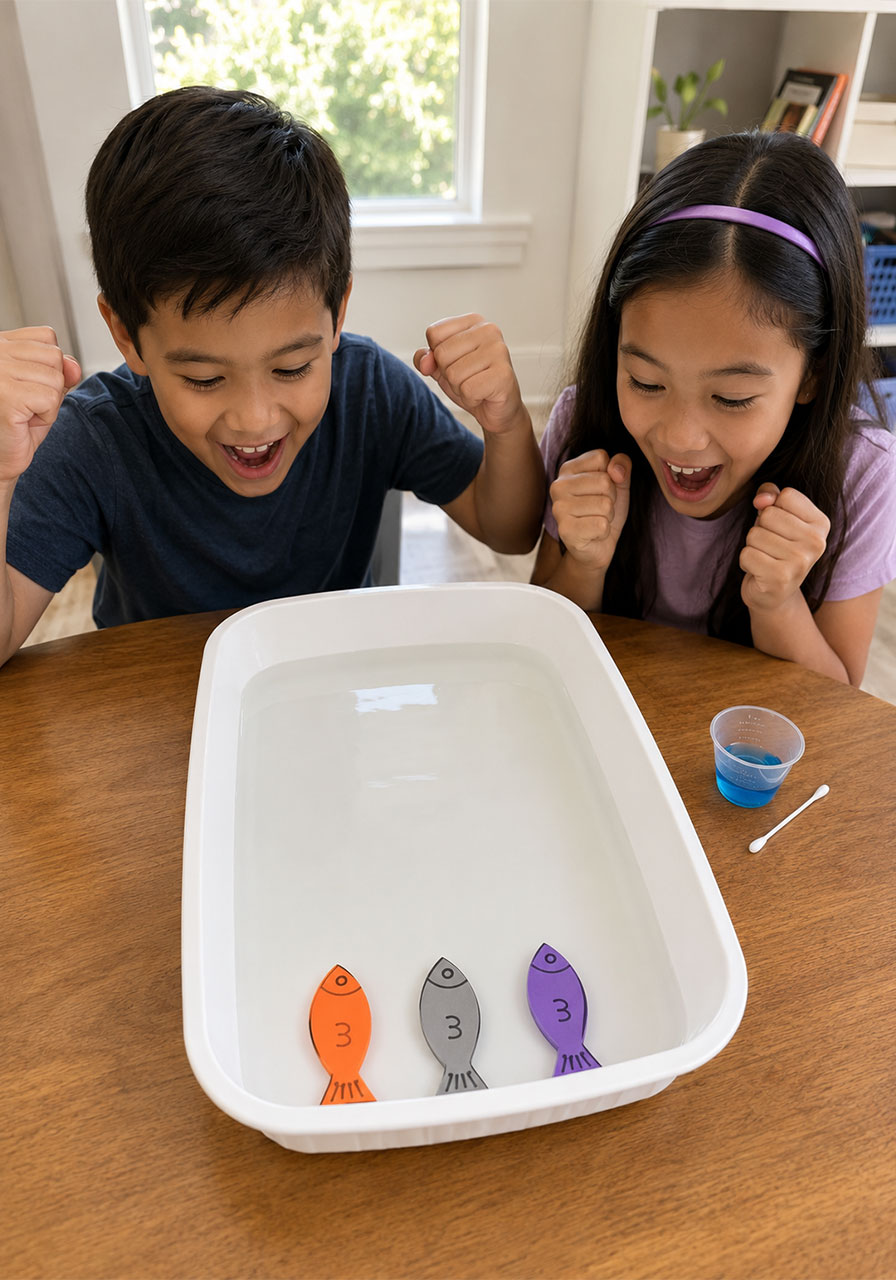
Here’s the fun part: explaining why this actually works. This section is great for older kids, but even little ones enjoy hearing the simple version.
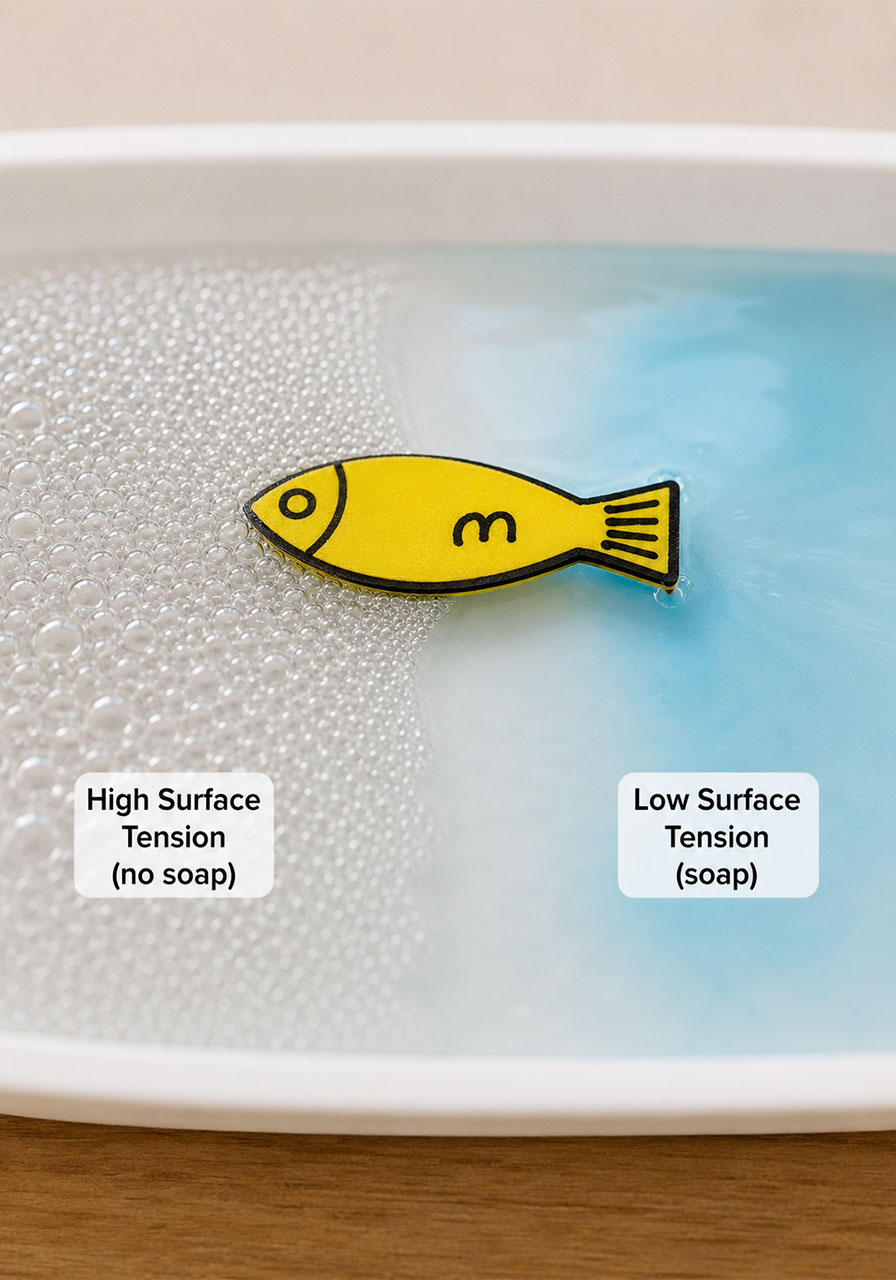
The fish swims because of something called surface tension.
Water molecules are made of two hydrogen atoms and one oxygen atom, and they have a positive end and a negative end. Because of these charges, water molecules are attracted to each other, almost like they’re holding hands.
This attraction is strong enough that water can actually pile up above the rim of a glass before it spills over. That “holding hands” effect is surface tension in action.
When you dab soap on one end of the fish, you break that surface tension right at that spot. The water molecules on the soapy side stop pulling on the fish, but the water molecules on the other side are still pulling strong.
That imbalance is exactly what pushes the fish forward, away from the soap.
For older kids or curious grown-ups who want to go deeper, Scientific American has a more detailed breakdown of the physics behind it.
Troubleshooting: If Your Fish Won’t Swim
If your fish is sitting still instead of swimming, run through this quick checklist.
Check your water. If you’ve already used this water for a previous swim, soap is already spread throughout it, and there is no surface tension difference left to push the fish. Swap in fresh water and try again.
Check your soap placement. Make sure the soap is right on the tip and underside of the tail, in that V-notch. Soap placed too far up the body won’t create the same effect.
Check your fish shape. That V-shaped tail notch really matters. A straight-edged tail may not move at all, or may move much more slowly.
Check your soap amount. You only need a small dab. Too much soap can sometimes work fine, but a light touch is usually all it takes.
Great STEM Talking Points for Kids
While you’re waiting for the next swim, here are some simple questions to ask that turn this into a real learning moment.
- What do you think will happen if we put soap on both ends of the fish?
- Why do you think we can’t reuse the same water?
- Does a bigger fish swim faster or slower than a smaller one?
- What other shapes could we try instead of a fish?
These questions help kids practice making predictions and testing them, which is really the heart of what science is all about.
Why This Experiment Belongs in Your STEM Activity Rotation
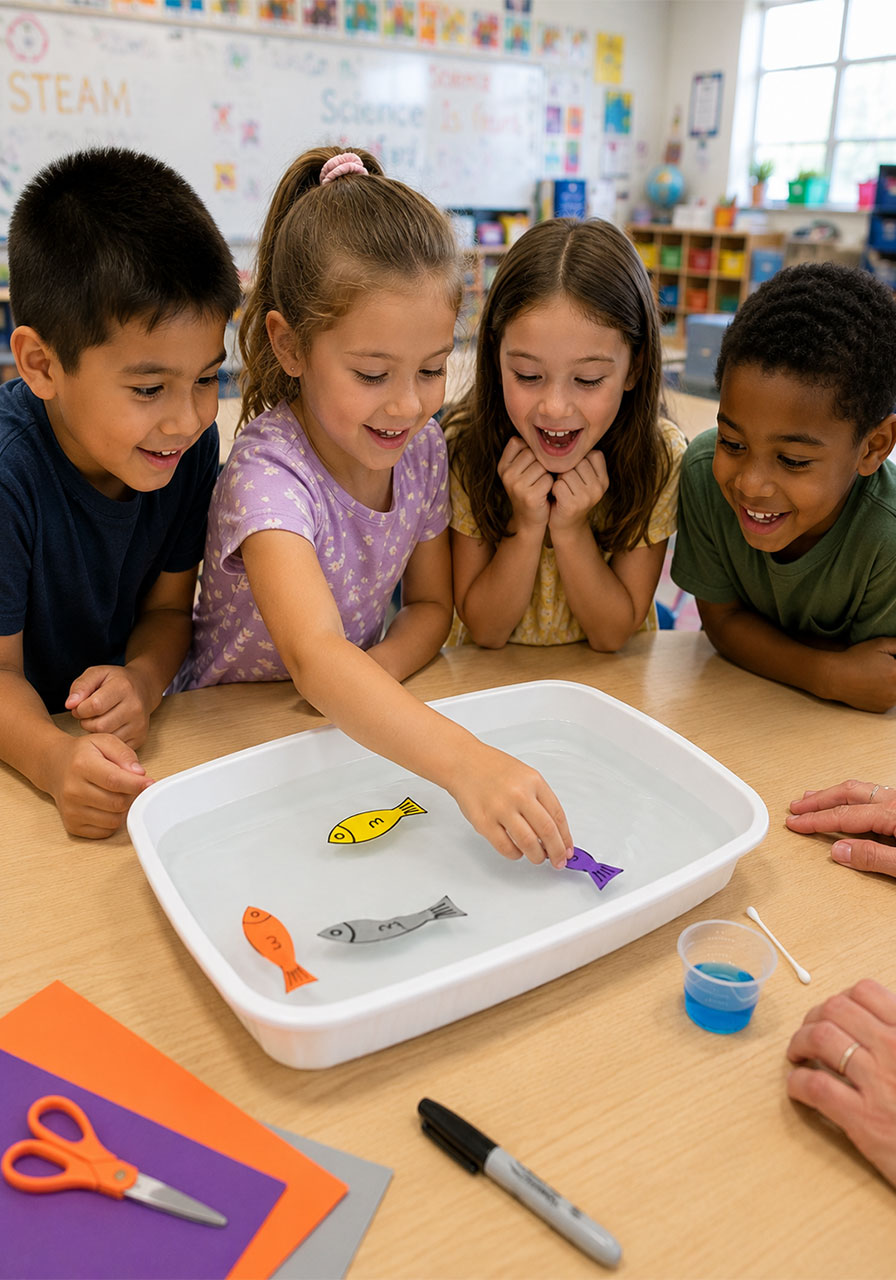
This is one of those rare experiments that checks every box. It’s fast, it’s cheap, it uses supplies you probably already have, and the payoff is genuinely impressive every single time.
For teachers, it’s an easy station activity or whole-group demonstration that ties directly into lessons on chemistry, molecules, or forces. For parents, it’s a five-minute activity that turns into twenty minutes of “again, again, again.”
Either way, this is the kind of experiment that gets kids excited about science, one swimming fish at a time.
Looking for more hands-on science ideas that are just as easy and just as impressive? Check out our full collection of simple science experiments for kids, all using everyday materials from your kitchen and around the house.
