
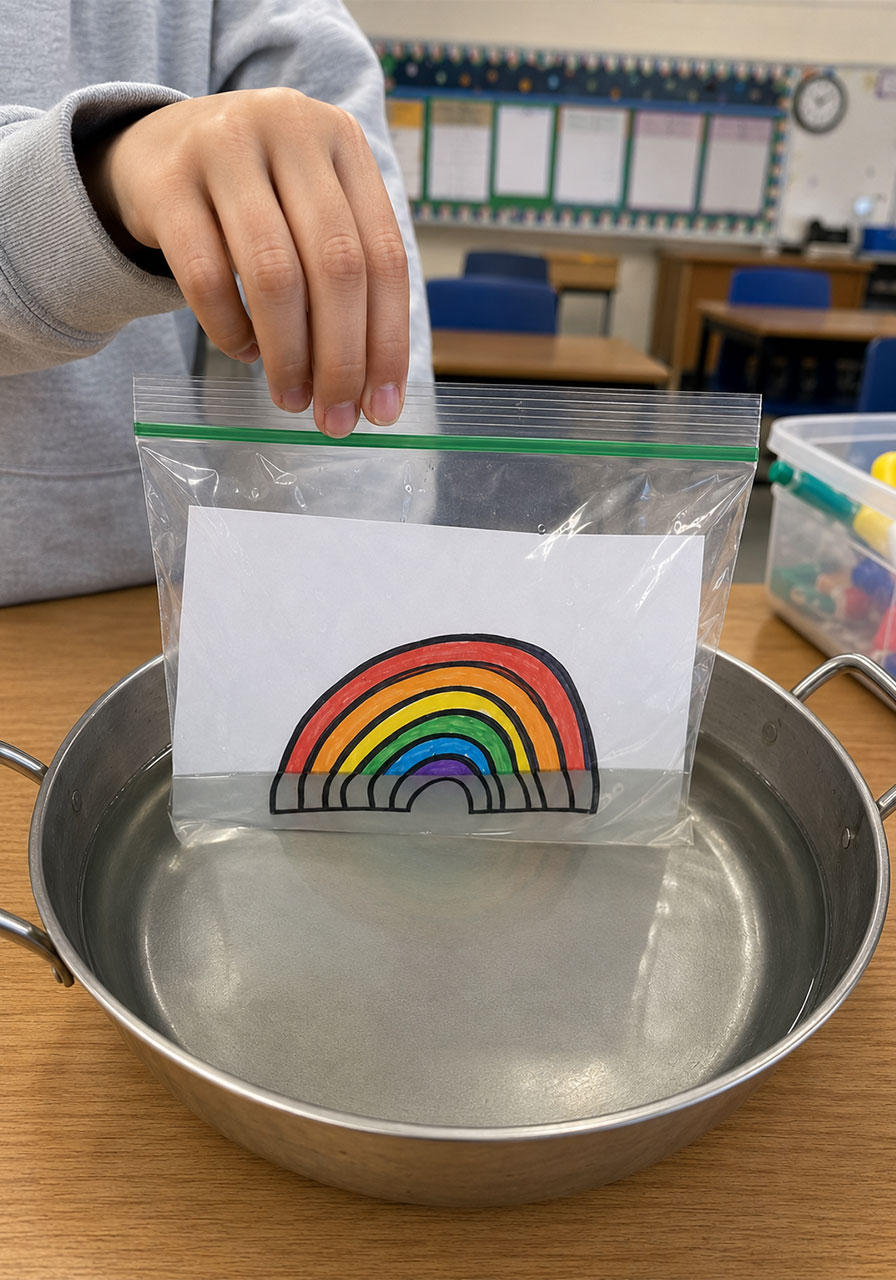
Picture this: your kids draw a bright, colorful rainbow, seal it in a plastic bag, and lower it into a pot of plain water. Seconds later, the colors seem to vanish right before their eyes.
No, it’s not magic. It’s science! And it’s one of the easiest, most jaw-dropping experiments you can pull off with stuff you already have sitting in your kitchen drawer.
This water refraction experiment has become a total classroom and playroom favorite, and it’s easy to see why. It takes less than 10 minutes, costs almost nothing, and delivers a genuine “whoa” moment that keeps kids talking about science long after cleanup is done.
Whether you’re a teacher looking for a foolproof STEM activity that will actually hold a room full of wiggly students, or a parent hunting for something screen-free to do on a rainy afternoon, this one is guaranteed to deliver.
Let’s break down exactly how to do it, why it works, and a few pro tips to make sure your first try is a total success.
Why This Experiment Is a Must-Try
Kids learn best when they’re having fun, and this activity turns a real optical science concept into something that feels like a magic trick.
It’s hands-on, it’s visual, and it gives kids a reason to ask “wait, how does that work?” That question is exactly what you want to hear, because it means real learning is happening.
Better yet, this experiment works for a huge age range. Toddlers will love the drawing and coloring part. Elementary and middle schoolers will actually understand and remember the science behind it.
Best for: Preschool through middle school, homeschool STEM units, science fair prep, rainy day activities, classroom demonstrations.
Time to Complete: 10-15 minutes.
Group Size: Works for one child or a whole classroom.

What You’ll Need
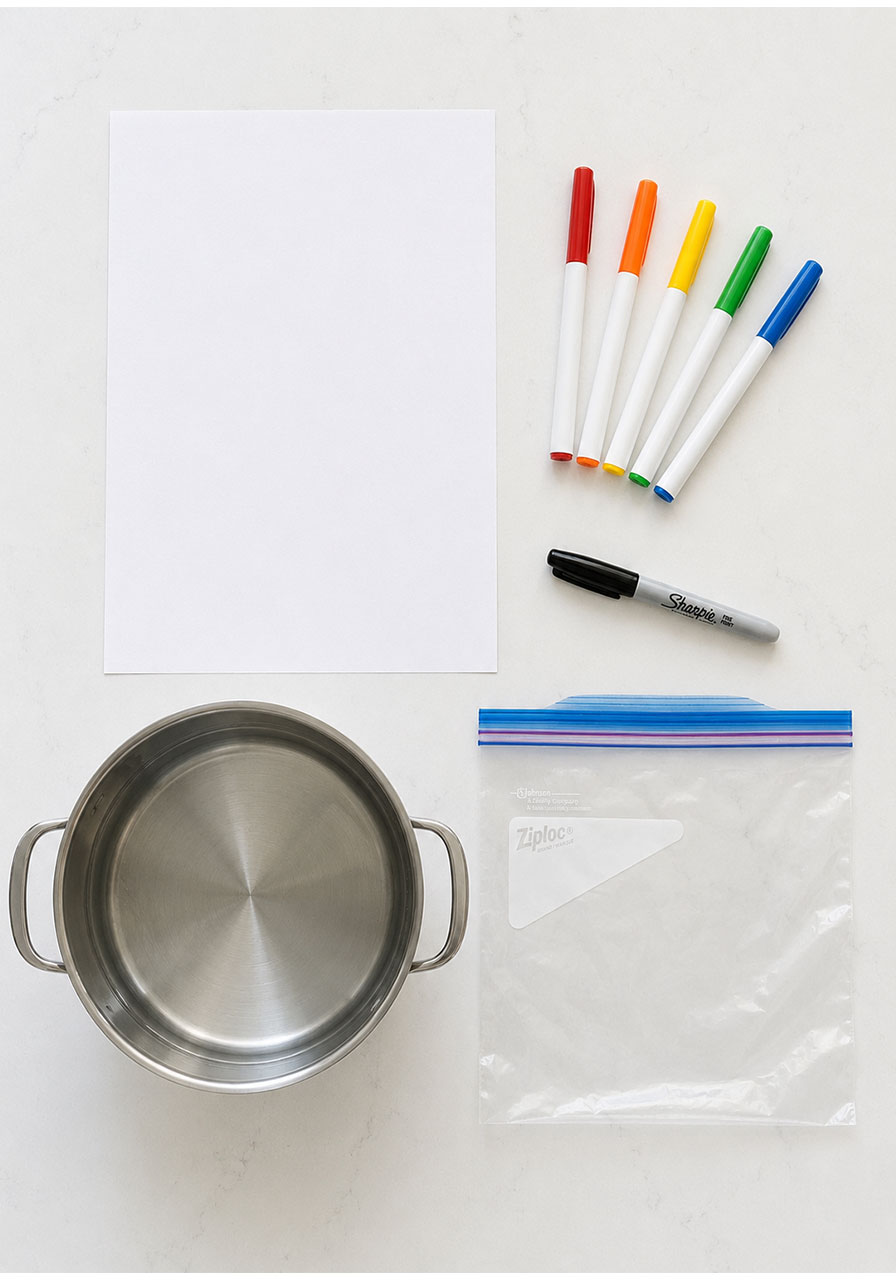
Plain white paper
Markers or crayons (bright colors work best)
A black Sharpie or permanent marker
A gallon-size Ziploc bag (the clear plastic kind, not freezer bags)
A large pot or clear container filled with water
That’s it. No special science kit, no trip to the craft store required.
How to Play (Step-by-Step Instructions)
Step 1: Draw a picture.
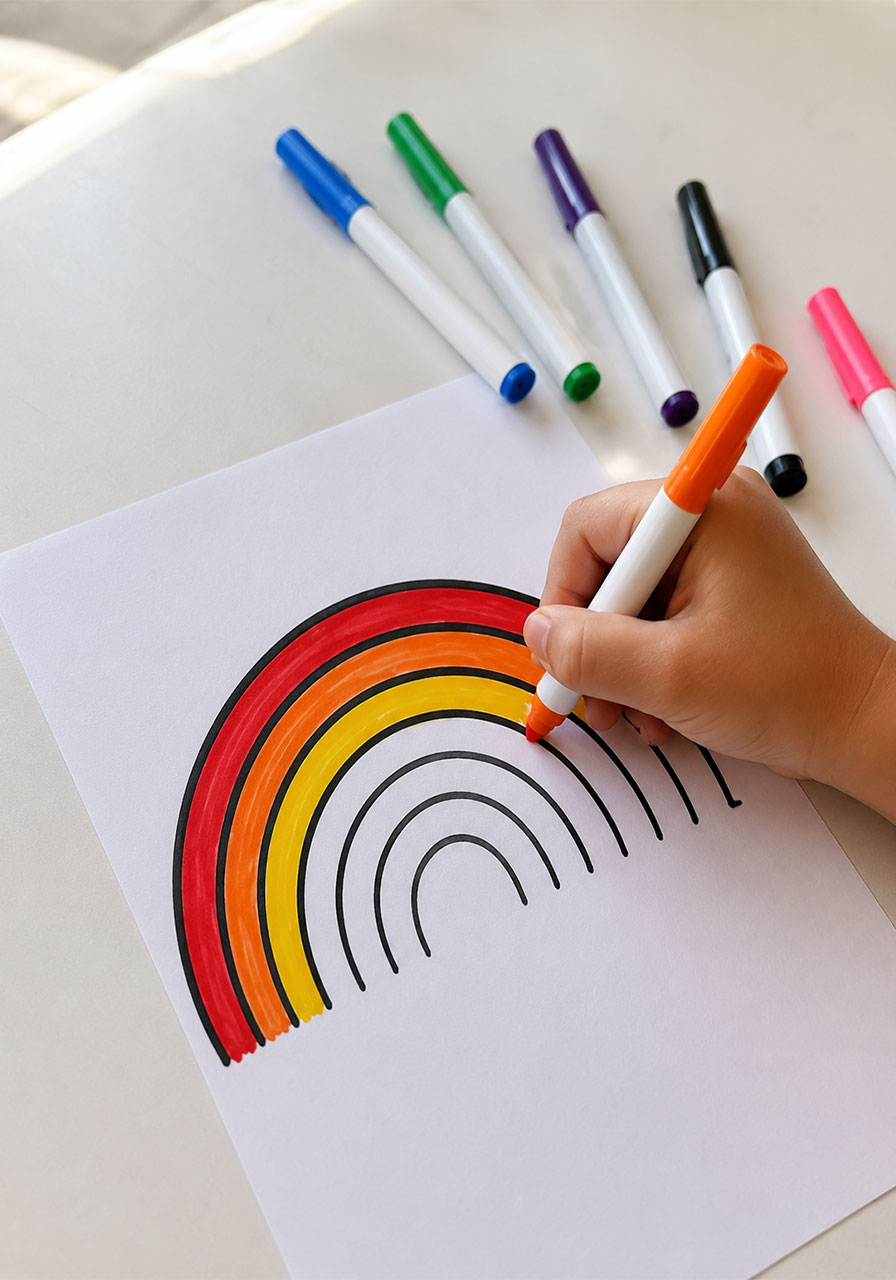
Have your child draw a simple picture on the paper. A rainbow works beautifully because the layered lines make the effect extra dramatic, but hearts, flowers, or simple shapes work great too.
Step 2: Color it in.
Use bright, bold colors and press firmly so the color is solid and easy to see. The more vibrant the drawing, the more impressive the disappearing act will be.
Step 3: Slide the paper into the Ziploc bag.
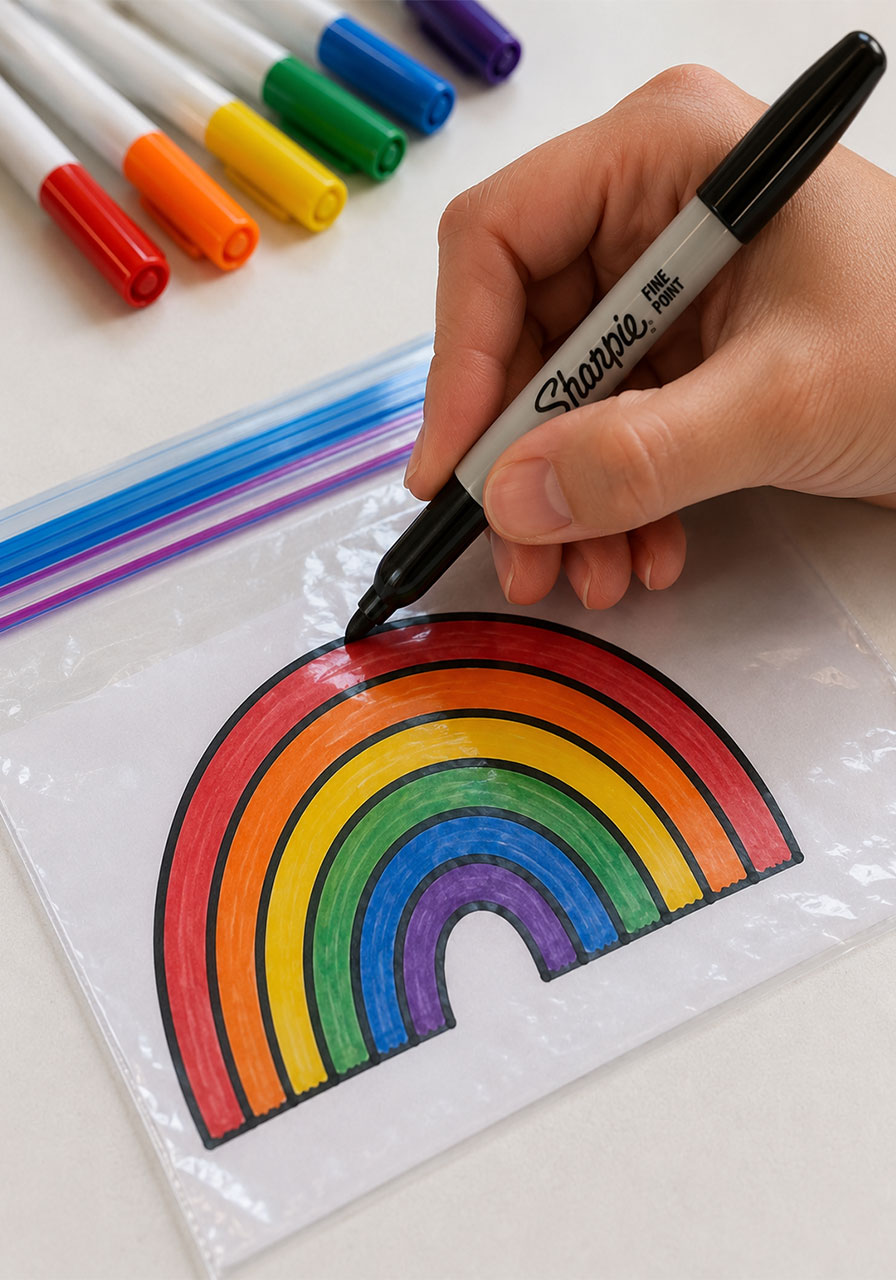
Place the colored drawing inside the bag and seal it most of the way, leaving just enough room to smooth out any air bubbles. Air bubbles can distort the effect, so press gently to flatten the bag against the paper.
Step 4: Trace the picture with a Sharpie.
Now for the key step. Using a black permanent marker, trace directly over the picture on the outside of the bag. This step is what makes the color “disappear” later, so don’t skip it.
Step 5: Lower the bag into the water.
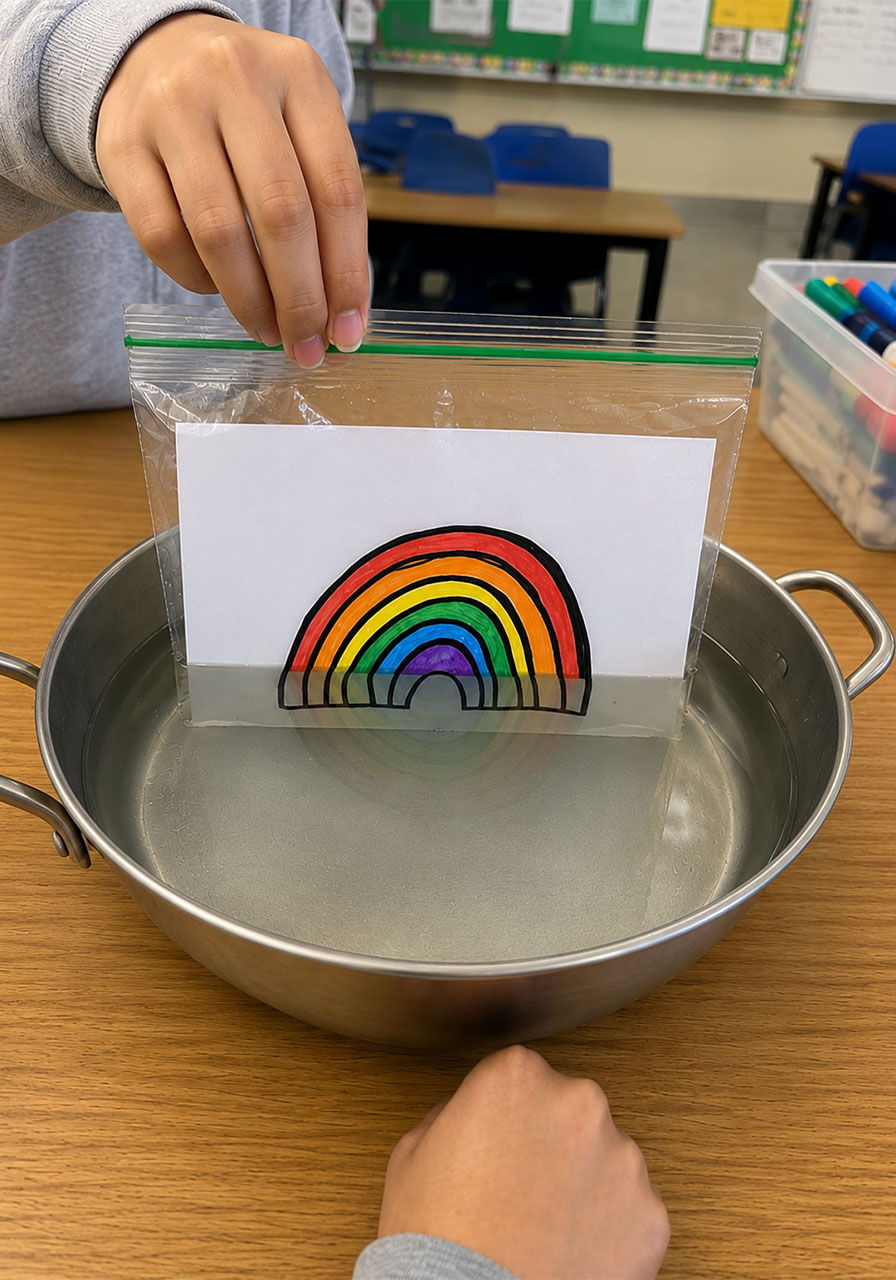
Slowly dip the bottom half of the bag into a pot of water, keeping the picture facing you. Watch closely as the colors underwater seem to fade away completely, while the part still above the water stays bright and visible.
Step 6: Lift it back out.
Pull the bag back out of the water and watch the colors instantly reappear. Kids will want to do this over and over, and that’s completely fine, because repetition is how real understanding sinks in.
The Science Behind the Magic
So what’s actually happening here? The short answer is refraction.
Refraction happens when light changes direction, or bends, as it travels from one material into another. Light moves at different speeds through air and through water, and that speed change is what causes the bending.
When your child’s drawing is submerged, the light passing through the water bends in a way that scatters and redirects the colored light before it reaches your eyes. Combined with the black Sharpie outline, which absorbs a lot of that light, the colors appear to vanish.
The second the bag comes out of the water, light travels straight to your eyes again without that bending effect, and the colors instantly reappear.
This is the exact same principle that explains why a straw looks bent when it’s sitting in a glass of water, or why a swimming pool looks shallower than it actually is. Once kids see it in action here, they start noticing refraction everywhere, which is exactly the kind of real-world connection that makes STEM learning stick.
Pro Tips for the Best Results
Use a clear glass pot or container if you have one. It lets kids see the drawing from the side as it goes underwater, which adds even more to the “wow” factor.
Press out as much air as possible from the bag before sealing it. Trapped air bubbles can interrupt the light and make the effect look less dramatic.
Darker, bolder Sharpie lines create a stronger disappearing effect than thin, light lines, so encourage kids to trace with confidence.
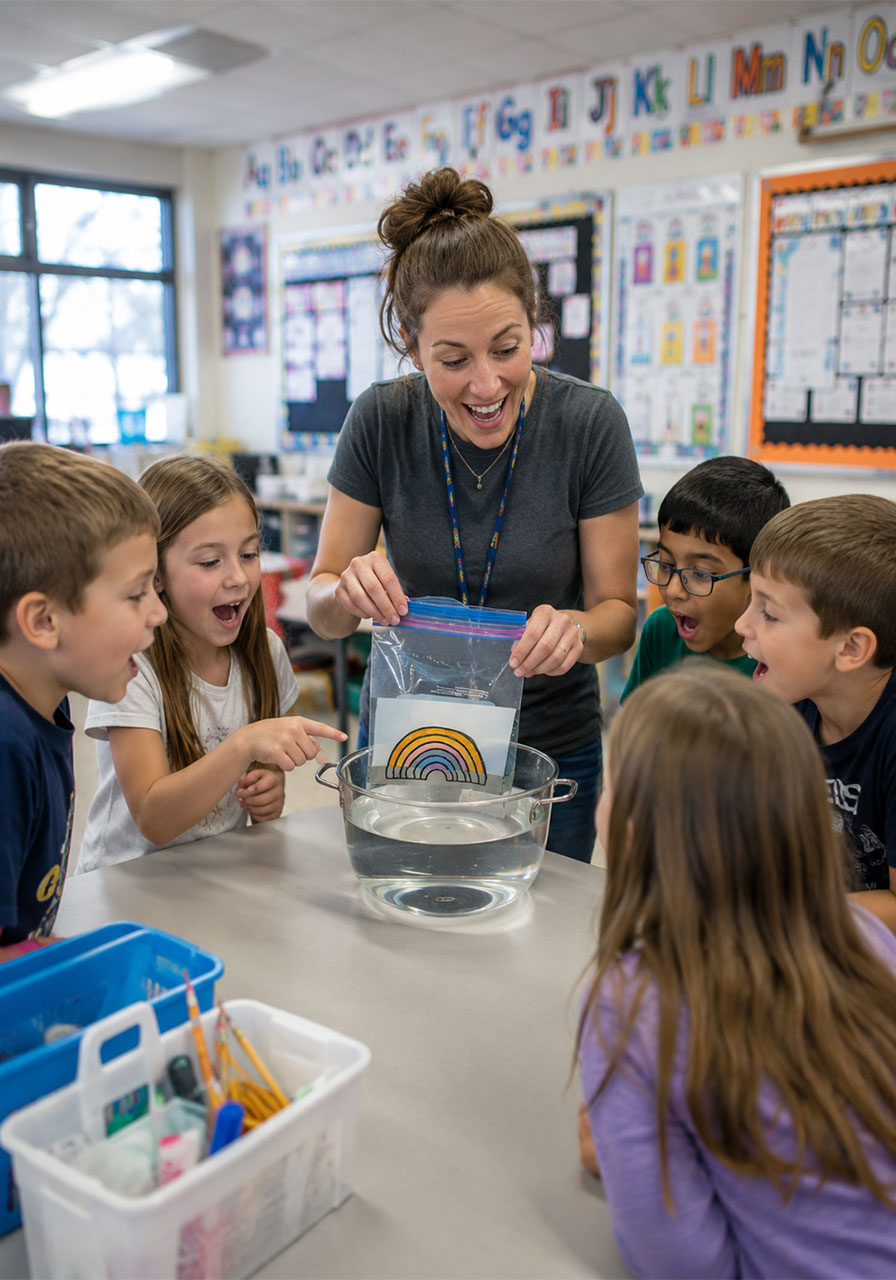
If you’re doing this in a classroom setting, consider prepping a few bags ahead of time so you’re not waiting on drawings mid-lesson. It keeps the energy high and the momentum going.
Fun Variations to Try
Once your group has mastered the basic version, keep the learning going with a few twists.
Try drawing different shapes and colors to see if some disappear more dramatically than others. Have kids make predictions before dipping each bag into the water, then compare results as a group.
You can also experiment with warm water versus cold water to see if temperature has any noticeable effect on the refraction, turning this into an even more open-ended investigation.
For older kids, pair this activity with a simple worksheet where they draw a diagram of how light bends through water, reinforcing the concept in a second, more academic way.
Why Every Host, Teacher, and Parent Needs This One in Their Back Pocket
Great STEM activities are the ones that require almost no setup but deliver a big payoff, and this water refraction experiment checks every box.
It’s affordable, it’s fast, it’s mess-free, and it turns an abstract science concept into something kids can see with their own eyes. Whether you’re filling ten minutes at the end of a school day or looking for the centerpiece activity of a themed party or playdate, this one delivers every time.
Keep this simple experiment in your back pocket, because the best learning moments are the ones that feel like magic first and science second.
