
If you’ve ever wished you could catch a rainbow and carry it around in your pocket, this project is about to make your day. A homemade spectrometer is one of the simplest, cheapest, and most satisfying STEM builds you can hand to a kid – and the “wow” moment when they peek through the tube and see a perfect rainbow appear is priceless.
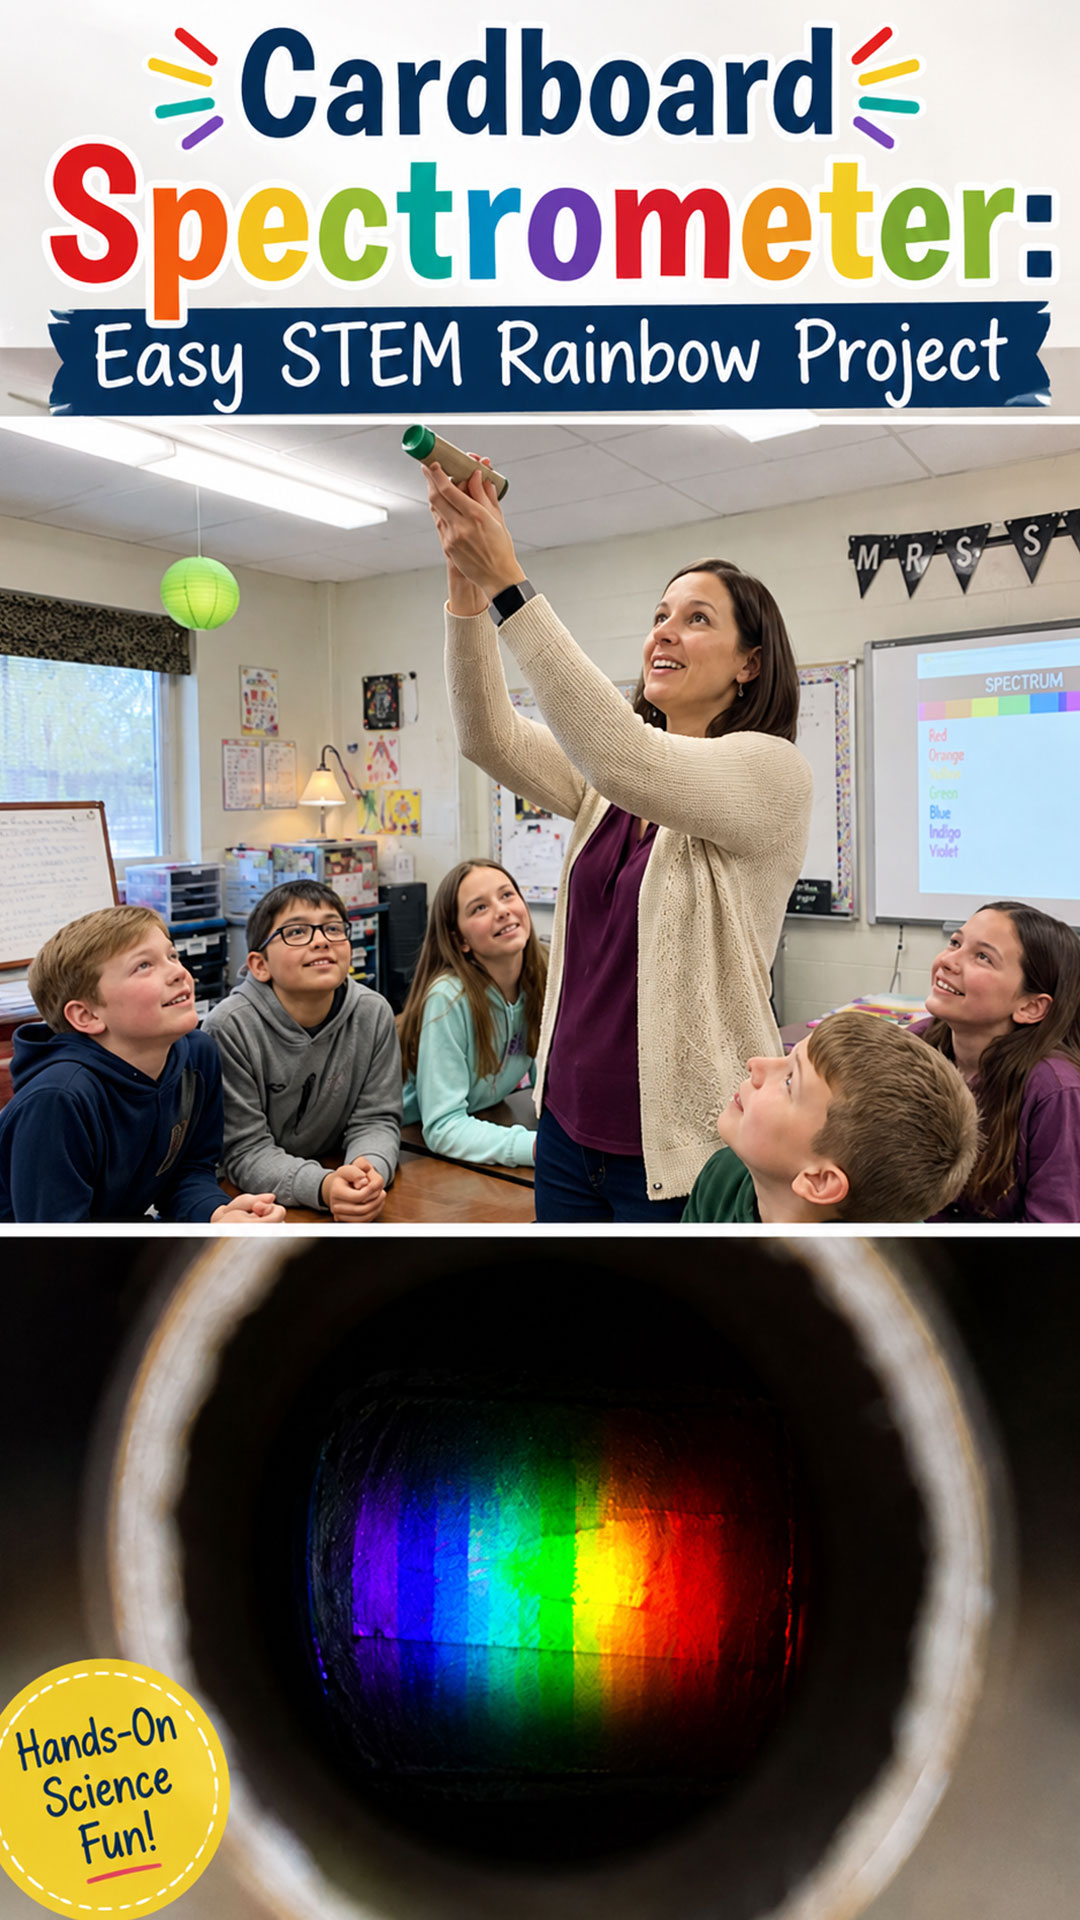
Best of all, this isn’t just a craft. It’s real science. A spectrometer splits light into its individual colors, the exact same principle that lets scientists identify what stars are made of or what gases are in the air. You’re basically handing your students (or your own kids) a genuine science instrument built from a cereal box tube, an old CD, and a scrap of wire.
This project is a perfect fit for science fairs, homeschool units on light and color, rainy-day classroom activities, or just a fun weekend project to do together. It requires no soldering, no batteries, and almost no cost, which makes it ideal for teachers working with a classroom set or parents looking for a screen-free afternoon activity.
Let’s build one.
Why This Project Is Worth Your Time
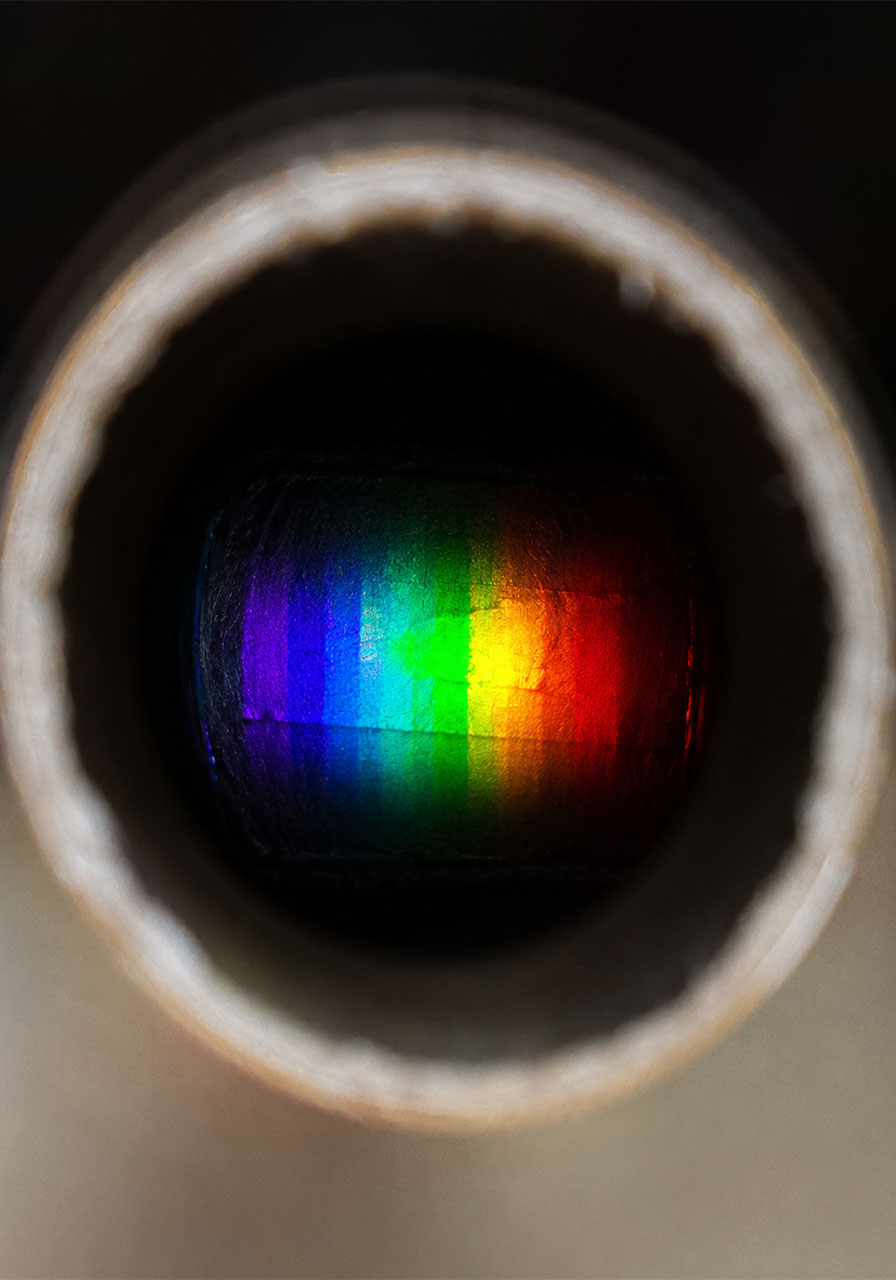
Before we get into the steps, it helps to know why this works so well as a teaching tool. Different light sources, like the sun, an LED bulb, or a fluorescent tube, don’t actually give off the same mix of colors. Some are heavy on blue, some are heavy on red, and some only emit light at a few specific wavelengths.
Your own eyes usually can’t tell the difference. But once you look at each light source through a spectrometer, the differences become obvious and honestly a little mind-blowing. This is a fantastic way to make an abstract topic like “light spectrum” feel real and hands-on for kids.
Best for: Grades 3 and up, science fair projects, homeschool light and color units, STEM clubs.
Time to Build: About 30-45 minutes per spectrometer.
Group Size: Works as a solo project or a classroom set, since each one is cheap enough to make many at once.
Adult Supervision Needed: Yes, for the cutting steps.

What You’ll Need
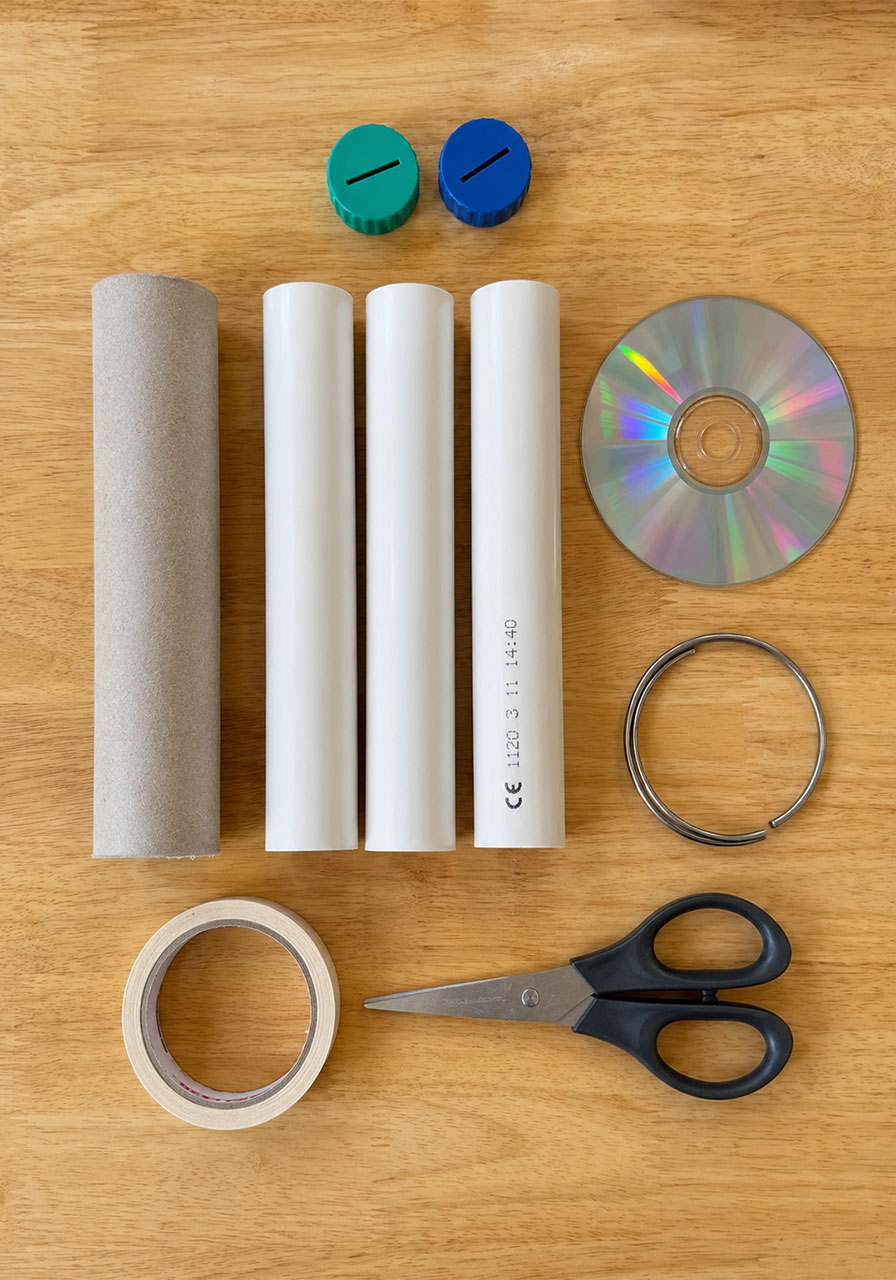
One old CD or DVD (a scratched or unwanted one is perfect)
A cardboard tube, such as a mailing tube, or a short length of PVC pipe if you want something sturdier
A short piece of thin iron or steel wire, long enough to wrap around the tube once
Strong adhesive tape (electrical tape works great)
Two end caps for the tube, either 3D printed, cut from plastic bottle caps, or repurposed from something similar
Scissors or a craft knife
A drill or a sharp tool for making a small hole
Sandpaper, to smooth rough edges
Glue
How to Build It
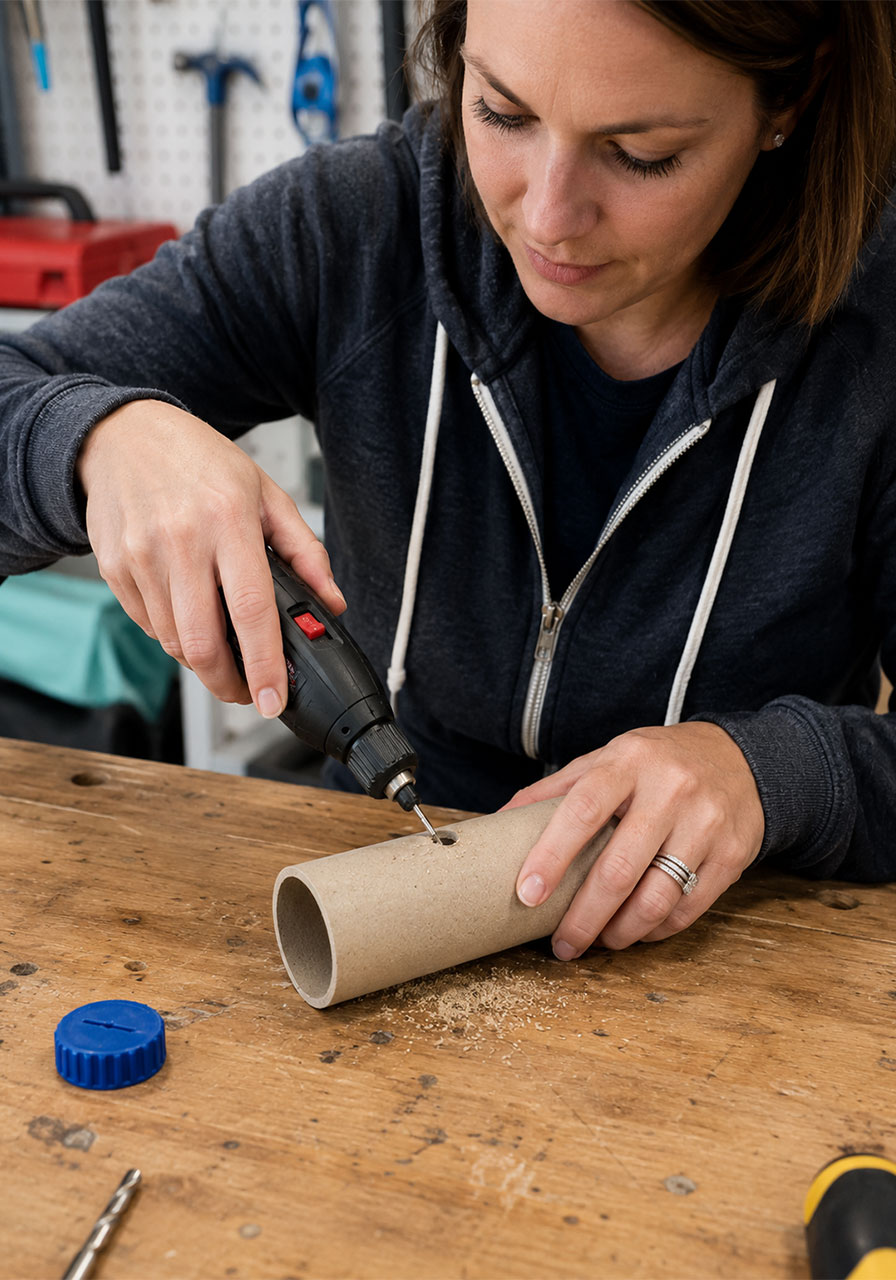
Step 1: Cut your viewing hole.
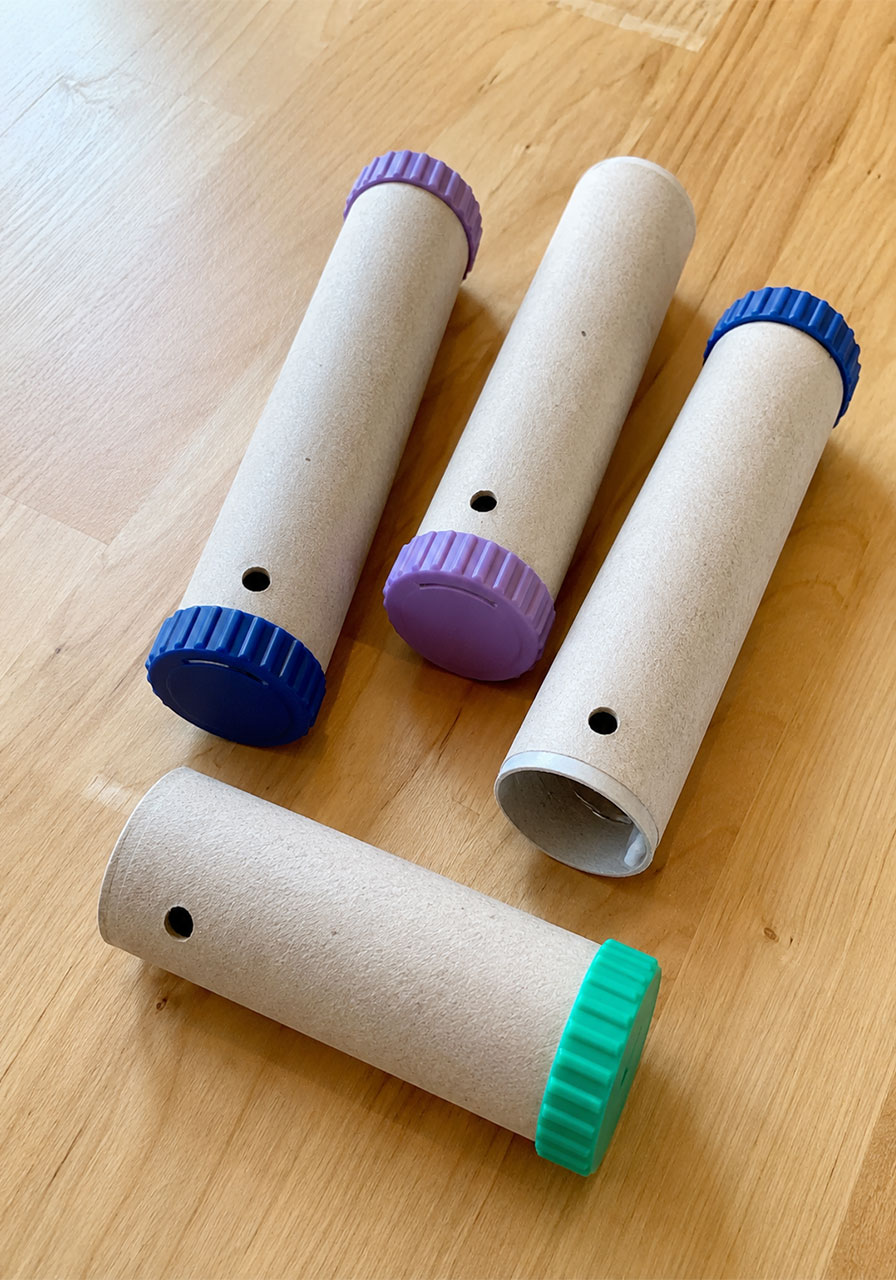
About one inch from one end of the tube, drill or carefully cut a small round hole. This will be your eyepiece, so keep it small, about the width of a pencil. Sand the edges so it’s smooth and comfortable to look through.
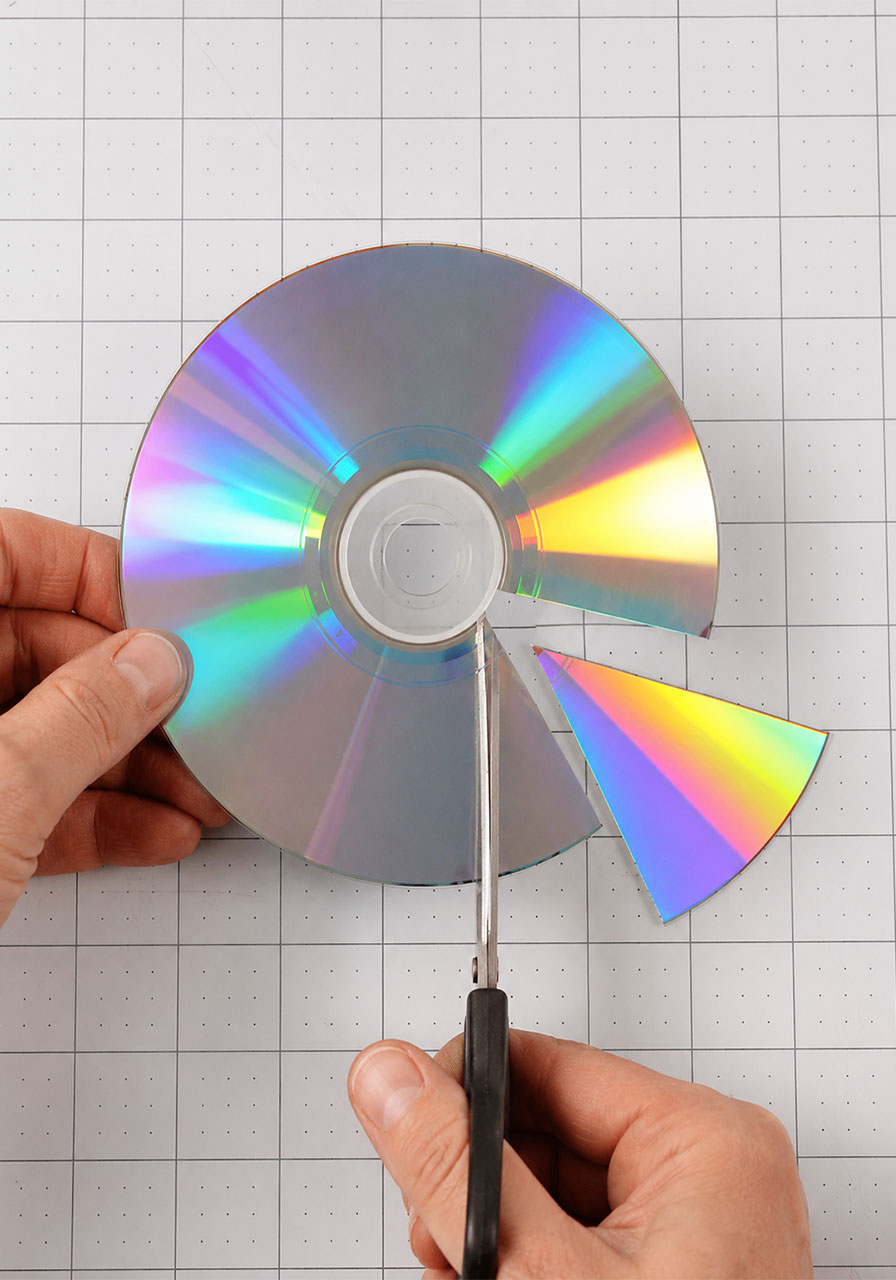
Step 2: Cut your CD into a wedge.
Using scissors or a craft knife, cut a single wedge-shaped slice out of the CD, similar to cutting one slice out of a pizza. This wedge is the mirror that will split the light into colors, so handle it carefully and avoid scratching the shiny side.
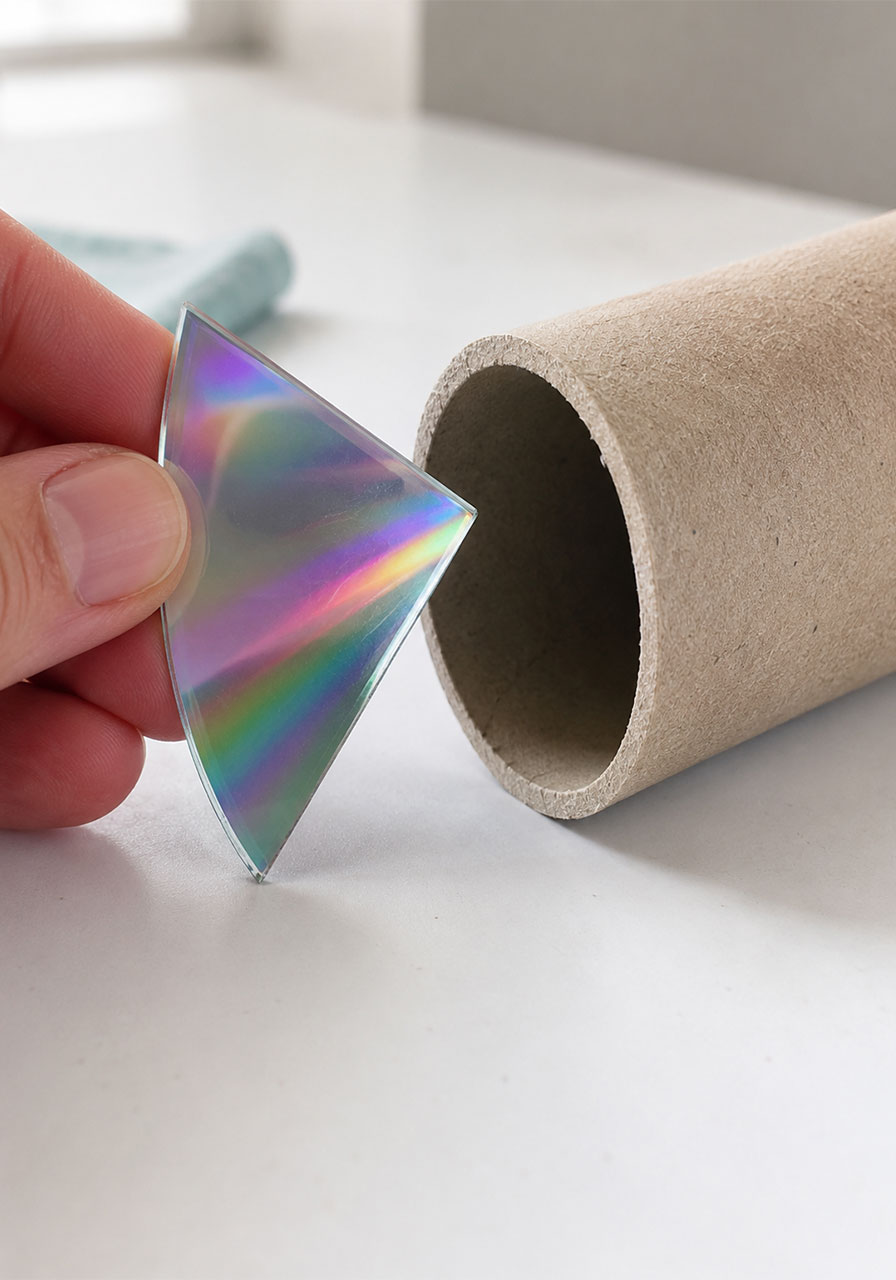
Step 3: Size the wedge to your tube.
The wedge should be just slightly wider than the inside diameter of your tube, so it fits snugly when placed inside.
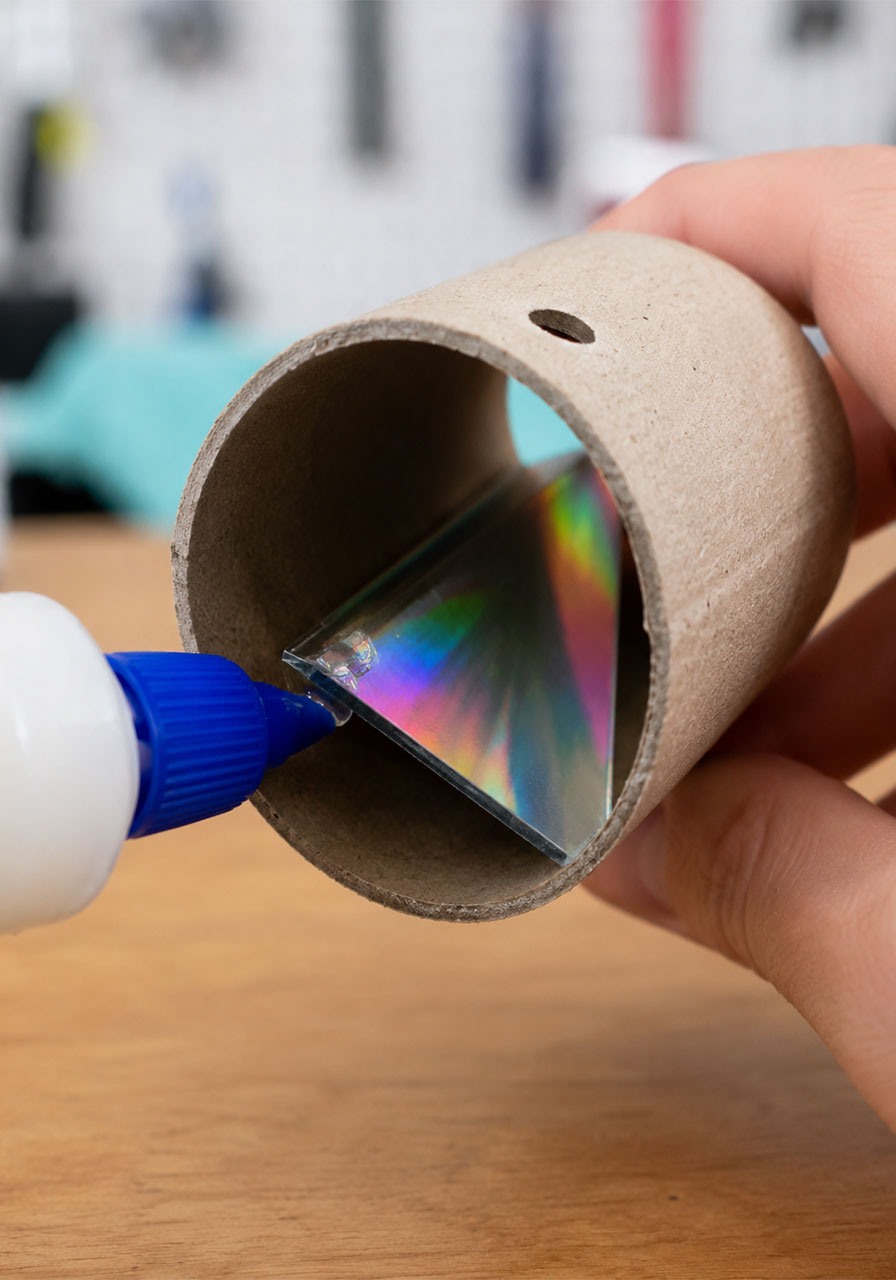
Step 4: Glue the CD wedge in place.
Position the wedge just below the viewing hole, with the shiny reflective side facing up toward the hole. Angle it at roughly 35-40 degrees. You’ll know you’ve nailed the angle when you look through the hole and see a clear rainbow appear. Once you’re happy with the angle, glue the wedge in place.
Step 5: Add the stop ring.
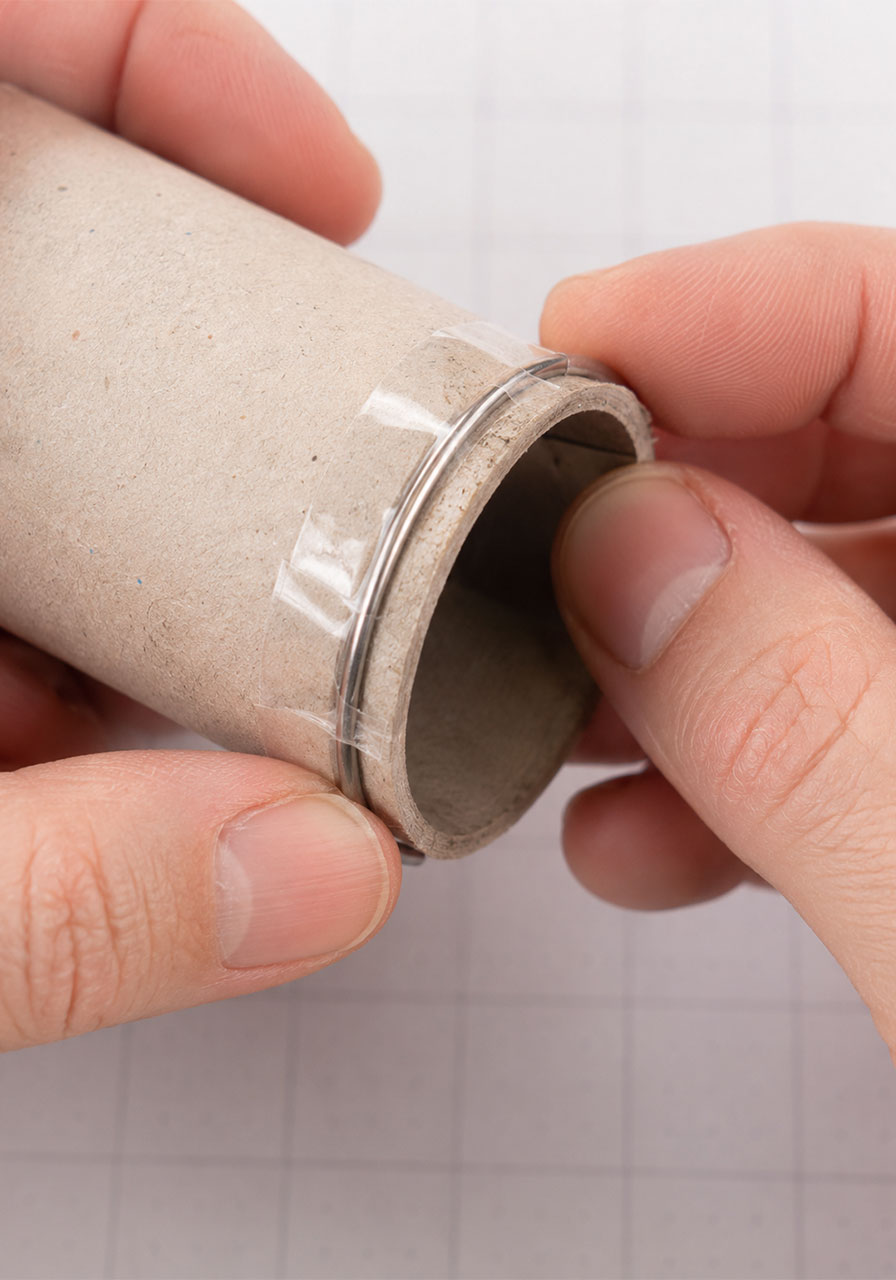
Bend your piece of wire into a ring that fits snugly around the outside of the tube, near the opposite end from the viewing hole. Wrap electrical tape tightly around the wire ring to secure it firmly to the tube. This ring will let your end cap twist smoothly while staying securely attached.
Step 6: Attach the rear cap.
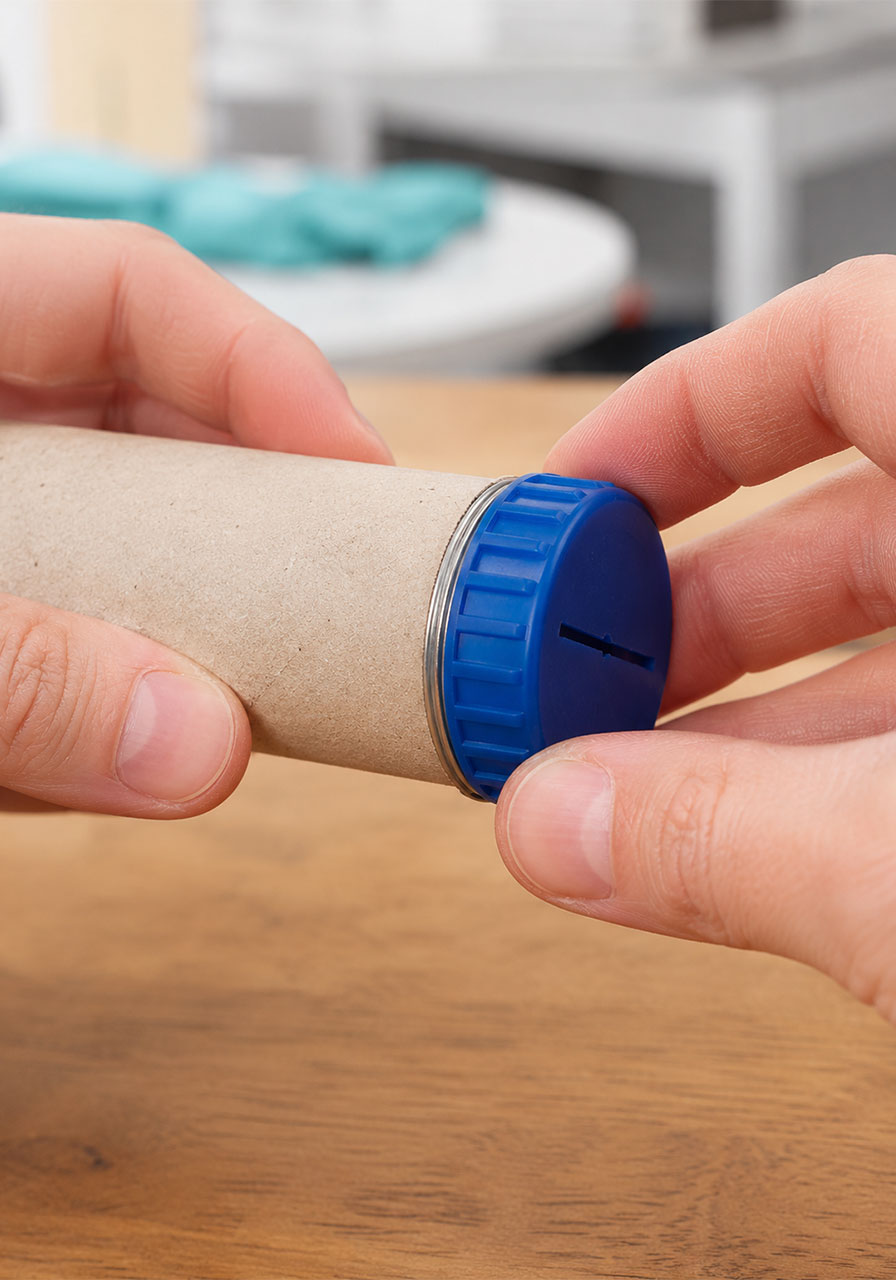
Fit a plain cap over the wire ring end. It should twist easily but stay snugly in place. This cap does not need any hole or slit.
Step 7: Attach the front cap with a slit.
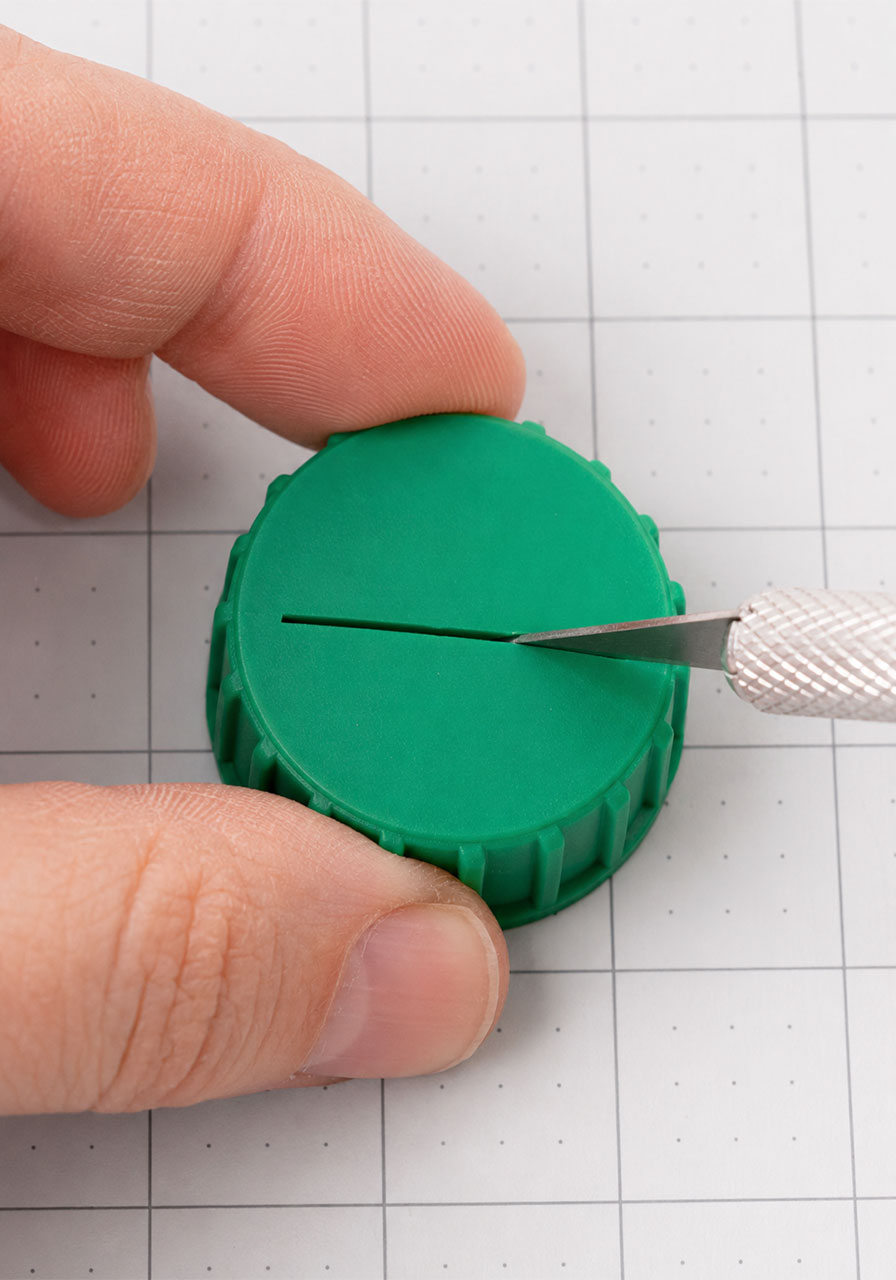
On the second cap, cut a narrow slit, about 1 millimeter wide, right through the center. This slit is what controls the light entering your spectrometer, and it’s what lets you focus in on a clean, sharp rainbow.
Step 8: Fine-tune the fit.
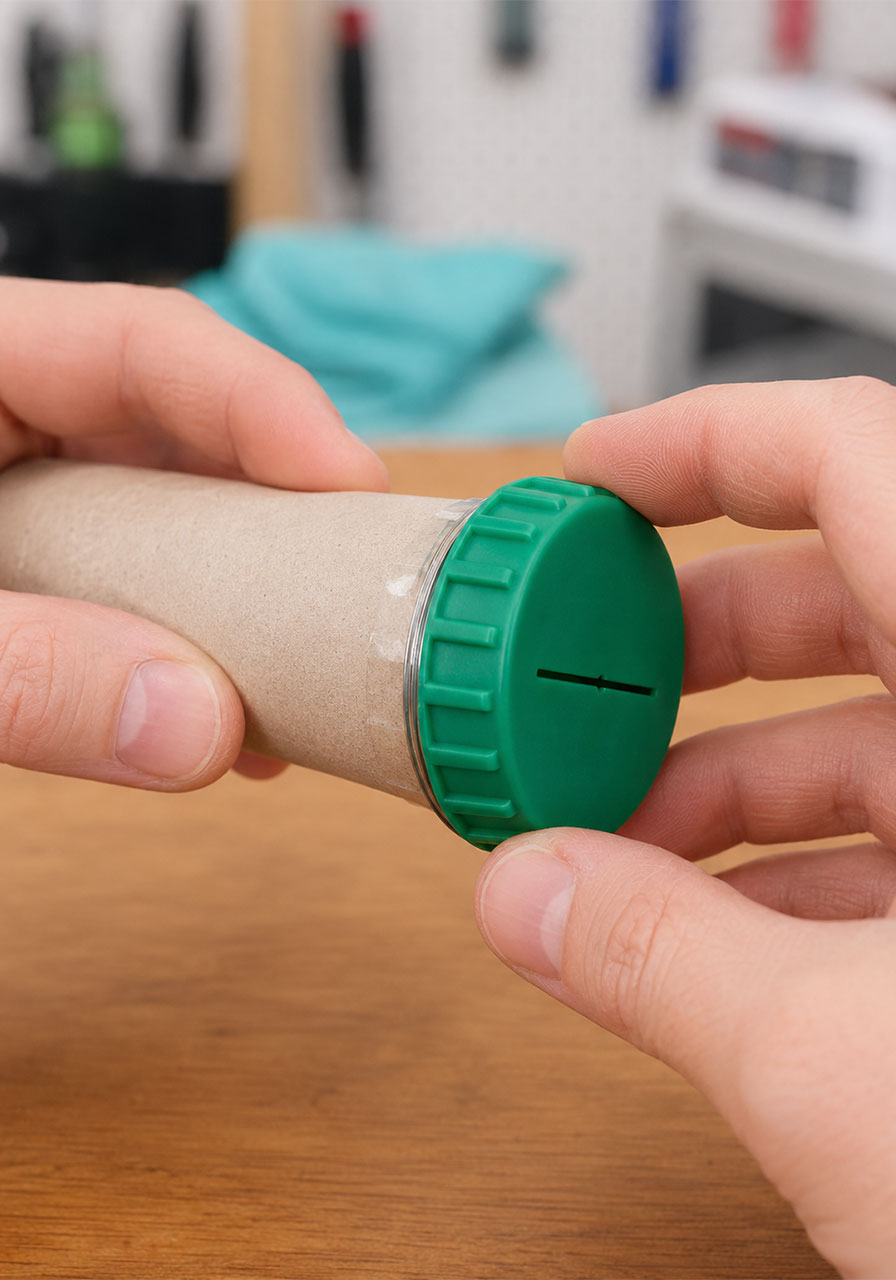
Adjust the wire ring and the number of tape layers until both caps twist smoothly but don’t fall off. A little trial and error here is completely normal, and it’s honestly part of the fun for kids who like tinkering.
Step 9: Test it out.
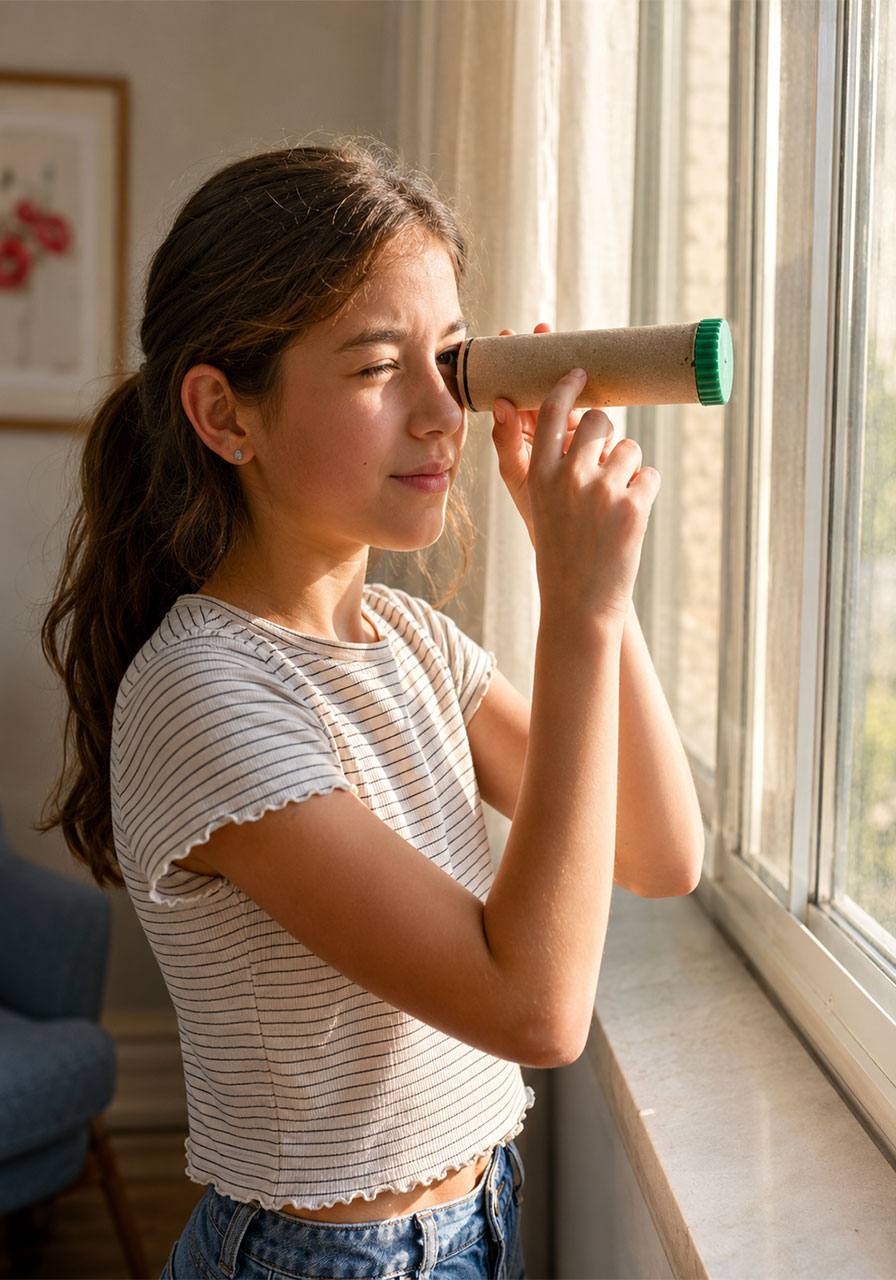
Point the slit end toward a light source, such as a lamp, a window, or an overhead fluorescent light, and look through the viewing hole. You should see a beautiful, glowing rainbow appear. Rotate the front cap slowly to see how the pattern shifts and changes.
The Science Behind the Rainbow
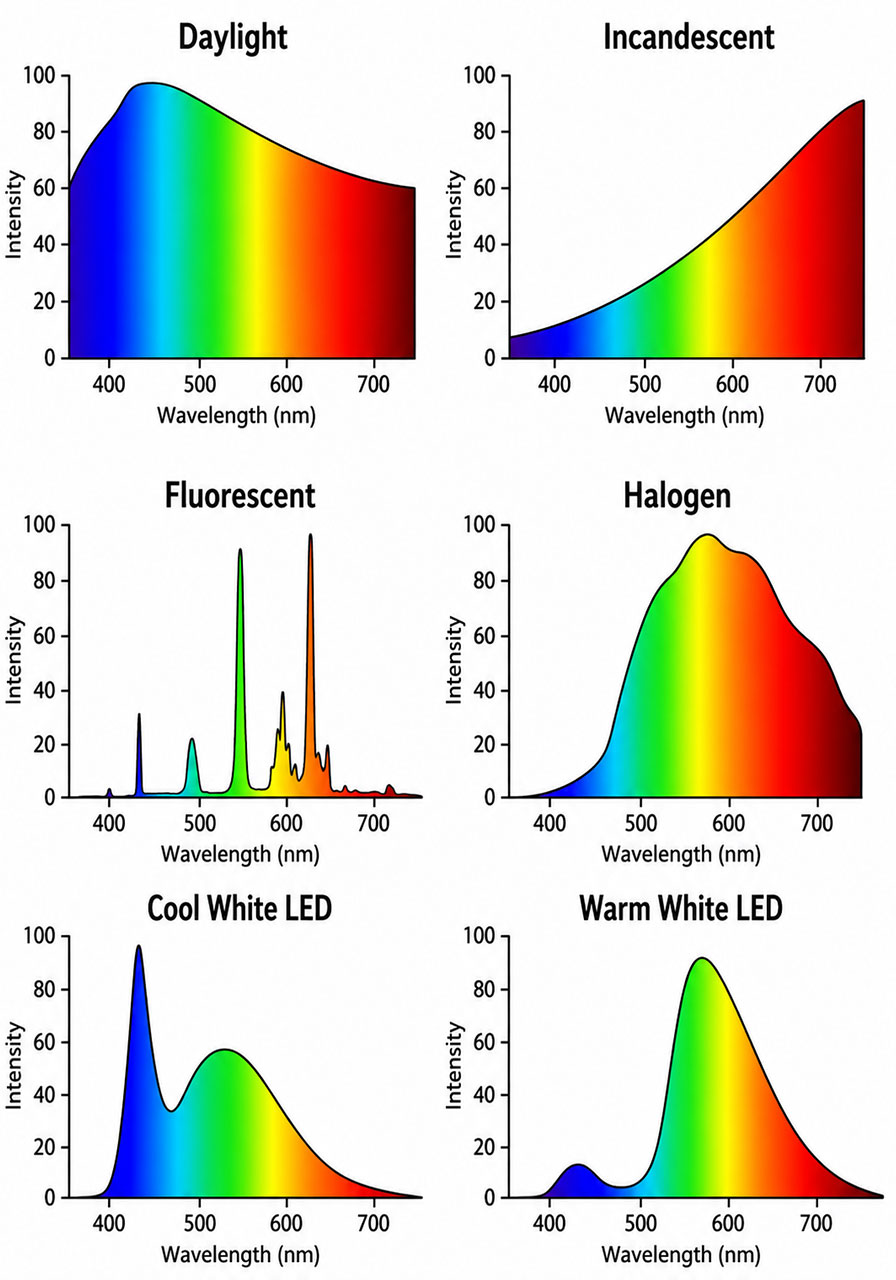
Here’s where this project turns into a real lesson. Every light source gives off its own unique combination of colors, called a spectrum. A sunny window, an old-school incandescent bulb, a fluorescent tube, and an LED lightbulb all look roughly the same shade of white to our eyes, but they are actually made up of very different combinations of wavelengths.
Fluorescent lights, for example, tend to show up as a few sharp, separated bands of color, since they only emit light at specific wavelengths. Incandescent bulbs and daylight tend to show smoother, more gradual rainbows, since they emit a broader, more continuous range of color.
Have your students or kids point their spectrometer at different light sources around the house or classroom, and record what they observe. A lamp with an incandescent bulb, an LED desk lamp, a fluorescent office light, and a sunny window will all produce noticeably different patterns. This turns a fun craft into a genuine, guided science experiment.
Pro Tip
If the rainbow looks faint or blurry the first time you look through your spectrometer, don’t give up. Try adjusting the angle of the CD wedge in very small increments, and slowly rotate the front cap while looking through the eyepiece. Small adjustments make a big difference here, so patience pays off.

Fun Variation
For an extra layer of learning, challenge kids to predict what a light source’s spectrum will look like before they test it, then compare their prediction to what they actually see. This simple hypothesis-and-test approach mirrors exactly how real scientists work, and it’s a wonderful way to sneak in some scientific method practice without it feeling like a worksheet.
A Word on Safety
Cutting the CD and drilling the viewing hole should be done by an adult or with direct adult supervision, since both steps involve sharp tools. Once assembled, the spectrometer itself is completely safe for kids to use and handle on their own.
With a project this simple and this rewarding, you have got an easy, low-cost way to turn any classroom or kitchen table into a science lab. And that is exactly the kind of hands-on, memorable learning moment that turns a regular afternoon into one your kids will be talking about for weeks.
