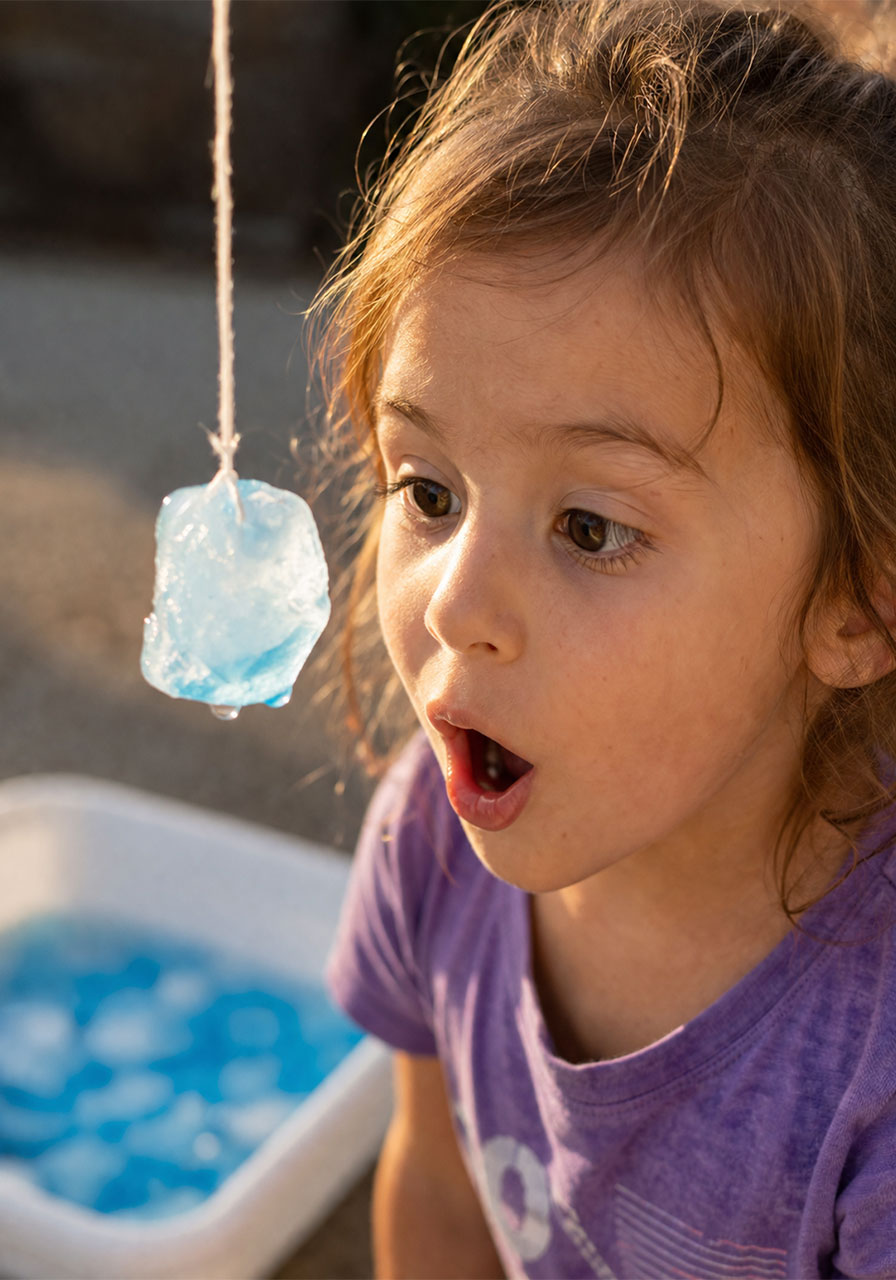
If you’ve ever needed a science activity that looks like actual magic but is secretly a full-blown chemistry lesson, this is it. All you need is a tray of ice, a piece of string, and a pinch of salt – and within minutes, you’ll be lifting ice cubes straight out of the water like you’ve got some kind of superpower.
This is one of those rare activities that checks every box: it’s ridiculously easy to set up, it holds kids’ attention (even the wiggly ones), and it teaches real science concepts like temperature, melting, and freezing points. Teachers, this is a fantastic classroom demo. Parents, this is your new go-to for a rainy – or snowy – afternoon.
Below, we’re breaking down exactly how to recreate this “ice fishing” trick, the simple science behind why it works, and how to turn one quick experiment into an entire afternoon of open-ended winter sensory play.
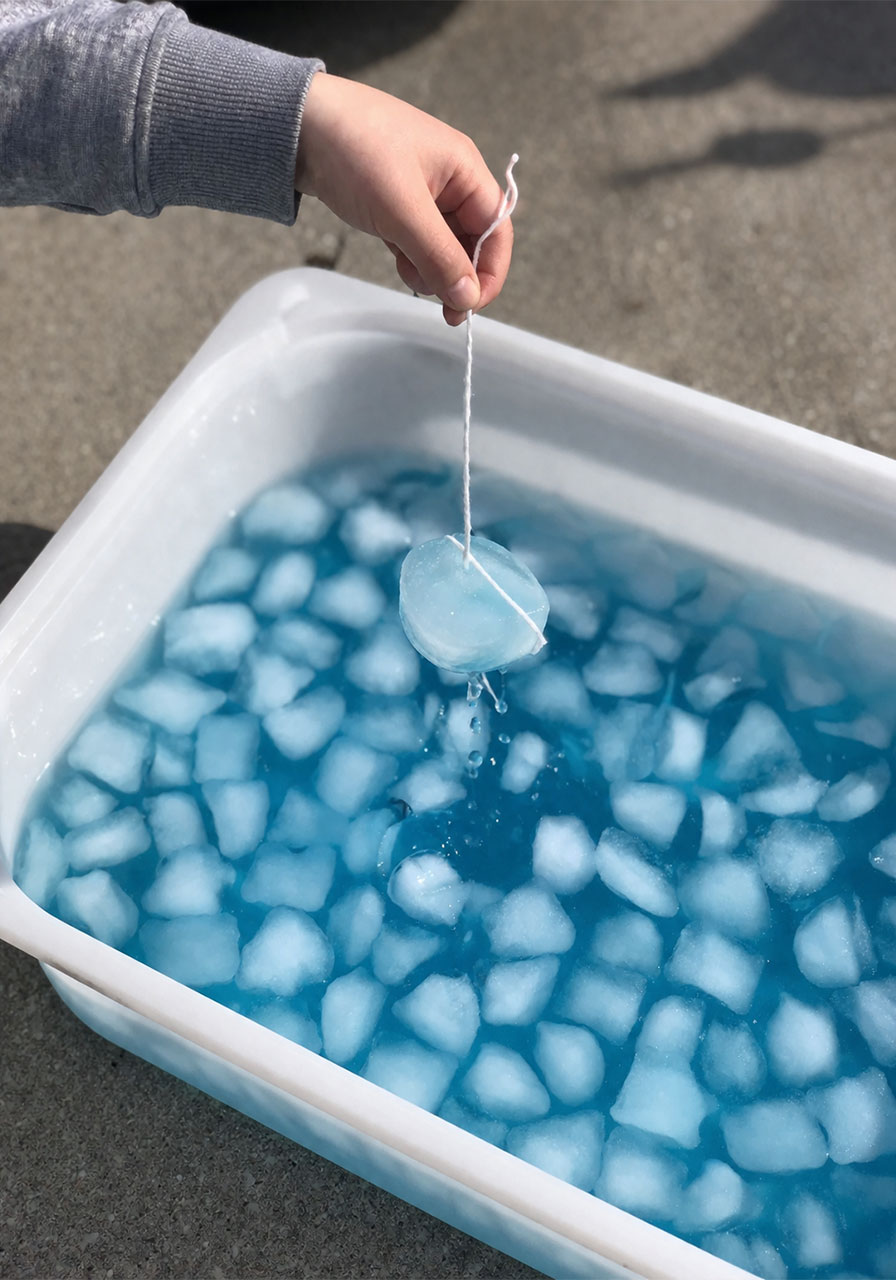
Why This Activity Works So Well
Kids learn best when they’re surprised. When they watch a plain piece of string somehow “grab” an ice cube with zero glue, tape, or trickery involved, it creates a genuine “wait, how did that happen?” moment.
That curiosity is exactly what gets kids asking questions – and asking questions is the whole point of STEM learning. This activity naturally opens the door to conversations about cause and effect, states of matter, and problem-solving, all without kids realizing they’re learning anything at all.
It’s also wonderfully low-prep. You likely already have everything you need sitting in your kitchen right now.

The Science Behind It (Quick Explanation for Grown-Ups)
Here’s what’s actually happening: salt lowers the freezing point of water. When you sprinkle salt directly onto an ice cube, it causes a thin layer of that ice to melt.
As the salt dissolves and mixes into that newly melted water, it briefly gets colder than the surrounding water. Within a minute or two, that thin layer refreezes – this time with your piece of string trapped right inside it.
Once the ice refreezes around the string, the string is essentially frozen in place. Lift it gently, and the ice cube comes right along with it.
This is the same basic principle behind why we salt icy sidewalks and roads in the winter. It’s a perfect real-world tie-in if you’re teaching this in a classroom setting.
Best For:
Preschool through elementary-age kids, homeschool science units, classroom demonstrations, and winter-themed sensory bins.
Time Needed:
5 minutes of setup, plus 2-3 minutes of waiting for the salt to work its magic.
What You’ll Need:
A shallow bin or tray
Ice cubes (we tinted ours blue with a few drops of food coloring for a wintery look, but plain ice works too)
Water, enough to mostly cover the ice cubes
A piece of string or thin yarn, about 12-18 inches long
Table salt
How to Play (Er, Experiment):
1. Fill your tray with ice cubes and add just enough water to cover most of them.
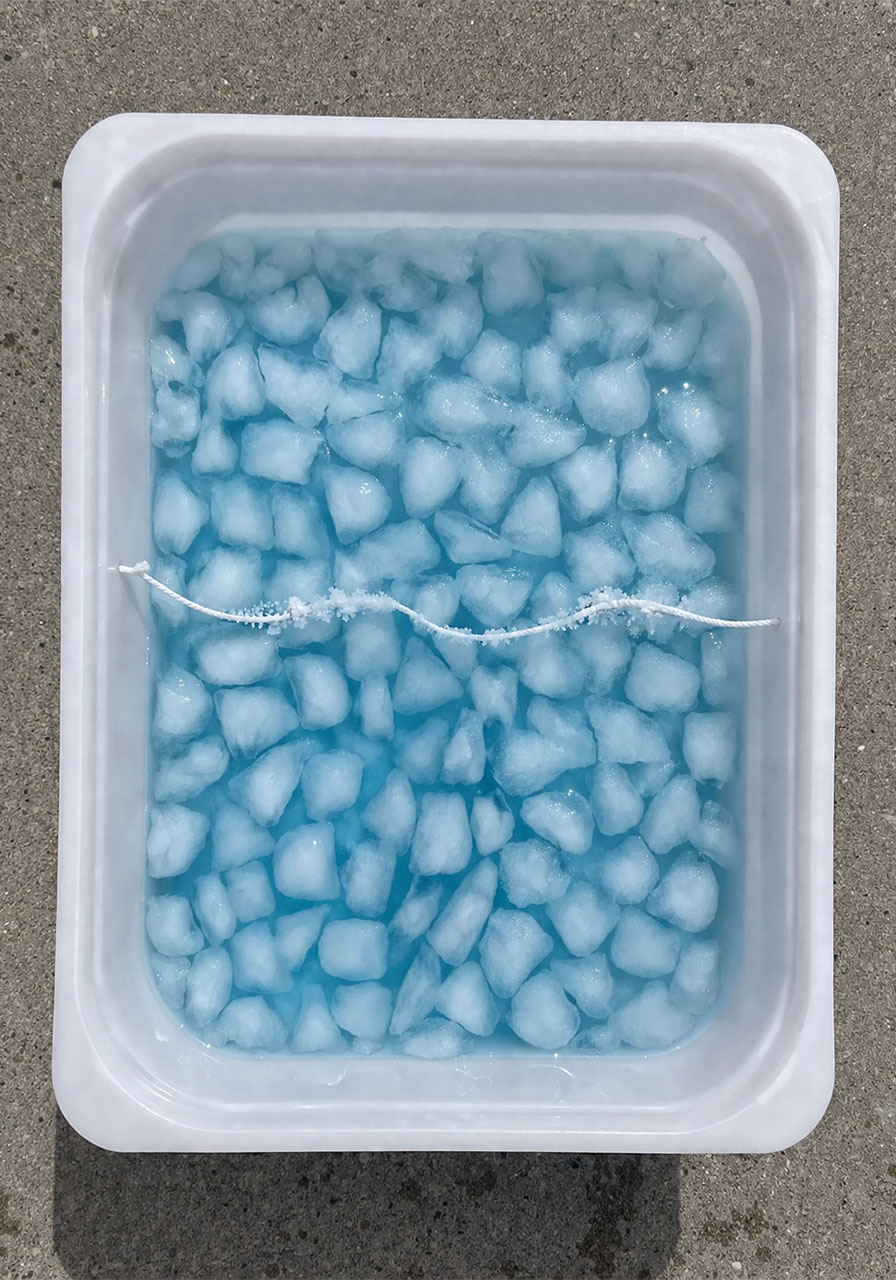
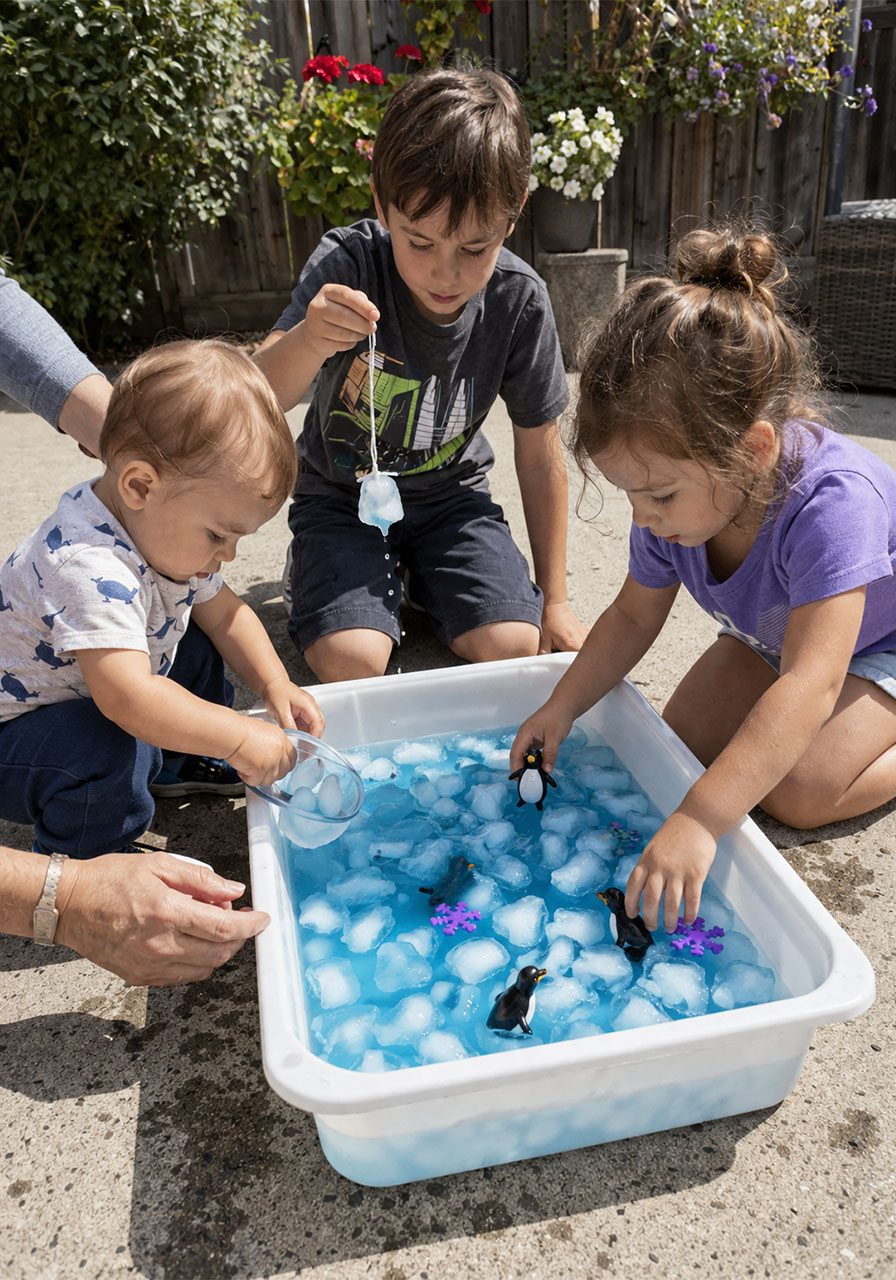
2. Lay your piece of string across the top of the ice cubes so it’s resting directly on the surface of several cubes.
3. Sprinkle a generous pinch of salt directly along the length of the string, right where it touches the ice.
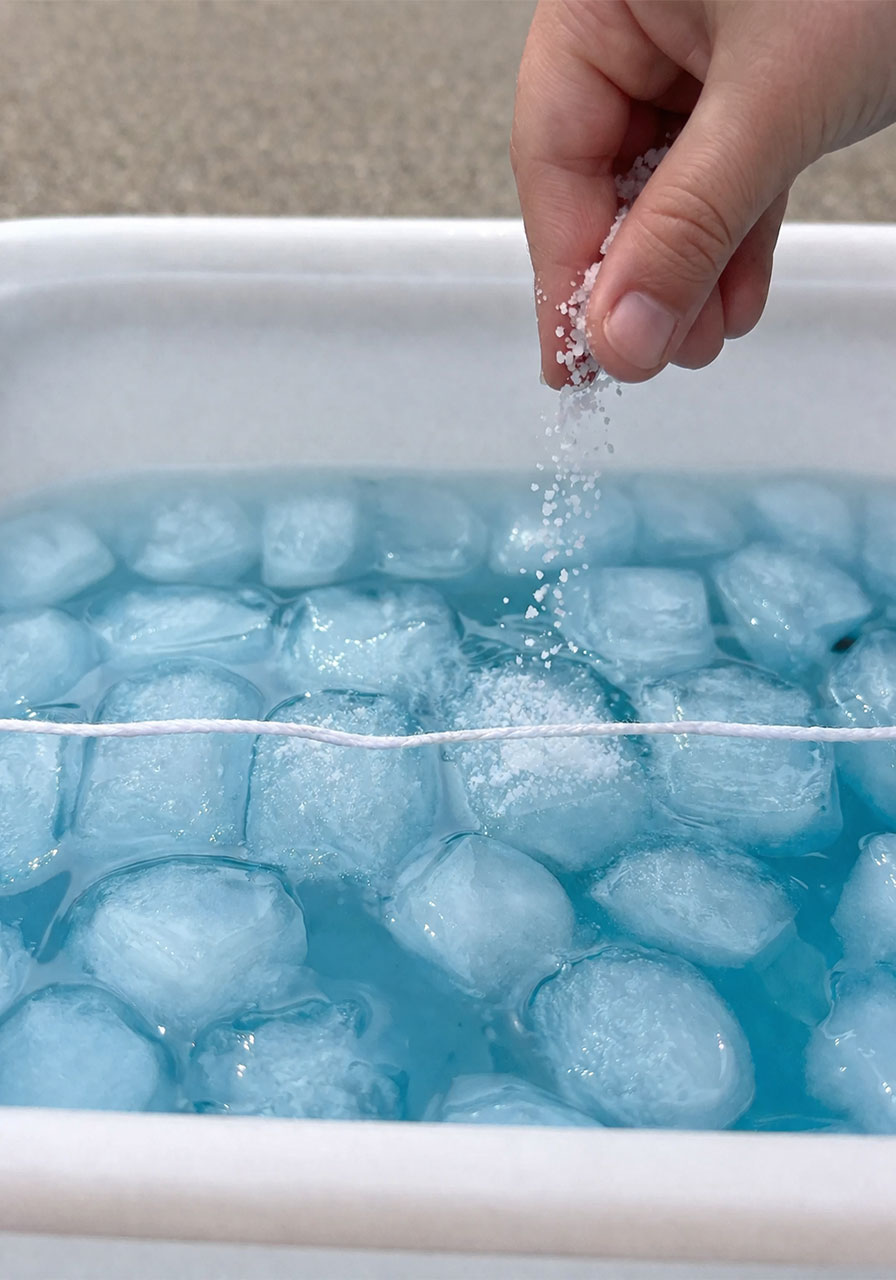
4. Wait about 2-3 minutes. Resist the urge to touch it – this is the part where the magic actually happens.
5. Slowly and gently lift the string straight up. If your ice cubes don’t budge, sprinkle a bit more salt along the string and give it another minute.
6. Watch as the ice cubes rise right along with the string, frozen in place!
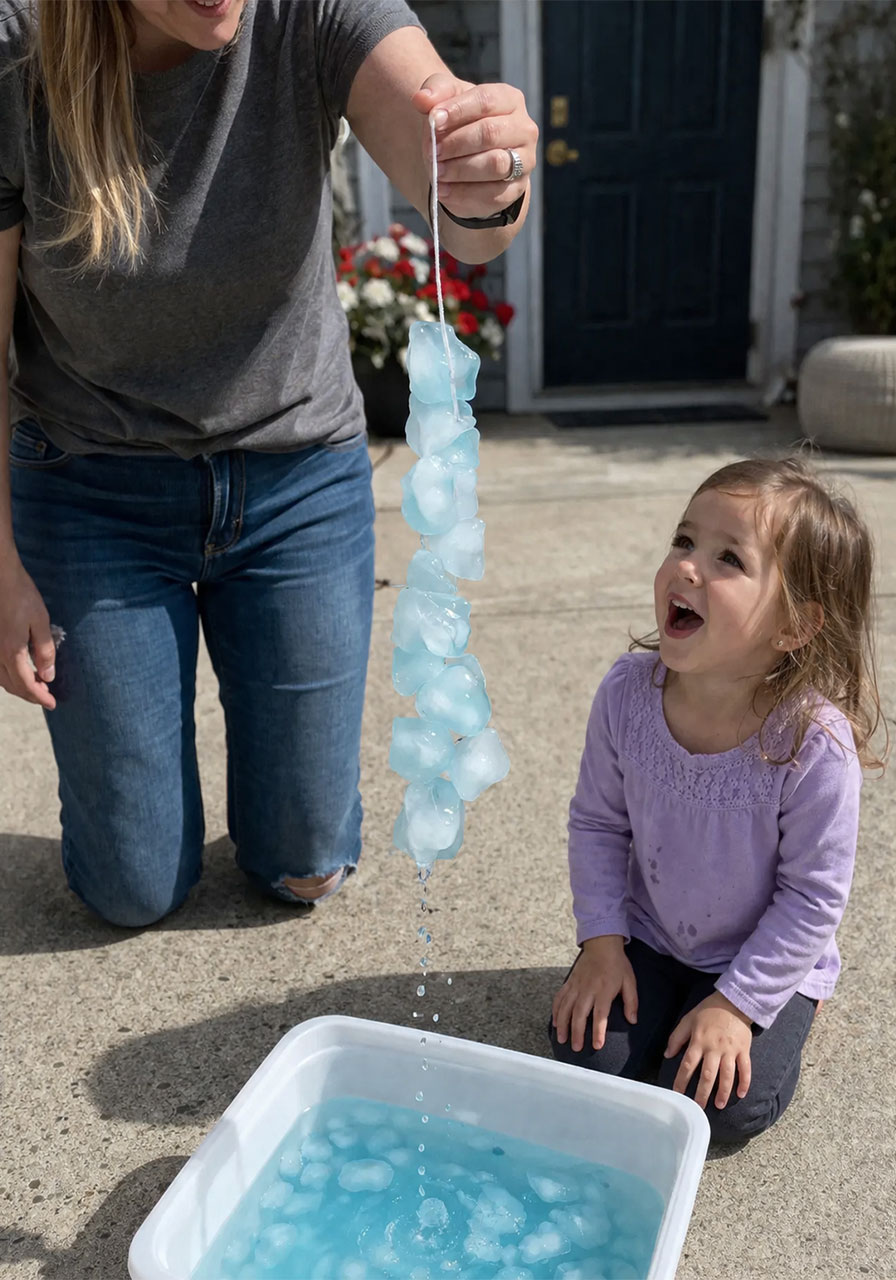
Pro Tip: Don’t rush the wait time. The single biggest reason this experiment “fails” is pulling the string up too soon, before the refreezing has had a chance to happen. Set a timer for 3 minutes and use that time to ask kids to predict what they think will happen.
Fun Variation: Try lifting cubes with just a few grains of salt versus a heavy sprinkle, and compare how quickly each one works. It’s a simple way to turn this into a mini controlled experiment, complete with a variable your kids chose themselves.
Take It Further: Build a Full Winter Sensory Bin
Once the ice-fishing trick is done, don’t let that tray of ice go to waste. This is where the activity turns from a five-minute demo into an entire afternoon of open-ended play.
Here’s how to build it out into a full winter sensory station.
Add Small Figures for Imaginative Play
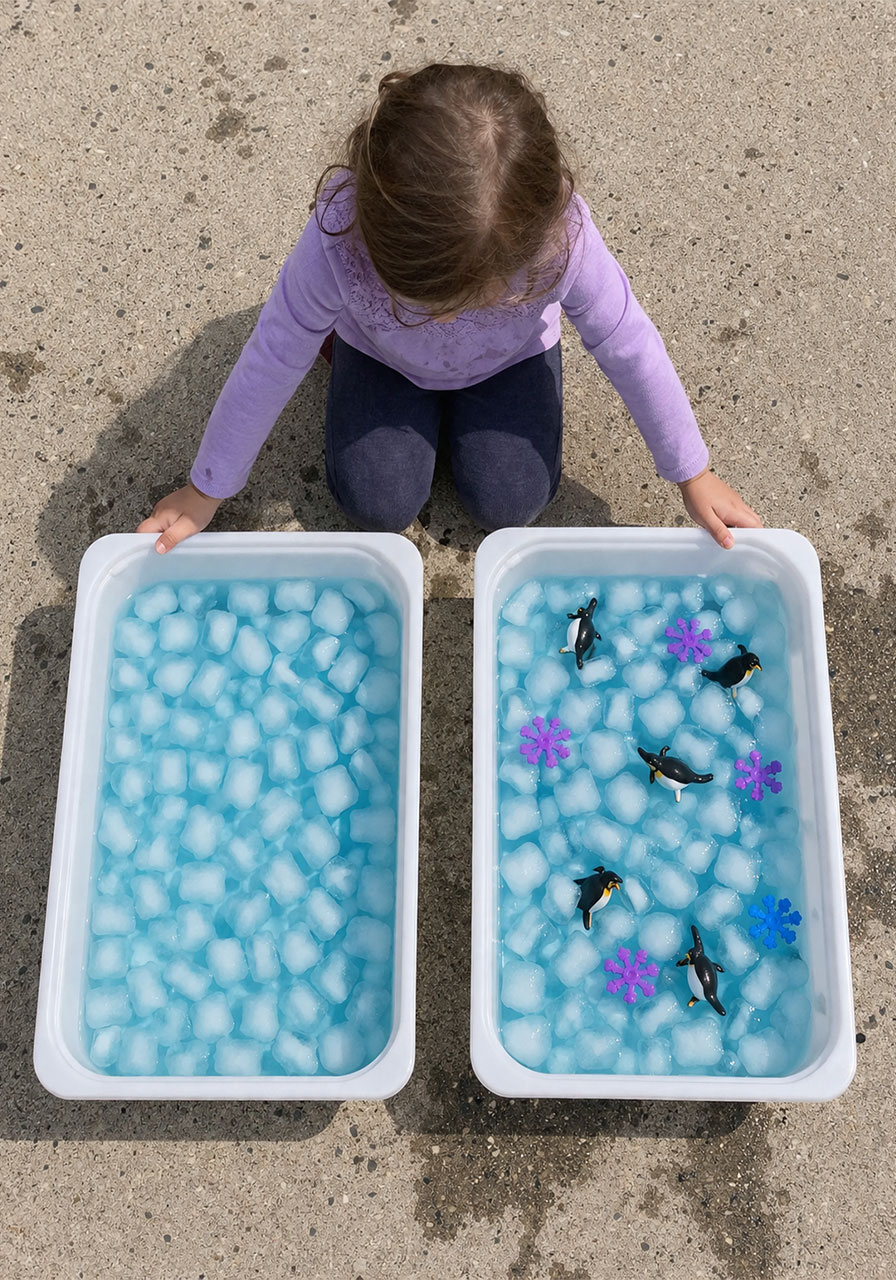
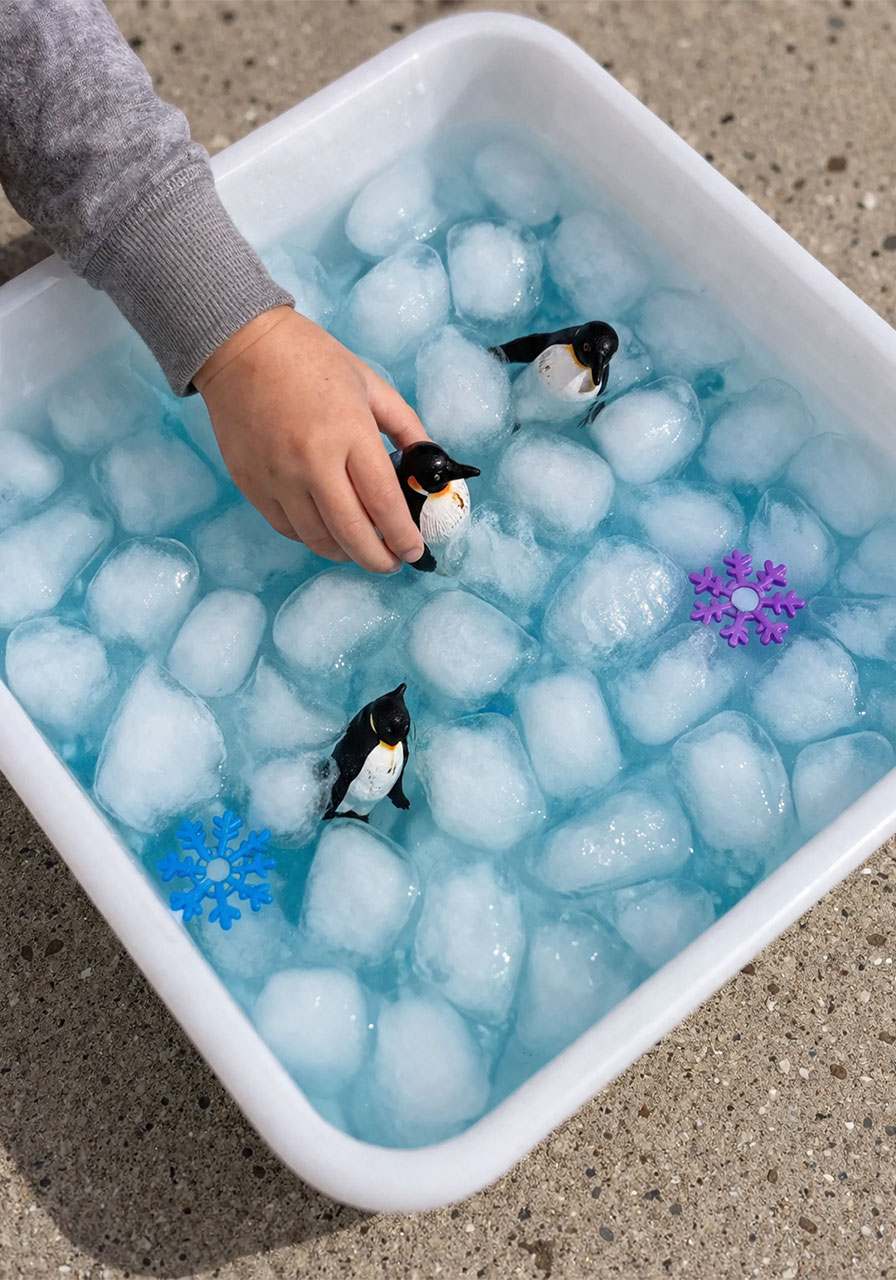
Drop in a few small penguin figurines, plastic snowflakes, or other winter-themed toys. Kids will naturally start creating little scenes and stories, which builds language and imaginative play skills right alongside the science.
Add Scooping and Pouring Tools
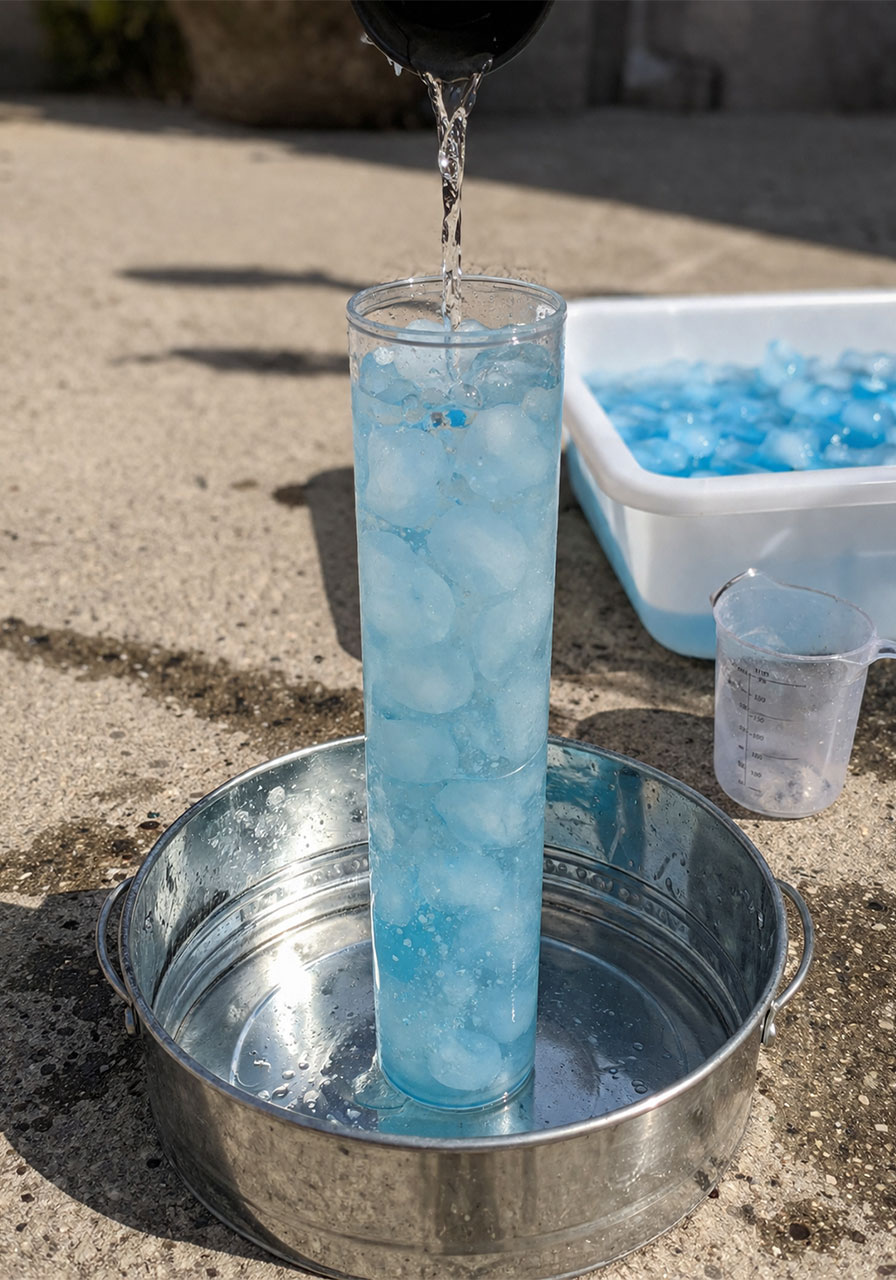
Set out small bowls, cups, scoopers, and even a tall, narrow container. Let kids scoop ice and water between containers, pour colored water from one vessel to another, and fill up different shapes.
This kind of open-ended pouring and transferring is fantastic for building fine motor skills and hand-eye coordination, especially for younger kids in preschool or early elementary.
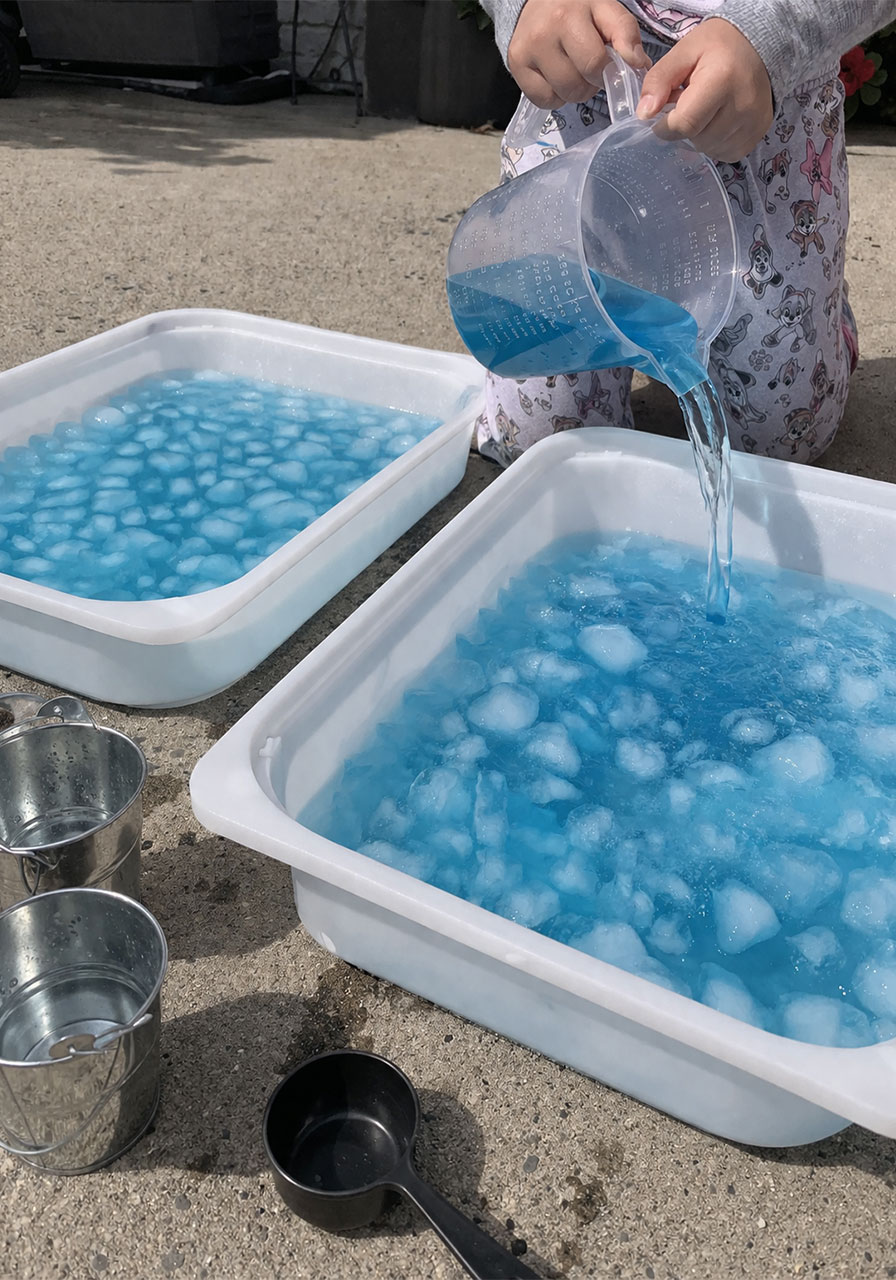
Add Extra Colored Ice
Freeze a second batch of ice cubes in a different shade of blue or purple ahead of time. Having multiple colors of ice floating together makes the whole bin more visually engaging and gives kids a natural reason to talk about color mixing as the cubes melt and blend into the water.
Pro Tip: Set this whole bin up outside on a porch, patio, or driveway. It keeps the mess contained and the ice stays frozen longer in cooler outdoor air, which means more play time before everything melts.
Age Appropriateness and Safety Notes
This activity is genuinely appropriate for a wide age range, but here are a few things to keep in mind depending on who’s playing.
For toddlers and very young preschoolers, skip the salt-and-string trick and stick to simple scooping and pouring play instead, since the string can be a choking hazard if left unsupervised.
For elementary-age kids, this is a great opportunity to have them write down their predictions before lifting the string, then compare what actually happened. It’s an easy way to build in a simple science journal component if you’re using this for a classroom lesson.
As always, food coloring can stain hands and clothing, so an outdoor setup or a smock is a smart move.
Why This Belongs in Your Winter Activity Rotation
Winter can feel like a season with fewer outdoor options and a lot of restless energy indoors. An activity like this solves both problems at once: it’s engaging enough to hold attention, educational enough to justify the mess, and simple enough that you’re not spending your whole afternoon prepping.
Whether you’re a teacher looking for a hands-on science demo or a parent trying to fill a snow day with something other than screen time, this is the kind of activity that earns a permanent spot in your rotation. Keep a bag of ice and a spare ball of string on hand all season long, because once your kids see this trick once, they’ll be asking for it again and again.