
Have you ever wanted a science experiment that actually keeps kids excited for a full week straight?
Most classroom or at-home experiments wrap up in twenty minutes. This one is different. It grows, it changes, and it gives kids a reason to check in every single day.
Kool-Aid rock candy takes the classic sugar crystal experiment and turns it into something even more irresistible. You get bright, jewel-toned crystals. You get a sweet fruity smell filling the kitchen or classroom. And at the very end, you get an edible reward that kids can proudly say they grew themselves.
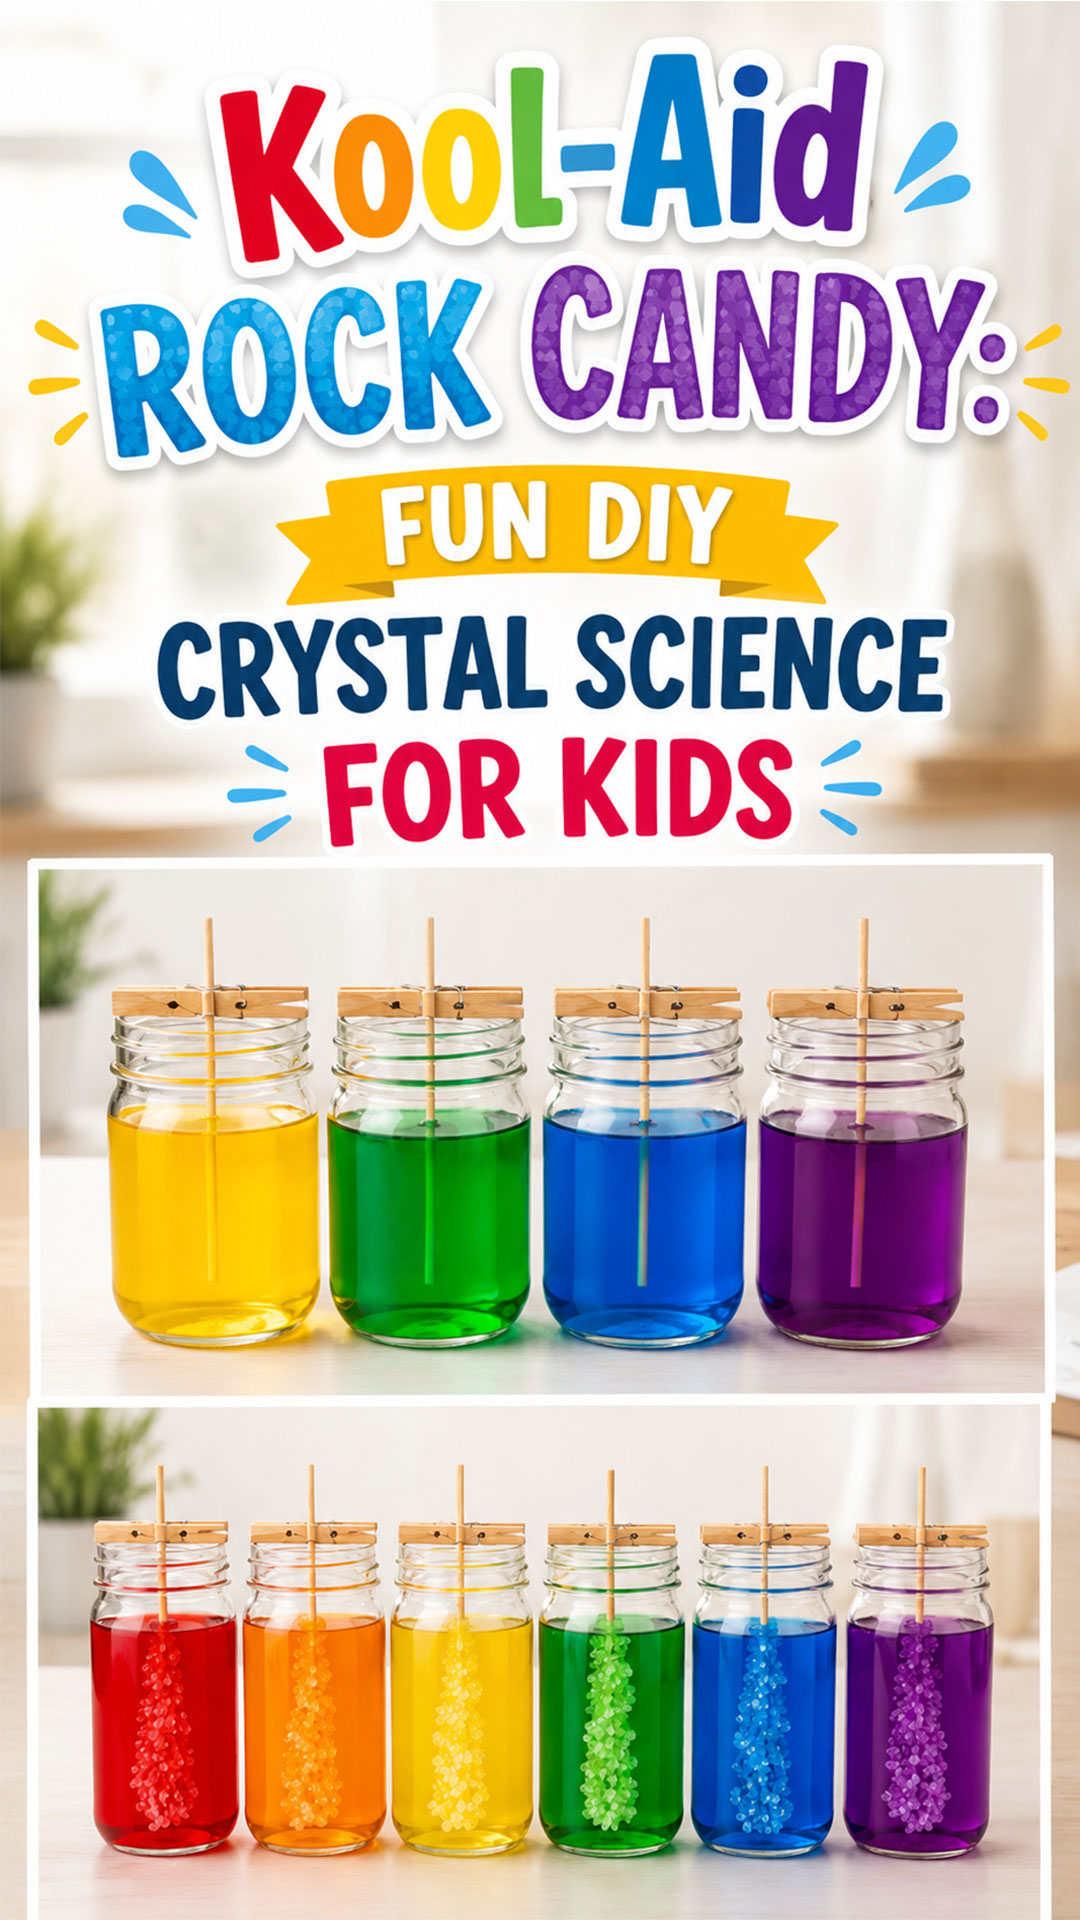
This guide walks you through exactly how to make it, step by step, along with the simple science behind why it works. No confusing chemistry talk. No guesswork. Just a clear, foolproof process you can hand straight to a group of curious kids.
Why This Is a Perfect STEM Activity for Kids
Teachers and parents are always on the hunt for STEM activities that feel worth the setup time. This one earns its spot.
It teaches a real chemistry concept called supersaturation in a way kids can actually see happening in front of them.
It builds patience and observation skills, since the best part of this experiment unfolds slowly over several days rather than all at once.
It also works beautifully as a multi-day project. You can introduce it on a Monday, have kids check and record their observations through the week, and end with a celebration on Friday when the candy is ready to eat.
Best of all, it uses ingredients most kitchens or classrooms already have on hand.

What You’ll Need
Best for: Classrooms, homeschool science lessons, and kids ages 6 and up (with adult help for the boiling water step).
Active Prep Time: About 20 minutes.
Total Time to See Results: 5 to 10 days.
Here is everything you will need to gather beforehand:
- 2 to 3 cups of granulated sugar
- 1 cup of water
- Kool-Aid packets, any flavor or color you like
- Wooden skewers or sticks
- Clean glass jars, one per color
- Clothespins, one per jar
- A saucepan for the stove
A quick tip before you start: if you plan to make several colors at once, lay out one jar, one skewer, and one clothespin per flavor so nothing gets mixed up mid-project.
A Quick Safety Note
This experiment involves boiling water and a hot stove, so it does require adult supervision throughout the heating and pouring steps.
Kids can absolutely help with stirring, measuring, and pouring the Kool-Aid, but the actual pot of boiling sugar water should stay in adult hands. Once the mixture is safely poured into jars, kids can take over the rest of the process.
How to Make Kool-Aid Rock Candy
Step 1: Heat the Water
Pour 1 cup of water into a saucepan and heat it on the stove until it is just under boiling.
Step 2: Slowly Dissolve the Sugar
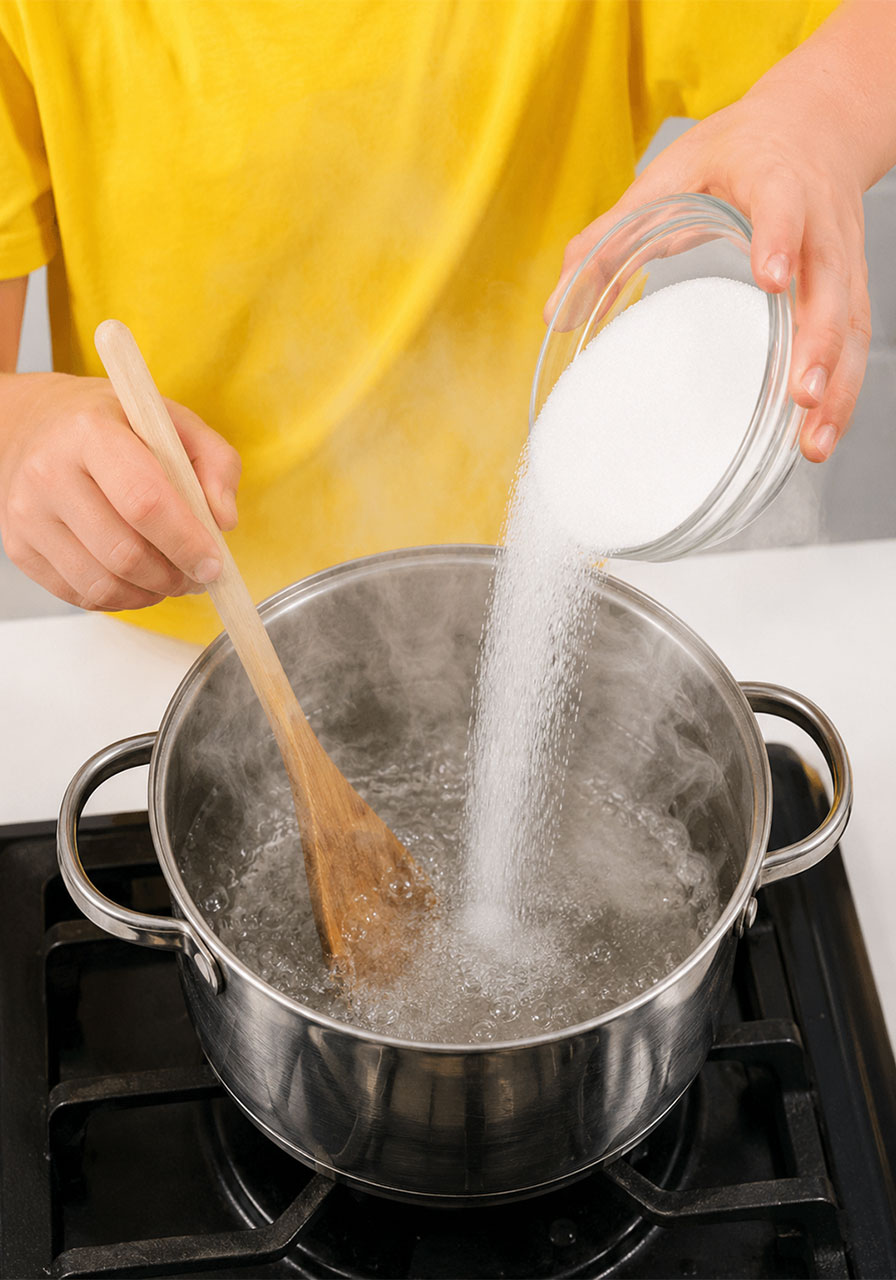
Add the sugar a little at a time, stirring continuously so it fully dissolves before adding more.
Keep adding sugar until no more will dissolve into the water. This is the most important step in the whole process, so do not rush it.
What you are creating here is called a supersaturated solution. That simply means the water is holding more dissolved sugar than it normally could at room temperature, which is exactly what sets up the crystal growth later on.
Step 3: Stir in the Kool-Aid
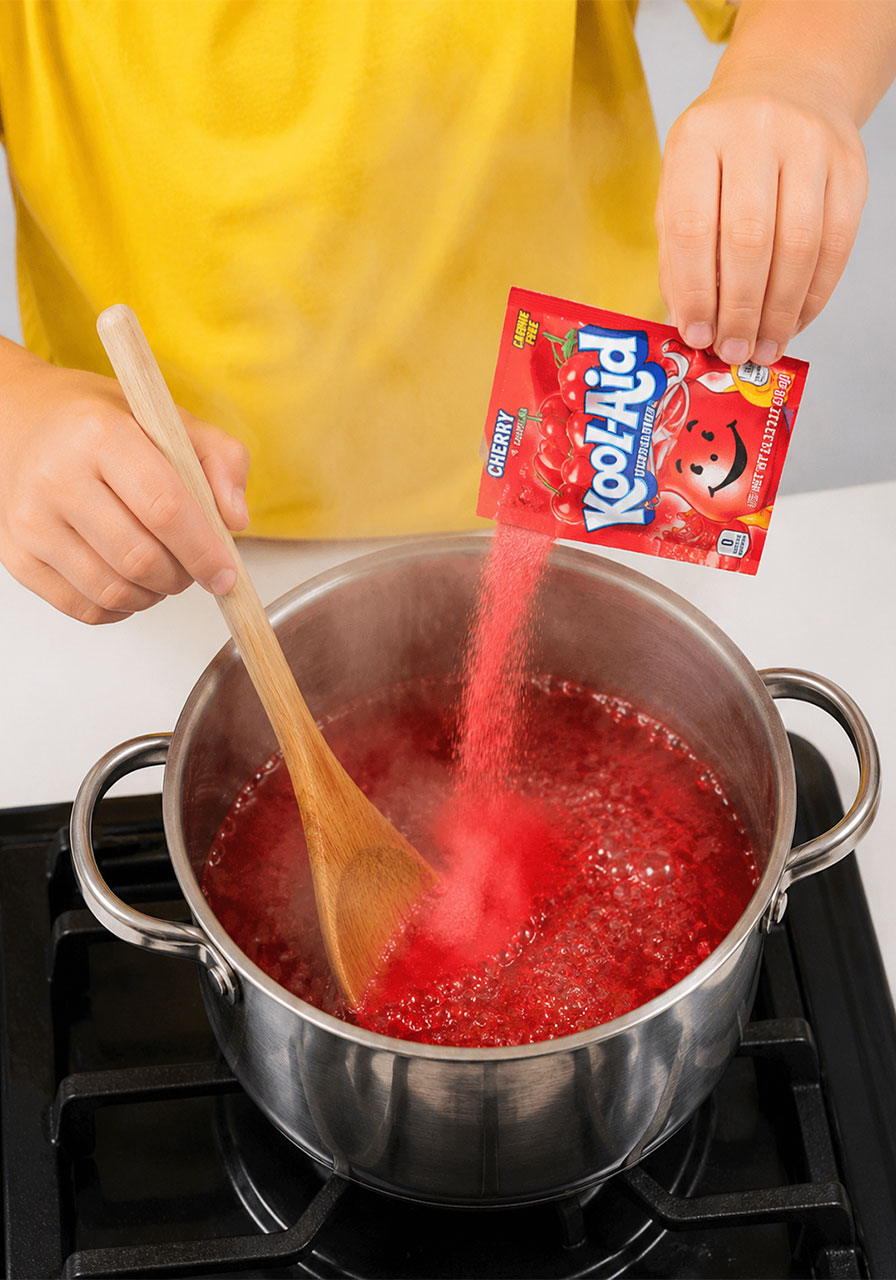
Add a packet of Kool-Aid powder to the pot and stir it in completely. This adds both the vibrant color and the fruity flavor that make this version so much more fun than plain rock candy.
Step 4: Prep the Sticks
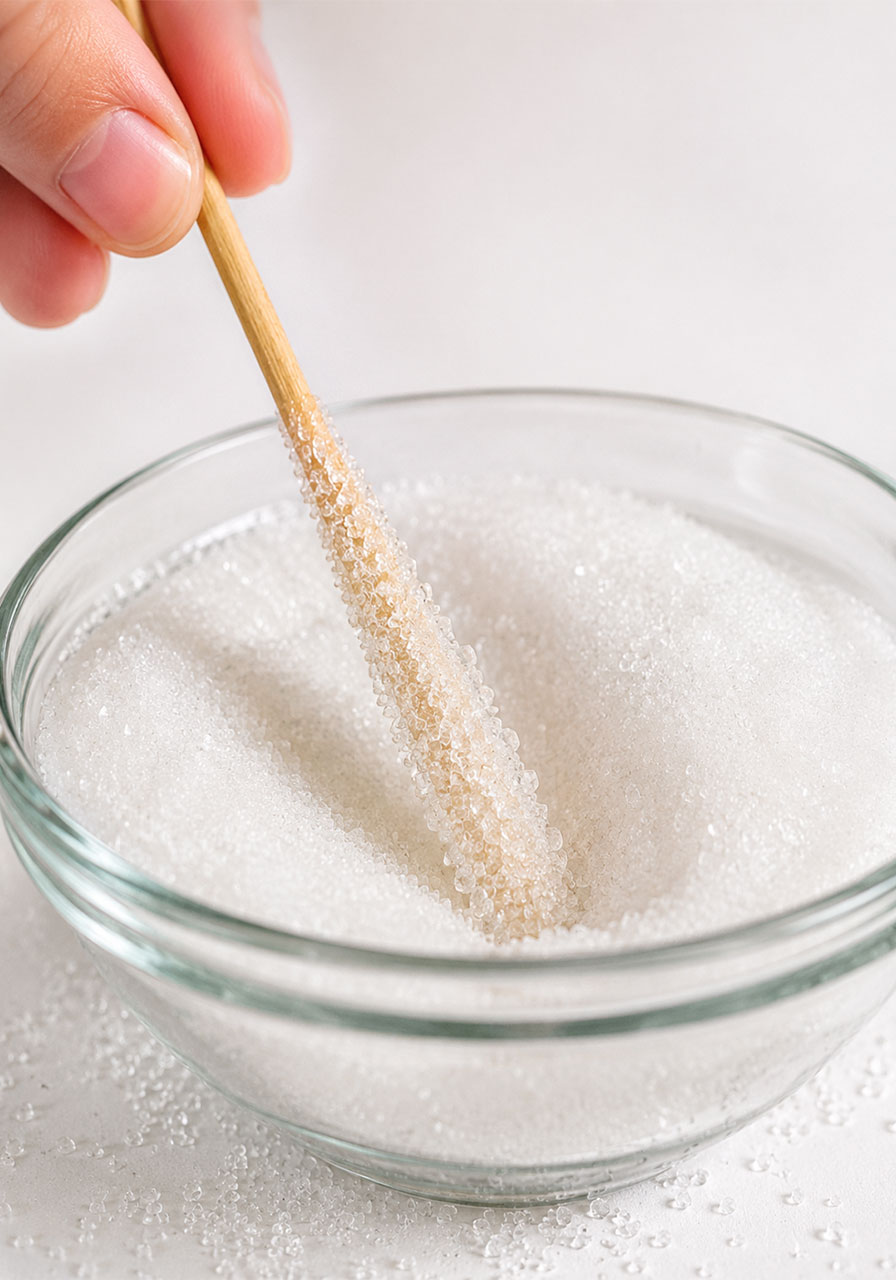
While the mixture cools slightly, dip each wooden skewer in water, then roll it in plain sugar until it is fully coated.
Set the sticks aside and let them dry completely. This sugar coating gives the crystals a rough surface to grab onto, which helps growth start faster and more evenly.
Step 5: Set Up the Jars
Once the mixture has cooled slightly, carefully pour it into your glass jars.
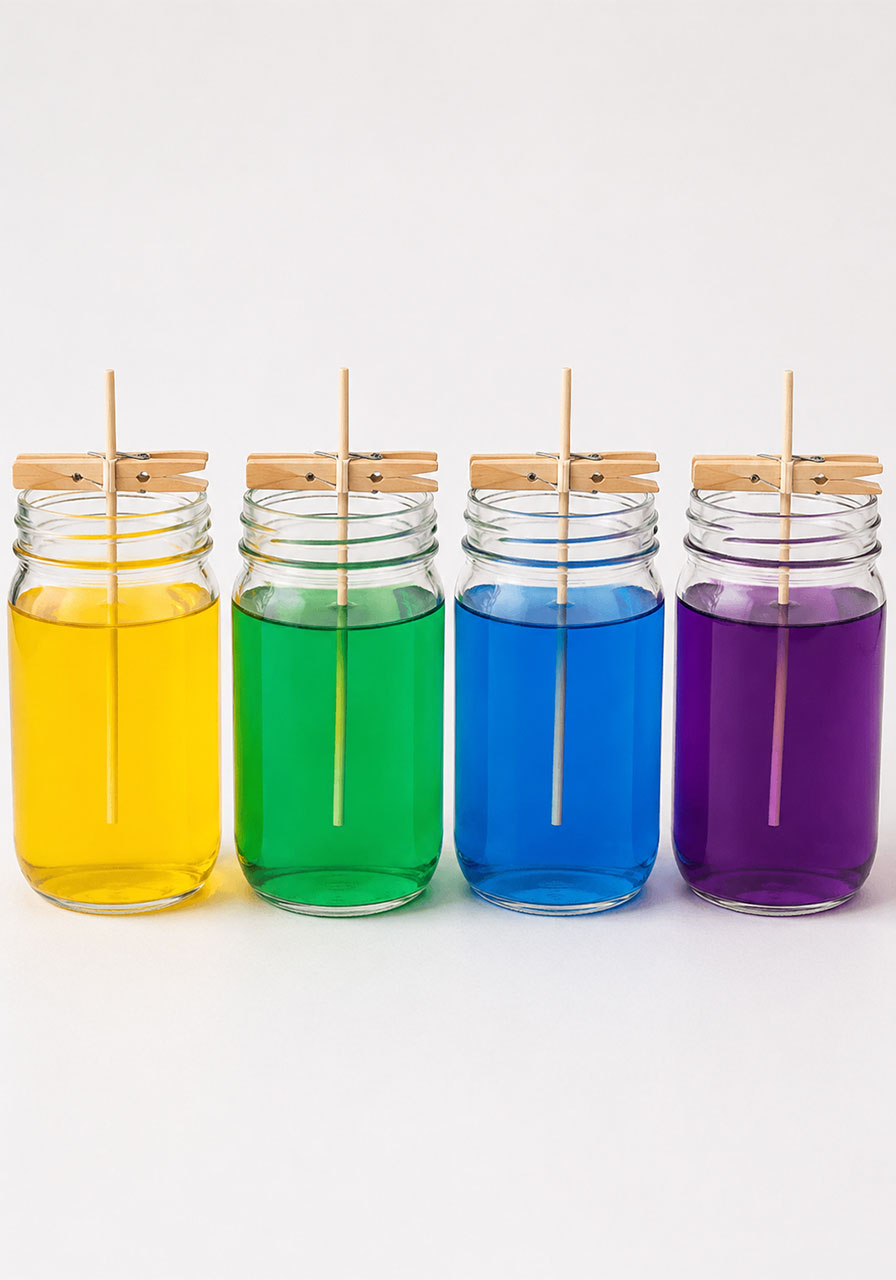
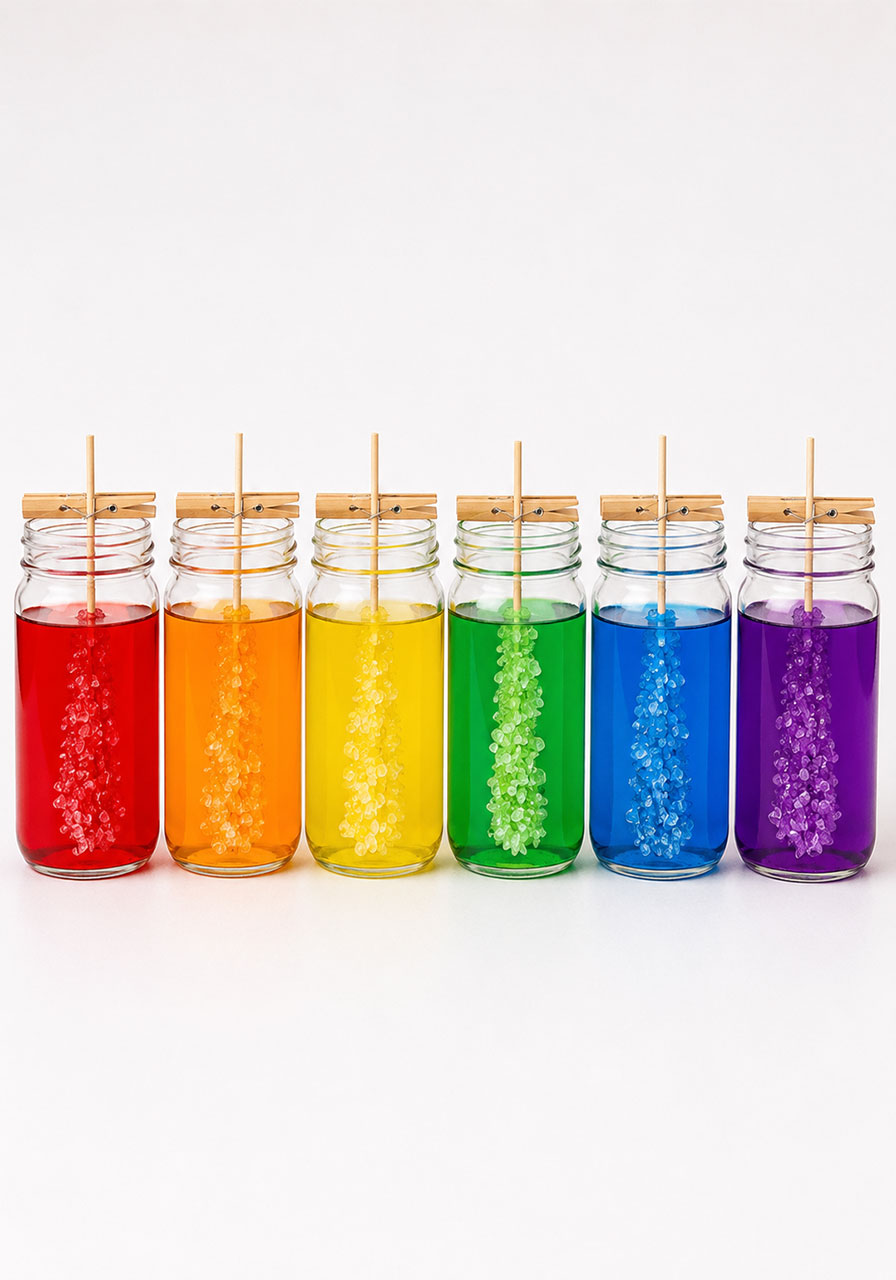
Attach each dried, sugar-coated stick to a clothespin, then rest the clothespin across the top of the jar so the stick hangs down into the liquid.
Make sure the stick does not touch the bottom or sides of the jar. If it does, the crystals may fuse to the glass instead of forming cleanly around the stick.
Step 6: Find a Safe, Undisturbed Spot
Place the jars somewhere they will not be bumped, shaken, or moved for the next several days.
A kitchen counter, a classroom shelf, or a windowsill out of direct sunlight all work well. Now comes the best part: waiting and watching.
The Science Behind the Crystals
Here is what is actually happening inside that jar, explained simply enough to share with kids.
When you dissolved all that sugar into hot water, you packed in far more sugar than the water could normally hold at room temperature.
As the mixture slowly cools, it can no longer keep all of that sugar dissolved. The extra sugar molecules have to go somewhere, so they begin attaching to the closest solid surface they can find, which is the sugar-coated stick hanging in the jar.
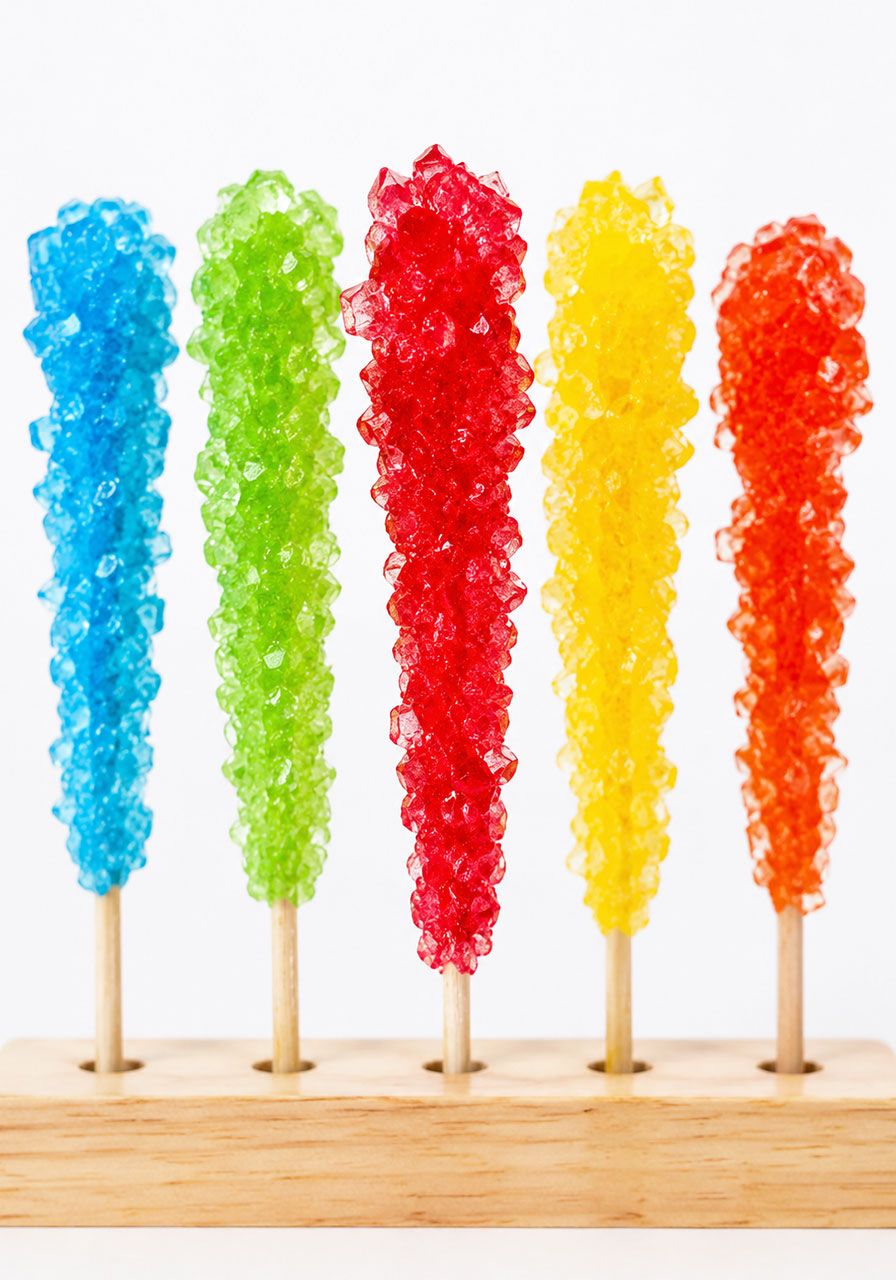
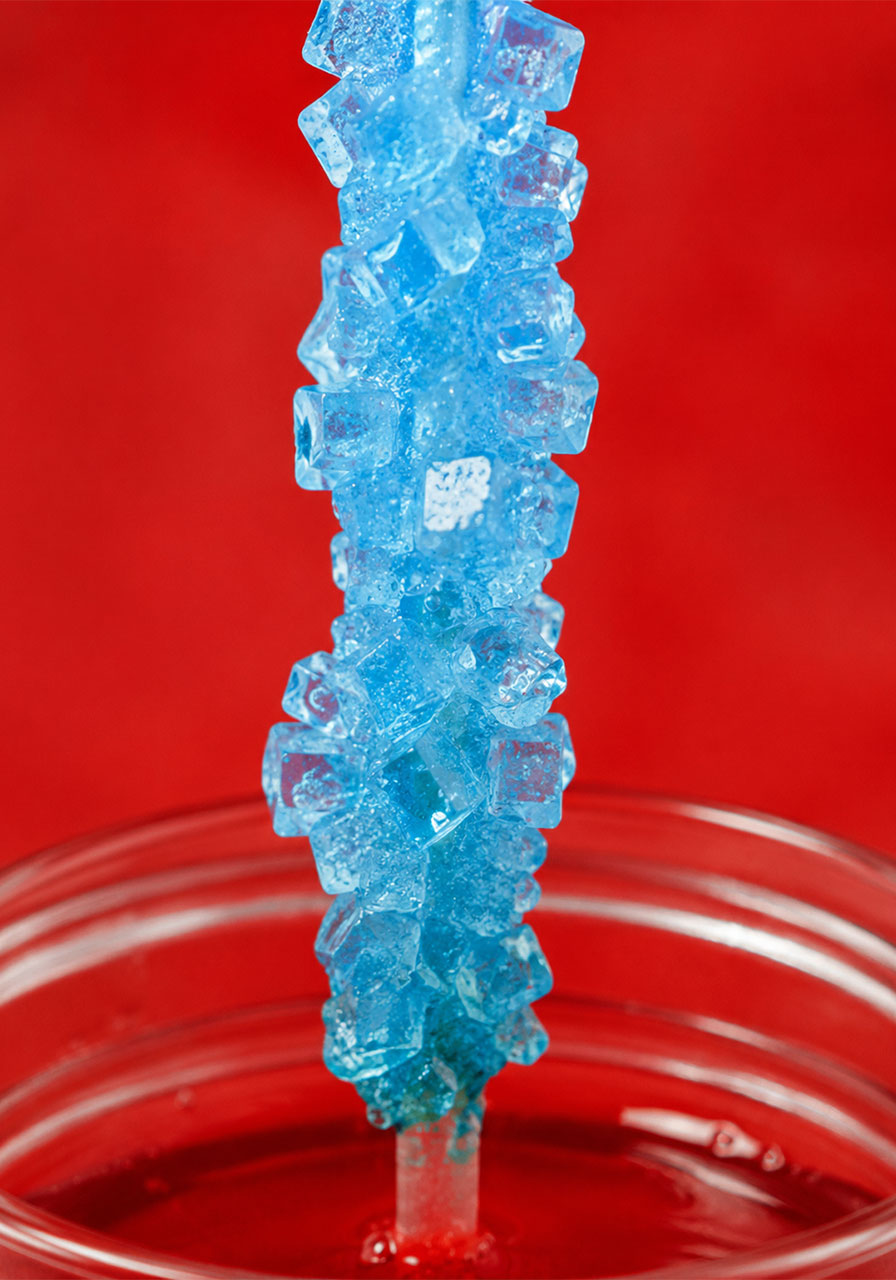
Over several days, more and more sugar molecules stack onto each other in a repeating pattern. That repeating pattern is what forms the sharp, geometric crystal shapes you see growing.
The Kool-Aid does not change this science at all. It simply rides along for the process, giving the crystals their bright color and sweet flavor as they form.
What to Expect Day by Day
One of the best parts of this experiment is watching the timeline unfold. Here is a general guide for what kids can expect to see.
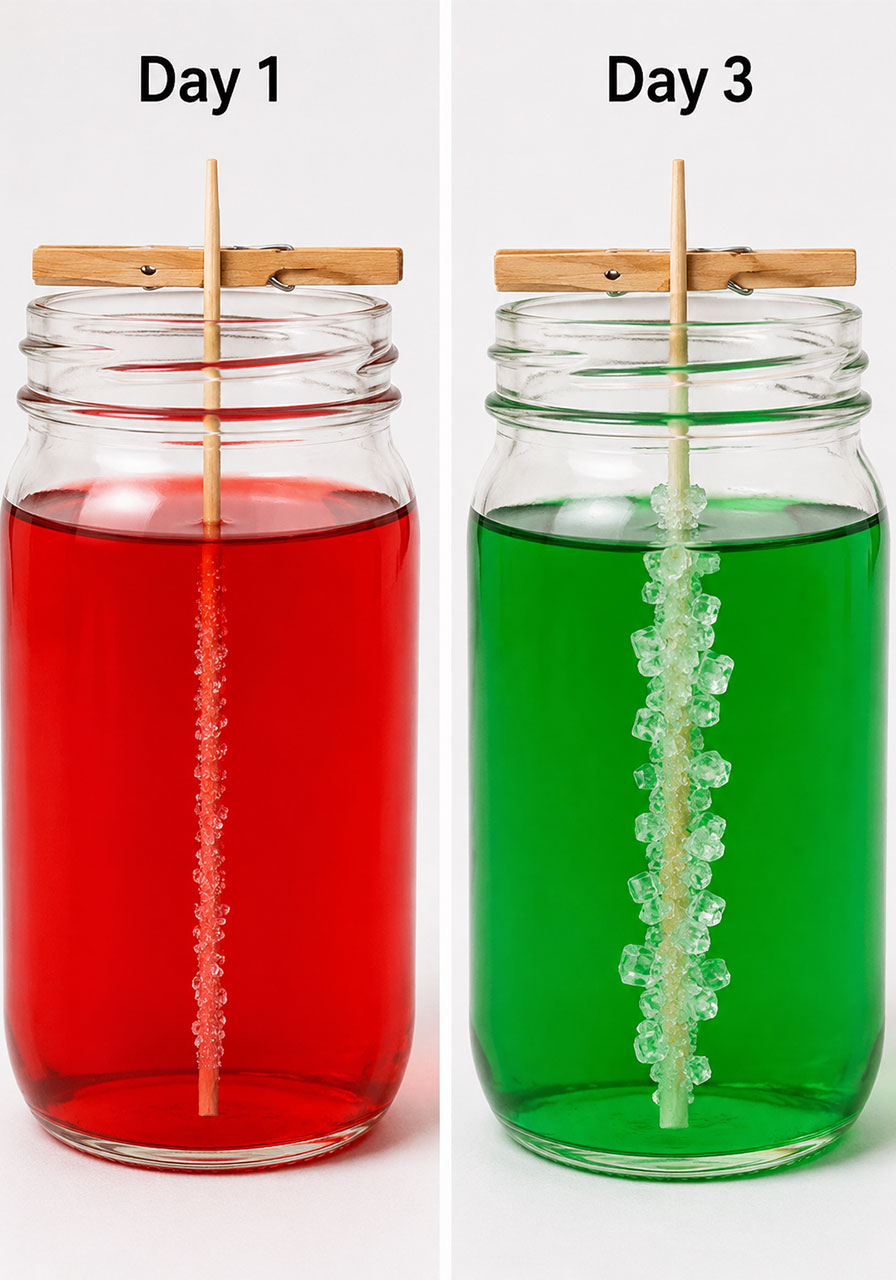
Day 1 to 2: Small, cloudy crystals begin appearing on the stick. They may look faint at first, but they are the beginning of the whole structure.
Day 3 to 5: Growth becomes much more noticeable. Crystals start clumping together and thickening around the stick.
Day 7 and beyond: Crystals reach a solid, chunky size and are ready to remove, dry, and enjoy.
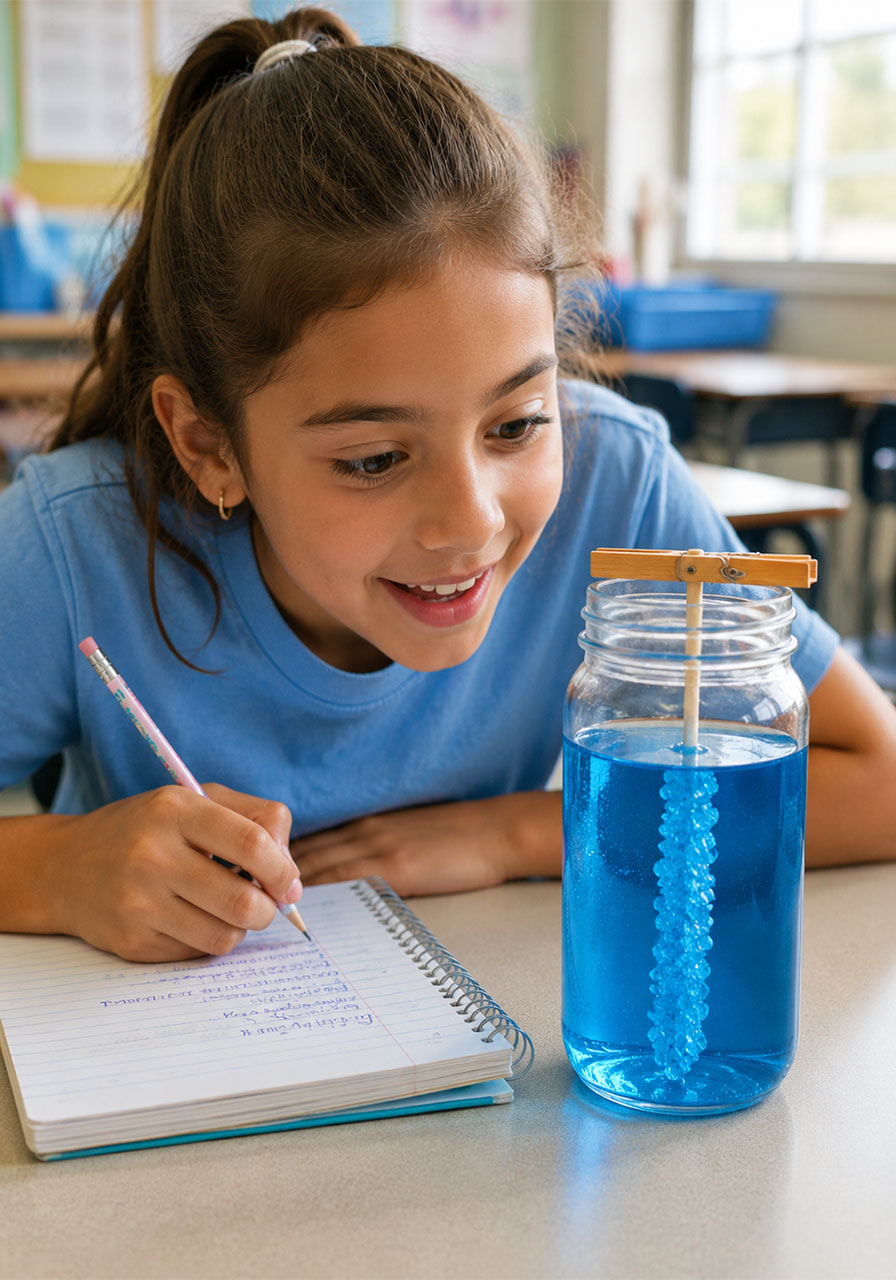
If you are using this in a classroom, this is a great point to have kids keep a simple daily observation log with a quick sketch and a sentence or two describing any changes they notice.
Tips for the Best Results
Add the sugar slowly and patiently rather than dumping it all in at once. Rushing this step is the most common reason crystals fail to form well.
Let the sugar mixture cool slightly before pouring it into the jars. Pouring it in too hot can crack thinner glass jars.
Keep the jars completely still while the crystals grow. Even small bumps can knock young crystals loose before they have a chance to fully form.
Try a different Kool-Aid flavor in each jar so kids can compare how color affects the finished look, even though the flavor underneath stays similarly sweet.
Fun Ways to Extend the Learning
Grow a full rainbow by making one jar per Kool-Aid color and lining them up together once finished.
Turn it into a simple science journal activity, with kids recording predictions before starting and observations after each day.
Compare results across jars to see whether flavor, sugar amount, or stick placement seemed to change how quickly crystals formed.
Pair it with a short lesson on states of matter or solutions, since this experiment gives kids a hands-on example they can point back to for weeks afterward.
Storing Your Finished Rock Candy
Once your crystals have reached the size you want, let them air dry completely before handling them further.
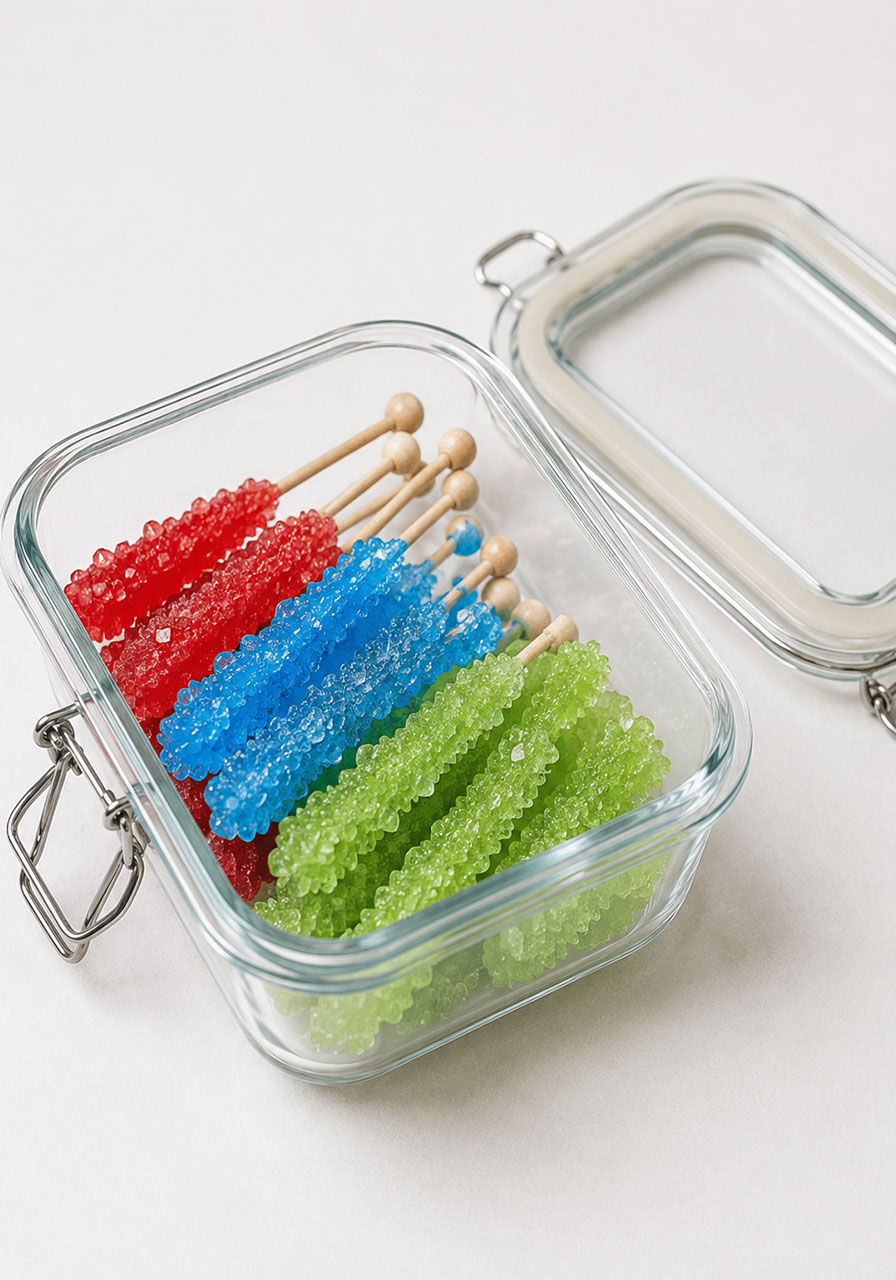
Store finished rock candy in an airtight container to keep it from becoming sticky or absorbing moisture from the air.
Keep the container in a cool, dry place, away from direct sunlight or heat.
Frequently Asked Questions
How long does Kool-Aid rock candy take to grow?
Most jars show noticeable crystal growth within 5 to 10 days, though smaller crystals can appear as early as day one.
Why aren’t my crystals forming?
This usually happens when not enough sugar was dissolved into the water, or when the jar was moved or bumped during the growing period. Double check that your solution was fully supersaturated before pouring.
Is this experiment safe for a classroom setting?
Yes, as long as an adult handles the boiling water and hot pot. Once the mixture is poured into jars, the remaining steps are completely safe for kids to observe and manage themselves.
Can I use flavors other than Kool-Aid?
Yes. Any powdered drink mix with color will work the same way, so this is an easy experiment to customize based on whatever you have available.
Final Thoughts
Kool-Aid rock candy takes a classic science experiment and makes it something kids genuinely look forward to checking on every day.
It teaches real chemistry concepts, builds patience, and ends with a colorful, edible reward that feels like a true accomplishment.
If you are looking for a STEM activity that holds attention for more than just one sitting, this is one worth adding to your lineup.
