
Looking for a science activity that takes five minutes to set up, costs less than a trip to the dollar store, and leaves kids begging to do it “one more time”? You just found it.
The balloon rocket experiment is one of those rare STEM activities that hits every mark. It’s cheap. It’s fast. It works every single time. And it teaches real, honest-to-goodness physics without a single worksheet in sight.
Whether you’re a teacher planning a science center, homeschooling on a budget, or a parent trying to save a rainy afternoon, this one belongs in your back pocket. Let’s get into exactly how to make it happen.
Why This Activity Is a Teacher and Parent Favorite
Balloon rockets are a classic for a reason. They give kids an immediate, visible result. Blow up a balloon, let it go, and watch it rocket down a string in the blink of an eye.
That instant “whoosh” moment is what makes this activity so powerful for young learners. There’s no waiting around for results. No confusing steps. Just a fast, exciting demonstration of a science concept that usually sounds way more complicated than it actually is.
This experiment works beautifully for preschool, pre-k, kindergarten, and grades 1 through 4. It’s flexible enough to simplify for little ones or extend into a full investigation for older students.
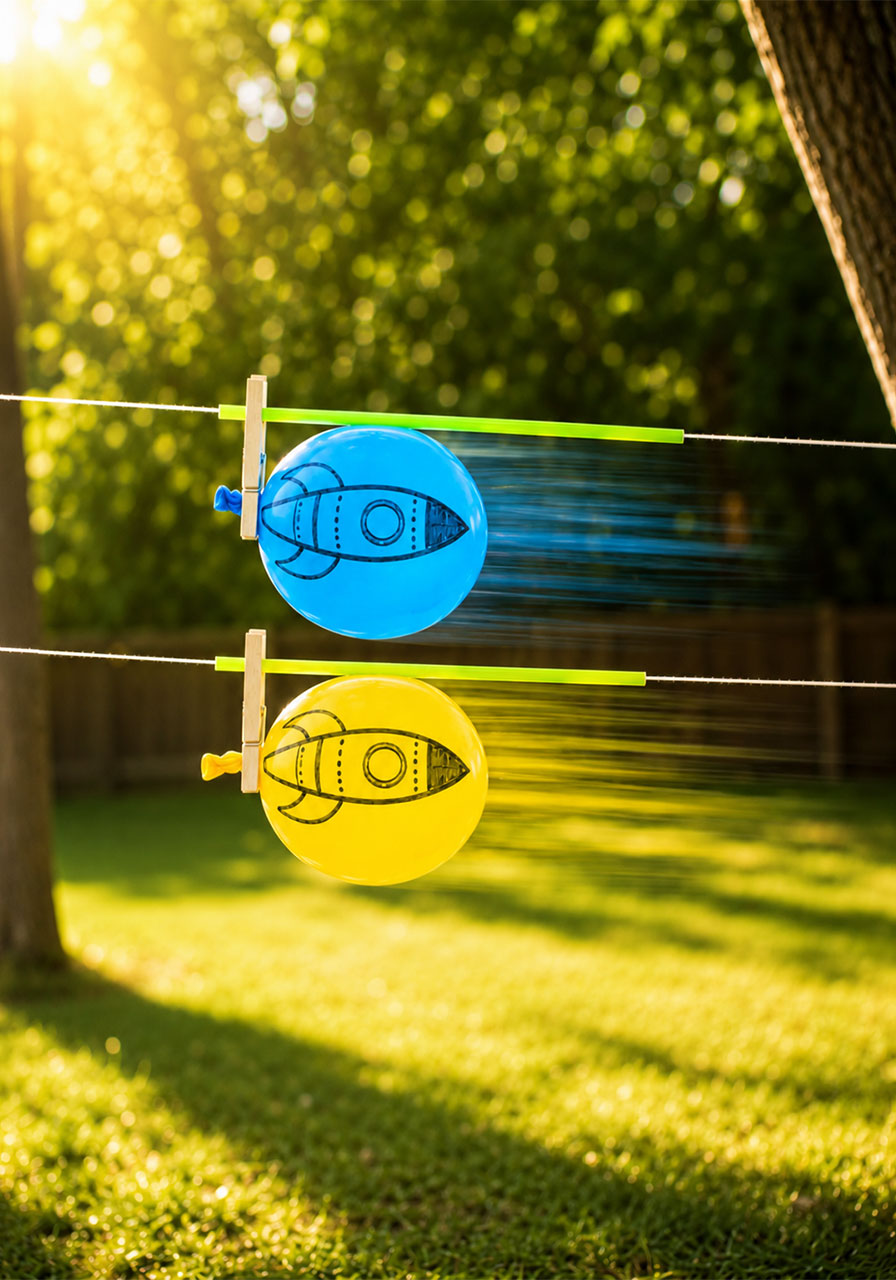
It also happens to be a fantastic group activity. Set up two balloon rockets side by side and you’ve instantly got a race, which means instant engagement from even your most reluctant scientists.

What You’ll Need
Here’s the best part: you probably already have most of these materials sitting around the house or classroom.
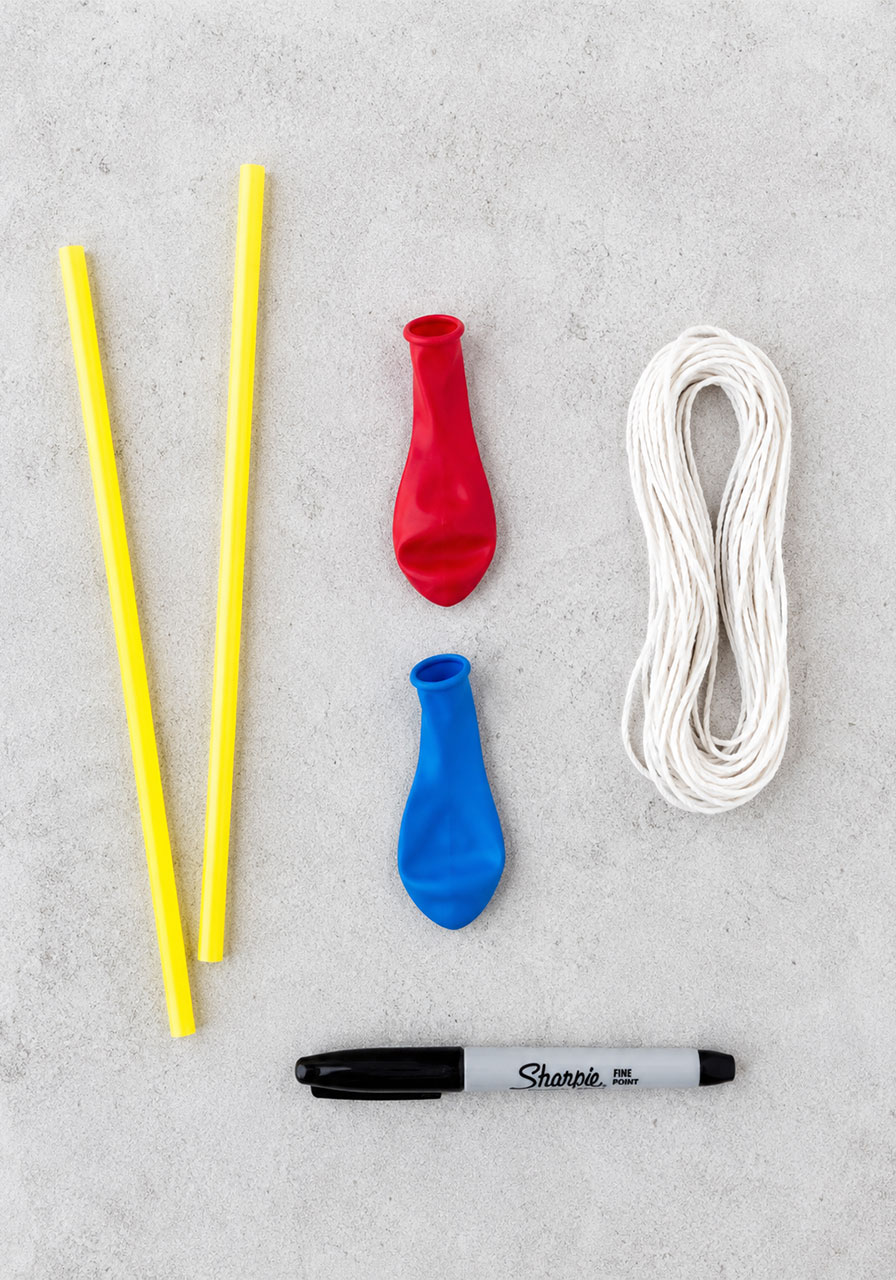
- 2 or more balloons
- String (about 7 to 15 feet long)
- 2 or more straws (extra-large straws work best for easy threading)
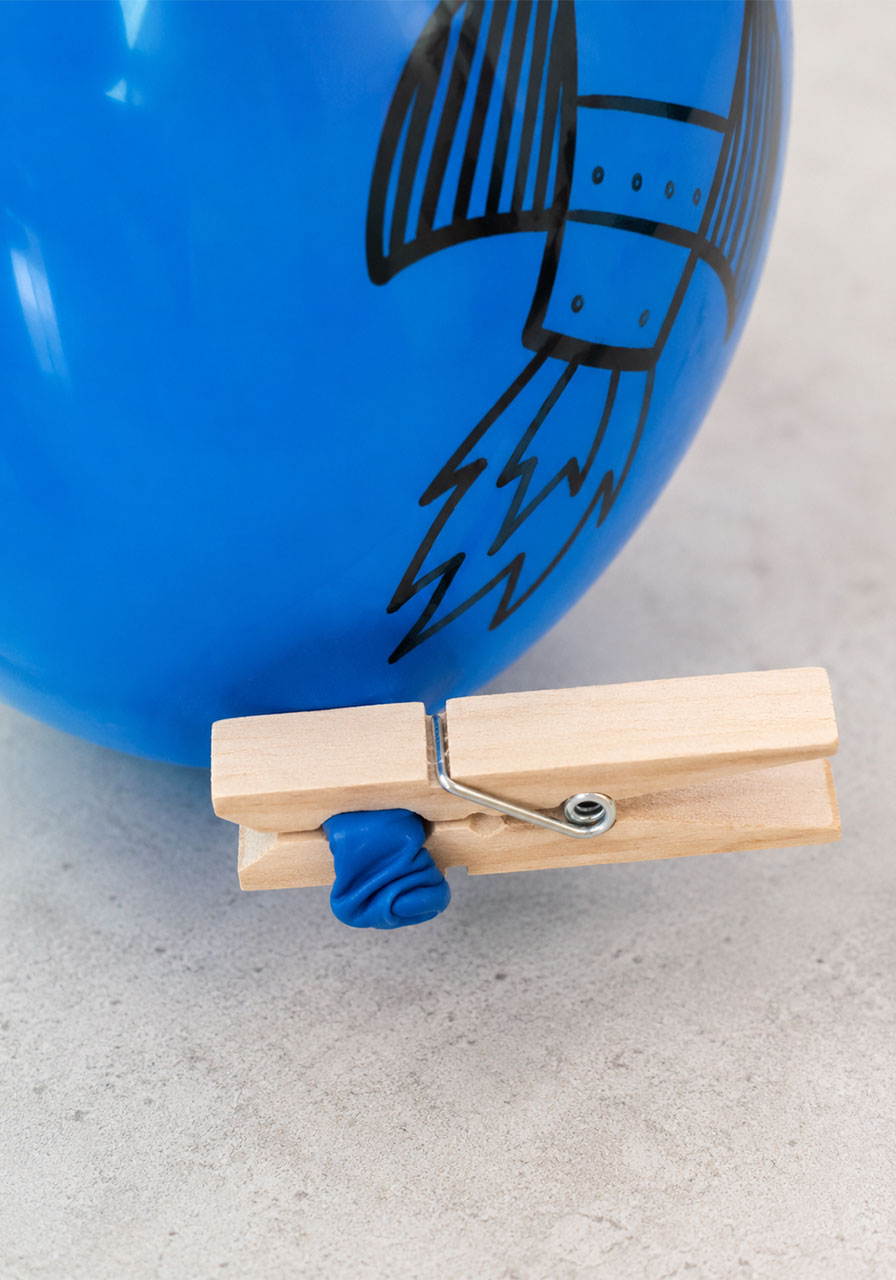
- A clothespin (optional, but very helpful for holding the air in)
- Tape
- A Sharpie marker (optional, for decorating)
That’s it. No special science kit required, no ordering supplies online and waiting three days for shipping. Just grab what you have and you’re ready to launch.
How to Set Up Your Balloon Rocket
Follow these steps in order and your rocket will be ready to fly in just a few minutes.
Step 1: Set Up Your Rocket Path
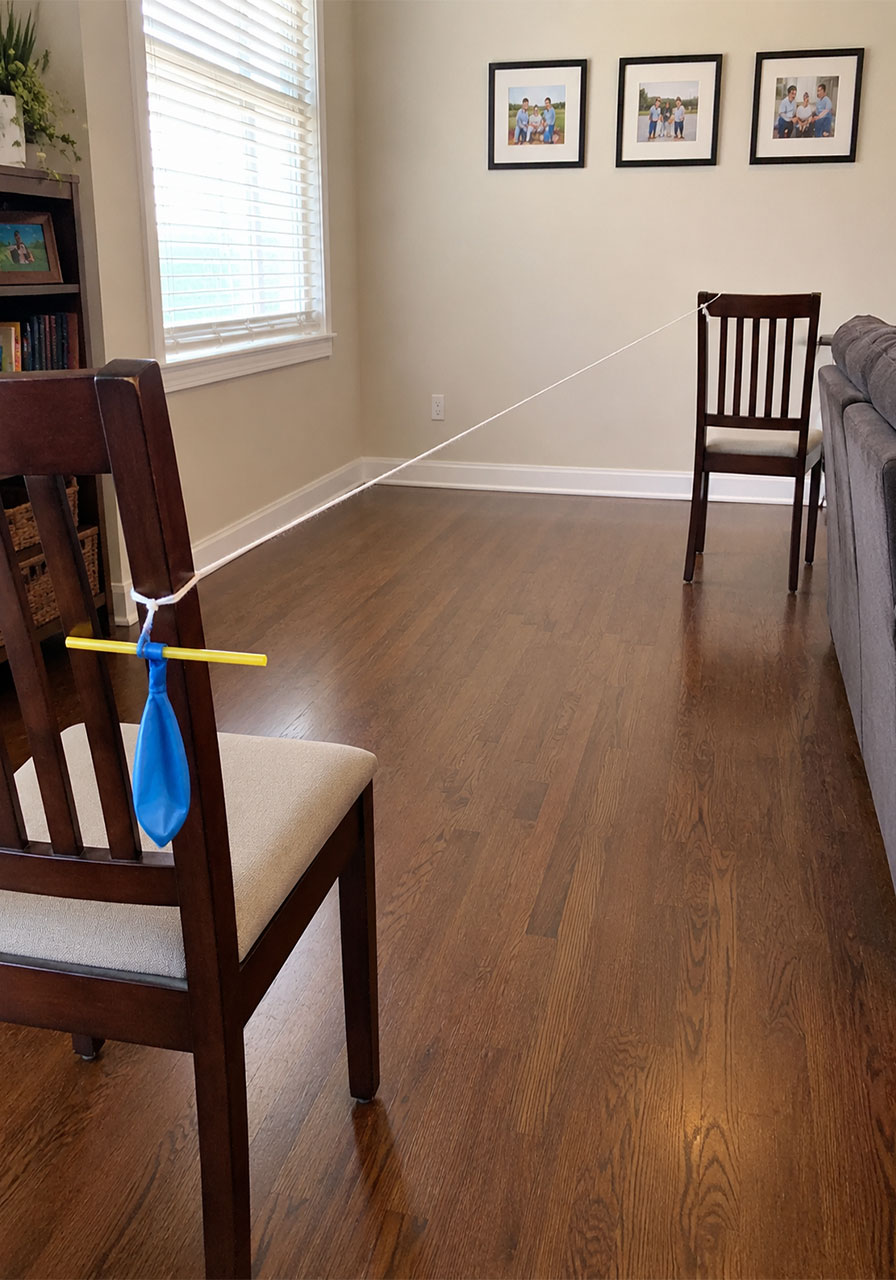
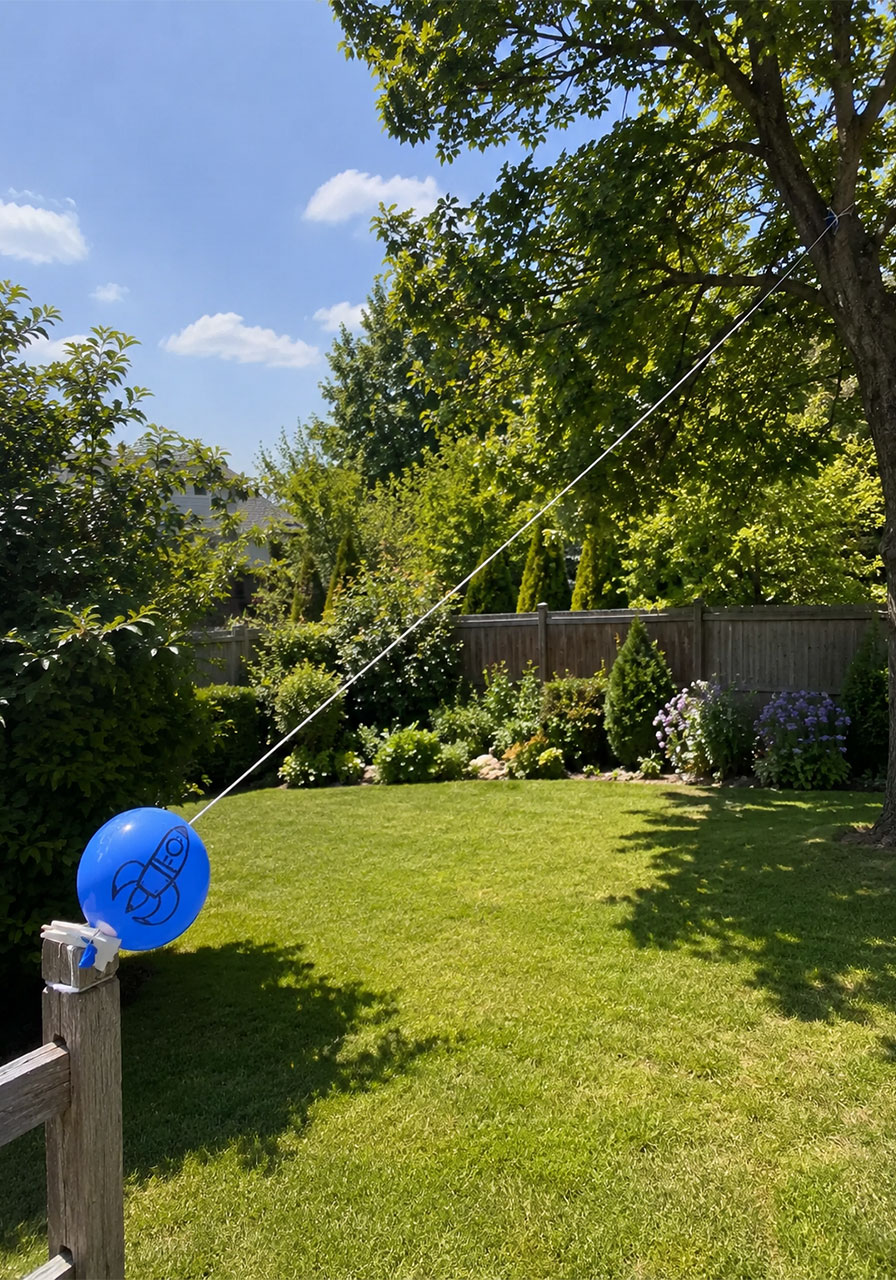
Tie one end of your string to a fixed object, then stretch it across a space of about 7 to 15 feet to a second fixed object.
If you’re outside, two trees, a fence, or a swing set work great. If you’re indoors, string it between two chairs or two parallel door handles.
Important tip: Leave one end of the string easy to detach. You’ll need to remove it to slide your finished rocket onto the line before your countdown.
If you want to run a race between two or more kids, repeat this step to create a second, parallel string path right next to the first one.
Step 2: Inflate and Decorate the Balloon
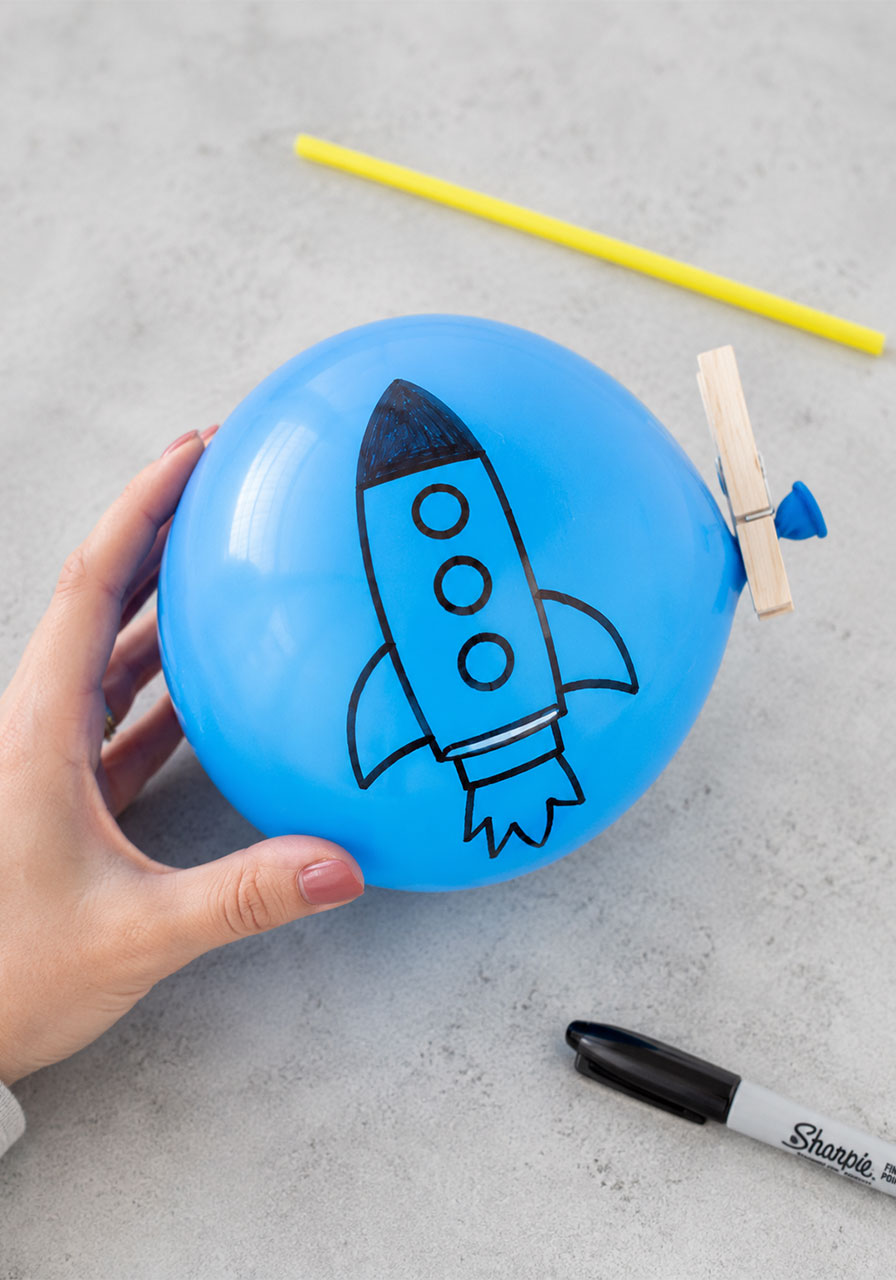
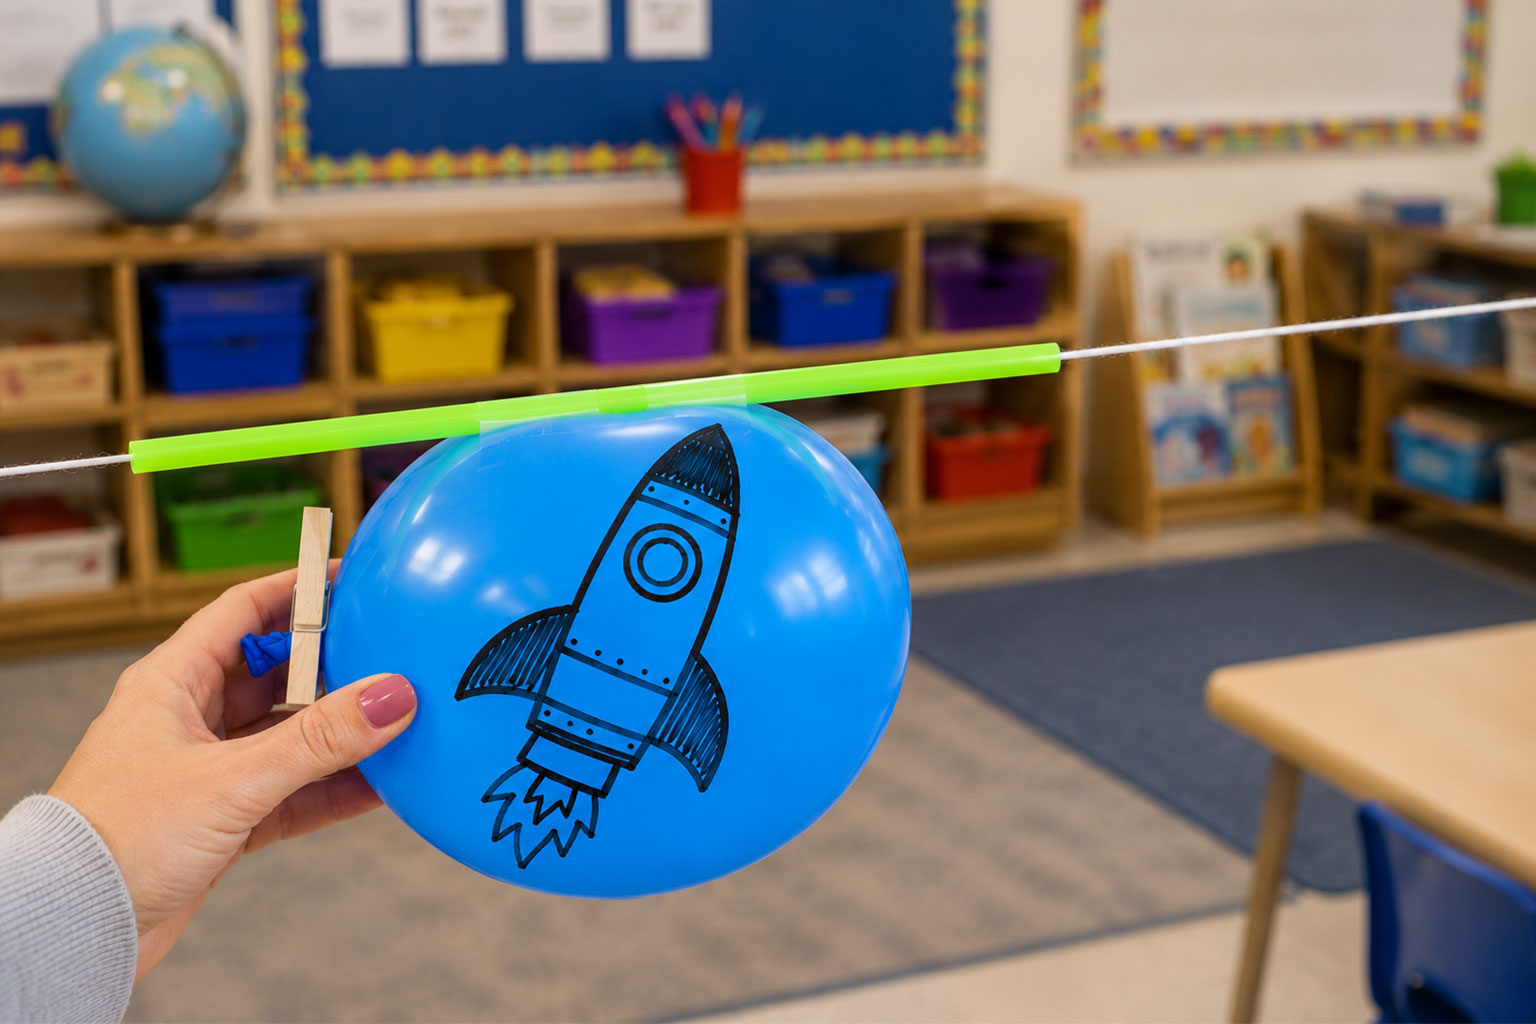
Blow up your balloon and pinch the end closed, or use a clothespin to hold the air inside without tying it off.
This next part is optional, but it’s the part kids love most: grab a Sharpie and decorate the balloon to look like an actual rocket ship. Draw fins, windows, and flames shooting out the back.
Safety note: Sharpie marker is permanent, so keep it away from clothing, furniture, and skin while decorating.
Step 3: Attach the Straw
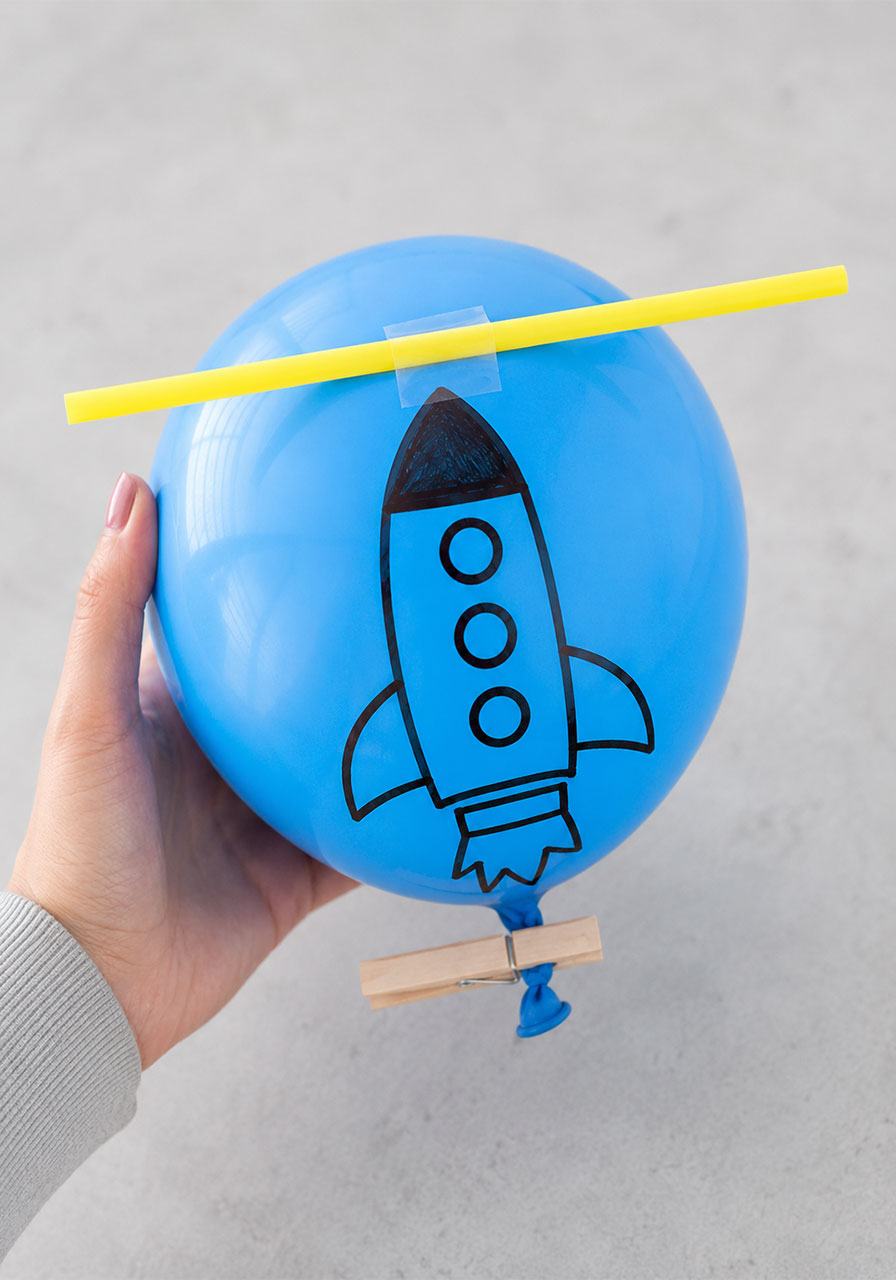
Tape a straw lengthwise along the top of the inflated balloon. This straw is what will guide your rocket along the string, so make sure it’s taped securely and lies flat.
Extra-large straws work best here because they slide onto the string much more easily than skinny ones.
Step 4: Thread the Rocket Onto the String
Untie one end of your string, thread it through the straw taped to the balloon, then retie the string back onto its starting point.
Your balloon rocket should now be hanging on the line, ready for launch, with the balloon’s opening pointing toward one end of the string.
If you’re racing, repeat this entire process to build a second rocket on the second string.
Blastoff Time
This is the moment everyone has been waiting for.
Line up your rockets at the starting end of the string. Count down together: 3… 2… 1… blastoff! Release the clothespin, or simply let go of the balloon’s pinched end.
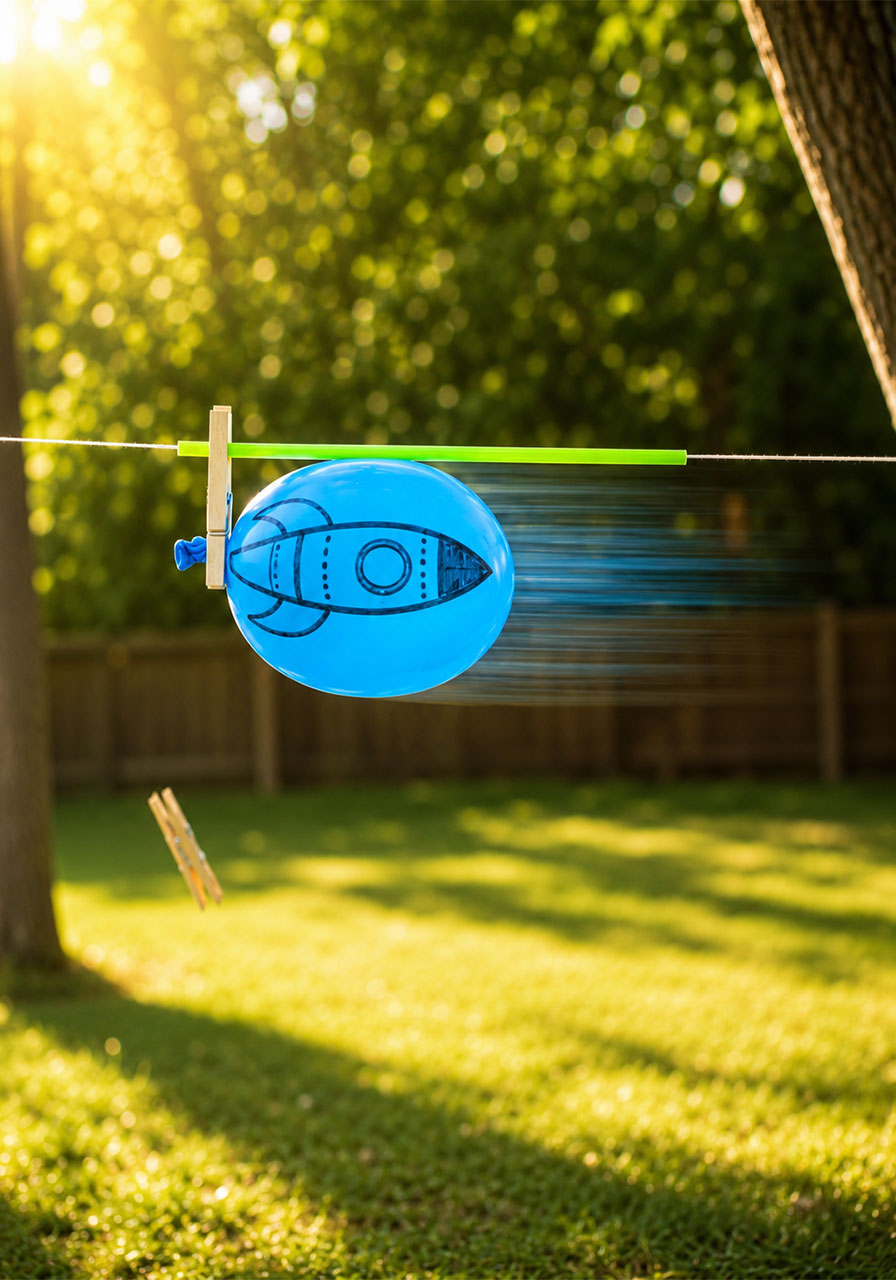
The balloon will rocket down the string in seconds. Watch the kids’ faces the first time it happens. It’s a guaranteed reaction of pure delight.
The Science Behind the Balloon Rocket
Here’s where the real magic happens, because this simple activity is teaching a genuine law of physics.
The balloon rocket demonstrates Newton’s Third Law of Motion, which states that for every action, there is an equal and opposite reaction.
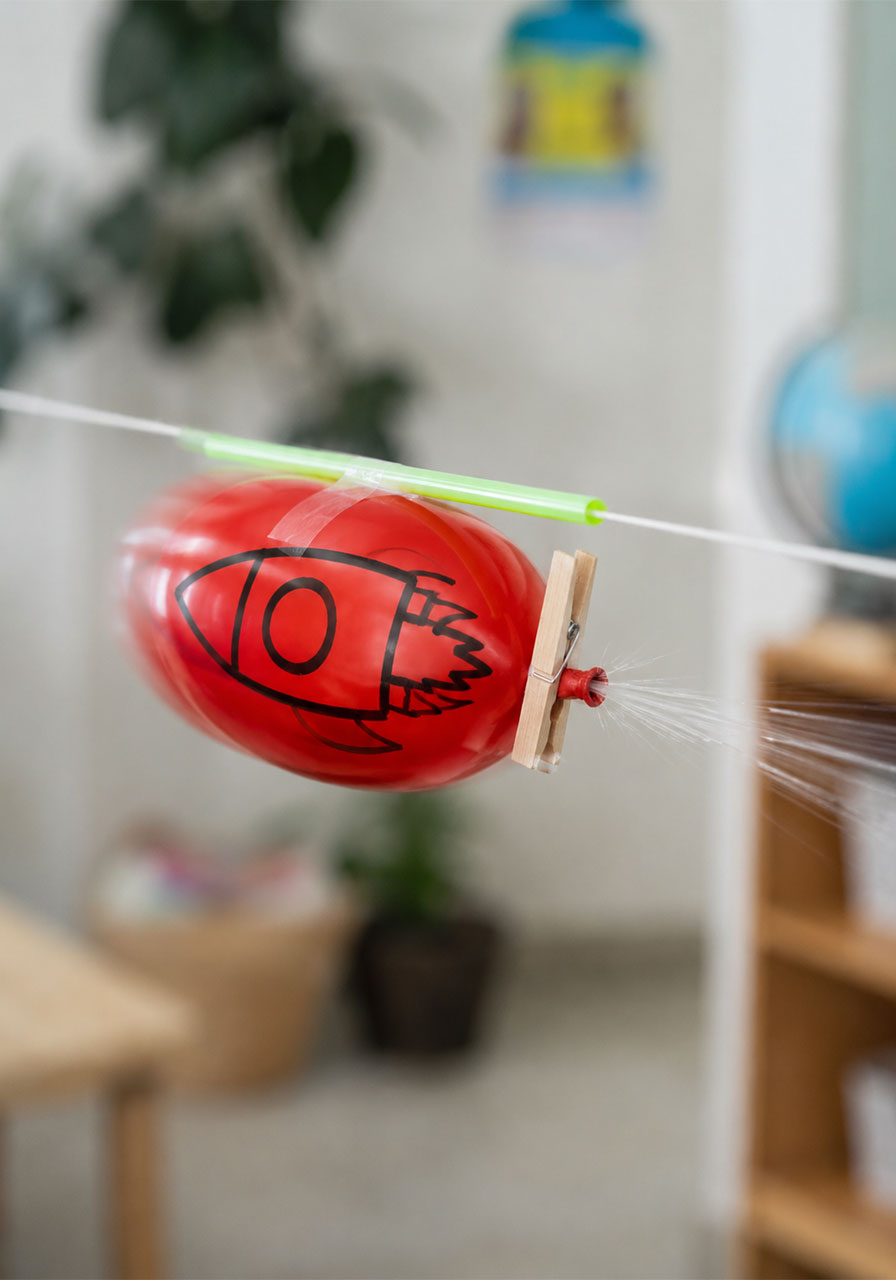
When you release the balloon, air rushes out the open end in one direction. That escaping air is the “action.” The balloon shoots forward in the opposite direction as the “reaction.”
You can explain it to younger kids in even simpler terms. Before you let go, the balloon is full of air under pressure, which is a form of stored energy called potential energy. The moment the air escapes, that stored energy turns into kinetic energy, or the energy of motion.
The escaping air pushes backward. The balloon gets pushed forward. Action, reaction. That’s rocket science, literally, and your students just performed it with a balloon and a straw.
Extension Ideas to Turn This Into a Full Science Lesson
Once the first round of launches is done, don’t stop there. A few small tweaks turn this quick activity into a full science investigation.
Try angling the string uphill and see how it affects the balloon’s speed and distance. Then try a downward incline and compare the results.
Inflate one balloon fully and another only halfway, then race them. Ask kids to predict which one will travel farther or faster before you let go.
Have students record their predictions on a simple chart before each launch, then compare their guesses to what actually happened. This turns the activity into a real hands-on experiment with a hypothesis, a test, and a result.
You can also test different balloon shapes or sizes to see how that changes the outcome, which is perfect for older students ready for a more detailed investigation.
Pro Tips for a Smooth Balloon Rocket Experience
A few small details make a big difference in how well this activity goes, especially with a group of excited kids.
Use extra-large straws whenever possible. Standard straws are much harder to thread onto string and tend to cause frustration for little hands.
A clothespin is worth the extra step. Pinching a balloon closed with your fingers while you get everyone lined up can be tricky, and the air tends to sneak out early. A clothespin holds it shut reliably until you’re ready to launch.
If you’re running this activity with a full classroom, set up several rocket lines at once so kids aren’t waiting too long for their turn. Waiting is the number one thing that causes little ones to lose interest.
Test your string length ahead of time. Longer strings create a more dramatic, longer flight, but shorter strings work better in tighter indoor spaces.
Frequently Asked Questions
What ages is the balloon rocket experiment good for?
This activity works well for preschool through 4th grade. Younger kids can enjoy the visual excitement of the launch, while older kids can dig into the physics explanation and try the extension ideas.
Can this activity be done indoors?
Yes. String the line between two chairs or two parallel door handles. Just make sure the path is clear of breakable items, since the balloon can move fast.
What if the balloon keeps falling off the string?
This usually means the straw isn’t taped securely or is at an angle. Make sure the straw lies flat and straight along the top of the balloon before threading it onto the string.
How long does this activity take?
Setup takes about 5 to 10 minutes per rocket, and the launch itself takes just seconds. It’s an ideal activity for a short class period or a quick at-home science break.
Do I need helium for this experiment?
No. This experiment uses regular air from your own lungs or a hand pump. No helium or special equipment is required.
Bring the Fun of Real Science Home
The balloon rocket experiment proves that the best STEM activities don’t need to be complicated, expensive, or time-consuming. With a few household materials and a couple of minutes, you can give kids a genuine, memorable science moment they’ll want to repeat again and again.
Keep this one in your teaching toolkit or your parenting back pocket for the next rainy day, the next classroom science block, or the next time you hear “I’m bored.” It’s simple, it’s reliable, and it always delivers that priceless “wow” reaction.
