
Looking for a science activity that actually gets kids excited about learning? This pumping heart model is about to become your new go-to.
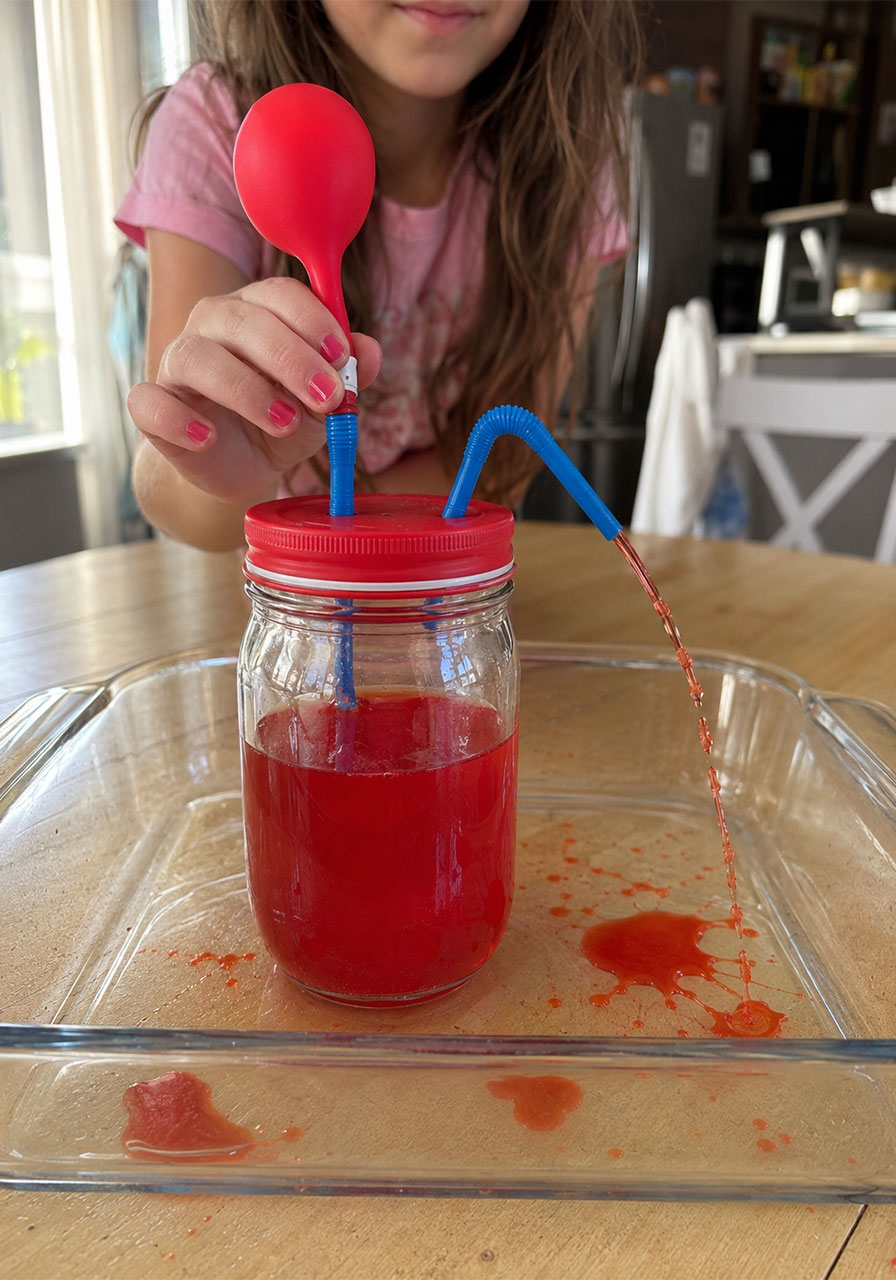
With just a few supplies from around the house, you can build a working model that shows exactly how the human heart pumps blood through the body. Squeeze the balloon, watch the “blood” squirt out, and get ready for some very loud gasps of delight.
This project is perfect for classrooms, homeschool science units, or a rainy afternoon at home. It’s simple enough for a quick demo, but detailed enough to spark real questions about anatomy and how the body works.
Why This Heart Experiment Is a Must-Try
Kids learn best when they can see and touch a concept, not just read about it in a textbook. This model turns an abstract idea, like how blood moves through the body, into something kids can watch happen right in front of them.
It also doubles as a lesson in cause and effect. Every time your child presses the balloon, they are testing a hypothesis: what happens when I add pressure? That is real scientific thinking, even if it looks like play.
Best of all, it is genuinely fun. The dramatic squirt of red “blood” gets a reaction every single time, which means kids stay engaged from setup all the way through cleanup.

What You’ll Need
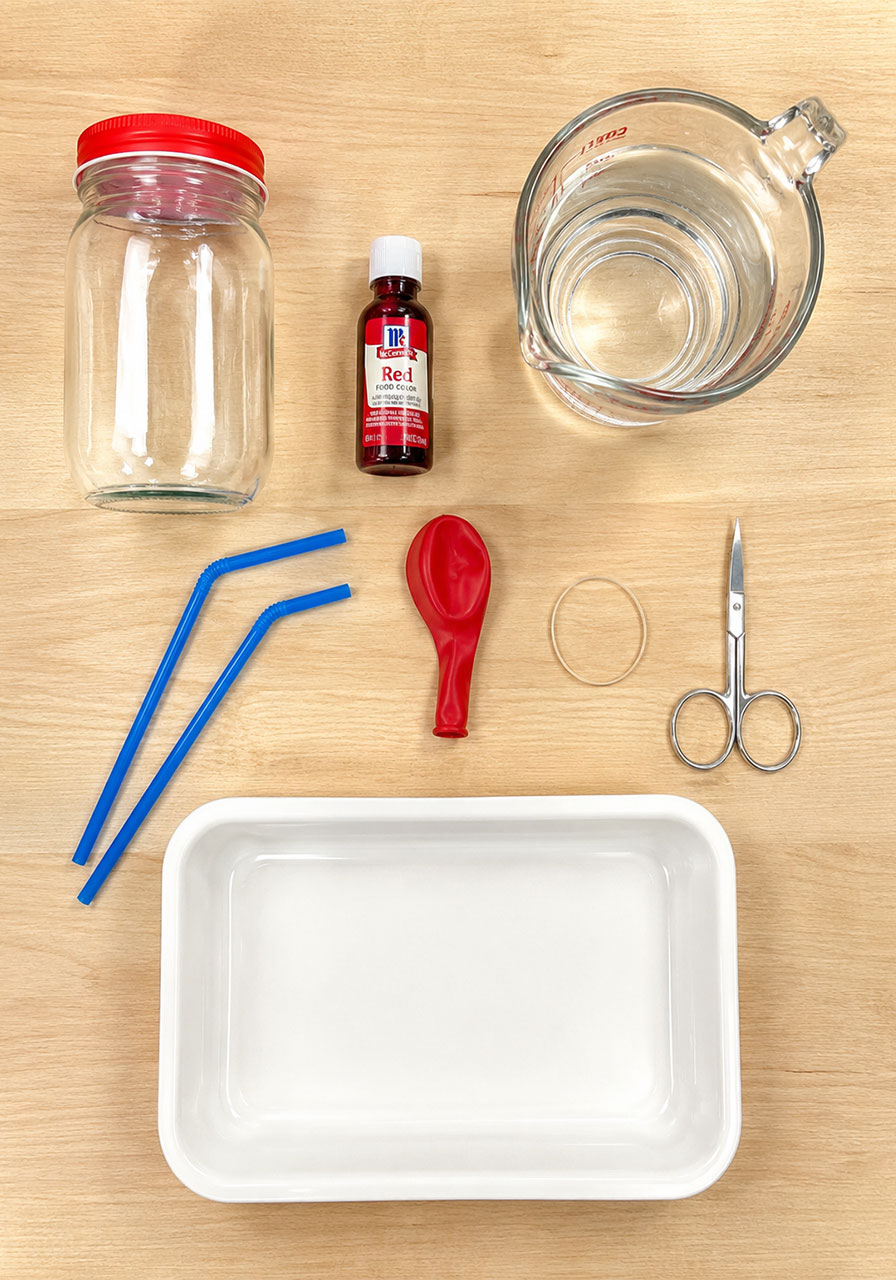
A mason jar with a lid
Water
Red food coloring
2 bendy straws
1 small balloon (a water balloon works great)
A rubber band or piece of tape
Scissors or a sharp tool to poke holes in the lid (adult use only)
A tray or shallow dish to catch spills
How to Make the Pumping Heart Model
Follow these steps in order for the best results. Each one builds on the last, so try not to skip ahead.
Step 1: Mix your “blood.”
Fill the mason jar about two-thirds full with water. Add several drops of red food coloring and stir until the water turns a deep, convincing red.
Step 2: Prep the lid.
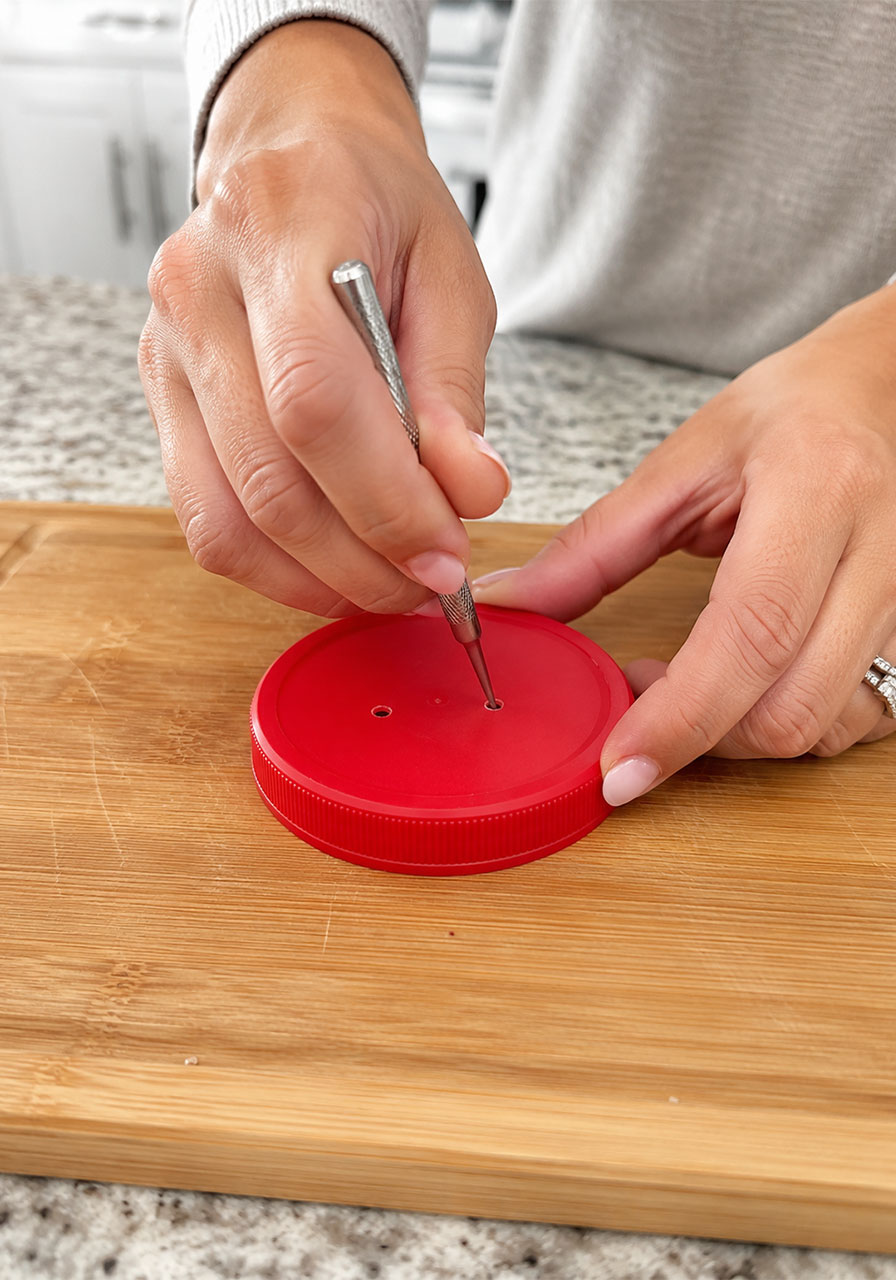
Have an adult carefully poke two small holes in the jar’s lid. The holes should be just snug enough to hold the straws firmly in place once inserted.
Step 3: Build the pump.
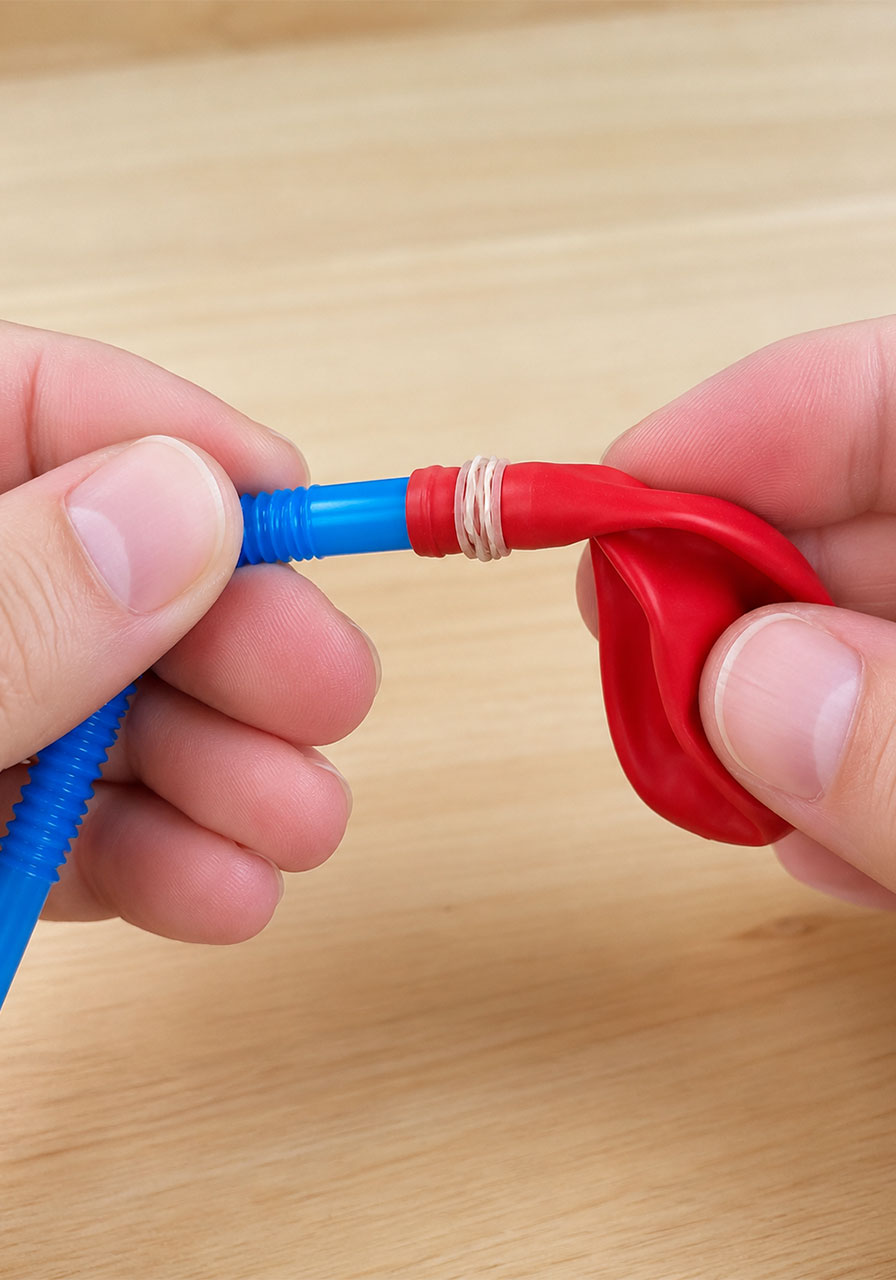
Slide the small balloon over the end of one straw and secure it tightly with a rubber band or tape. This balloon-topped straw will act as your squeeze pump.
Step 4: Insert the straws.
Push both straws down through the holes in the lid. One straw will have the balloon attached at the top, the other stays plain. Bend the plain straw so the tip points downward, away from the jar.
Step 5: Seal it up.
Screw the lid onto the jar as tightly as possible. A tight seal is key here, since it’s what allows pressure to build when you squeeze.
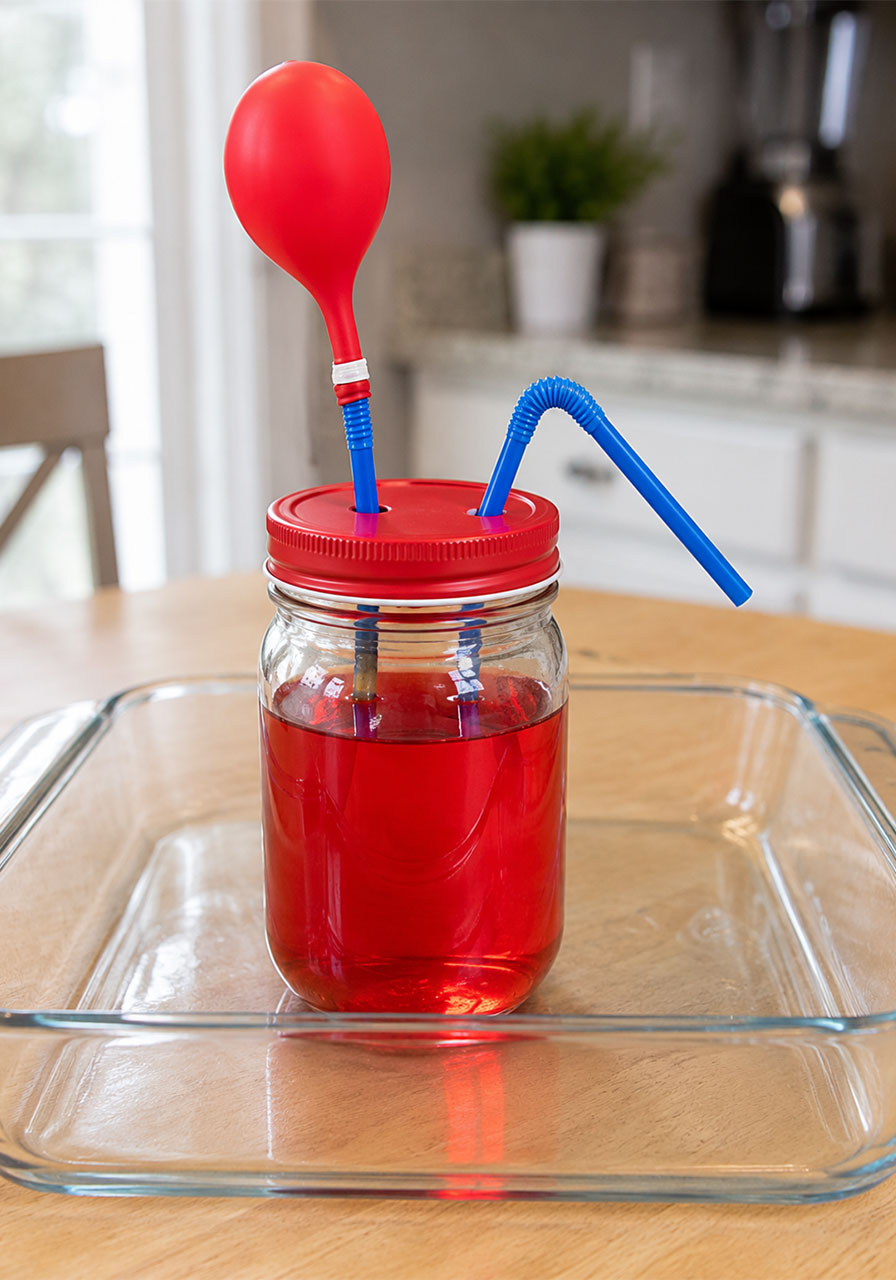
Step 6: Set the stage.
Place the jar in a tray or shallow dish to catch any drips. Angle the open straw so it points down and away from little hands and faces.
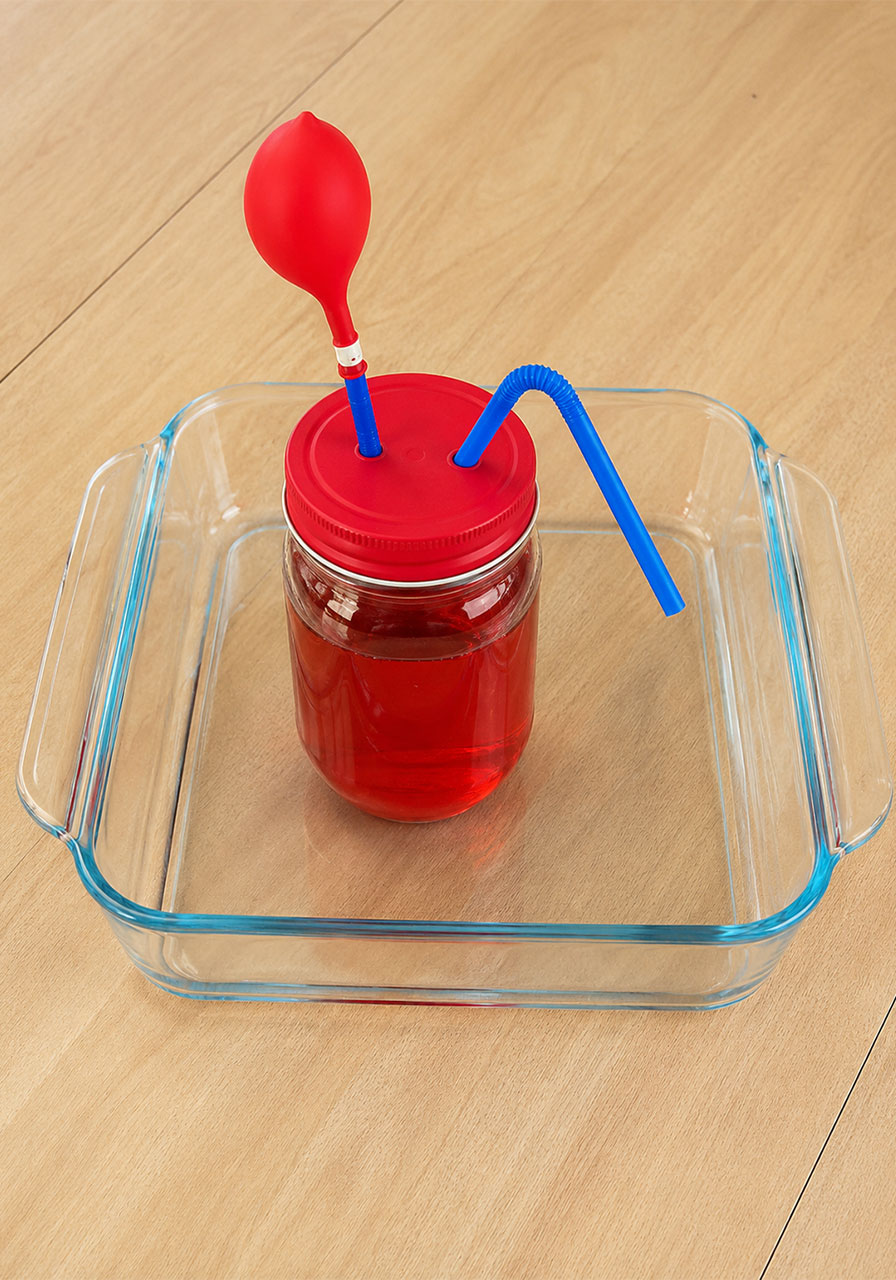
Step 7: Start the heartbeat.
Gently press and release the balloon. Watch as the red “blood” squirts out of the open straw, just like a real heartbeat pushing blood through an artery.
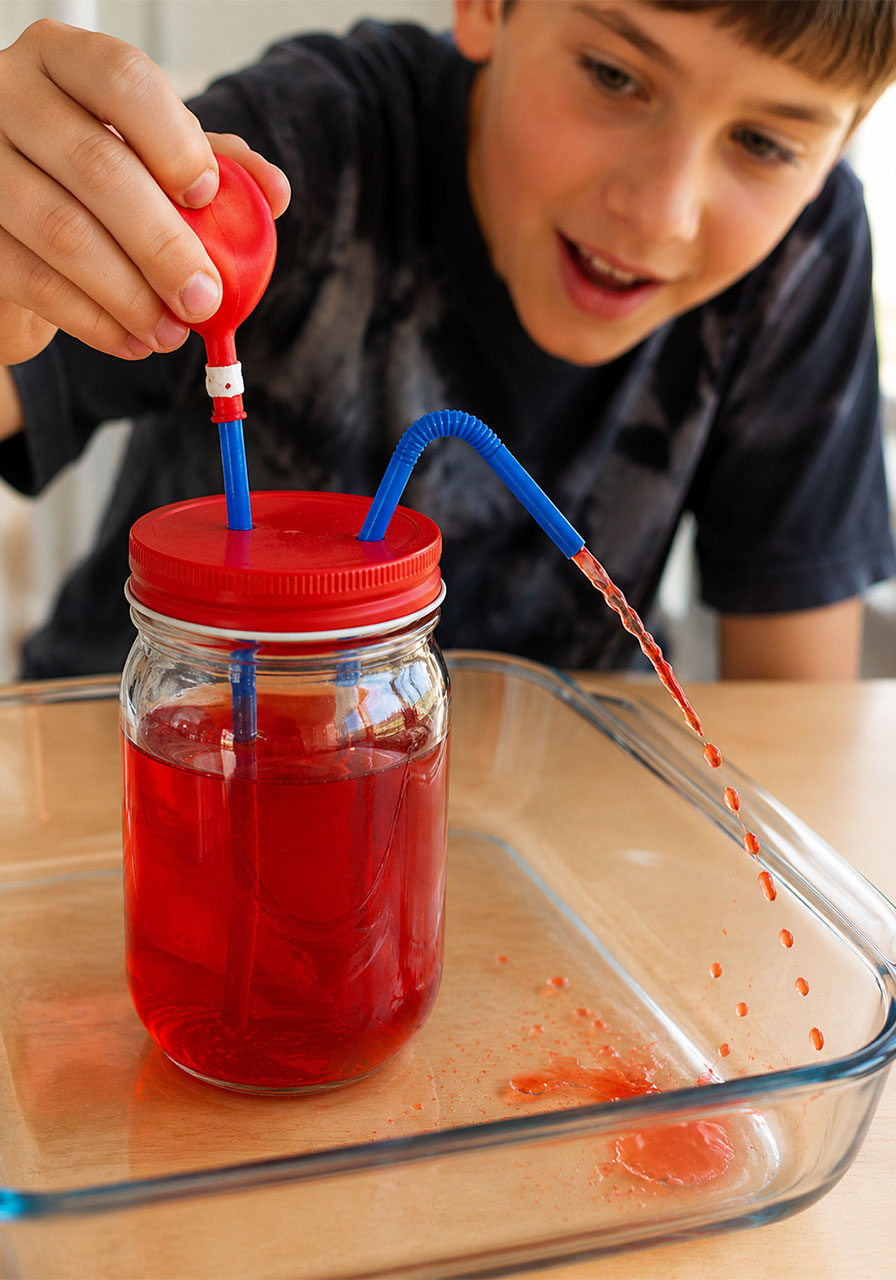
How the Pumping Heart Model Works
This model is a simplified, hands-on way to explore something that happens inside your chest tens of thousands of times a day.
Inside a real heart, the top chambers are called the atria, and the bottom chambers are called the ventricles. Blood fills the atria first, then gets pushed down into the ventricles. When the ventricles squeeze, they force blood out into the arteries, which are the vessels that carry blood away from the heart.
In your model, the sealed jar represents that chamber full of blood. When you press down on the balloon, you’re increasing the pressure inside the jar, the same way a heart muscle contracts to build pressure inside a chamber. That pressure has nowhere to go except out through the open straw, just like blood being pushed out through an artery.
This is also a great moment to talk about why the seal on the lid matters. Without a tight seal, pressure would leak out the sides instead of pushing blood through the straw, which is a nice, simple way to introduce the idea of a closed system.
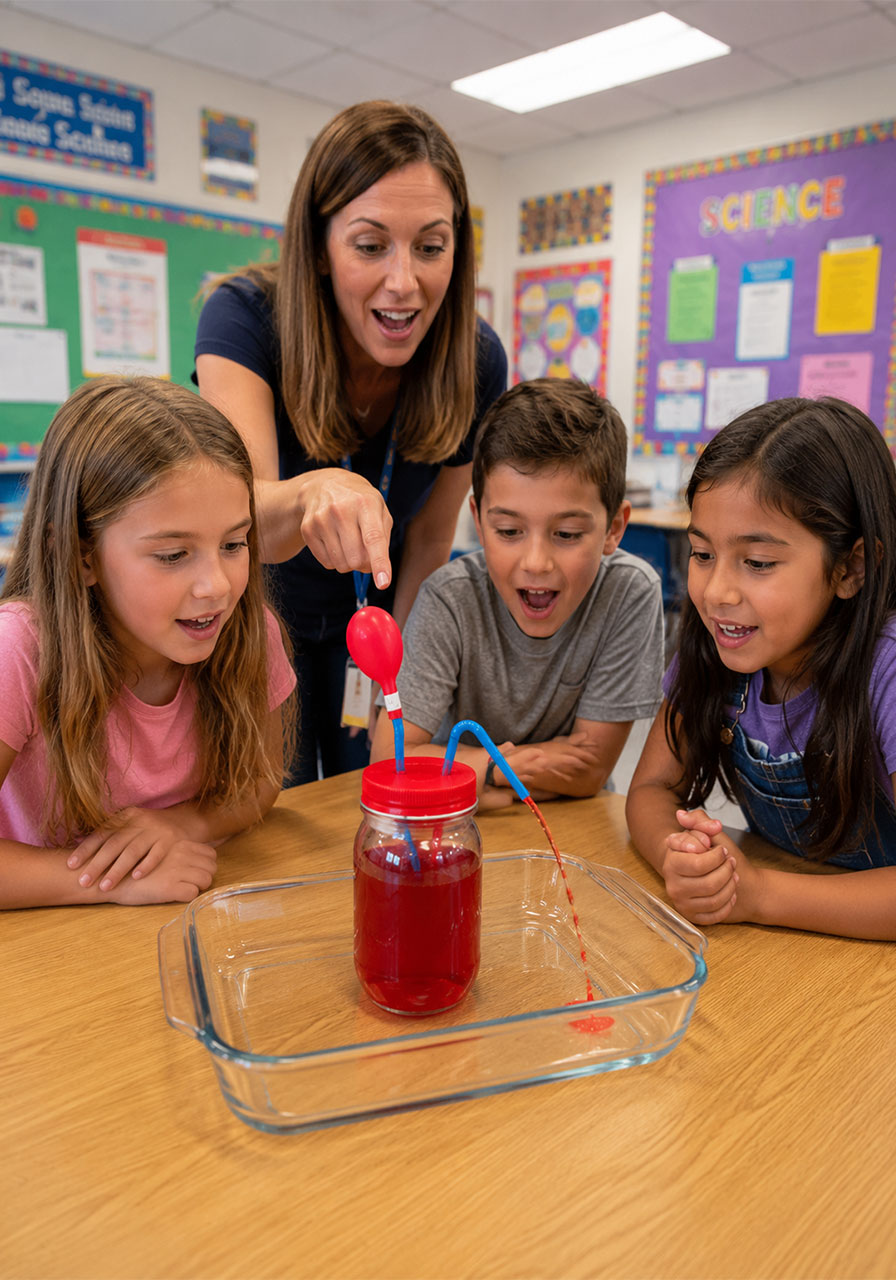
Bonus Activity: Check Your Own Heartbeat
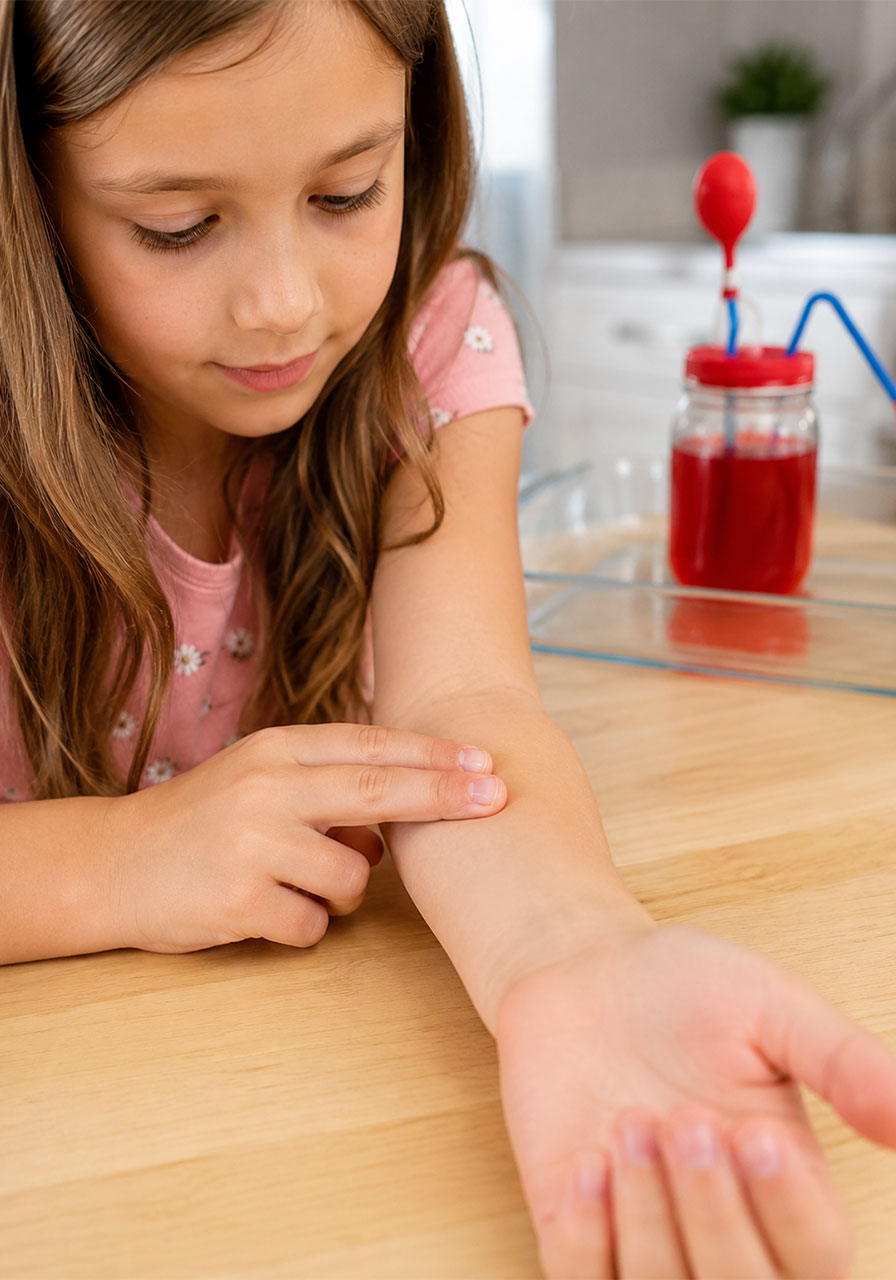
Once the model is finished, take the lesson one step further by having kids check their own heart rate. It’s a simple activity that connects the model directly back to their own bodies.
Have your child place their index and middle finger on the inside of their wrist, just below the base of the thumb. It may take a moment of gently shifting their fingers before they feel a steady tapping.
Once they find their pulse, count the number of taps felt in 10 seconds, then multiply that number by six. That gives you the heart rate in beats per minute.
For an easy extension, have kids do 20 jumping jacks and check their heart rate again. It’s a simple way to show how exercise makes the heart work harder and beat faster.
Pro Tips for Success
Work over a tray or outside if possible. Red food coloring can stain clothing, wood surfaces, and grout, so a little prep now saves a big cleanup later.
Make sure the lid is screwed on as tightly as it will go. A loose lid is the most common reason the pump won’t build enough pressure to push the “blood” out.
If the straws wiggle too much in the lid holes, add a small piece of tape or a dab of hot glue (adult only) around the base to hold them steady.
Fun Variation
For an extra layer of learning, set up two jars side by side, one labeled “artery” and one labeled “vein,” and talk through how blood travels away from the heart through arteries and back to the heart through veins. It’s a simple twist that turns one experiment into a full mini-lesson.
A Quick Safety Note
Adult supervision is recommended when poking holes in the lid and when handling scissors or sharp tools. Food coloring can stain hands and clothing, so aprons or old t-shirts are a smart idea for this one.
Whether you’re planning a classroom science unit, a homeschool lesson, or a rainy-day activity at home, this pumping heart model is the kind of hands-on STEM project that turns curious questions into real understanding, and that’s exactly the kind of memorable moment worth building your day around.
