
Ever had a kid ask you, “Do plants breathe?” and realize you weren’t 100% sure how to answer? You’re not alone.
Here’s the good news: you don’t need a lab, a worksheet, or a single fancy supply to show kids exactly how plants breathe. All you need is a leaf, a bowl of water, and a sunny afternoon.
This hands-on experiment lets kids actually see a plant’s breathing process happen in real time, right before their eyes. It’s the kind of “whoa, that’s so cool” moment that makes science stick.
Whether you’re a teacher planning a botany unit or a parent looking for a screen-free afternoon activity, this one delivers big learning with almost zero prep.
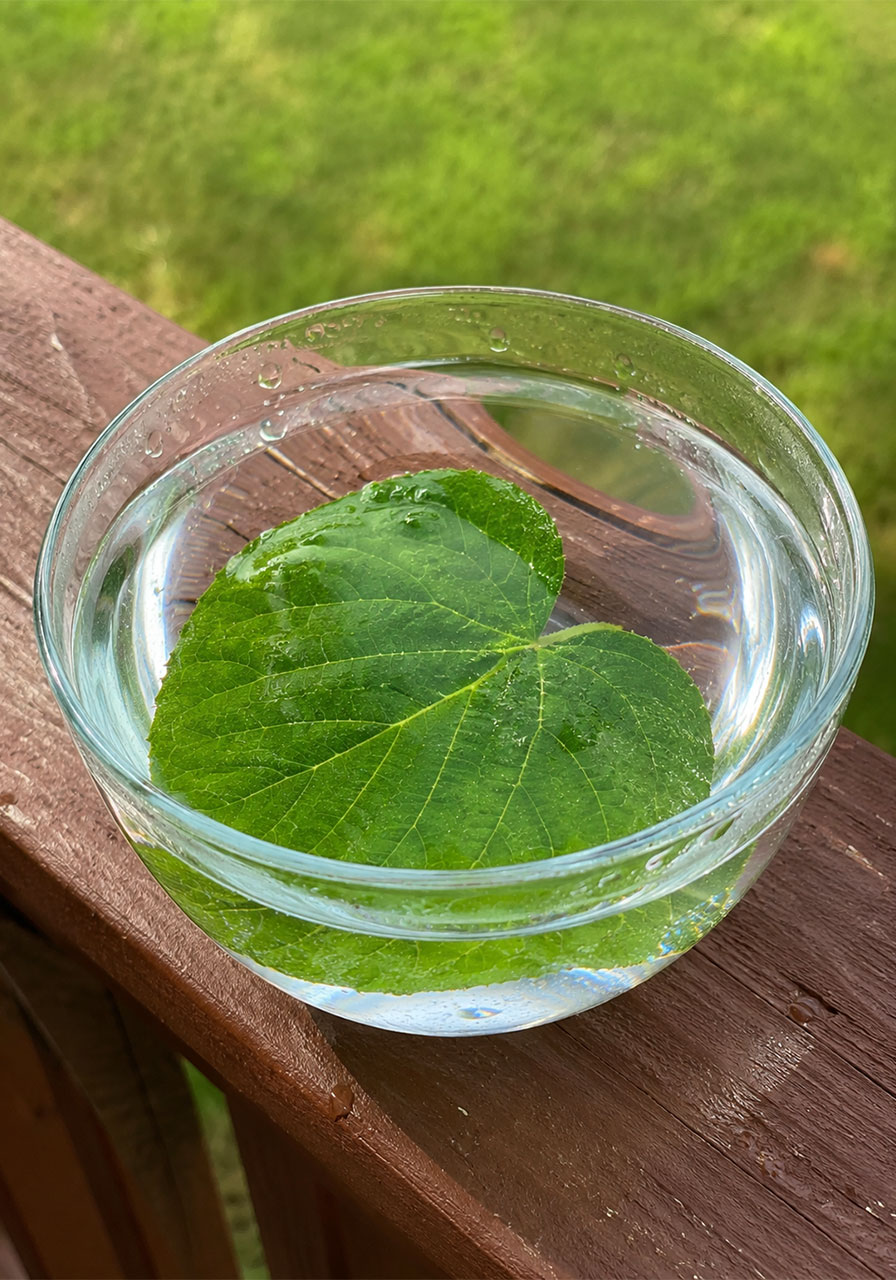
Why This Experiment Is a Must-Try
Most kids don’t think of plants and trees as living things the same way they think of animals or people. This experiment changes that instantly.
It also makes an invisible process visible. Photosynthesis happens inside every leaf, every day, but you can never actually see it happening on a tree. Submerge a leaf in water, though, and suddenly you can.
That “aha” moment is exactly what makes this activity so memorable for kids, and so satisfying for the adults watching them figure it out.

Best For
Preschool through middle school, homeschool science units, classroom STEM stations, and any curious kid who’s ever asked “why.”
Time Needed
5 minutes of setup, plus 2-4 hours of waiting (this is the perfect “set it up before lunch, check it after” activity).
What You’ll Need
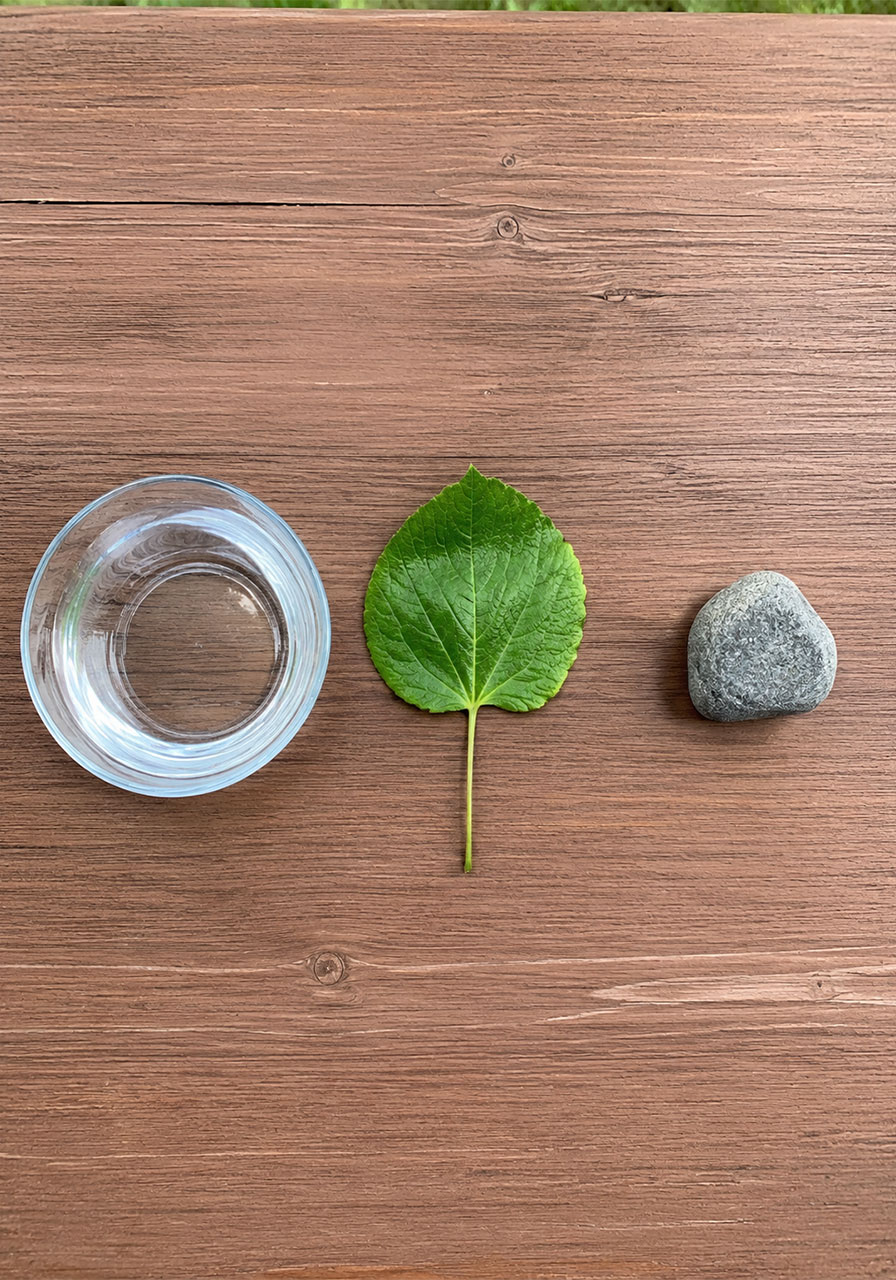
A large bowl (glass works best so you can see all angles, though plastic is fine too)
Lukewarm water
A leaf from a tree or plant (a big, healthy leaf works great)
A small rock or pebble
A sunny spot, either outdoors or a bright windowsill
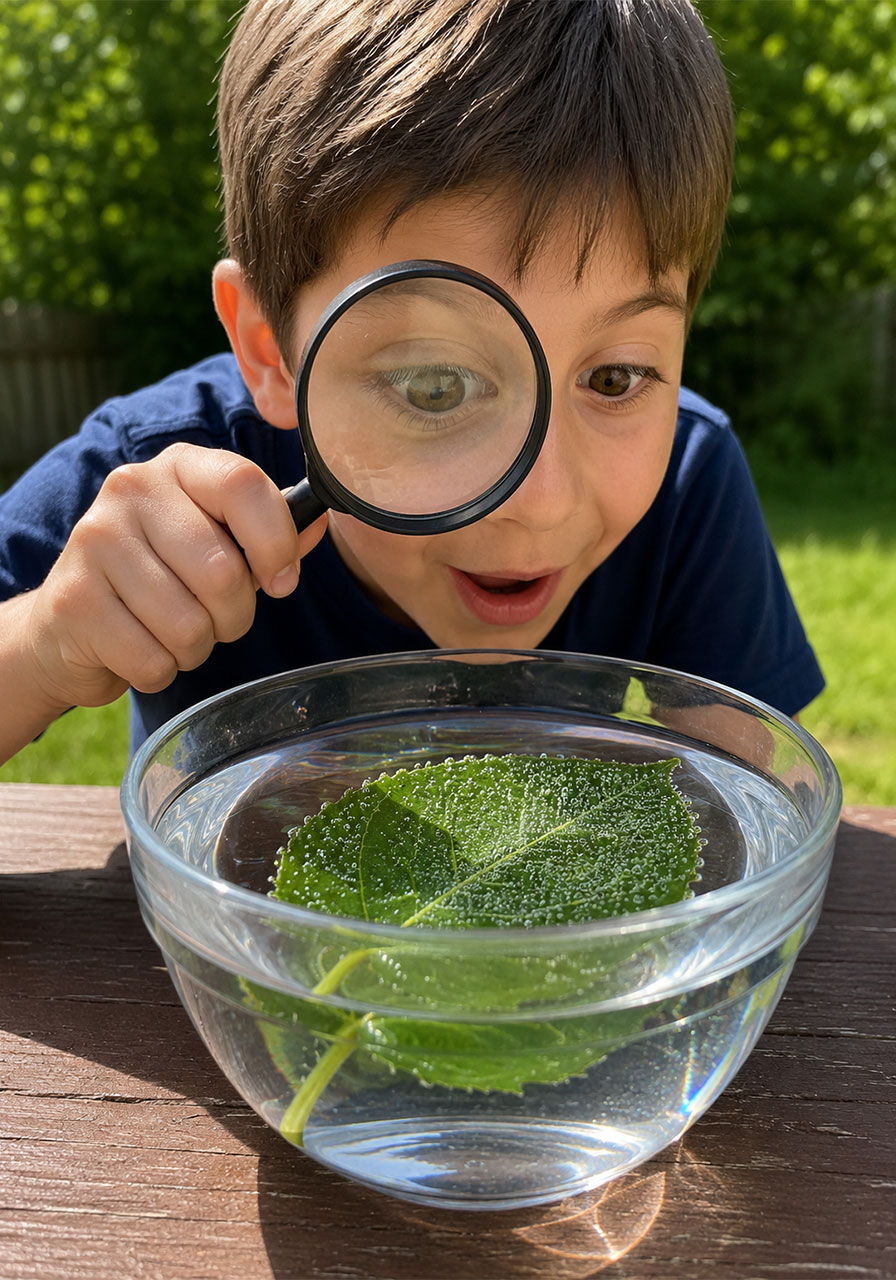
Optional: a magnifying glass, for extra “scientist” energy
How to Do the Experiment
1. Fill your bowl with lukewarm water.
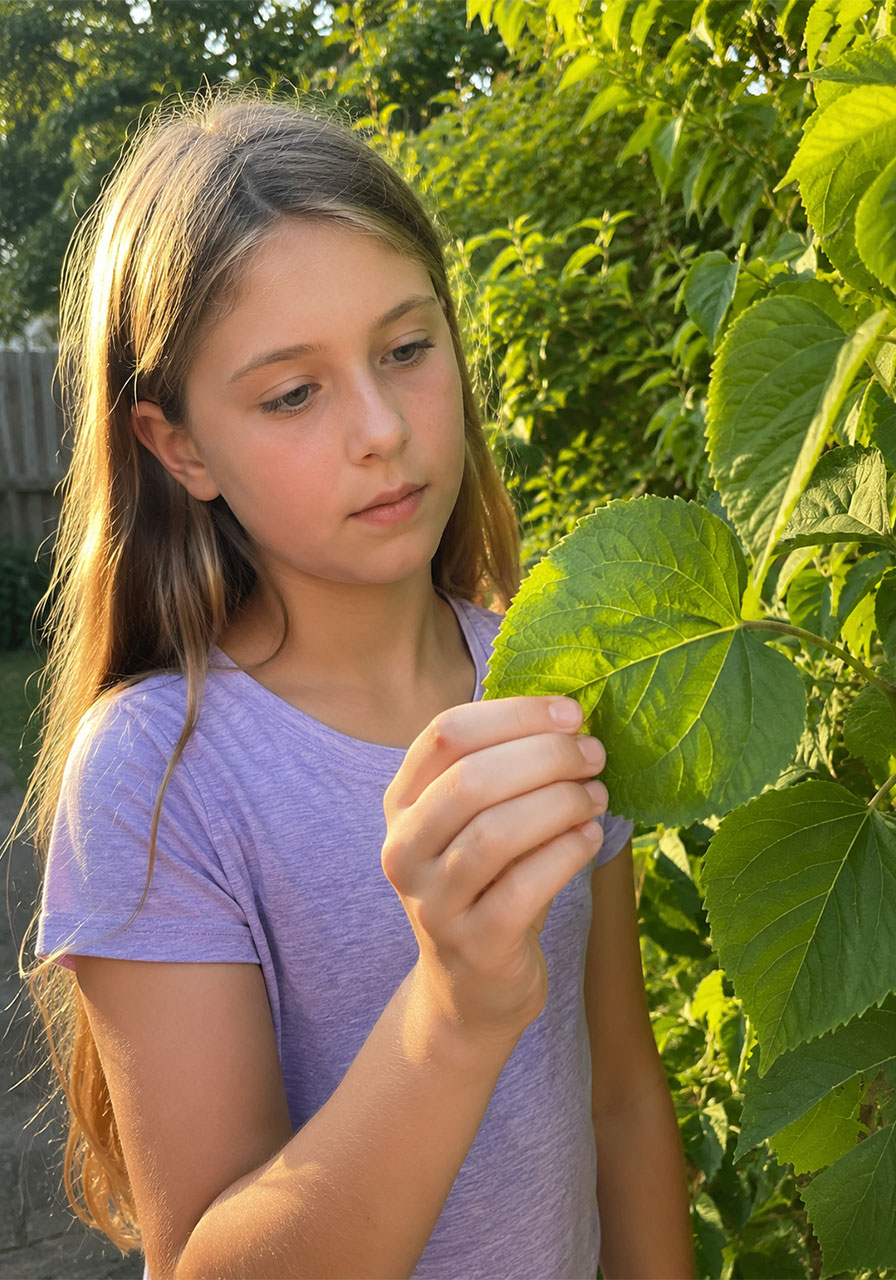
2. Find an active leaf. Head outside and gently pick a leaf directly off a tree or plant, rather than one that’s fallen on the ground. An “active” leaf is still full of life, which is exactly what makes the experiment work.
3. Submerge the leaf right away. Place it in the bowl of water and set a small rock on top so the entire leaf stays fully underwater.
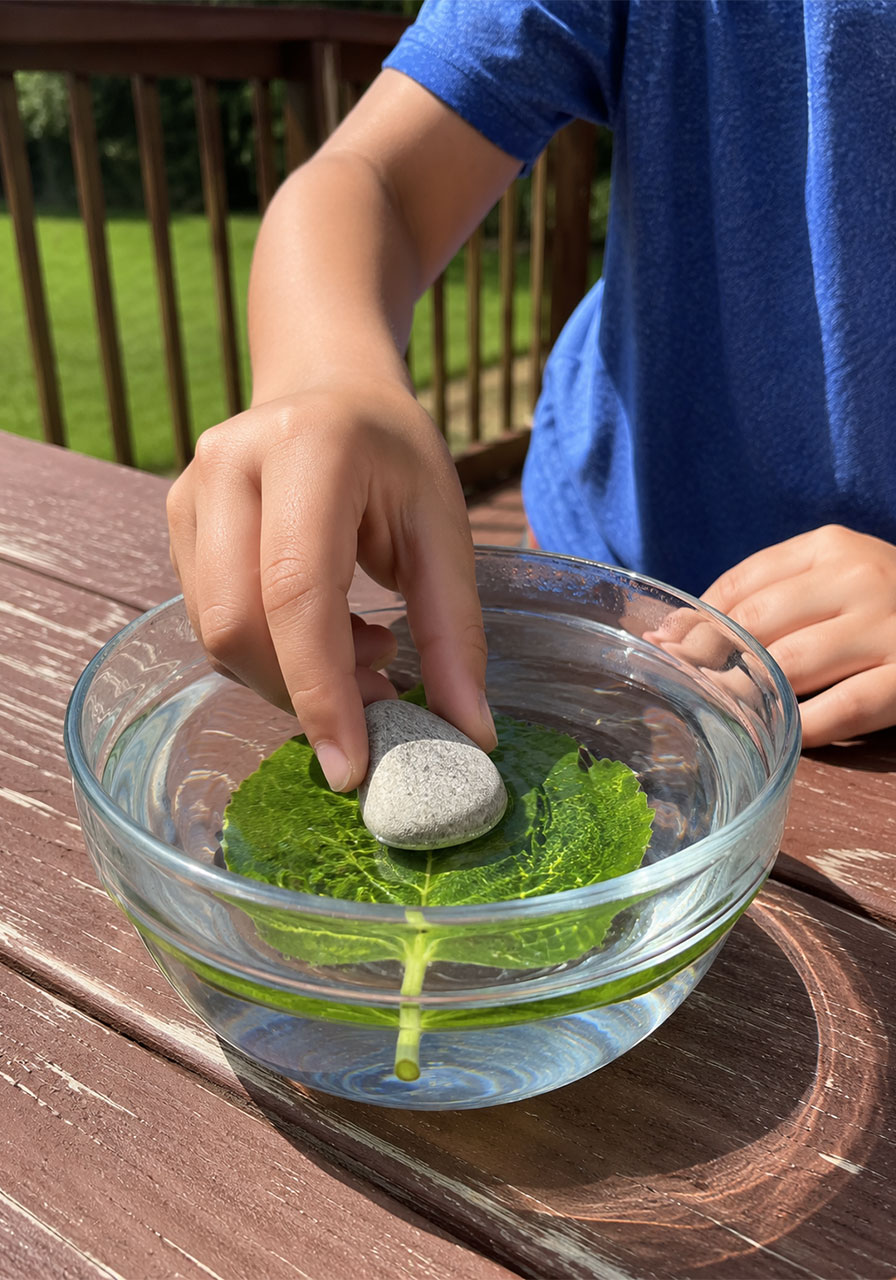
4. Find a sunny spot. Set the bowl outside in direct sunlight, or on a bright windowsill if you’re doing this indoors.
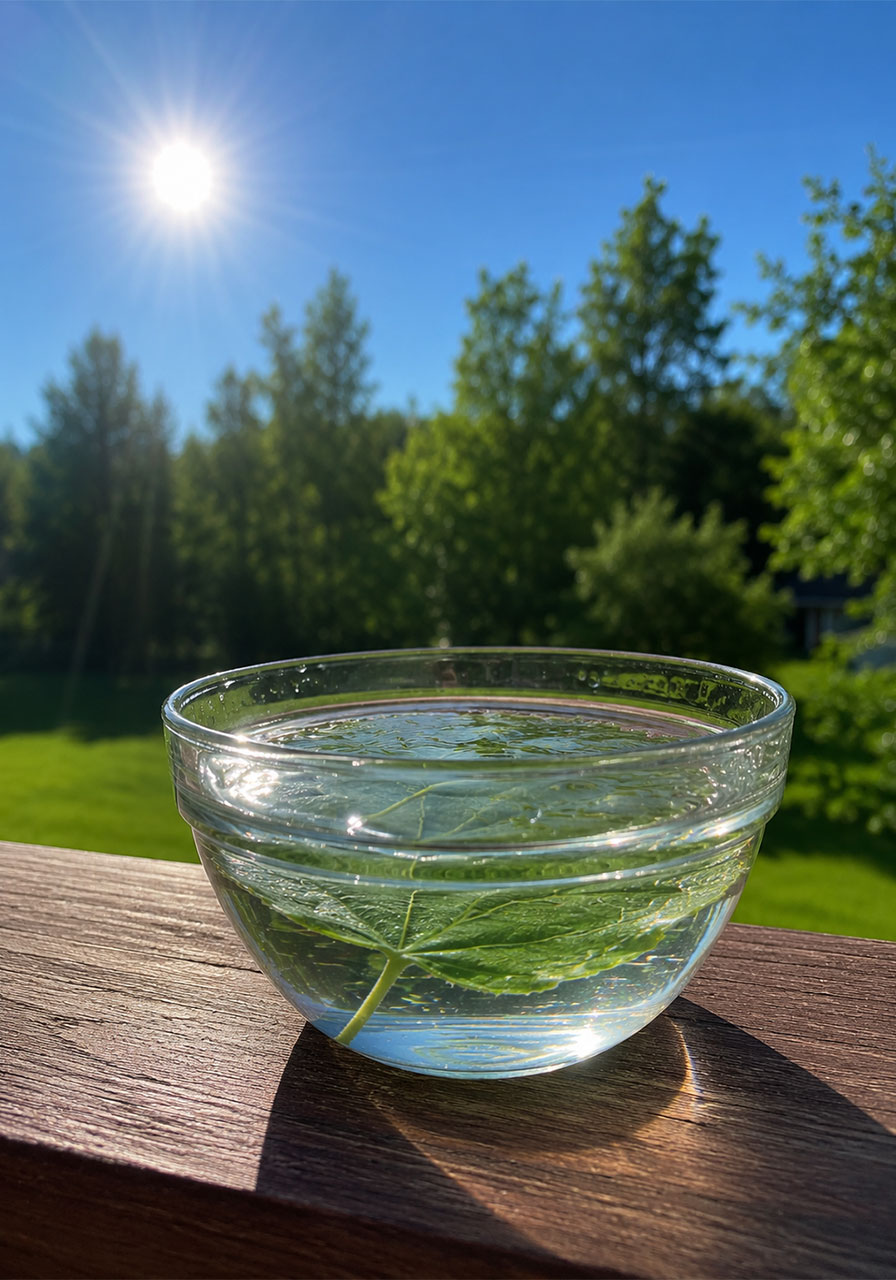
5. Wait it out. Let the bowl sit undisturbed for 2 to 4 hours. This is the hardest step for kids, so plan the setup around something else, like setting it up before school or before lunch.
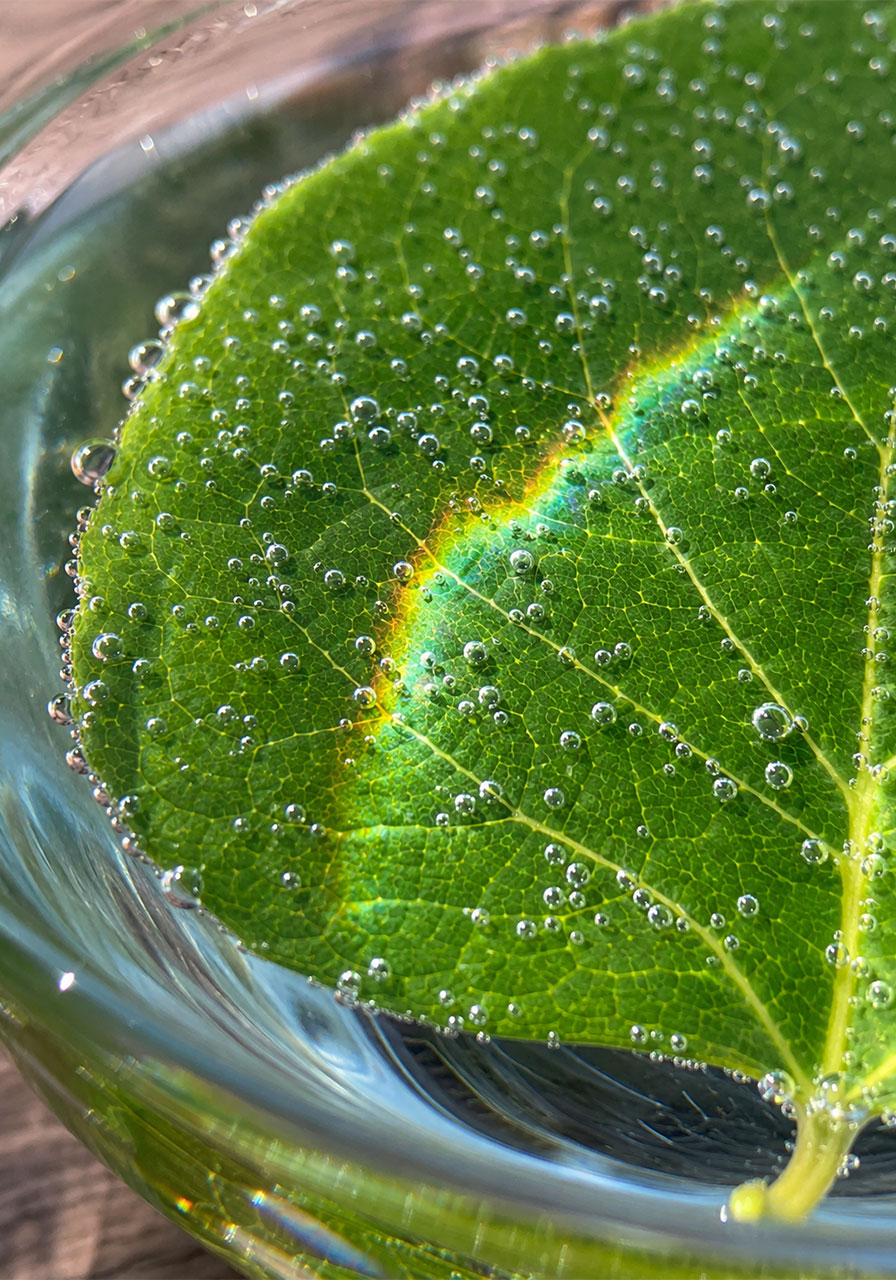
6. Check for bubbles. Come back and look closely at the leaf and the edges of the bowl. You should see tiny bubbles clinging to the surface of the leaf.
What’s Actually Happening: The Science Made Simple
Here’s a fun way to explain it to kids: ask them what happens if they hold their breath, dunk underwater, and then breathe out. Bubbles rise to the surface, right?
That’s basically what the leaf is doing.
Even underwater, the leaf keeps doing its job. Sunlight hits the leaf and powers a process called photosynthesis, where the leaf turns light, water, and carbon dioxide into energy it can use to grow.
Oxygen is the leftover product of that process, and the plant releases it as waste. Since the leaf is underwater, that oxygen has nowhere to go but out, forming the little bubbles you can see clinging to the leaf and rising to the surface.
Those tiny bubbles are oxygen. You are watching a plant breathe out, in real time.
How Plant “Breathing” Is Different From Ours
This is a great follow-up question to ask kids: does a plant breathe the same way we do?
Nope. Plants don’t have lungs or a respiratory system like humans do.
Instead, plants take in air through tiny pores on their leaves called stomata. Humans breathe in oxygen and breathe out carbon dioxide. Plants do the reverse, taking in carbon dioxide and releasing oxygen during photosynthesis.
It’s a completely different system, but the plant is very much alive and very much “breathing” in its own way.
Pro Tip
Use a bright, sunny window or direct outdoor sunlight for the best results. Cloudy days or shady spots slow the process way down, since photosynthesis depends on light. If your bubbles are slow to appear, more sun is almost always the fix.
Fun Variation for Classrooms
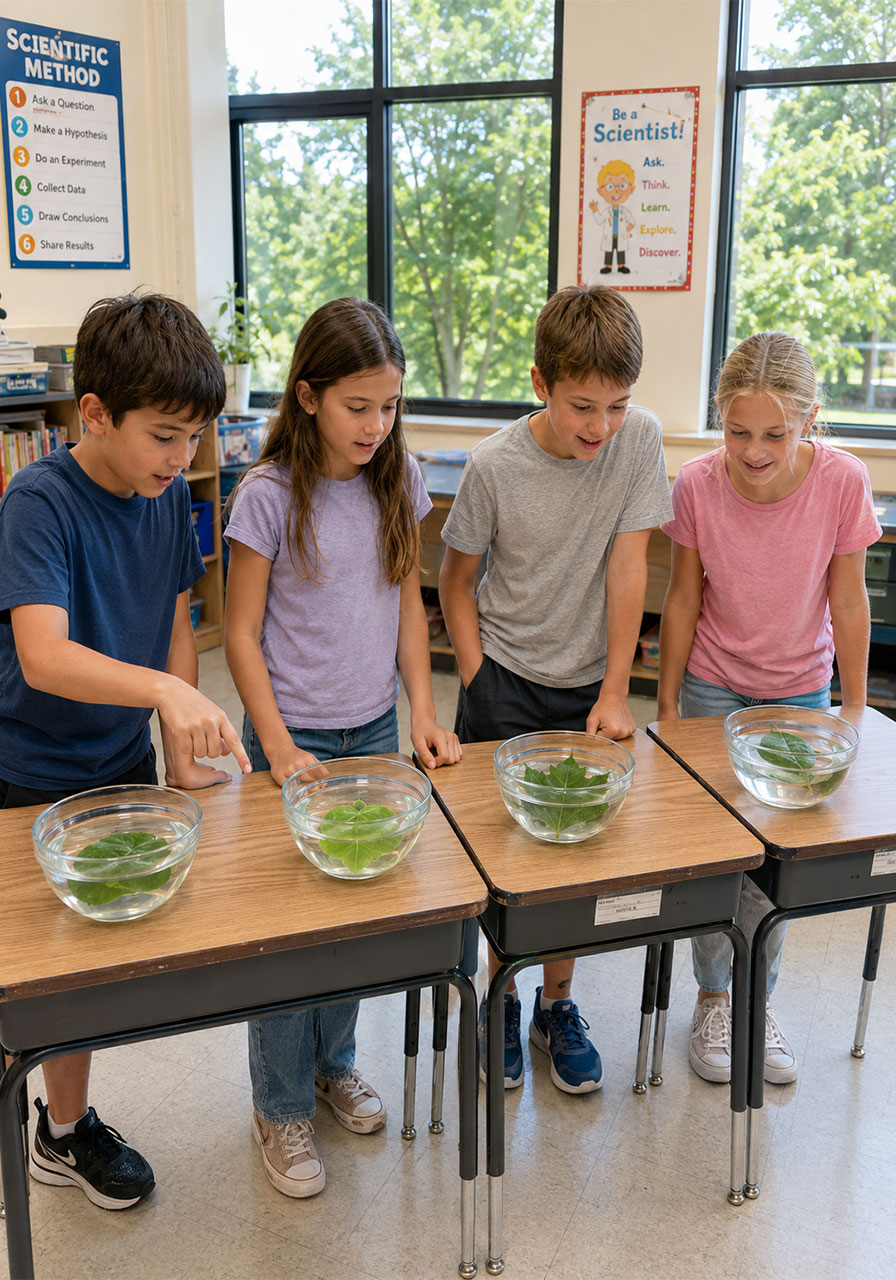
Have each student bring in a leaf from a different type of plant or tree, then compare results side by side. Some leaves produce bubbles faster than others, which opens up a great discussion about different plant types and how sunlight exposure affects them.
Frequently Asked Questions
Does this work with any leaf?
Most healthy, freshly picked leaves will work. Thicker, sturdier leaves (like those from a tree) tend to hold up well and show clear bubbles.
Why does the leaf need to be freshly picked?
An “active” leaf is still carrying out photosynthesis. A leaf that’s been sitting on the ground for a while has already stopped that process, so it won’t produce bubbles.
What if I don’t see any bubbles after a few hours?
Move the bowl to a sunnier spot and give it more time. Photosynthesis speeds up with stronger, more direct light.
Can I use a plastic bowl instead of glass?
Yes. Glass just makes it easier to see the bubbles forming from every angle, which is especially helpful for group settings or classrooms.
Bring the Learning Full Circle
Once the experiment is done, don’t stop at the bubbles. Ask kids to draw what they saw, describe it in their own words, or compare it to something else that “breathes.”
This kind of simple, hands-on science is exactly what makes STEM stick with kids. No worksheets required, just curiosity, a leaf, and a little bit of sunshine.
With this experiment in your back pocket, you’ve got an easy, screen-free way to turn any afternoon into a genuine science lesson your kids will actually remember.
