
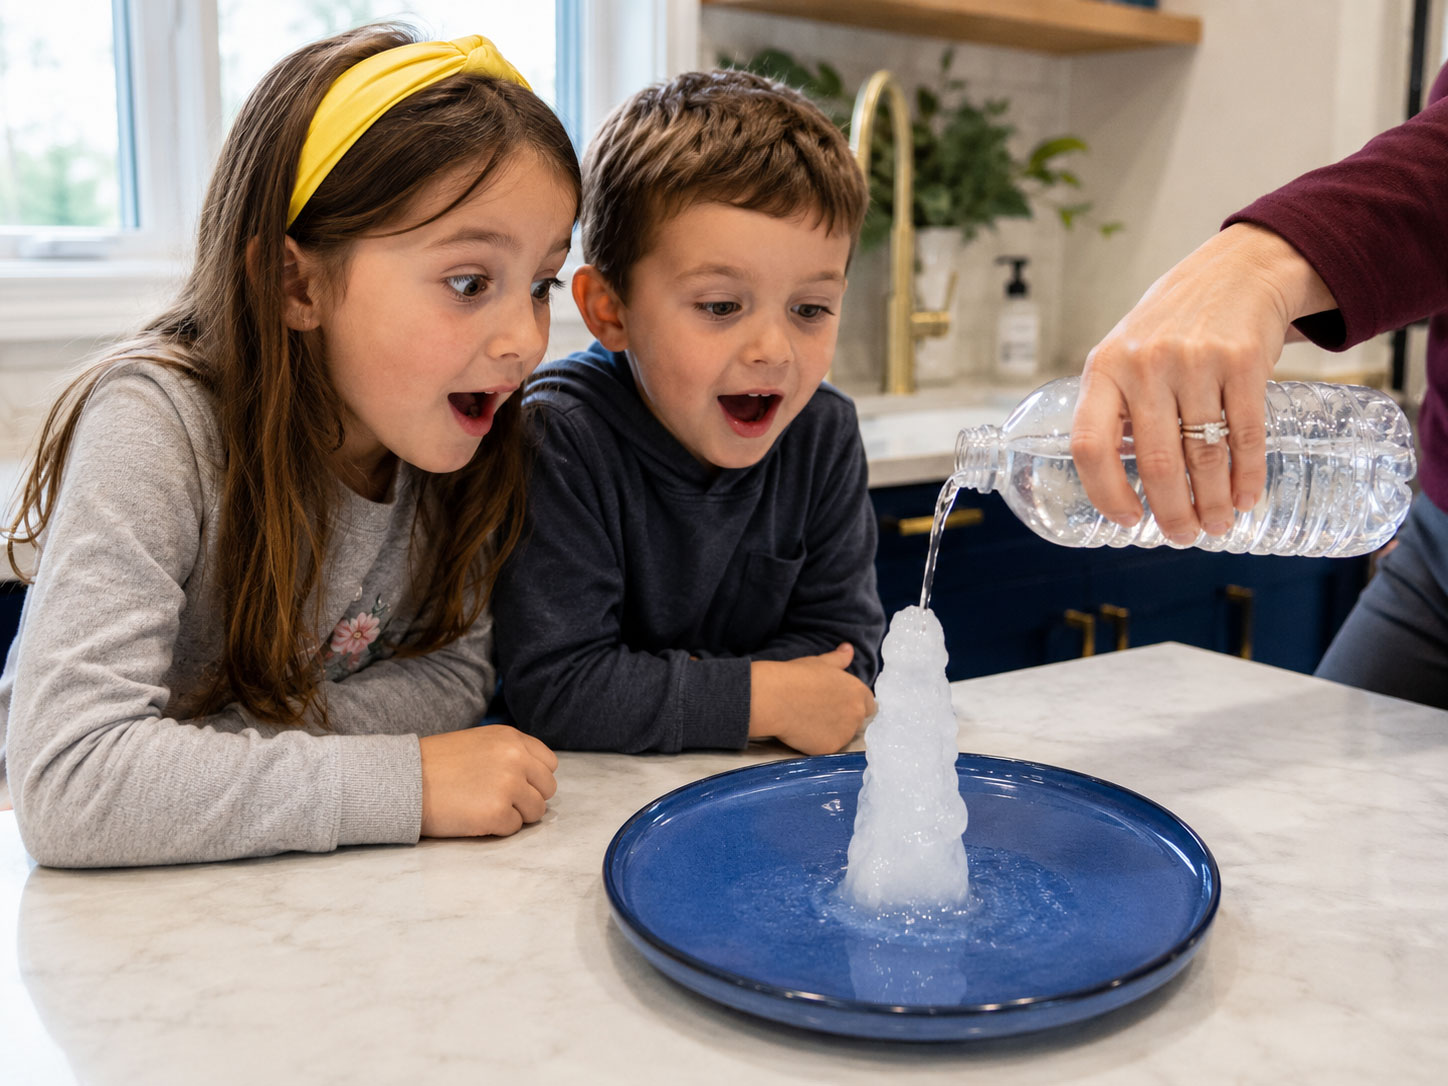
Picture this: your kids are staring wide-eyed at a plain bottle of water. You tip it, ever so slowly, over an ice cube sitting on a plate. And then – right before their eyes – the liquid water freezes solid, climbing up into a little ice tower in real time.
No wand. No trick. Just science.
This instant ice science experiment is one of the most jaw-dropping, low-effort STEM activities you can pull off at home or in the classroom. It takes almost no supplies, almost no prep, and delivers maximum “whoa” factor. If you’re a teacher looking for a five-minute demo that will have your whole class gasping, or a parent hunting for a screen-free activity that actually teaches something, this one belongs at the top of your list.
Below, we’ll walk you through exactly how to do it, why it works, and how to turn it into a full STEM lesson your kids will actually remember.
Why This Experiment Is a Must-Try
Kids see ice every day. They rarely see it form instantly, in seconds, right in front of them.
That’s what makes this activity so powerful for teaching. It’s visual. It’s fast. And it’s dramatic enough to hold the attention of even your most easily-distracted learner.
It’s also a fantastic entry point into bigger science concepts like phase transitions, molecular behavior, and nucleation – big words that suddenly make sense once your child has watched water freeze in their own hands.
Best of all, you almost certainly already have everything you need sitting in your kitchen right now.

Best For
Elementary and middle school kids, homeschool science lessons, classroom demonstrations, rainy day activities, and any parent or teacher who wants a “wow” moment without a trip to the craft store.
Time Needed
About 5 minutes of active experiment time. Plan for roughly 2 hours of freezer time beforehand, so this is a great one to prep in the morning and run in the afternoon.
What You’ll Need
Unopened bottled water (plain, purified water works best)
A freezer
Ice cubes
A plate, shallow bowl, or tray to catch the ice tower
Curious kids ready to be amazed
That’s genuinely it. No special equipment, no chemicals, no mess to speak of.
How to Do the Instant Ice Science Experiment
Follow these steps exactly, and you’ll get a picture-perfect instant ice tower every time.
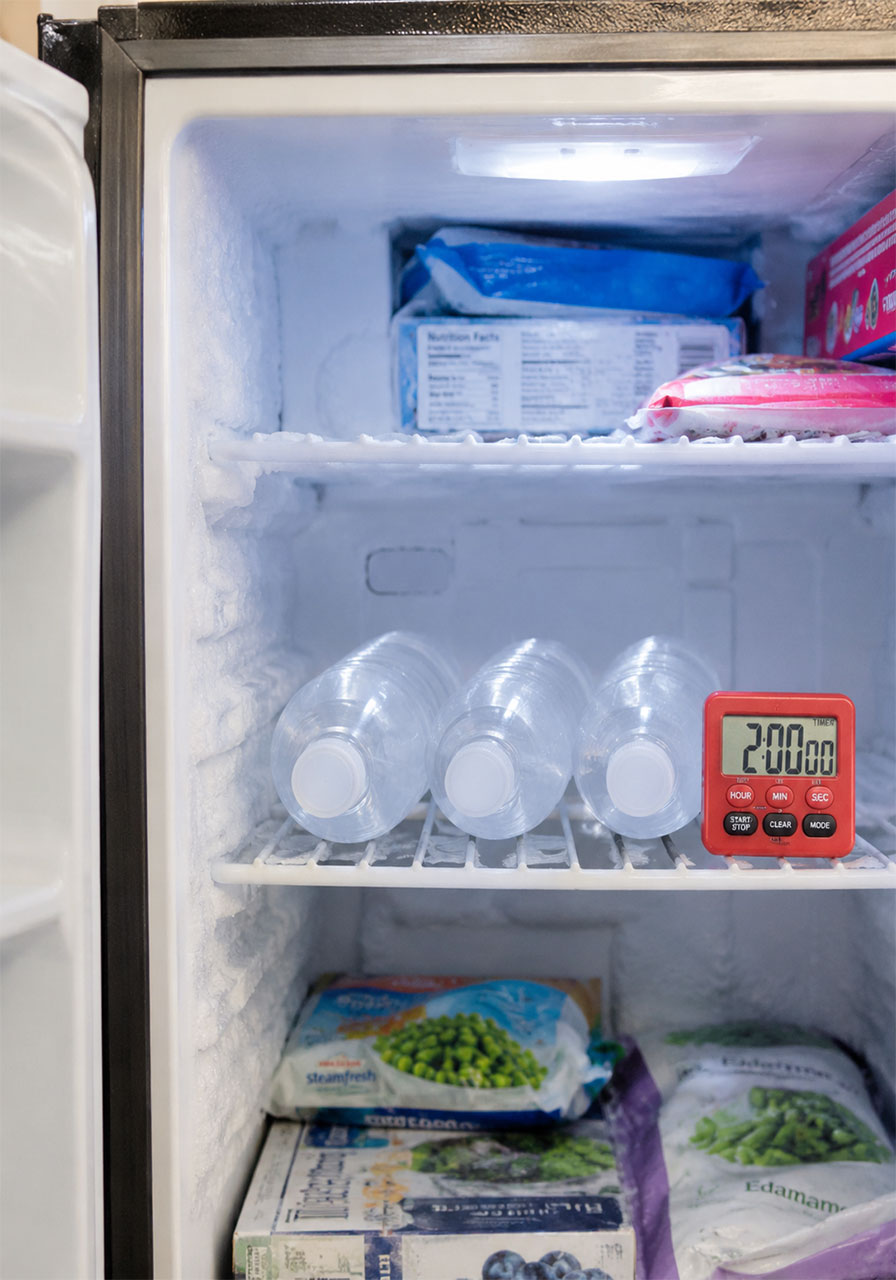
Step 1: Freeze the water bottles.
Place unopened bottles of water into the freezer, lying on their sides if possible. Set a timer for 2 hours. This step matters more than it seems, so don’t skip the timer.
Step 2: Check the bottles carefully.
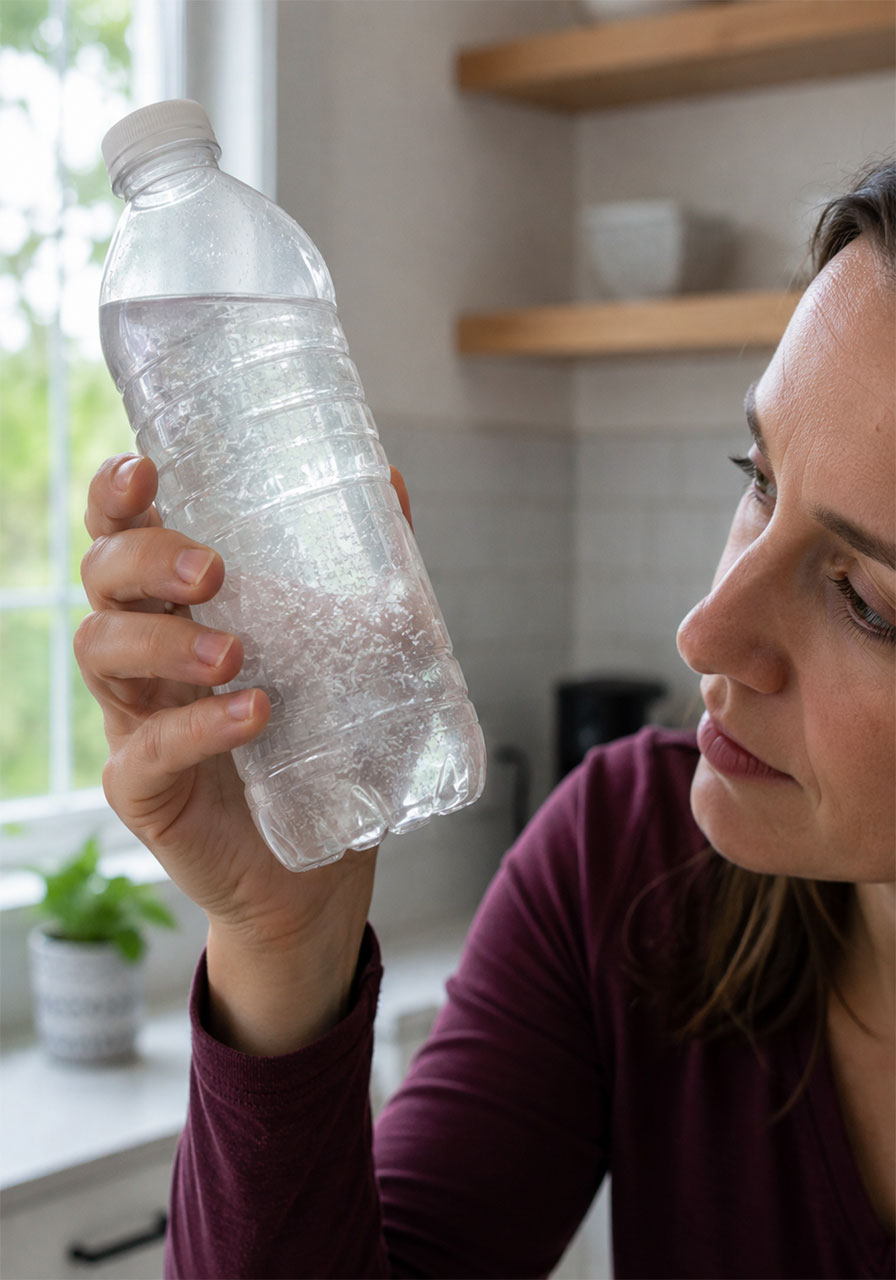
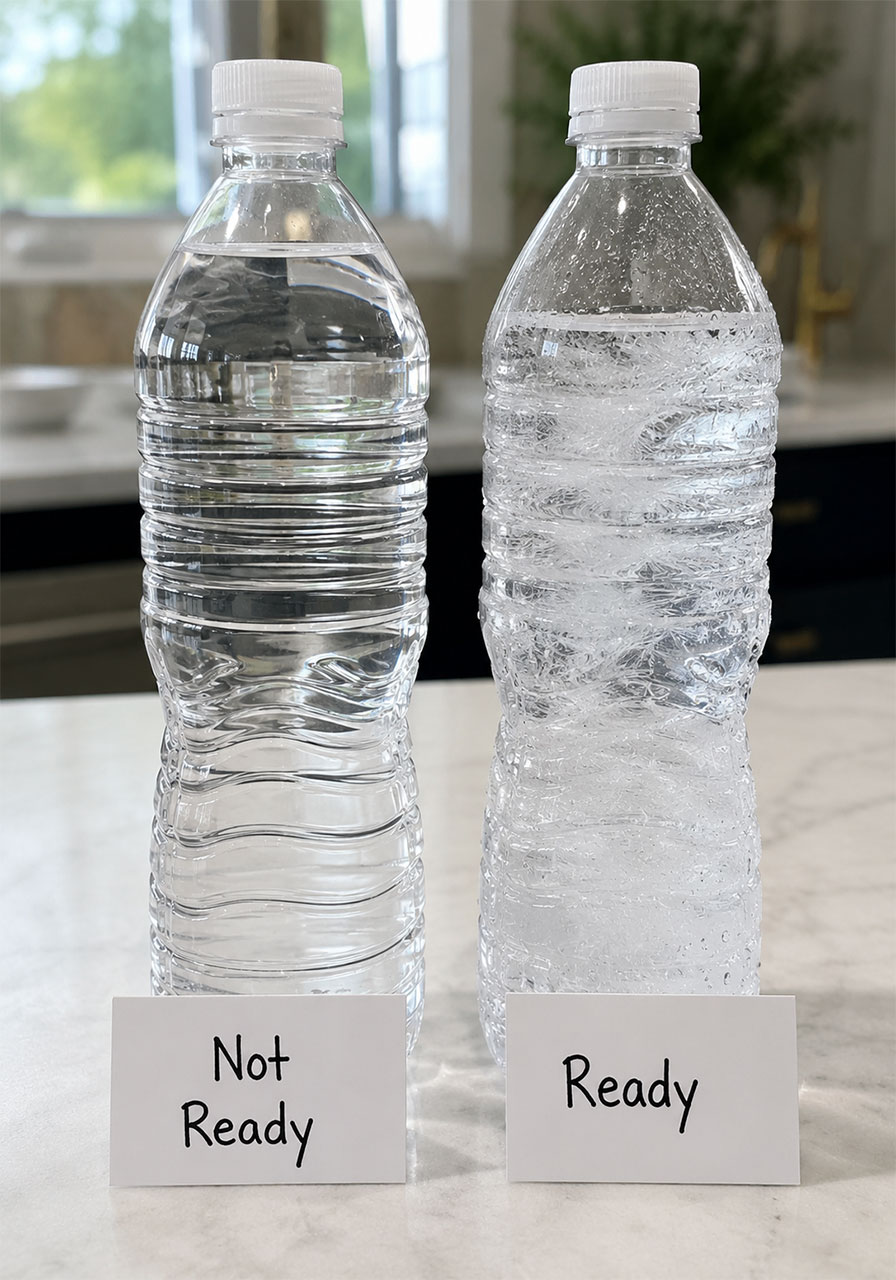
After 2 hours, gently remove the bottles. You do not want them fully frozen. Give one a gentle jostle. If you see small ice crystals swirling inside the still-liquid water, it’s ready. If the whole bottle is solid, it’s gone too far, and you’ll need to start over with a fresh bottle.
Step 3: Set up your pouring station.
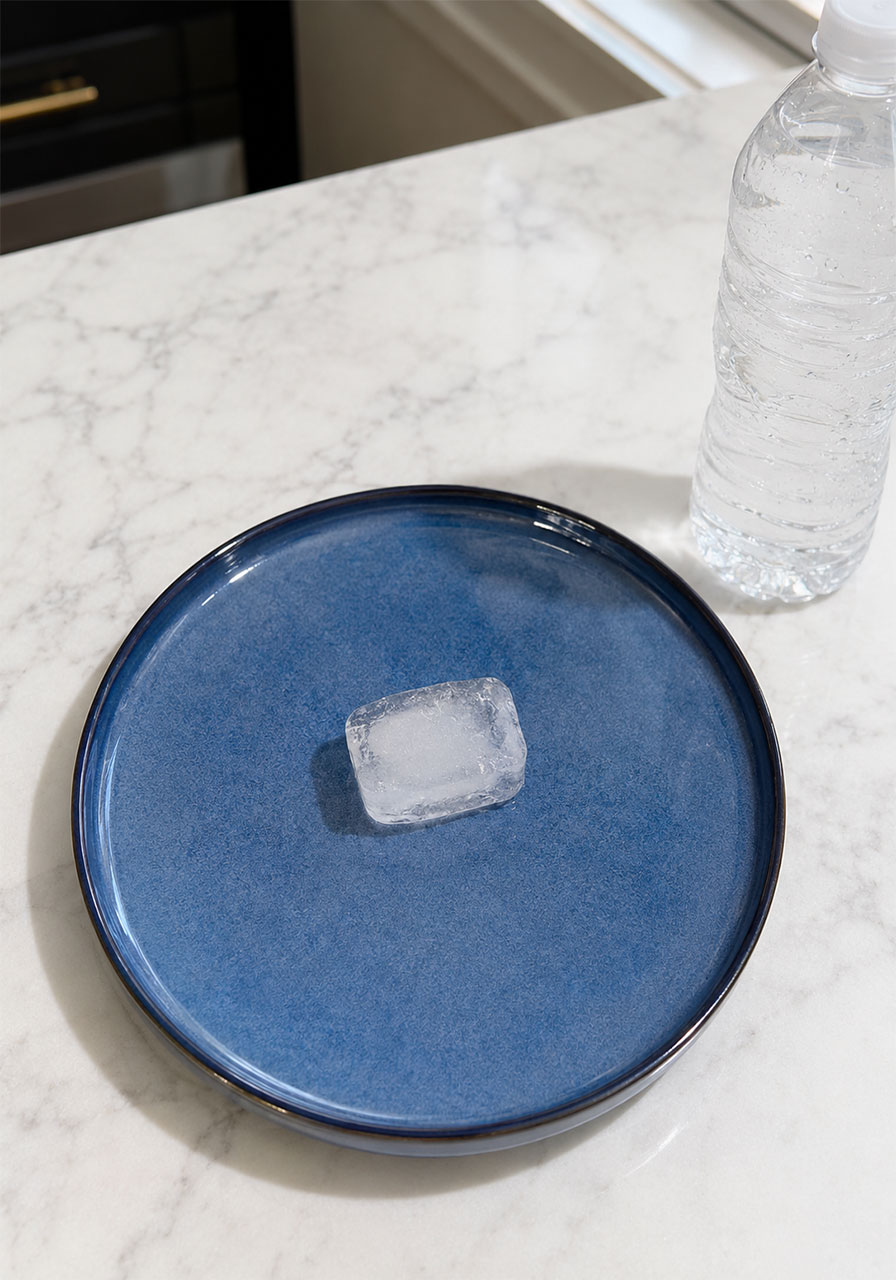
Place a plate, shallow bowl, or tray on a flat, stable surface. This will catch the ice tower as it forms and keep your counter dry.
Step 4: Add an ice cube to the plate.
This is the secret ingredient. Set one regular ice cube right in the center of your plate. This will act as the starting point for your ice tower.
Step 5: Slowly pour.
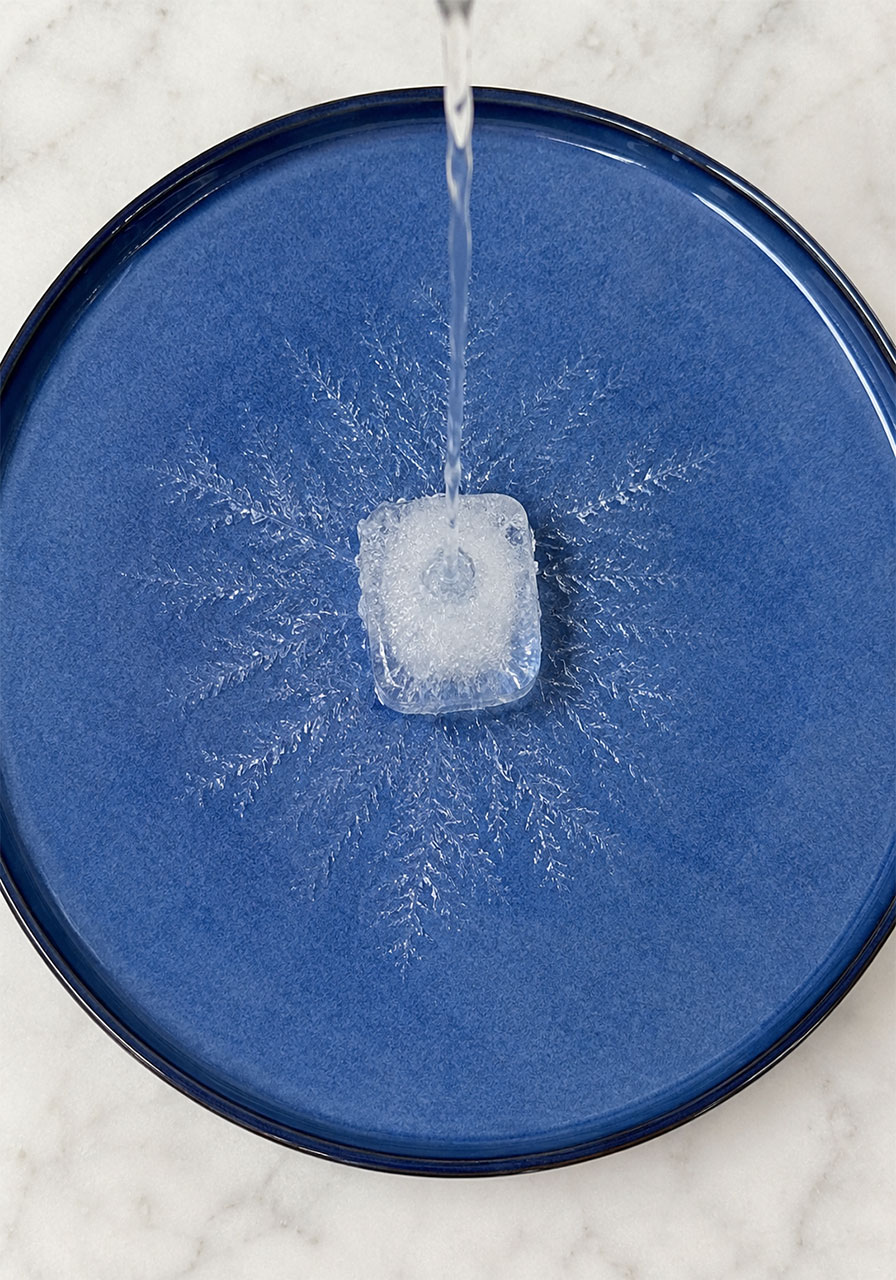
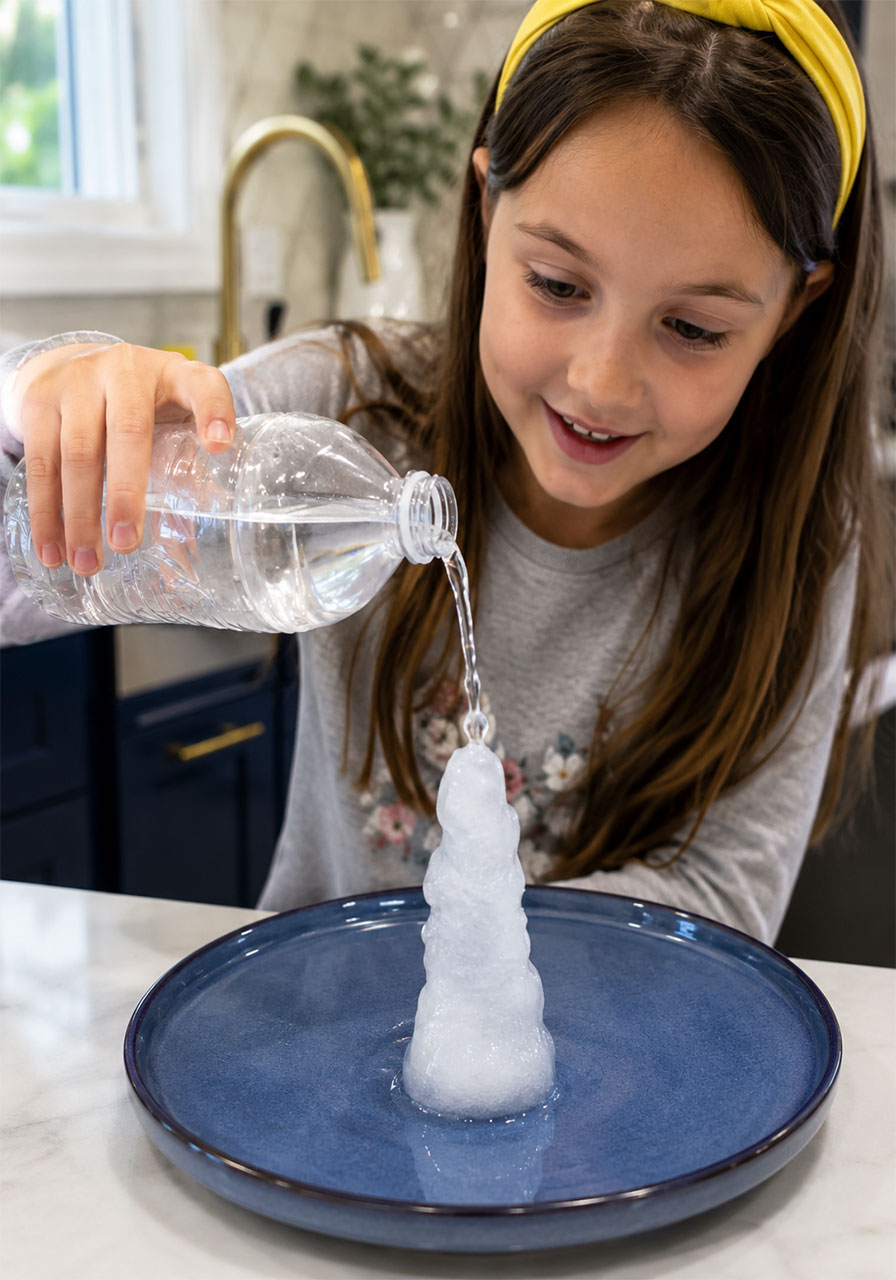
Now for the magic moment. Slowly pour the supercooled water from the bottle directly onto the ice cube. Pour steadily and gently, from a slight height if you can, and watch closely.
Step 6: Watch the ice tower grow.
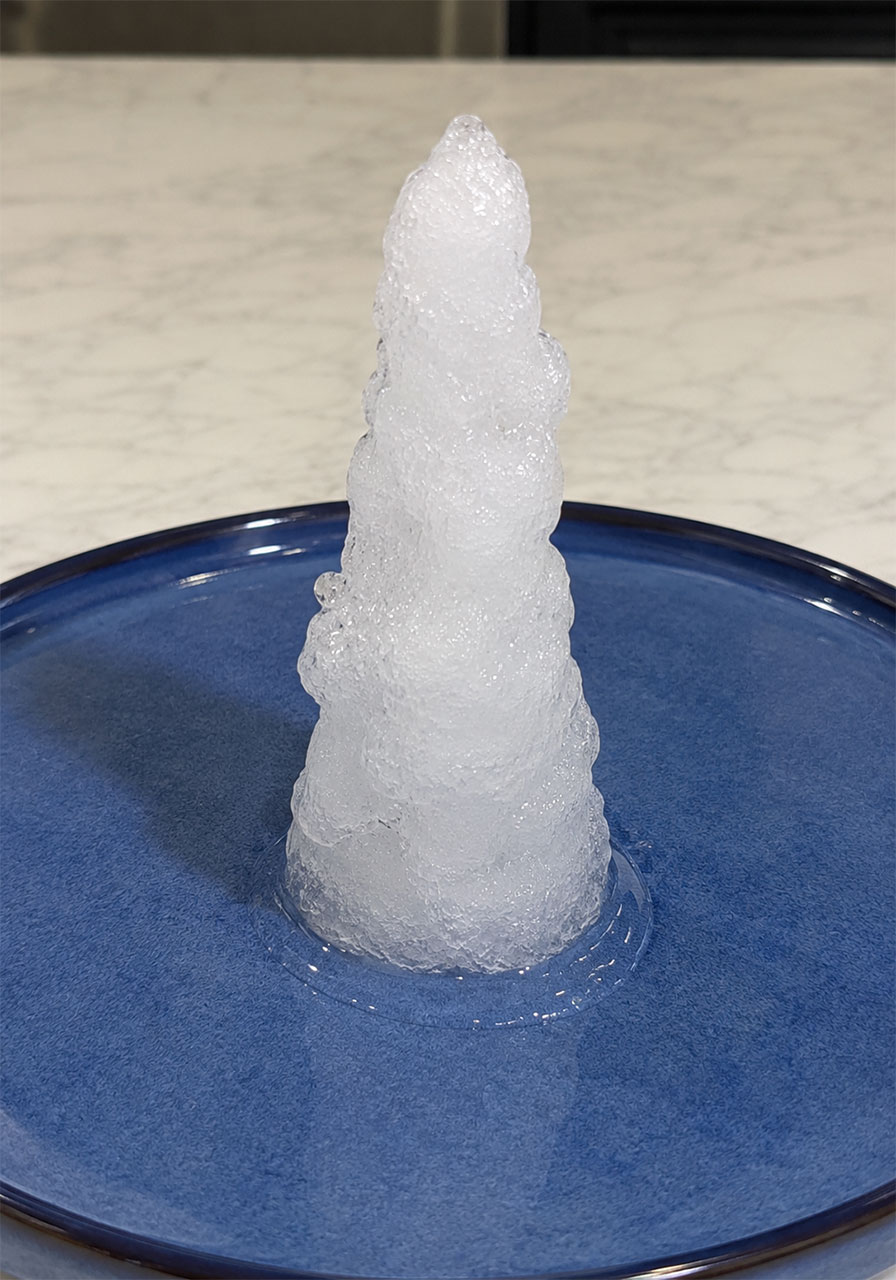
As the water hits the ice cube, it will freeze almost instantly, building upward into a jagged little ice tower right on the plate. Keep pouring slowly to make the tower as tall as possible.
That’s the whole experiment. Simple to run, impressive to watch, and easy to repeat with each new bottle.
Pro Tip
Timing is everything with this experiment. If your water bottle doesn’t instantly freeze when poured, it likely wasn’t cold enough yet. Pop it back in the freezer for another 15 to 20 minutes and try again. Every freezer runs a little differently, so your first attempt may take some trial and error to find your perfect timing.
Fun Variation
Try pouring the supercooled water directly over a small pile of crushed ice instead of a single cube. You’ll get a wider, more dramatic ice formation, which is perfect if you want an extra “wow” for a classroom demo or a party crowd.
The Science Behind Instant Ice
Now for the part that makes this so much more than a fun kitchen trick: the real science happening inside that bottle.
This experiment relies on a phenomenon called supercooling. Normally, water freezes at 32°F (0°C). But when water is very pure and left undisturbed, it can actually drop below its freezing point while staying liquid. This unstable, below-freezing-but-still-liquid state is what scientists call supercooled water.
Supercooled water is sitting right on the edge, just waiting for a reason to freeze. That reason is called nucleation.
Nucleation is the process by which ice crystals begin to form. For ice to form, water molecules need a surface or an “imperfection” to latch onto and start organizing into a solid crystal structure. In a perfectly smooth, pure environment, that starting point doesn’t exist yet, so the water stays liquid even though it’s colder than freezing.
This is exactly why we place an ice cube on the plate before pouring. The ice cube gives the supercooled water an instant nucleation point. The moment the water touches the ice, molecules begin snapping into place around that existing ice structure. Once a few crystals form, the process cascades rapidly, and the entire stream of water freezes on contact, building upward into that dramatic little tower.
In short, the water was always ready to freeze. It just needed a trigger. That trigger is the ice cube, and the reaction is nucleation.
Turning This Into a Full STEM Lesson
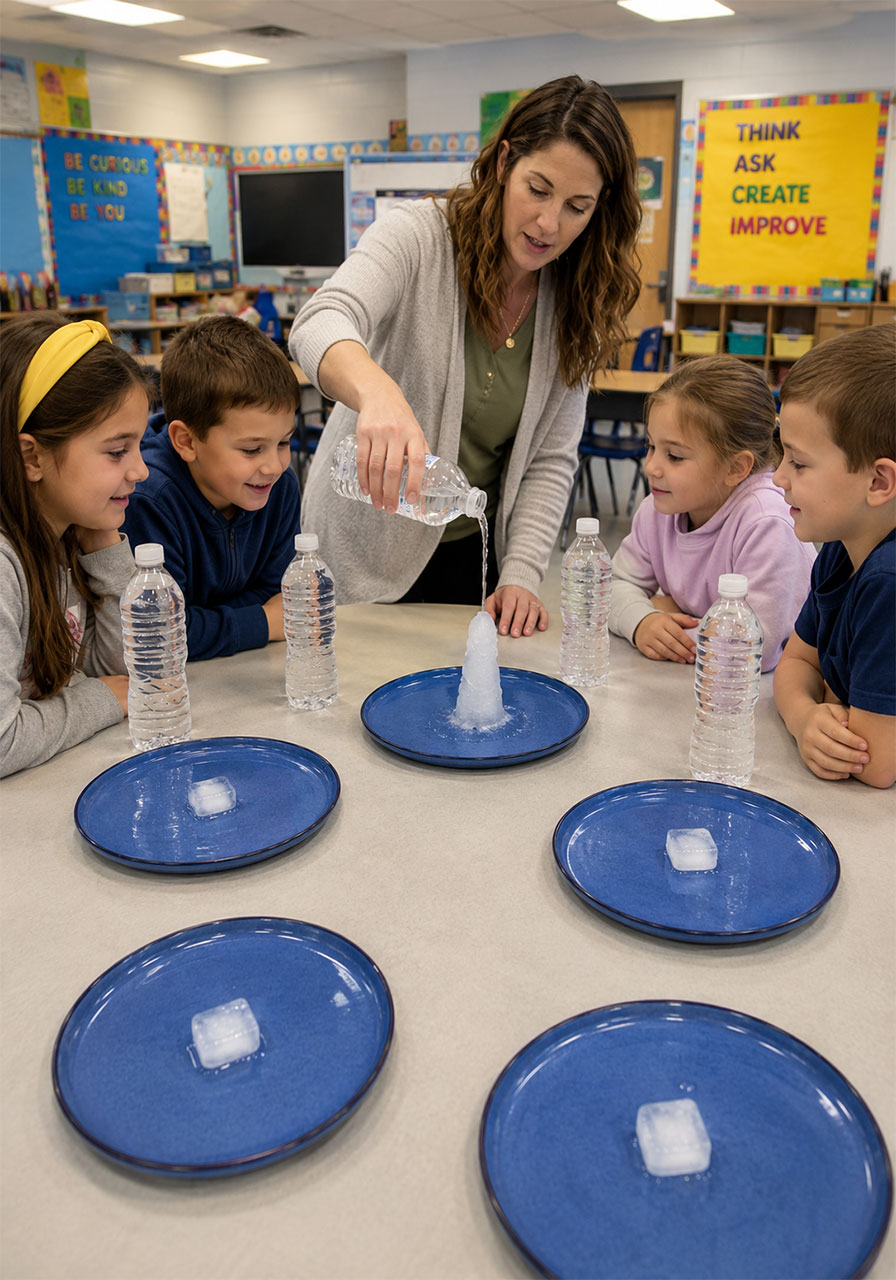
If you’re a teacher or a homeschool parent, this experiment is a fantastic launchpad for a real science conversation, not just a one-off wow moment.
Before you pour, ask your kids to make a prediction. What do they think will happen when the water hits the ice cube? Will it splash, will it freeze slowly, or will it freeze instantly? Getting a prediction on record makes the reveal even more exciting and builds the habit of hypothesizing before testing.
After the experiment, walk through the vocabulary together. Words like supercooling, nucleation, and phase transition sound intimidating on a worksheet, but after watching this demo, kids can actually connect the term to something they witnessed with their own eyes.
You can also connect this experiment to real-world science. Meteorologists study supercooled water when it comes to freezing rain and ice storms. Supercooled droplets in clouds can freeze instantly on contact with a plane’s wing, which is part of why aircraft de-icing is such a critical safety procedure. Suddenly, your kitchen counter demo is connected to something happening in the sky above your house.
Check for Understanding: Questions to Ask Your Kids
Once the experiment is done, use these questions to dig deeper and turn a fun moment into lasting learning.
1. Would this work the same if we added food coloring to the water?
Encourage kids to guess first, then test it. Food coloring can introduce tiny impurities, which might actually help or hinder the supercooling process, making this a great follow-up experiment.
2. What would happen if we started with hot water in the bottle?
This question opens the door to talking about how starting temperature affects freezing time, and whether hot water freezes faster or slower than cold water (a genuinely debated science question worth exploring).
3. Does the temperature of the room change the results?
Try the experiment on a warm day versus a cooler day, or near a sunny window versus in shade, and compare.
4. How tall of an ice tower can we build before it collapses?
This turns the experiment into a friendly challenge and introduces basic ideas about structural stability alongside the chemistry.
Troubleshooting: Why Isn’t My Water Freezing Instantly?
If your first attempt doesn’t produce that instant freeze effect, don’t worry. This is one of the most common hiccups, and it’s easy to fix.
The most likely culprit is timing. If the water hasn’t been in the freezer long enough, it won’t be cold enough to be truly supercooled, and it will simply pour like normal water. Give it more time, checking every 15 to 20 minutes after the initial 2-hour mark.
On the flip side, if you left the bottle in too long, the water may have already frozen solid inside the bottle. If you shake it and hear or feel a solid block rather than a slosh, that bottle is done and you’ll need to start fresh with a new one.
Freezer temperature also varies by household, so your exact timing may differ from someone else’s. Once you find your freezer’s sweet spot, jot it down for next time.
Why This Activity Is Worth the Two-Hour Wait
In a world full of flashy STEM kits and expensive science boxes, it’s easy to forget that some of the most powerful learning moments come from the simplest setups.
This instant ice science experiment costs next to nothing, uses items you likely already have, and delivers a genuine, unscripted reaction of amazement from kids. That reaction is exactly what makes science stick. When a child sees something surprising happen with their own eyes, the “why” behind it becomes something they actually want to understand, rather than something they’re told to memorize.
Whether you’re filling a classroom science block, planning a homeschool lesson, or just looking for a fun weekend activity, this one belivers big results for very little effort.
Freeze a few extra bottles and let your kids try it again and again. Every pour is a little different, and that unpredictability is part of what makes it so fun to repeat.
Because the best STEM lessons aren’t the ones with the fanciest kits. They’re the ones that make kids say, “Wait, do it again!”
