
If you’re looking for a hands-on STEM activity that’s cheap, fast, and genuinely fun for kids, this craft stick harmonica is about to become your new go-to. It takes less than five minutes to build.
It costs pennies per kid. And it teaches real physics about sound and vibration, all while your students or your own kids are having a blast making noise (don’t worry, it’s not as loud as it sounds).
This is one of those rare projects that works equally well for a homeschool science lesson, a classroom STEM station, a scout meeting, or a rainy afternoon at home. Once you see how simple it is, you’ll want to keep the supplies on hand all year.
Why This Activity Works So Well for Teachers and Parents
This craft stick harmonica isn’t just a fun noisemaker. It’s a real introduction to acoustics that kids can feel and hear for themselves.
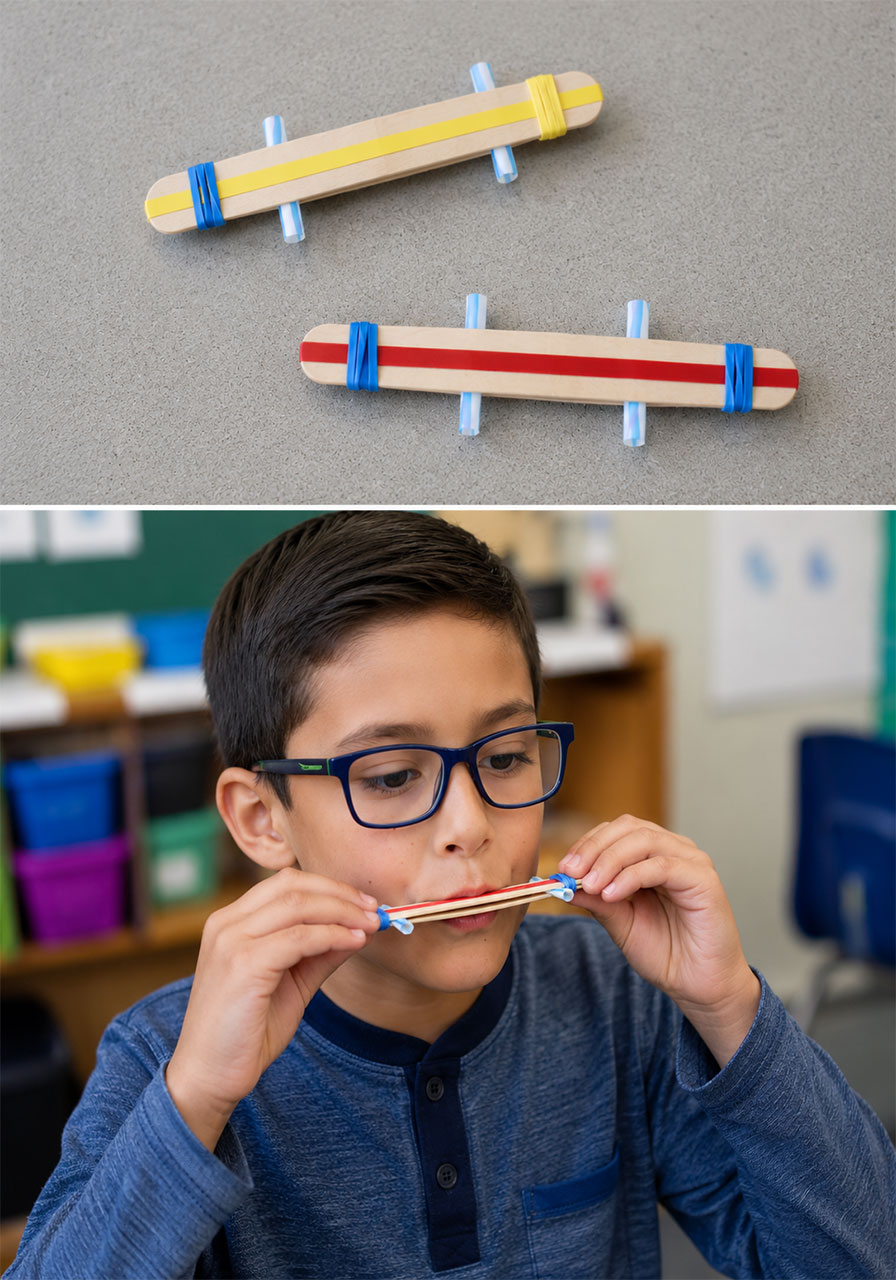
When kids blow into the harmonica, the wide rubber band vibrates. That vibration is what creates the sound. Slide the straws closer together or farther apart, and the pitch changes right in front of them.
That means you get an instant, hands-on demonstration of how vibration length affects sound frequency. No textbook required.
Best of all, every kid can build their own. The materials are inexpensive enough to make a full classroom set without blowing your supply budget.

What You’ll Need
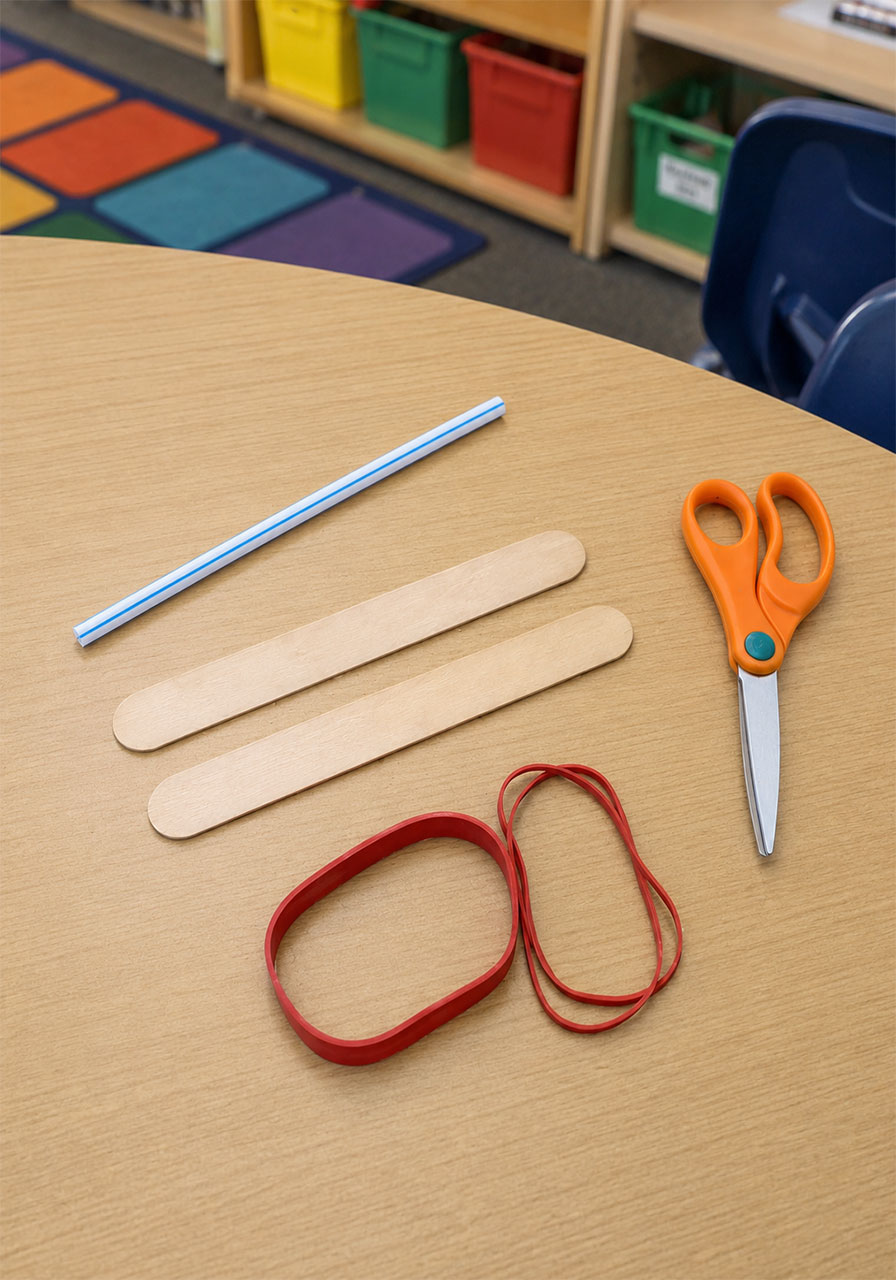
Here’s everything required per harmonica. All of it is easy to find at a dollar store or craft store, and most classrooms already have these items on hand.
- 2 jumbo craft sticks
- 1 wide rubber band
- 2 small rubber bands
- 1 plastic straw
- Scissors
Best for: Ages 5 and up, classrooms, homeschool groups, scout troops, birthday parties with a STEM theme.
Time to Build: About 5 minutes per harmonica.
Group Size: Works for one child or a full classroom. Easy to scale up.
How to Make a Craft Stick Harmonica: Step-by-Step Instructions
Follow these steps in order. Each one builds on the last, so try not to skip ahead.
Step 1: Cut your straw pieces.
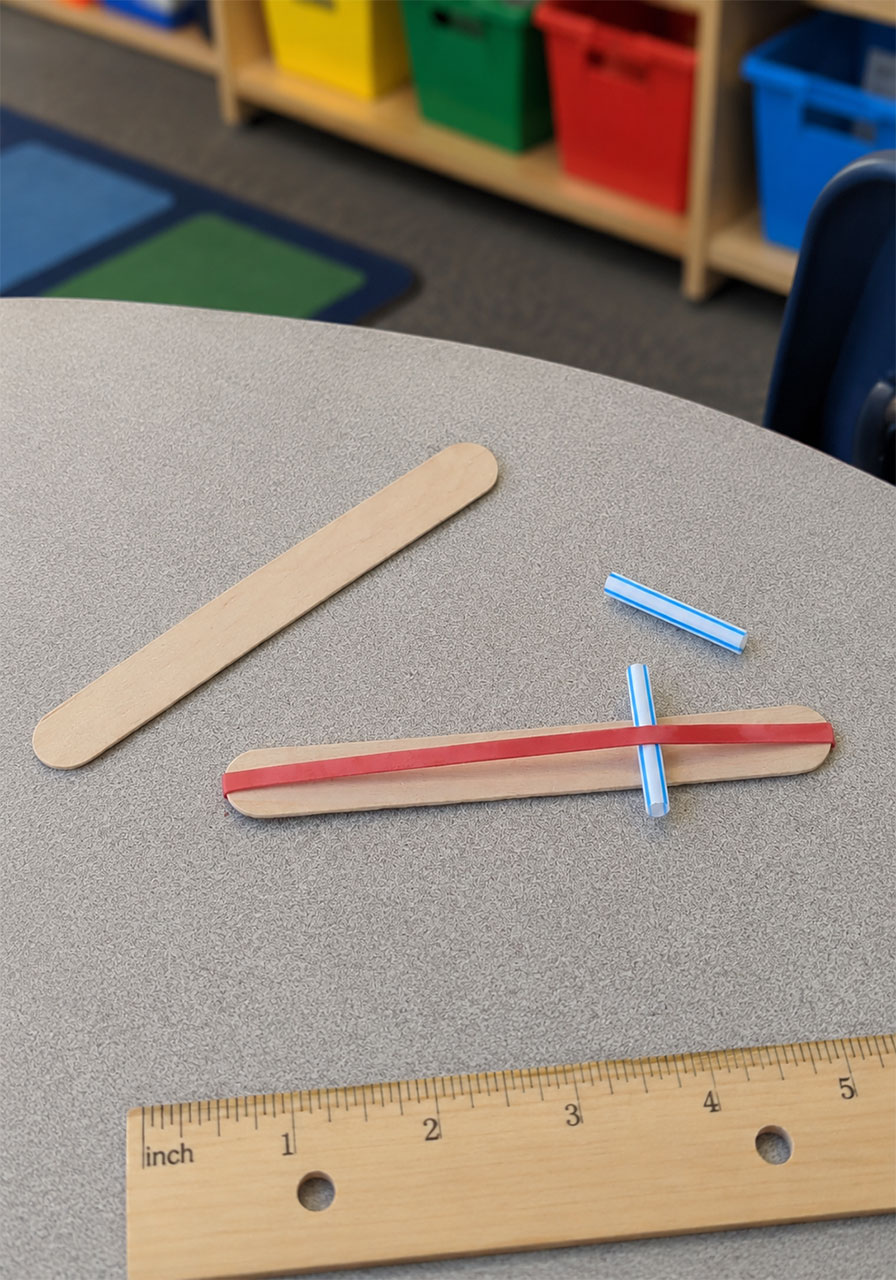
Cut two small pieces of straw, each about 1 to 1.5 inches long. These will act as spacers that hold the rubber band away from the sticks so it can vibrate freely.
Step 2: Add the wide rubber band.
Stretch the wide rubber band lengthwise around one craft stick, so it runs down the middle of the stick from end to end.
Step 3: Place the first straw piece.
Slide one of the small straw pieces underneath the wide rubber band, near one end of the stick. This creates a small gap between the stick and the rubber band.
Step 4: Sandwich the sticks together.
Place the second craft stick directly on top of the first one, lining up the edges. Wrap a small rubber band around that same end, right over the straw piece, to hold everything secure.
Step 5: Add the second straw piece.
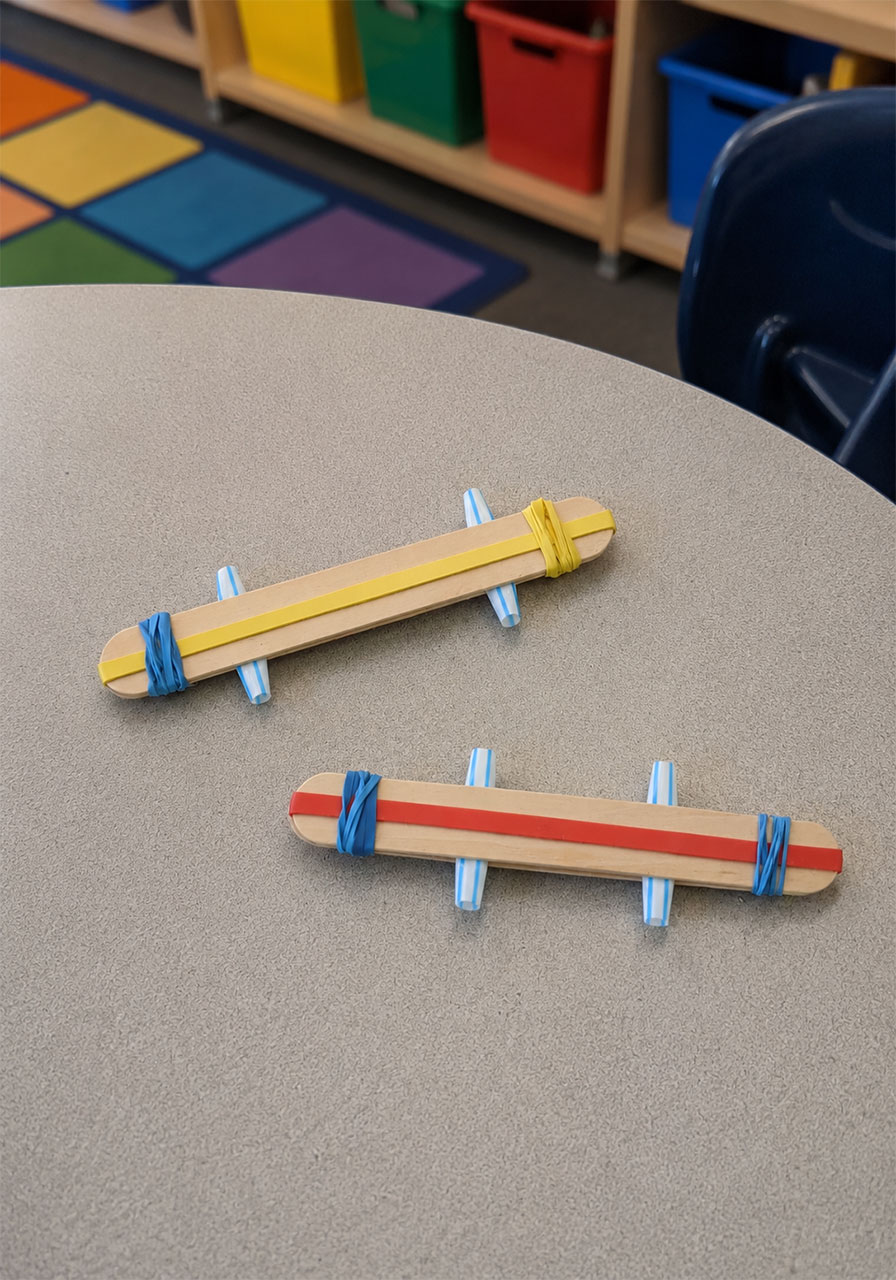
At the opposite end of the harmonica, place the second small piece of straw. This time, position it on top of the wide rubber band instead of underneath it. That alternating placement, one straw under and one straw over, is what creates the sound chamber.
Step 6: Secure the final end.
Wrap the second small rubber band around this end as well, holding the straw piece firmly in place.
That’s it. Your craft stick harmonica is ready to play.
How to Play the Harmonica
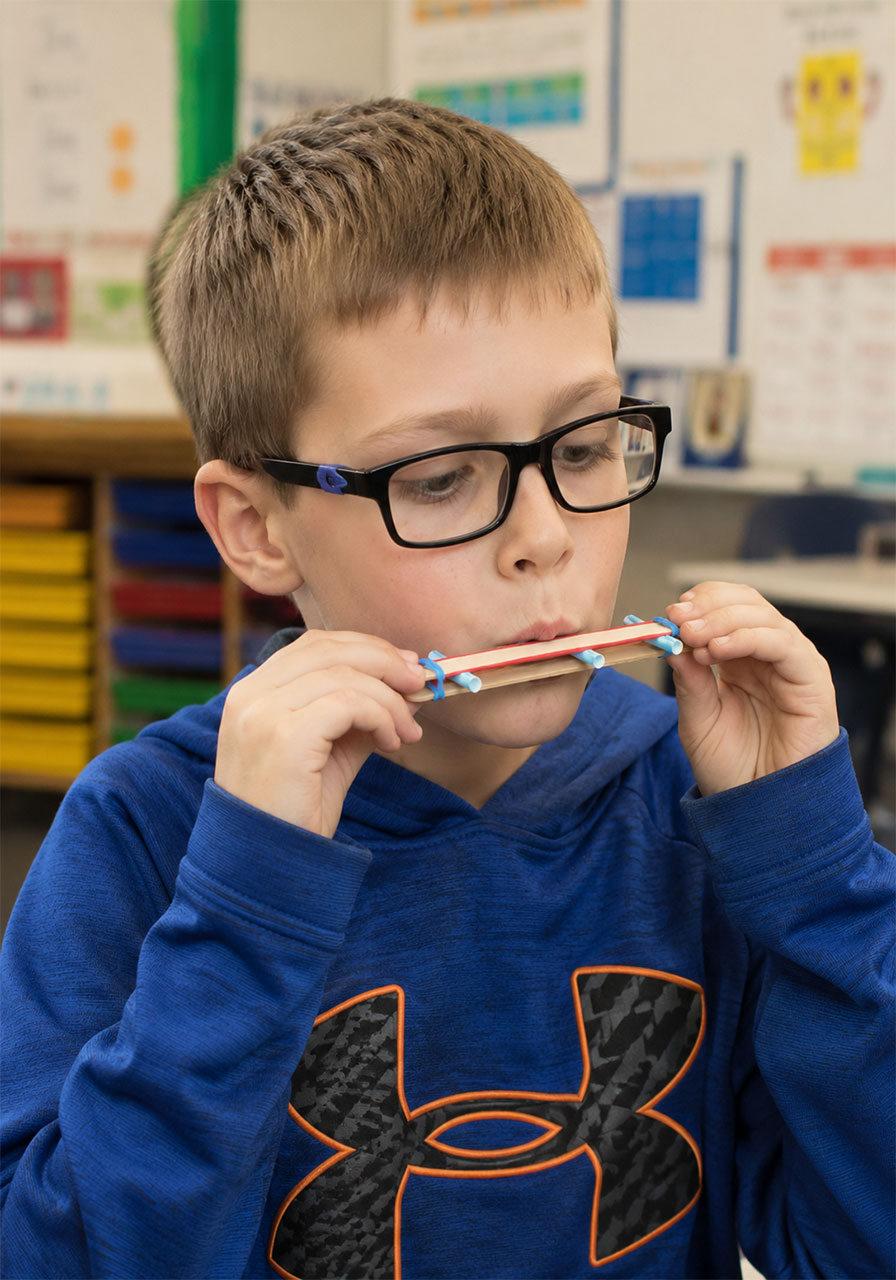
Playing it is even easier than building it. Just place the harmonica between your lips and blow.
A quick heads-up for younger kids: many of them instinctively want to hum into it instead of blowing, which won’t work. Show them the difference, and they’ll pick it up in seconds.
Once air passes through, the wide rubber band vibrates between the two straw spacers. That vibration is what produces the buzzing, kazoo-like sound.
The Best Part: Changing the Pitch
This is where the real science kicks in, and it’s what makes kids want to keep playing.
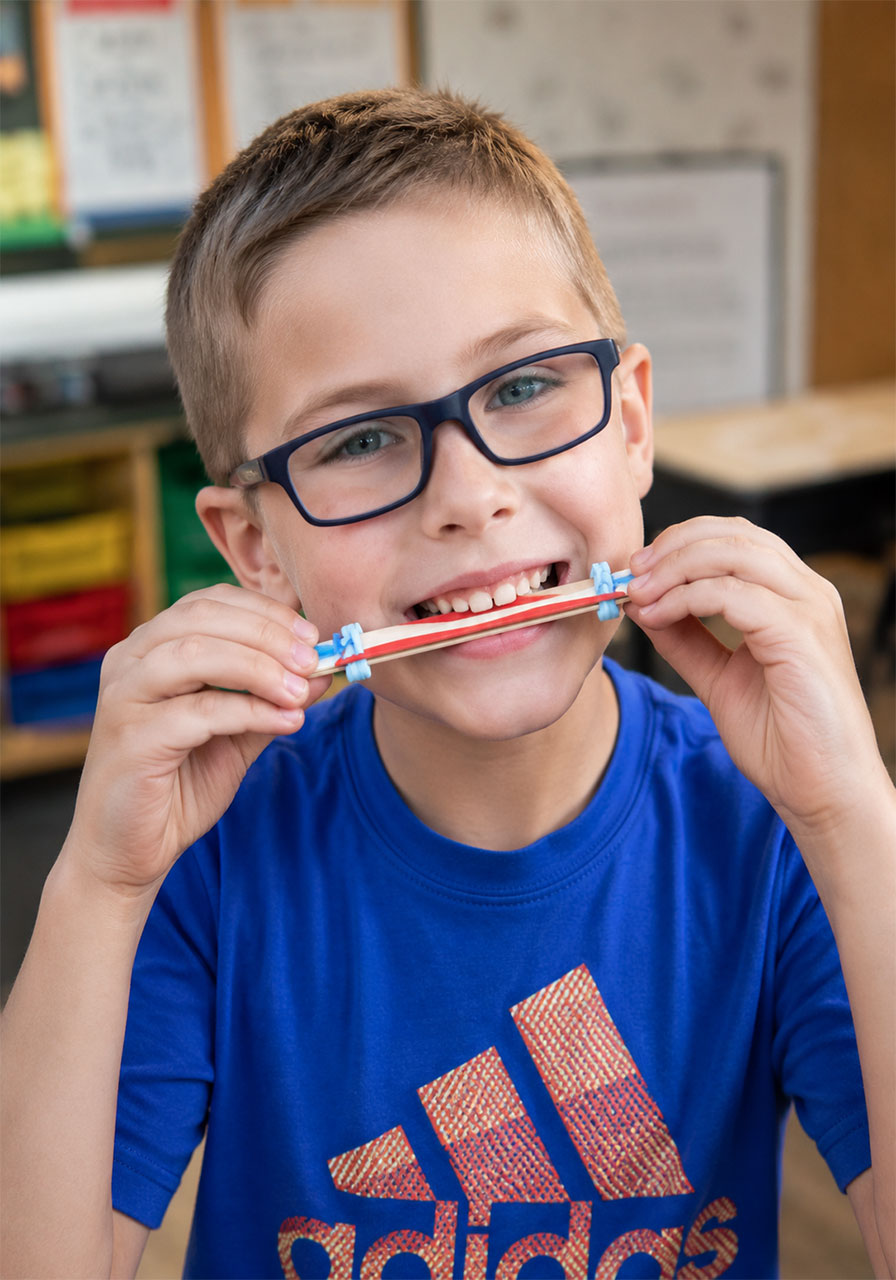
Slide the two straw pieces closer together, and the section of rubber band that’s free to vibrate gets shorter. A shorter vibrating length produces a higher pitch.
Slide the straws apart toward each end of the stick, and the vibrating section gets longer. A longer section produces a lower pitch, even though it’s still a fairly high sound overall.
Let kids experiment with sliding the straws back and forth while they blow. They’ll hear the pitch shift in real time, which is a simple but powerful way to understand sound frequency.
Turn It Into a Real Science Experiment
If you want to take this beyond a craft and into true scientific inquiry, here are a few easy extensions.
Test rubber band thickness and tension. Build a few harmonicas using rubber bands of different widths and tightness. Ask kids to predict which one will produce the highest pitch, then test it and compare results.
Test breath strength. Have kids blow softly, then blow harder. Does the pitch change, or just the volume? This is a great question to pose before testing, so kids form a hypothesis first.
Test mouth shape. Ask kids to change the shape of their mouth while blowing. Does that affect the pitch? It does. Some kids figure out how to shift their mouth shape enough to play a simple, recognizable tune. This is a fantastic bonus challenge for kids who finish early.
These three questions work perfectly as a simple worksheet or classroom discussion. Have kids write down their predictions before testing, then record what actually happened. That’s the entire scientific method in one five-minute activity.
Tips for Teachers Running This as a Classroom Activity
A few practical notes if you’re planning to use this as a lesson or station activity.
Buy plain, natural-colored craft sticks rather than colored ones. Colored sticks tend to bleed dye onto little lips, so kids end up with an unexpected colored mustache. Fun for a photo, less fun for a parent picking up their child later.
Precut your straw pieces ahead of time if you’re working with a large group. It saves time and keeps younger kids from struggling with scissors.
These harmonicas are genuinely fun, which means kids will want to keep playing them well after the lesson ends. Set a clear expectation upfront about when it’s okay to play and when it needs to go in a backpack or cubby.
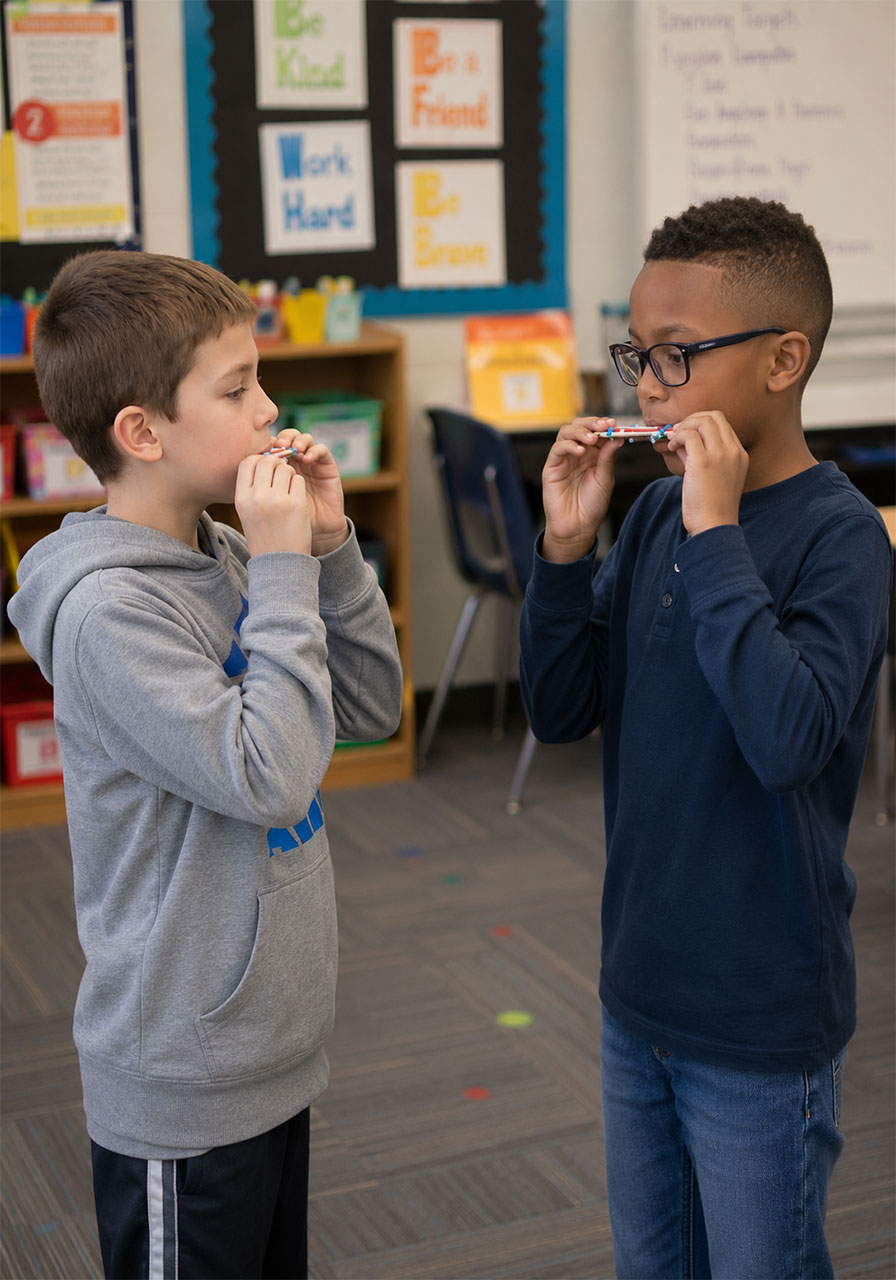
They’re not especially loud, but a room full of them being played at once will definitely get your attention. Plan accordingly if you’re working in a shared space.
Bonus Idea: Build a Case for It
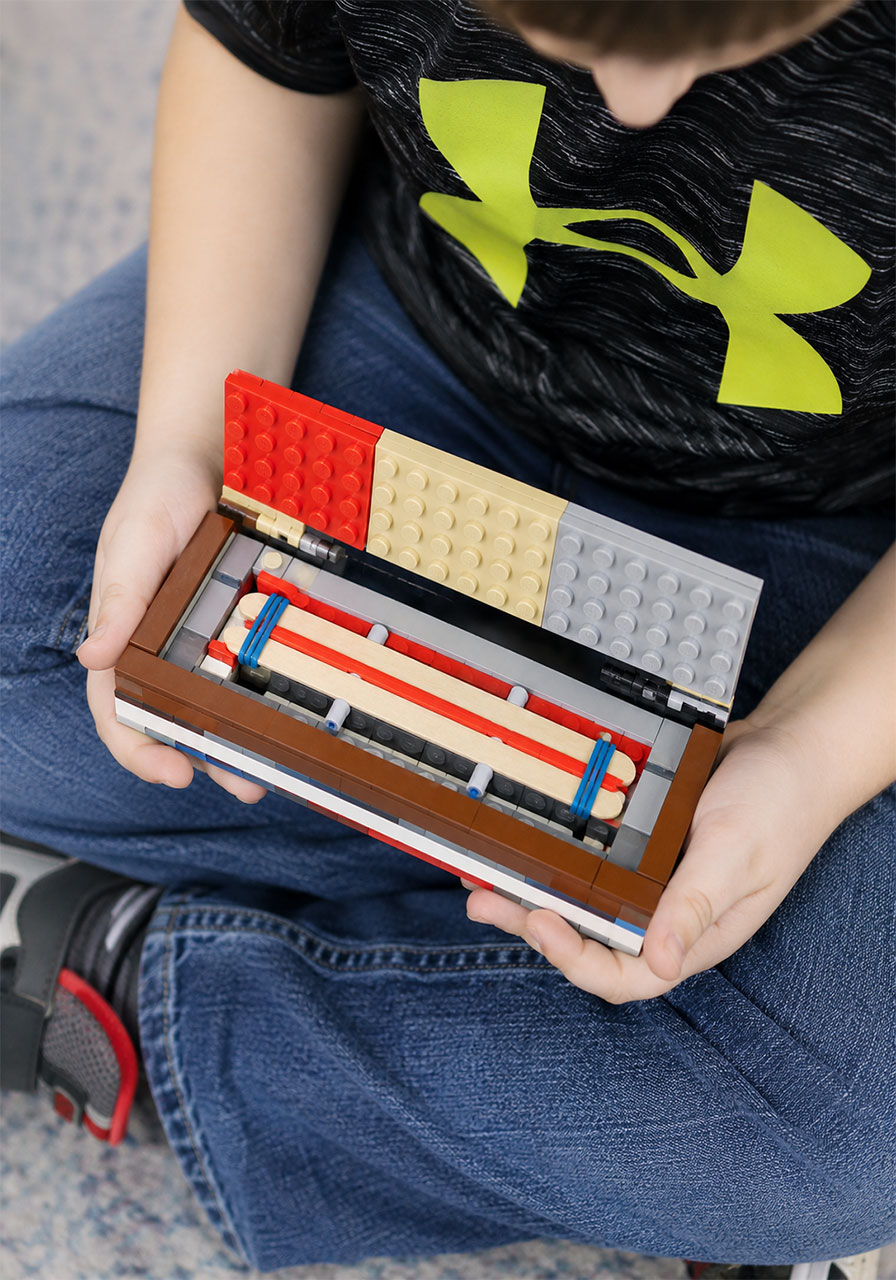
Once your harmonica is built, consider having kids design a simple case to store it in. This is a great way to extend the project into an engineering challenge.
LEGO bricks work particularly well for this if you have a bin available. Kids can build a small box with a hinged or sliding lid sized to fit their harmonica exactly, which adds a design and measurement element to the project.
Cardboard, craft foam, or a small box also works if LEGO isn’t available. The goal is simply to get kids thinking about how to protect and store something they built.
Frequently Asked Questions
What age is this activity appropriate for?
This works well for kids as young as 5, though children under 7 may need help with the assembly steps. Kids 8 and up can typically build the entire thing independently.
How loud is it?
It’s noticeable, but not overwhelming. A single harmonica is comparable to a kazoo. A room full of them being played at once is louder, so plan your space and timing accordingly.
Can this be used for a 4-H, science fair, or STEM fair exhibit?
Yes. This activity works well as a hands-on exhibit because kids can demonstrate pitch changes live, and it pairs naturally with a simple written explanation of how vibration relates to sound frequency.
How long do the harmonicas last?
With normal play, they hold up well for weeks. The rubber bands are the first thing to wear out, so keep a few spares on hand if you want to extend the life of each one.
Do I need any special tools?
No. Scissors are the only tool required, and even that is only needed to cut the straw pieces to size.
Why This Belongs in Your STEM Activity Rotation
Between the low cost, the short build time, and the genuine science behind it, this craft stick harmonica checks every box for a STEM activity that actually works in a real classroom or living room.
It’s simple enough for a quick Friday afternoon activity, but rich enough to build into a full lesson on sound and vibration if you want to go deeper.
Keep a bag of craft sticks, rubber bands, and straws stocked in your supply closet. Once you see how much kids love this one, you’ll be making a new batch before you know it.
