
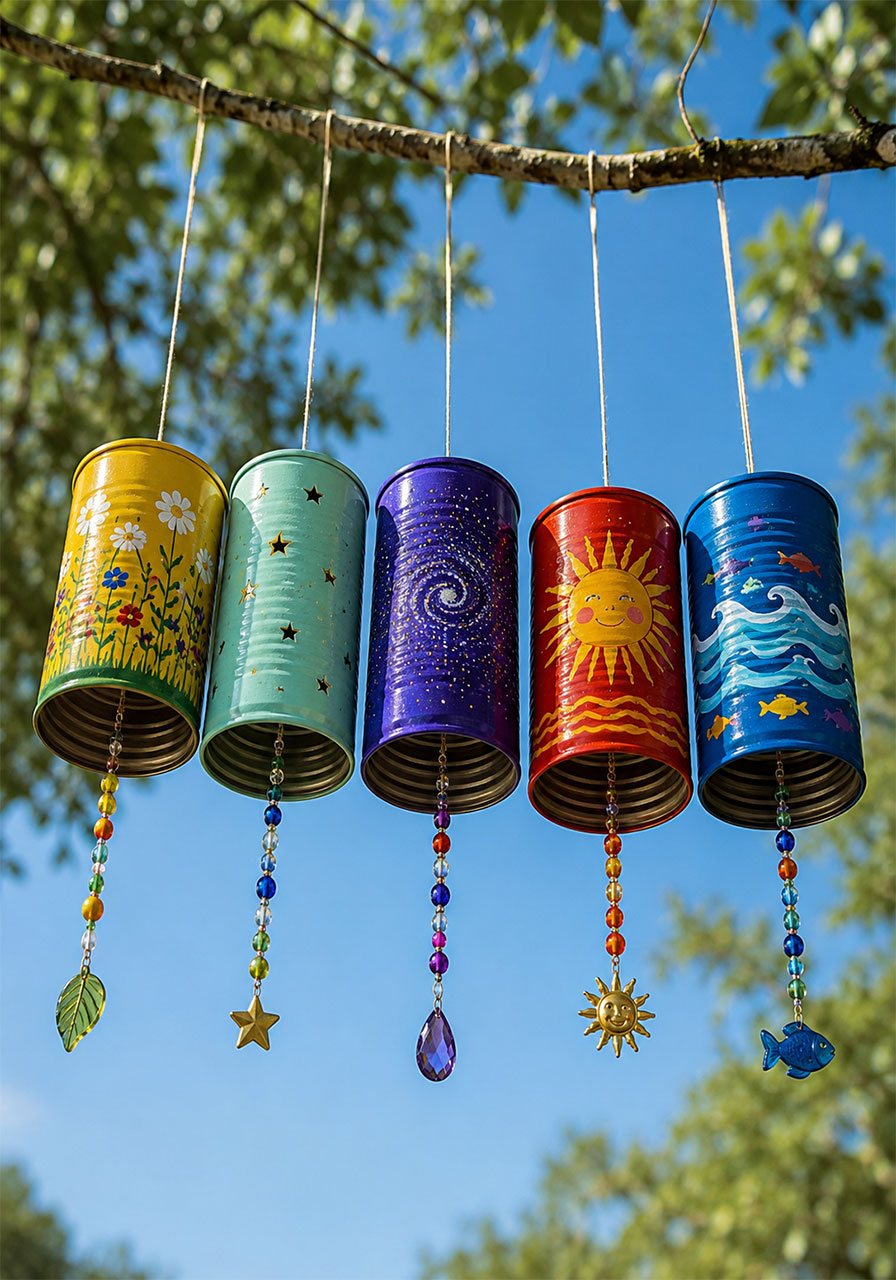
Looking for a hands-on STEM activity that turns “trash” into a beautiful, musical masterpiece? This Tin Can Wind Chime project is exactly what you need.
It’s the perfect blend of art, engineering, and acoustics, all wrapped up in one satisfying afternoon activity. Best of all, your students or kids will walk away with a real understanding of how sound waves actually work.
Whether you’re a teacher planning a science unit or a parent looking for a rainy-day project, this craft checks every box. It’s affordable, it’s eco-friendly, and it doubles as a genuine physics lesson.
Let’s turn some empty cans into a one-of-a-kind wind chime that teaches real science while it makes real music.
Why This Project Works So Well for STEM Learning
Most craft projects are fun, but they don’t always teach something. This one is different.
Every single step of this build connects to a real scientific concept. When kids paint the cans, they’re learning about design and creativity. When they hammer the nail, they’re learning about tools and force.
But the real magic happens when the chimes finally hang in the wind. That’s when abstract concepts like vibration, sound waves, and pitch suddenly become something your child or student can hear and feel for themselves.
This is what we call learning by doing, and it sticks a lot better than any textbook diagram.

What You’ll Need
The best part about this project is that most of the supplies are probably already sitting in your kitchen or craft closet.
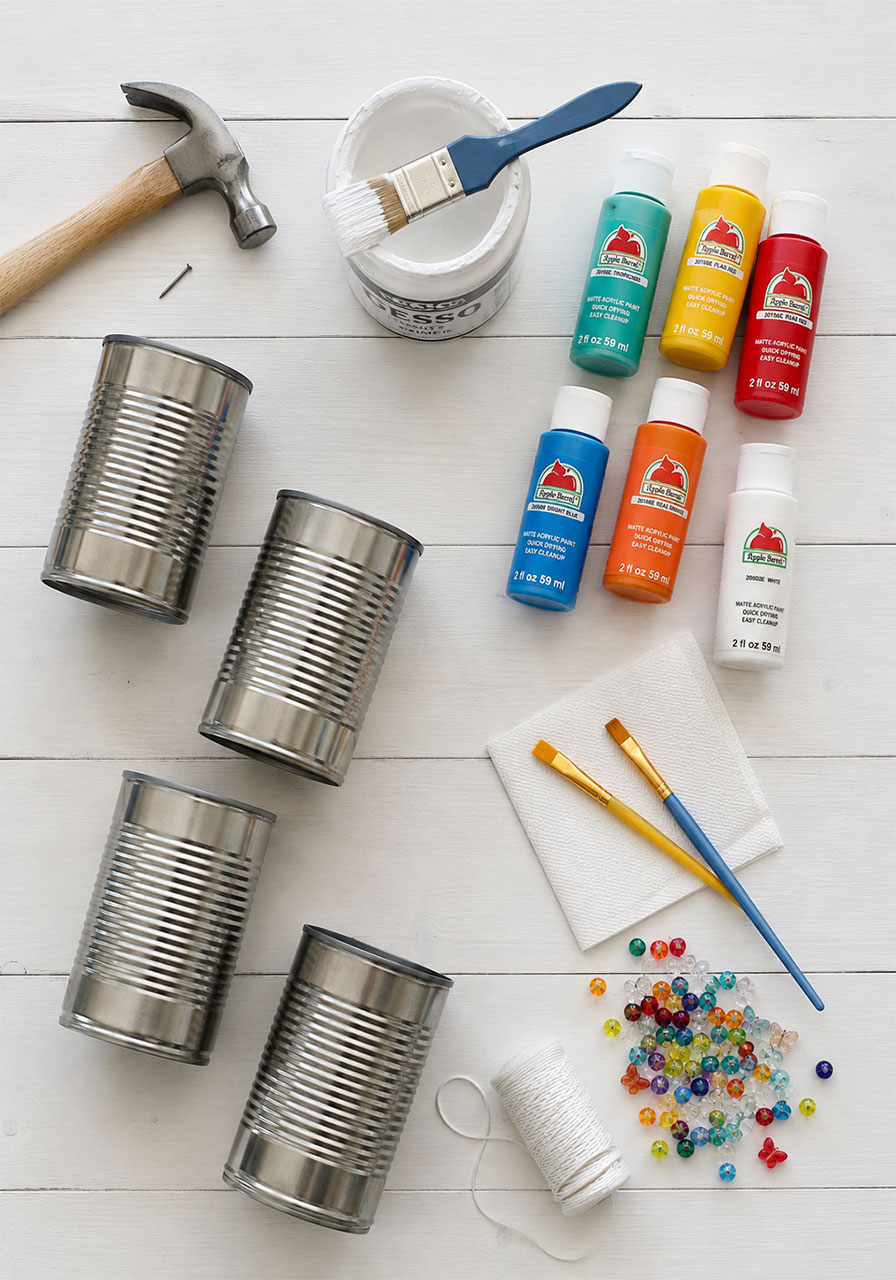
Metal cans – Empty, clean food cans work great. We used 15-oz pumpkin puree cans for a nice, sturdy size.
Gesso – This acts as a primer so your paint goes on smoothly and evenly.
Acrylic paints – A variety of colors for the background and decorative designs.
Paint brushes – A couple of different sizes work best, one larger for base coats and one smaller for detail work.
String or thin cord – For threading beads and hanging your finished chimes.
Beads – Any style you like. These add color, weight, and a lovely dangling detail.
A nail – Used to punch the hole for hanging.
A hammer – A small craft hammer works perfectly for this job.
Step 1: Prepare Your Cans
Start by thoroughly washing and drying your empty cans. Make sure every bit of food residue is gone before moving forward.
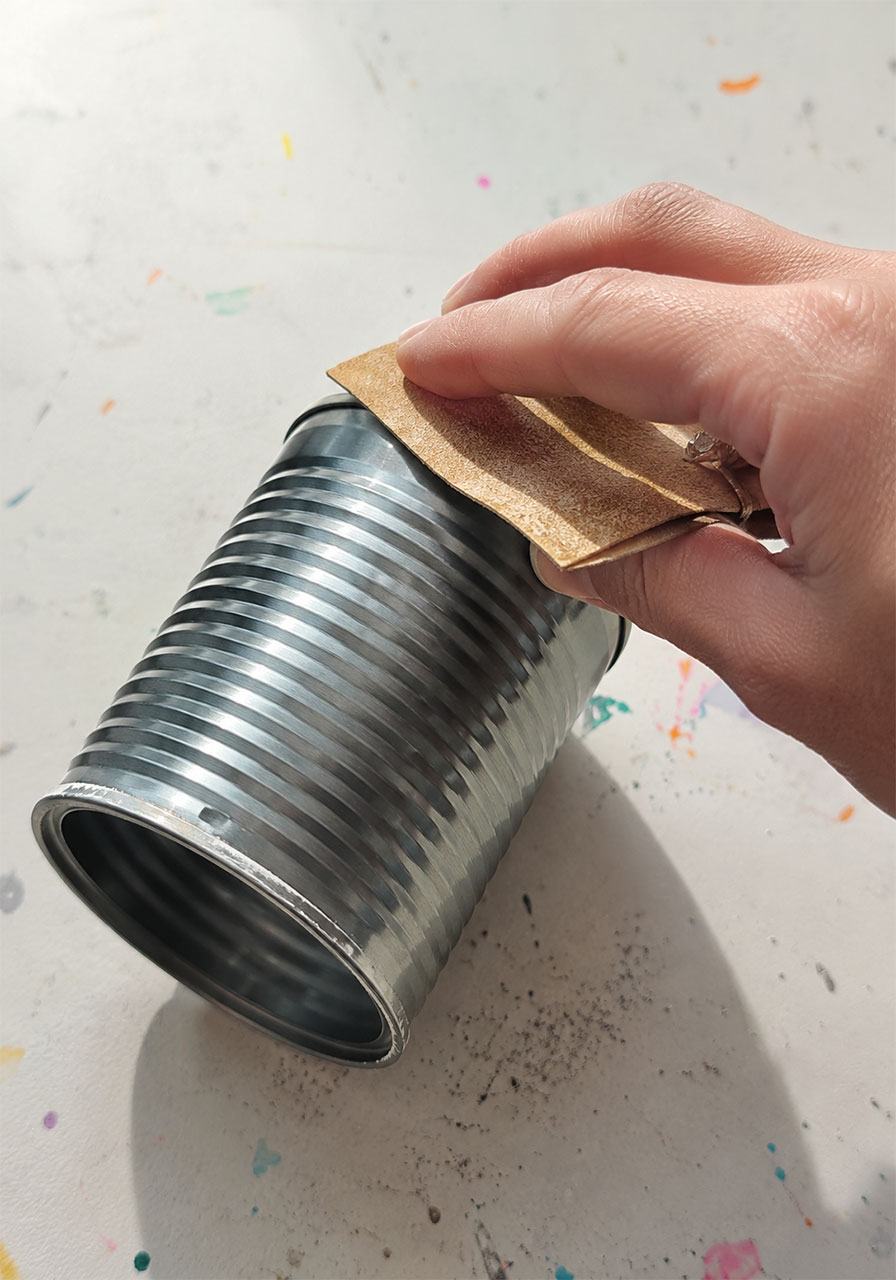
Remove any labels along with the glue left behind. If a stubborn bit of glue just won’t budge, a quick rub with sandpaper takes care of it.
While you’re at it, run the sandpaper along any sharp edges too. This step is important for safety, especially if kids will be handling the cans throughout the project.
For a cleaner, more uniform final look, try to use cans that are all roughly the same size. That said, mixing sizes is a great option too, and it actually leads to a fun science discovery we’ll get to later.
Step 2: Apply a Layer of Gesso
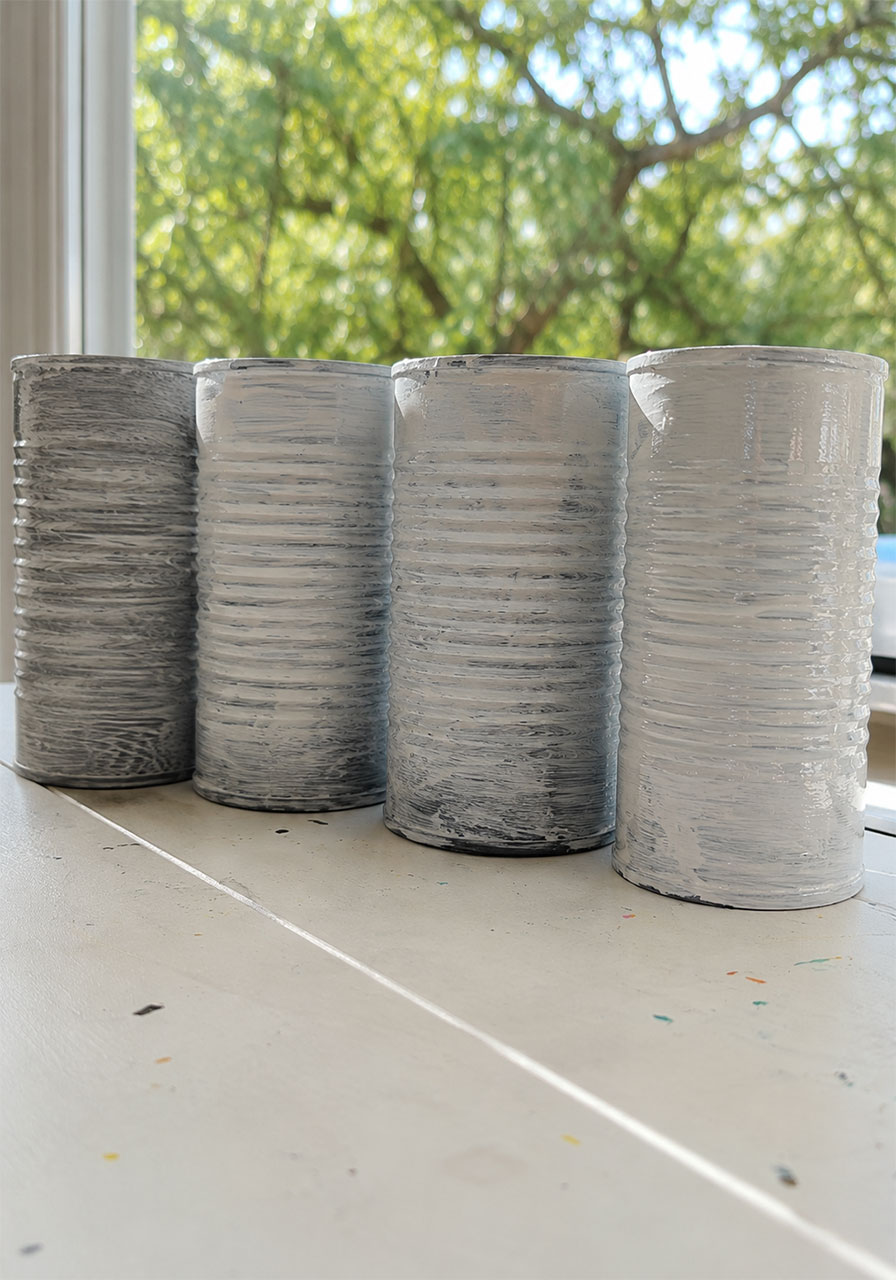
Once your cans are clean and dry, brush on a layer of gesso. This creates a smooth, paintable surface and helps your acrylic paint colors show up true and vibrant instead of streaky.
For the best results, apply two thin coats rather than one thick one. Let the first coat dry completely before adding the second.
This step might feel like it’s slowing you down, but trust us, it makes a real difference in how professional your finished chimes will look.
Step 3: Paint the Background Color
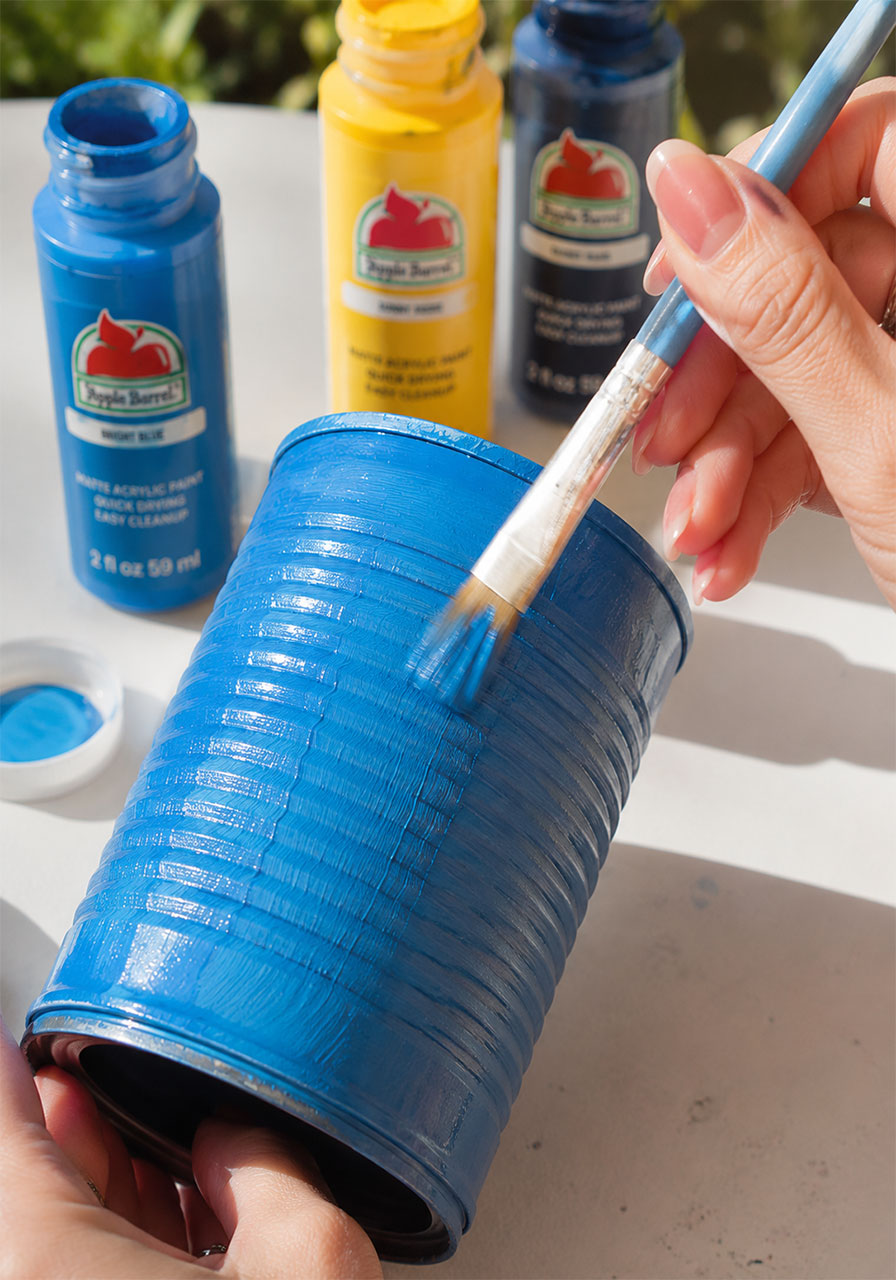
Once the gesso has fully dried, it’s time for color. Choose a base shade for each can and paint the entire surface.
Teals, mustard yellows, deep reds, and sky blues all look gorgeous against greenery outdoors, but really, any color scheme works. Let your creativity lead the way here.
Allow this base coat to dry completely before moving on to the fun part: decorating.
Step 4: Decorate With Patterns and Designs
Now comes the most creative step of the whole project. Once your base color is dry, grab a smaller brush and start adding patterns.
Dot patterns are especially forgiving and beautiful on a curved can surface, since it’s tricky to paint perfectly straight lines on a cylinder. Try searching “dot painting patterns” for inspiration if you want ideas.
Flowers, mandalas, stripes, and swirls all work beautifully. If you’re doing this with a group of kids, let each person design their own can. No two should look exactly alike, and that’s the whole point.
Let the decorated cans dry fully before moving to the next step.

Step 5: Punch a Hole and Add the Hanging String
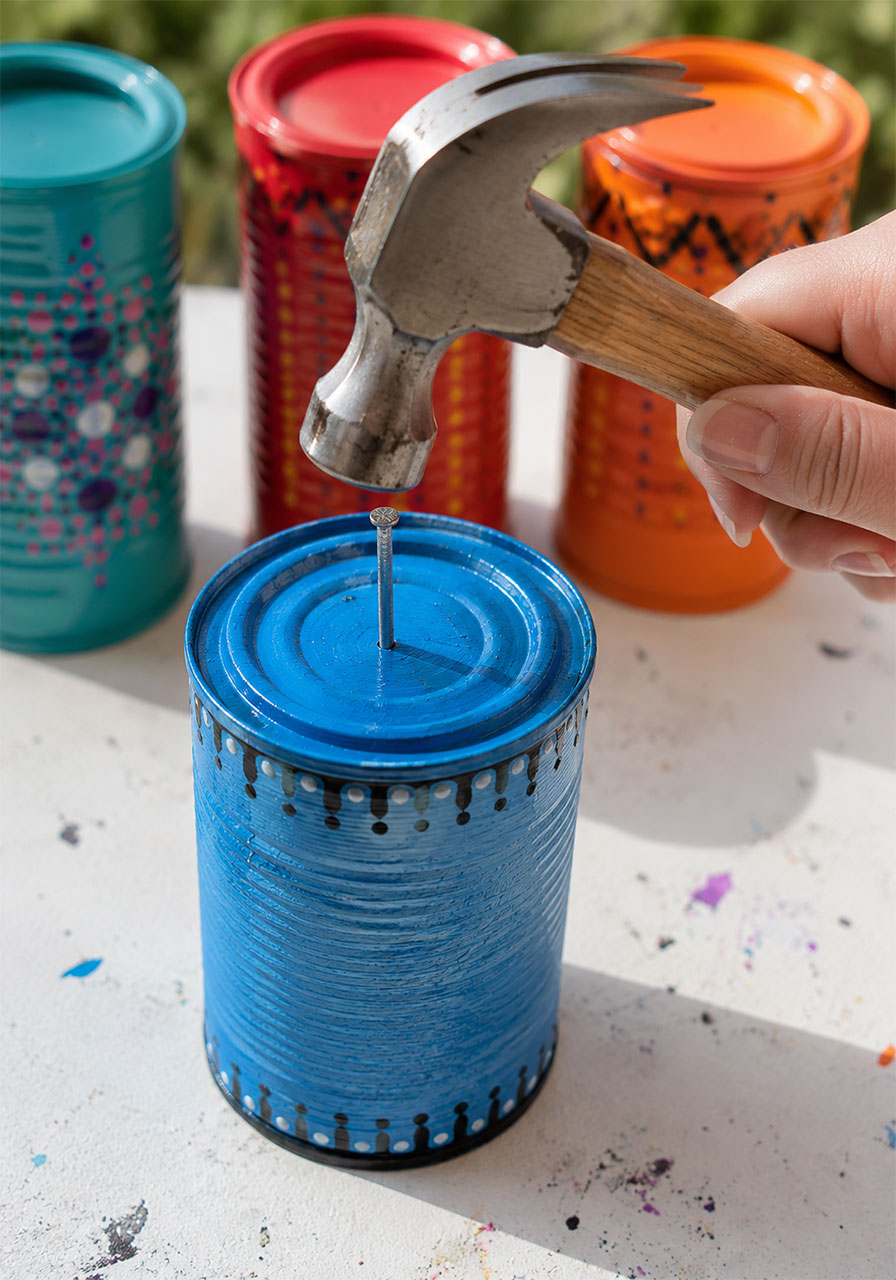
With adult supervision, place your nail in the center of the can’s bottom (the sealed end, which will become the top of your hanging chime).
Gently but firmly hammer the nail through the metal to create a small hole. This is where your hanging string will go, so make sure the hole is centered.
Kids will love this step, but it’s a good idea for an adult to handle the hammering while kids hold the can steady, or simply watch this part happen.
Step 6: Thread Your Beads
Cut a length of string long enough to hang your chime plus extra for your beaded tail underneath.
Thread the string down through the hole you just created. Then, begin adding beads one at a time, mixing colors, shapes, and sizes for a fun, eclectic look.
If you want extra security, add a small dab of glue where the string meets the hole. This keeps everything firmly in place, even on a windy day.

Step 7: Hang and Enjoy
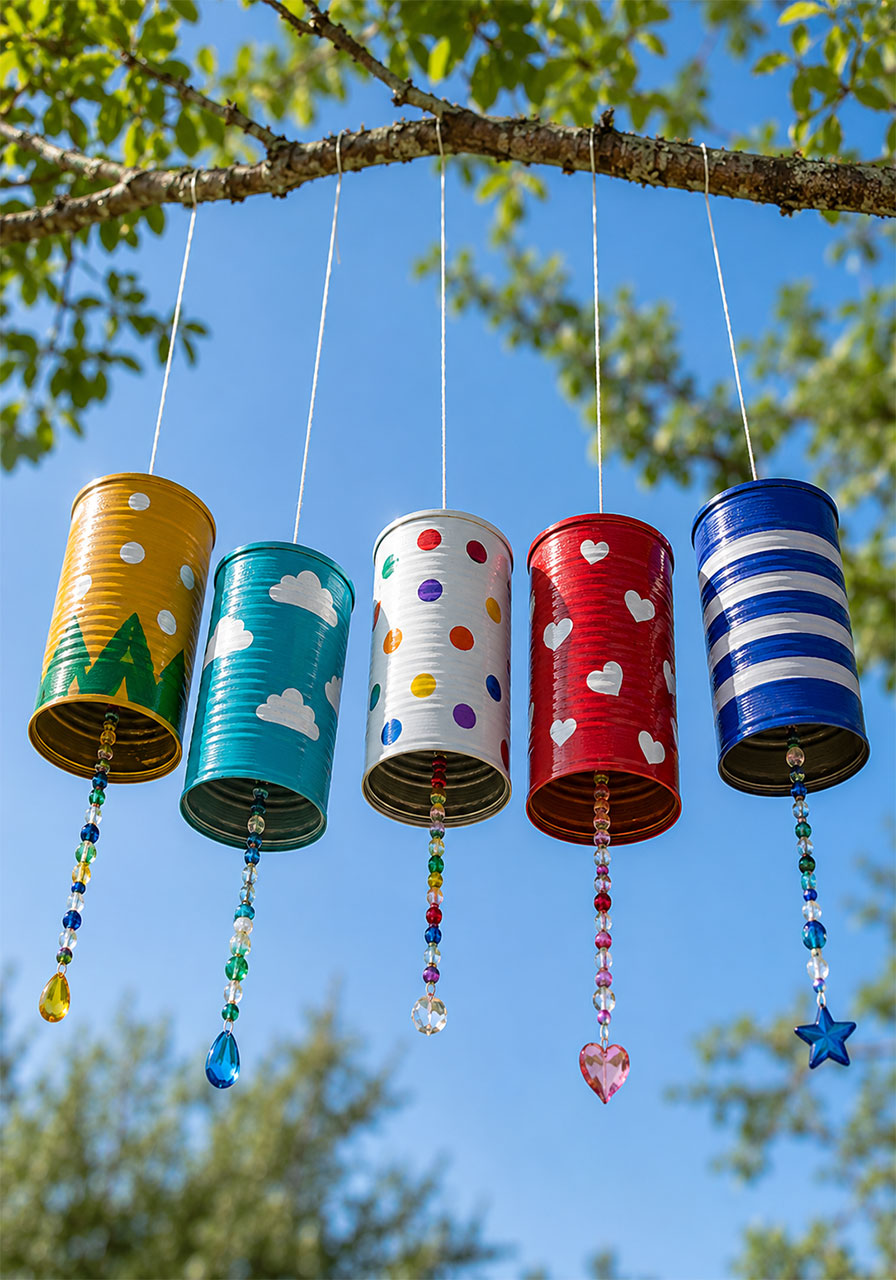
Find a spot outdoors, a porch, a tree branch, or a garden hook all work beautifully, and hang your finished wind chimes side by side.
Space them close enough that a light breeze will cause them to gently knock together. This is the moment your STEM lesson truly comes alive.
Take a step back, listen, and enjoy the sound of your very own homemade instrument.
Now for the Science: What’s Actually Happening?
This is where a simple craft transforms into a genuine science lesson. Here’s exactly what to explain to your kids or students once the chimes are hanging and making noise.
Vibration Creates Sound
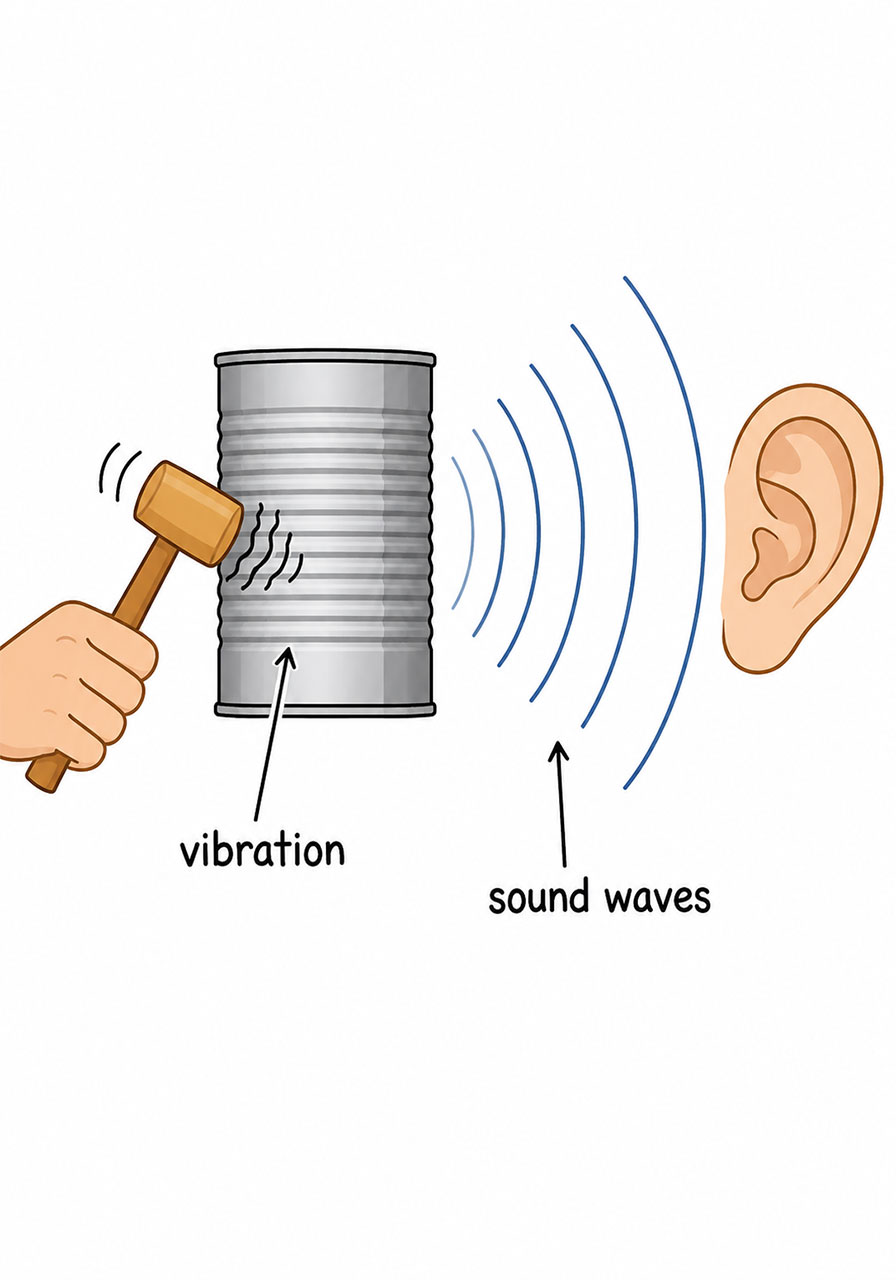
When two cans knock together, they don’t just magically make a musical sound. That collision causes the metal to vibrate, meaning it wobbles back and forth extremely fast.
That rapid wobbling motion is where the sound actually begins. No vibration, no sound.
Sound Waves Travel Through the Air
Once a can starts vibrating, it pushes against the air molecules surrounding it. This push creates ripples of energy called sound waves.
Those waves travel outward through the air until they reach our ears, where our brain interprets them as sound. It’s the exact same basic principle behind every instrument, speaker, and voice you’ve ever heard.
Can Size Changes the Pitch
Here’s a fun experiment to try: use cans of different sizes in the same wind chime, then really listen closely to the sounds each one makes.
Smaller, lighter cans tend to vibrate faster, which produces a higher-pitched sound. Larger, heavier cans vibrate more slowly, producing a lower, deeper tone.
This is a wonderful, hands-on way to introduce the concept of pitch without ever opening a textbook.
Bonus Lesson: Upcycling and Engineering Design
This project isn’t just a lesson in acoustics. It’s also a fantastic introduction to two more big concepts: upcycling and engineering design.
Upcycling in Action
Every can used in this project was headed straight for the recycling bin or the trash. Instead, it became something beautiful and functional.
This is upcycling, and it’s a simple, powerful way to show kids that everyday waste can be transformed into something new, useful, and even musical. It’s a wonderful entry point into conversations about sustainability.
Engineering Decisions, One Choice at a Time
Every decision made while building this chime is actually a small engineering challenge. How long should the string be? Where should each can hang? How close together do they need to be for the wind to knock them together?
These are all real design questions, and solving them requires thinking through gravity, spacing, and basic physics. Your child or student is essentially acting as an engineer without even realizing it.
Pro Tips for the Best Results
A few small tweaks can make a big difference in how your finished wind chimes turn out.
Use varying can sizes if you want to demonstrate the pitch experiment described above. This turns the activity into a true sound lab.
Let each layer dry completely before moving to the next step. Rushing the gesso or paint can lead to smudging or peeling later.
Space your cans close together when hanging, close enough to touch in a breeze, but not so close that they’re constantly clanging. A gap of about one to two inches usually works well.
Double check the string length before you punch your final hole. It’s much easier to adjust before everything is assembled.
Easy Variations to Try
Once you’ve mastered the basic technique, there’s plenty of room to make this project your own.
Seasonal themes: Paint your cans in autumn oranges and reds for fall, or icy blues and whites for a winter version.
Classroom collaboration: Have each student decorate one can, then combine them all into a single large wind chime for the classroom garden or reading nook.
Nature-inspired designs: Swap the mandala patterns for leaves, flowers, or animals to tie the project into a broader nature or science unit.
Why This Craft Is Worth the Effort
Between the painting, the science, and the satisfying clink of the finished chimes, this project checks every box for a truly memorable STEM activity.
It’s affordable, it uses materials you likely already have on hand, and it teaches real, tangible science concepts that kids will actually remember. Best of all, they get to take home (or hang up at school) something they made with their own two hands.
So save those empty cans, grab your paints, and get ready to build a wind chime that both looks and sounds absolutely beautiful.
