
If you’re a teacher or parent hunting for an easy, jaw-dropping STEM activity, this one belongs at the top of your list. With just a few household supplies, you can show kids a butterfly that “flies” without ever leaving the table.
No batteries. No motors. No magic tricks. Just simple, powerful science that happens to look like magic to little eyes.
This static electricity butterfly experiment is a classroom and playroom favorite for a reason. It’s fast to set up, budget-friendly, and it delivers that priceless “whoa!” moment every time.
Best of all, it’s a hands-on way to introduce real physics concepts to preschoolers and elementary kids alike. You’ll be teaching electrons and charge without a single boring lecture.
Why This Experiment Works So Well for Young Learners
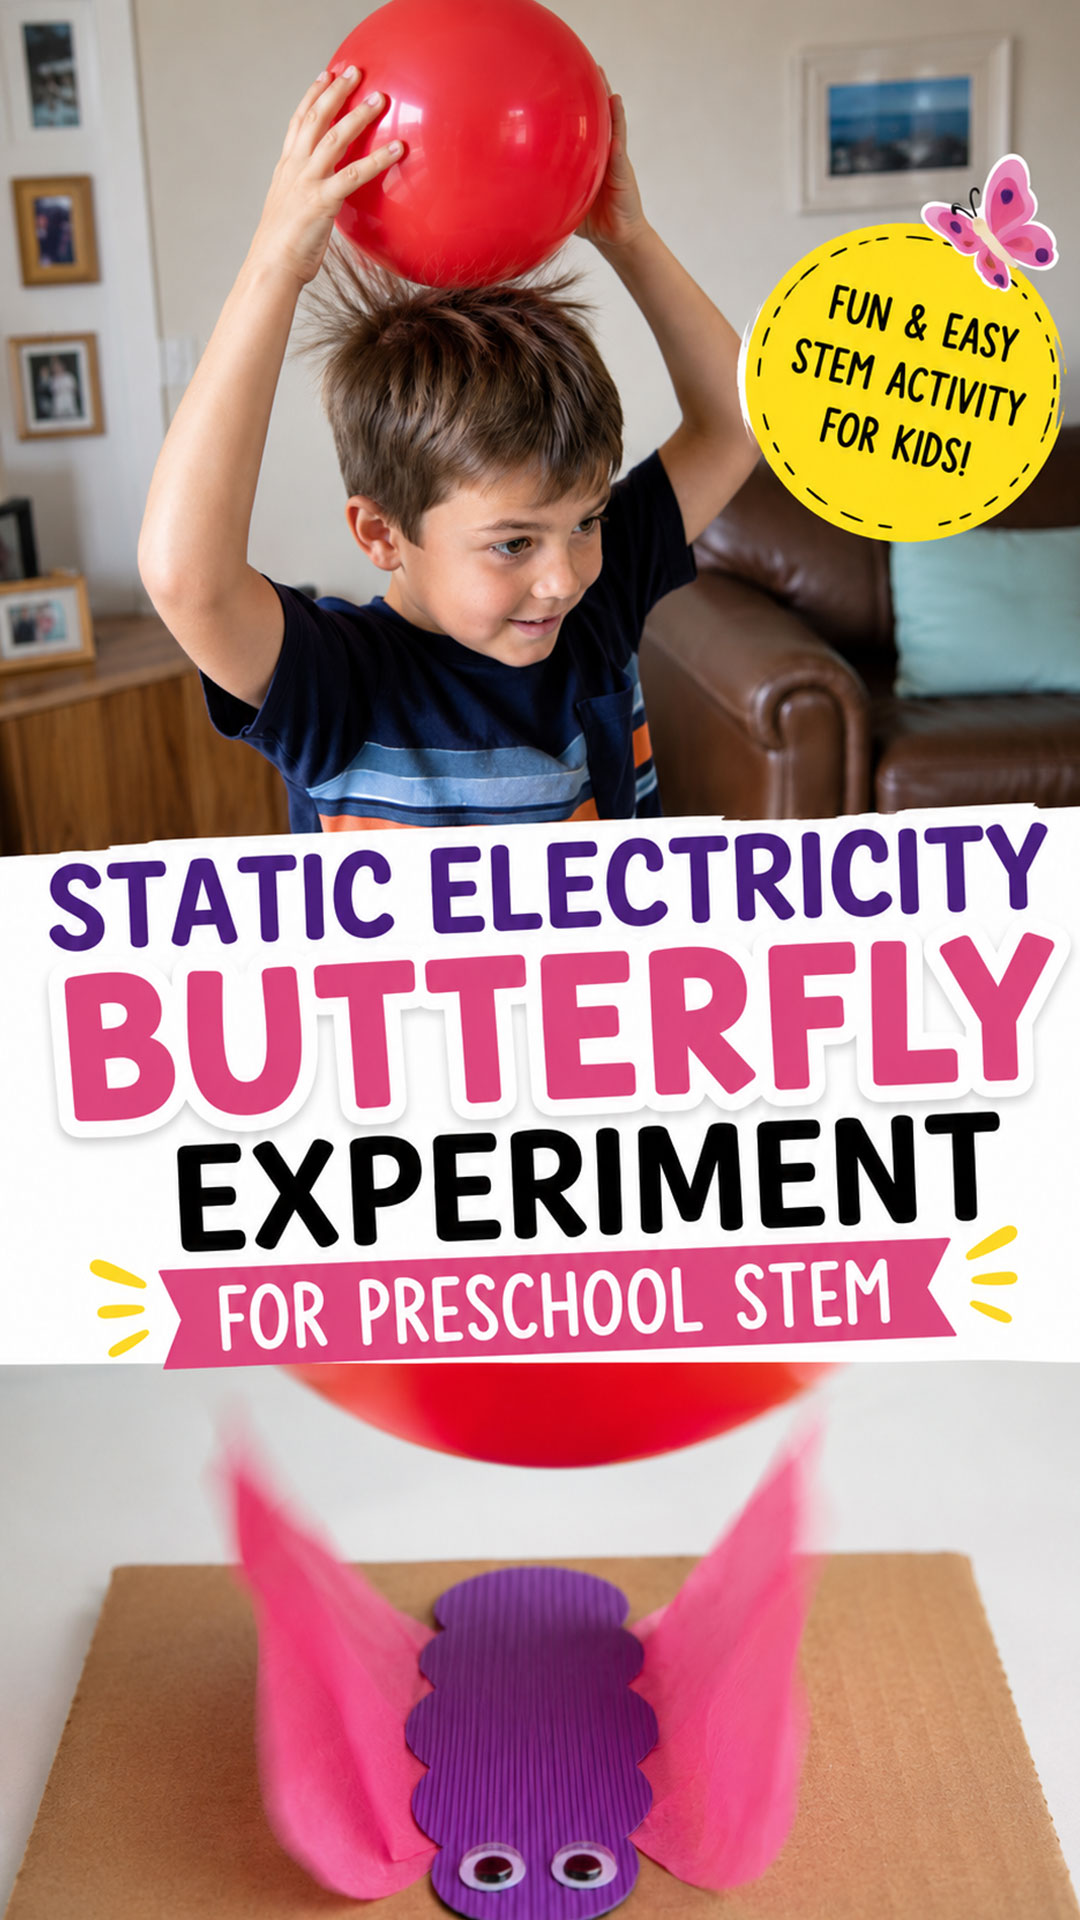
Kids experience static electricity all the time. Think of that little zap after shuffling across a carpet, or hair that stands straight up after pulling off a wool hat.
Those moments spark curiosity, but they rarely come with an explanation. This experiment gives you the perfect, controlled way to answer the question every kid eventually asks: “Why does that happen?”
Even better, this activity turns an invisible force into something visible and repeatable. Kids can watch it happen again and again, which is exactly how real understanding sticks.

Best For
Preschoolers through elementary-age kids, classroom science stations, homeschool STEM lessons, and rainy-day activities that need almost zero mess.
Prep Time
About 15 minutes to prepare the materials, plus just a few minutes of experiment time per child.
What You’ll Need
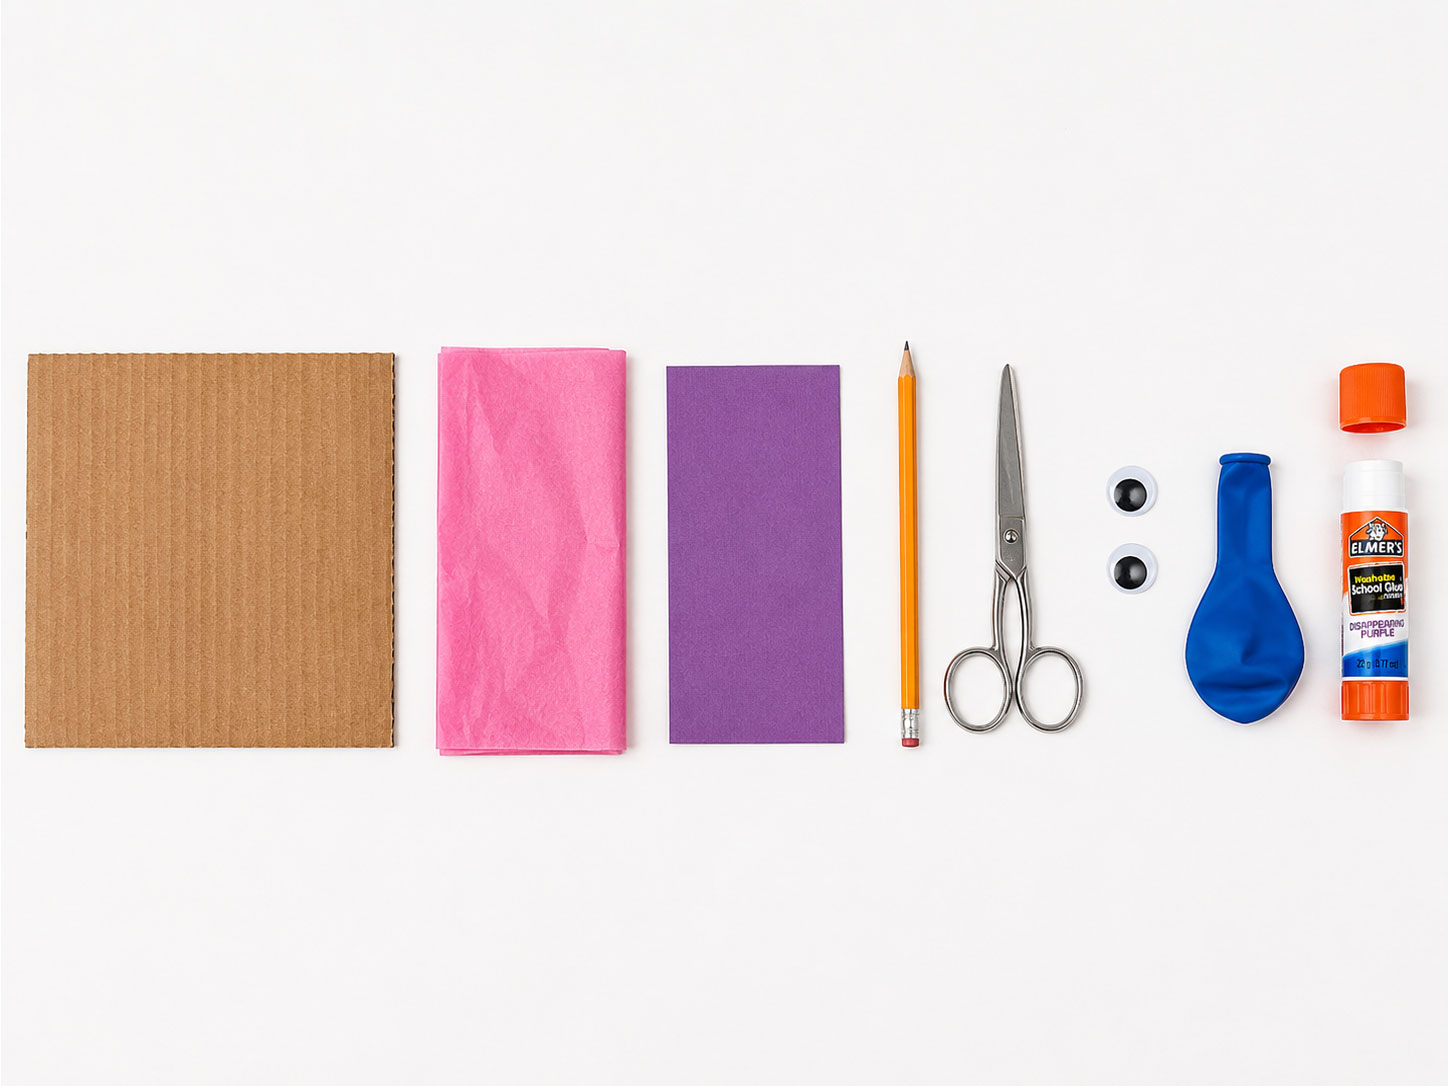
Cardboard (a 7 inch by 7 inch square works great)
Tissue paper, for the butterfly wings
Cardstock paper, for the butterfly body
Pencil
Scissors
Googly eyes
A balloon
Glue stick
How to Set Up Your Static Electricity Butterfly
Follow these steps exactly, and you’ll have a working butterfly wing station ready in minutes.
Step 1: Cut Your Cardboard Base
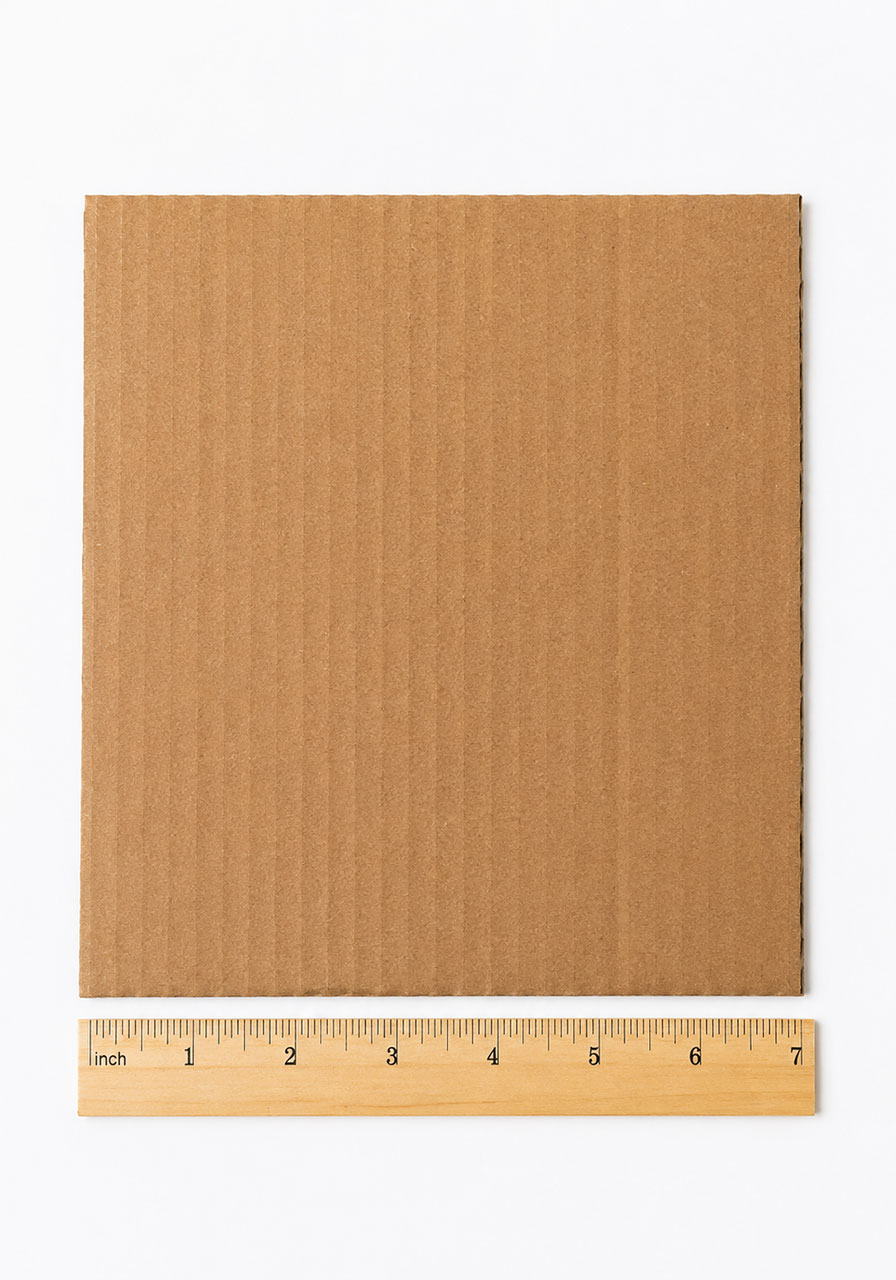
Start with a plain square of cardboard. A 7 inch by 7 inch square is the perfect size for this project, giving your butterfly plenty of room to spread its wings.
Step 2: Cut the Tissue Paper Wings
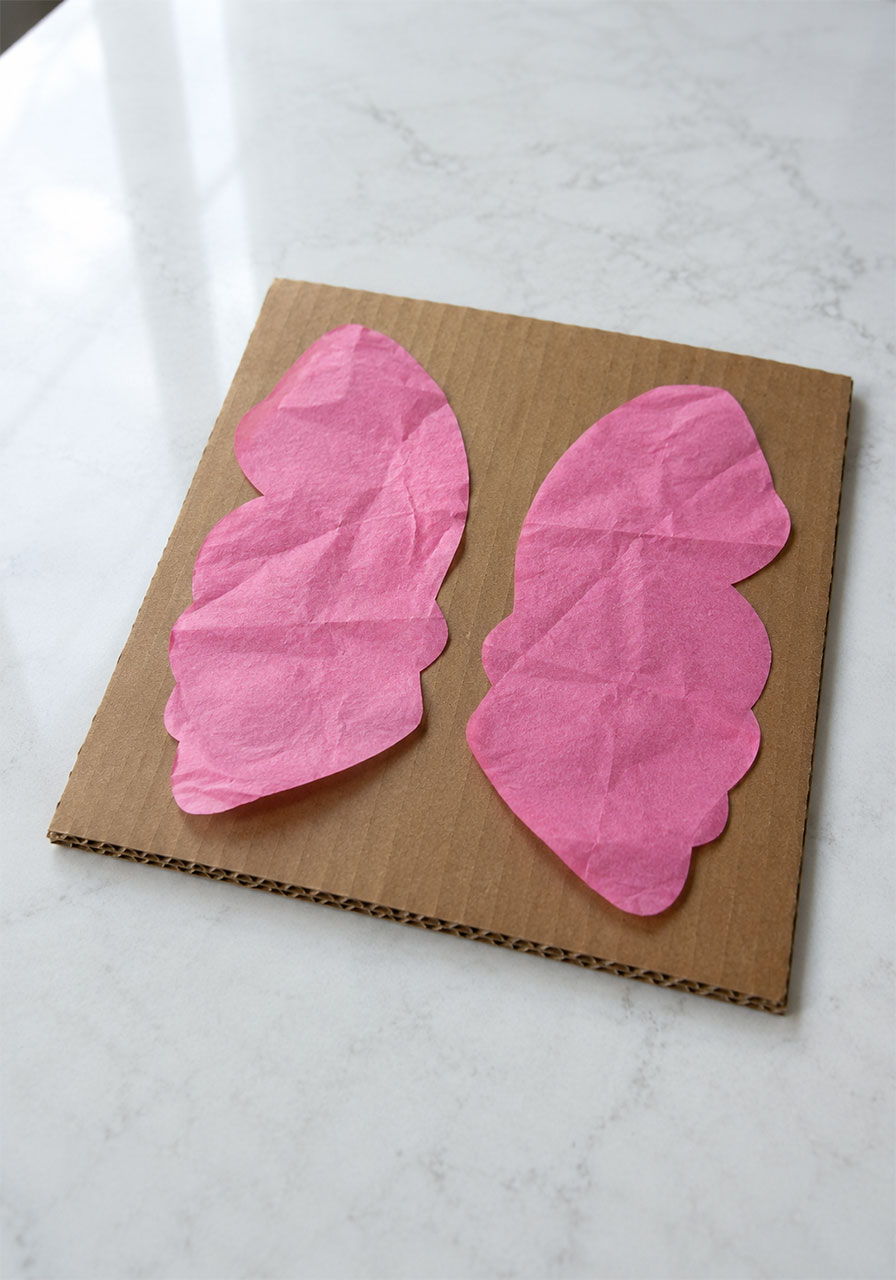
Draw a butterfly wing shape onto your tissue paper using a pencil, keeping it slightly smaller than your cardboard square. Cut out two wing shapes and set them onto the cardboard so they sit side by side, like a full wingspan.
This is the most important step in the whole experiment: do not glue the tissue paper wings down. The wings need to stay completely loose and free so they can lift and flutter later.
Step 3: Add the Butterfly Body and Eyes
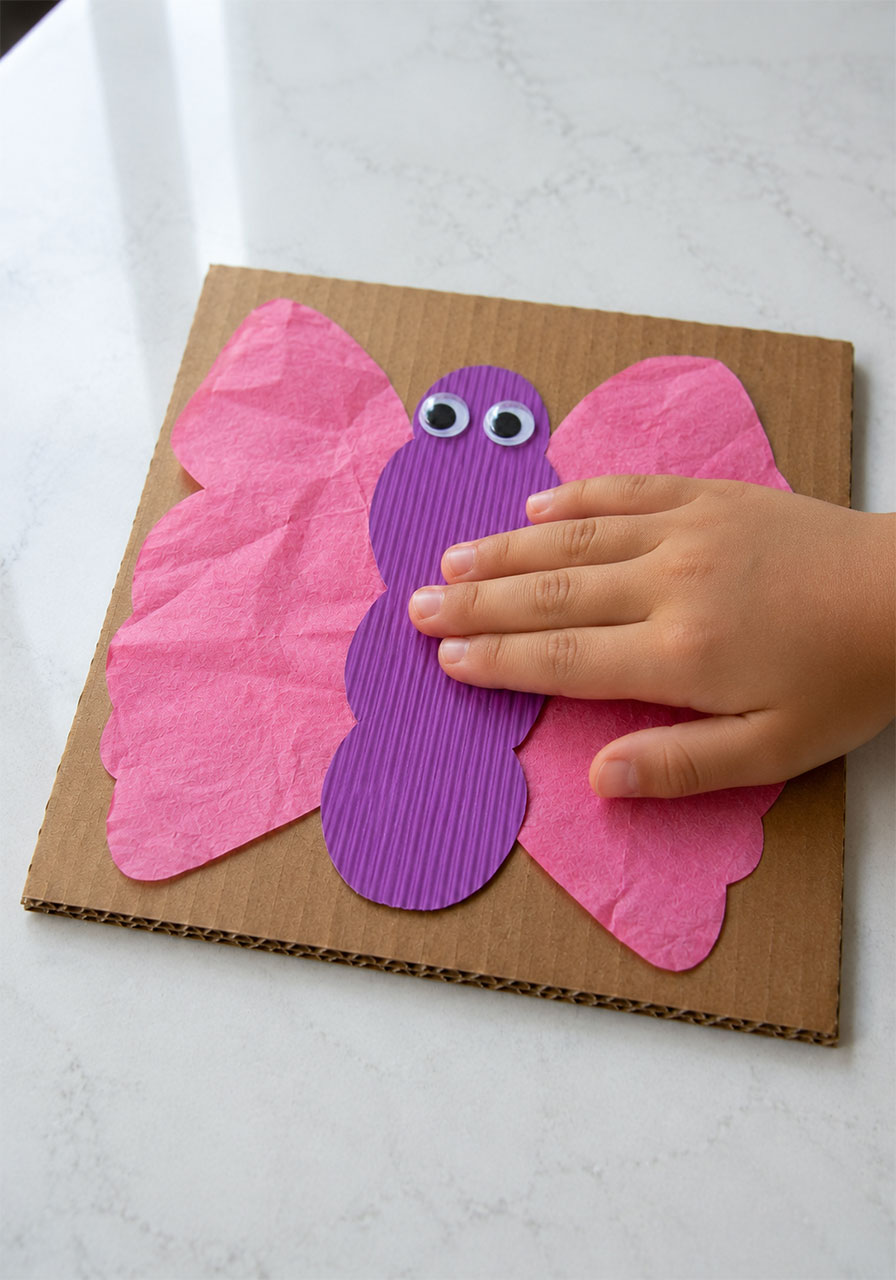
Cut a butterfly body shape out of your cardstock paper. Glue this body down the middle of your wings, letting it overlap onto the cardboard underneath so it holds everything in place.
Glue two googly eyes onto the top of the body. If you’d like to add antennae for extra character, now is the perfect time.
Once the body is glued and the wings are resting loosely on either side, your butterfly craft is officially ready for the science part of the activity.
Step 4: Blow Up Your Balloon
Blow up a balloon to about the size of a grapefruit. A regular round balloon works best, since it gives you plenty of surface area to build up a strong charge.
Step 5: Charge the Balloon
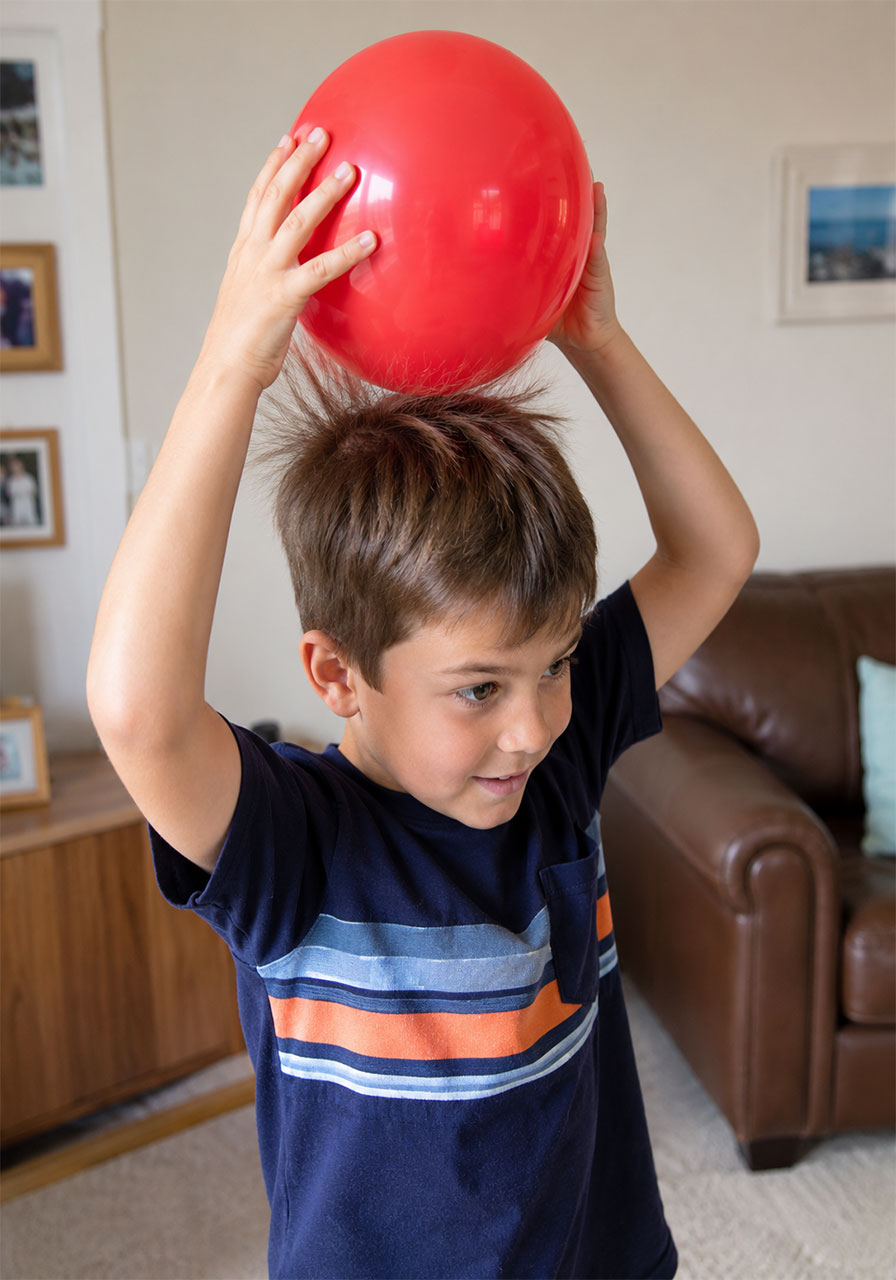
Rub the balloon firmly against your hair for about 10 to 15 seconds. This quick rubbing motion is what actually creates the static charge that powers the entire experiment.
Step 6: Watch the Wings Move
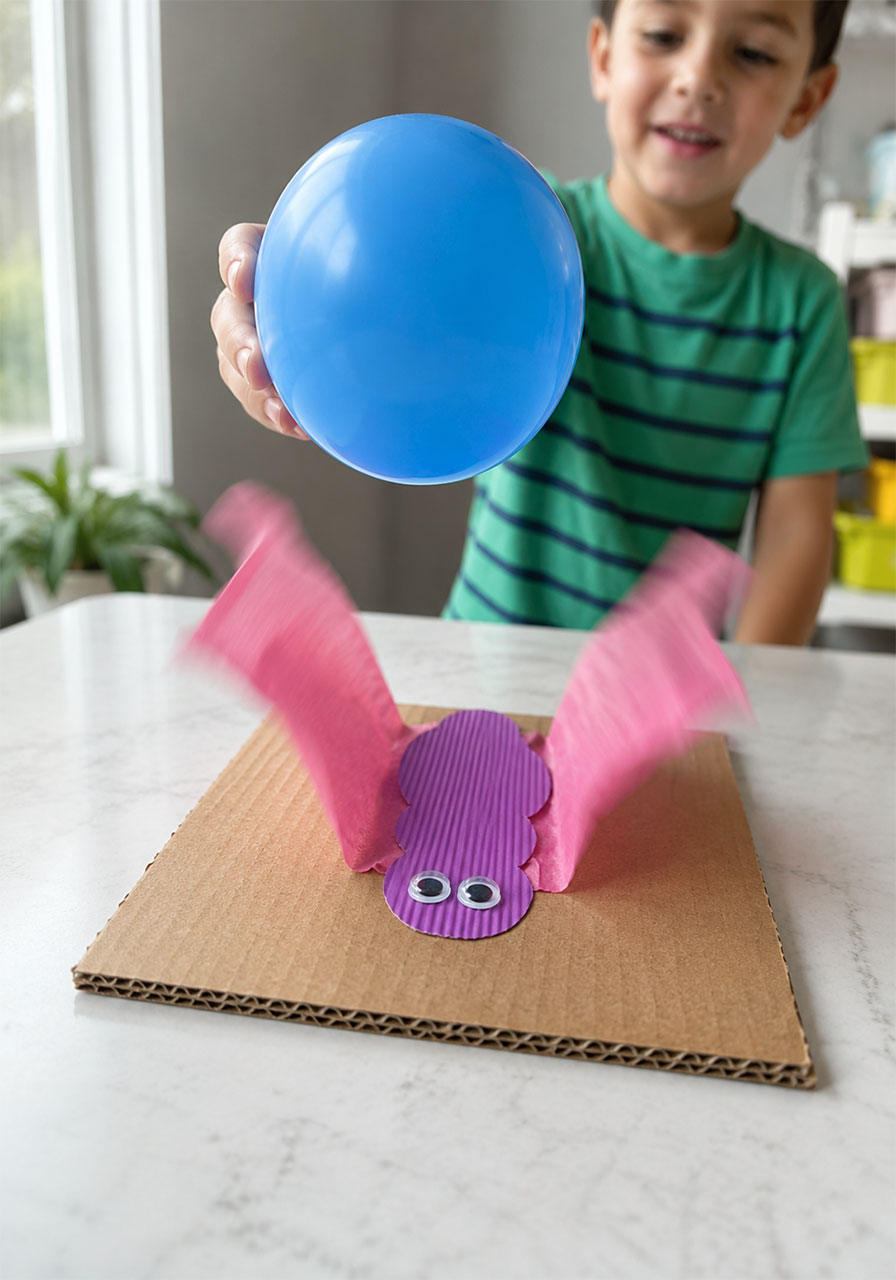
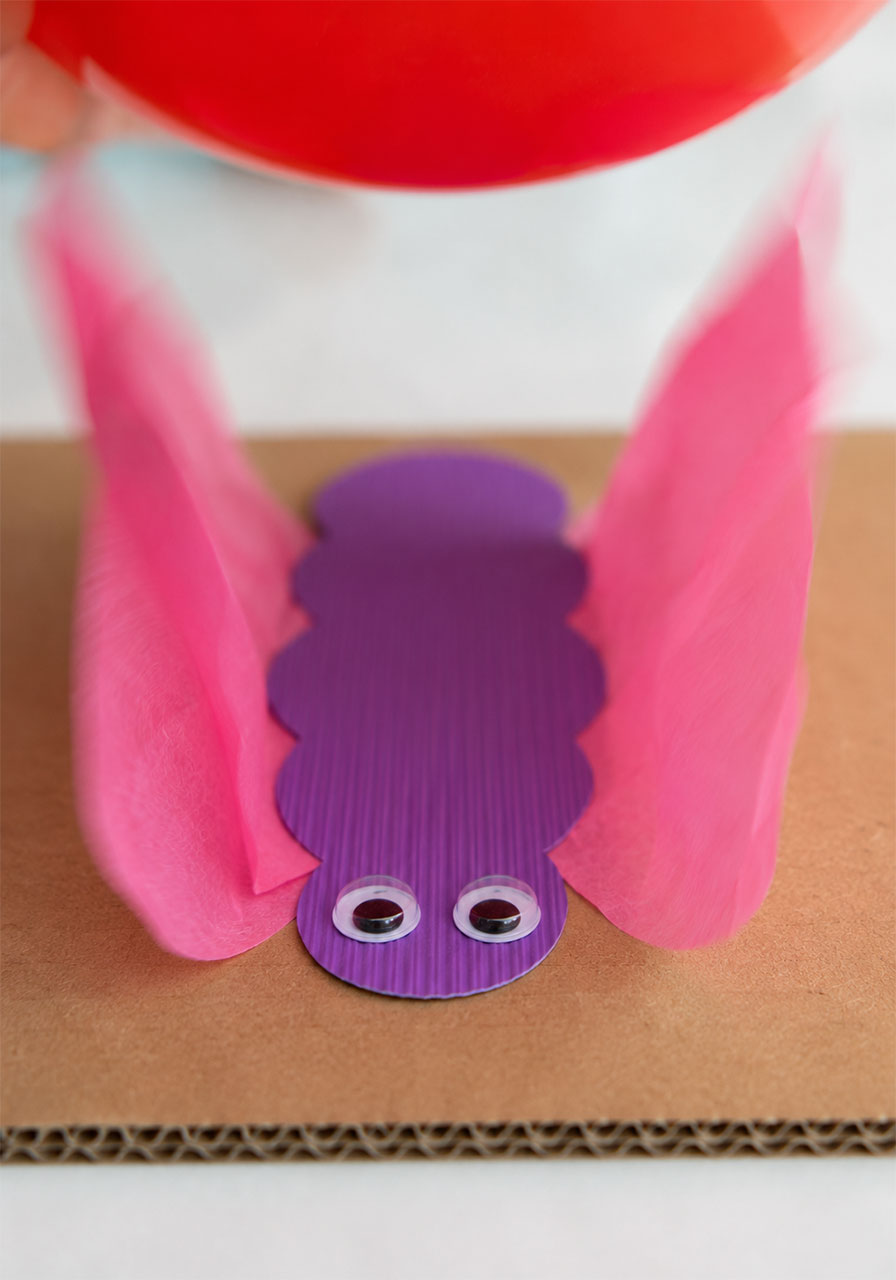
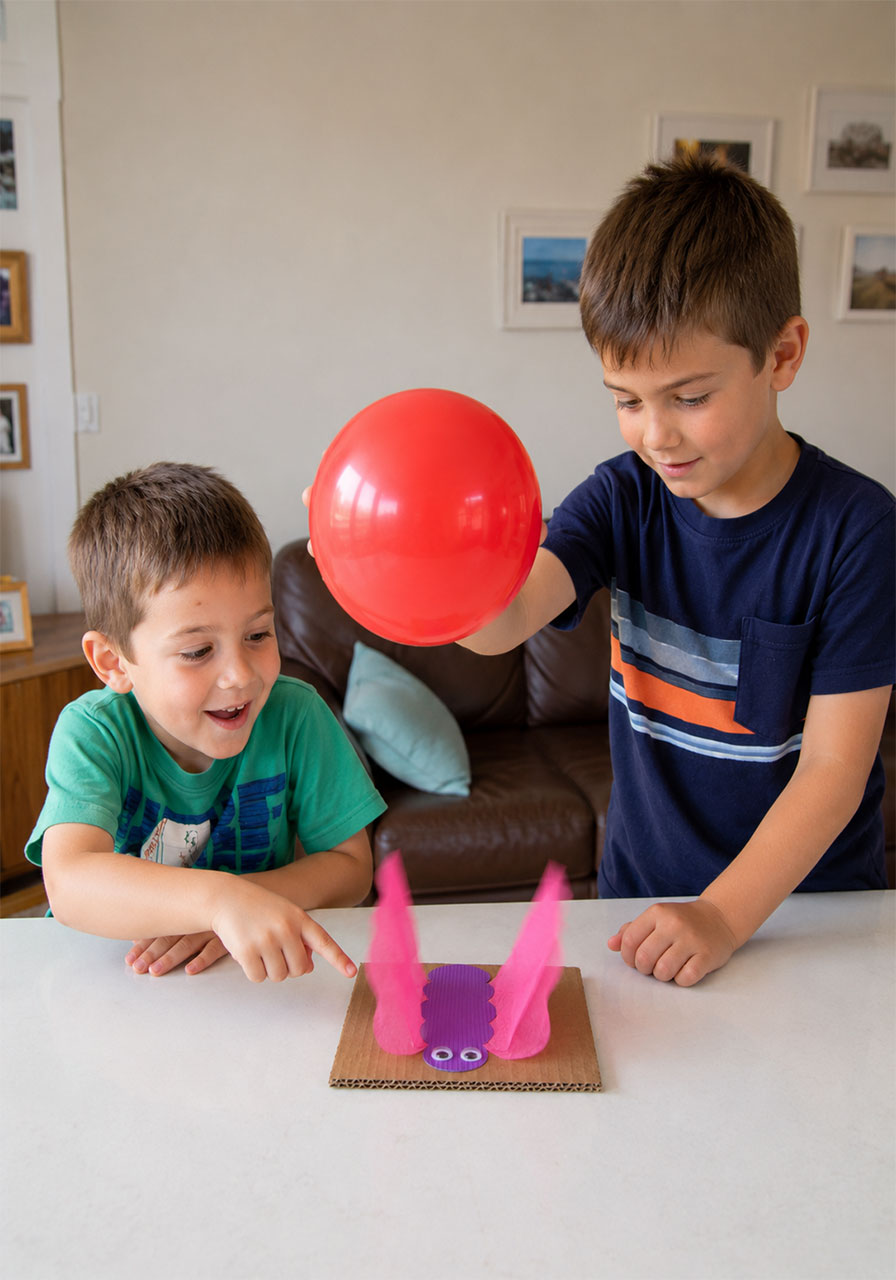
Hold the charged balloon just above the butterfly’s wings, keeping it close but not touching. Slowly move the balloon up and down, and watch as the tissue paper wings lift and flutter toward it.
If the wings stop responding after a few tries, simply rub the balloon in your hair again to recharge it. The flutter effect will come right back.
The Science Behind the Flutter
Every atom contains protons and electrons. Protons carry a positive charge, and electrons carry a negative charge, and under normal conditions, these charges stay balanced and equal.
When you rub the balloon against your hair, something interesting happens. Electrons transfer from your hair onto the surface of the balloon, leaving the balloon with a negative charge.
Opposite charges attract each other. Since the tissue paper wings are now relatively positive compared to the negatively charged balloon, they get pulled toward it.
That pull is strong enough to physically lift the lightweight tissue paper, even though the balloon never touches the wings at all. This is static electricity working in real time, right in front of your students or kids.
Pro Tip
Dry air makes static electricity stronger and easier to demonstrate, so this experiment works especially well during the winter months or in an air-conditioned classroom. If the wings seem sluggish, try running the balloon over a wool sweater or blanket instead of hair for an even stronger charge.
Fun Variation
Try this experiment with different lightweight materials, such as small pieces of paper confetti or thin strips of foil, alongside the butterfly wings. Kids can compare which materials respond fastest to the charged balloon, turning one simple demo into a full science comparison activity.
Why Kids (and Teachers) Love This Activity
This experiment checks every box for a great STEM lesson. It’s visual, it’s interactive, and it gives kids a concrete answer to something they’ve likely already wondered about.
It also works beautifully for a range of ages. Preschoolers get a magical moving butterfly, while older kids can dig into the actual electron transfer happening behind the scenes.
Because the supplies are so simple, this is an easy activity to repeat at home, set up as a classroom station, or even send home as a take-along science kit for families to explore together.
With this experiment in your back pocket, you’re ready to turn an ordinary afternoon into a memorable, hands-on science lesson your kids will want to repeat again and again.
