
Turn your porch into the Great Hall in one afternoon – no wand required.
If you’ve scrolled past those dreamy floating-candle-and-cloud ceilings and thought, “there’s no way I could pull that off,” we’re here to prove you very much can.
This is the kind of Halloween decor that stops foot traffic. We’re talking neighbors slowing their cars down. Trick-or-treaters gasping. Parents pulling out their phones before their kids even ring the doorbell.
And here’s the best part: it looks like a movie prop team spent a week on it, but it’s actually a simple, weekend-friendly project you can knock out in about two hours.
Best of all? Once it’s built, it’s yours forever. Roll it up, tuck it away, and pull it back out every single October.
Let’s get you glowing.
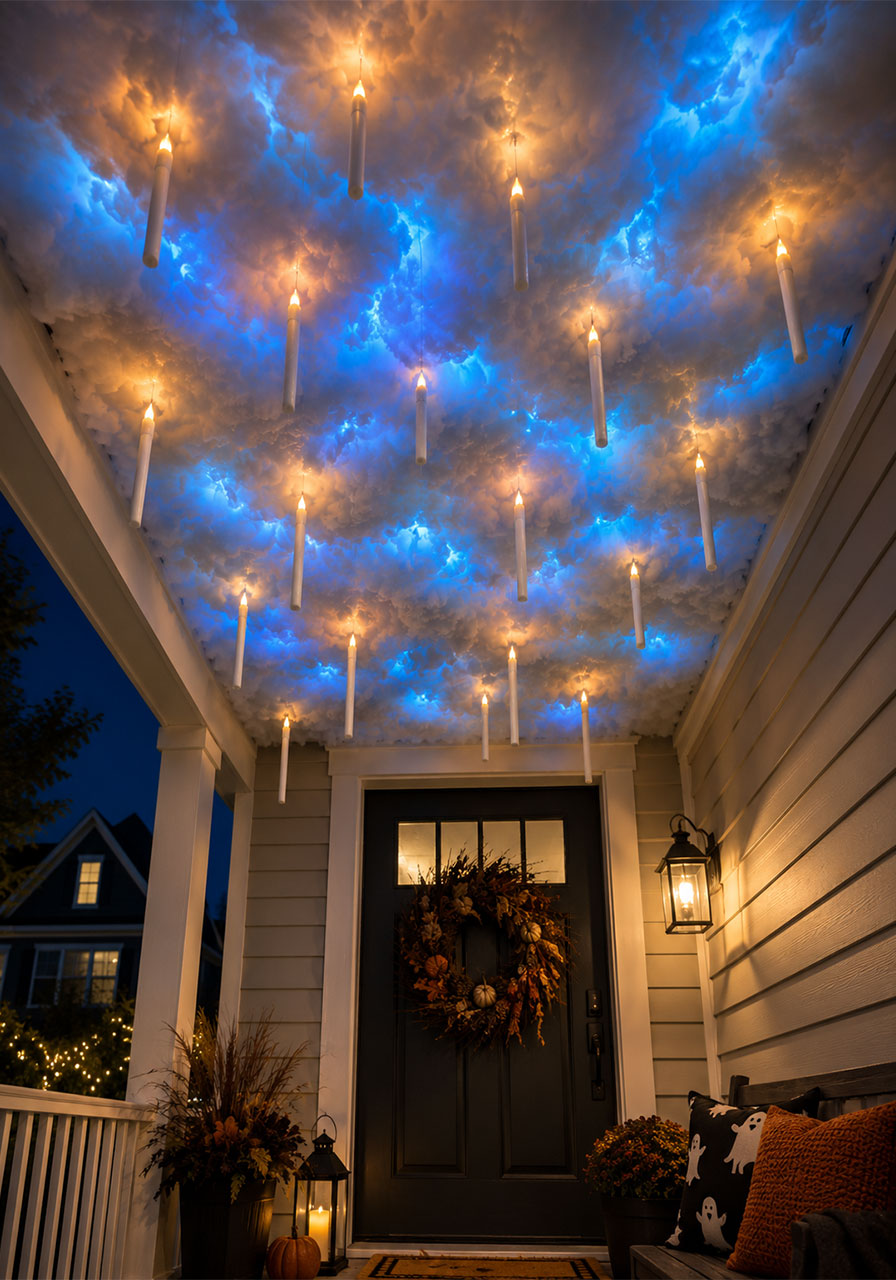
Why This DIY Is Worth Your Weekend
Every host wants that one showstopper decoration – the thing people remember and talk about long after the candy bowl is empty.
This floating candle cloud ceiling is exactly that. It’s dramatic, it’s a little magical, and it photographs beautifully, which means your porch is about to become the most-tagged spot on the block.
It also happens to be endlessly flexible. Keep it moody and spooky, or go full Hogwarts with house banners and Butterbeer. Either way, you end up with a porch nobody forgets.
Best for: Front porches, covered patios, entryways, or any indoor space with ceiling access.
Time to Make: About 90 minutes to 2 hours.
Skill Level: Beginner-friendly. If you can use a spray adhesive and tie a knot, you’ve got this.
Reusable: Yes! Store it properly and it comes back every Halloween looking just as magical.

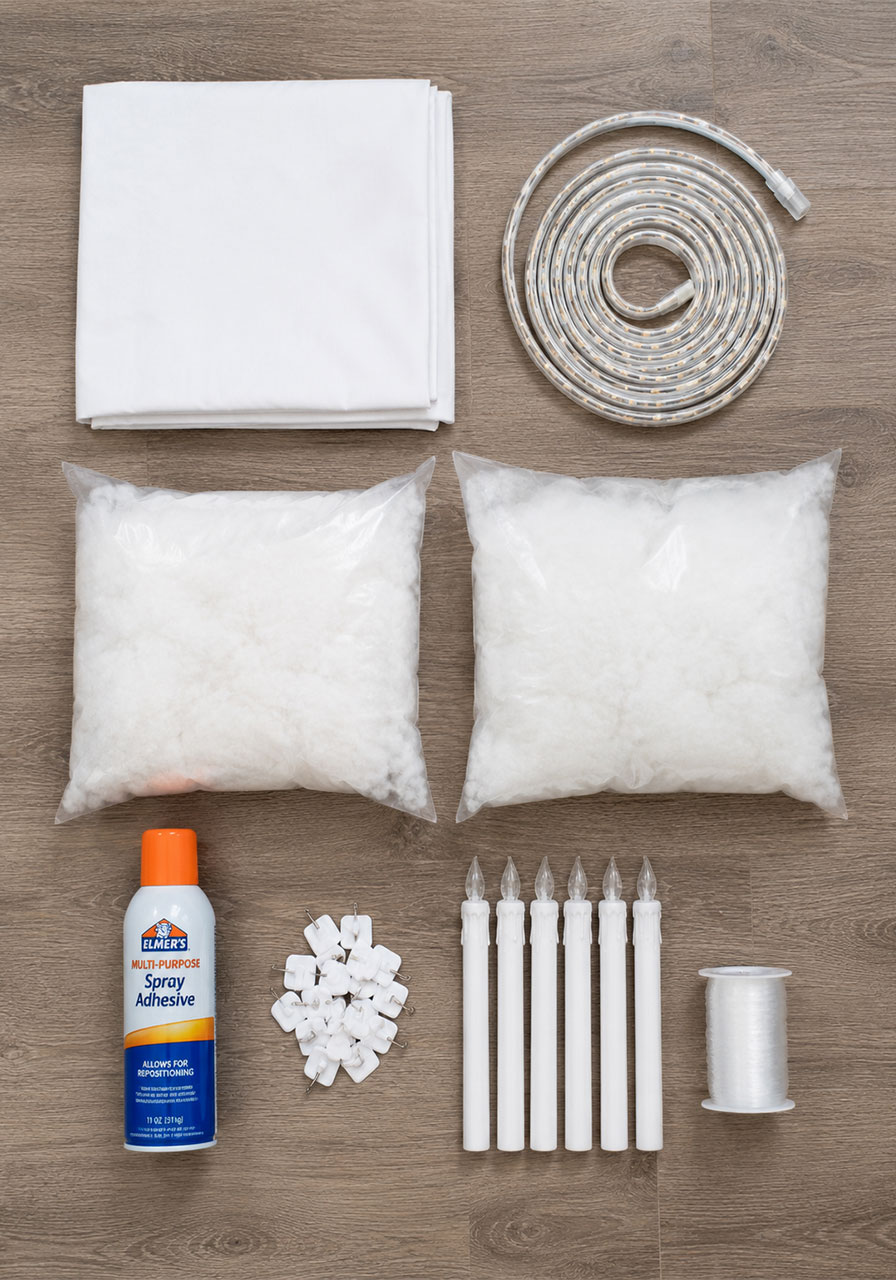
What You’ll Need
A white flat bed sheet (cut to fit your space)
LED rope lights with sticky backing (one 50-foot roll covers most porches)
Polyfill stuffing (two small bags is typically plenty)
Spray adhesive made for fabric and fiberfill
Outdoor adhesive hooks
Battery-operated floating taper candles (mix short and tall for depth)
Fishing line (many candle sets already include this)
Optional: a Bluetooth speaker for a spooky soundtrack
Total cost typically lands around $75, and since everything is reusable, that’s a one-time investment for years of “how did you DO that?” reactions.
How to Build Your Floating Candle Cloud Ceiling
Step 1: Cut your sheet to size.
Lay your sheet flat and measure your ceiling space. Leave a little extra fabric around the edges – you’ll need it to create hanging loops later.
Don’t stress about perfectly straight cuts. Once the clouds go on, any uneven edges disappear completely.
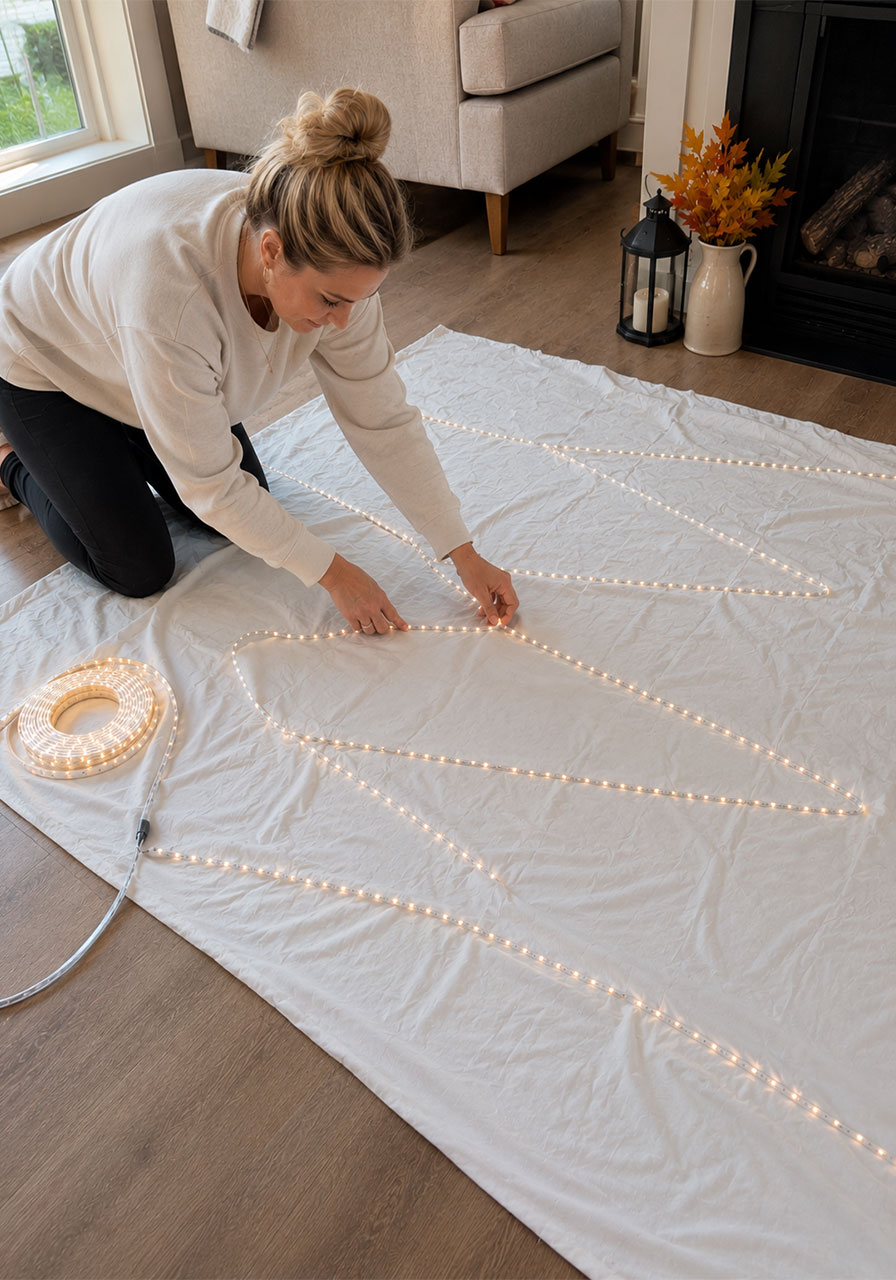
Step 2: Add your rope lights.
Peel back the adhesive strip and stick the lights onto the sheet in loose, random zigzags. Think scattered lightning bolts rather than neat rows.
Keep the whole strand connected in one continuous run. This saves you from juggling multiple battery packs later, and trust us, future-you will be grateful.
Pro Tip: Don’t worry about making the light pattern look pretty. Once the sheet flips over and the clouds go on, you’ll never see the actual lines – just the glow.
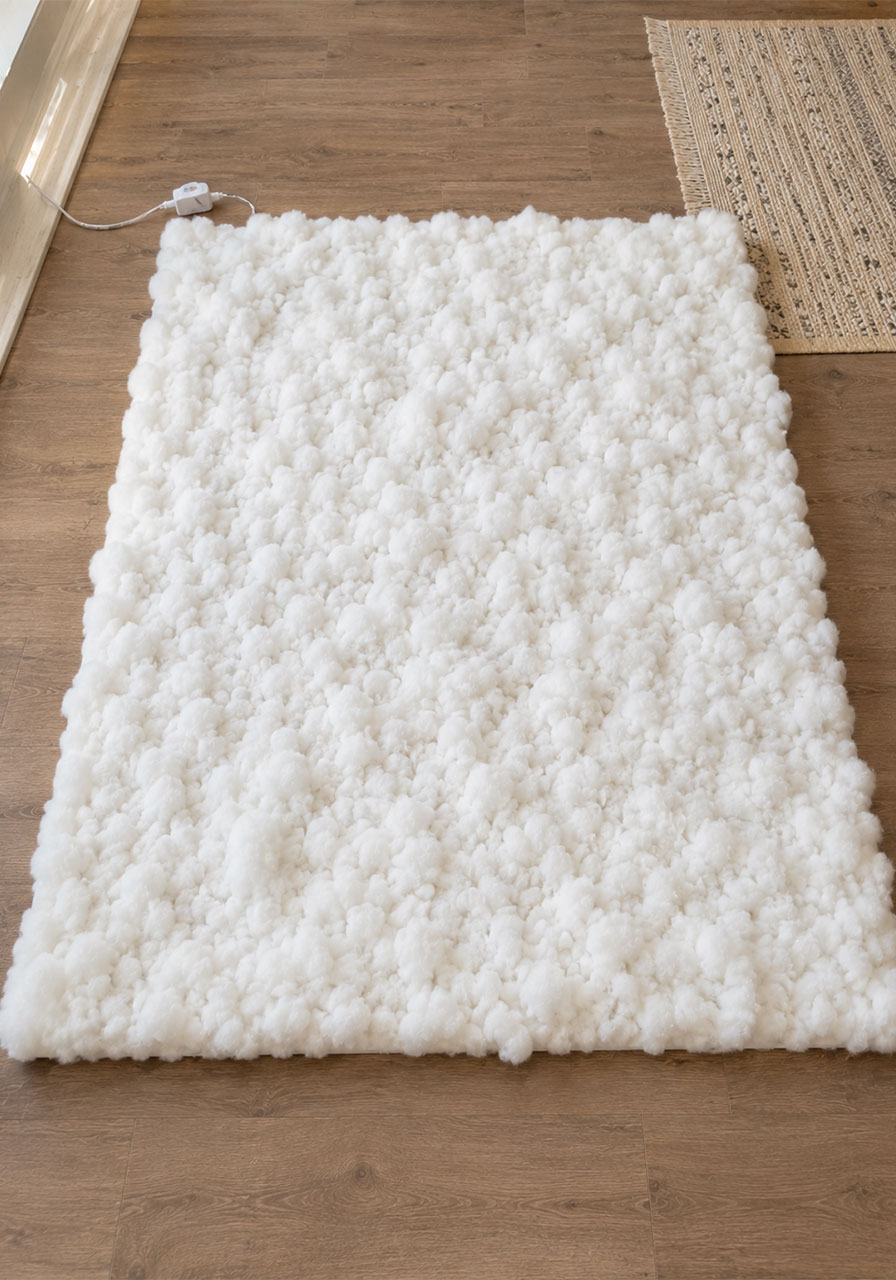
Step 3: Flip the sheet and build your clouds.
Turn the sheet over so your lights now face downward. Spray a section with adhesive, then press polyfill stuffing into place.

Lumpy and uneven is exactly what you want here. Real clouds aren’t tidy, and neither is this ceiling.
Pro Tip: If it looks a little sparse once it’s hanging, that’s an easy fix. You can always add extra clouds after installation.
Step 4: Prep your hooks and candles.
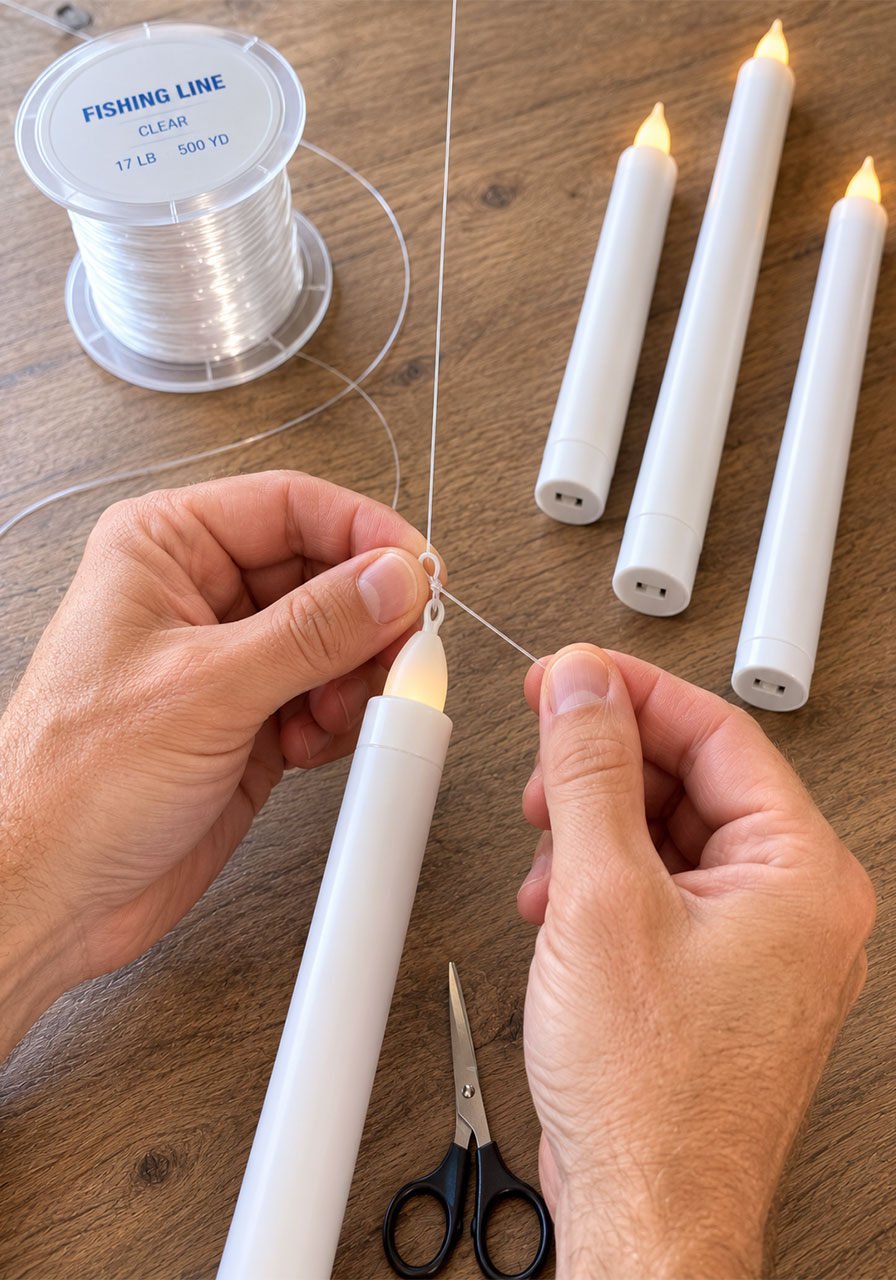
Stick adhesive hooks along the ceiling wherever you want a candle to “float.” Tie fishing line to each candle, varying the lengths so some hang lower than others.
This layered height is what sells the illusion. Uniform heights read as decor; varied heights read as magic.
Step 5: Hang your cloud sheet.
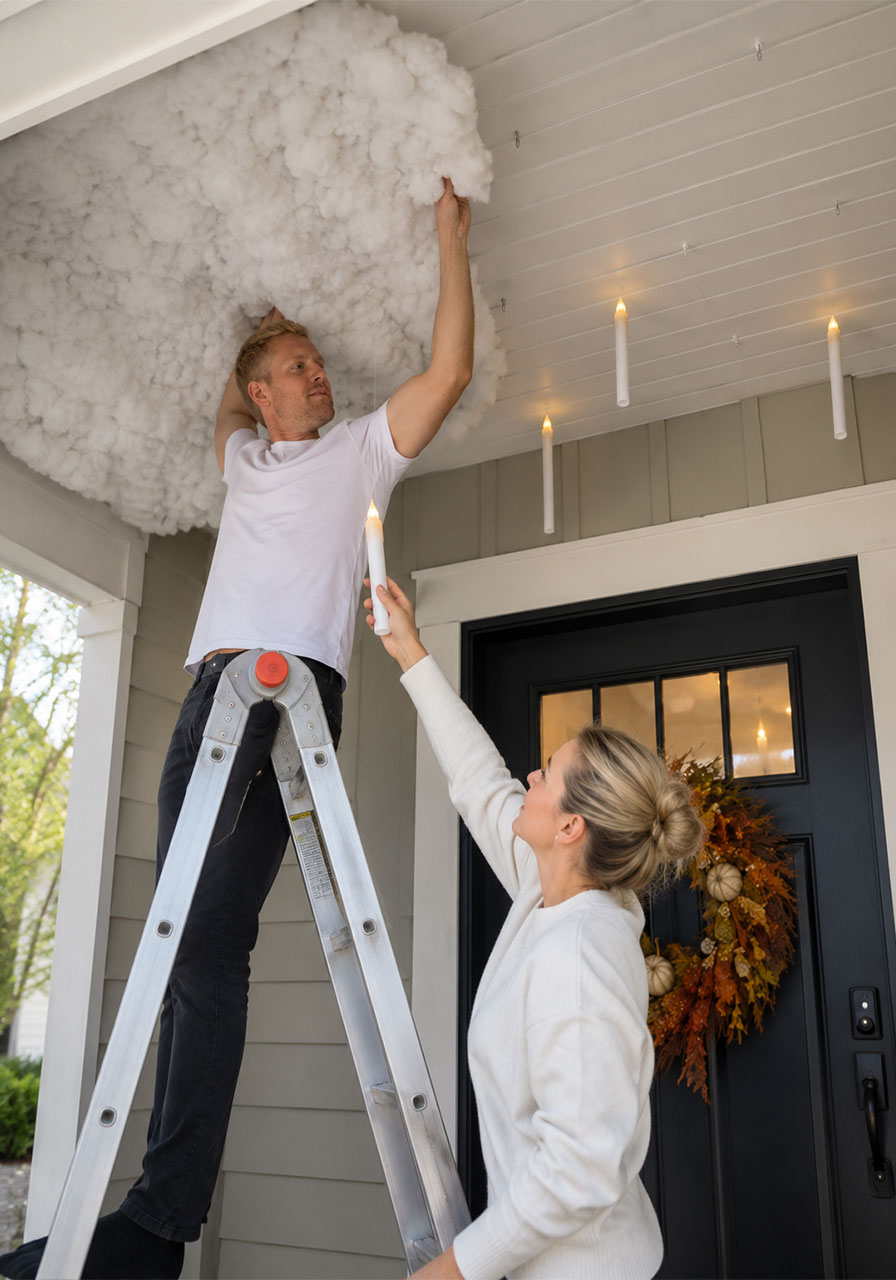
Cut two small parallel slits, about an inch apart, to form a loop in the fabric. Slip the loop over a hook and let it hang.
Repeat this across the ceiling until your entire cloudscape is in place.
Step 6: Hang your floating candles.
Loop each candle’s fishing line onto the same hooks holding your sheet. The candles will dangle just below the clouds, glowing softly against the lit backdrop above.
Step 7: Set the scene.
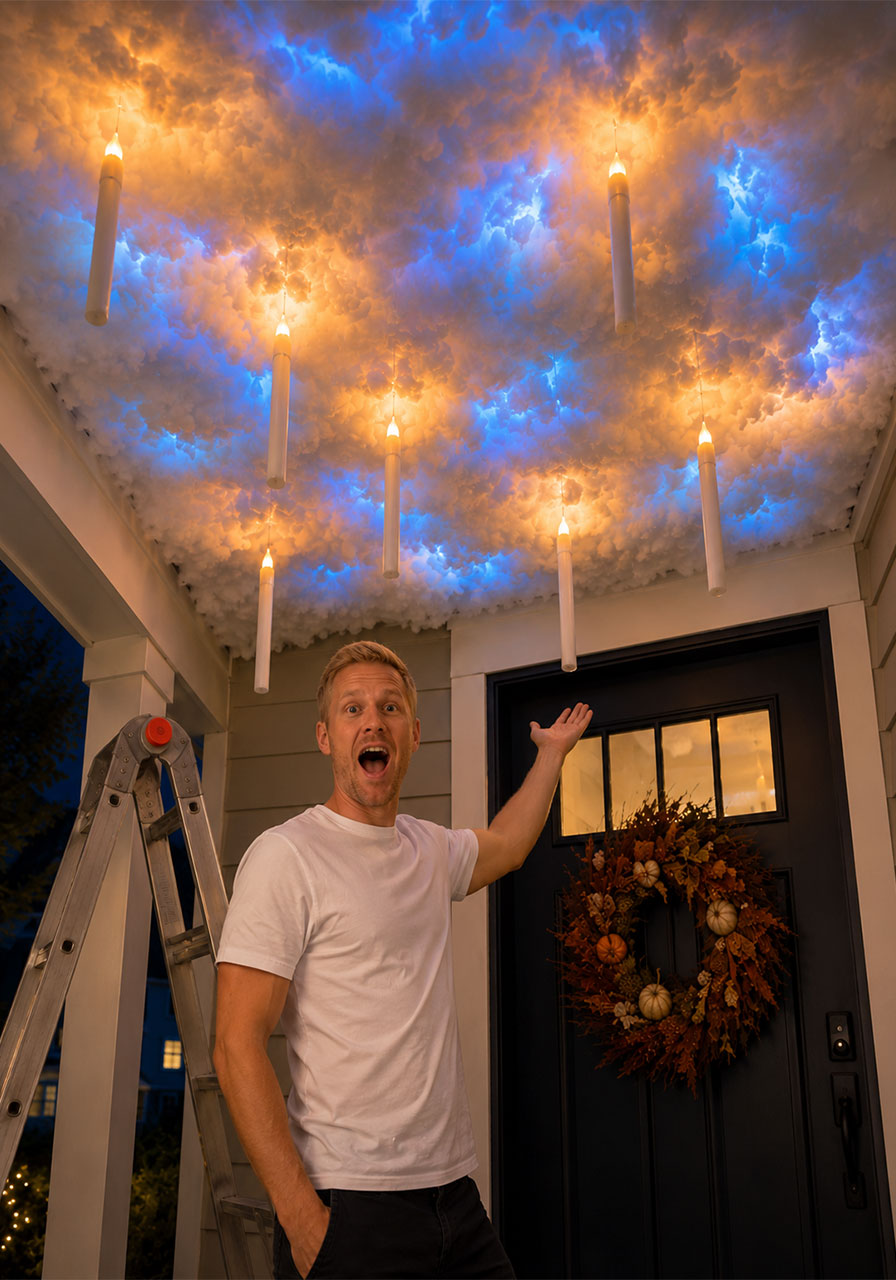
Turn off your regular porch lights. Switch on your rope lights and candles. If you’re leaning into the wizarding-world vibe, cue up a moody soundtrack through a Bluetooth speaker.
The music genuinely changes the whole experience – it turns a decoration into an atmosphere.
Take It Further
Once your ceiling is glowing, you get to decide how far to take the theme.
Keep it simple and spooky, or go all-in with a few easy additions:
House banners: Hang colored banners on either side of your porch for instant wizarding-world charm.
Themed snacks: Serve colorful jelly beans or a quick cream-soda “Butterbeer” for guests.
A photo moment: Add a simple platform sign so friends and neighbors can snap their own picture under the clouds.
Subtle or extra, either way, it’s the kind of setup people remember long after the porch light goes off.
Storing It for Next Year
When Halloween wraps up, gently unhook your sheet, candles, and lights.
Roll the sheet with the cloud side facing in to help keep the polyfill clean. Store your candles separately so the cords and fishing line don’t tangle.
Next October, all you have to do is unroll, hang, and plug in. It’ll look just as magical as opening night.
Helpful Tips for Every Porch
Small porch space? Scale it down. A mini version over your doorway or entryway still delivers the wow factor.
On a budget? Use fewer candles, but place them in your most visible spots for maximum impact.
Windy area? Add extra hooks and shorten your fishing line slightly so candles stay steady instead of swinging.
Floating Candle Ceiling: Frequently Asked Questions
How do you make candles look like they’re floating?
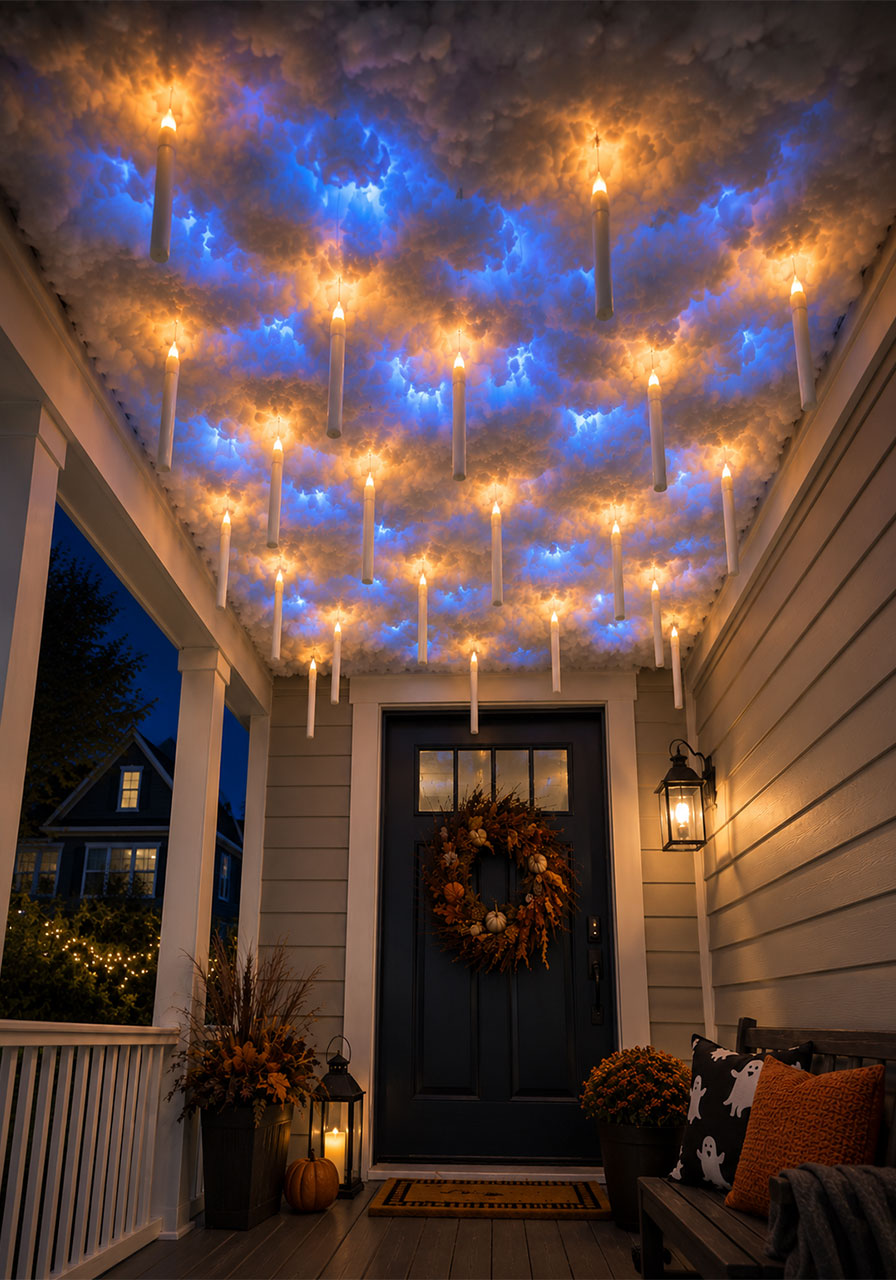
Battery-operated candles get tied to fishing line and hung from adhesive hooks. Since the line is nearly invisible, the candles appear to hover in midair against the cloud backdrop.
How do you attach the cloud ceiling without damaging your porch?
Small fabric loops slip over removable adhesive hooks. This keeps everything secure during the season and easy to take down without any residue.
Can this be done indoors?
Absolutely. Swap outdoor hooks for indoor-rated adhesive hooks, and make sure your lights are approved for indoor use.
How long does this actually take?
Most hosts finish in about two hours, including breaks. If you’re moving efficiently, you can have it fully installed in under 90 minutes.
What’s the total cost?
Plan on roughly $75 for your full setup. Since every piece is reusable, that cost stretches across many Halloweens to come.
Can you change the light colors?
Yes! Many rope lights offer color-changing settings, so you can shift the glow to match any theme or mood you’re going for.
Ready to Light Up Your Porch?
With a sheet, some stuffing, a handful of lights, and a little patience, you’ve got everything you need to build the porch decoration your street will be talking about all season.
Because the best Halloweens are the ones where guests stop, stare, and reach for their phones before they even reach your door.
#HalloweenDecor #DIYHalloween #FloatingCandles #PorchDecor #PartyPlanning
