
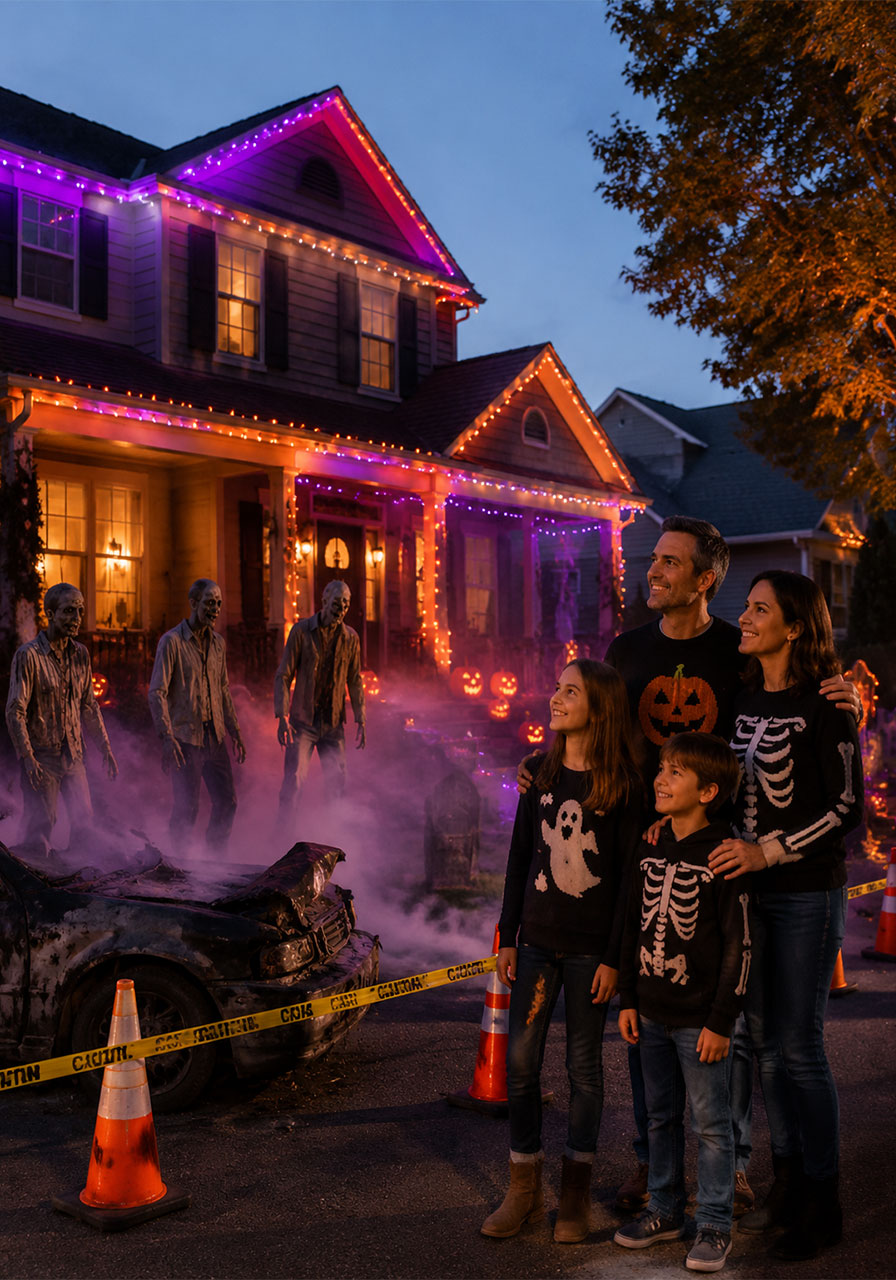
Forget the plastic skeleton dangling from your porch light. Some hosts don’t just decorate for Halloween – they build an experience.
Meet the Cwikla family of Blackwood, New Jersey. Over the years, they’ve sunk more than $100,000 into their sprawling home haunt, known locally as “Psycho Trail.” This year alone, dad Frank Cwikla dropped about $5,000 on lights, screws, paint, and fog juice to keep the nightmare fresh.
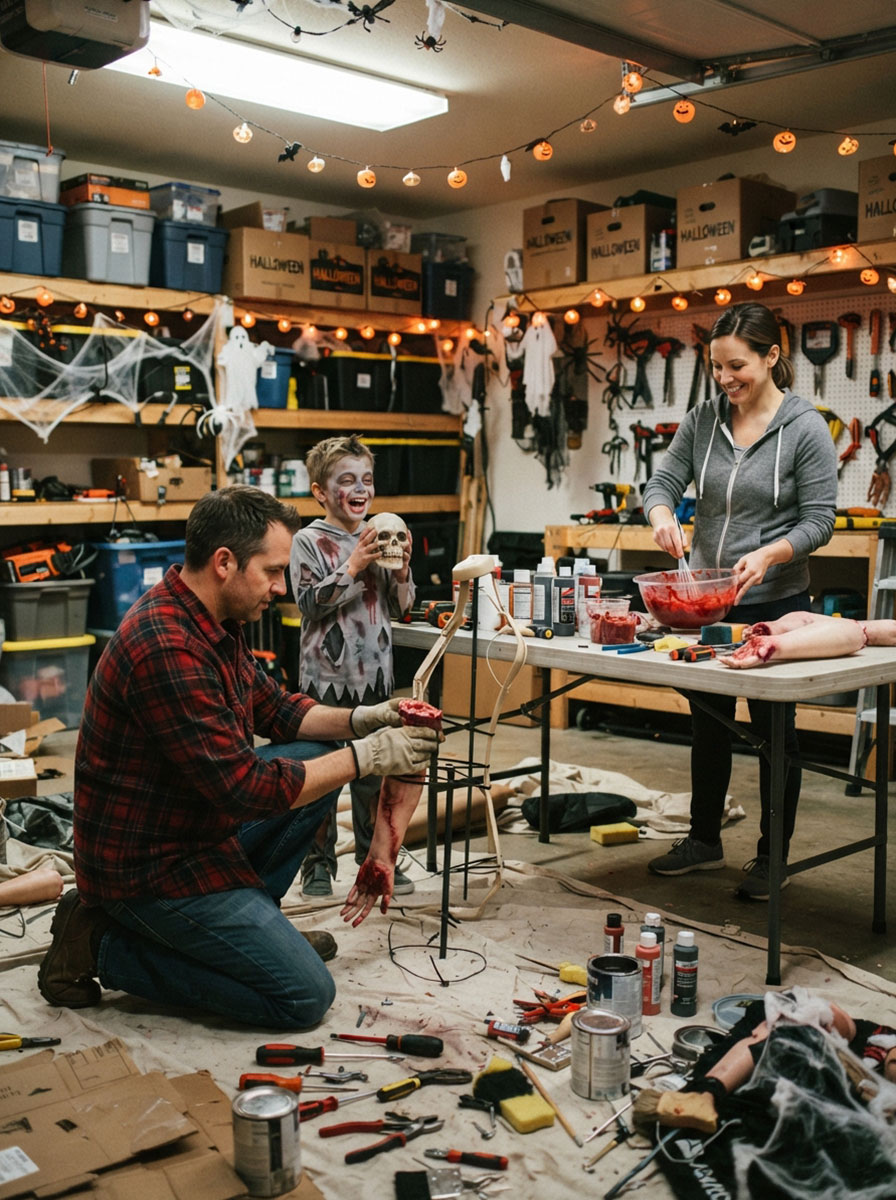
And he’s not doing it alone. His 6-year-old son Guy suits up in a mask and helps scare trick-or-treaters after dark. The display has its own Facebook page with over 9,500 followers who tune in for updates, including weather-related closures.
Cwikla has collected so many props over the years that he needs a 26-foot U-Haul just to move everything to storage each season. Ask him why he keeps going, and the answer is simple: “I enjoy people.”
That’s the real magic behind every unforgettable haunted house party. It’s never really about the money – it’s about the reaction on your guests’ faces when they walk through your front door and into another world.
The good news? You don’t need six figures to pull off a haunt your neighborhood will talk about for years. You just need the right game plan. Here’s how to build your own showstopping Halloween experience, at whatever budget you’re working with.
Why Home Haunts Have Exploded Across the US
This isn’t a niche hobby anymore. Americans are projected to spend nearly $3.9 billion a year on Halloween decorations alone, and that number keeps climbing.
Home haunting has become its own community. Families like the Connollys of Yardley, Pennsylvania started with a single 12-foot skeleton from Home Depot. One purchase led to a werewolf. Then a full Beetlejuice-themed yard. It escalates fast, and that’s half the fun.
Across the country, dedicated haunters are turning driveways into zombie outbreaks, garages into mad scientist labs, and porches into carnival ticket booths straight out of a horror movie.
Whether you’re planning a small gathering for close friends or opening your display to the whole street, the formula is the same. Pick a theme. Build it in layers. And always, always think about the guest experience first.

Step 1: Set Your Budget Tier
Before you buy a single fog machine, decide which level of haunt you’re building. This keeps you from blowing your whole party budget on one giant animatronic clown (tempting, we know).
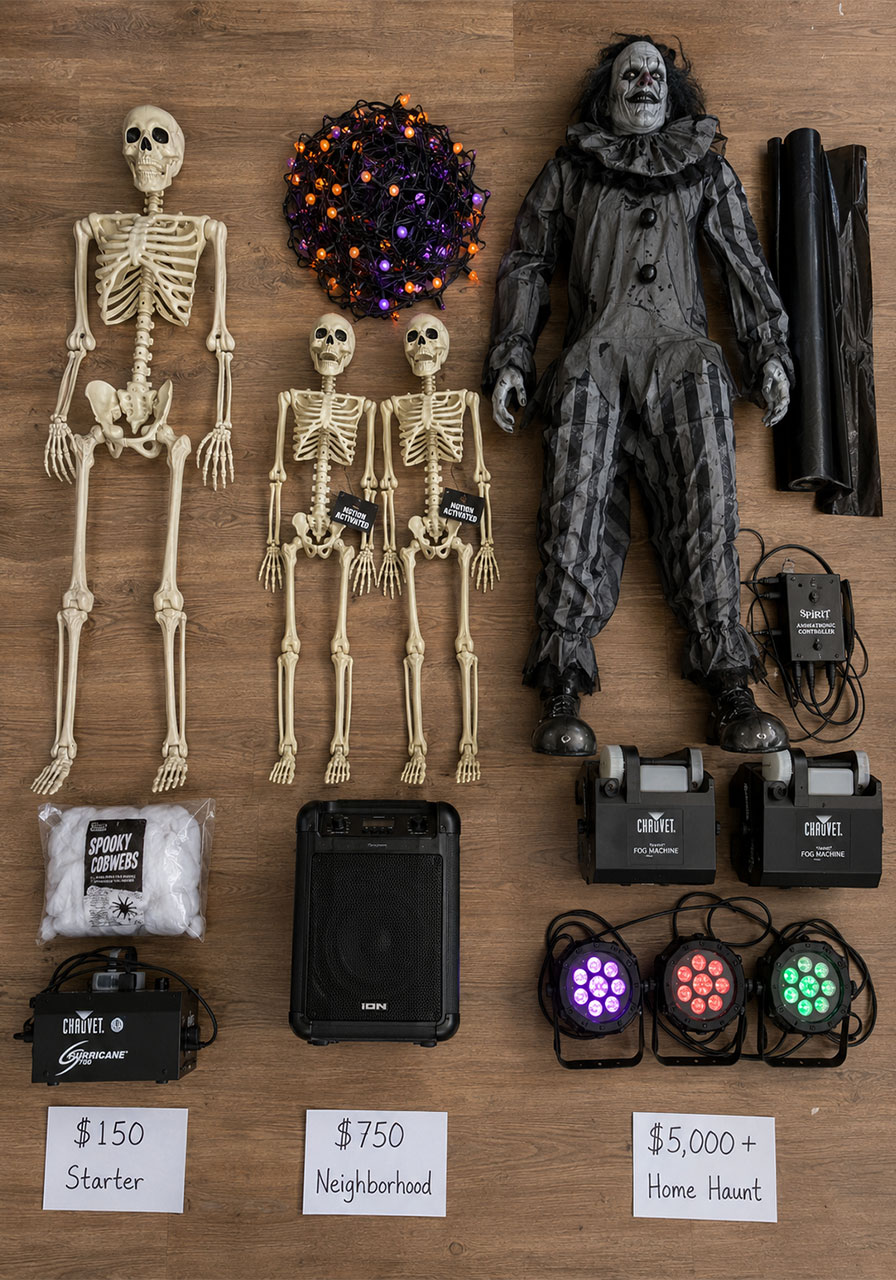
The $150 Starter Haunt: Best for first-timers or apartment dwellers. Time to set up: one afternoon. Focus on lighting, a fog machine, dollar store cobwebs, and one strong “hero prop” like a life-size skeleton.
The $750 Neighborhood Haunt: Best for front-yard displays that stop foot traffic. Time to set up: a weekend. Add a soundtrack, motion-activated jump scares, and two to three themed zones like a graveyard entry and a monster-filled porch.
The $5,000+ Home Haunt: Best for hosts who want their house talked about all year. Time to set up: multiple weekends, spread across October. This is where you build actual “rooms” – think a mad scientist lab, a vampire’s crypt, or a clown-themed carnival entrance – complete with animatronics, strobe lighting, and a full walk-through route.
Pro Tip: Whatever tier you pick, spend your first dollars on lighting and sound before props. A basic prop under moody red lighting and a heartbeat sound loop will always out-scare an expensive prop under your regular porch light.
Step 2: Pick a Theme You Can Commit To
The most memorable home haunts don’t throw together fifty random monsters. They pick one story and build every room around it.
Here are four themes that consistently deliver, whether you’re working with a driveway or a full house.
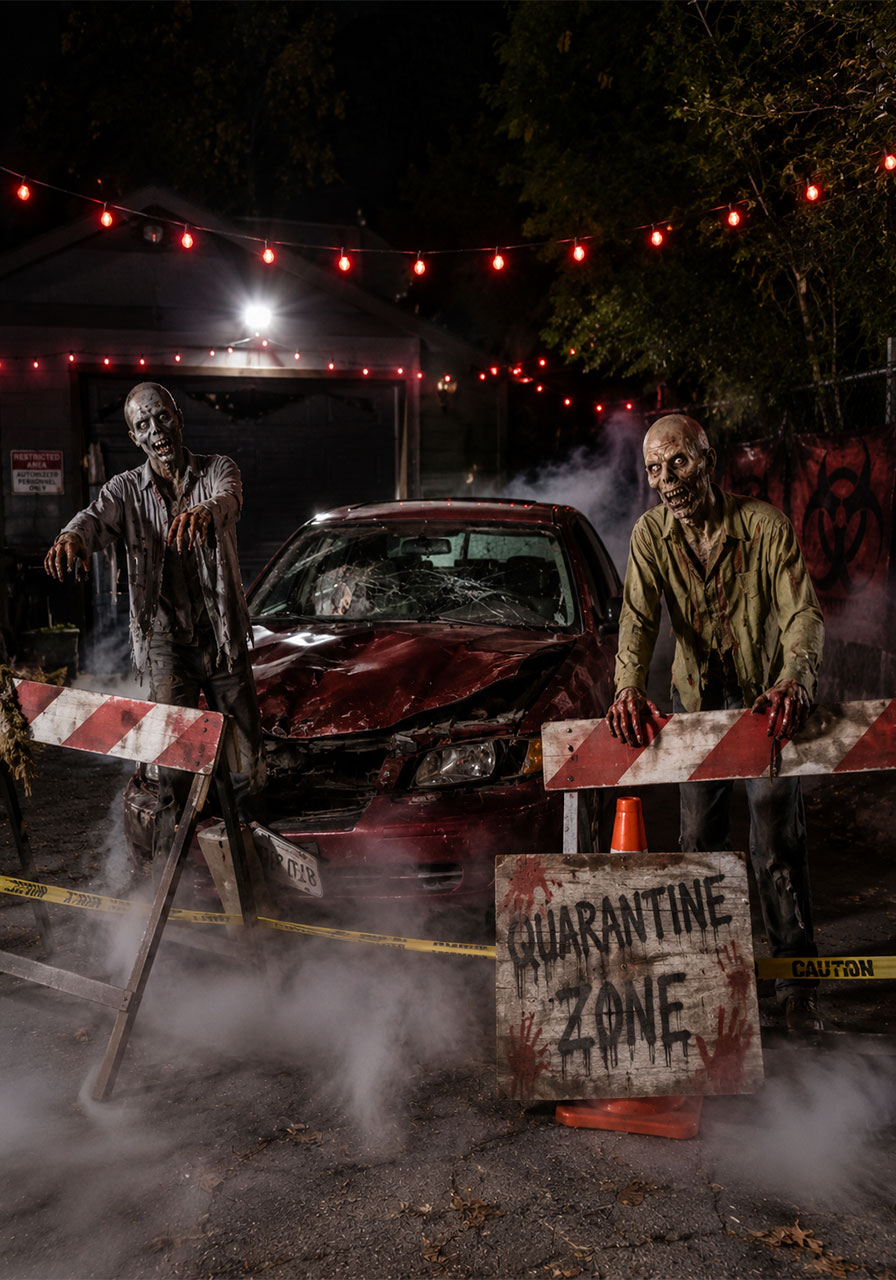
The Outbreak (Zombie Apocalypse)
Best for: Driveways and front yards. Players/Guests: Any size crowd. Time to Build: One weekend.
What You’ll Need:
- A “wrecked” vehicle prop (an old bike, wagon, or even a cardboard car cutout works)
- Caution tape and homemade “quarantine zone” signs
- Fog machine
- 2-3 zombie mannequins or costumed volunteers
How to Build It:
1. Rope off your driveway entrance with caution tape and a hand-painted warning sign.
2. Position your “wrecked” vehicle prop as the centerpiece, angled like it crashed trying to escape.
3. Add fog at ground level so it pools around guests’ feet as they walk through.
4. Station your zombies near the vehicle, still and silent, until a guest gets close enough to trigger a scare.
Pro Tip: Silence is your best weapon. A zombie that stays frozen until someone walks right past it will always get a bigger reaction than one that’s already moving.
The Mad Scientist’s Lab
Best for: Garages or basements. Players/Guests: Small groups moving through at a time. Time to Build: One weekend.
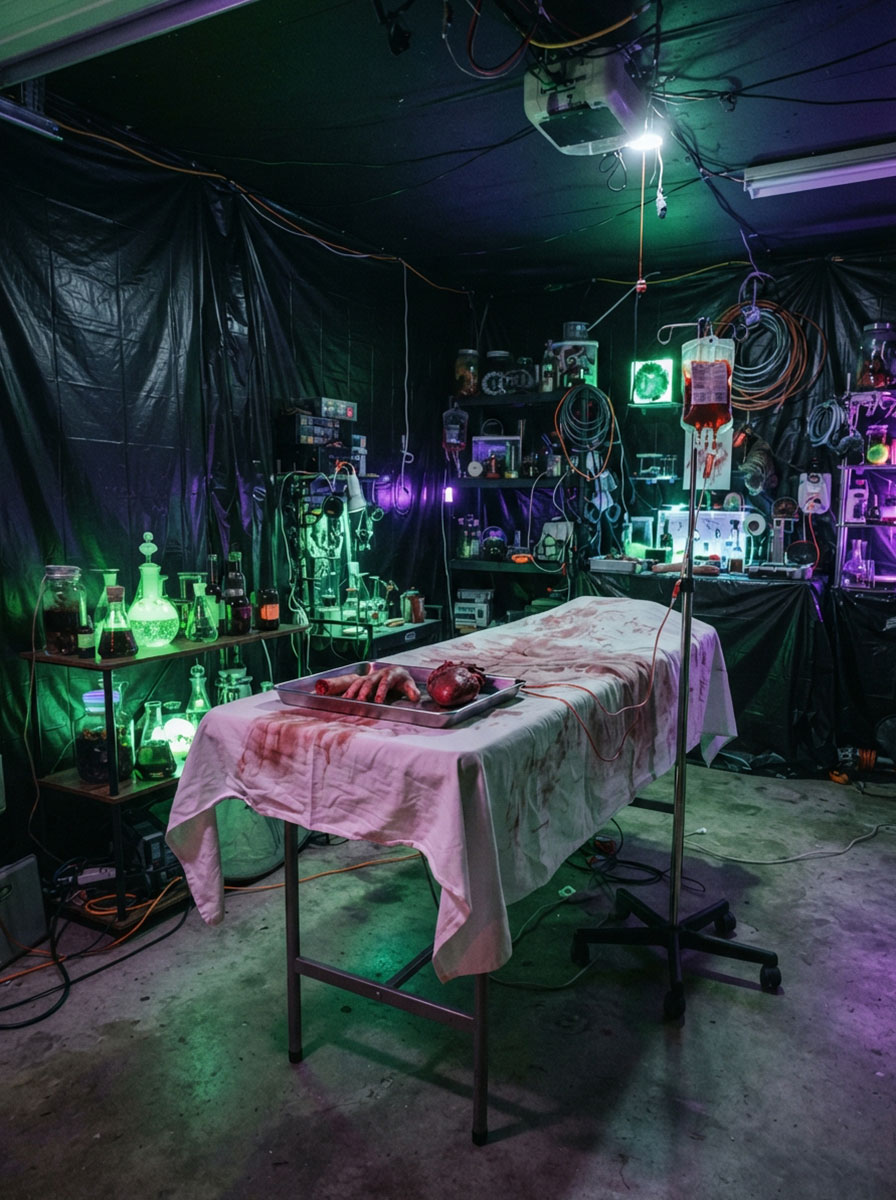
What You’ll Need:
- Plastic sheeting for walls
- Fake blood and gore props (available cheap around Halloween)
- A metal tray or serving dish for “specimens”
- UV or green lighting
How to Build It:
1. Line the walls with plastic sheeting to protect your garage and add an unsettling clinical feel.
2. Set up a “operating table” using an old table draped in a stained sheet.
3. Arrange gory props on a metal tray, positioned like they’re mid-experiment.
4. Swap your lighting to green or UV bulbs for that classic lab glow.
Pro Tip: Guests love a photo moment. Set up your goriest tray display right at eye level near the entrance so it’s the first thing phones come out for.
The Vampire’s Crypt
Best for: Hallways or a shaded corner of the yard. Players/Guests: Great for smaller, spookier walk-throughs. Time to Build: A few hours.
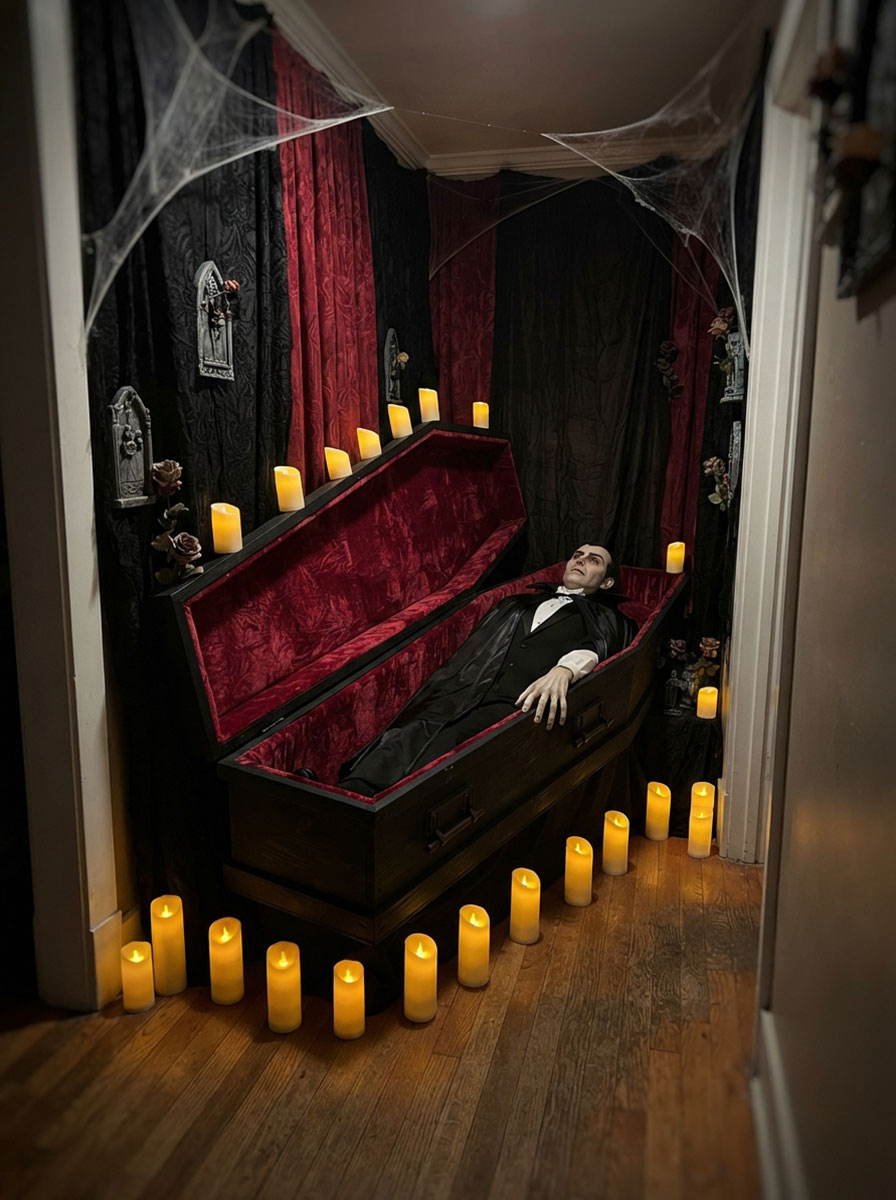
What You’ll Need:
- A coffin prop (cardboard versions work well and pack flat for storage)
- Black and red fabric
- A vampire costume or mannequin
- Battery-operated candles
How to Build It:
1. Drape black fabric to create a “curtain” entrance into the space.
2. Set your coffin at a slight angle, lid partly open.
3. Line the space with flickering battery candles for a warm, eerie glow.
4. Position your vampire prop so one hand reaches toward the coffin’s edge, like it just stirred.
Pro Tip: Add a subtle heartbeat sound on a loop, just loud enough to notice. It builds tension without guests knowing exactly why they’re nervous.
The Carnival of Screams
Best for: Front entrances and porches. Players/Guests: Ideal as the “welcome” zone for a bigger haunt. Time to Build: One weekend.
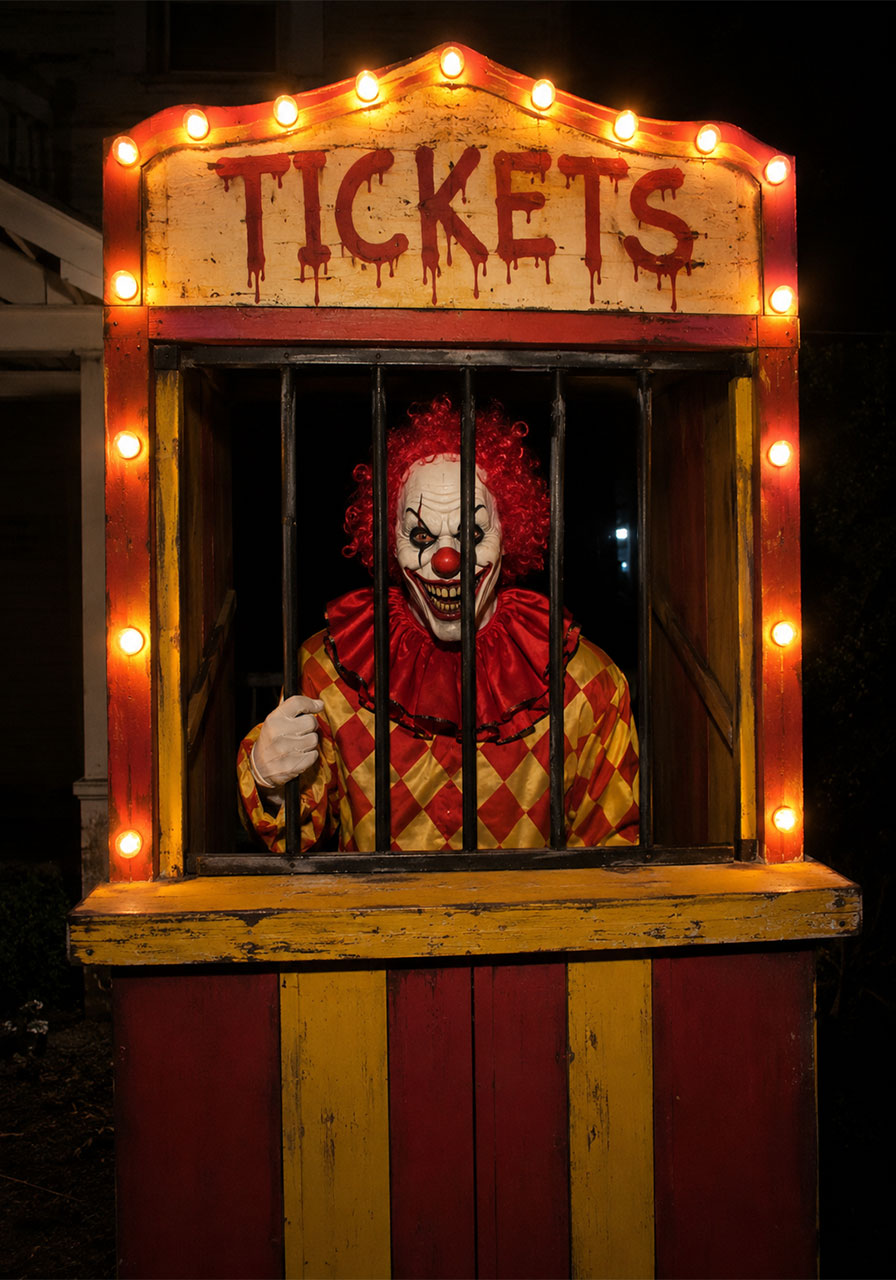
What You’ll Need:
- String lights (warm yellow, not white)
- A “ticket booth” structure, even a repurposed cardboard stand works
- A clown costume or prop
- Carnival-style signage
How to Build It:
1. Frame your entrance with string lights to mimic old carnival marquee bulbs.
2. Build or repurpose a small booth structure and label it “Tickets” in bold, dripping letters.
3. Position your clown prop inside, gripping the bars or counter.
4. Add a handwritten sign inviting guests to “step right up.”
Pro Tip: Clowns consistently rank as the scariest element in home haunts, even above zombies. If you only splurge on one high-quality prop, make it your carnival clown.
Step 3: Think About Flow, Not Just Scares
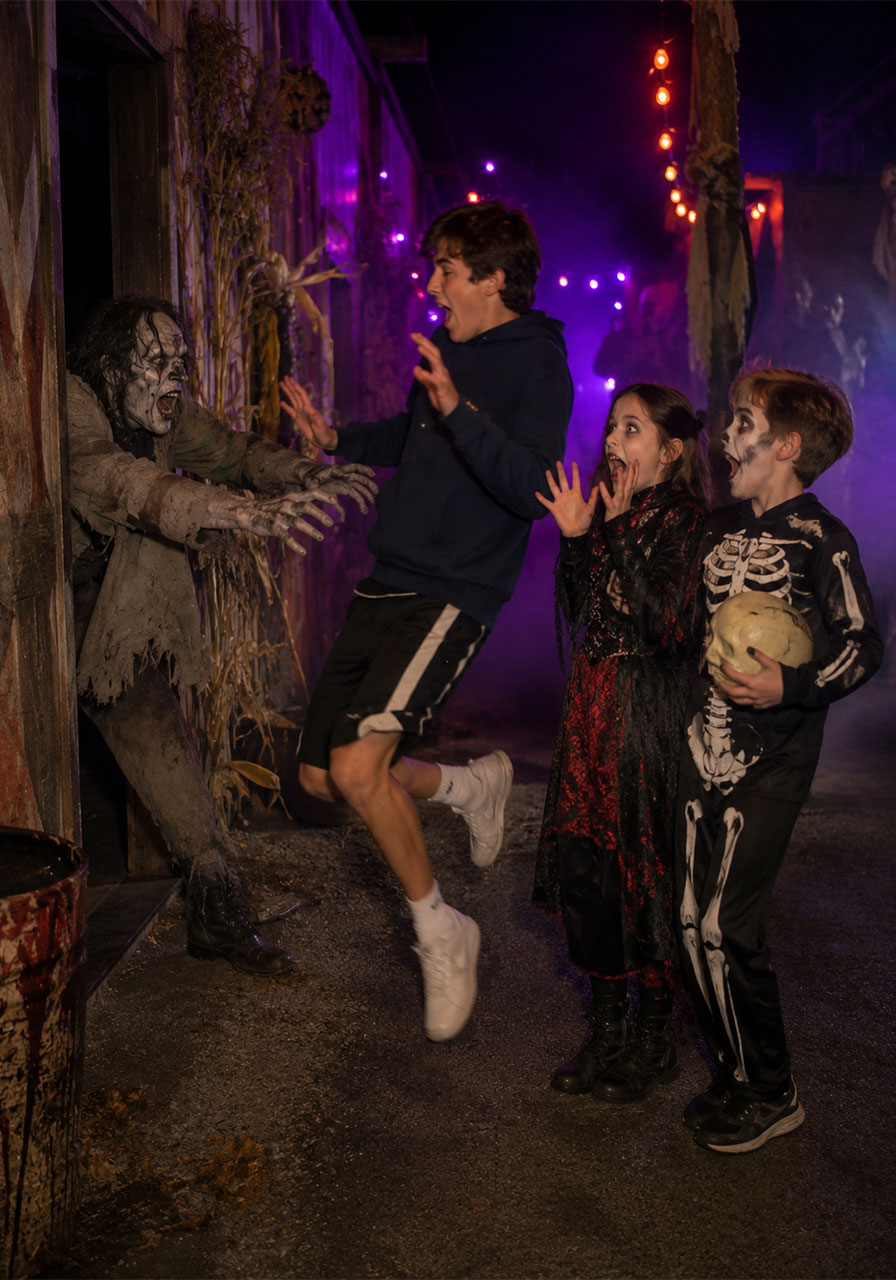
The families who build the most talked-about haunts aren’t just scattering monsters everywhere. They’re designing a path.
Guide guests through a clear route, from a calmer entrance zone into gradually more intense scenes. Save your biggest scare for near the end, so guests leave on the highest possible energy.
Leave enough space between props and walking paths for guests to move safely, especially if kids or older relatives are part of your crowd.
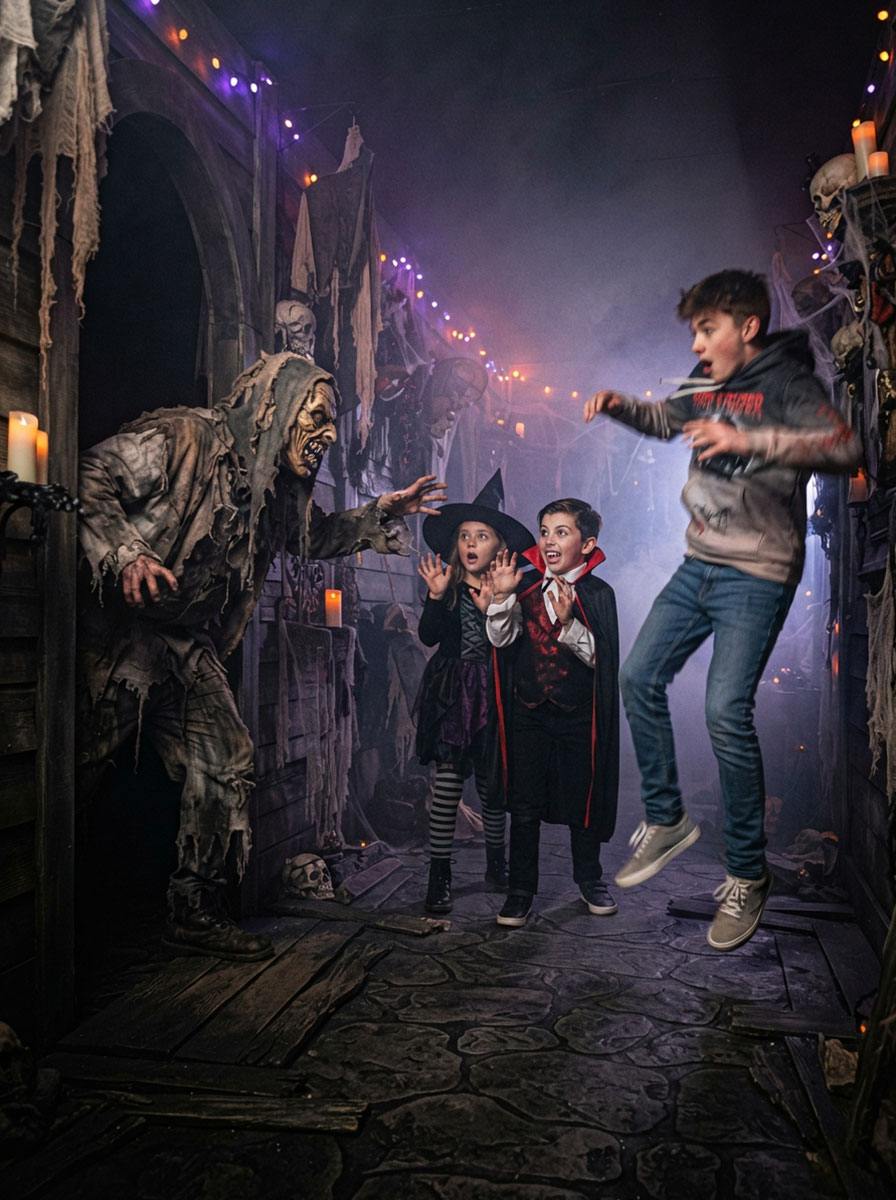
Step 4: Make It a Community Event
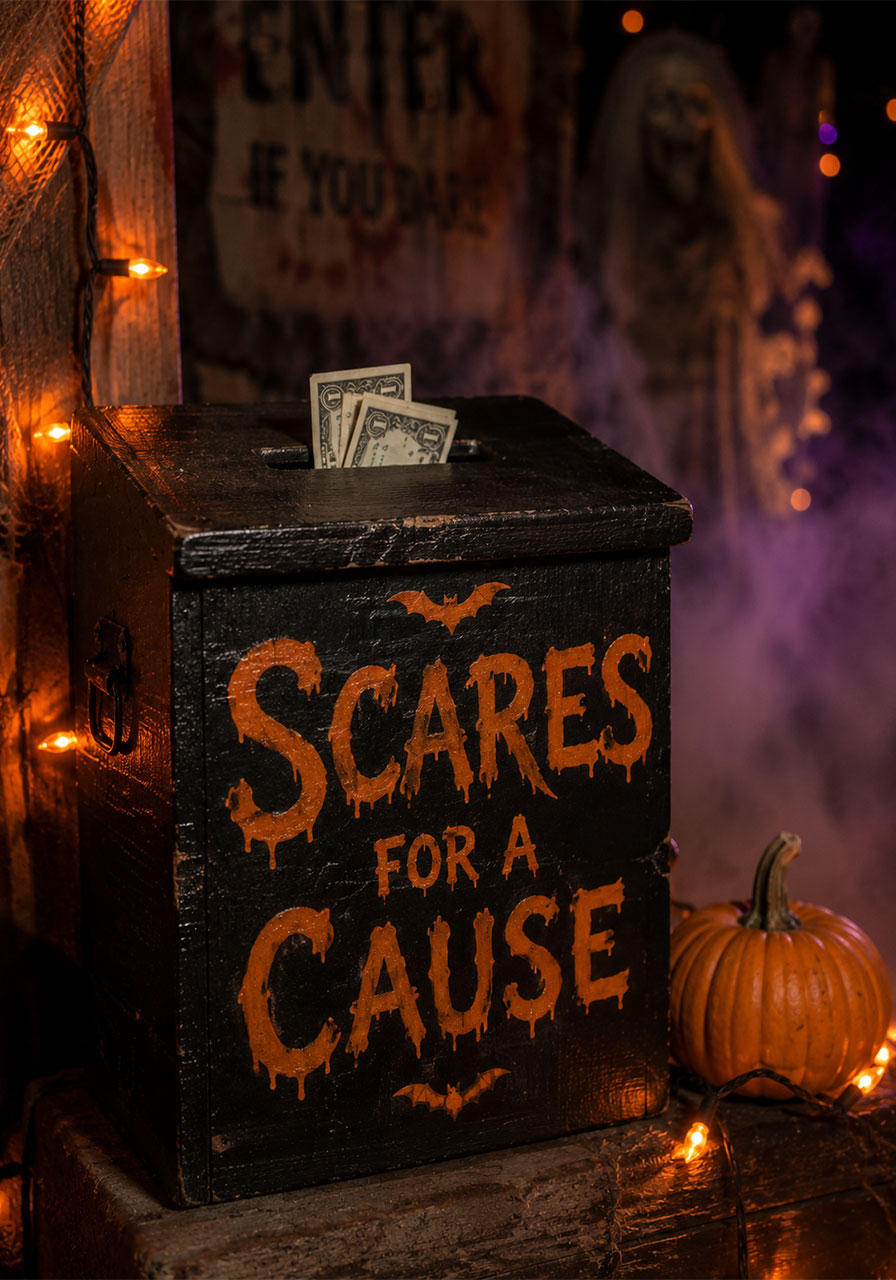
Some of the most beloved home haunts double as fundraisers. Many home haunters accept donations at their display to support a local cause, turning a Halloween hobby into something the whole neighborhood rallies behind.
Consider setting up a simple donation box at your entrance for a cause you care about. It gives your guests one more reason to show up, and it turns your haunt into more than just decorations – it becomes a night people remember for the right reasons.
Step 5: Budget for the Boring (But Necessary) Stuff
Serious home haunters warn that decorations are only part of the cost. Fog machines, extra lighting, and extension cords all add up fast.
Running a display nightly through October can also bump up your electric bill anywhere from $30 to over $100 a month, depending on how much lighting and fog you’re running.
Budget for storage too. If your haunt grows year after year the way most do, you’ll eventually need somewhere to keep everything safe until next October.
The Bottom Line
You don’t need $100,000 or a professional-grade prop collection to throw a haunted house party your guests will be buzzing about for weeks. You need a theme, a plan, and a willingness to start small and build from there.
Pick one room. Perfect it. Then next year, add another. Because the best Halloween parties, like the best haunts, are the ones that keep getting better with every guest who walks through the door.
