
Ready to bring the magic of autumn indoors with a DIY project that’s so gorgeous, your friends will think you hired a professional decorator? This wax-dipped fall leaf garland is about to become your secret weapon for creating that cozy, Instagram-worthy vibe everyone’s obsessing over this season.
Here’s the best part: you literally need just three things to pull this off – leaves, beeswax, and thread. No fancy crafting degree required, and definitely no breaking the bank. This is the perfect project to tackle with the family on a crisp weekend afternoon, complete with warm cider and that satisfying feeling of creating something beautiful with your own hands.
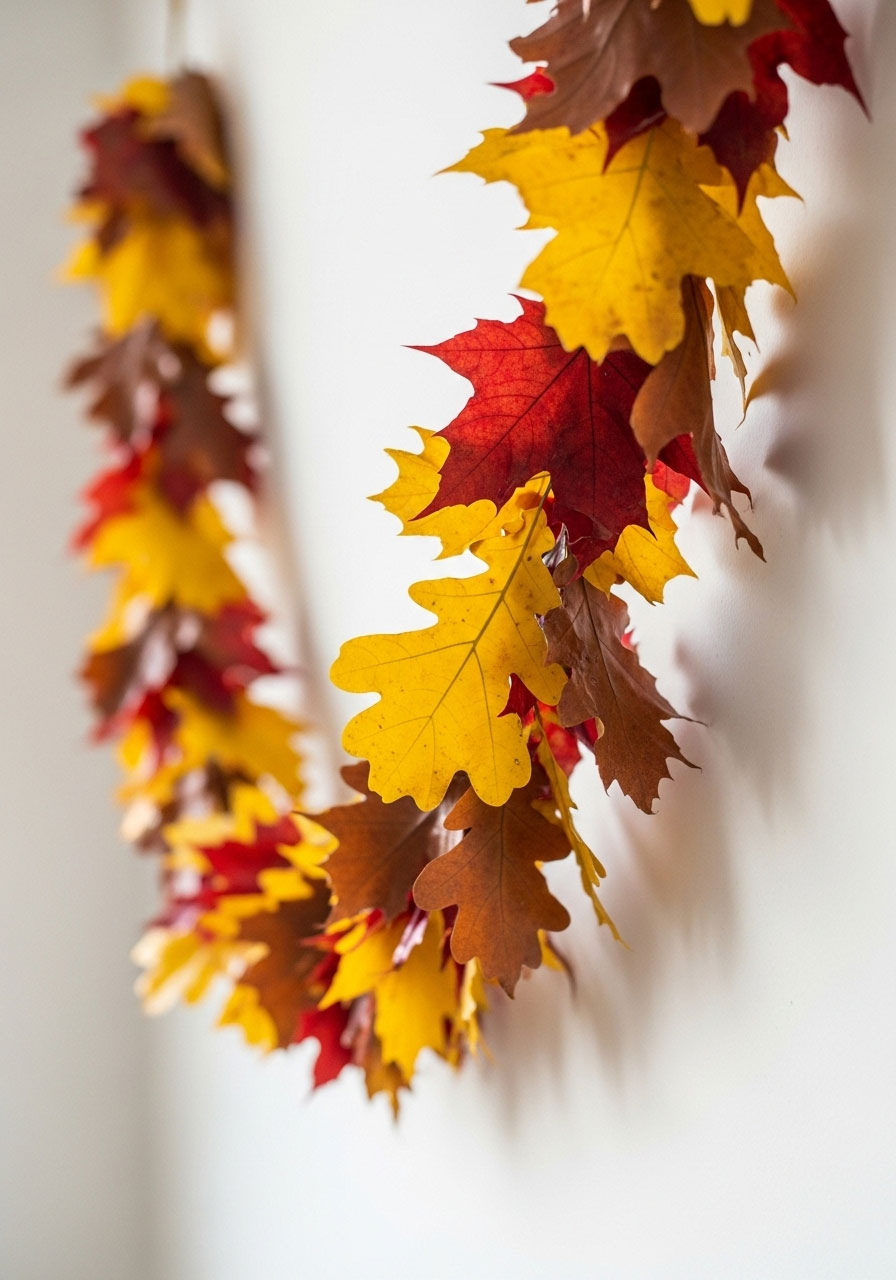
Why This Garland is an Absolute Game-Changer
Perfect for: All ages (with adult supervision for the hot wax part)
Time to Complete: 2-3 hours including drying time
Skill Level: Beginner-friendly with stunning professional results
What makes this project so addictive? You’re literally preserving nature’s most spectacular show and turning it into home decor that’ll last for weeks. Plus, there’s something incredibly therapeutic about the whole process – it’s like meditation, but with prettier results.

What You’ll Need to Create Magic

The Star Ingredients:
- Fresh autumn leaves (the more colorful, the better!)
- Beeswax or paraffin wax (whatever you can get your hands on)
- Strong thread or thin twine
Your Crafting Arsenal:
- A makeshift double boiler (just a bowl over a pot of simmering water – no fancy equipment needed!)
- A cardboard box (for your genius drying station)
- Paper clips or small clothespins
- A sewing needle
- Garden twine or yarn scraps
Pro Tip: Use a pot or bowl you don’t mind dedicating to future wax projects – this stuff is nearly impossible to completely remove, but that just means you’re ready for next year’s crafting session!

Fall Autumn Outdoor Scavenger Hunt Printable for Kids & Adults
🎁Buy Now and get instant access to your download!
✉After your purchase, you can download your files directly from the website or find them in the email receipt we send you.
📧Should you encounter any issues, please contact us at [email protected] and we'll assist you within 24-48 hours.
Step 1: Become a Leaf Hunter Extraordinaire

Time for the fun part – your leaf-gathering adventure! Here’s what separates the pros from the amateurs:
Hunt for the good stuff: You want leaves that are still flexible and gorgeous, not the crispy ones that crumble when you look at them funny. Think vibrant colors and smooth surfaces that haven’t started curling yet.

Go wild with your collection: There’s no magic number here. Grab as many as your heart desires! Mix different shapes, sizes, and colors for a garland that looks like autumn threw a party.
Step 2: Build Your Genius Drying Station

This is where you get to feel like a crafting mastermind. Grab any cardboard box and let’s turn it into your personal leaf-drying headquarters.
How to Set Up Your Drying Box:
- Slice off the flaps from one end and open it completely
- Cut 1-inch slits along both sides of the open end, spacing them about 2 inches apart
- String your “clotheslines” through these slits using garden twine or yarn
- Step back and admire your brilliant engineering
Why does this matter? When you hang your wax-dipped leaves instead of laying them flat, they keep their gorgeous shine and perfect color. Laying them on paper means losing some of that magic (and some wax too).
Step 3: The Wax-Dipping Magic Show

Now we’re getting to the satisfying part!
Get Your Wax Ready:
- Melt your wax in your double boiler setup
- Remove from direct heat once it’s perfectly melted
- Keep that water simmering underneath – you might need to remelt if things cool down
The Dipping Technique:
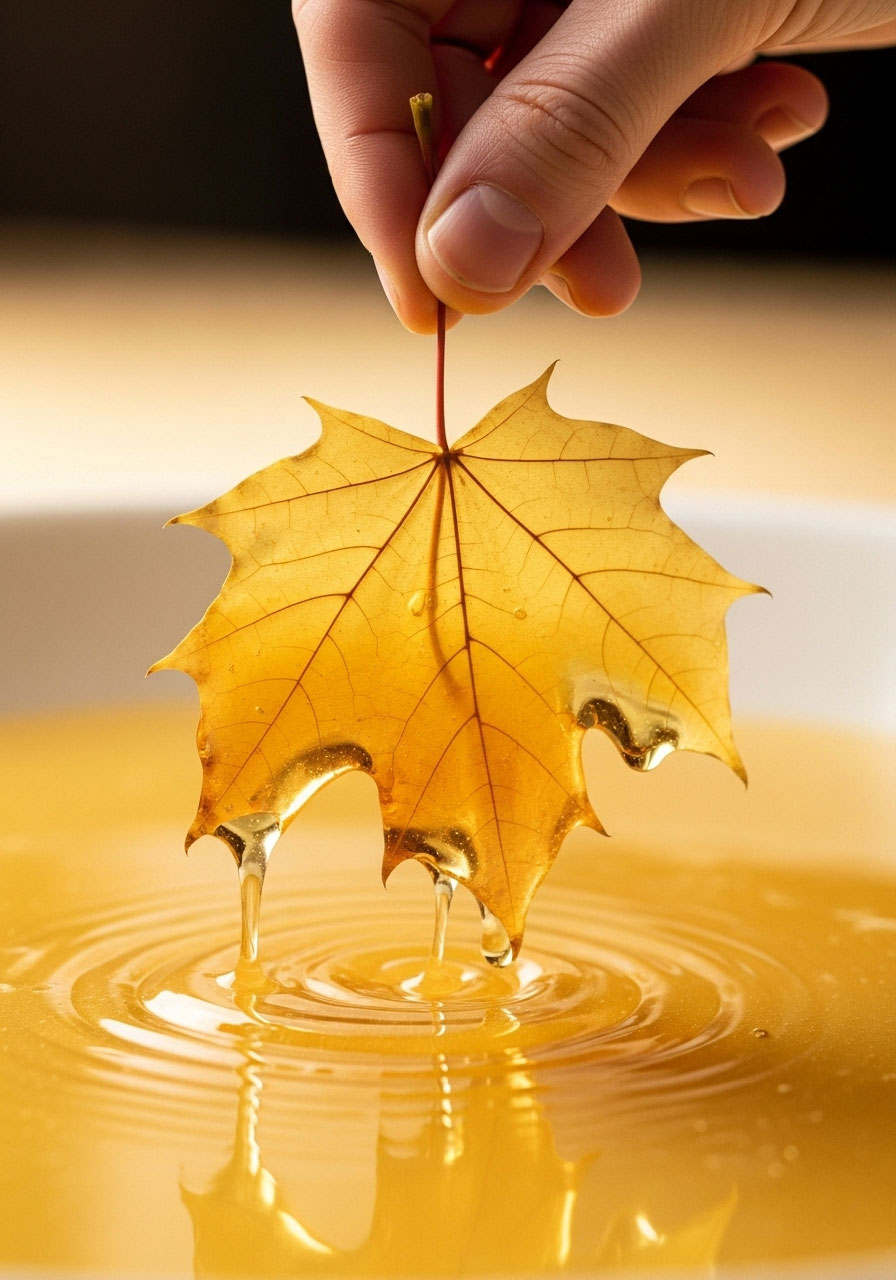
- Grab each leaf by the stem (this is your handle)
- Dip it completely into the melted wax – don’t be shy!
- Give it a gentle shake to remove excess wax
- Hang it immediately on your drying line using paper clips
Watch for This: If your wax starts clumping on the leaves, it’s getting too cool. Just pop it back over the heat for a minute!

Fun Variation: Want to get creative? Write names on the leaves with permanent marker before dipping – instant place cards for your fall dinner parties!
Step 4: String Together Your Masterpiece
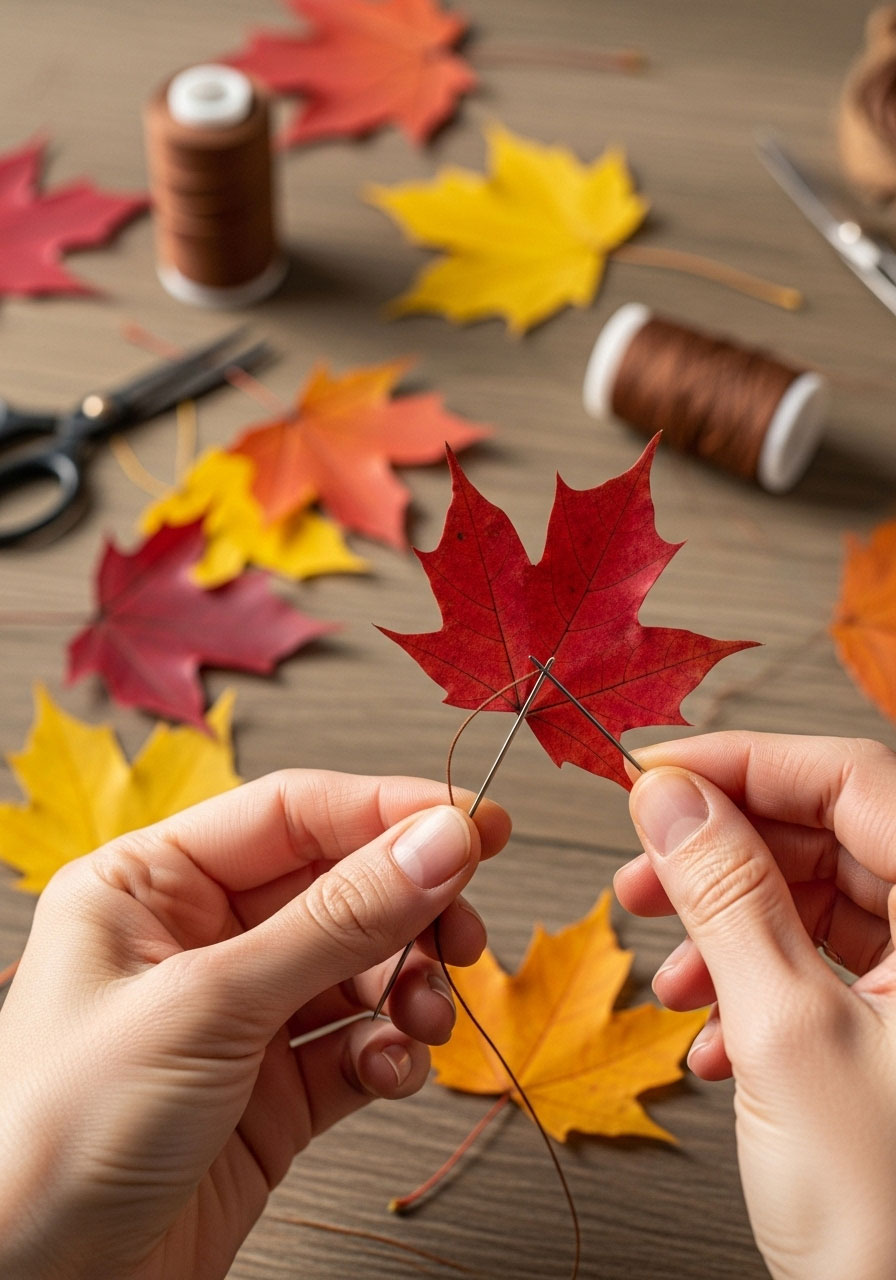
Once your leaves are completely dry (usually within an hour), it’s time for the grand finale.
Creating Your Garland:
- Thread your needle with strong thread or thin twine
- Carefully pierce through each stem – take your time here
- Slide leaves along the thread and space them however makes you happy
- Hang with pride and prepare for the compliments to roll in

Rescue The Runaway Turkeys – Easy Thanksgiving Scavenger Hunt Printable for Kids
🎁Buy Now and get instant access to your download!
✉After your purchase, you can download your files directly from the website or find them in the email receipt we send you.
📧Should you encounter any issues, please contact us at [email protected] and we'll assist you within 24-48 hours.
Beyond the Garland: More Ways to Show Off Your Wax-Dipped Leaves

Your creativity doesn’t have to stop at garlands! These gorgeous preserved leaves are basically autumn’s answer to confetti:
- Scatter them across your dining table for an instant centerpiece
- Fill a clear vase and watch guests try to figure out if they’re real
- Add magnets to the back for the most stylish fridge decor ever
- Use as gift tags for that extra-thoughtful touch
Pro Tips That’ll Make You Look Like a Crafting Genius
For Families with Little Ones: Let the kids handle the leaf gathering and hanging while adults manage the hot wax. Everyone gets to participate safely!
Make It Last Longer: Your garland will gradually fade over 6-8 weeks, but that’s part of its charm – it evolves with the season.
Storage Secret: Leftover wax can be remelted and reused for next year’s project or holiday crafting adventures.
The Bottom Line
There’s something magical about bringing the outdoors in, especially when you can preserve autumn’s most spectacular moment and turn it into something that makes your home feel like a cozy retreat. This isn’t just a craft project – it’s your ticket to creating those “how did you do that?” moments that make you the host everyone wants to visit.
So grab your favorite people, put on some good music, and get ready to create something beautiful together. Because the best decorations aren’t the ones you buy – they’re the ones you make with your own hands and fill with memories.
Ready to make your home the talk of the neighborhood? This fall leaf garland is your secret weapon for creating that warm, welcoming vibe that turns any space into the place everyone wants to be.
More Fall Party Ideas to Keep the Fun Rolling:
How to Play Pumpkin Roll Fall Party Game
30 Epic Fall Festival Games That Are Perfect for Schools, Church and More
25+ Fall Party Decor Ideas to Make Your Gathering Unforgettable

I’m trying to figure out how much wax I need. Do you think 1 lb is enough for this project?
Yes, 1 lb of beeswax (or paraffin wax) should be more than enough for this project – it’s actually quite generous and will give you plenty of buffer for experimentation, mistakes, or even scaling up to a longer garland. Based on similar DIY wax-dipped leaf tutorials, you’ll typically only need about ½ to 1 cup of beeswax pellets (roughly 4–8 oz) to maintain a good dipping depth in your makeshift double boiler for 20 – 50 leaves, which is plenty for a standard 6–10 foot garland. A little wax really does go a long way here, since you’re just giving the leaves a quick dip and shaking off the excess – most of it stays in the pot for reuse across batches.
If you’re planning a massive garland with 100+ leaves, you might melt a bit more midway through to keep things flowing smoothly, but even then, you’d be under half a pound total. Pro tip: Start with just a handful (say, ¼–½ cup) to melt initially, and add as needed – it’s easier to remelt than to clean up unused wax. If you’re using beeswax blocks, grate or chop them for faster melting. You’ve got this; it’ll be a breeze! If your leaf haul ends up bigger than expected, just holler for more tweaks.