
Can I be completely honest with you for a second?
When I first heard about parmesan onion rings – no breadcrumbs, no deep fryer, just cheese and onions – I laughed a little.
I thought: There is no way that works.
I was so, so wrong.
These crispy baked keto onion rings are everything. Golden. Crunchy. Cheesy. Savory. And honestly? A little bit miraculous.
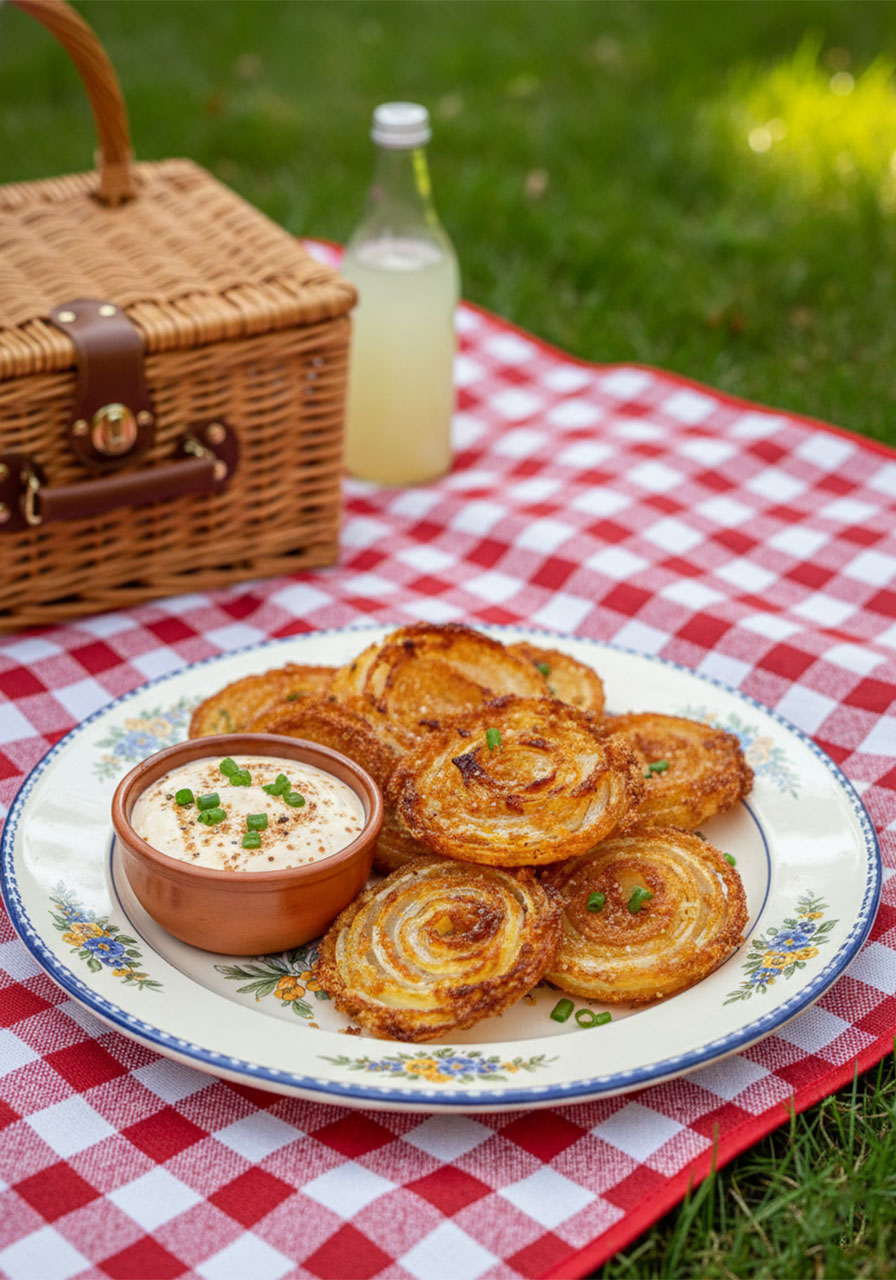
They look stunning on a plate. They taste even better. And the whole thing comes together with ingredients you probably already have sitting in your kitchen right now.
Whether you’re eating low-carb, avoiding fried food, or just looking for a snack that feels indulgent without the guilt – this recipe is about to become your new obsession.
Let’s get into it.
Why These Keto Onion Rings Are Worth Making
Here’s what makes this recipe so special: the parmesan does all the work.
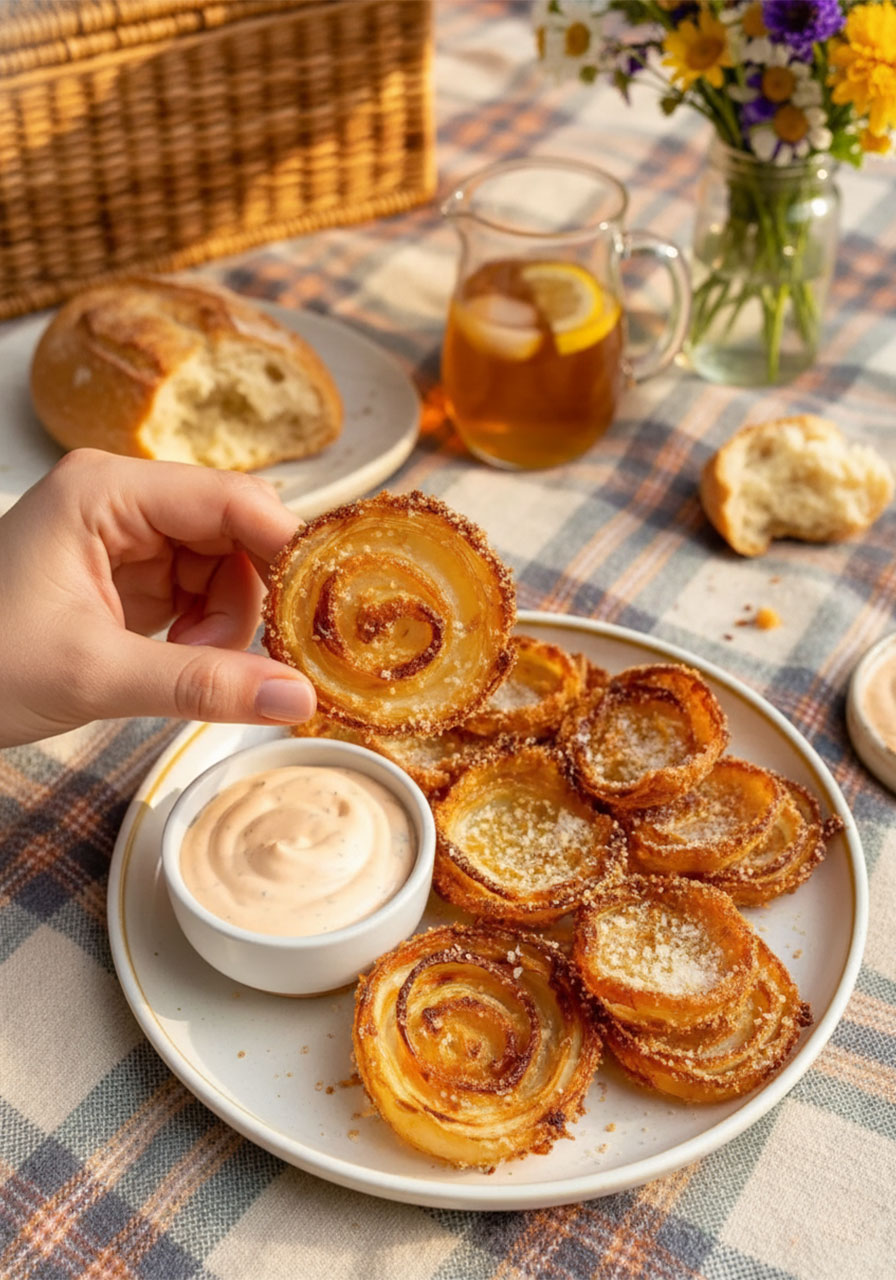
When shredded parmesan bakes on parchment paper, it melts into a lacy, golden crust. It crisps up around the onion ring like a built-in breading – except it’s pure cheese.
No egg wash. No flour. No breadcrumbs. No oil bath.
Just real ingredients, a hot oven, and about 25 minutes of your time.
And the results? Honestly, they outshine the traditional version in so many ways. The edges are deeply golden and crackling. The onion inside gets tender and slightly sweet. The seasoning pulls everything together into something you won’t be able to stop eating.
These are also genuinely keto-friendly – about 4g total carbs and 12g of protein per serving. So you can enjoy the crunch without the crash.

What You’ll Need
Short ingredient list. Big flavor payoff. Here’s what to grab:
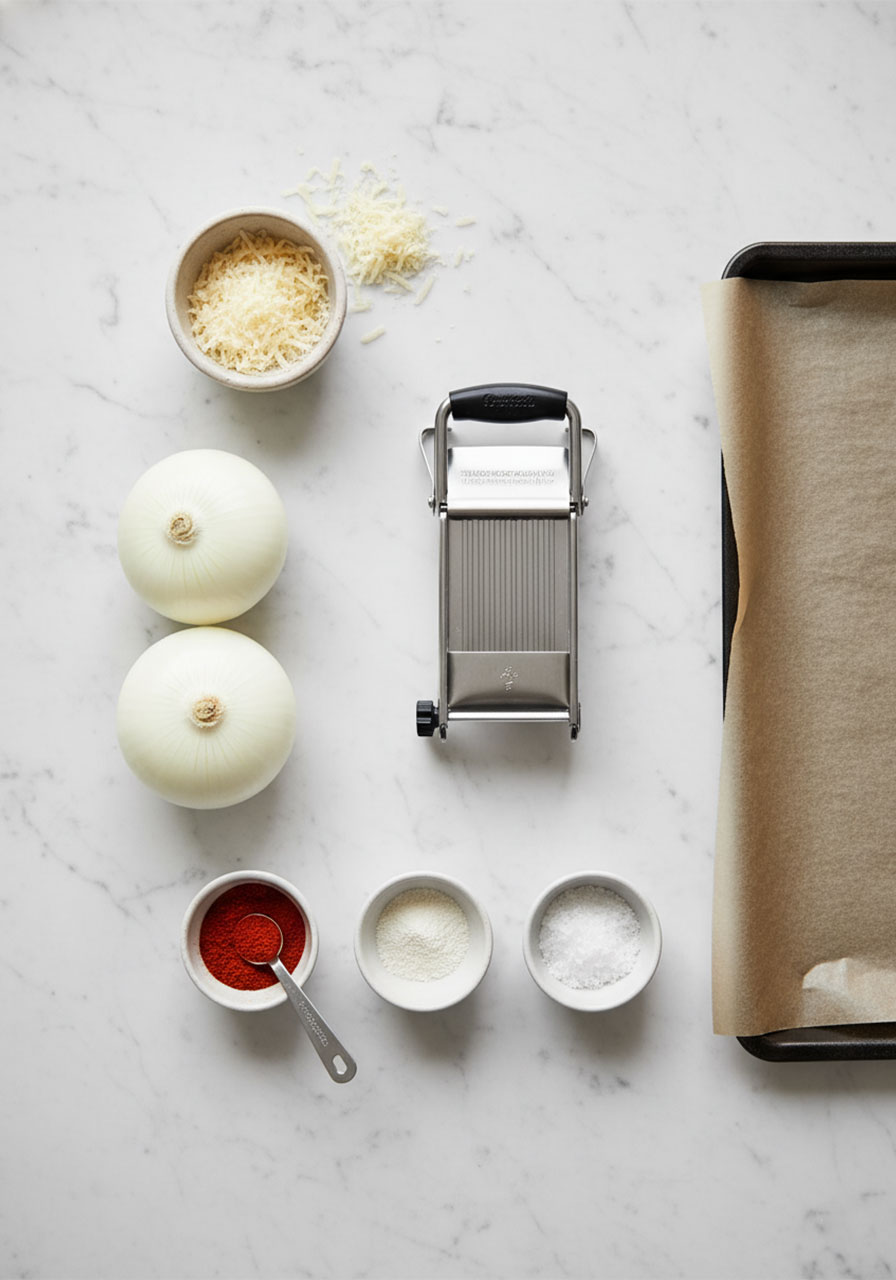
2 medium white onions – White onions have a mild, slightly sweet flavor that gets even more mellow when baked. Go for firm, fresh ones. If you can, slice them on a mandoline for perfectly even rounds – even thickness = even crispiness.
2 cups shredded parmesan cheese – This is your star ingredient. Freshly shredded parmesan melts and crisps up far better than the pre-shredded kind, which often contains anti-caking agents that mess with the texture. If you can, grab a block and shred it yourself.
Salt, garlic powder, and paprika – Simple. Classic. Perfect. The paprika adds that gorgeous color and a subtle smokiness. Feel free to add a pinch of cayenne or chili flakes if you like a little heat.
Olive oil (optional) – A light brush on top helps with browning. Totally optional, but worth it for that extra golden finish.
That’s it. Four ingredients (five if you count the optional oil). Told you this was easy.
How to Make Crispy Keto Onion Rings – Step by Step
Follow these steps and I promise you’ll pull a perfect tray out of the oven.
Step 1: Preheat Your Oven to 400°F (200°C)
Line a baking sheet with parchment paper. Not foil. Not wax paper. Parchment paper.
This matters more than you think. Parchment lets the cheese crisp up without sticking – and it’s how you get that satisfying crackle when you pick one up. Skip the parchment and you’ll end up scraping stuck cheese off your pan. Learn from others’ mistakes here.
Step 2: Slice Your Onions
Peel your onions and slice them into ¼-inch thick rounds.
Uniform thickness is key. If some slices are thick and some are thin, they won’t cook evenly – and you’ll end up with some rings undercooked while others are overdone.
A mandoline slicer makes this incredibly easy. If you use one, please use the hand guard. Seriously, no shortcuts there.
Once sliced, gently separate the rings. Use the medium and large ones – they hold their shape the best when baking.
Step 3: Build Your Cheese Base
Scoop about 1 tablespoon of shredded parmesan onto your parchment-lined baking sheet and press it into a flat circle slightly wider than your onion ring.
This is your crispy cheese “mold.” It becomes the bottom crust of each ring.
Space them out – each ring needs a little room so the cheese can spread and crisp without blending into its neighbor.
Step 4: Place an Onion Ring on Each Cheese Mold
Gently set one onion ring right on top of each parmesan circle.
Press lightly so it makes good contact with the cheese beneath it. You want them touching, not floating.
Step 5: Top with More Parmesan and Press
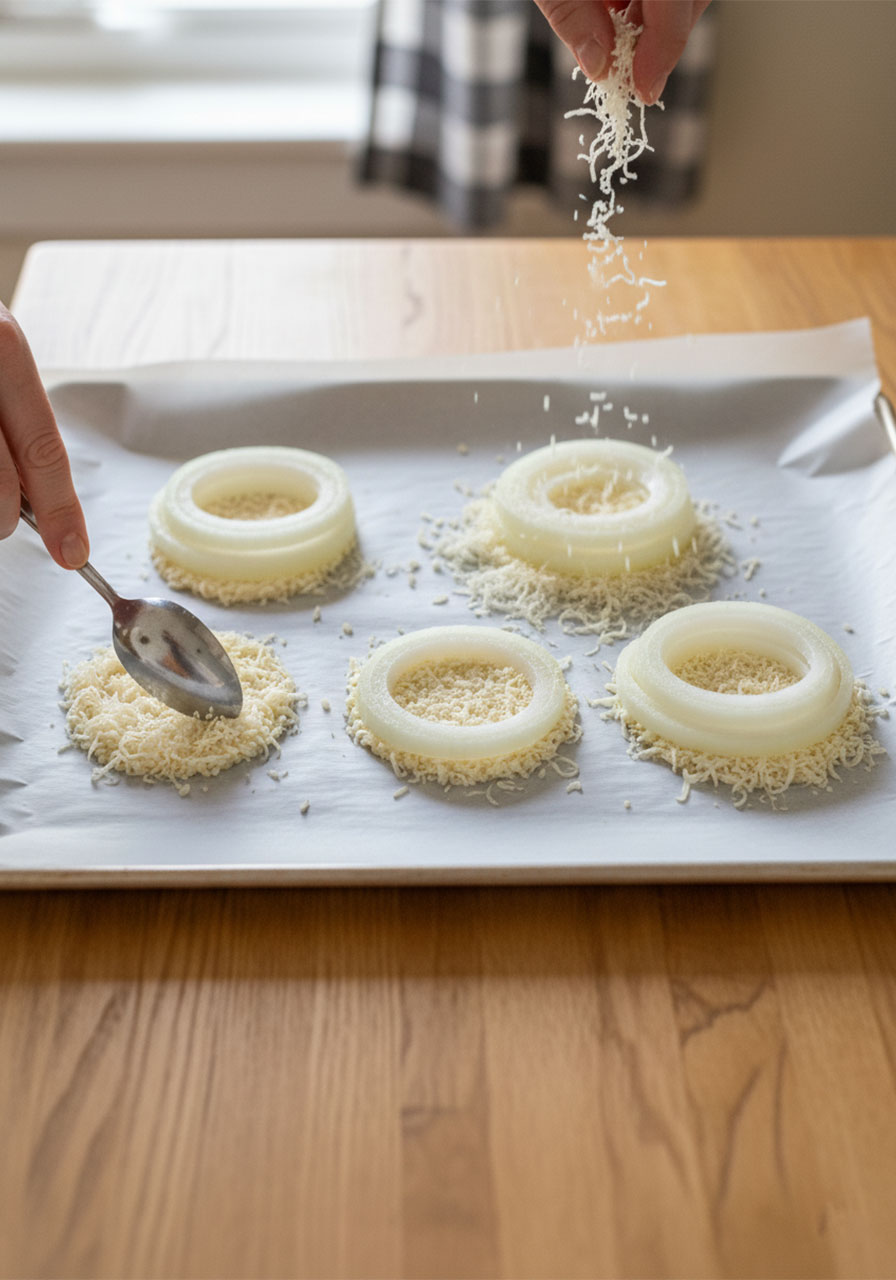
Add another tablespoon of shredded parmesan on top of each onion ring, covering it completely.
Now use the back of a spoon to gently press the cheese down onto the onion. This is what binds everything together and creates that irresistible crispy edge once it bakes.
Don’t skip the pressing! It’s what makes the parmesan hug the onion instead of just sitting on top of it.
Step 6: Season
Sprinkle each ring with salt, garlic powder, and paprika.
Be generous. The seasoning is what takes these from “interesting” to “I need to make these every week.”
Want a little kick? Add a pinch of chili flakes or cayenne right now. Italian seasoning also works beautifully if you want an herby spin.
Step 7: Bake Until Deeply Golden
Slide the tray into your preheated oven and bake for 15–20 minutes.
You’re looking for deep golden brown edges and a bubbly, caramelized top. The cheese should look lacy and crisp – not pale and soft.
Keep an eye on them in the final few minutes. Every oven runs a little differently, and parmesan can go from perfectly golden to slightly over-done quickly once it gets there.
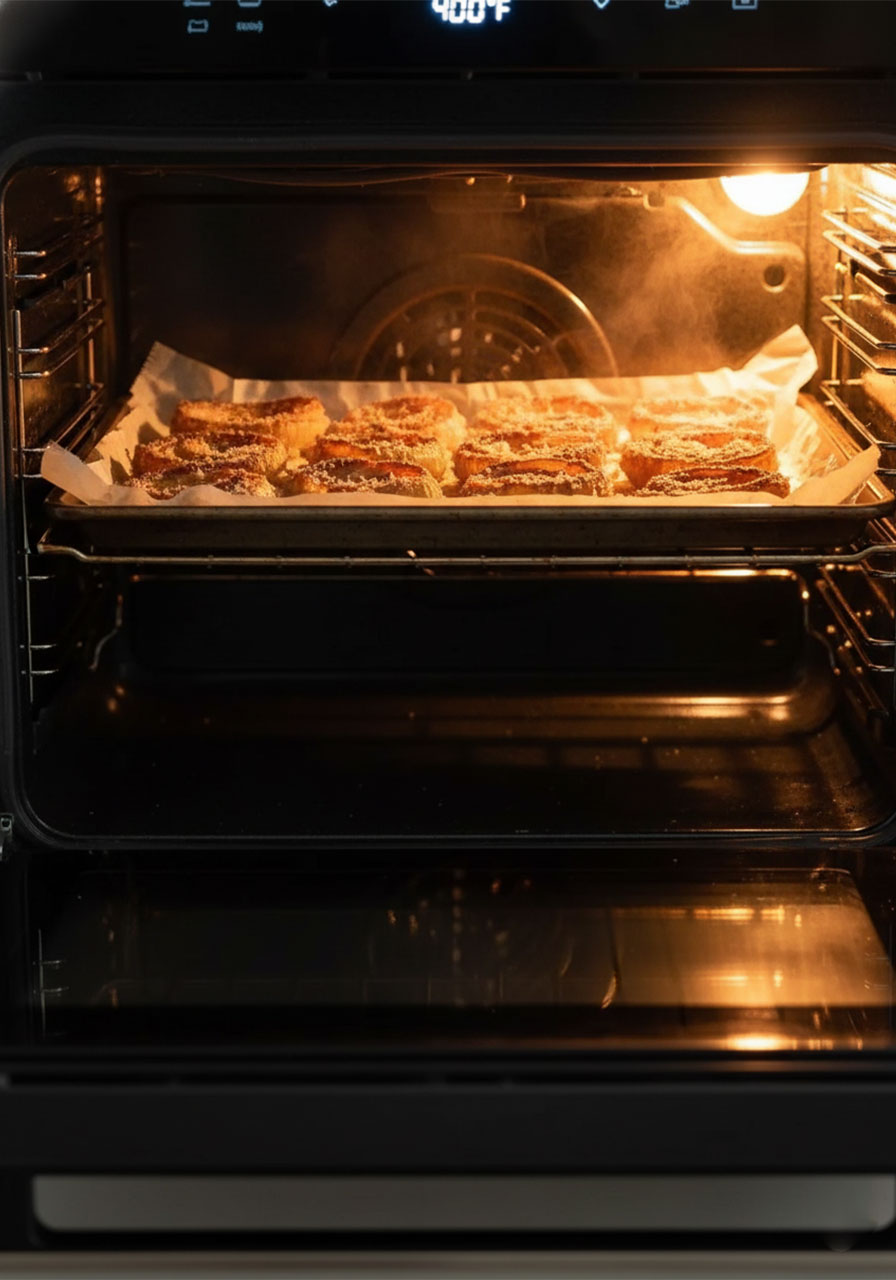
Step 8: Let Them Cool – This Step Is Non-Negotiable
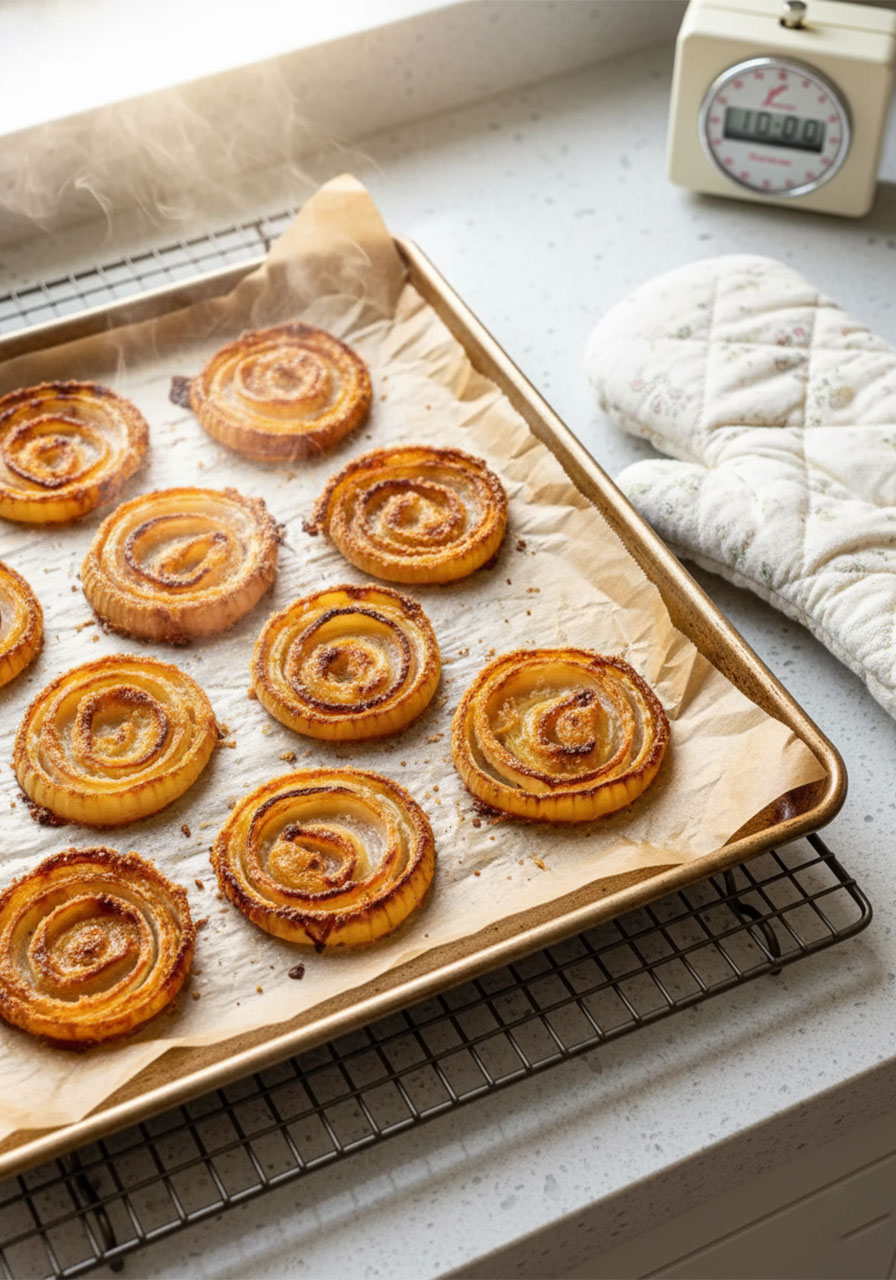
Here’s the step most people want to skip: let them rest on the baking sheet for 10–15 minutes before serving.
I know. The smell is incredible. Your patience will be tested.
But this cooling time is what allows the cheese crust to firm up fully. If you try to lift them too soon, they’ll bend and break. Give them those few minutes and they’ll come off the parchment as perfect, crispy discs you can pick up with your fingers.
Worth the wait. Every single time.
What to Serve These With
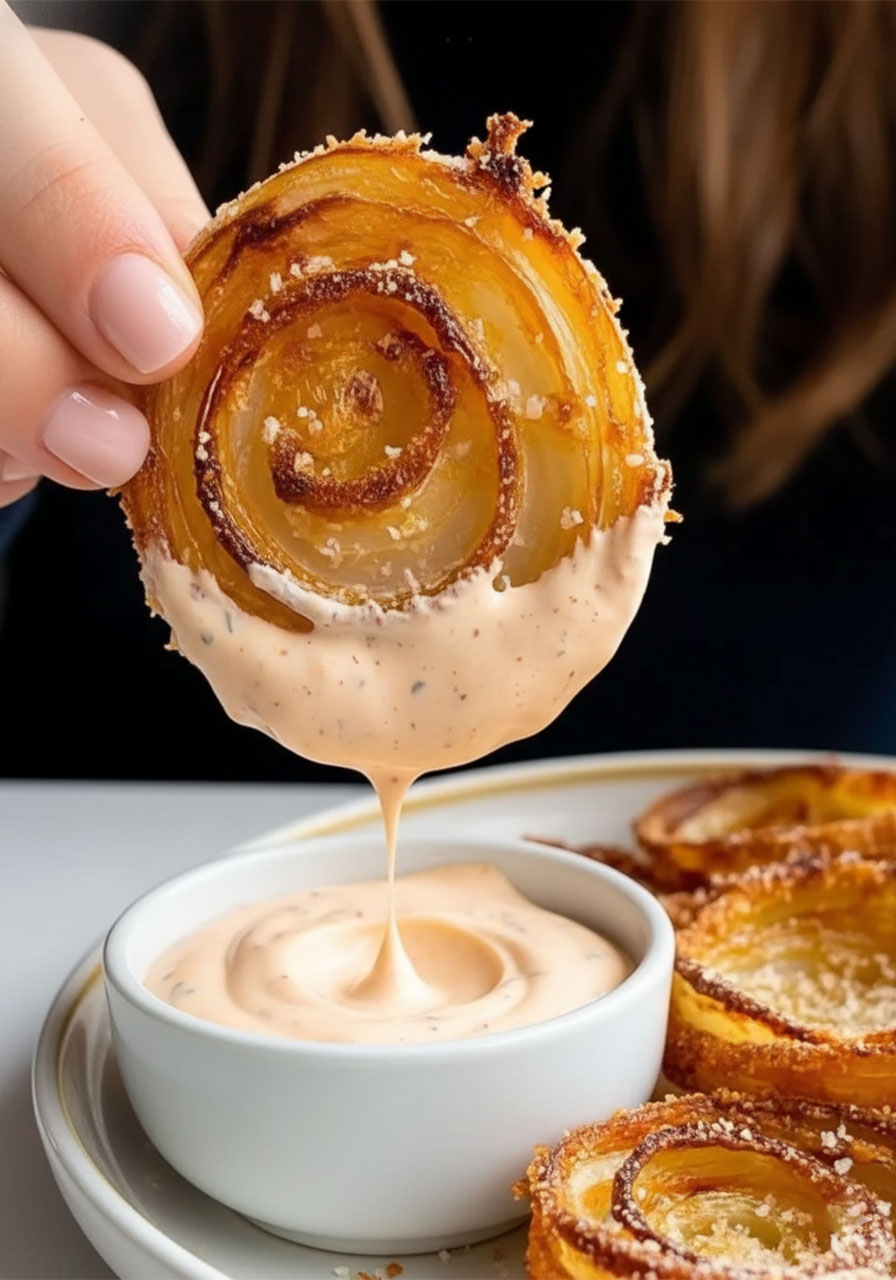
Honestly? They’re perfect on their own. But if you want to go all out, here are a few dipping sauces that pair beautifully:
Spicy mayo – Mix mayo with sriracha and a splash of lime juice. Simple and addictive.
Garlic aioli – Mayo, minced garlic, lemon juice, and a pinch of salt. Creamy and rich.
Ranch dressing – A classic for a reason. Keto-friendly ranch takes this over the top.
Chipotle dipping sauce – Blend mayo, a chipotle pepper in adobo sauce, garlic powder, and lime. Smoky, creamy, and slightly spicy.
Serve them as an appetizer, a snack, a party bite, or honestly – a very satisfying solo dinner. No judgment here.
Tips for the Crispiest Possible Results
A few extra things that make a real difference:
Shred your own cheese. Pre-shredded parmesan has anti-caking powder that prevents it from melting and crisping the way freshly shredded does. The texture difference is noticeable.
Don’t crowd the pan. Give every ring its own space. Crowded rings mean steamy rings – and steamy means soft, not crispy.
Use the oven, not the microwave. Reheating in the air fryer or toaster oven brings back the crunch. The microwave kills it.
Watch your oven in the last 5 minutes. The sweet spot is deep golden – pull them before they go dark brown at the edges.
Cool completely before storing. Room temperature first, then into an airtight container. Skip this step and you’ll trap steam that makes them soggy.
How to Store and Reheat
These are definitely at their best fresh out of the oven. But if you have leftovers (lucky you), here’s how to handle them:
Fridge: Let them cool completely. Store in an airtight container lined with a paper towel. They’ll keep for up to 3–4 days.
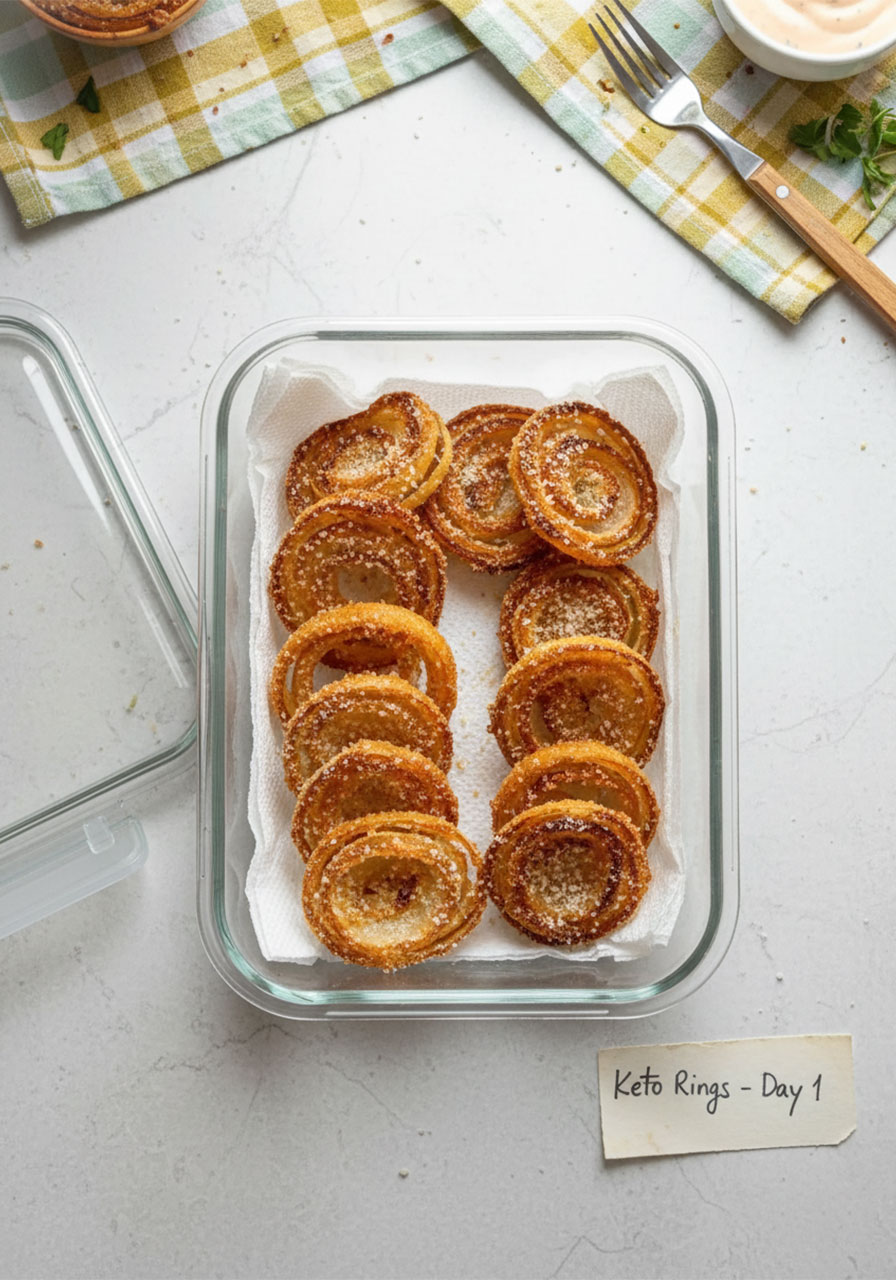
Air fryer reheat: 375°F for 3–4 minutes. This is hands-down the best way to bring the crunch back.
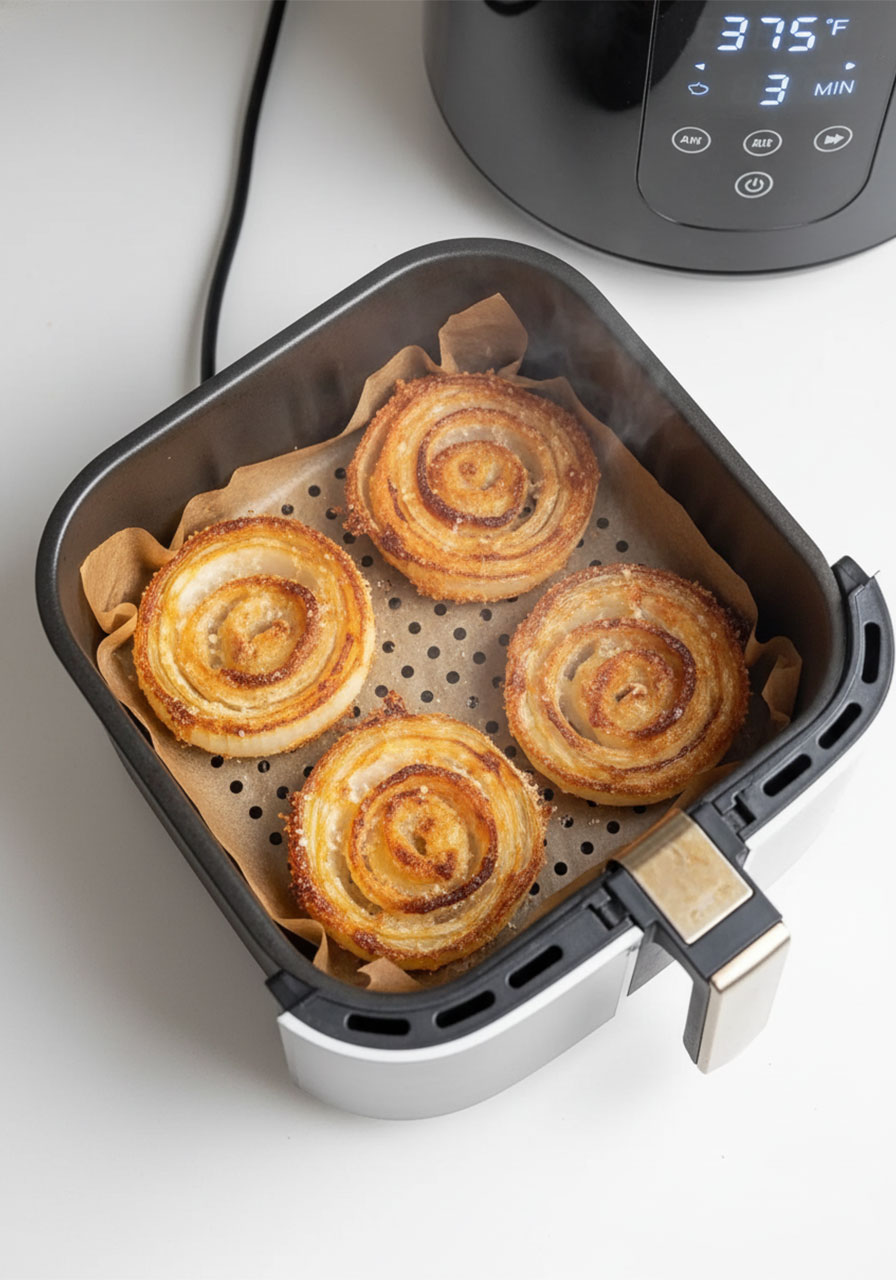
Oven/toaster oven reheat: 375°F for 5–7 minutes on a parchment-lined tray. Works great.
Freezer: Not ideal, but possible. Flash freeze on a baking sheet first, then transfer to a freezer bag. Reheat directly from frozen in the oven or air fryer until hot and crispy.
Why This Recipe Fits Your Goals – Body, Mind, and Spirit
This might just be a snack recipe, but it’s also a small act of taking care of yourself.
Choosing food that nourishes your body – real ingredients, no deep frying, high protein, low carb – is a form of self-respect. It’s proof that eating well doesn’t have to mean eating bland or eating sad.
And when you make something with your own hands, something that smells incredible and tastes even better, there’s a quiet satisfaction in that. A reminder that you have everything you need to fuel yourself well.
So whether you’re making these for yourself after a long day, or setting them out for people you love – enjoy every crunchy, cheesy, golden bite.
You deserve it.

Frequently Asked Questions
Can I use a different cheese?
Parmesan is the best option here because of its low moisture content and sharp flavor – both of which help it crisp up beautifully. Pecorino romano is a great substitute. Softer cheeses like mozzarella won’t get crispy the same way.
Can I make these in the air fryer?
Yes! Line your air fryer basket with parchment paper, build the rings the same way, and air fry at 375°F for about 10–12 minutes, checking for golden edges. Results may vary by air fryer model.
My cheese isn’t crisping up – what went wrong?
A few possible culprits: pre-shredded cheese (the coating prevents proper crisping), not enough space between rings, or an oven that isn’t fully preheated. Try freshly shredded parmesan and give each ring more room on the pan.
Are these rings really keto?
Yes! With about 4g total carbs and 12g of protein per serving (approximately 4–5 rings), these fit comfortably into a keto or low-carb lifestyle.
Can I prep these ahead of time?
You can build the unbaked rings on the tray and refrigerate for up to an hour before baking. Bake fresh for the best results – they don’t hold up as well if you bake them ahead and reheat for a party.
Crispy Keto Parmesan Onion Rings (No Breadcrumbs, No Frying!)
Ingredients
- 2 medium white onions, peeled and sliced into ¼-inch thick rounds
- 2 cups shredded parmesan cheese (freshly shredded preferred)
- Salt, to taste
- Garlic powder, to taste
- Paprika, to taste
- Italian seasoning, to taste (optional)
- Olive oil, for brushing (optional)
Instructions
- Preheat your oven to 400°F (200°C). Line a baking sheet with parchment paper.
- Peel and slice onions into ¼-inch thick rounds. Gently separate into rings.
- Scoop about 1 tablespoon of shredded parmesan onto the parchment paper and press it into a flat circle slightly wider than your onion ring. Repeat for each ring, spacing them apart.
- Place one onion ring on top of each parmesan circle and press gently to make contact.
- Add another tablespoon of shredded parmesan on top of each onion ring, covering it completely.
- Use the back of a spoon to press the cheese down firmly onto the onion ring.
- Season each ring with salt, garlic powder, and paprika. Add Italian seasoning or chili flakes if desired. Lightly brush with olive oil if using.
- Bake for 15-20 minutes, or until the cheese is deep golden brown and crispy around the edges.
- Remove from the oven and allow to cool on the baking sheet for 10–15 minutes before serving. This allows the cheese crust to firm up fully.
- Serve immediately with your favorite dipping sauce.
Notes
- Freshly shredded parmesan crisps up better than pre-shredded. Avoid the powdery kind.
- Do not skip the cooling time – the rings need it to firm up and become ultra crispy.
- Every oven is different. Keep a close eye during the final 5 minutes.
- To reheat: air fryer at 375°F for 3-4 minutes, or oven at 375°F for 5-7 minutes.
- Store leftovers in an airtight container lined with a paper towel in the fridge for up to 3-4 days.
- Calories: 145 kcal
- Total Carbs: 4g
- Protein: 12g
- Fat: 9g
- Fiber: 1g
- Sugar: 2g
