
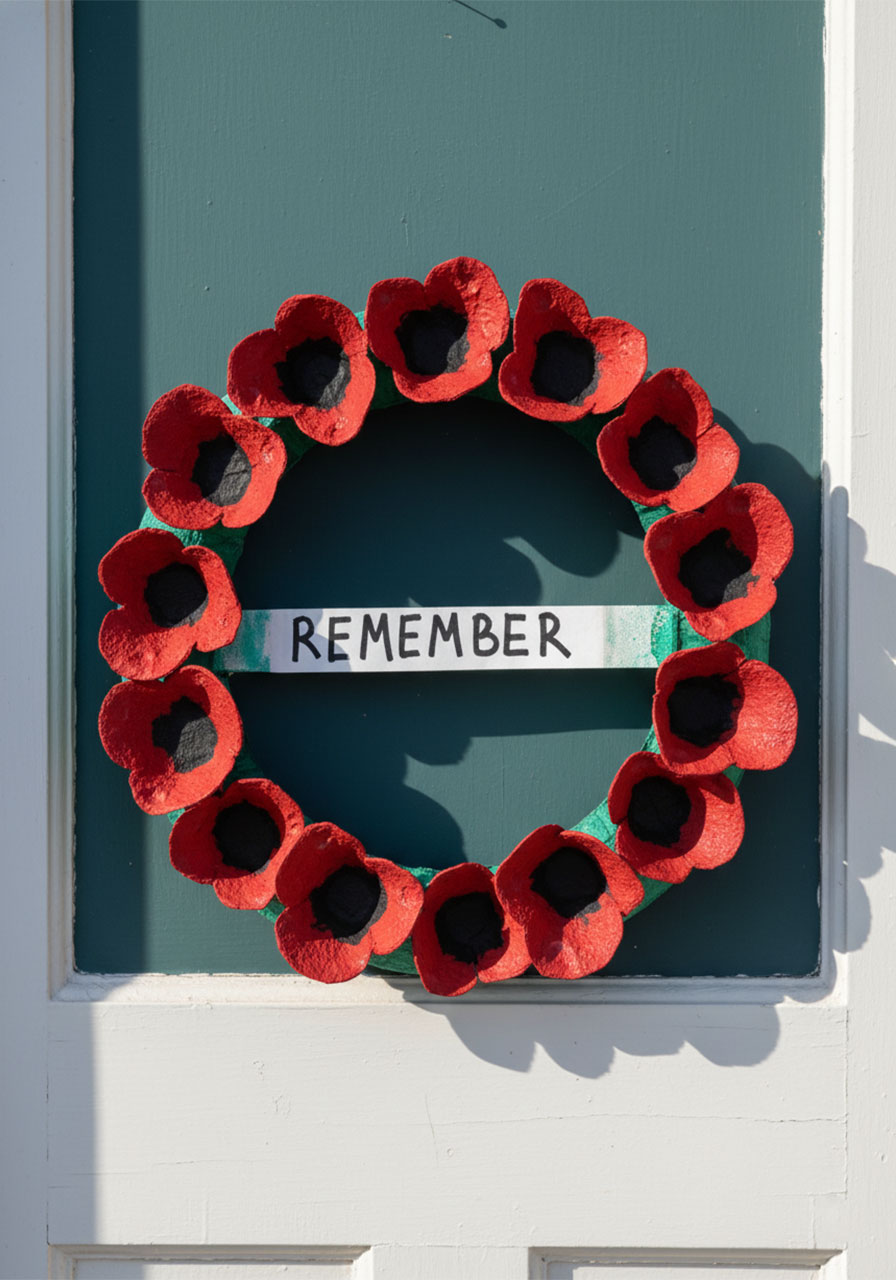
Looking for a Memorial Day craft that’s meaningful, budget-friendly, and actually doable with kids? This egg carton poppy wreath checks every single box.
You’ll be turning an ordinary egg carton into a stunning red poppy wreath – the kind that looks impressive hanging on your door but costs next to nothing to make. It’s a perfect activity for classrooms, homeschool days, or a quiet afternoon at home.
And beyond the fun of making it? It’s a beautiful, gentle way to introduce kids to the meaning of Memorial Day and why poppies are such an important symbol of remembrance.
Best of all: no special skills required. If you can cut, paint, and glue, you’re ready to go.
Why Poppies for Memorial Day?
Before you dive in, here’s a quick story worth sharing with your kids.
Red poppies became a symbol of remembrance after World War I, inspired by the famous poem “In Flanders Fields.” Poppies grew across the battlefields of Belgium and France, and over time they became a universal symbol to honor the men and women who gave their lives in service.
When your child places each little egg carton flower onto the wreath, they’re participating in a tradition of remembrance that spans over 100 years. That’s pretty powerful for a craft made from recycled materials.

What You’ll Need
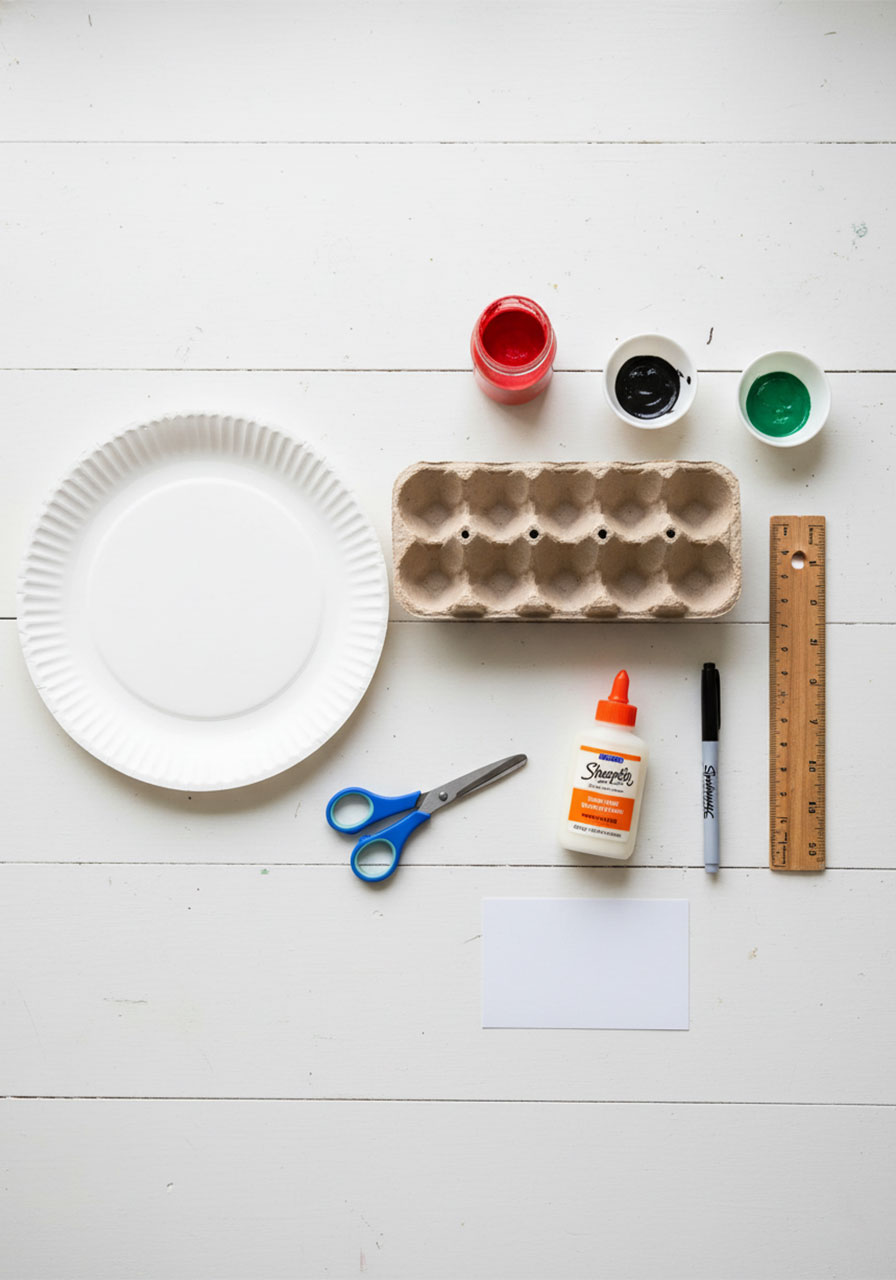
You probably already have most of this at home. Here’s your full supply list:
1 paper plate (the larger the better)
1 egg carton (a standard 12-count carton works great)
Red paint
Black paint
Green paint
Paintbrushes
Scissors
White school glue or a hot glue gun (adult use only)
A black Sharpie marker
A ruler
A strip of white paper or cardstock (for the “REMEMBER” banner)
Teacher tip: If you’re making this as a classroom project, one egg carton per child is ideal. If supplies are limited, two kids can share one carton – there are plenty of cups to go around!
How to Make Your Egg Carton Poppy Wreath
Follow these steps and you’ll have a gorgeous wreath ready to hang in no time. We’ve broken it down so even the youngest crafters can follow along.
Step 1: Create the Wreath Base
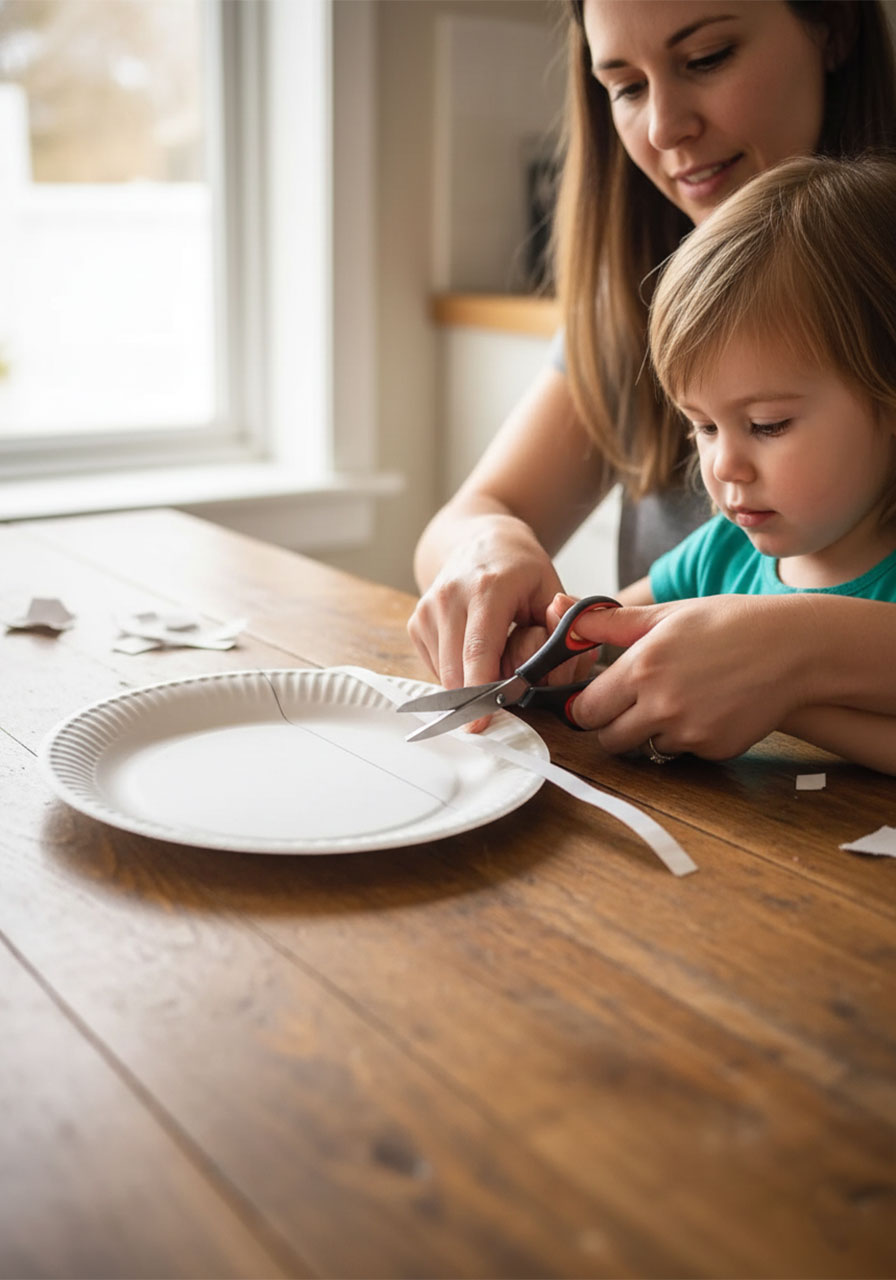
Grab your paper plate and a ruler. Measure and draw two horizontal lines straight across the center of the plate, roughly 1.5–2 inches apart. This creates a rectangular strip through the middle.
Using scissors, carefully cut out the two inner sections on either side of those lines – so you’re left with a ring shape. The strip across the middle stays in place. That’s your wreath frame!
Set it aside while you work on the flowers.
Step 2: Cut Out the Egg Carton Cups
Take your egg carton and cut apart each individual cup section. You’ll want to cut as cleanly as possible around the base of each cup.
Aim to collect around 20–24 cups depending on the size of your plate. The more, the fuller and more impressive your wreath will look.
Pro tip: Trim any jagged edges so the cups sit flat when glued. A few snips with scissors does the trick.
Step 3: Paint the Poppy Cups Red
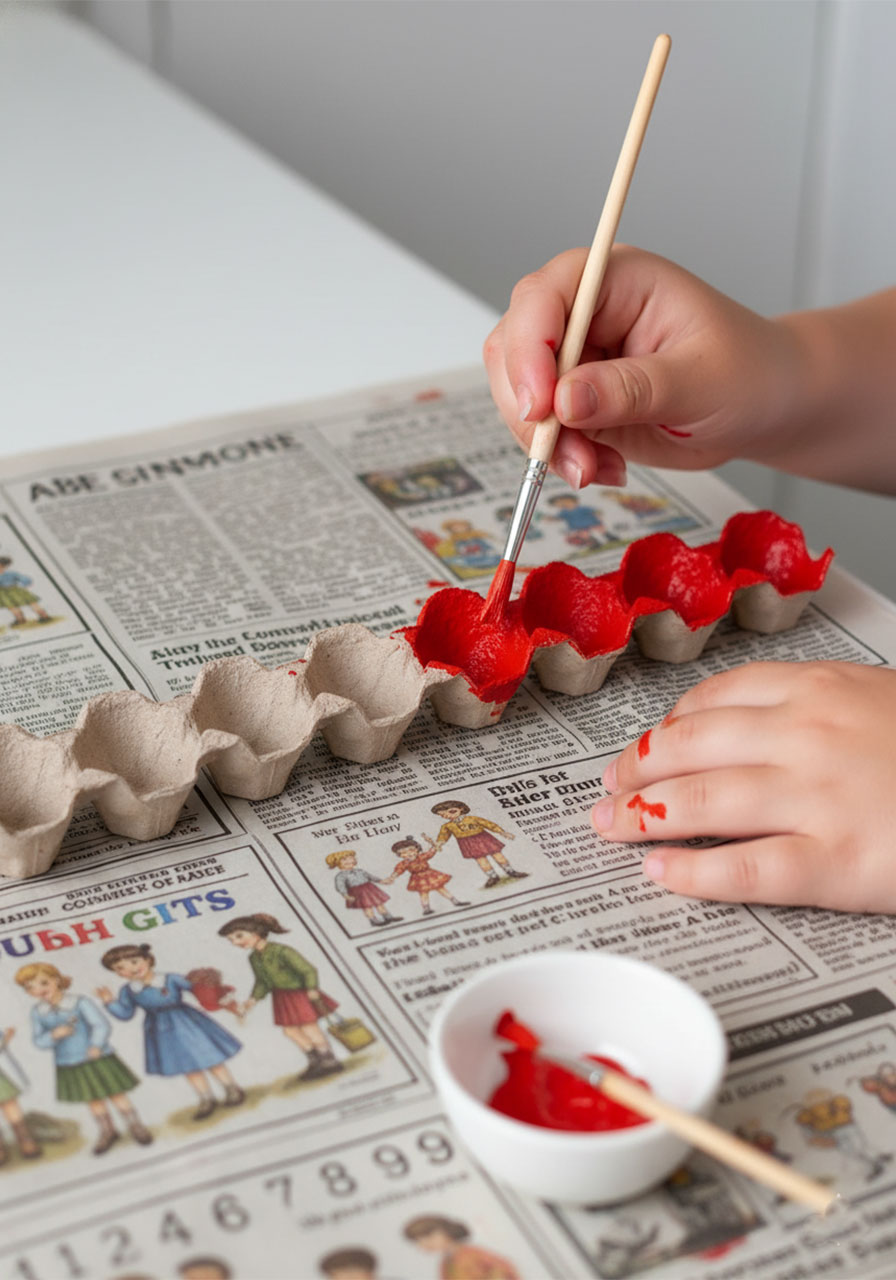
This is the most fun part – and yes, it will get messy. Lay the egg carton cups on a protected surface (a few sheets of newspaper work perfectly) and paint each one red.
Cover the outside and inside of the cup generously. Two coats will give you a rich, vibrant color. Let the first coat dry completely before adding the second.
Younger kids can do this step independently. Older kids might enjoy adding little details or varying the shade of red for a more realistic look.
Step 4: Add the Black Centers
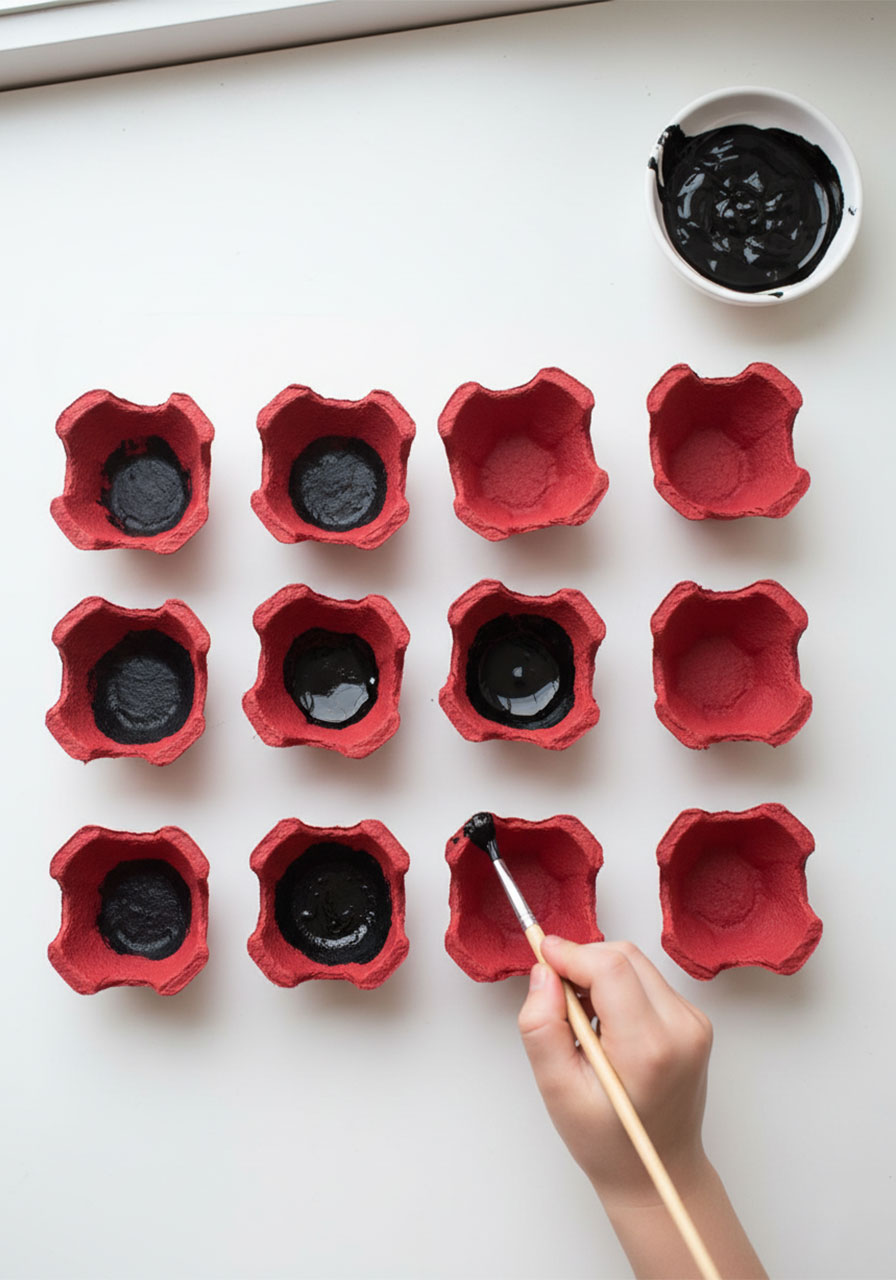
Once the red paint is fully dry, dip a smaller brush into your black paint and paint the inside center of each cup black.
Don’t worry about being perfectly precise here – real poppies have dark, slightly uneven centers, so a little variation actually looks more natural and beautiful.
Allow everything to dry completely before moving on.
Step 5: Paint the Wreath Frame Green
While your poppies dry, paint your paper plate wreath base with green paint. Cover both sides if you’d like a cleaner look.
You can go for a solid green, or mix in a little darker green for texture. Either way looks great once the red flowers are on top.
Let it dry fully before you start gluing.
Step 6: Write Your “REMEMBER” Banner
Cut a strip of white paper or cardstock about 1 inch wide and long enough to span across the middle of your wreath.
Using your black Sharpie, write the word REMEMBER in bold capital letters across the strip. You can add a simple border around the edges to make it look neat.
Set it aside – you’ll glue this on last.
Step 7: Glue on the Poppies
Now comes the most satisfying step: assembling your wreath!
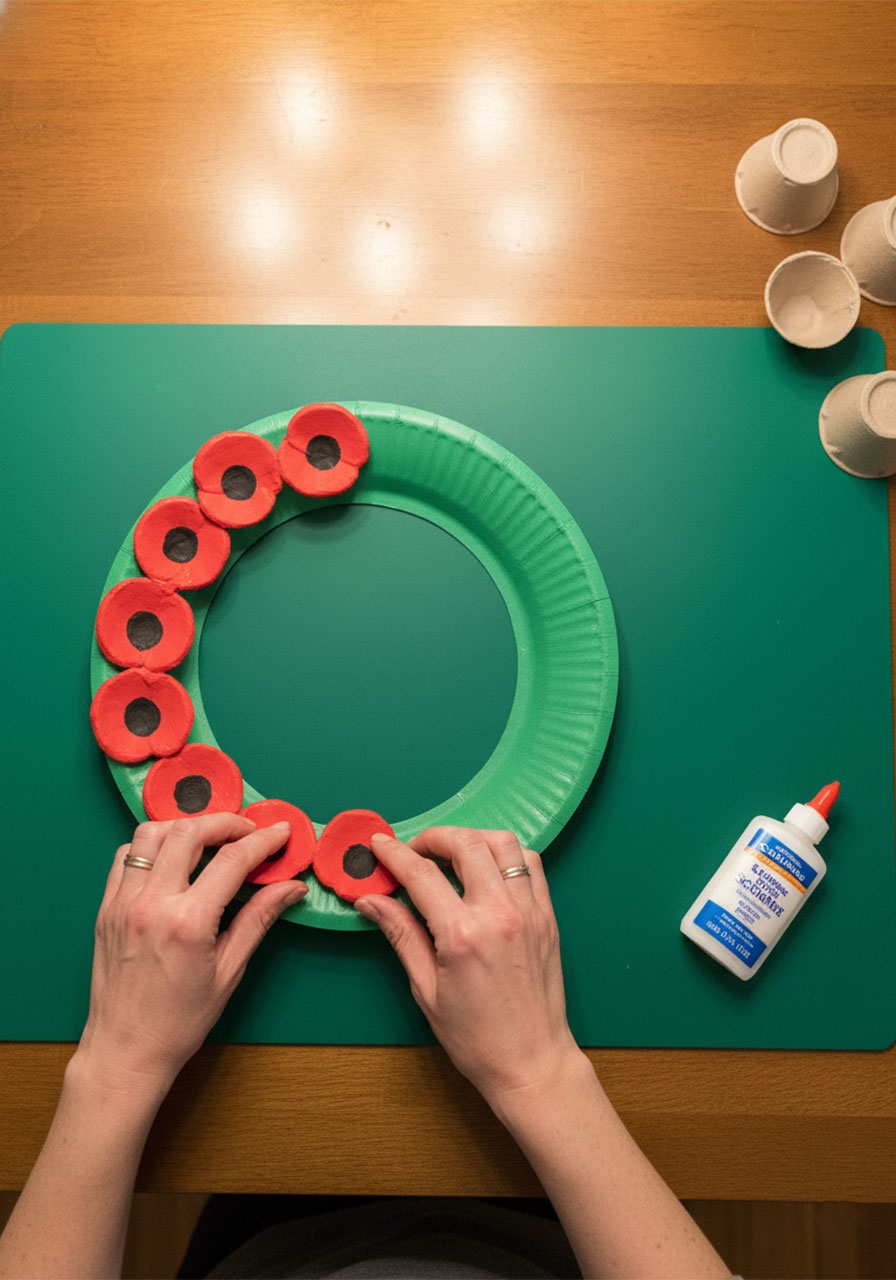
Apply glue to the base of each red poppy cup and press it firmly onto the wreath ring. Arrange them in a circle, fitting them closely together so there are no gaps.
Start from the outer edge and work inward if you want a nice, even look. Continue until the entire ring is covered with red poppies.
For classroom use: Hot glue gives the most secure hold and dries fastest – but that’s a job for adults only. White school glue works well for kids but will need extra drying time (at least 30–60 minutes).
Step 8: Attach the “REMEMBER” Banner
Glue your paper “REMEMBER” strip across the center horizontal band of the wreath. Press it down firmly and hold for a few seconds.
If you want to get extra creative, you can paint the band green first and then lay the white “REMEMBER” strip on top for contrast.
And that’s it – your Memorial Day poppy wreath is complete!
Tips to Make This Craft Even Better
Want to take it up a notch? Here are a few easy ways to customize this project.
Add a ribbon hanger. Hot glue a loop of ribbon to the back of the top of the wreath so it’s easy to hang on a door or wall.
Let kids personalize it. Have each child add their own name to the back of the wreath, or write a short message about someone they want to remember.
Try tissue paper flowers. If you run out of egg carton cups, you can fill in gaps with small red tissue paper pom-poms for a fuller look.
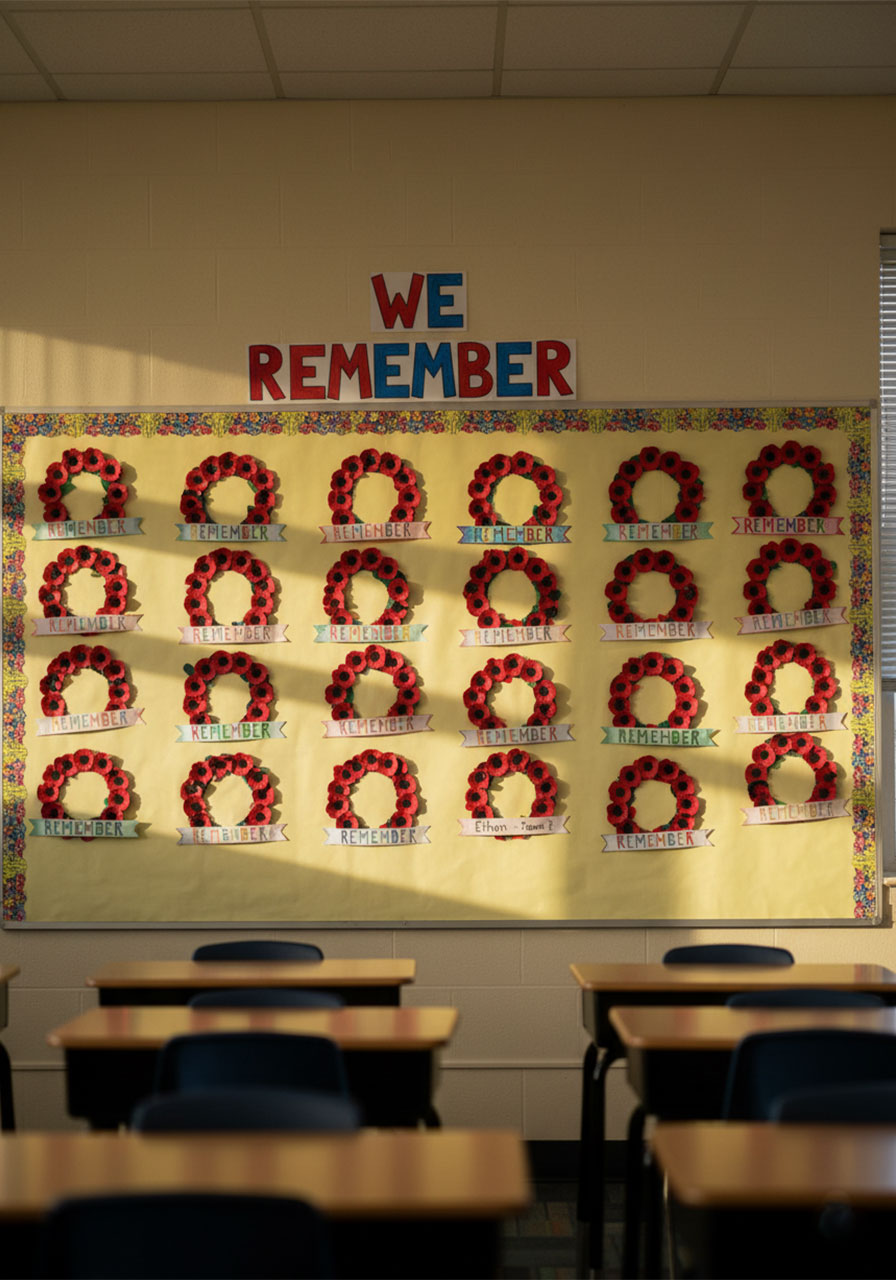
Make it a classroom display. Have every student make their own small wreath, then hang them together as a classroom tribute wall. It makes a stunning visual display for the hallway.
Paint the poppies together as a group activity. Set up a painting station and make it an assembly line – one station for cutting, one for painting red, one for adding black centers. It goes fast and keeps everyone engaged.
How to Use This Craft in the Classroom
This wreath craft is a perfect fit for the week leading up to Memorial Day. Here are a few ideas to make it a full learning experience, not just a craft project.
Read aloud the poem “In Flanders Fields” by John McCrae before you start. It’s short, powerful, and gives the poppy symbol real context. Even young children can understand its message of remembrance with a little gentle explanation.
Show a photo of a real poppy field and compare it to the wreath the class is making. It helps kids make a visual connection between the craft and the real-world symbol.
Pair it with a simple writing activity: ask kids to write or draw about someone they are grateful for, whether that’s a family member in the military, a community helper, or anyone who has made a sacrifice for others.
Hang the finished wreaths in the hallway or on the classroom door. It’s a meaningful, visible tribute that the whole school community can appreciate.
Frequently Asked Questions
What age is this craft suitable for?
This craft works beautifully for kids ages 4 and up. Younger children (preschool through kindergarten) will need help with cutting and may need an adult to handle the gluing. Kids in grades 1–5 can do most of the steps independently with light supervision.
How long does this project take?
Plan for about 45–60 minutes of active craft time, plus drying time between painting steps. If you’re doing this in a classroom, a great approach is to paint the pieces one day and assemble the wreath the next.
Can I use a cardboard circle instead of a paper plate?
Absolutely! A cardboard ring cut from a cereal box works just as well. It’s actually a bit sturdier, which is great if kids want to hang the wreath on a door.
What if I don’t have enough egg carton cups?
No problem – use two egg cartons for a fuller wreath, or mix in some rolled red tissue paper balls to fill any gaps. The mixed textures can actually look really gorgeous.
Can I use acrylic paint instead of tempera?
Yes! Acrylic paint gives a more vibrant, glossy finish and dries faster. Just note that it can stain clothing more easily than tempera, so have smocks or old shirts on hand.
This egg carton poppy wreath is one of those crafts that looks like you spent a lot of time and money – when really all you needed was an egg carton, some paint, and a paper plate. That’s the magic of it.
More than that, it’s a craft with meaning. Every red poppy your child places on that wreath is a small, tangible way to say: we remember. And that’s something worth making.
Happy crafting – and Happy Memorial Day. 🌺
More 4th of July Ideas to Keep the Fun Rolling:
Straw Stamped Paper Plate 4th of July Craft (Easy & So Festive!)
5 Easy Steps to Make the Cutest Fourth of July Windsocks for Kids
Easy Patriotic Paper Plate Hat Craft for Fourth of July
Cotton Ball Stamped Star: The Easiest 4th of July Craft for Kids (That Actually Looks Amazing)
Fork Painted Fireworks Craft for Kids (The Easiest 4th of July Activity Ever!)
