
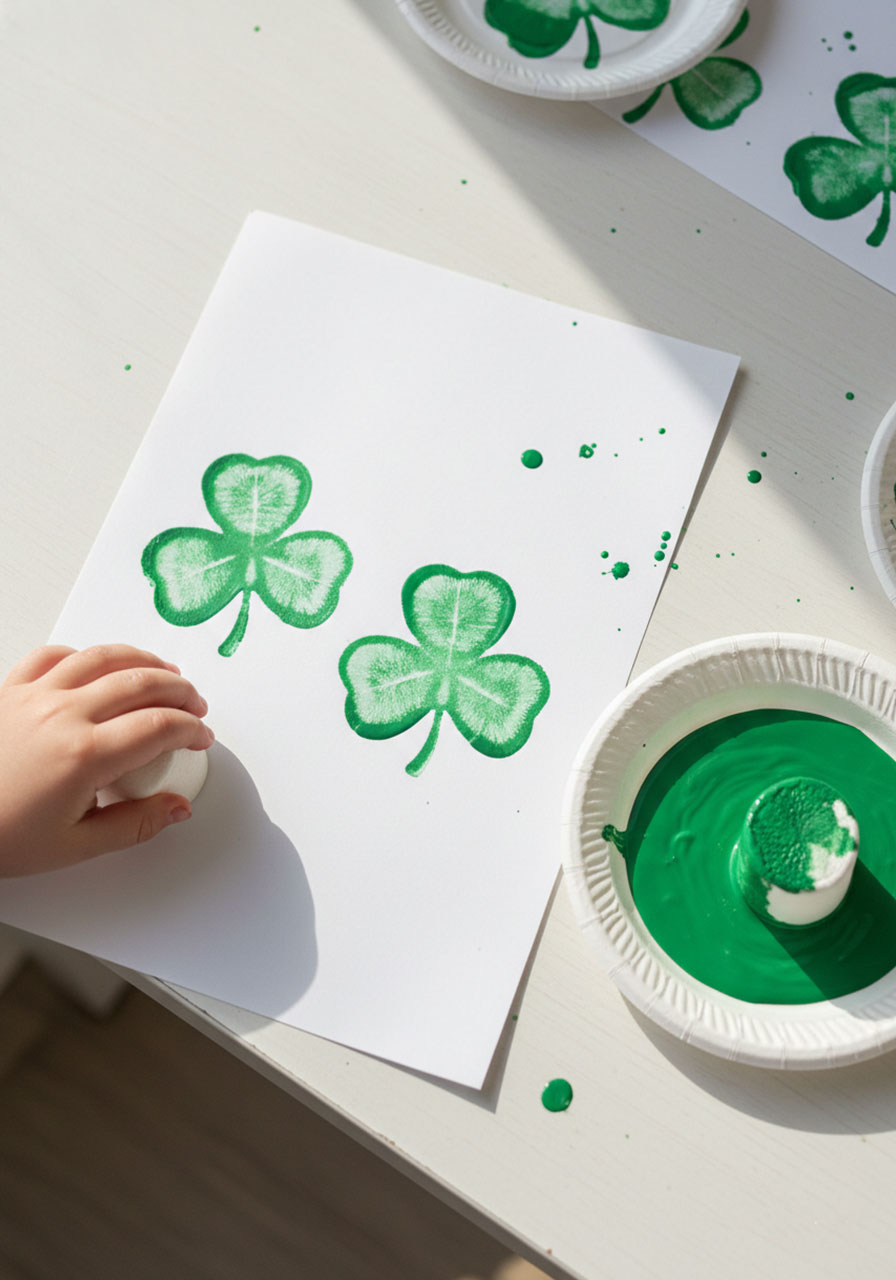
Looking for a St. Patrick’s Day craft that’s actually fun instead of frustrating? Let me introduce you to your new best friend: marshmallow shamrock stamping. This genius little activity combines the joy of painting with the ease of stamping – and it uses something you probably already have in your pantry.
I’ll be honest, the first time we tried this, my daughter had her own artistic vision (green snowmen, anyone?), but that’s the beauty of it. Whether your little ones create picture-perfect shamrocks or abstract green masterpieces, they’ll have a blast doing it. And isn’t that what really matters?
Why Marshmallow Stamping is a Game-Changer
Forget fussy templates and complicated instructions. This craft is so simple that you can explain it in about 30 seconds, set the kids loose, and watch the magic happen. Plus, marshmallows create the perfect soft, round stamp that’s easy for little hands to grip and control. It’s basically foolproof – which is exactly what you need when you’re wrangling excited kiddos hopped up on the promise of a holiday.
Best for: Toddlers through early elementary (ages 2-7)
Time to Craft: 15-20 minutes
Mess Level: Low to Medium (it’s paint, so there will be some cleanup, but nothing crazy)

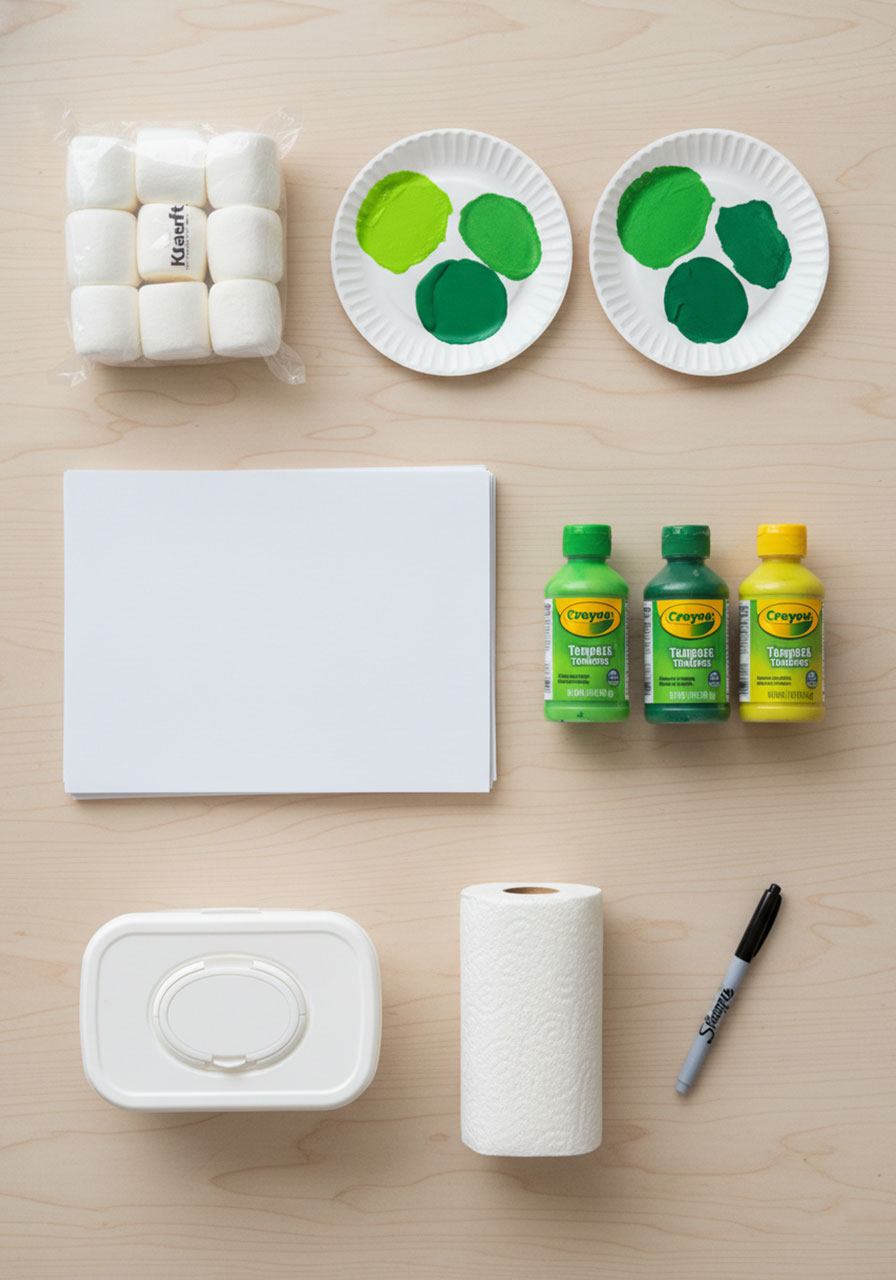
What You’ll Need:
Jumbo marshmallows (regular size works too, but jumbo makes stamping easier for small hands)
Green paint (washable tempera or acrylic – one shade is fine, but multiple greens make it more interesting!)
White paper or cardstock (heavier paper works best so it doesn’t wrinkle)
Paper plates or shallow dishes (for the paint)
Wet wipes or damp paper towels (for quick cleanups)
Optional: Brown or black marker to add stems afterward
How to Create Marshmallow Shamrock Magic:
1. Set up your stamping station.
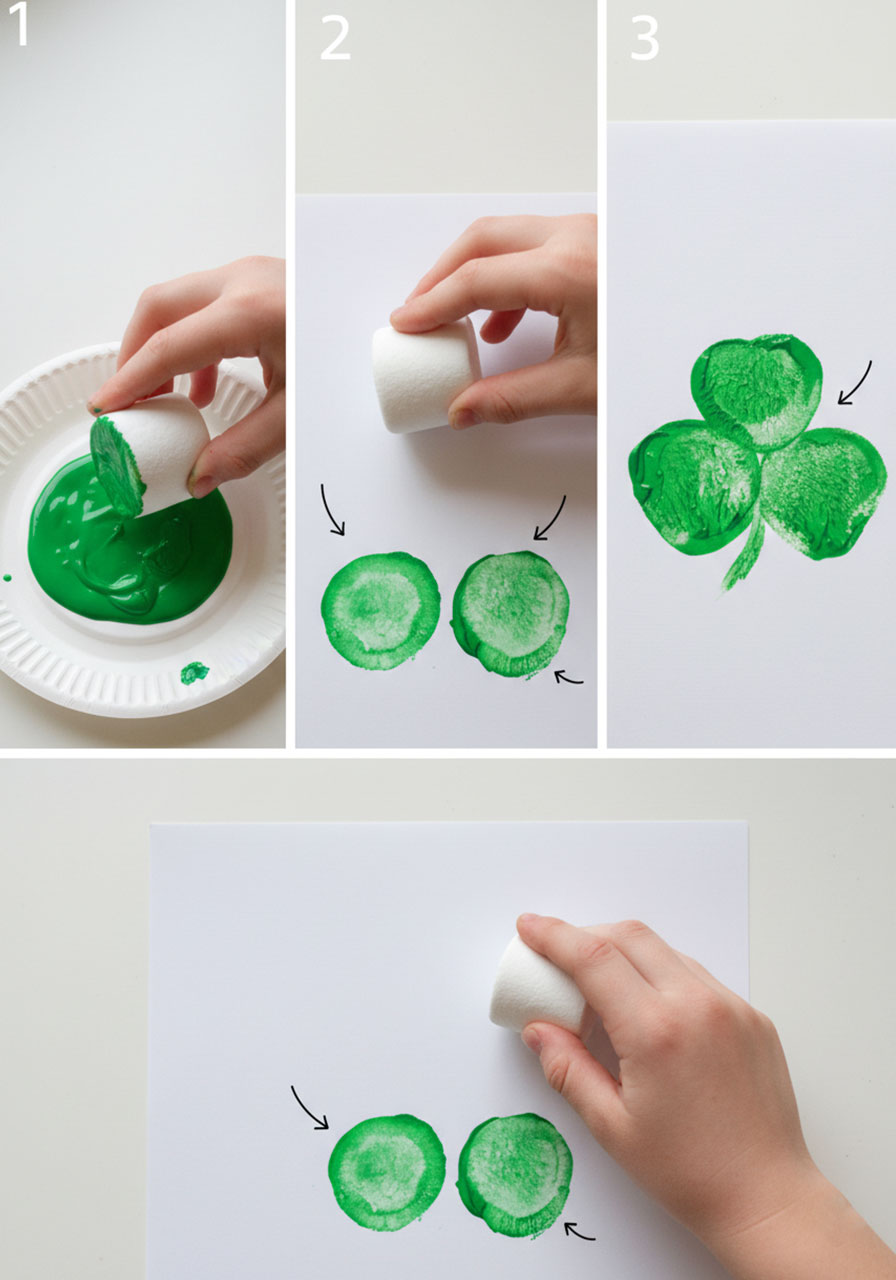
Pour a small amount of green paint onto a paper plate or into a shallow dish. You don’t need much – just enough for the marshmallow to dip into. If you’re using multiple shades of green, set up separate plates for each color.
2. Show them the shamrock secret.
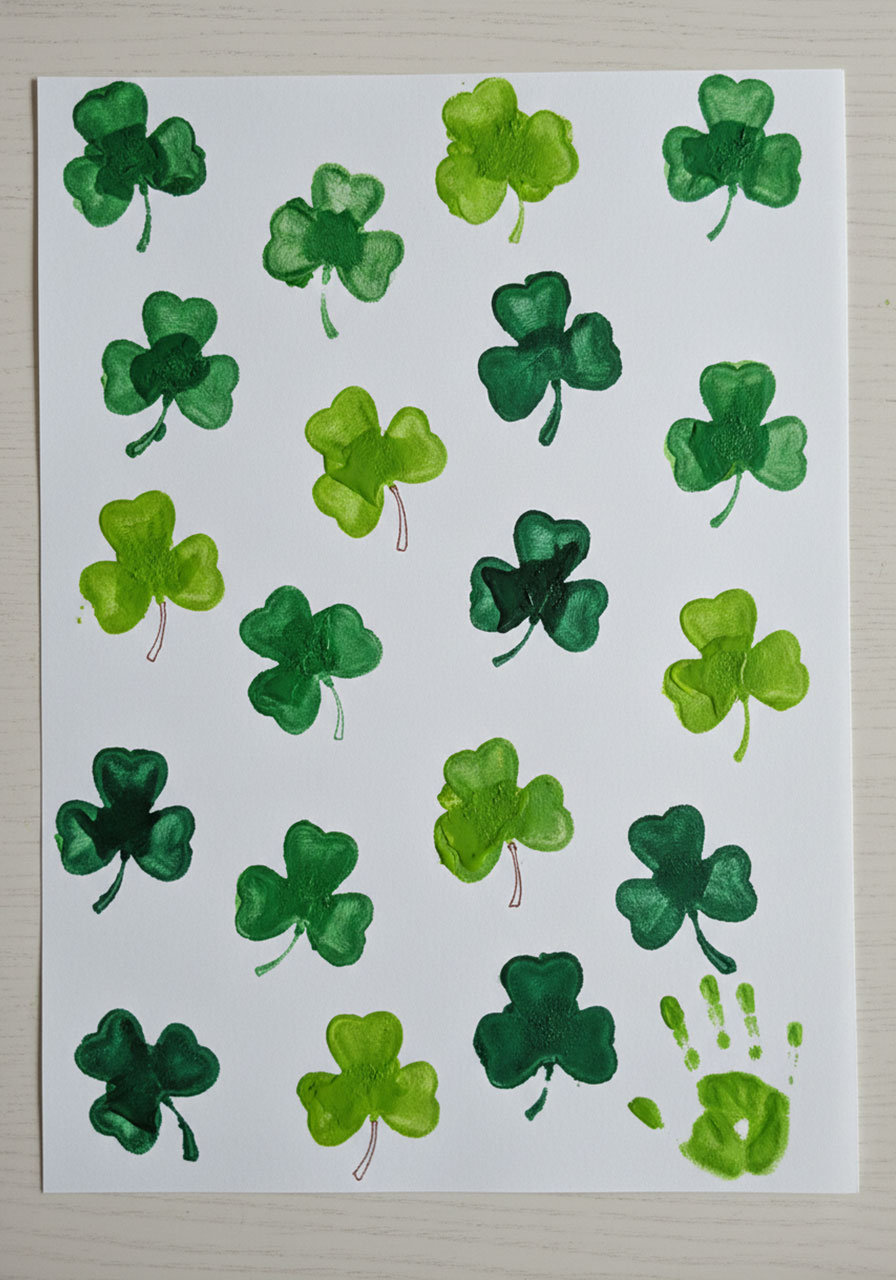
Here’s the technique: stamp twice side by side at the bottom, then stamp once centered above those two. Boom – instant shamrock! Demonstrate it once or twice so they can see how the three circles come together to form that classic clover shape.
3. Hand over the marshmallow and let them go.
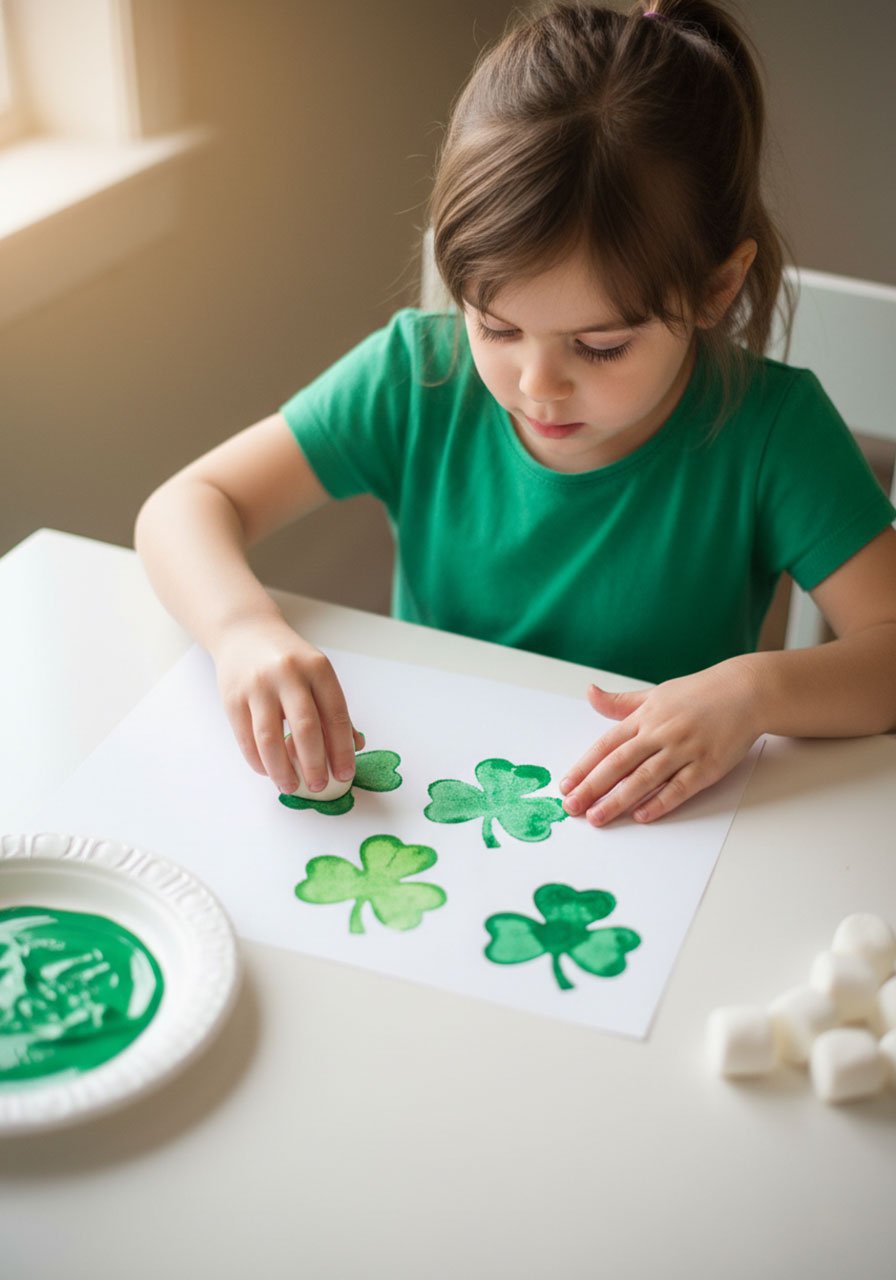
Give each child their own marshmallow (yes, they get their own – sharing stamping tools leads to tears). Let them dip, stamp, and create to their heart’s content. Some kids will meticulously craft perfect shamrocks. Others will cover the entire page in green dots. Both are beautiful.
4. Let it dry.
Set the artwork aside for about 20-30 minutes. Resist the urge to move it too soon or you’ll end up with smudges (trust me on this one).
5. Add stems if desired.
Once everything is dry, kids can use a brown or black marker to draw stems connecting their shamrocks. Or don’t! Abstract shamrock fields are totally valid.
Pro Tips to Make This Even Better:
Mix up your greens. Use light green, dark green, and lime to create shamrocks with depth and variety. Kids love seeing how the different shades look together.
Try different paper colors. White paper is classic, but stamping on light blue construction paper creates a “shamrocks in the sky” effect that’s super cute. Black paper makes the green really pop for a dramatic look.
Make it a pattern practice. For older kids, challenge them to create rows of perfectly spaced shamrocks. It sneaks in some math and spatial reasoning while they think they’re just having fun.
Let them embrace imperfection. My daughter went rogue and made what she called “green snowmen” instead of shamrocks, and she was absolutely thrilled with them. Sometimes the best art comes from creative interpretation, not rigid rules.
Use leftover marshmallows. Got extras from making Rice Krispie treats? This is the perfect way to use them up before they go stale. Win-win!
What to Do With Your Shamrock Masterpieces:
Once your little artists have created their stamped shamrock art, you’ve got options:
String them up as festive garland across the classroom or playroom
Frame the best ones for instant St. Patrick’s Day decor
Turn them into greeting cards by folding cardstock in half before stamping
Create a gallery wall and let each child explain their artistic choices (prepare for some hilarious interpretations)
Mail them to grandparents who will absolutely treasure handmade holiday art
The Real Magic Here:
Here’s what I love most about marshmallow stamping: it’s one of those rare crafts where the process is just as fun as the product. Kids get the satisfaction of creating something recognizable without the frustration of tricky cutting or complicated steps. They feel proud, you feel relaxed, and everyone walks away happy.
Plus, there’s something undeniably charming about using a sweet, squishy marshmallow as an art tool. It’s unexpected, it’s tactile, and it makes kids giggle – which is pretty much the recipe for a perfect craft in my book.
So grab those marshmallows, break out the green paint, and get ready for some seriously sweet shamrock stamping. Your little leprechauns are going to love it!
More St. Patrick’s Day Party Ideas to Keep the Fun Rolling:
20 Hilarious St. Patrick’s Day Minute to Win It Games That’ll Have Everyone Laughing
18 Easy and Fun St. Patrick’s Day Activities for Toddlers (No Prep Required!)
15 Easy St. Patrick’s Day Crafts for Kids That Are Actually Fun
Easy Shamrock Suncatcher Craft – A Magical St. Patrick’s Day Activity for Kids
How to Make a DIY St. Patrick’s Day Garland in 7 Easy Steps
Rainbow Pot of Gold Craft: The Ultimate 3D St. Patrick’s Day Project Kids Will Love
Leprechaun Hat Blowers: The Most Fun St. Patrick’s Day Craft Your Kids Will Actually Want to Make
Fork-Painted Leprechaun Craft: The Easiest St. Patrick’s Day Project Your Kids Will Actually Love
