
Grab some aluminum foil and a handful of pennies, because we’re about to build boats that actually float (and some that spectacularly sink).
The Penny Boat Challenge is one of those magical STEM activities that looks like pure play but is secretly teaching kids some serious science. It’s cheap, it’s mess-free (mostly!), and it works for a classroom of 25 just as easily as it works for one curious kid at your kitchen table.
If you’ve ever needed a hands-on activity that keeps kids engaged, sparks real “aha!” moments, and doesn’t require a trip to the craft store, this is it.
Let’s dive into how to set it up, run it, and turn it into a genuine lesson on buoyancy that your students or your own kids will actually remember.
Why This Activity Works So Well
Kids don’t just watch this experiment happen. They build it, test it, and fix it themselves.
That hands-on trial and error is exactly how engineers think. Your foil boat might sink on the first try. That’s not a failure, that’s data. It’s the perfect, low-stakes way to introduce the idea that design is a process, not a one-shot deal.
Plus, the payoff is instant. Kids get to see their boat hold real weight, right in front of them, in a bowl of colorful water. No waiting for results days later like some other experiments.


Penny Boat Challenge: Quick Facts
Grade Level: 2nd through 5th grade (younger kids can join in with a helping hand)
Best For: Classroom STEM stations, homeschool science, rainy day activities, summer learning
Time to Complete: 20 to 30 minutes
Objective: Design and build a foil boat that holds as many pennies as possible without sinking, while learning the science of buoyancy along the way.
What You’ll Need
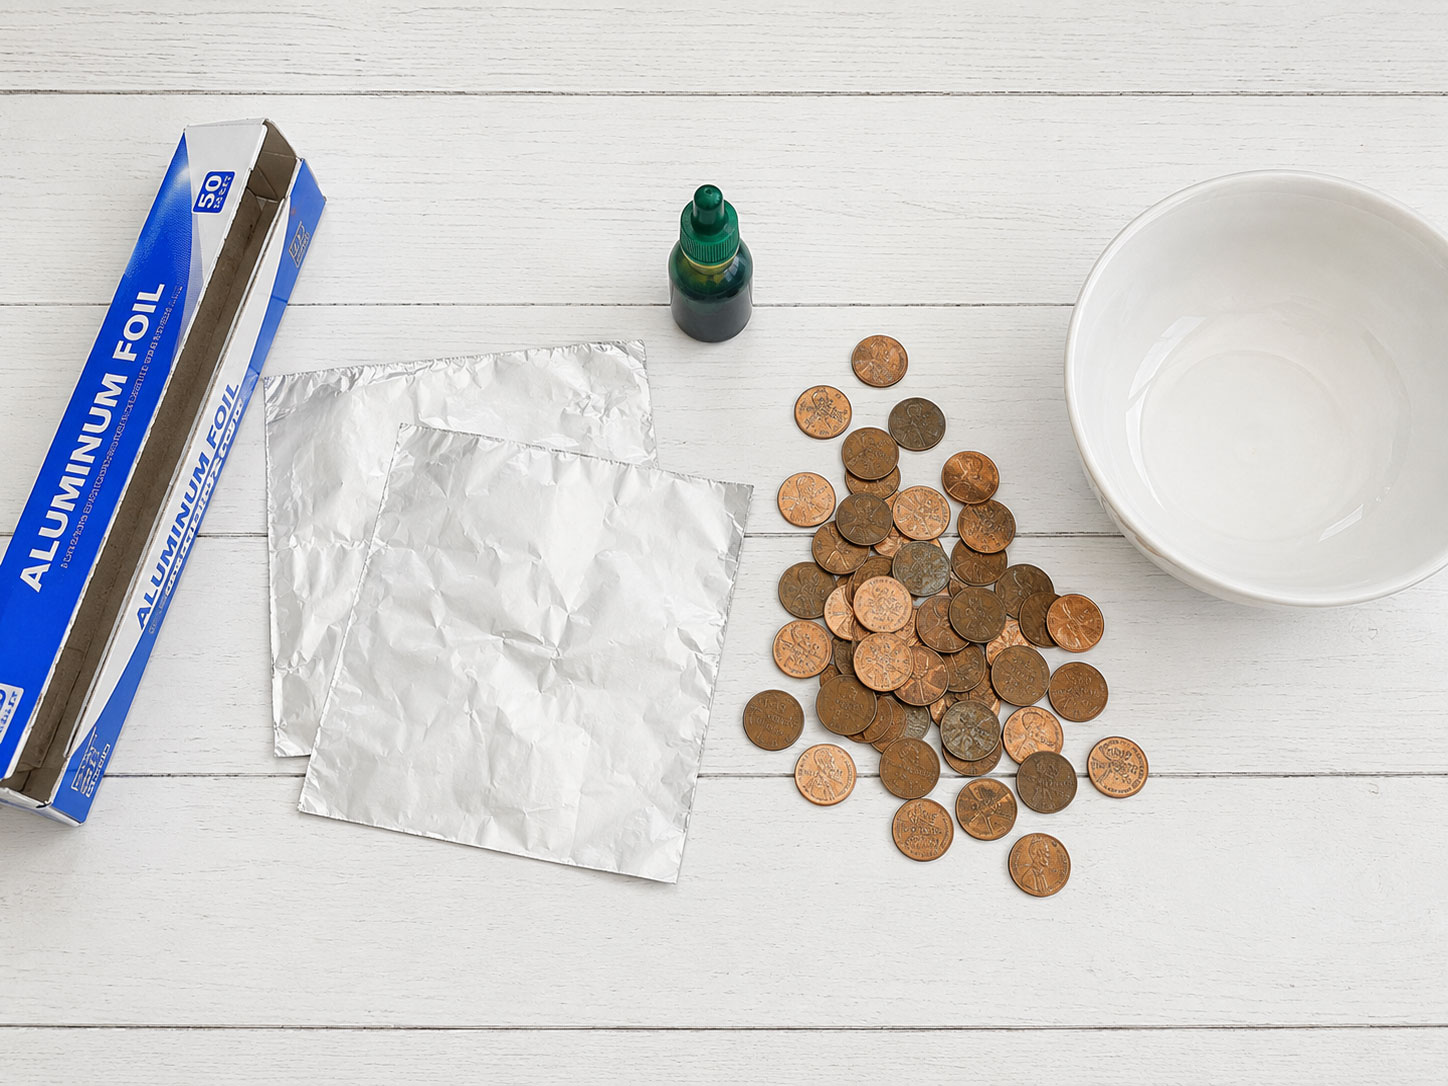
A large bowl, filled about three-quarters full with water
Green or blue food coloring (totally optional, but it makes for a much more fun photo and a more exciting reveal)
At least 30 pennies per boat (more if you want kids to push their design further)
Two 8-inch squares of aluminum foil per boat
That’s it. No glue, no scissors, no trip to the store for special supplies. If you already have foil and spare change in a junk drawer, you’re basically ready to go.
How to Play: Step-by-Step Instructions
Step 1: Set up your water.
Fill your bowl about three-quarters full with water. If you’re using food coloring, add just a drop or two of green or blue now and give it a quick stir. This step is optional, but it makes the whole activity feel a little more like an experiment and a little more exciting for kids.
Step 2: Hand out the foil.
Give each child two 8-inch squares of aluminum foil. One square will become their boat. The other will be used for a quick comparison test in the next step.
Step 3: Test a foil ball first.
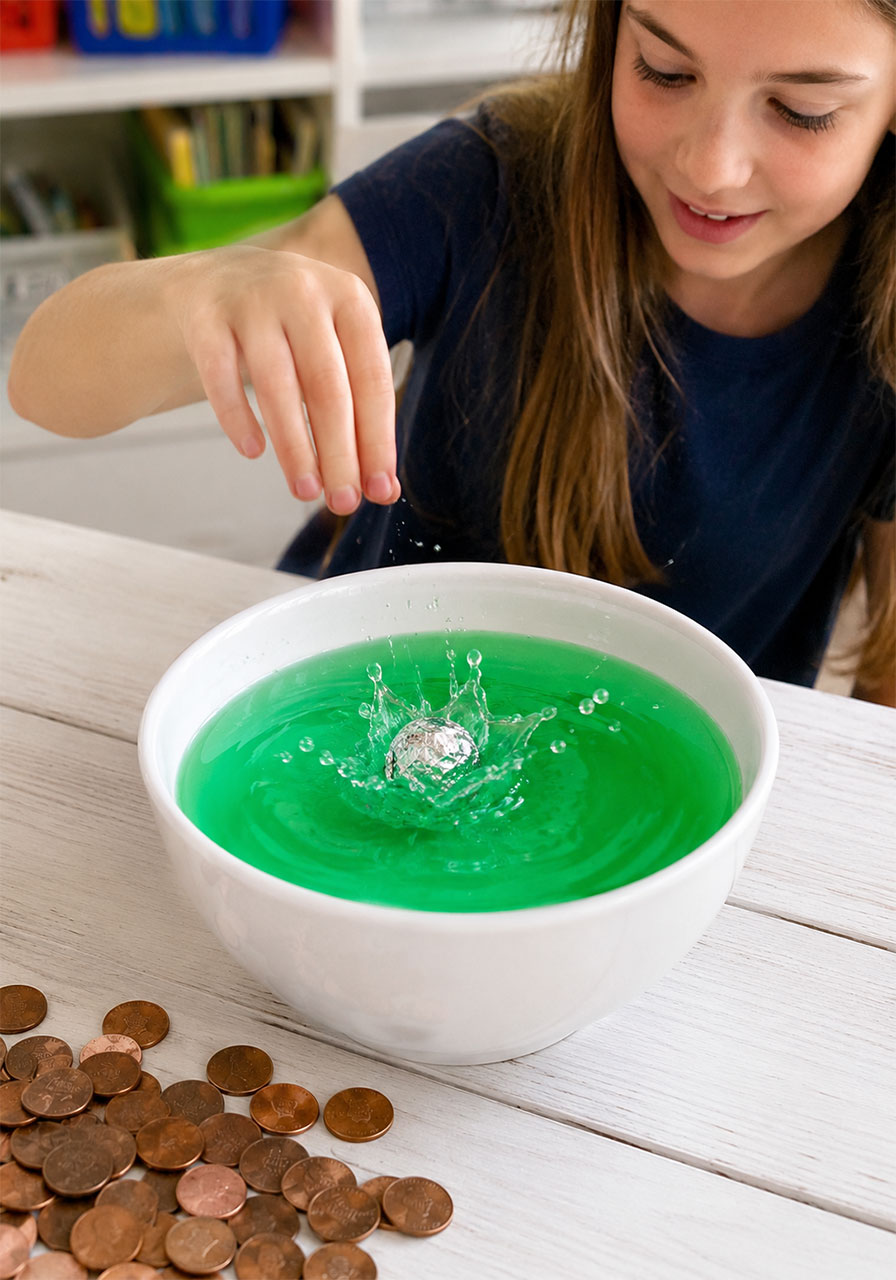
Before building the actual boat, have kids crumple up their second piece of foil into a tight ball. Place 15 pennies in the middle, then wrap the foil around the coins into a compact, ball-like shape.
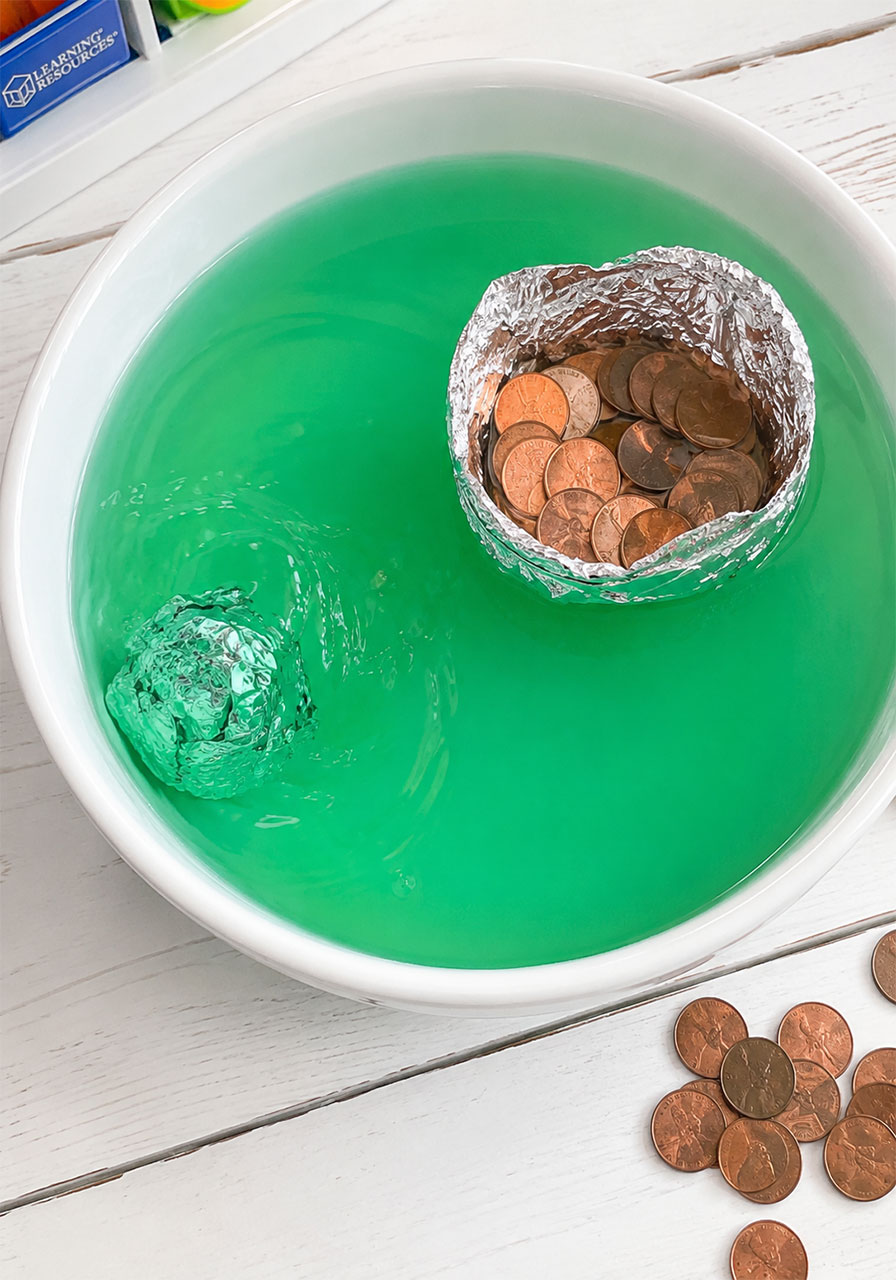
Drop it into the water. It sinks almost immediately.
This step matters more than it seems. Seeing the foil ball sink first gives kids a clear “before” picture. It sets up the big question the whole activity is built around: why does a flat, crumpled shape sink, while a boat shape floats?
Step 4: Build the boat.
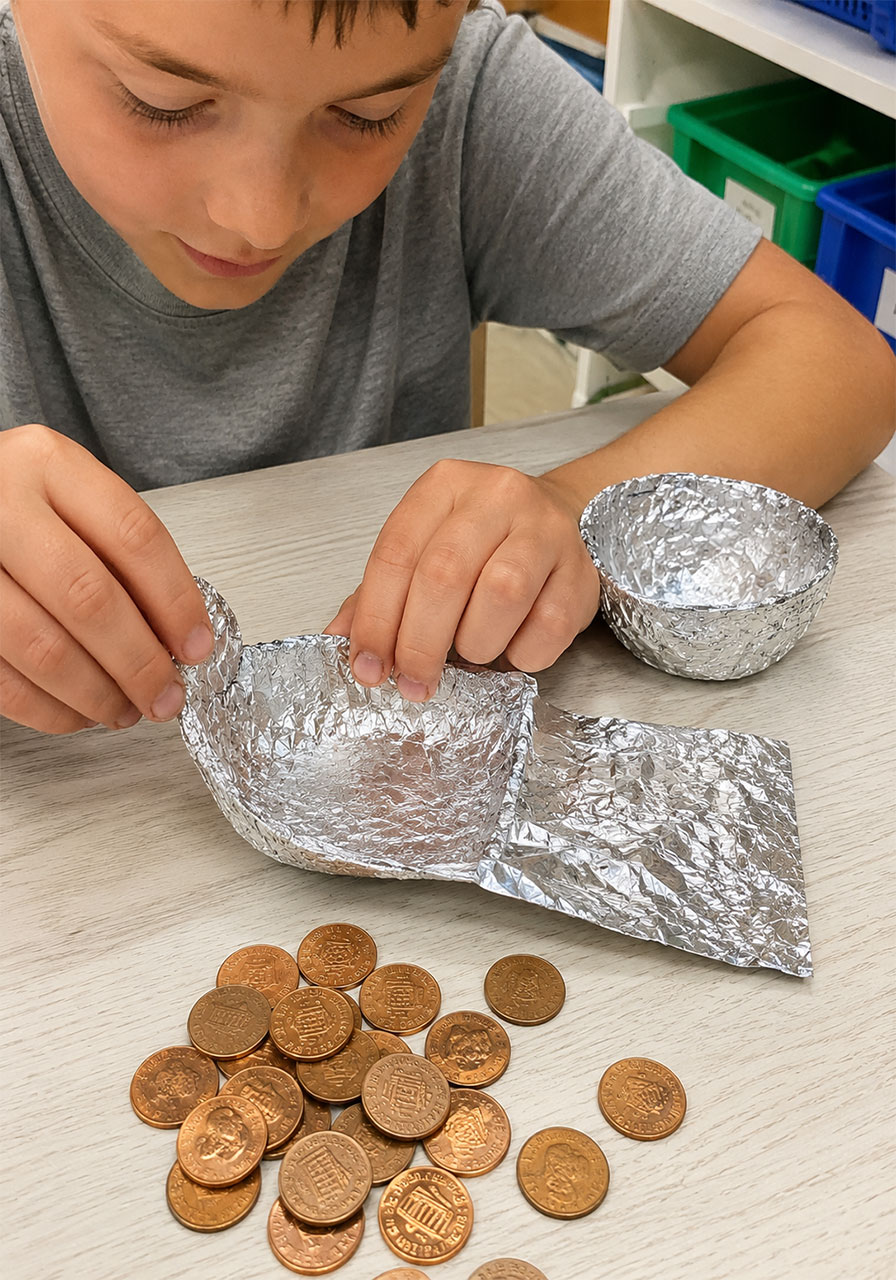
Now it’s time for the real challenge. Using the first square of foil, have kids shape it into a small boat with raised sides and a flat-ish bottom. Think of a little bowl or dish shape rather than a tight ball.
Encourage kids to press the edges up firmly so water can’t easily spill over the sides once pennies are added.
Step 5: Float test.
Gently place the boat in the water and see if it floats on its own first. If it tips, wobbles, or takes on water, pull it out and reshape it. This redesign step is a normal, expected part of the process, not a sign anything went wrong.
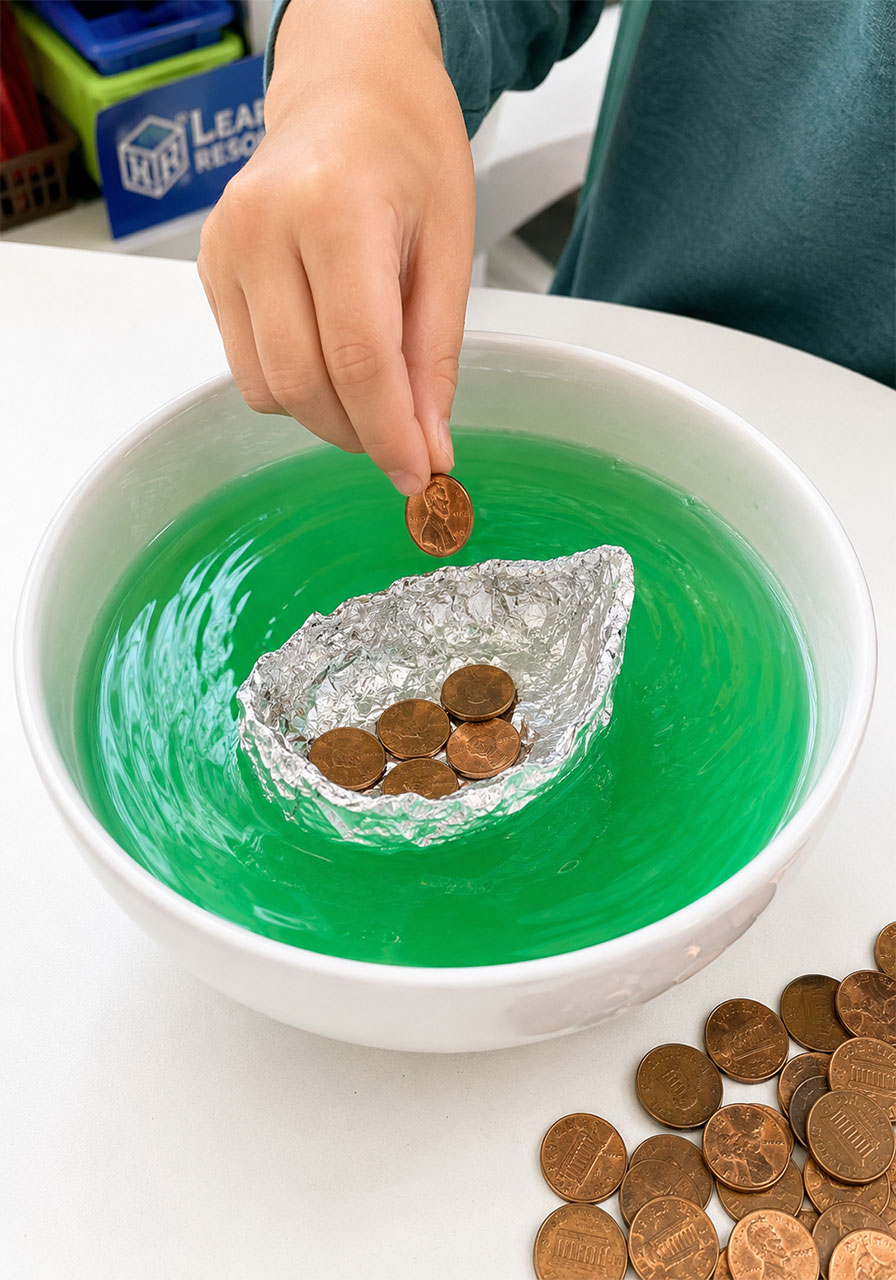
Step 6: Add the pennies.
Once the boat is floating steadily, start adding pennies one at a time. Go slowly and try to spread them out evenly rather than piling them in one spot.
Count out loud as you go. How many pennies can the boat hold before it finally takes on water and sinks?
Step 7: Try to beat your own record.
Once a boat sinks, let kids rebuild and try again with a new design. Can they hold 50 pennies this time? What about 100?
This step is where the real engineering thinking kicks in, since kids start applying what they just learned instead of just repeating their first attempt.
Pro Tip
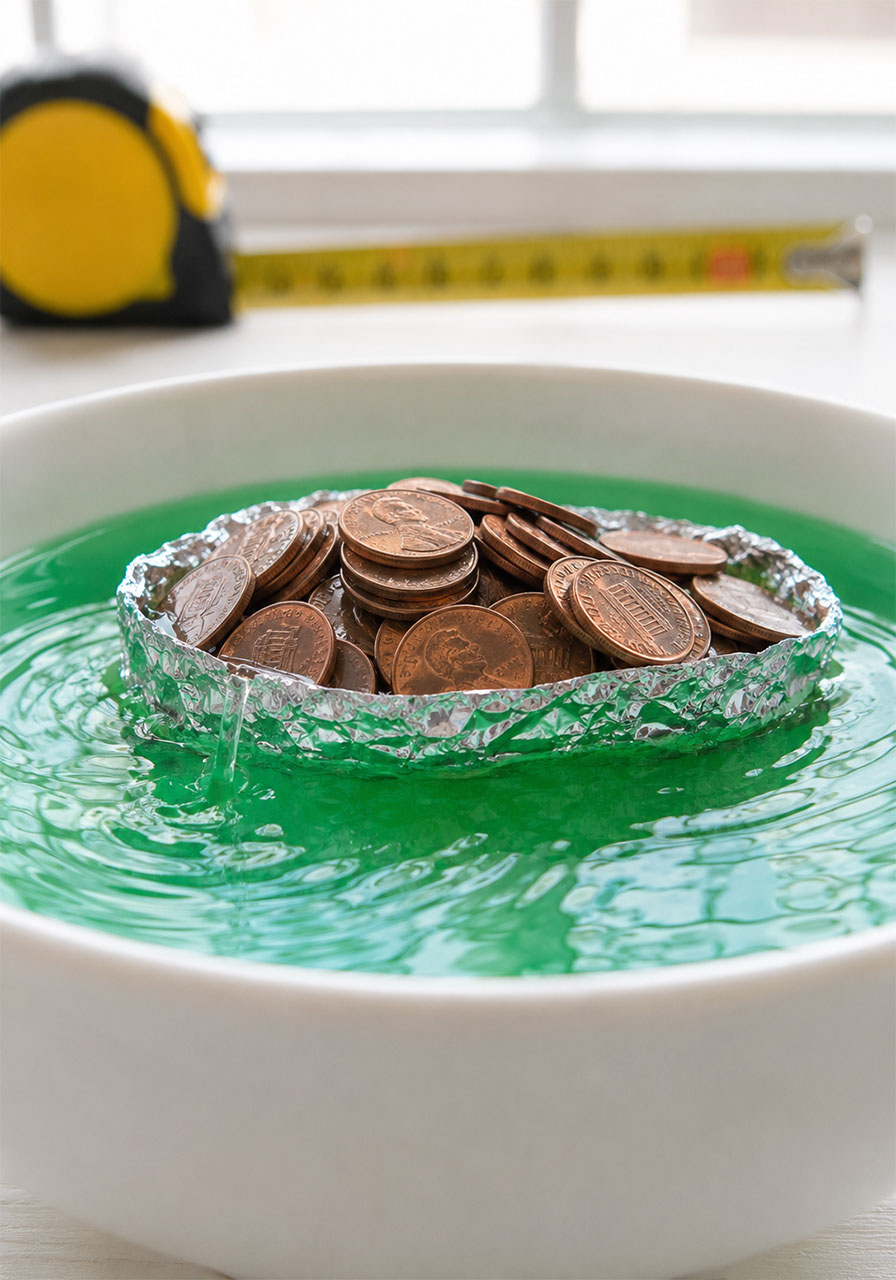
The single biggest design factor is a wide, flat bottom. A narrow or pointed boat tips over easily and takes on water fast. Encourage kids to press their foil out wider rather than folding it up tall, since a wider base gives the water more surface area to push against.
Fun Variation
Turn it into a friendly competition. Split the class or family into small teams and give everyone the same amount of foil. Whichever team’s boat holds the most pennies before sinking wins bragging rights (and maybe a small prize).
You can also try timing how long a boat stays afloat once it starts taking on water, which adds a second variable for older kids to think about.
Why Do Foil Boats Float? The Science Behind the Challenge
This whole activity comes down to one word: buoyancy.
Buoyancy is the upward force that water pushes back on an object with. Whether something floats or sinks depends on how that object’s shape interacts with the water around it.
The foil ball and the foil boat use the exact same material and, in most versions of this test, the same number of pennies. But they behave in completely different ways.
The foil ball sinks because it’s compact. It takes up very little space for its weight, so there isn’t enough water being pushed aside to create the upward force needed to keep it afloat.
The foil boat floats because its shape spreads the weight out over a much larger surface area. That wider shape pushes more water out of the way, and in return, more water pushes back up against the boat.
In simple terms: a bigger shape gets more support from the water. That’s the whole secret behind why real ships made of heavy steel can float, and it’s exactly what your students just discovered with a piece of kitchen foil.
Reflection Questions to Ask Kids
These questions work great for classroom discussion, a science journal entry, or just chatting with your own kids at the kitchen table after the challenge is done.
Design Choices
- What shape did you choose for your boat, and why?
- Did your boat’s shape help it float better?
Successes and Challenges
- What part of your boat design worked the best?
- What was the hardest part of building your boat?
Science Connection
- Why do you think your boat floated or sank?
- How did adding pennies change your boat in the water?
Problem-Solving
- If you built your boat again, what would you change?
- Did you try different ways to stack or spread out the pennies?
Teamwork
- Did you work with a partner? How did you help each other?
- Did you share or use any ideas from other groups?
Real-World Connections
- How do real boats carry heavy things without sinking?
- Can you think of another object that floats in water?
Personal Reflection
- What did you learn about building a boat?
- What was your favorite part of the challenge?
Frequently Asked Questions
Why does a foil boat float?
A foil boat floats because its shape spreads out weight over a larger surface area, allowing water to push upward against it. That upward push is called buoyancy, and it’s the same force that keeps massive ships afloat.
Why does the foil ball sink?
The foil ball is compact and takes up very little space compared to its weight. Since it doesn’t push aside much water, there isn’t enough buoyant force generated to keep it floating.
How can you make a foil boat hold more pennies?
Focus on a wide, flat, evenly shaped base. A larger surface area spread out across the bottom of the boat means more water gets pushed aside, which means more upward support holding your boat up.
How many pennies can a foil boat hold?
It really depends on the design. Some carefully built boats can hold over 100 pennies when the weight is spread out evenly and the base is wide and sturdy.
Is this activity messy?
Not really. As long as your bowl is deep enough and kids aren’t tossing pennies from a height, spills are minimal. Keep a towel nearby just in case, and you’ll be fine.
Can younger kids do this activity too?
Absolutely. Kids as young as preschool age can help drop pennies in and watch the boat float or sink, while older kids in 2nd through 5th grade can take the lead on shaping and redesigning their own boats.
Ready to Try It?
The Penny Boat Challenge is proof that some of the best STEM lessons don’t need a big budget or a complicated lesson plan. All it takes is some foil, a handful of pennies, and a little curiosity about why things float. Whether you’re planning a classroom science station or just looking for a rainy afternoon activity that keeps the kids entertained and actually learning something, this one is a keeper.
Gather your supplies, fill up that bowl, and get ready to hear “let me try again!” more times than you can count.
