If you’ve been searching for a party dessert that looks absolutely stunning, feeds a crowd, and tastes like a warm hug in every bite – congratulations, your search is officially over.
This Brown Sugar Chai Cake is the kind of dessert that makes guests stop mid-conversation and say, “Wait, did you actually MAKE this?”
And you’ll get to say yes. Yes, you did. 😊
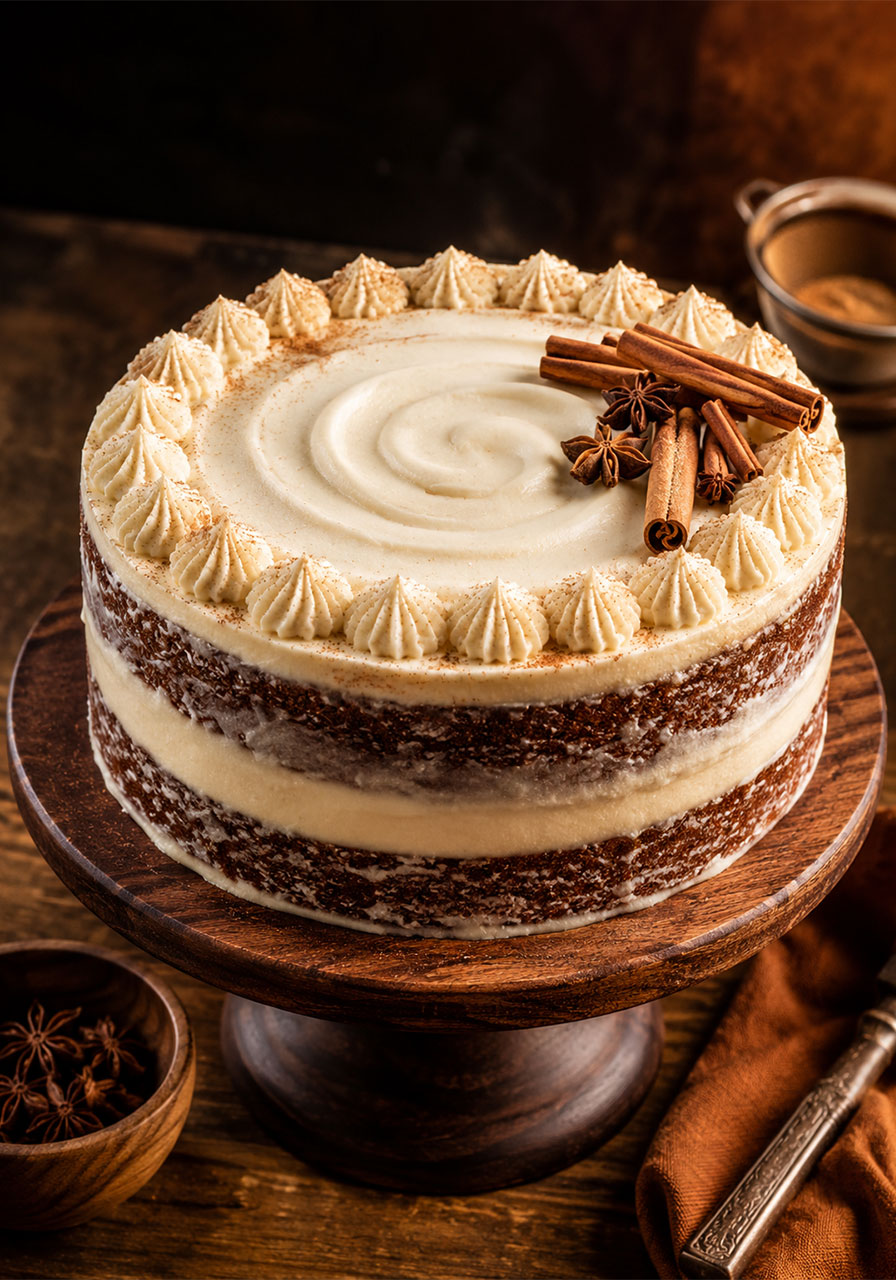
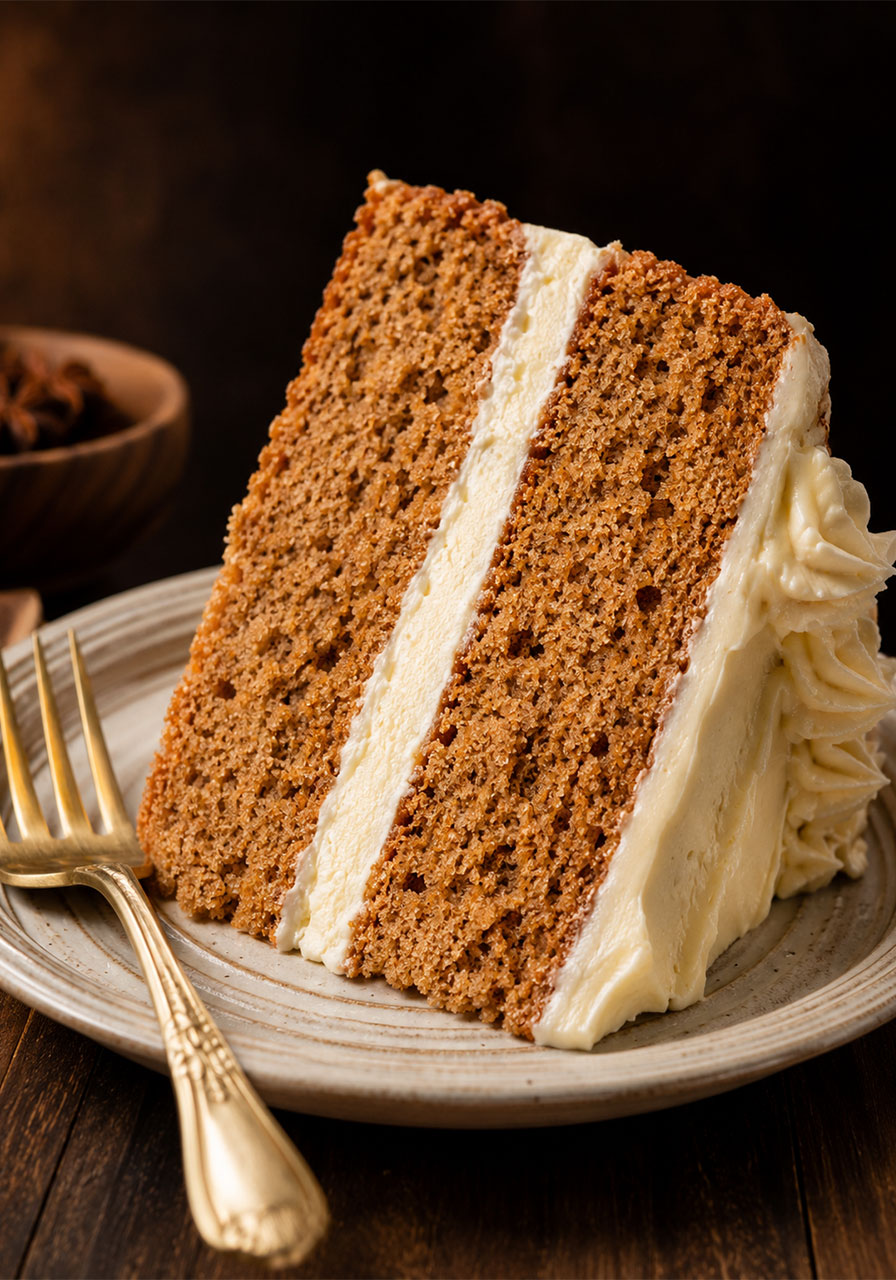
Two deeply moist cake layers, loaded with warm chai spices like cinnamon, cardamom, ginger, and cloves, all sandwiched together with a thick, tangy cream cheese frosting that is absolutely irresistible. It’s sweet, it’s spiced, it’s cozy – and it’s going to be the star of your next gathering.
Whether you’re hosting a fall birthday party, a Thanksgiving dinner, a holiday get-together, or even a casual Sunday brunch with friends, this cake fits every occasion like a dream. It’s festive enough to impress but simple enough that you won’t spend your entire day stressing in the kitchen.
Let’s get into it!
Why You’re Going to Absolutely Love This Cake
Before we dive in, let me tell you why this recipe is genuinely special – and not just “special” in that generic food blog way.
It’s incredibly moist. The combination of butter, neutral oil, and whole milk creates a texture that stays soft and tender even after slicing. This is not a dry cake. Not even close.
The spice blend is next-level. We’re talking a full chai lineup here – cinnamon, cardamom, allspice, nutmeg, cloves, and ginger all in one cake. The result is warm, aromatic, and deeply flavorful in the best possible way.
The cream cheese frosting is sturdy AND delicious. This isn’t your average runny frosting that slides off the moment the cake hits room temperature. The cold cream cheese method means you’ll get a smooth, pipeable frosting that holds its shape beautifully for your party table.
It feeds a crowd. One 9-inch two-layer cake serves up to 20 people. That’s a lot of happy guests for one baking session!
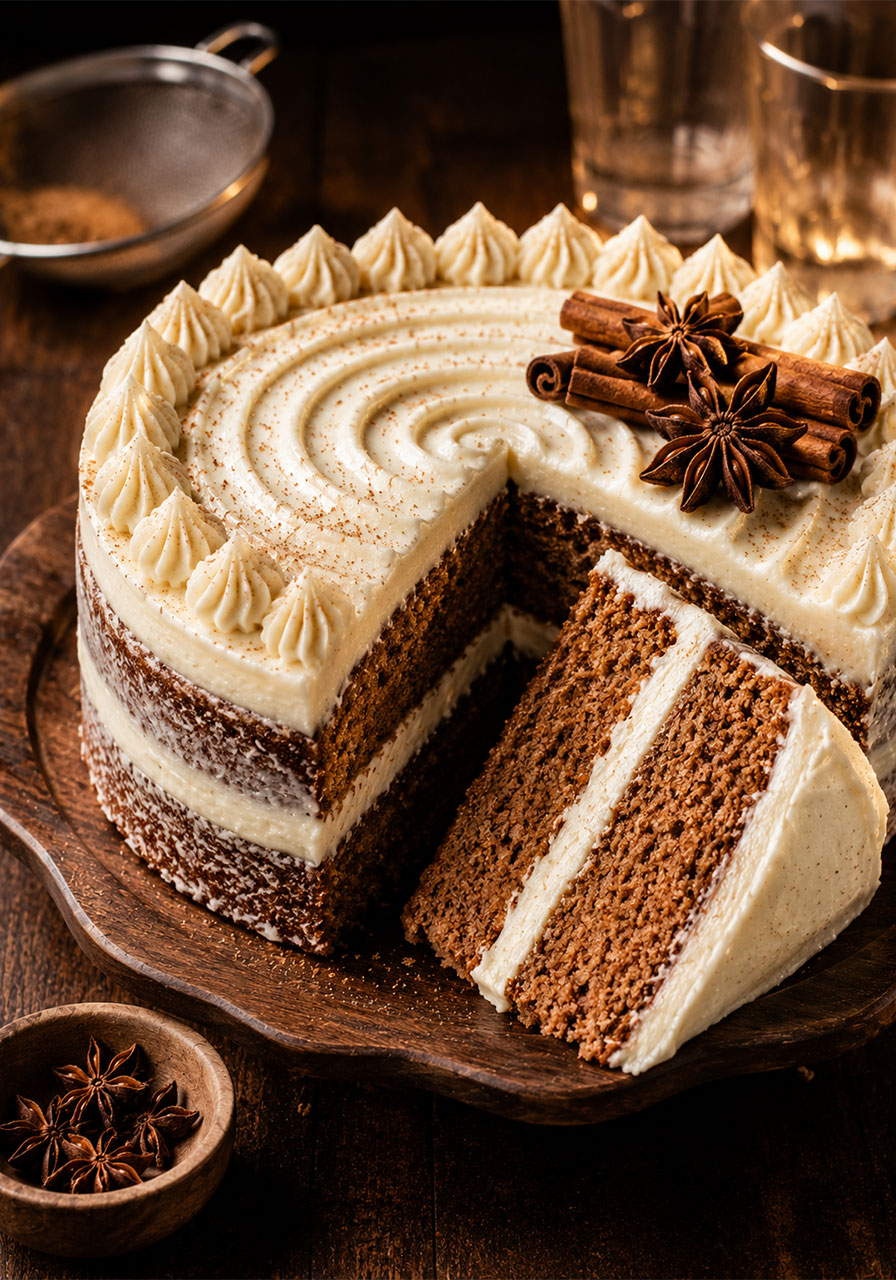
It looks like you hired a pastry chef. Piped rosettes, a cinnamon dusting, a swirl of frosting on top – this cake photographs beautifully and looks genuinely impressive on any dessert table.


What Does Brown Sugar Chai Cake Taste Like?
Imagine biting into a chai latte – but in cake form. The dark brown sugar adds a deep, almost caramel-like molasses flavor that pairs perfectly with the warming spices. It’s sweet, but not overpoweringly so.
The cream cheese frosting brings a gentle tang that balances everything out. It’s smooth, creamy, and complements the spices without fighting them.
Together, the combination is cozy, indulgent, and honestly one of the best flavor pairings we’ve ever put on a dessert table.
Think: fall vibes, holiday energy, and that “wow, this is so good” moment all rolled into one slice.
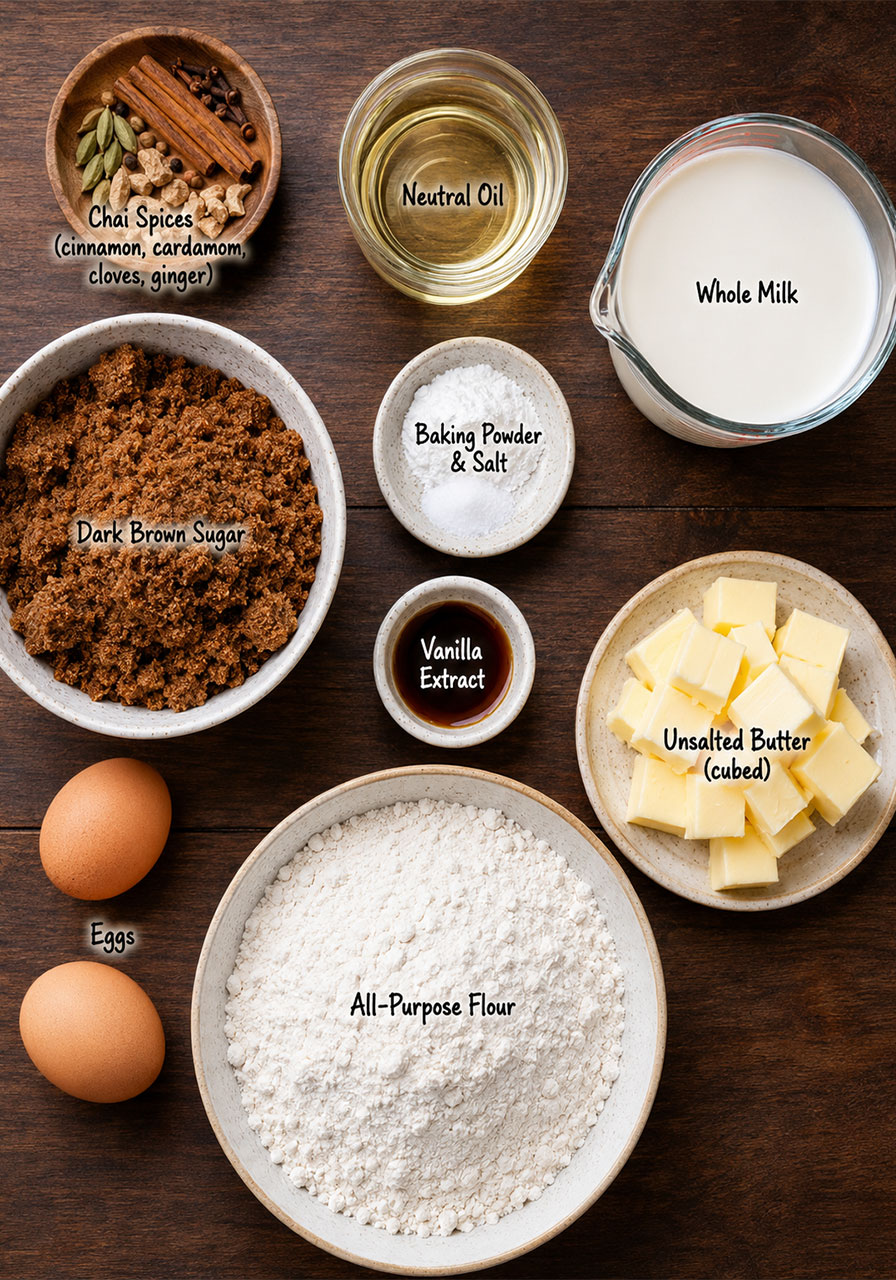
Ingredients You’ll Need
For the Brown Sugar Chai Cake Layers:
- 390g (3 ¼ cups) all-purpose flour
- 320g (1 ½ cups) dark brown sugar
- 15g (1 tbsp + ¾ tsp) baking powder
- 1 tsp kosher salt
- 1 tbsp ground cinnamon
- 2 tsp ground cardamom
- 1 tsp ground ginger
- 1 tsp ground allspice
- 1 tsp ground nutmeg
- 1 tsp ground cloves
- 140g (10 tbsp) unsalted butter, room temperature
- 100g (½ cup) neutral oil (canola, vegetable, or light olive oil)
- 283g (1 ¼ cups) whole milk, room temperature
- 2 large eggs, room temperature
- 1 tbsp vanilla extract
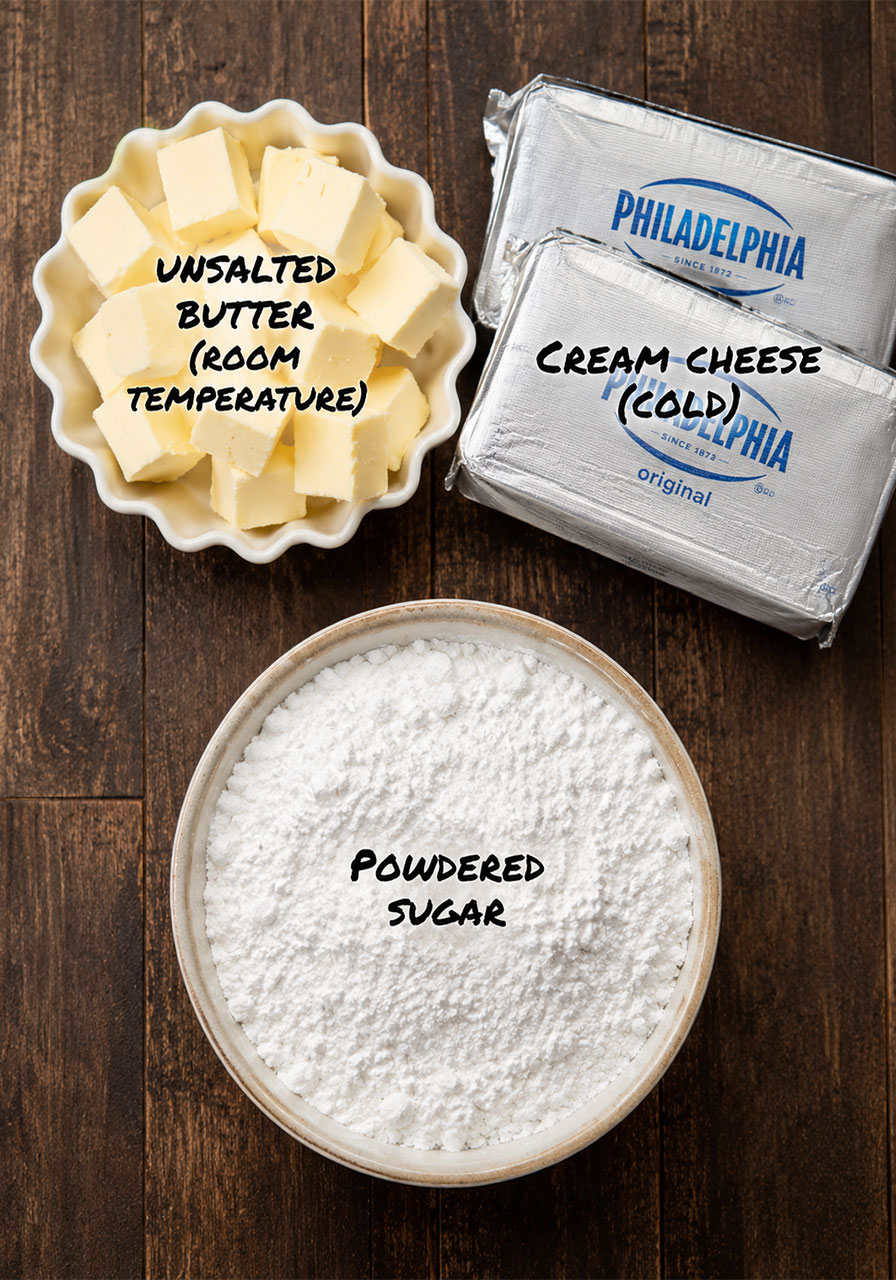
For the Cream Cheese Frosting:
- 227g (16 tbsp / 2 sticks) unsalted butter, room temperature
- 12 oz (1½ blocks) full-fat block cream cheese, cold
- 340g (3 cups) powdered sugar, sifted
A Quick Note on Ingredients
A few of these deserve a little extra attention because they truly make a difference in the final result.
Dark brown sugar vs. light brown sugar: Use dark brown sugar if you can find it. The higher molasses content gives this cake a richer, deeper flavor. Light brown sugar will still work, but the flavor won’t be quite as bold.
Neutral oil: Canola oil, vegetable oil, or a light-tasting olive oil all work perfectly here. The oil is what gives this cake its extra moist texture – don’t skip it!
Cold cream cheese for the frosting: This is crucial. Keep your cream cheese cold straight from the fridge. It’s what makes the frosting thick and sturdy rather than soft and runny. More on this in the tips section below.
Room temperature butter for the frosting: While the cream cheese should be cold, the butter should be room temperature. This combo is the magic combination that creates that perfectly smooth, pipeable consistency.
Sifted powdered sugar: Don’t skip sifting! Unsifted powdered sugar can create a lumpy, grainy frosting, and nobody wants that.
Equipment You’ll Need
- Two 9-inch round cake pans
- Stand mixer with paddle attachment (a hand mixer works too!)
- Kitchen scale (highly recommended – see note below)
- Cake strips (optional but game-changing – more on this below!)
- Wire cooling rack
- Offset spatula for frosting
- Piping bag + star tip (optional, for a decorative finish)
Pro Tip on Measuring: This recipe was developed using gram measurements, and we’d strongly recommend using a kitchen scale if you have one. Volume measurements (cups) can vary significantly depending on how you pack or scoop your flour. Grams guarantee a consistent result every single time.
How to Make Brown Sugar Chai Cake: Step-by-Step
Step 1: Prep Your Pans and Cake Strips
Preheat your oven to 325°F. Grease and line two 9-inch round cake pans with parchment paper.
If you’re using cake strips (and we hope you are!), soak them in ice-cold water now, before you start mixing. By the time your batter is ready, they’ll be perfectly cold and ready to wrap around the pans.
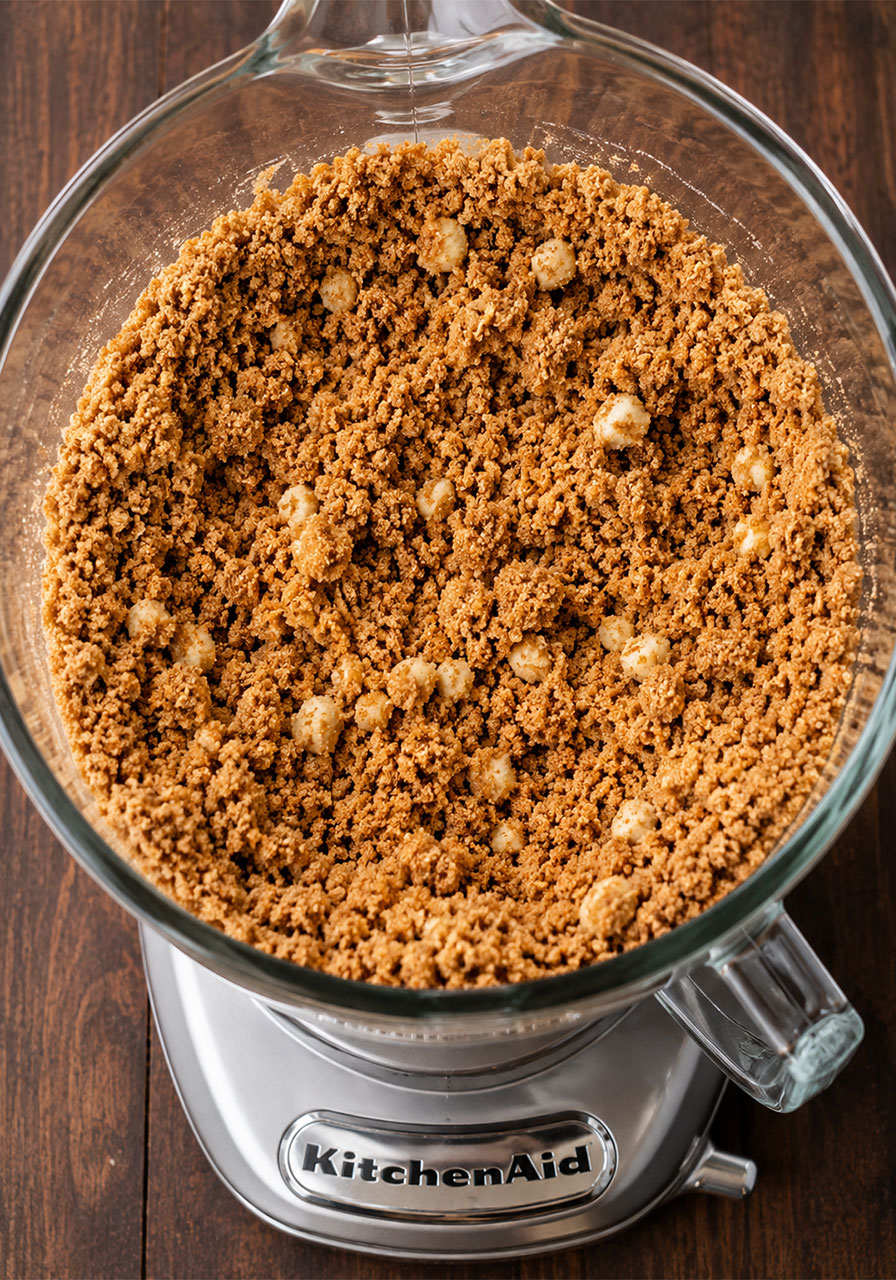
Step 2: Mix the Dry Ingredients with Butter
In the bowl of your stand mixer fitted with the paddle attachment, combine the flour, dark brown sugar, baking powder, salt, cinnamon, cardamom, ginger, allspice, nutmeg, and cloves. Give it a quick mix to distribute everything evenly.
Cut the room-temperature butter into small cubes and add it to the dry ingredients. Mix on low speed until the mixture resembles wet, crumbly sand. It should look a little rough – that’s totally normal and exactly what you’re going for!
This technique (mixing the butter into the dry ingredients first) is called the reverse creaming method, and it’s responsible for that beautifully tender, moist crumb you’re going to fall in love with.
Step 3: Add the Wet Ingredients
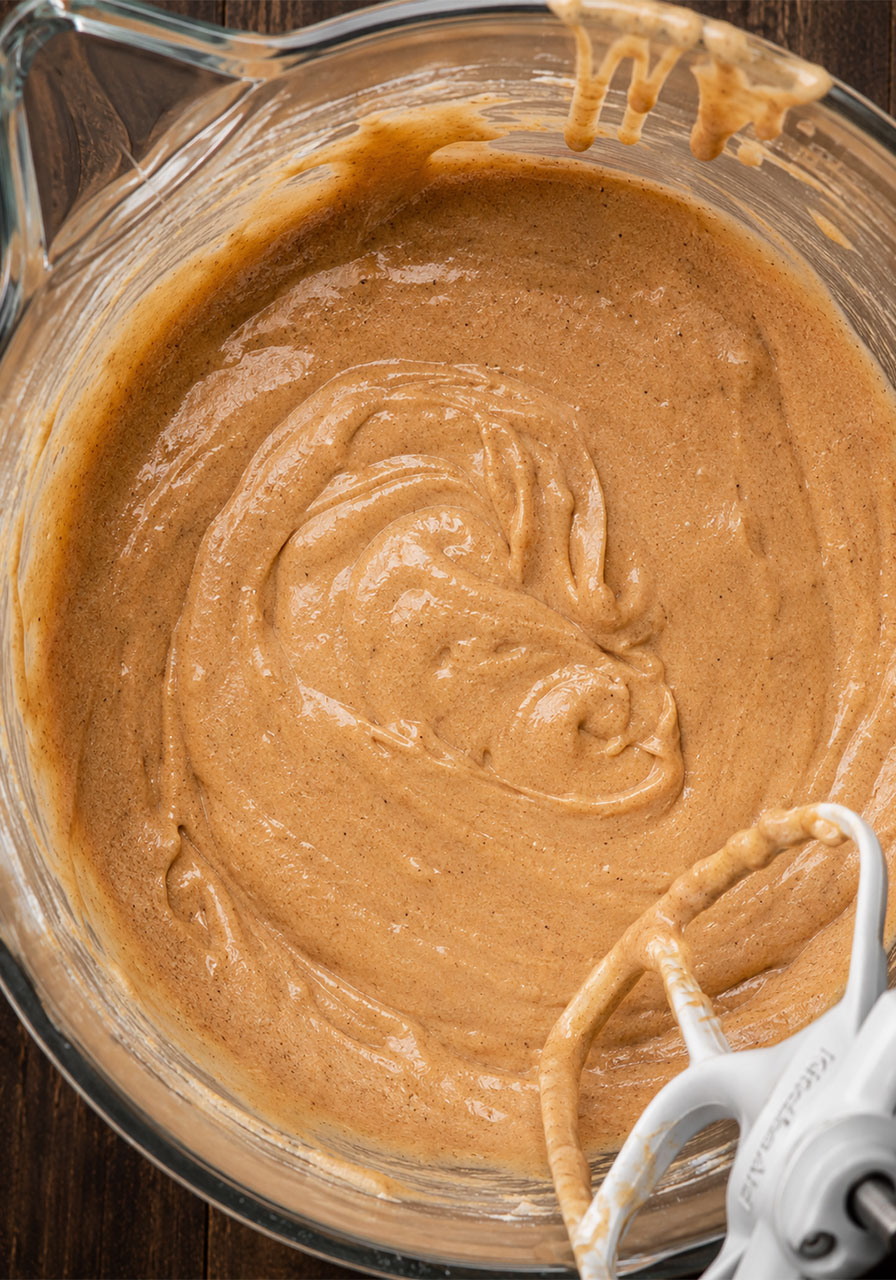
Add the neutral oil, whole milk, eggs, and vanilla extract to the bowl. Mix on low to medium speed until everything is just combined. Don’t overmix – stop as soon as there are no more dry streaks and the batter looks smooth.
You’ll notice the batter has a gorgeous warm golden-brown color from all those spices. Honestly, it already smells incredible at this stage.
Step 4: Divide and Bake
Divide the batter evenly between your two prepared cake pans. Make sure to scrape every last bit of batter from the bowl – it’s too good to waste!

Wrap your soaked cake strips tightly around the outside of each pan. Then pop them into the preheated oven.
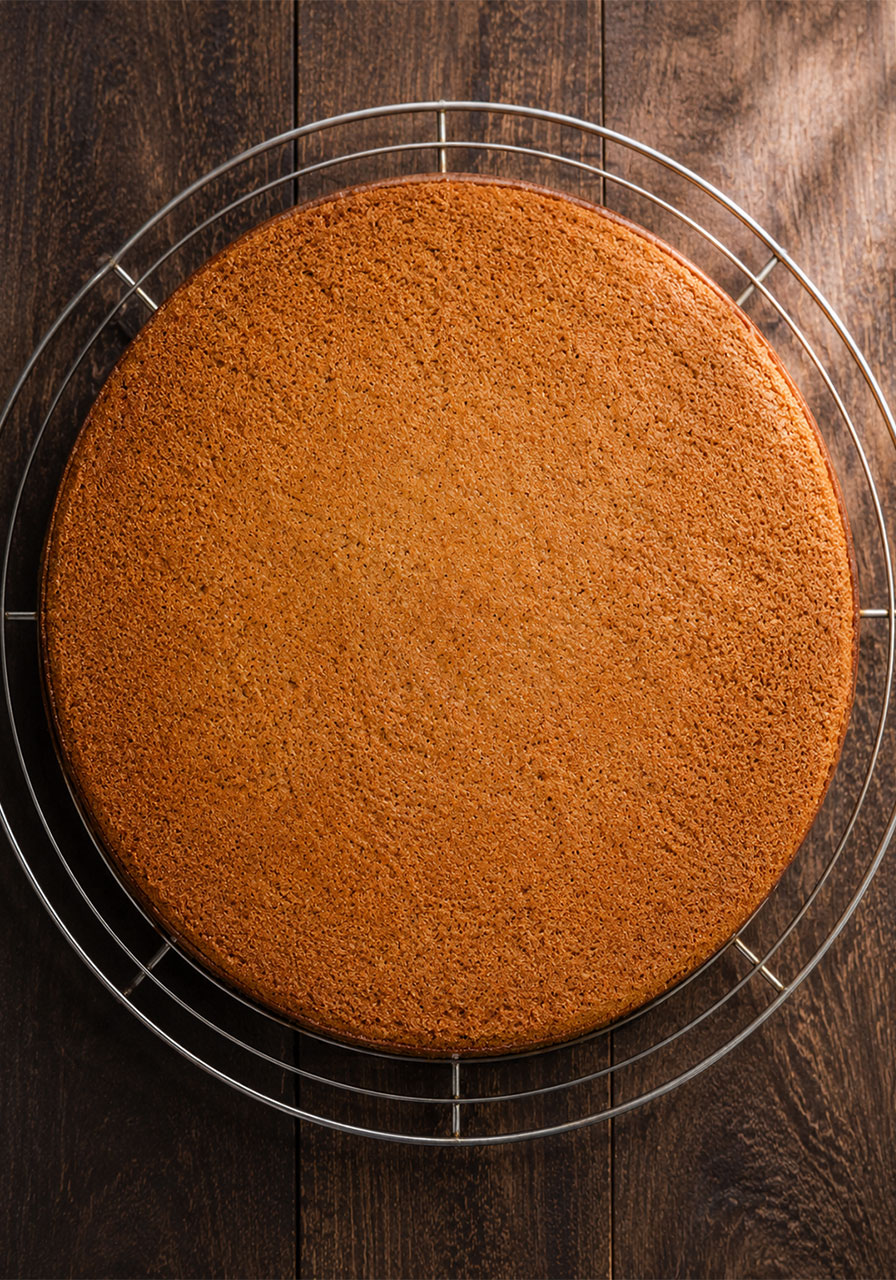
Bake for 35–40 minutes, or until a toothpick inserted into the center comes out clean. The tops should look set and feel springy when gently pressed.
Immediately turn the baked cake layers out onto a wire rack to cool completely. Don’t rush this step! Warm cake + frosting = a melty disaster.
Step 5: Freeze the Cake Layers
Once the cakes are fully cooled, wrap each layer tightly in plastic wrap and place them in the freezer for at least 2 hours (or overnight if you’re prepping ahead).
This is a game-changer for a moist cake like this one. Frozen layers are much easier to work with, the frosting goes on more smoothly, and the cold layers actually help the cream cheese frosting firm up faster as you decorate.
Step 6: Make the Cream Cheese Frosting
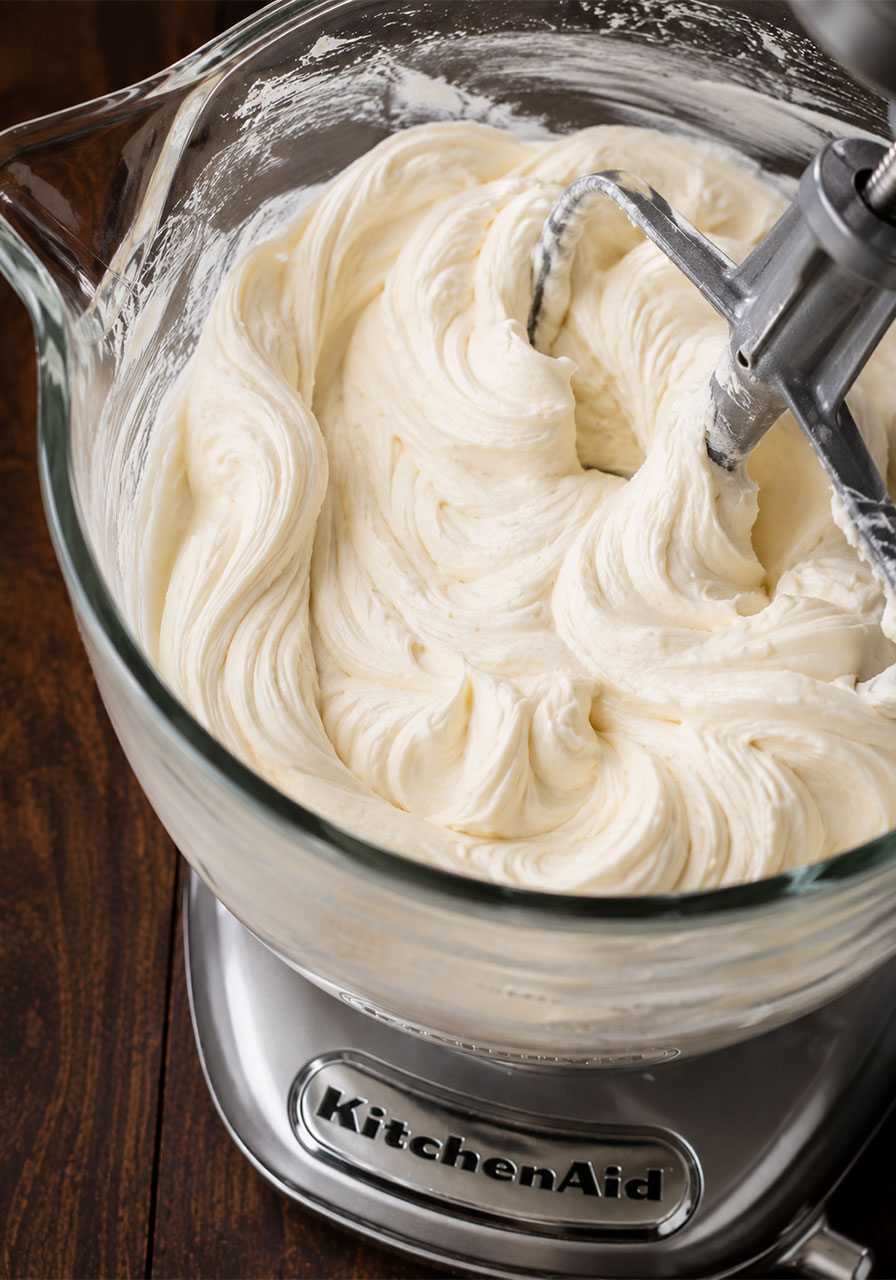
In the bowl of your stand mixer fitted with the paddle attachment, beat the room-temperature butter and cold cream cheese together on high speed until completely smooth and fluffy – about 2 minutes.
Reduce the speed to low, then slowly add the sifted powdered sugar a little at a time. Continue mixing on low until all the powdered sugar is fully incorporated and no lumps remain. The frosting should look bright white, smooth, and thick.
Resist the urge to mix on high speed – keeping it low prevents you from incorporating too much air, which can make the frosting less stable.
Step 7: Assemble and Decorate
Take your frozen cake layers out of the freezer. Place a small dab of frosting in the center of your cake stand or serving board – this keeps the cake from sliding around while you work.
Set your first cake layer on the stand, flat side down. Using an offset spatula, spread an even, generous layer of frosting over the top of the first layer.
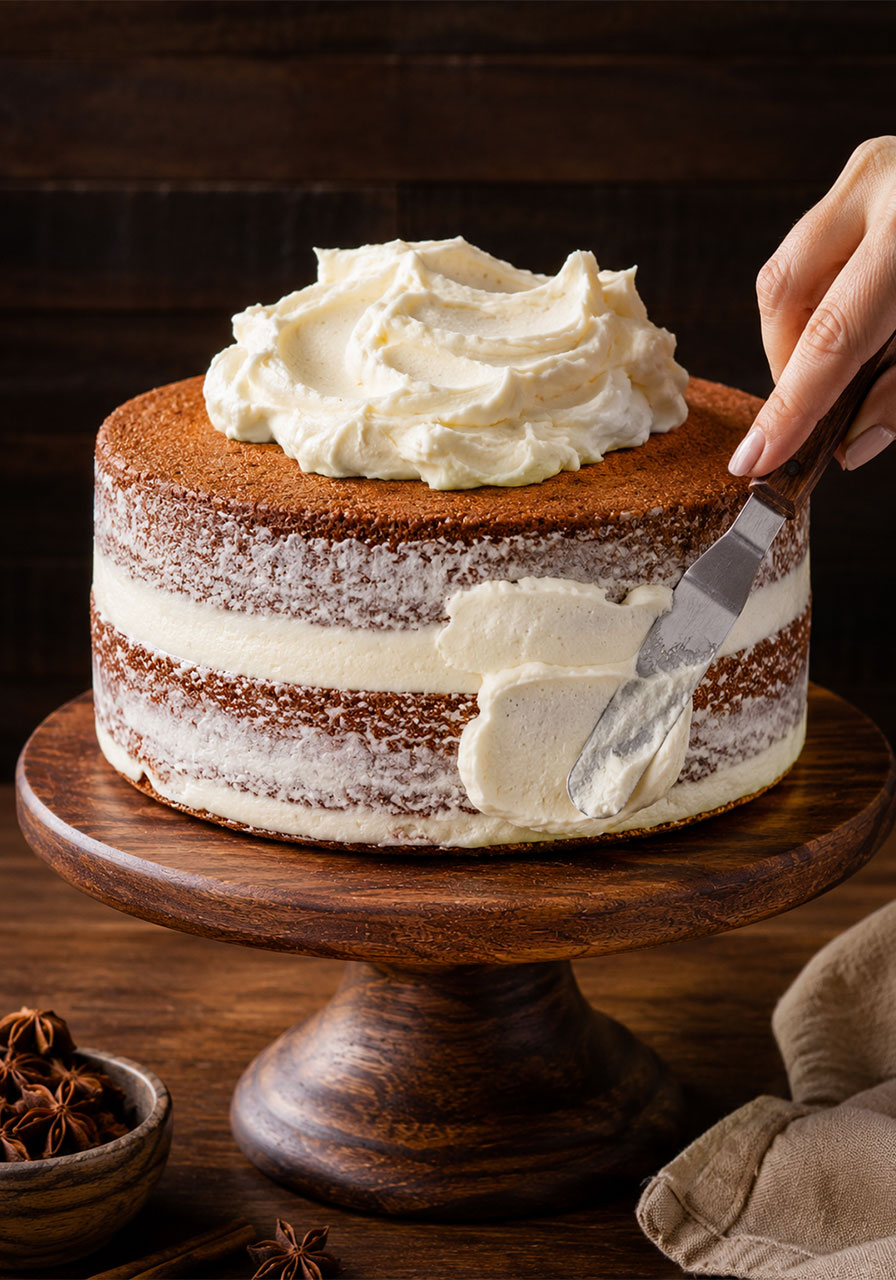
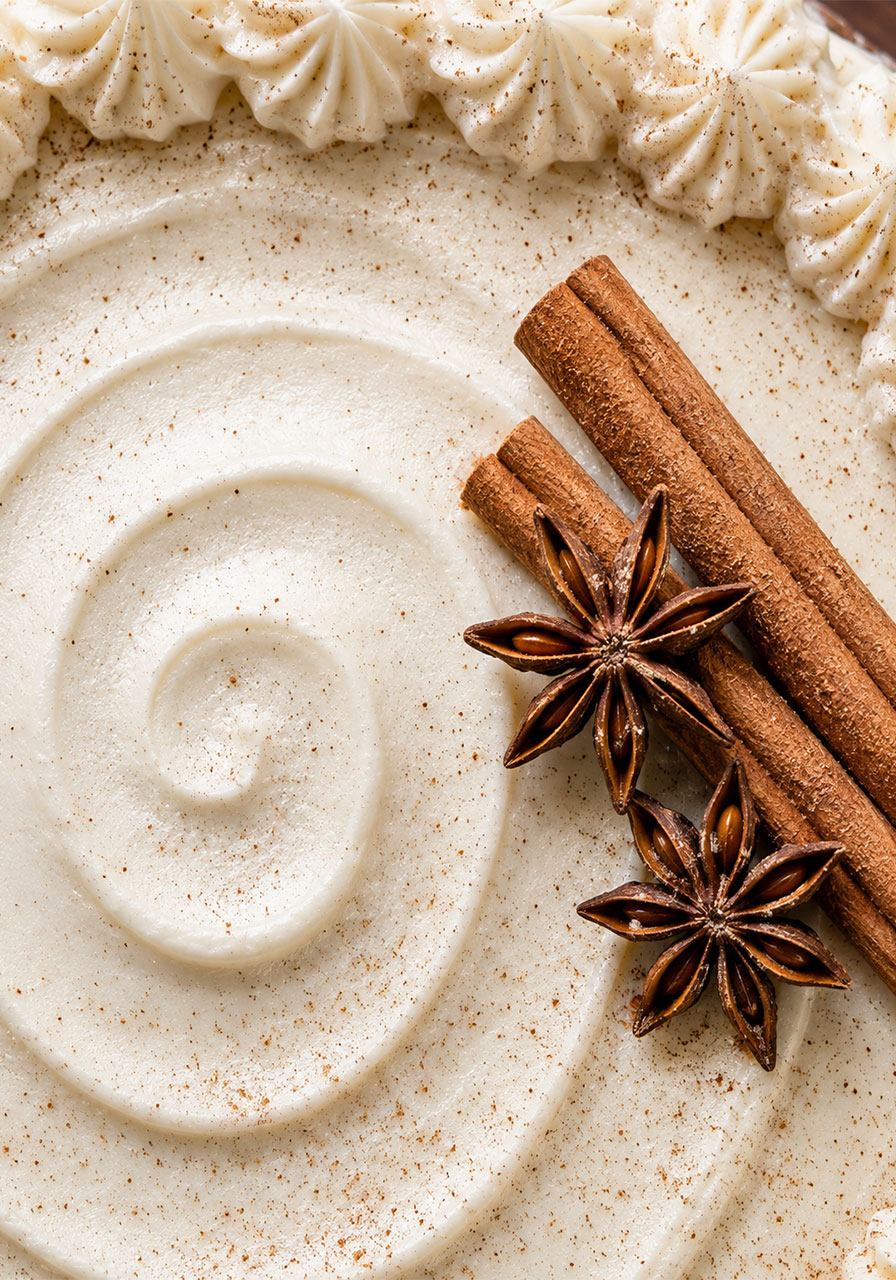
Place the second cake layer on top (flat side up works great here for a level top surface). Use your spatula to smooth frosting around just the sides of the cake in a thin “naked cake” style, letting the spiced cake layers show through. Then pile the rest of the frosting on top and spread it into a beautiful swirl pattern.
For an extra-gorgeous finish: use a piping bag fitted with a star tip to pipe rosettes around the top edge of the cake. Lay a few cinnamon sticks and star anise on top, and finish with a light dusting of ground cinnamon.
Step back, take a photo, and get ready to accept all the compliments.
Expert Tips for the Best Results
Use Cake Strips for Perfectly Flat Layers
If your cakes always dome in the middle, cake strips are your new best friend. Soak Wilton cake strips in ice-cold water before baking, then wrap them tightly around the outside of each pan. The cold and damp strips prevent the edges of the cake from baking faster than the center, which is what causes that dreaded dome.
No more trimming off the tops of your cake layers. Just perfectly flat, even rounds every single time.
Freeze Before You Frost
Seriously – do not skip this step! A moist cake like this one can crumble and drag if you try to frost it at room temperature. Freezing for at least 2 hours (up to overnight) makes everything easier. The layers hold together better, the frosting glides on smoothly, and the finished cake looks significantly more polished.
You can even bake your cake layers several days in advance, freeze them, and frost on the day of your party. That’s called working smarter, not harder. 🙌
The Secret to Sturdy Cream Cheese Frosting
The number one reason cream cheese frosting goes wrong? Warm cream cheese. If your cream cheese is too soft, the frosting will be runny and won’t hold its shape at all.
Use cold, full-fat, block-style cream cheese straight from the fridge. Not the tub kind – the block kind. It has a firmer consistency that creates a thick, stable frosting that holds up beautifully even on a party table.
Always Sift Your Powdered Sugar
We know. It’s an extra step. But powdered sugar that hasn’t been sifted has tiny clumps that are incredibly hard to beat out completely. If you try to beat them out by mixing on high speed, you risk agitating the milk fats in the cream cheese and ending up with a grainy frosting.
Sift first, add slowly, mix on low. That’s the formula for silky-smooth frosting every time.
Bake in Grams When Possible
Baking is a science, and volume measurements are notoriously inconsistent. One person’s “cup of flour” might be 120g; another person’s might be 160g. That 40g difference can completely change the texture of your cake. A kitchen scale removes all of that guesswork and ensures your cake turns out perfectly every single time.
How to Make This Cake Ahead of Time
This is one of those wonderful recipes that’s actually easier when you prep it in stages – perfect for party planning!
Bake the cake layers 1–3 days ahead. Cool completely, wrap tightly in plastic wrap, and freeze.
Make the frosting up to 2 days ahead. Store it in an airtight container in the fridge. When you’re ready to use it, let it sit at room temperature for about 15–20 minutes, then give it a quick beat to bring it back to spreadable consistency.
Assemble the cake the morning of your party – or even the night before. Store the assembled cake loosely covered in the fridge until about 30 minutes before serving. Slice and serve!
Serving & Storage Tips
Serving: This cake is best enjoyed at room temperature. If it’s been refrigerated, pull it out about 30 minutes before serving so the layers soften up and the frosting loosens just slightly. That’s when the flavor is at its absolute peak.
Storage: Store leftover cake in an airtight container at room temperature or in the refrigerator for up to 3 days.
Freezing slices: Individual cake slices can be wrapped tightly in plastic wrap, placed in a freezer-safe bag, and frozen for up to 3 months. When you’re craving a slice, just let it thaw on the counter for 1–2 hours. It’s just as delicious as the day you made it!
Frequently Asked Questions
Can I use a store-bought chai spice blend instead of measuring individual spices?
Yes! A store-bought chai spice mix works great. Use about 2–3 tablespoons total in place of all the individual spices listed. The flavors may vary slightly depending on the brand, so feel free to adjust to your taste preferences.
Can I use light brown sugar instead of dark brown sugar?
You can! The cake will still taste wonderful. Dark brown sugar just gives a deeper, richer molasses flavor that pairs extra beautifully with the chai spices. If you have light brown sugar on hand, it’s absolutely fine to use it.
Why is my cream cheese frosting runny?
This almost always comes down to cream cheese temperature. Make sure you’re using cold, full-fat, block-style cream cheese straight from the fridge – not softened, not whipped, not tub-style. Cold cream cheese is the key to thick, stable frosting.
My cakes always dome in the middle. How do I fix that?
Use cake strips! Soak Wilton cake strips in ice-cold water and wrap them tightly around the outside of your cake pans before baking. The cool temperature prevents the edges from baking faster than the center, which is what causes doming. Flat, even layers every time.
Can I make this as a single-layer cake or cupcakes?
Absolutely! For cupcakes, fill liners about ⅔ full and bake at 325°F for about 18–22 minutes. For a single-layer cake in a 9×13 pan, bake at 325°F for about 30–35 minutes and check with a toothpick. Adjust the frosting quantities as needed.
Can I make this cake gluten-free?
We haven’t tested a gluten-free version of this specific recipe, so we can’t guarantee the results. If you try it with a 1:1 gluten-free flour blend, let us know how it goes!
Why This Cake Is Perfect for Parties
Let us count the ways this Brown Sugar Chai Cake was basically made for party hosting.
It looks stunning on a dessert table without requiring any professional decorating skills. The “naked cake” sides show off those gorgeous spiced layers, and even a simple swirl of frosting on top looks beautiful.
It feeds up to 20 guests from one cake – that’s generous slices for a crowd without the stress of baking two different desserts.
The make-ahead potential is incredible. You can have the cake fully assembled and in the fridge the night before your party, which means one less thing on your to-do list on the big day.
It’s unique and conversation-worthy. A classic chocolate cake is wonderful. But a chai-spiced layer cake with cream cheese frosting? That’s the dessert people are still talking about three weeks after the party. 😄
It works for so many occasions – fall birthdays, Thanksgiving, friendsgivings, holiday cookie exchanges, baby showers, bridal showers, game nights, or literally any cozy get-together where you want to impress.
Brown Sugar Chai Cake with Cream Cheese Frosting
Ingredients
For the Brown Sugar Chai Cake:
- 390g (3 ¼ cups) all-purpose flour
- 320g (1 ½ cups) dark brown sugar
- 15g (1 tbsp + ¾ tsp) baking powder
- 1 tsp kosher salt
- 1 tbsp ground cinnamon
- 2 tsp ground cardamom
- 1 tsp ground ginger
- 1 tsp ground allspice
- 1 tsp ground nutmeg
- 1 tsp ground cloves
- 140g (10 tbsp) unsalted butter, room temperature
- 100g (½ cup) neutral oil (canola or vegetable oil)
- 283g (1 ¼ cups) whole milk, room temperature
- 2 large eggs, room temperature
- 1 tbsp vanilla extract
For the Cream Cheese Frosting:
- 227g (16 tbsp / 2 sticks) unsalted butter, room temperature
- 12 oz (1½ blocks) full-fat block cream cheese, cold
- 340g (3 cups) powdered sugar, sifted
Instructions
For the Cake Layers:
- Preheat oven to 325°F. Grease and line two 9-inch round cake pans with parchment paper. If using cake strips, soak them in ice-cold water now.
- In the bowl of a stand mixer fitted with the paddle attachment, combine flour, dark brown sugar, baking powder, salt, and all the spices (cinnamon, cardamom, ginger, allspice, nutmeg, cloves).
- Cut butter into small cubes and add to the dry ingredients. Mix on low speed until the mixture resembles wet, crumbly sand.
- Add the neutral oil, whole milk, eggs, and vanilla. Mix on low to medium speed until just combined and smooth. Do not overmix.
- Divide the batter evenly between the two prepared pans. Scrape all batter from the bowl.
- Wrap the soaked cake strips tightly around the outside of each pan.
- Bake for 35–40 minutes, or until a toothpick inserted in the center comes out clean.
- Immediately turn cakes out onto a wire rack and cool completely.
- Once fully cooled, wrap each cake layer in plastic wrap and freeze for at least 2 hours before decorating.
For the Cream Cheese Frosting:
- In the bowl of a stand mixer fitted with the paddle attachment, beat the room-temperature butter and cold cream cheese together on high speed until smooth, about 2 minutes.
- Reduce speed to low. Slowly add the sifted powdered sugar a little at a time, mixing on low until fully combined and smooth.
- Continue mixing on low until no lumps remain and the frosting is thick and creamy. Do not mix on high speed.
For Assembly:
- Place a small dab of frosting on your cake stand to anchor the cake. Set the first frozen cake layer on top.
- Using an offset spatula, spread an even, generous layer of frosting over the top of the first layer.
- Place the second cake layer on top, flat side up.
- Spread a thin layer of frosting around the sides (naked cake style) and pile the remaining frosting on top. Swirl into a decorative pattern.
- Optional: pipe rosettes around the top edge using a star tip. Garnish with cinnamon sticks, star anise, and a light dusting of ground cinnamon.
- Refrigerate until serving, then let sit at room temperature for 30 minutes before slicing.
Notes
- Flat layers: Use cake strips soaked in ice-cold water to prevent doming. This gives you perfectly flat, even layers every time.
- Freeze before frosting: Freeze layers for at least 2 hours before decorating. This makes the cake much easier to frost and gives you a cleaner finish.
- Sturdy frosting: Use cold, full-fat block cream cheese (not softened or tub-style) paired with room-temperature butter. This combination creates a thick, stable frosting.
- Sift your sugar: Always sift the powdered sugar before adding to prevent lumpy or grainy frosting.
- Make ahead: Bake and freeze cake layers up to 3 days ahead. Make frosting up to 2 days ahead and refrigerate.
- Storage: Store assembled cake in an airtight container at room temperature or in the fridge for up to 3 days. Freeze individual slices for up to 3 months.