
Summer is here – and if you’re anything like me, you’re already on the lookout for fun activities that’ll keep the kids busy, happy, and off their screens for more than five minutes.
This Popsicle Tissue Paper Craft is exactly what you need.
It’s colorful, creative, and so simple that even the littlest crafters can do it mostly on their own. And honestly? Making these together is the kind of slow, sweet summer moment you’ll actually want to remember.
Whether you’re a mom, grandma, aunt, or Sunday school teacher – this one’s a guaranteed hit for any gathering, big or small.
Why You’ll Love This Popsicle Craft
There’s something so joyful about a craft that looks impressive but requires almost zero prep.
These paper popsicles are bright, bold, and bursting with color – just like summer itself. Kids get to tear, cut, paste, and decorate entirely in their own way, which means every single popsicle turns out totally unique.
And from a mom’s perspective? The supplies are cheap, the mess is manageable, and the end result is genuinely display-worthy.
I’ve made these with a whole group of neighborhood kids on a hot July afternoon, and let me tell you – it kept everyone busy, cooperative, and proud of what they made. That’s a summer win in my book.

What You’ll Need
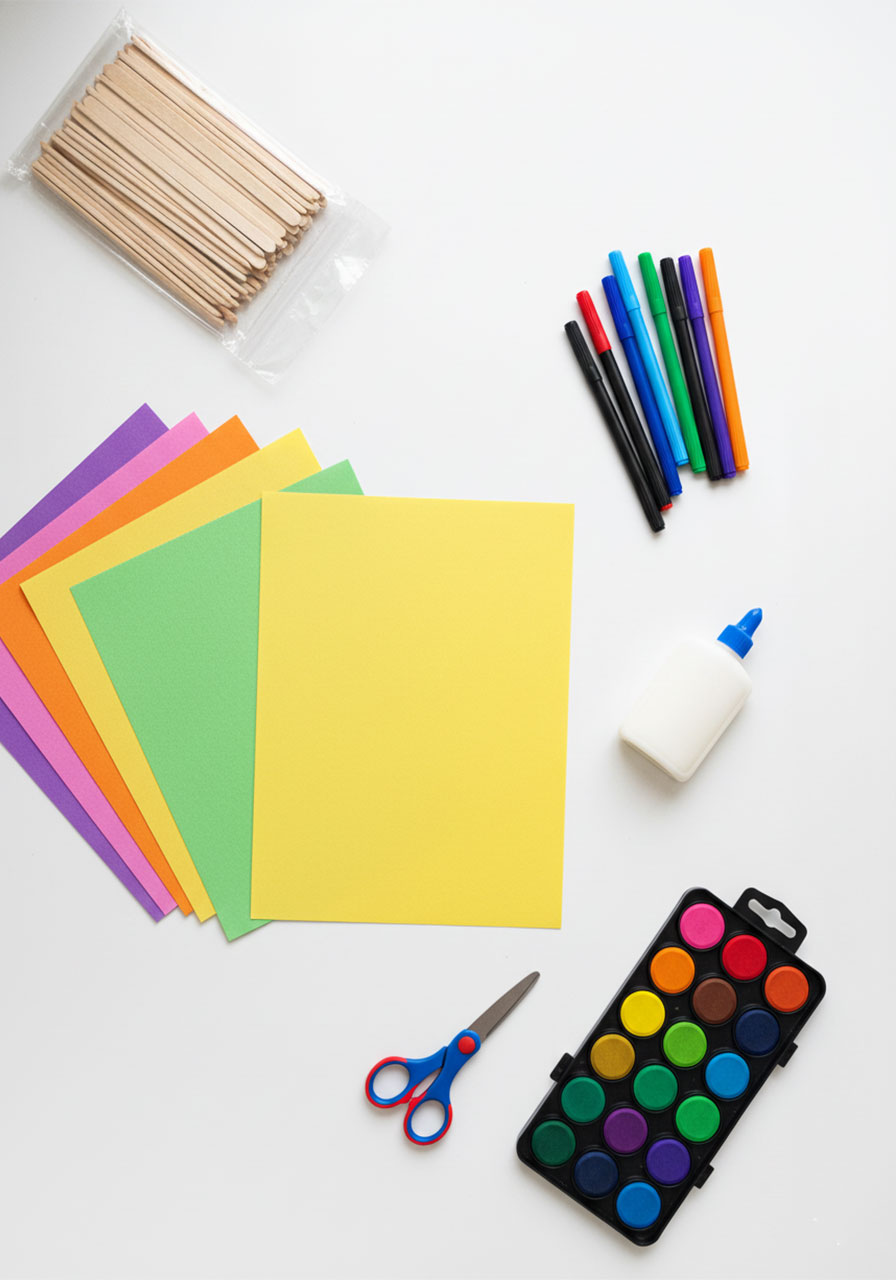
Popsicle sticks (craft sticks) – one per popsicle
Construction paper (yellow or any bright color works great)
Tissue paper in multiple colors (the brighter, the better!)
Markers, crayons, or watercolor paints
Scissors
Glue (a glue stick or liquid glue both work)
That’s it! You probably already have most of this at home. If not, a quick trip to the dollar store will set you up completely.
How To Make Your Paper Popsicle Craft
Step 1: Grab Your Popsicle Sticks
Start with one craft stick per popsicle. These will be your handles, so set them aside for now – you’ll attach them at the very end.
If you have natural-colored craft sticks and your child wants something more colorful, don’t worry! They can color the sticks with a marker right now. Red, blue, teal – whatever color speaks to them!
Step 2: Cut Out Your Popsicle Shape
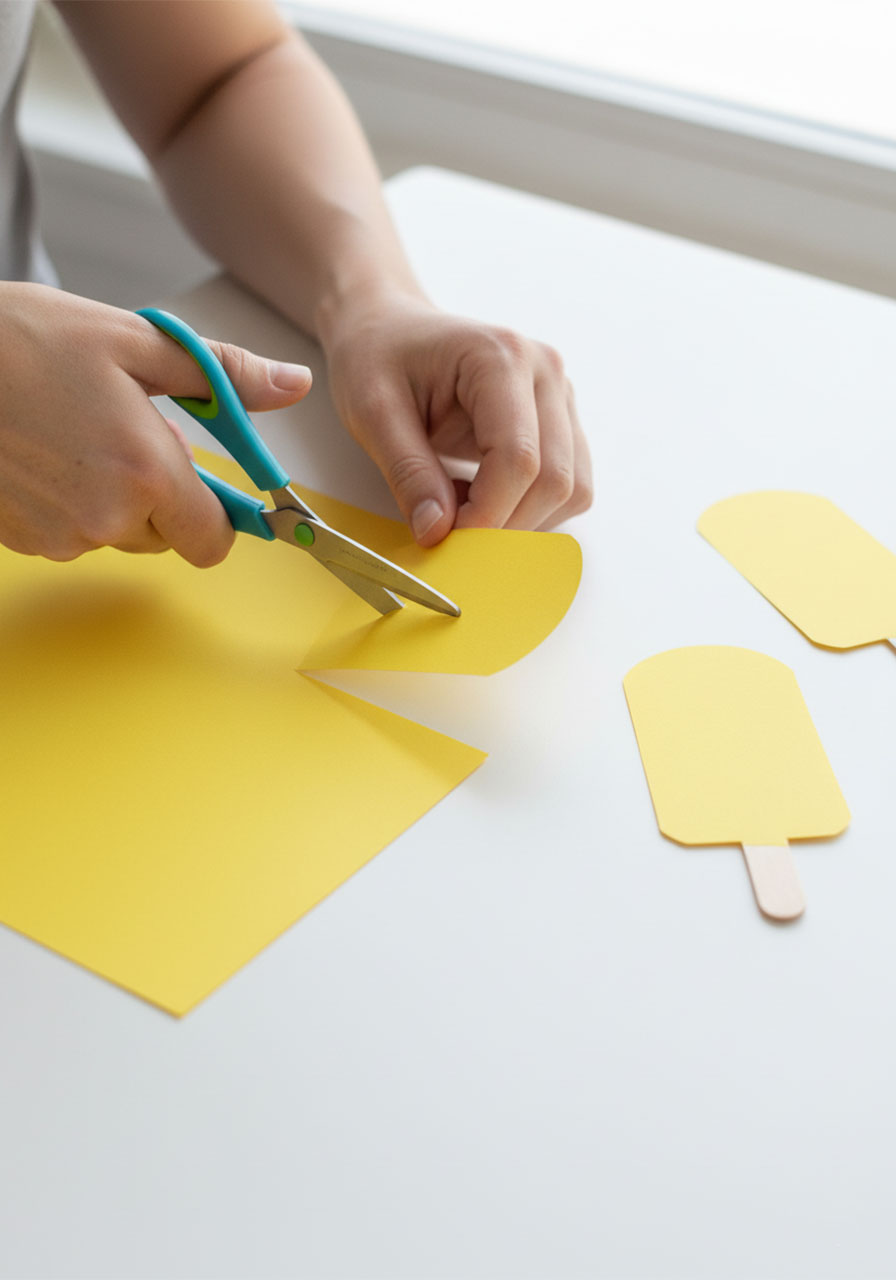
Take your construction paper and cut out a popsicle shape. Think rounded top, flat sides, flat bottom – like a classic ice pop.
Don’t stress about it being perfect. A simple rectangle with rounded corners at the top is all you need, and it takes about 30 seconds.
Yellow construction paper gives a gorgeous base that makes tissue paper colors pop. But any bright color works beautifully too.
Step 3: Decorate the Base
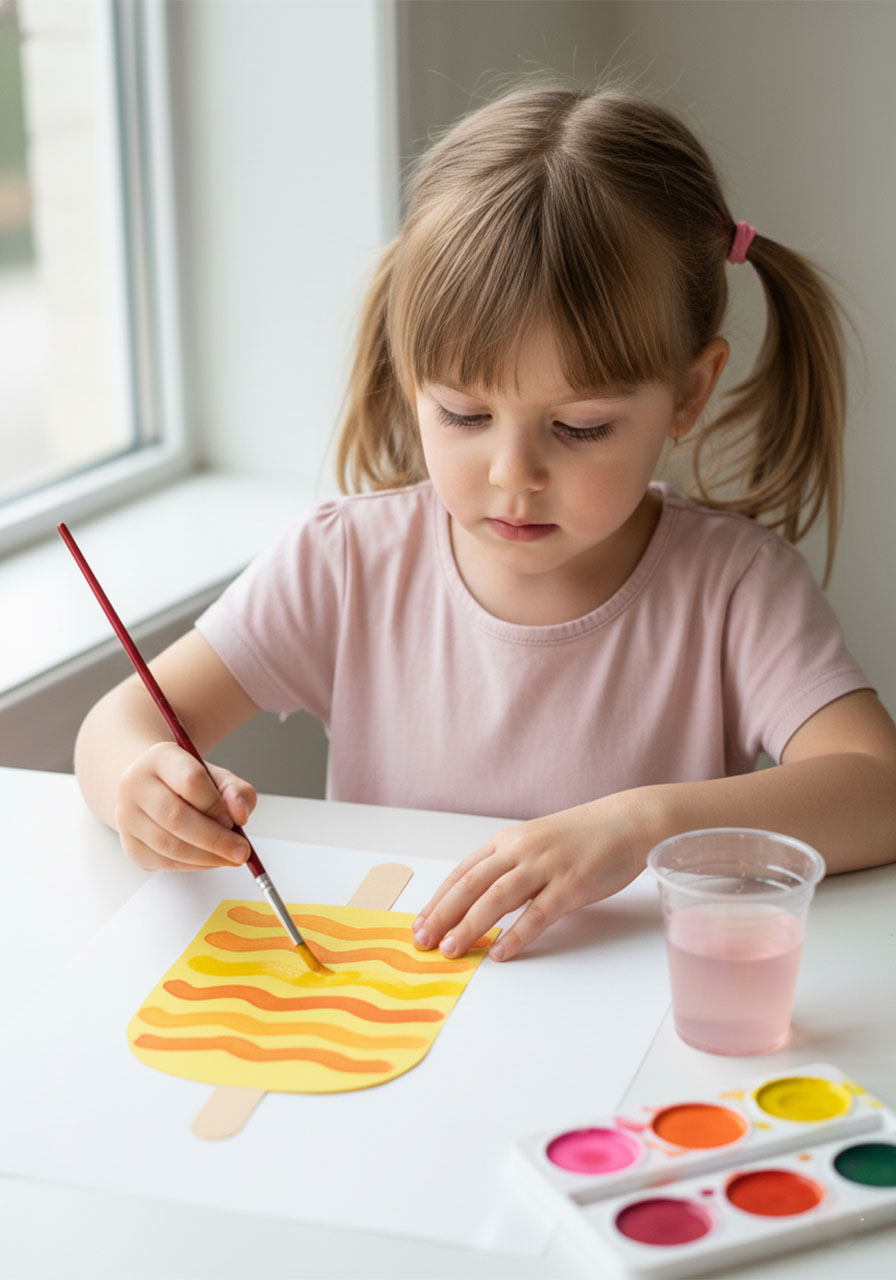
Before adding tissue paper, let your child go wild decorating the construction paper base with markers, crayons, or watercolors.
This is a wonderful moment to teach little ones about warm and cool colors. Have them try painting warm color stripes – yellows, oranges, reds – across their popsicle. It creates such a beautiful sun-soaked effect underneath the tissue paper later.
This step isn’t required, but it adds an extra layer of color and creativity that kids absolutely love.
Step 4: Prep Your Tissue Paper
Now for the most fun part of all – the tissue paper!
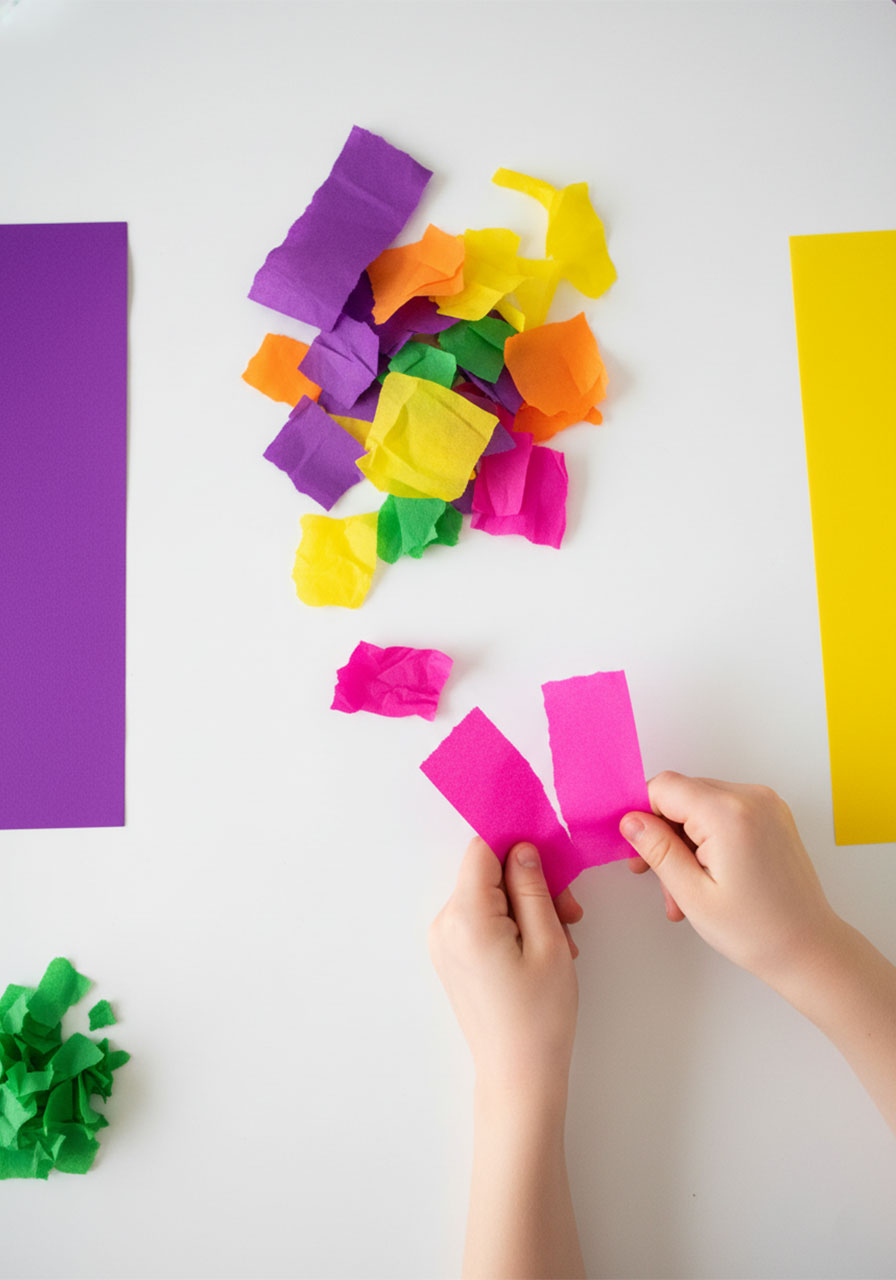
Pull out several sheets of brightly colored tissue paper and either cut or tear them into small pieces. Aim for roughly quarter-to-half-dollar size pieces.
Tearing is perfectly fine – and honestly, kids love the texture and unpredictability of torn edges. Just remind little ones to use gentle hands, since tissue paper does tear easily if handled too roughly.
Make a nice colorful pile of pieces and you’re ready to go.
Step 5: Glue the Tissue Paper Onto Your Popsicle
Here’s where the magic really happens.
Apply glue to your popsicle shape, then start attaching the tissue paper pieces. There are two fun ways to do this:
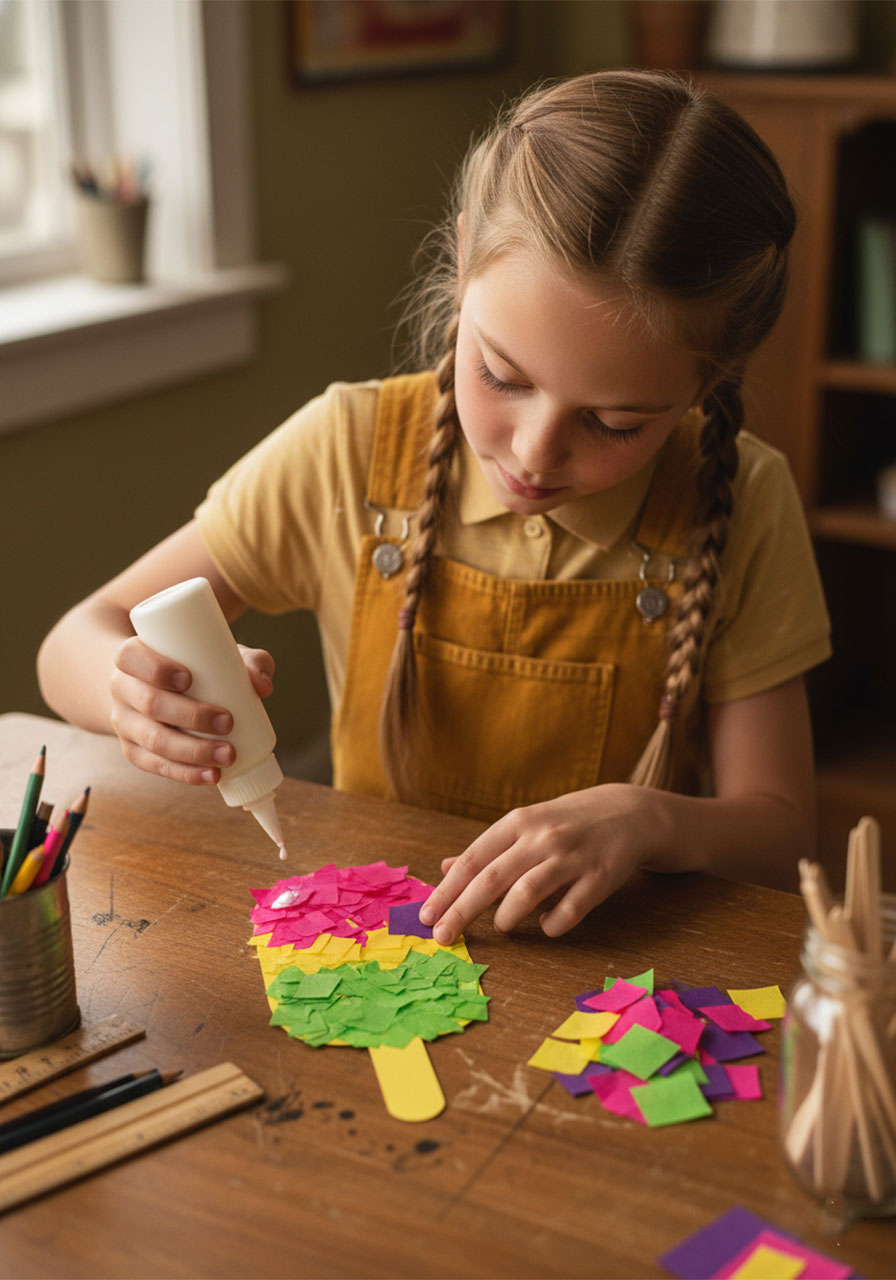
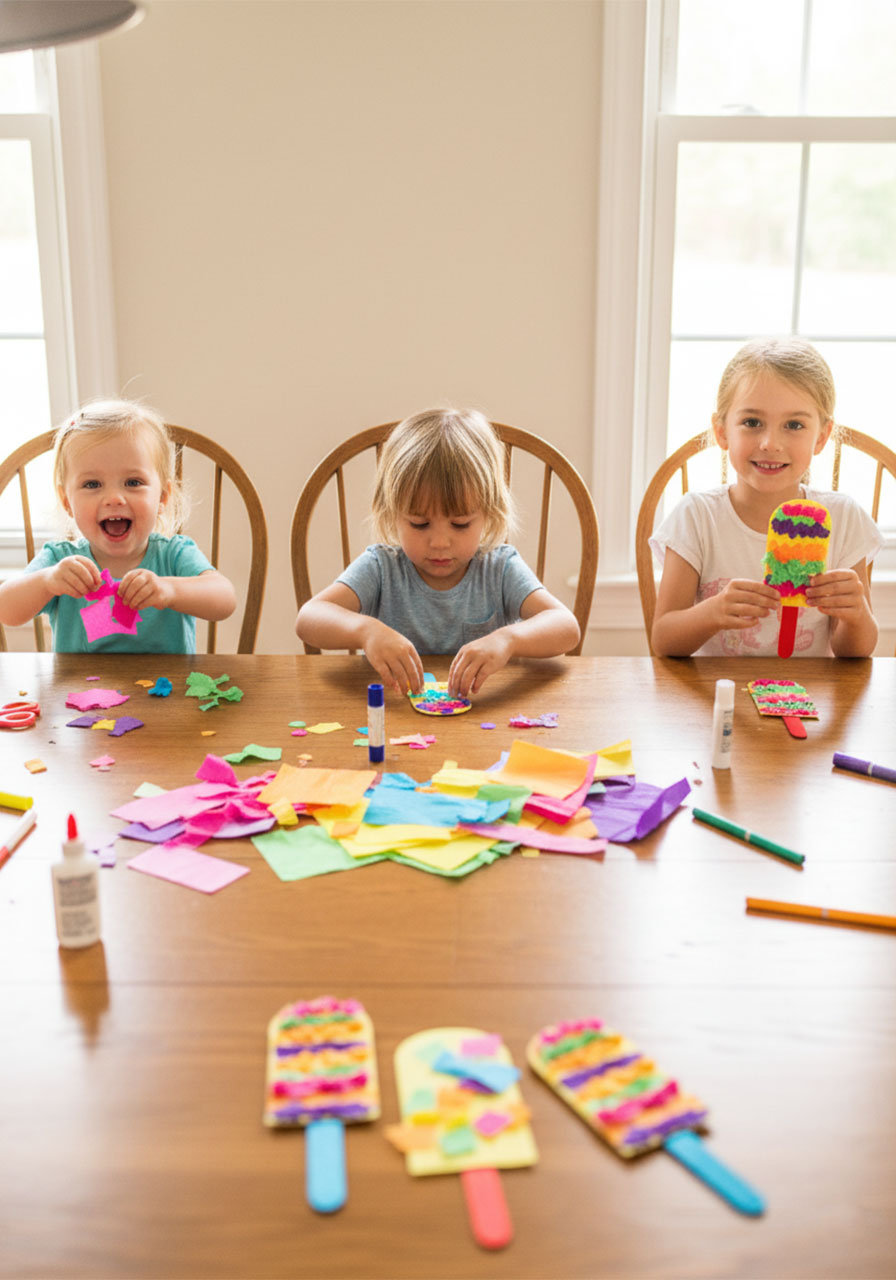
Flat and layered: Press pieces flat onto the glue, slightly overlapping edges for a mosaic stained-glass effect. This technique looks absolutely stunning!
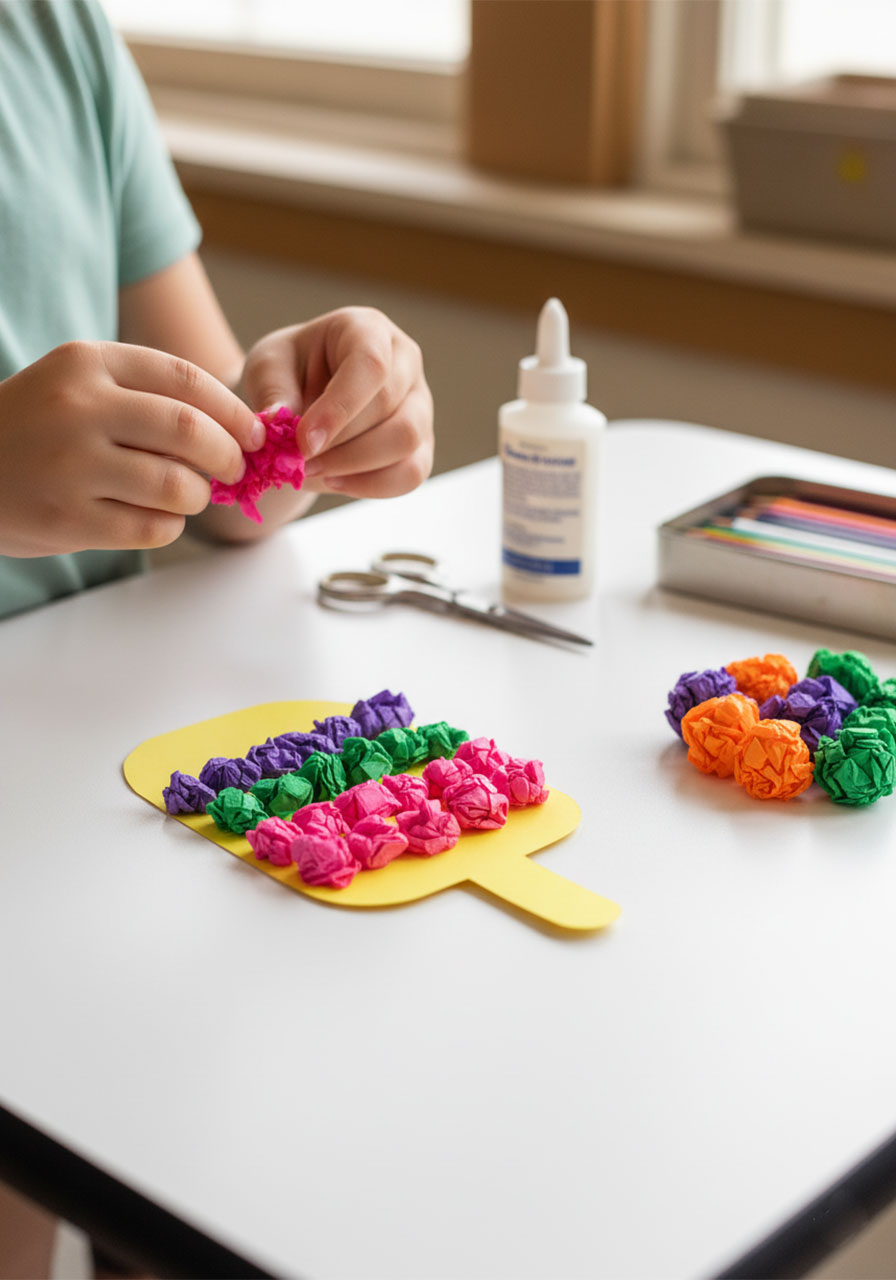
Scrunched and textured: Ball up or scrunch each piece slightly before gluing it down. This creates a fun 3D, ruffled, layered look – like stripes of texture running across the popsicle.
Both look amazing. Many kids will naturally start combining both methods as they go, and the results are always wonderful.
Cover the entire popsicle with tissue paper pieces until you’re happy with how it looks. No blank spots required – though peeking bits of the decorated base underneath are actually really pretty!
Step 6: Attach the Popsicle Stick
Once your decorated popsicle is complete and the glue has had a moment to set, flip it over.
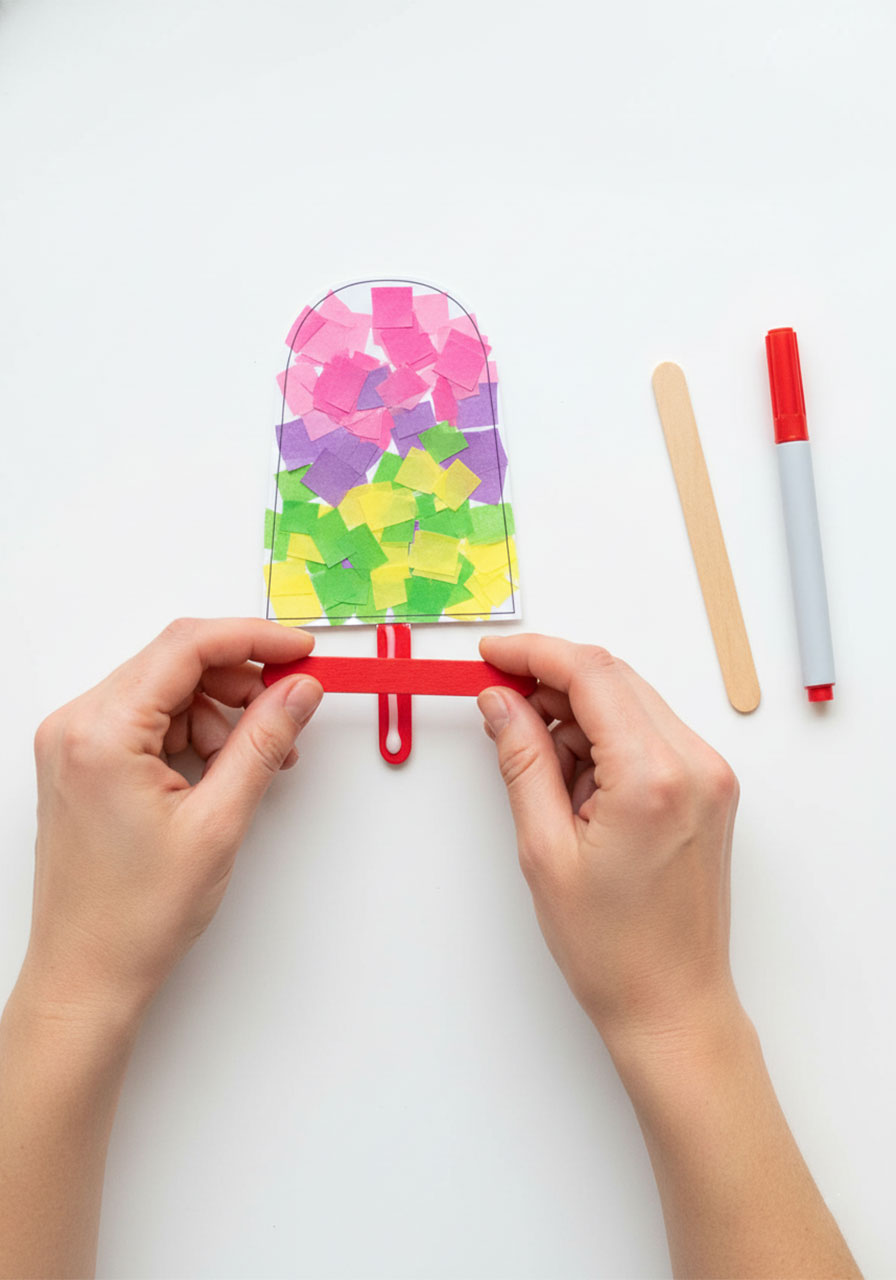
Apply glue to the top portion of your craft stick and press it firmly onto the back bottom center of your popsicle. Hold it in place for a minute or so.
Let it dry completely before picking it up by the stick.
And just like that – you have the cutest paper popsicle you’ve ever seen!
Two Fun Styles to Try
Once your kids get going, they’ll probably want to make more than one. (Spoiler: you will too.)
Here are two distinct styles that look absolutely gorgeous side by side:
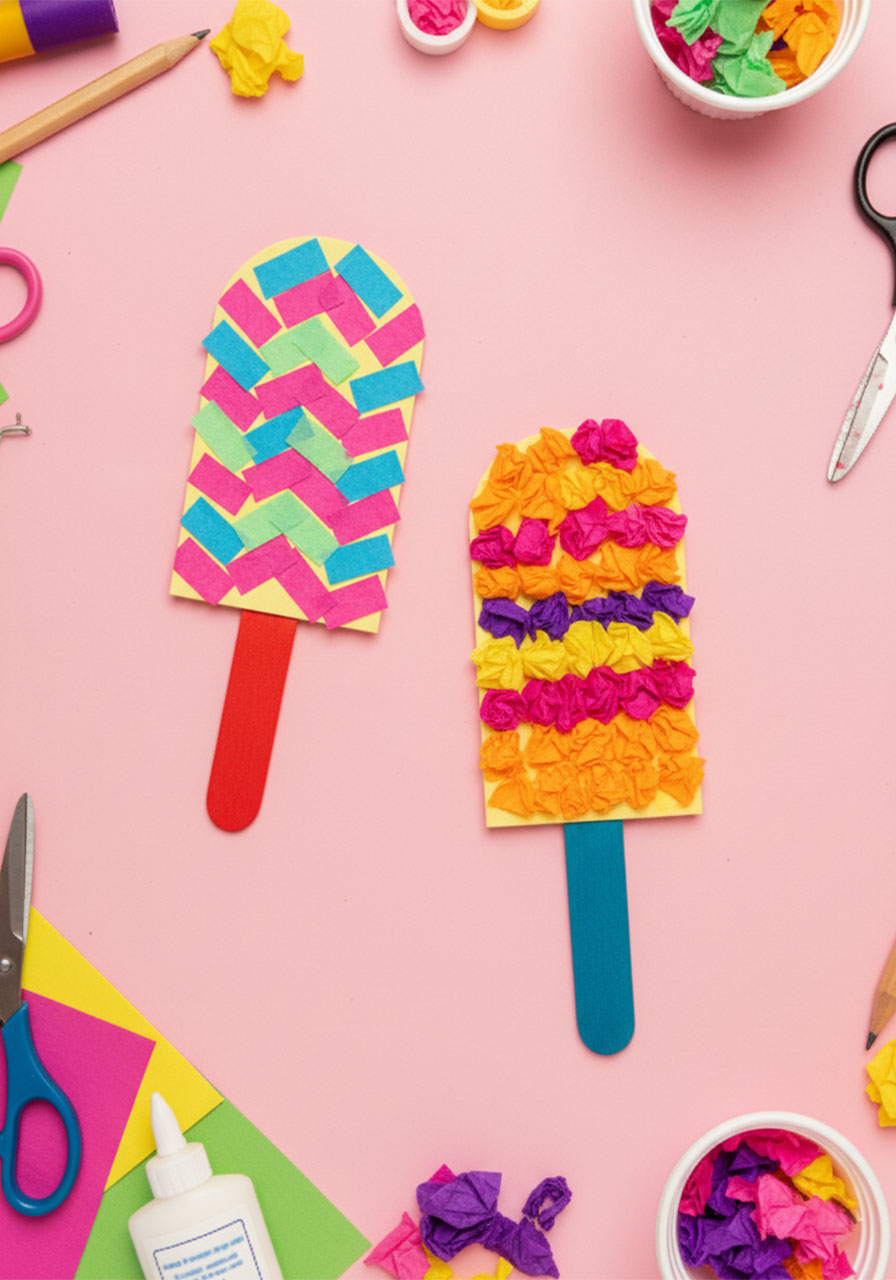
The Mosaic Popsicle: Lay tissue paper pieces flat and overlapping in random colors. Think stained glass window – bright, bold, and beautiful. Purple, pink, green, and yellow all jumbled together in the most cheerful way.
The Ruffle Stripe Popsicle: Scrunch tissue paper into rows across the popsicle, alternating colors to create striped bands of texture. Pink, green, purple, orange – layered like a rainbow ice pop just waiting to be licked.
Making one of each is the perfect summer afternoon project!
Tips for Making This Craft Even Better
A few little tricks I’ve picked up from making these with kids of all ages:
Use a variety of colors: The more color variety in your tissue paper pile, the more vibrant and exciting the finished popsicle looks. Don’t be shy – grab every color you can find.
Liquid glue works best: It soaks into tissue paper just enough to keep everything in place without getting too messy. A thin layer brushed on with a foam brush is ideal.
Let kids lead: There’s truly no wrong way to do this. The more freedom kids have, the more ownership they feel – and the prouder they are of their finished creation.
Make it a teaching moment: Talk about warm vs. cool colors as you work. Name the colors in Spanish or another language. Count the pieces being glued. This craft quietly doubles as a learning activity!
Gentle reminder about tissue paper: A quick heads-up to little hands – tissue paper is delicate! Encourage a soft touch to avoid rips. But if it does tear? No worries at all. Just glue it down anyway and call it unique.
Fun Ways to Use These Popsicle Crafts
These are way too cute to just set aside after they’re done.
Here are some sweet ideas for what to do with your finished paper popsicles:
Display them proudly. Hang them on the fridge, line them up on a windowsill, or tape them to a summer-themed bulletin board. They bring so much color and joy to any room.
Give them as gifts. Kids LOVE giving things they made themselves. A homemade paper popsicle is a sweet little gift for grandparents, neighbors, teachers, or friends. Add a simple handwritten note and you’ve got something truly from the heart.
Use them as summer party decor. Planning a summer birthday party or a backyard cookout? These popsicles look adorable strung together as a garland or propped up in a display. Total showstopper.
Make them for VBS or Sunday school. These are a perfect craft for Vacation Bible School or summer Sunday school classes. They’re easy enough for any age, require minimal supplies, and give every child something beautiful to take home. You could even tie in a lesson about the fruits of the Spirit – joy, color, creativity, and sharing!
Start a summer craft tradition. This year’s popsicles go in a scrapbook. Next year’s go on the wall. Before you know it, you have the most beautiful record of summers past – each one unique, just like your kids.
Adapting This Craft for Different Ages
One of the very best things about this project is how naturally it scales to different skill levels.
Toddlers and preschoolers (ages 2–4): Let them tear tissue paper and plop pieces onto a pre-glued surface. Focus entirely on the sensory experience and the joy of making something colorful. They’ll be so proud!
Early elementary (ages 5–7): Kids this age can cut their own tissue paper pieces, apply their own glue, and start experimenting with patterns and color arrangements. Perfect for building fine motor skills too.
Older kids (ages 8+): Challenge them to plan a specific color pattern before they start – maybe a rainbow gradient, an ombre effect, or a specific theme. They can also get creative with the popsicle shape itself!
This is also a wonderful craft to do alongside your kids, not just for them. There’s something grounding and genuinely peaceful about sitting down, slowing the pace, and making something beautiful with your hands. It feeds your creative spirit just as much as theirs.
Let’s Celebrate Summer!
These popsicles are more than just a craft. They’re a snapshot of a season – the bright colors, the carefree energy, the joy of creating something from almost nothing.
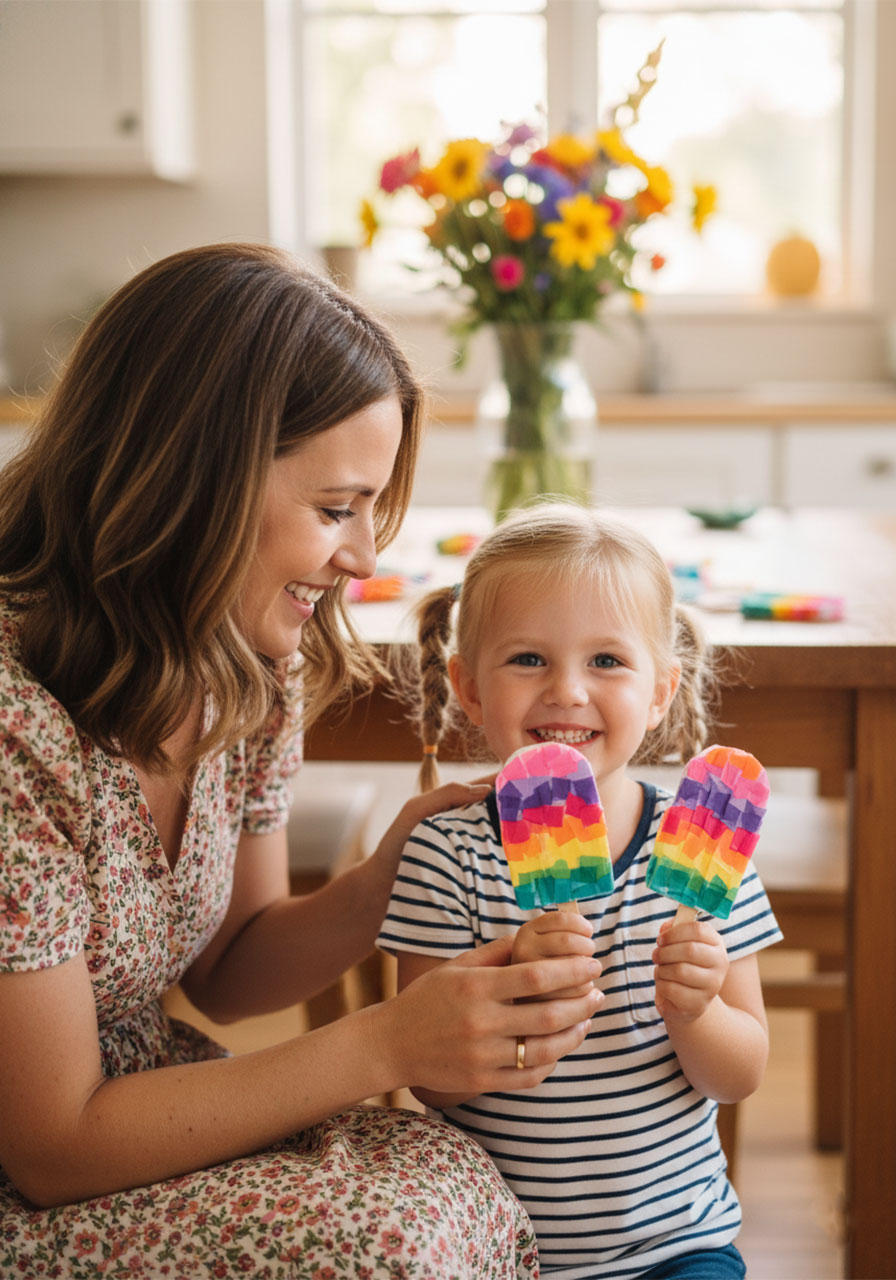
When my daughter finished her first one and held it up with the biggest grin on her face, I remembered exactly why I love doing these projects together. It’s not about perfection. It’s about presence.
So gather your supplies, clear off the kitchen table, and get ready for a little mess and a lot of fun. These paper popsicles are waiting to be made – and your kids are going to absolutely love every single second of it.
Happy Summer! 🌞
More Summer Craft & Activity Ideas to Keep the Fun Rolling:
Sandcastle Texture Summer Art Project for Kids (Easy & So Much Fun!)
Handprint Fish Puppet Craft: The Cutest 20-Minute Activity Your Kids Will Beg to Do Again
Sun Threading Activity for Kids (Easy Summer Fine Motor Fun!)
Yarn Pom Pom Turtle Craft (Printable Template!)
How to Make Easy Painted Fairy Houses for the Garden (Kids Will Absolutely Love This!)
