
If you’ve ever needed a hands-on science activity that keeps kids fully engaged without a single “are we done yet?”, this is the one to save.
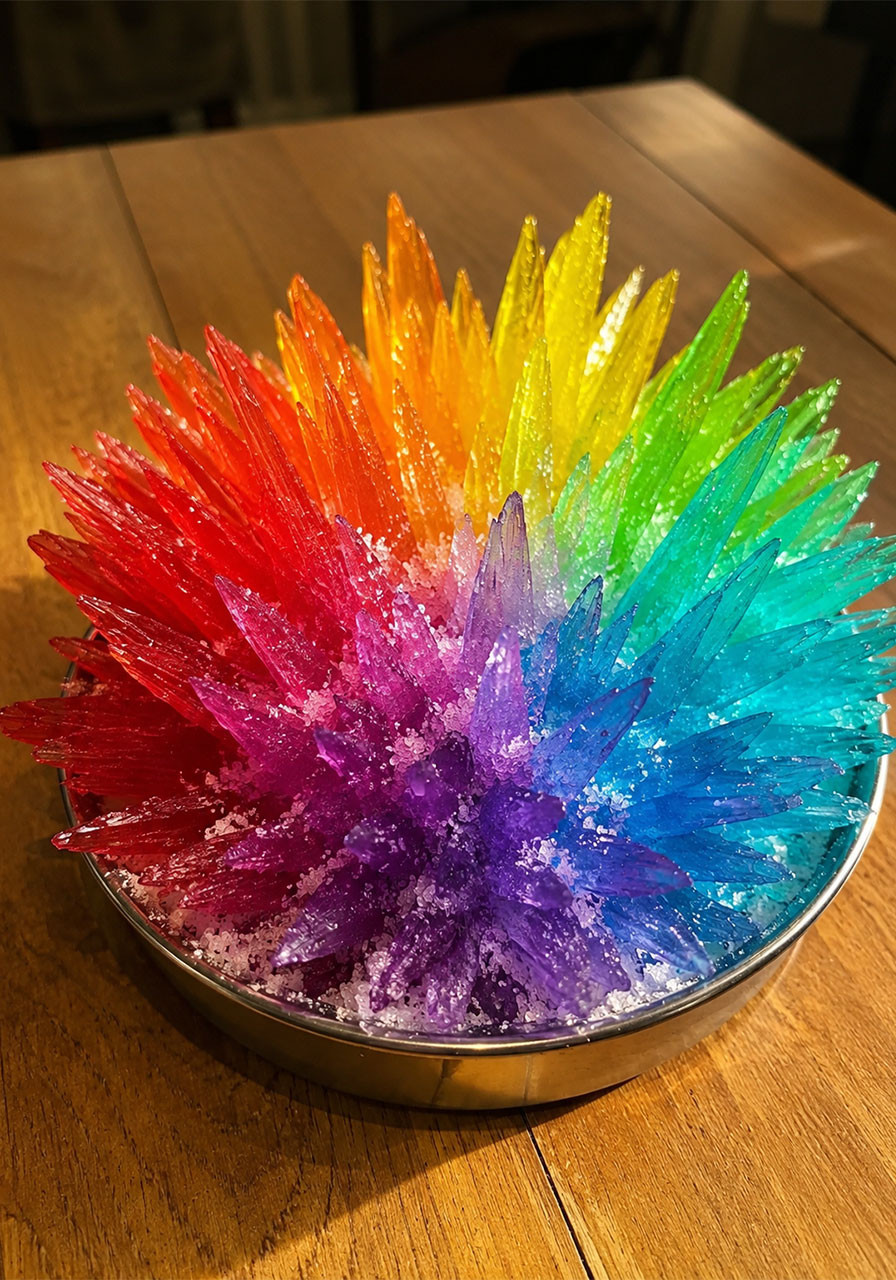
The Sugar Crystal Eruption turns a simple sugar-and-water solution into a jaw-dropping burst of rainbow crystal spikes. It looks like something out of a science museum display, but it’s made with two pantry ingredients and a little patience.
Best of all, it teaches real chemistry: supersaturation, crystallization, and nucleation. Your kids will just call it “the exploding rainbow jar.”
Whether you’re a teacher planning a classroom STEM unit or a parent looking for a weekend project that doubles as a homeschool science lesson, this one checks every box.
Why You’ll Love This Sugar Crystal Eruption Project
Real science, real results: This isn’t a “craft that looks like science.” It’s an actual demonstration of crystallization that kids can observe changing day by day.
Low cost, low prep: You likely already have sugar, water, and food coloring at home.
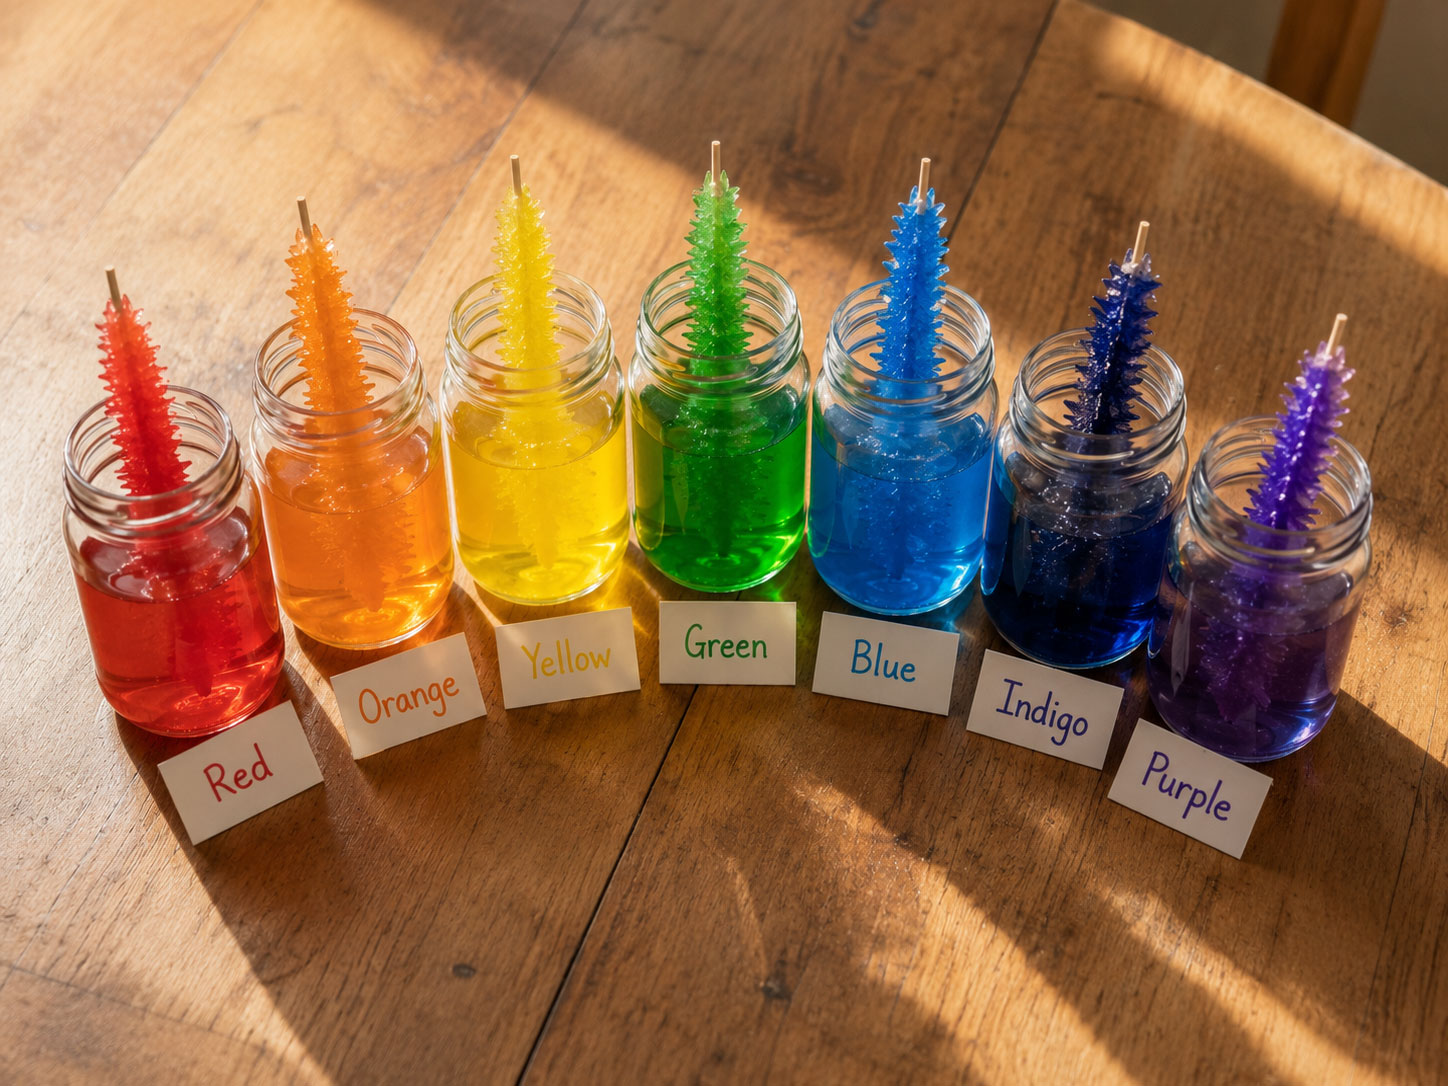
Visually stunning: The finished jar looks like a coral reef made of candy. It’s an easy win for a science fair display or classroom centerpiece.
Patience-building: Crystals grow over several days, which makes this a great lesson in observation and delayed gratification.
Flexible for any age: Younger kids can help pour and color. Older kids can track growth, take measurements, and log observations.
Best for: Classrooms, homeschool science units, family weekend projects, science fair ideas.
Time to Prep: About 15 minutes of active work.
Time to Grow: 3 to 7 days of undisturbed patience.
Adult Supervision: Required during the boiling step. This is a kitchen science project, not a fully hands-off kids’ craft.

A Quick Safety Note Before You Start
The sugar solution needs to be heated on the stove until it reaches a full boil. That means this step is for an adult only.
Once the solution has cooled slightly and been poured into the jar, kids can safely take over the rest, including adding color and placing the skewer.
If you’re doing this in a classroom, we recommend pre-making the sugar solution at home or in a staff kitchen, then bringing the cooled solution in for students to pour and personalize.
What You’ll Need
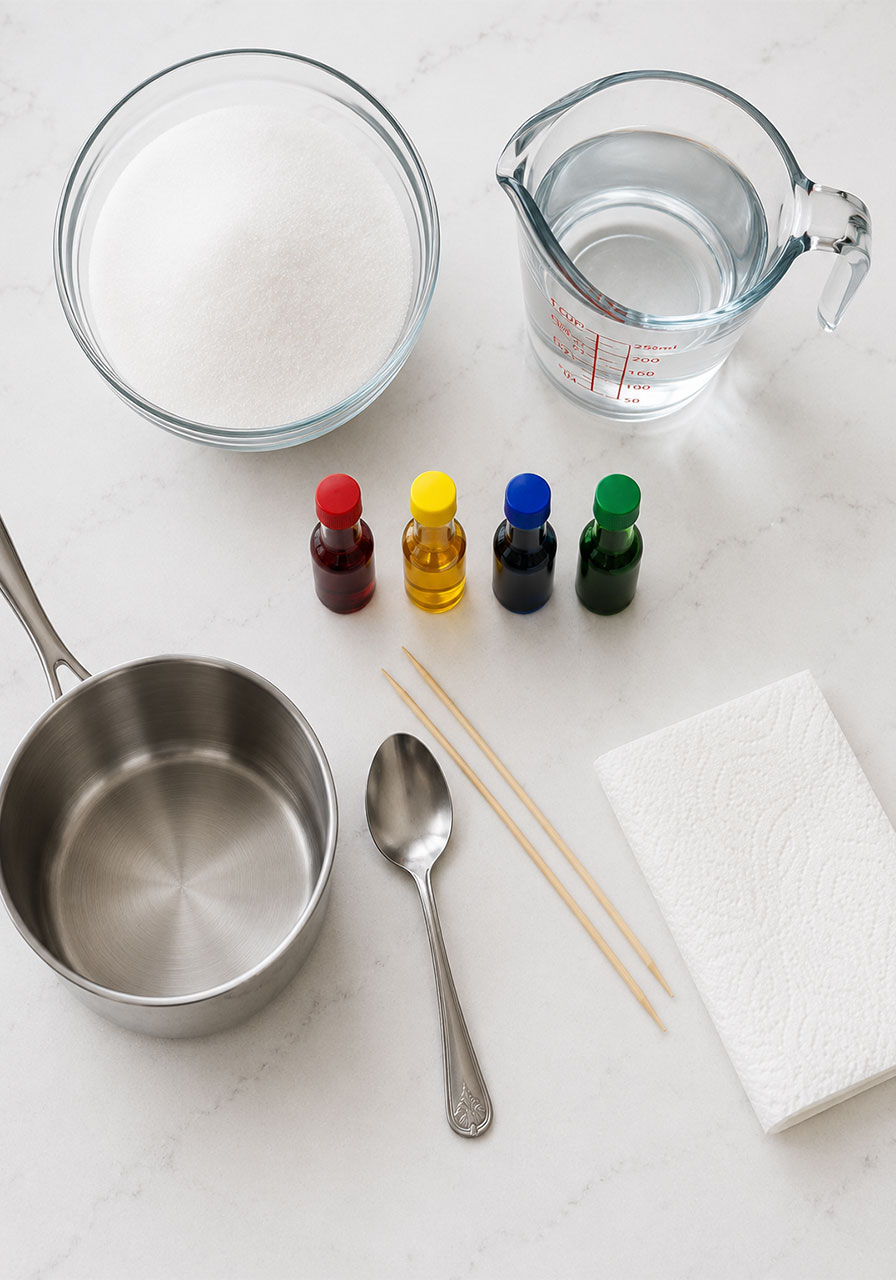
2 cups granulated sugar
1 cup water
Food coloring (a few drops per jar, optional but recommended for the “wow” effect)
1 wooden skewer or a piece of cotton string
1 clear glass jar or container per crystal color
1 saucepan
1 spoon for stirring
1 paper towel or coffee filter to cover the jar
A clothespin or clip (to rest the skewer across the top of the jar)
Pro Tip: If you want the multi-color “eruption” look shown in the photos, prepare several small jars, each with its own food coloring, rather than trying to layer colors in one jar.
How to Make Your Sugar Crystal Eruption
Step 1: Prepare Your Skewer
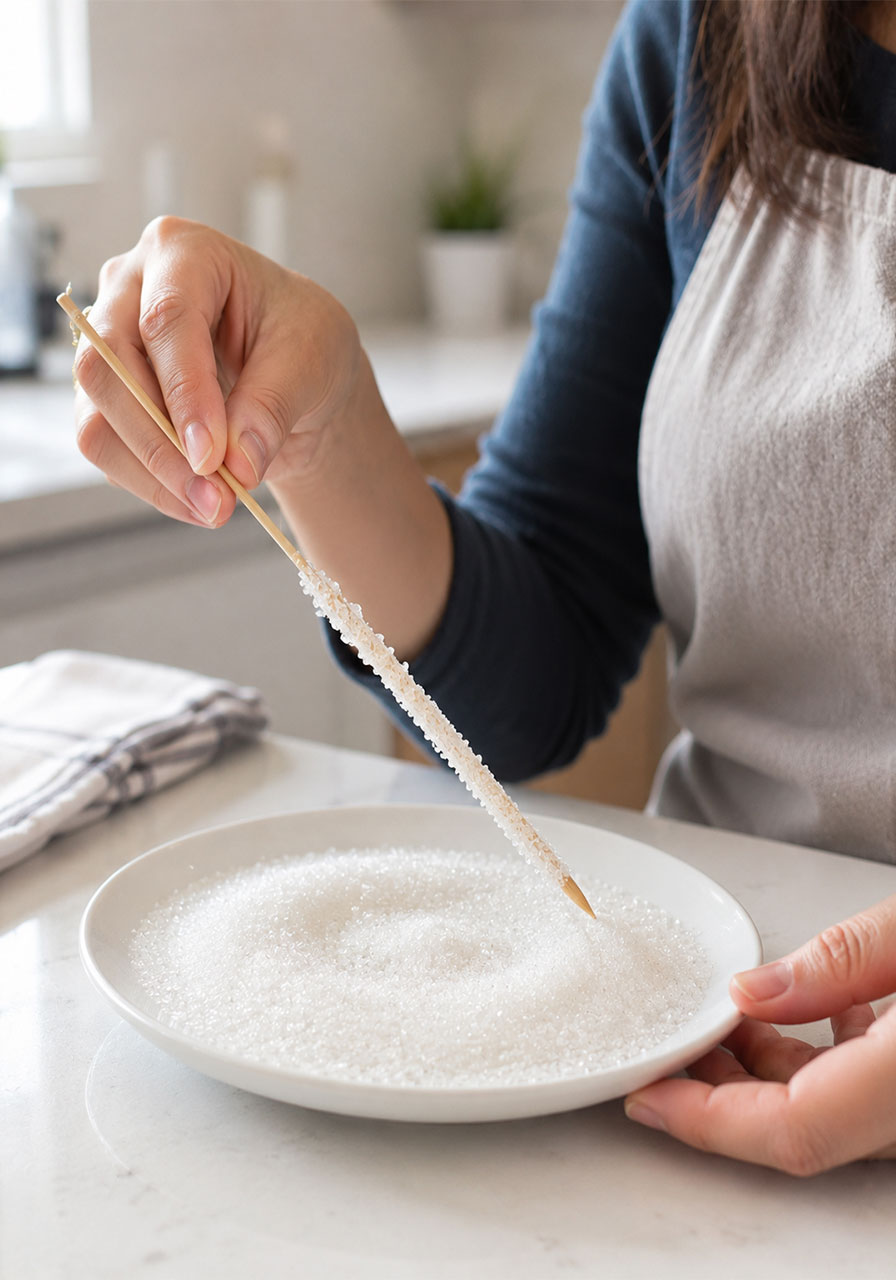
Wet the wooden skewer or string with a little water.
Roll it in plain granulated sugar until it’s fully coated.
Let it dry for about 10 to 15 minutes. This coating acts as a “seed,” giving new crystals something to grip onto as they form. Skip this step and your crystals will take much longer to appear.
Step 2: Make the Sugar Solution
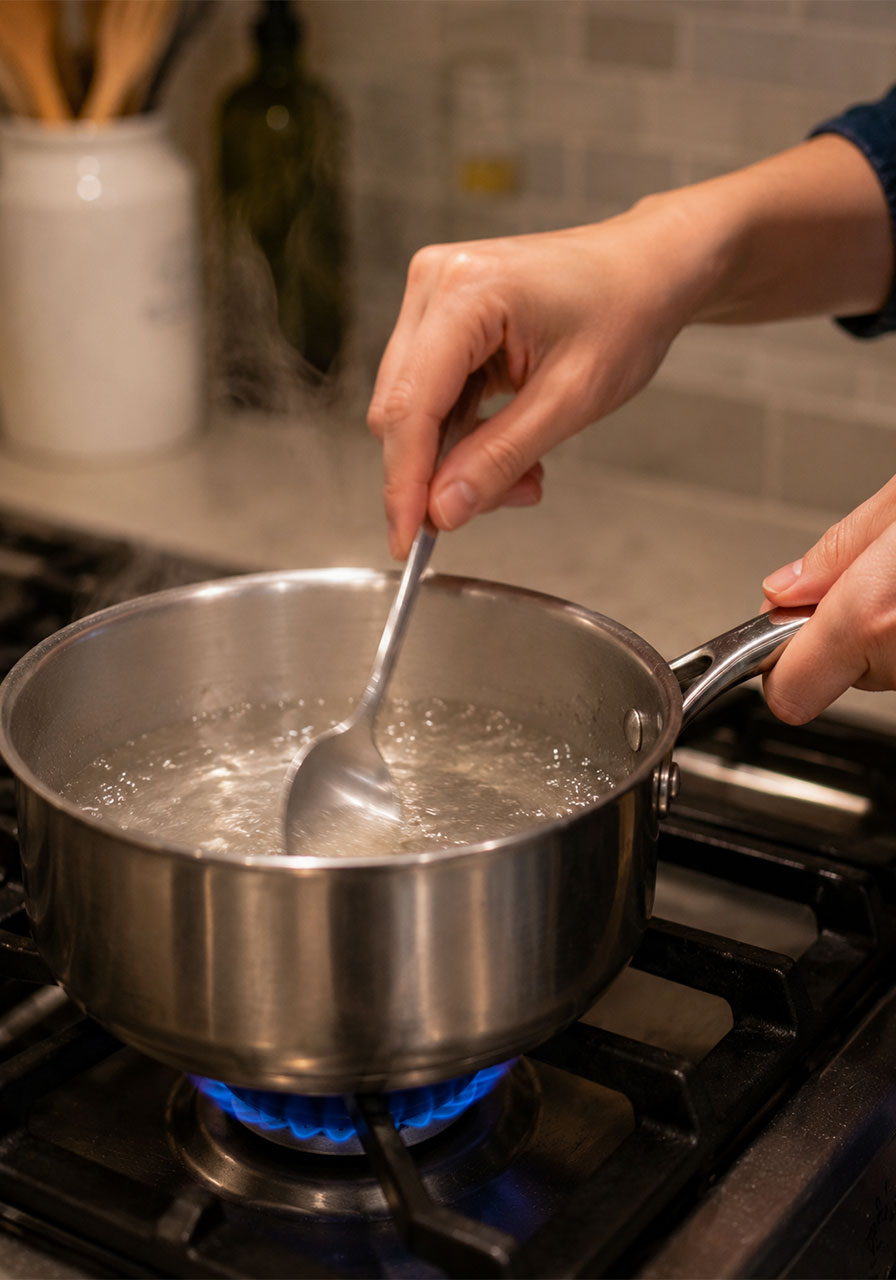
In a saucepan, combine 2 cups of sugar with 1 cup of water.
Heat over medium heat, stirring constantly, until the sugar fully dissolves and the mixture reaches a gentle boil.
Keep adding sugar gradually and stirring until no more will dissolve. This is what scientists call a supersaturated solution, and it’s the key to the entire experiment.
Step 3: Add Color
Remove the saucepan from the heat.
Stir in a few drops of food coloring. Choose one bold color per jar for the clearest results.
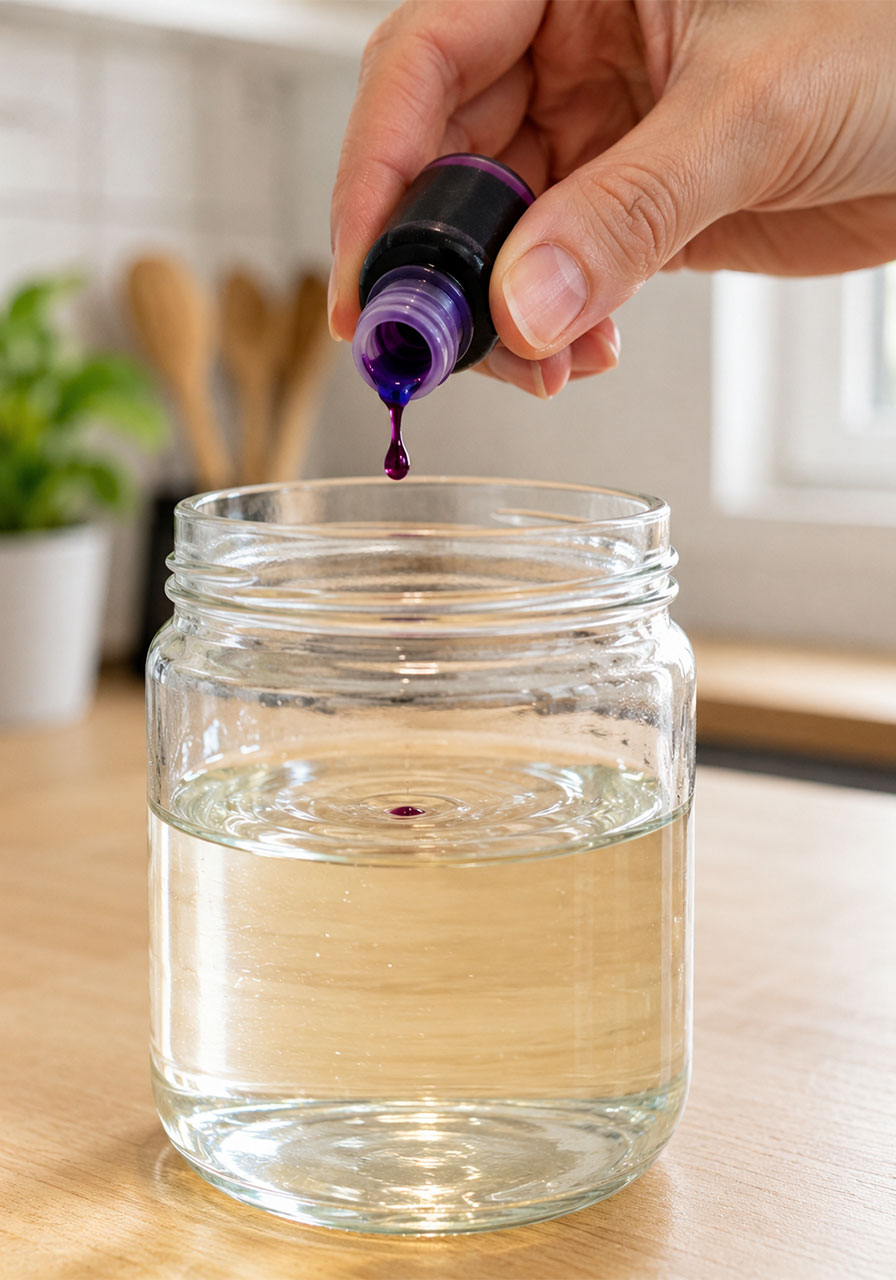
Step 4: Cool and Pour
Let the solution cool for about 10 to 15 minutes. It should still be warm, but no longer boiling hot.
Carefully pour it into your glass jar, filling it about three-quarters full.
Step 5: Suspend the Skewer
Lower your sugar-coated skewer into the jar.
Make sure it does not touch the bottom or sides of the jar. Rest it across the rim using a clothespin or clip so it hangs freely in the solution.
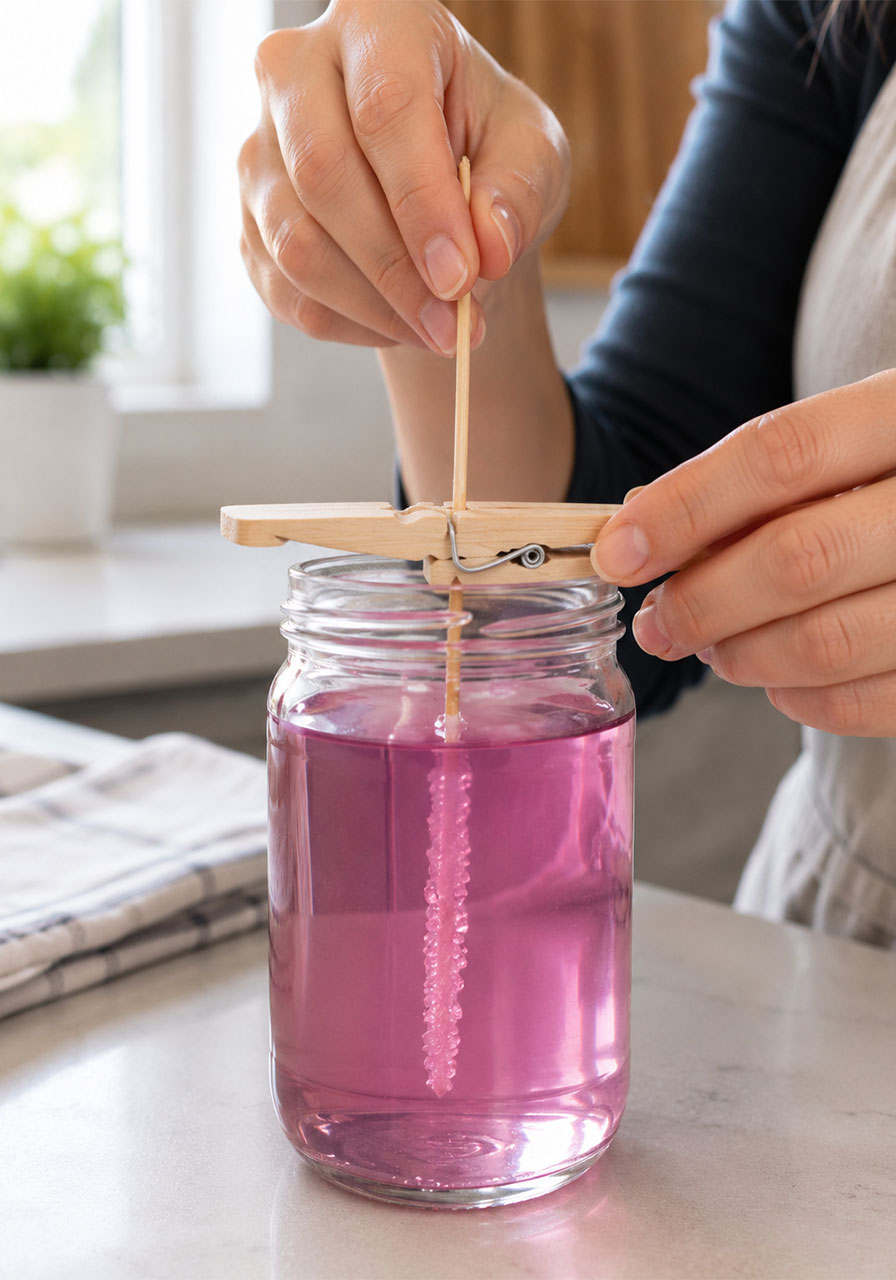
Step 6: Cover and Wait
Cover the top of the jar loosely with a paper towel or coffee filter. This keeps dust out while still allowing air circulation, which the crystallization process needs.
Place the jar somewhere undisturbed, away from direct sunlight or vibration.
Check daily. You’ll usually start seeing small crystal formations within 24 to 48 hours, with full growth complete somewhere between day 3 and day 7.
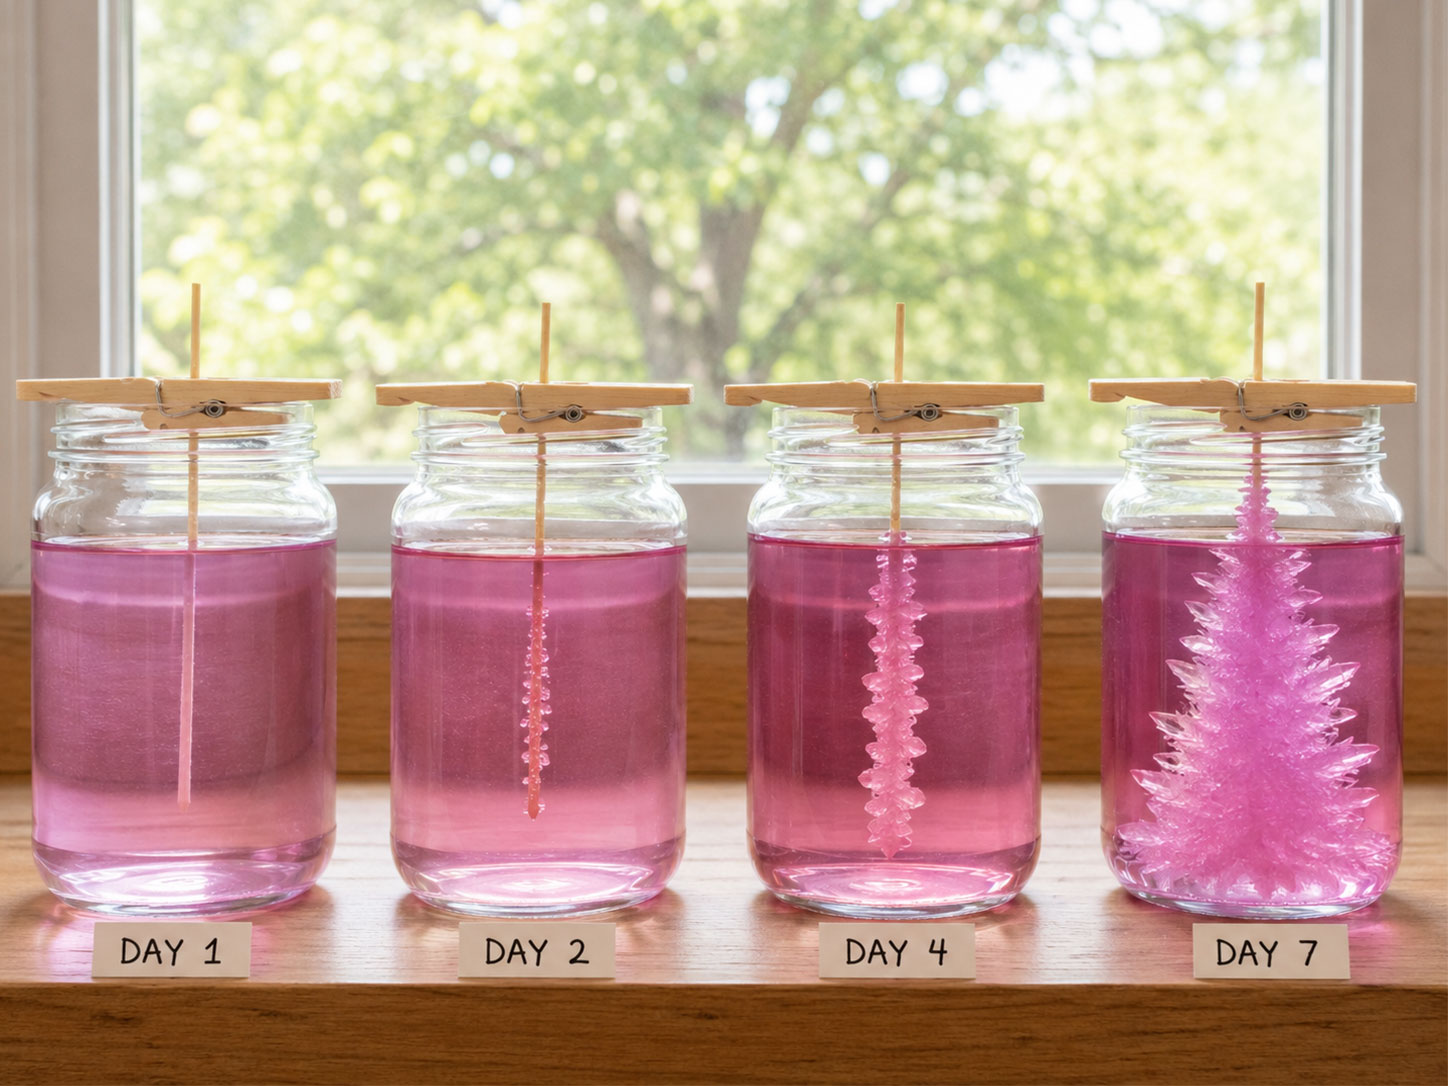
The Science Behind the Eruption (Great for Lesson Plans)
This project is a hands-on introduction to supersaturation and crystallization, two concepts that show up in most elementary and middle school science standards.
When you heat sugar and water together, you’re forcing more sugar to dissolve than the water could normally hold at room temperature. That’s the “super” in supersaturated.
As the solution cools, it becomes unstable. The dissolved sugar molecules start looking for a place to settle back into solid form.
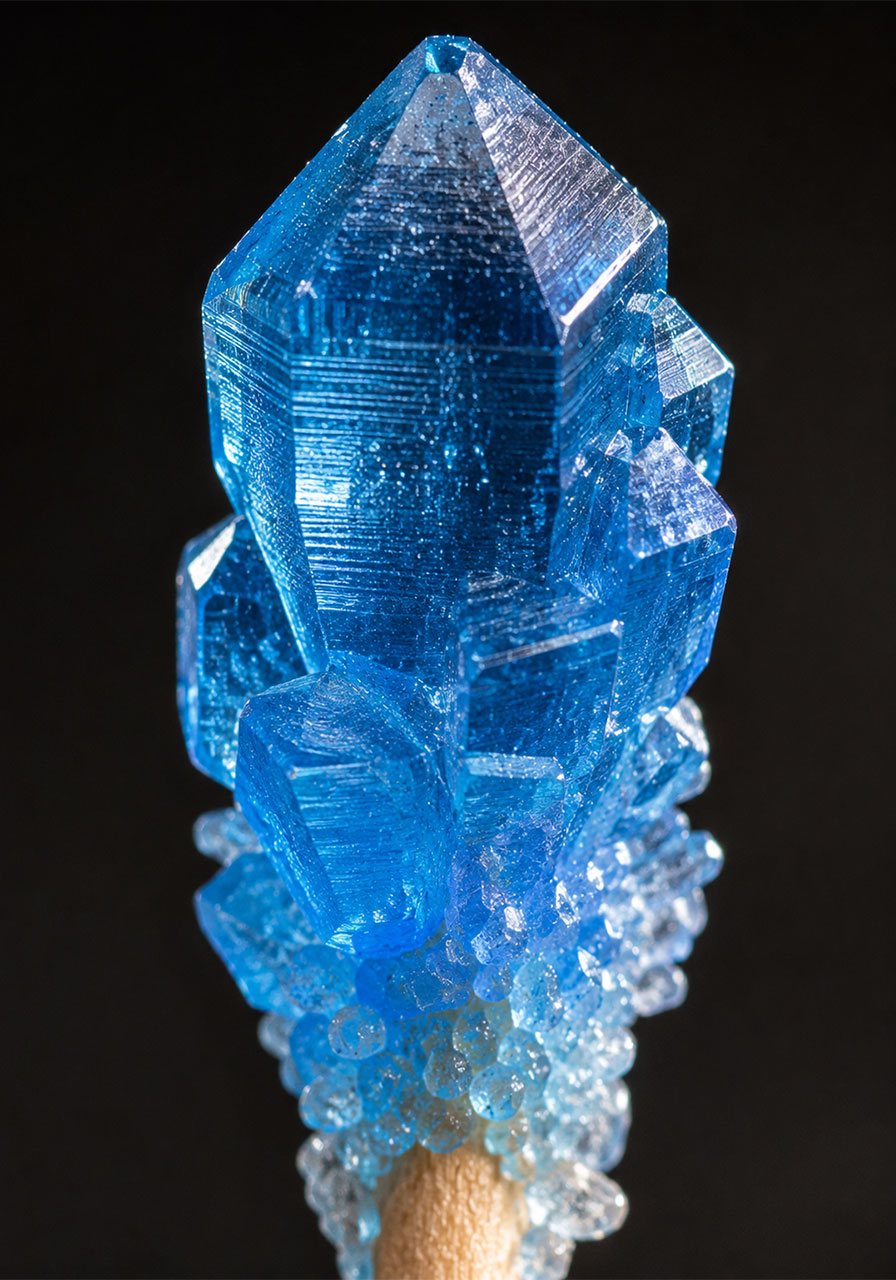
That’s where your coated skewer comes in. The sugar granules already on its surface act as a nucleation site, giving molecules a stable place to attach and start building outward.
Over several days, more and more sugar molecules join the structure, layer by layer, which is exactly why the crystals grow larger over time instead of appearing all at once.
This is the same basic principle behind rock candy, geodes, and even snowflakes, just with a different set of molecules involved.
Classroom Extension Ideas
If you’re using this in a classroom or homeschool setting, a few simple additions turn it into a full lesson.
Have students sketch their jar every day and note any changes they observe.
Introduce a simple measuring tool, like a ruler taped to the outside of the jar, so students can track crystal length over time.
Turn it into a variable-testing experiment by having different groups adjust the sugar-to-water ratio and compare results.
Tie it into a vocabulary lesson using terms like solution, saturation, and nucleation.

Pro Tips for the Best Results
Use fresh, plain white granulated sugar. Brown sugar and sugar substitutes will not crystallize the same way.
Patience matters more than perfect measurements. If you don’t see crystals within 48 hours, your solution likely wasn’t saturated enough. Next time, dissolve slightly more sugar into the same amount of water.
Keep the jar somewhere stable. Movement or temperature swings can disrupt crystal formation.
Avoid the fridge. Crystals need a cool, stable room temperature spot, not cold refrigeration.
Fun Variations to Try
Add a few drops of vanilla, almond, or peppermint extract to the solution for a lightly flavored crystal.
Try string instead of a wooden skewer for a softer, more delicate crystal formation.
Use several small jars in different colors, then arrange them together at the end to recreate the rainbow “eruption” display shown in the photos.
Let older students design their own container shapes to see how it affects crystal formation.
Frequently Asked Questions
Can I use brown sugar instead of granulated sugar?
You can, but the crystals will come out cloudier and less defined. For clear, sparkling results, stick with white granulated sugar.
How long does it actually take to see crystals?
Most jars show visible crystal formation within 1 to 2 days, with full growth complete by day 3 to 7.
What if no crystals form at all?
This almost always means the solution wasn’t saturated enough. Next attempt, dissolve extra sugar into the water before it starts to boil, adding a little at a time until no more will dissolve.
Can I reuse the sugar solution for a second batch?
We don’t recommend it. Once the solution has already released its sugar into crystals, it loses the saturation needed to grow more. Start fresh each time for the best results.
Is this safe for young children to help with?
Yes, with adult supervision. Young children can safely help with coloring, pouring the cooled solution, and checking on crystal growth. The boiling step should always be handled by an adult.
Final Thoughts
The Sugar Crystal Eruption is one of those rare projects that feels like magic to kids while teaching real, standards-aligned science.
It’s affordable, it’s genuinely beautiful, and it rewards the kind of patient observation that’s hard to come by in a world of instant everything.
Set one up this weekend, and don’t be surprised if your kids ask to start a second jar before the first one is even finished.
