
If you’ve ever needed a screen-free activity that actually holds a kid’s attention for weeks – not minutes – this is the one to save.
The chia seed egg head is one of those activities that looks like a cute craft but is secretly a full science lesson in disguise. You draw a silly face on an egg or potato, give it a “chia hair” haircut of seeds, and then watch real, living sprouts grow in day by day.
No soil. No planting outside. No expensive kit. Just a windowsill, some seeds, and a little patience.
Teachers, this is a perfect classroom science station. Parents, this is a perfect rainy-day, low-mess, high-payoff project. Either way, your “head” is about to become the most popular member of the household or classroom for the next month.
Why This Activity Is a Teacher and Parent Favorite
Kids don’t just watch this activity – they check on it. Every single day.
That daily check-in is the magic part. It naturally builds observation skills, patience, and a sense of responsibility, without a worksheet in sight.
We’ve watched kids go from “when is the hair going to grow?!” on day one to gently trimming their sprout’s “hair” with kid-safe scissors by day ten, proud as can be. That shift – from impatience to ownership – is exactly what makes this such a strong STEM activity.
It also happens to be nearly foolproof. Chia seeds are fast, forgiving, and easy for little hands to sprinkle without adult help.
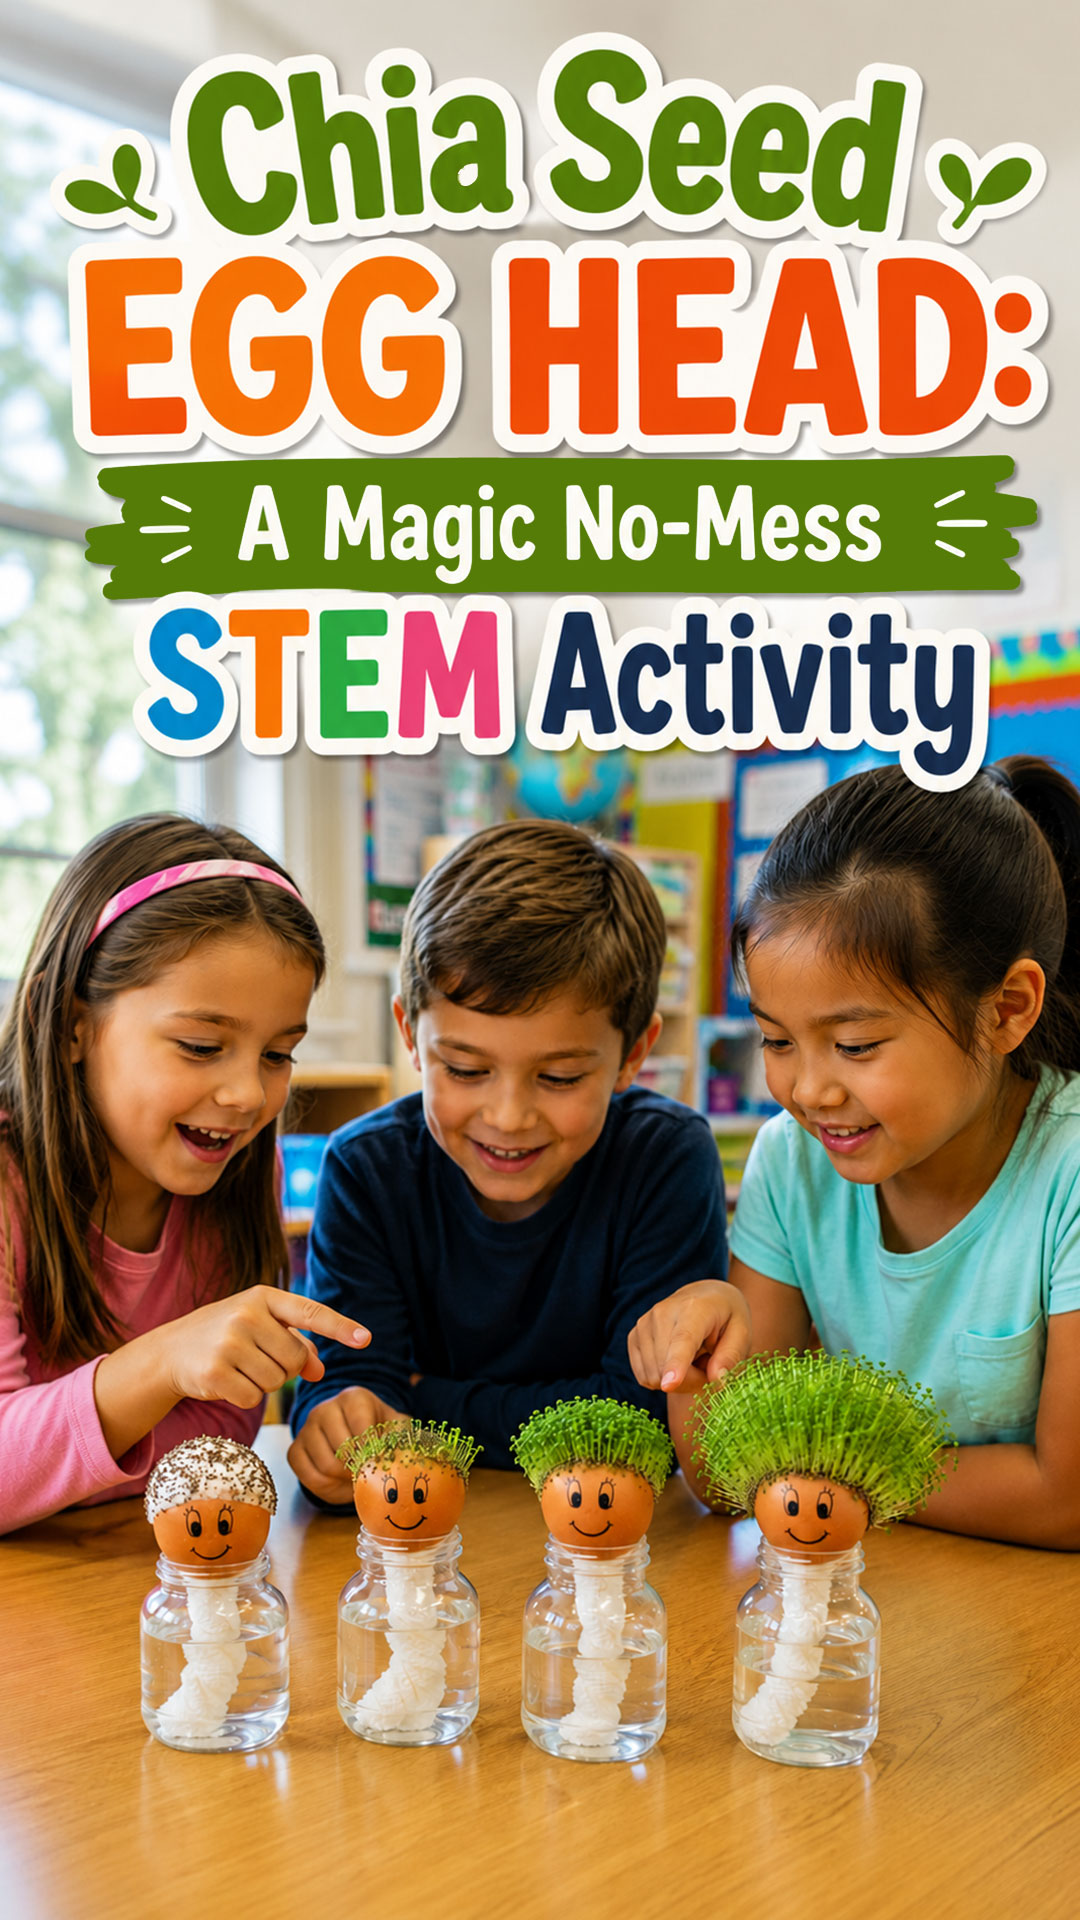

What You’ll Need
1 raw egg (or 1 small potato – see options below)
Chia seeds (about 2–3 tablespoons per head)
A paper towel
Water
A small plastic bottle or cup to act as a stand
A permanent marker, for drawing the face
Kid-safe scissors, for trimming (you won’t need these until about day 7–10)
Pro Tip: Chia seeds work better than grass seed for this project because they sprout faster and cling to the wet paper towel more easily, which means less mess and quicker results for impatient little scientists.
Step 1: Prep Your “Head” (Choose Your Version)
You’ve got two easy options here, depending on your group and your mess tolerance.
Option 1: Egg Head
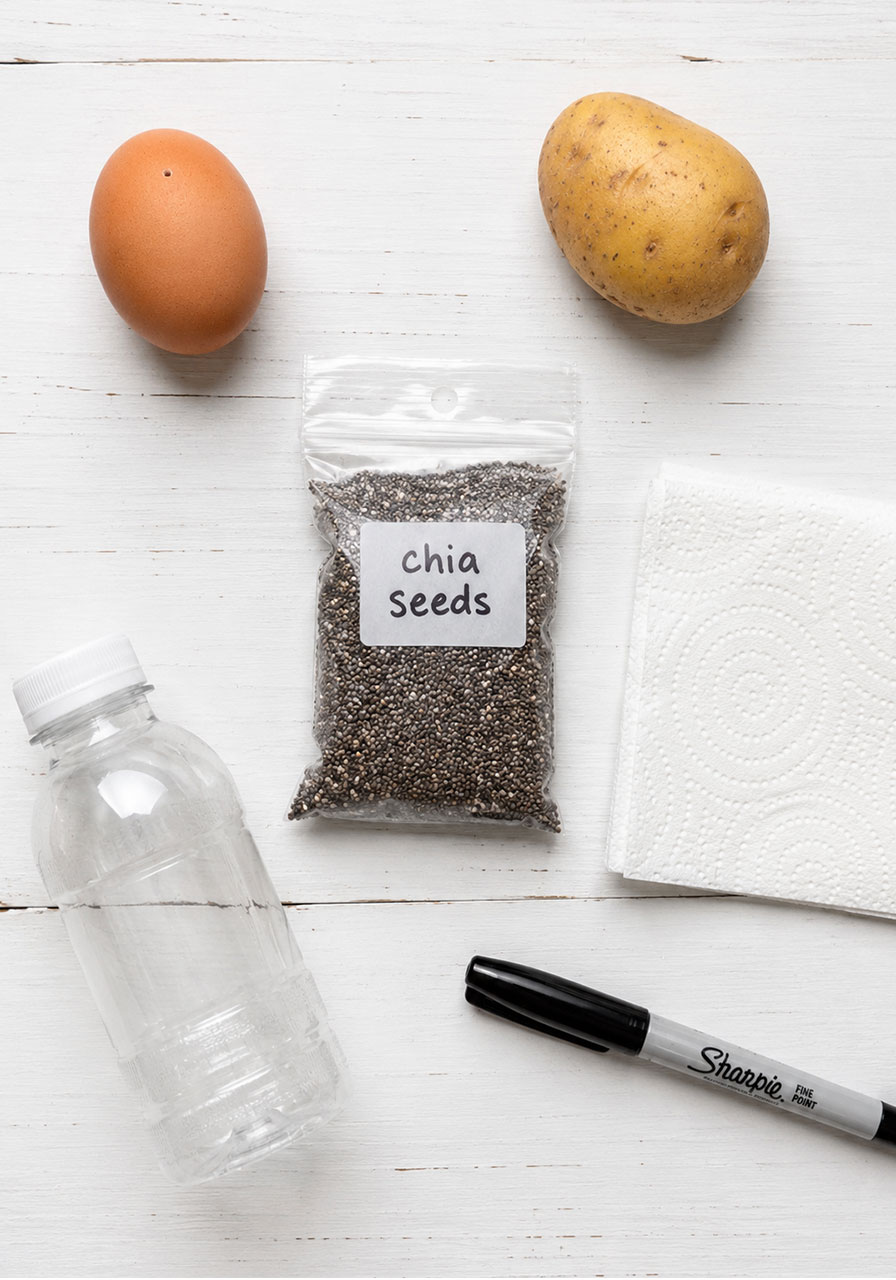
1. Use a pin or toothpick to make a small hole in the top of a raw egg.
2. Gently shake or blow the egg out into a bowl (save it for cooking!).
3. Rinse the inside of the shell with water and let it air dry completely.
This version is a little more delicate, but it makes the most adorable, lightweight “head,” and kids love that it’s a real eggshell.
Option 2: Potato Head
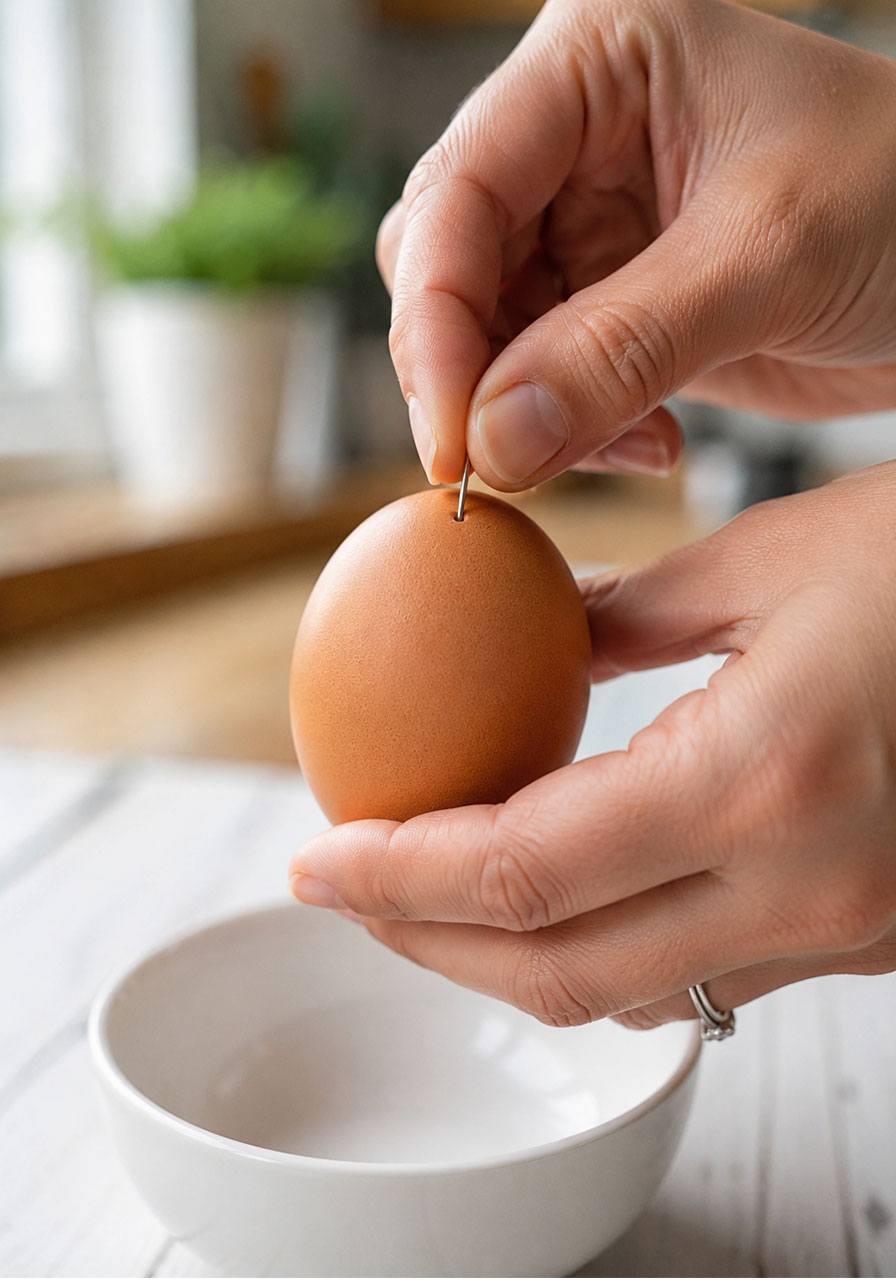
1. Grab a small potato. That’s it – no prep needed.
This is the better choice for younger kids or a full classroom, since there’s no cracking, blowing, or rinsing involved. It’s also sturdier and easier for small hands to handle.
Step 2: Grow the “Hair”
Once your head is ready, it’s time for the fun part.
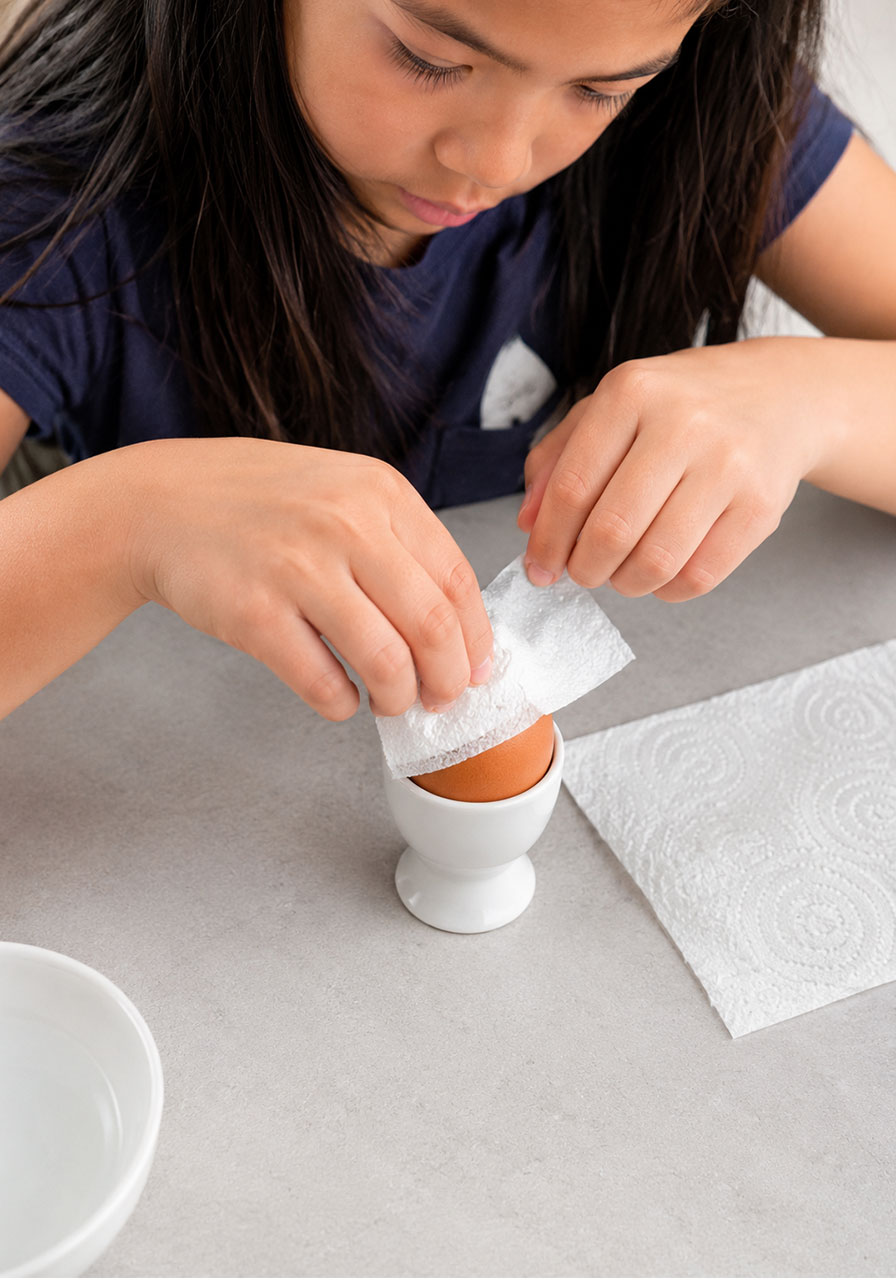
1. Wet a paper towel and wrap it snugly around the top of the egg or potato.
2. Sprinkle chia seeds generously over the damp paper towel, pressing gently so they stick.
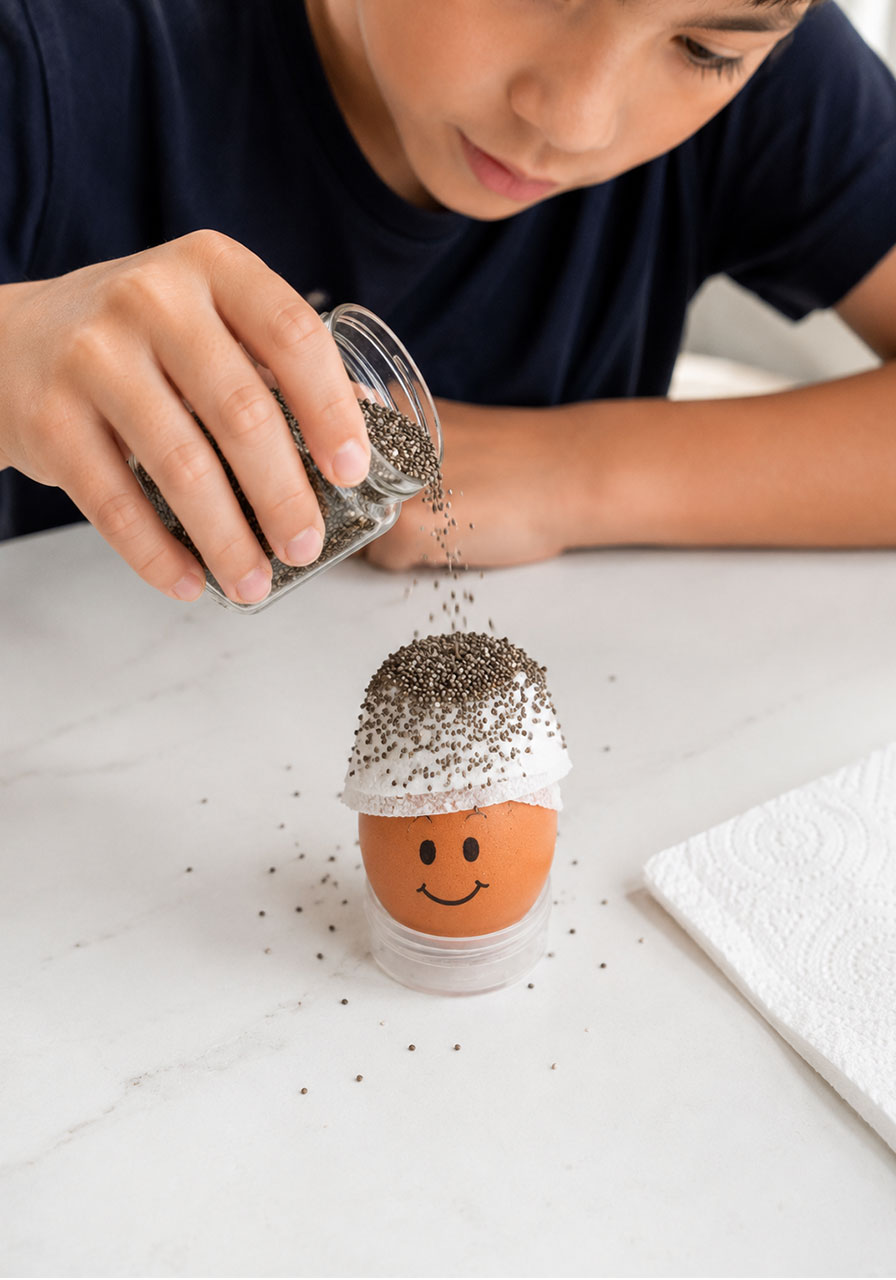
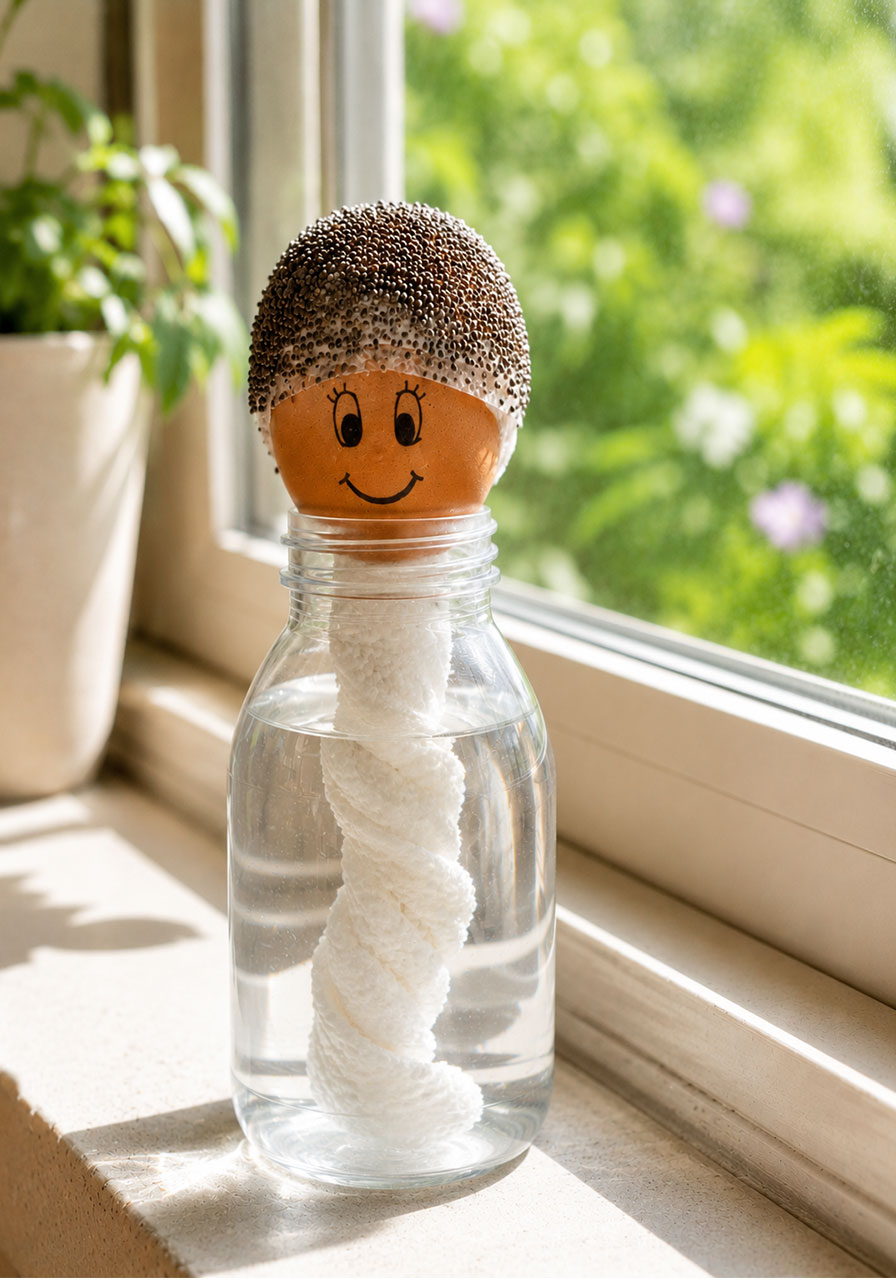
3. Set the head on top of a small plastic bottle or cup so it stands upright.
4. Pour water into the cup or bottle so the paper towel underneath stays damp (this keeps the seeds hydrated without drowning them).
5. Draw on a silly face – eyes, eyebrows, a big smile – and give your new friend a name. This step matters more than it seems, since naming the head is what gets kids emotionally invested in watching it grow.
6. Check daily and re-wet the paper towel any time it starts to dry out.
Pro Tip: Keep the head somewhere with bright, indirect light. Direct sun can dry the paper towel out too fast, and a dark corner will slow the sprouting way down.
What to Expect: The Growth Timeline
Here’s the part kids love most – watching the transformation happen in real time.
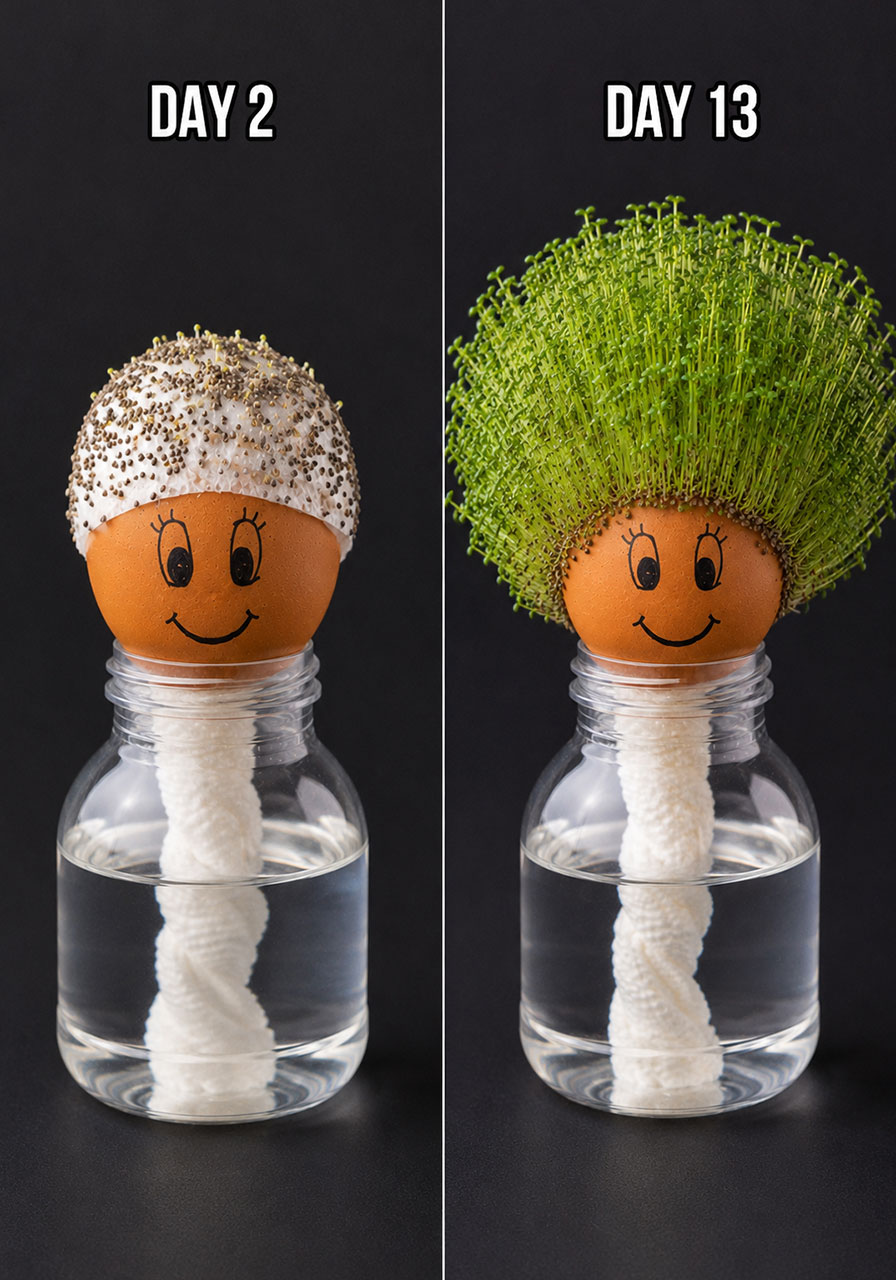
Day 2: The chia seeds swell up and start to look fuzzy. This is the earliest sign that something is happening, and it’s a great moment to ask kids what they predict will happen next.
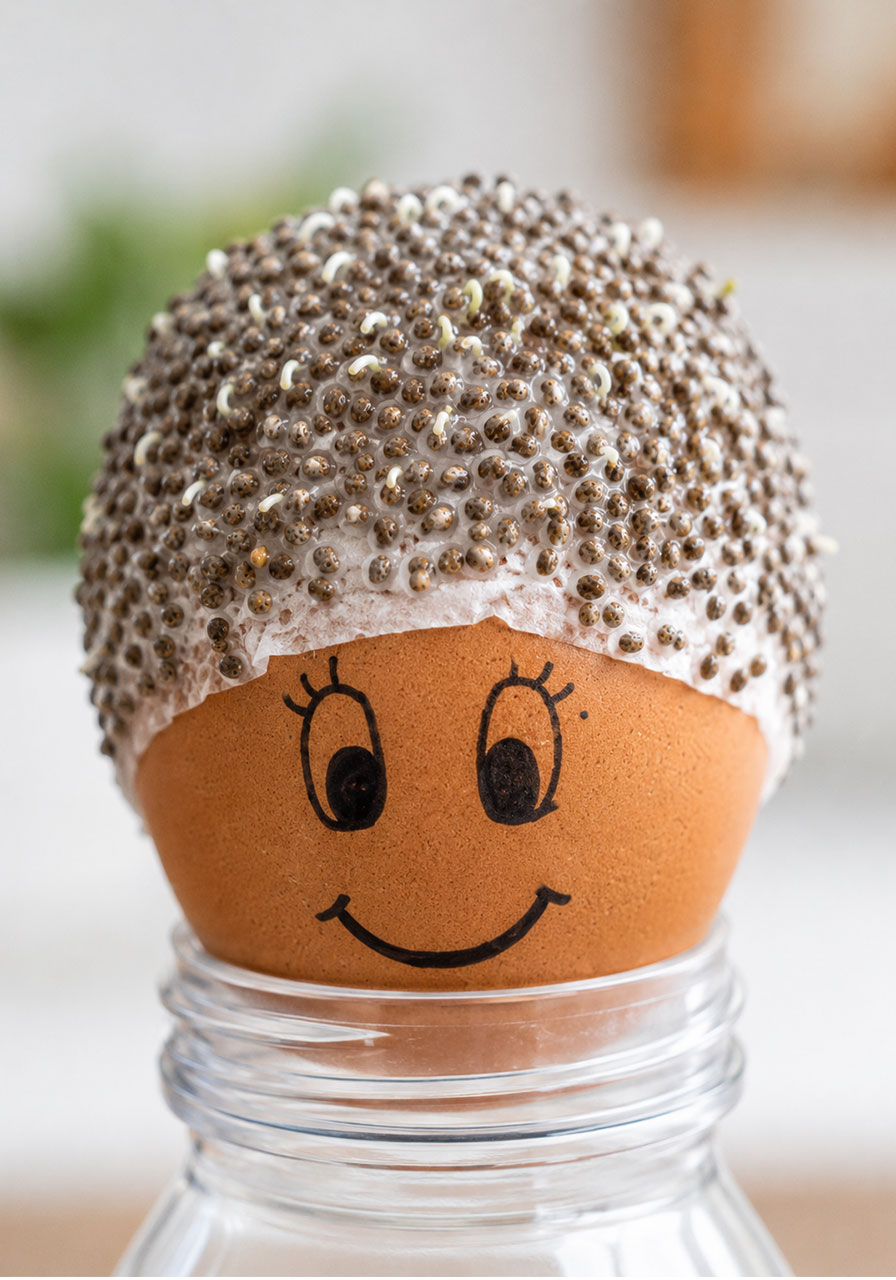
Day 4: Tiny green sprouts start poking through. This is usually the moment kids get genuinely excited, because it finally looks alive.
Day 7: The “hair” is noticeably thicker and greener, with sprouts reaching in every direction. Great time to talk about what plants need to grow (light, water, and time).
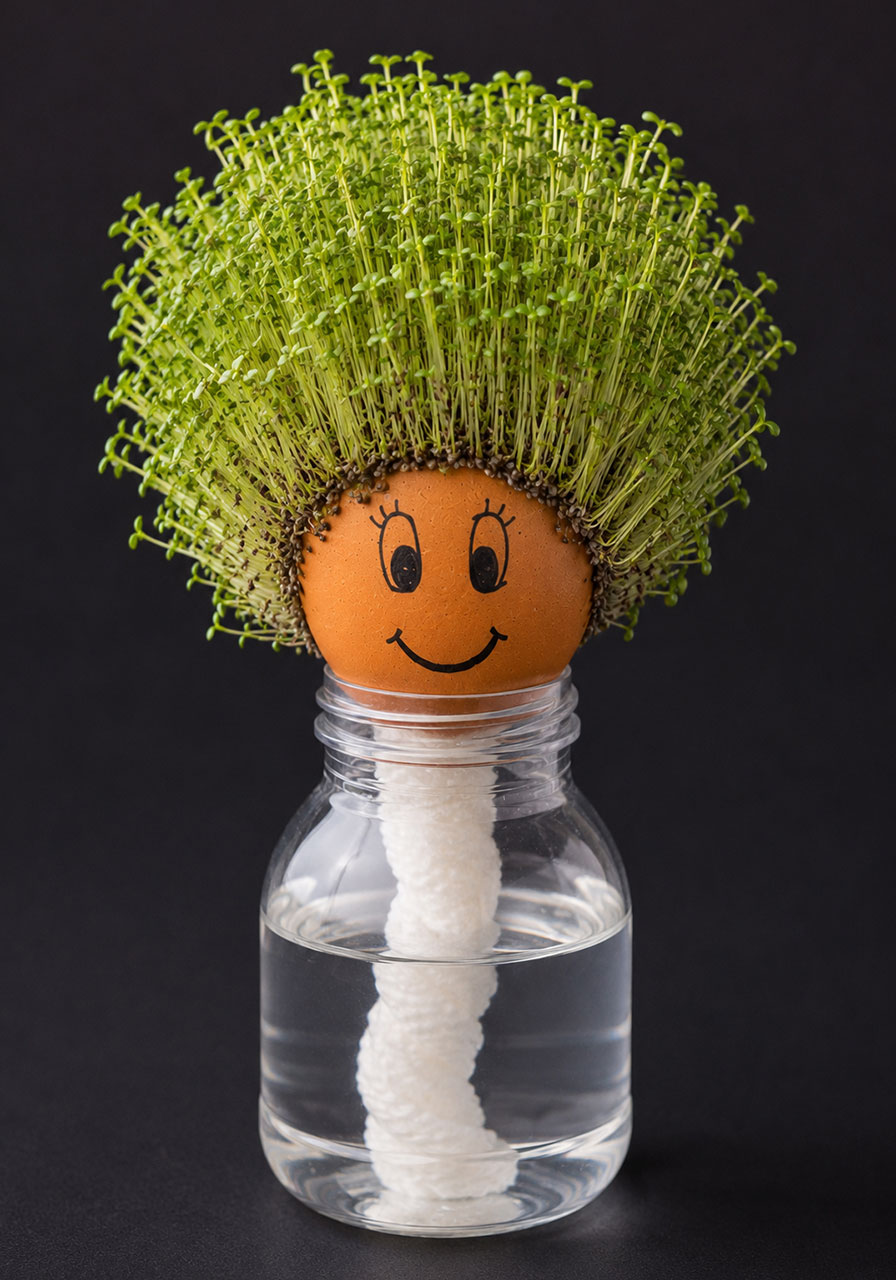
Day 12–13: Full, lush, wild “hair” everywhere. Your head now looks like it’s having a very good hair day.
Day 15: Time for the first haircut! Kids can trim the sprouts with kid-safe scissors, which is consistently the favorite part of the whole activity. Bonus: the sprouts often keep growing back after a trim.
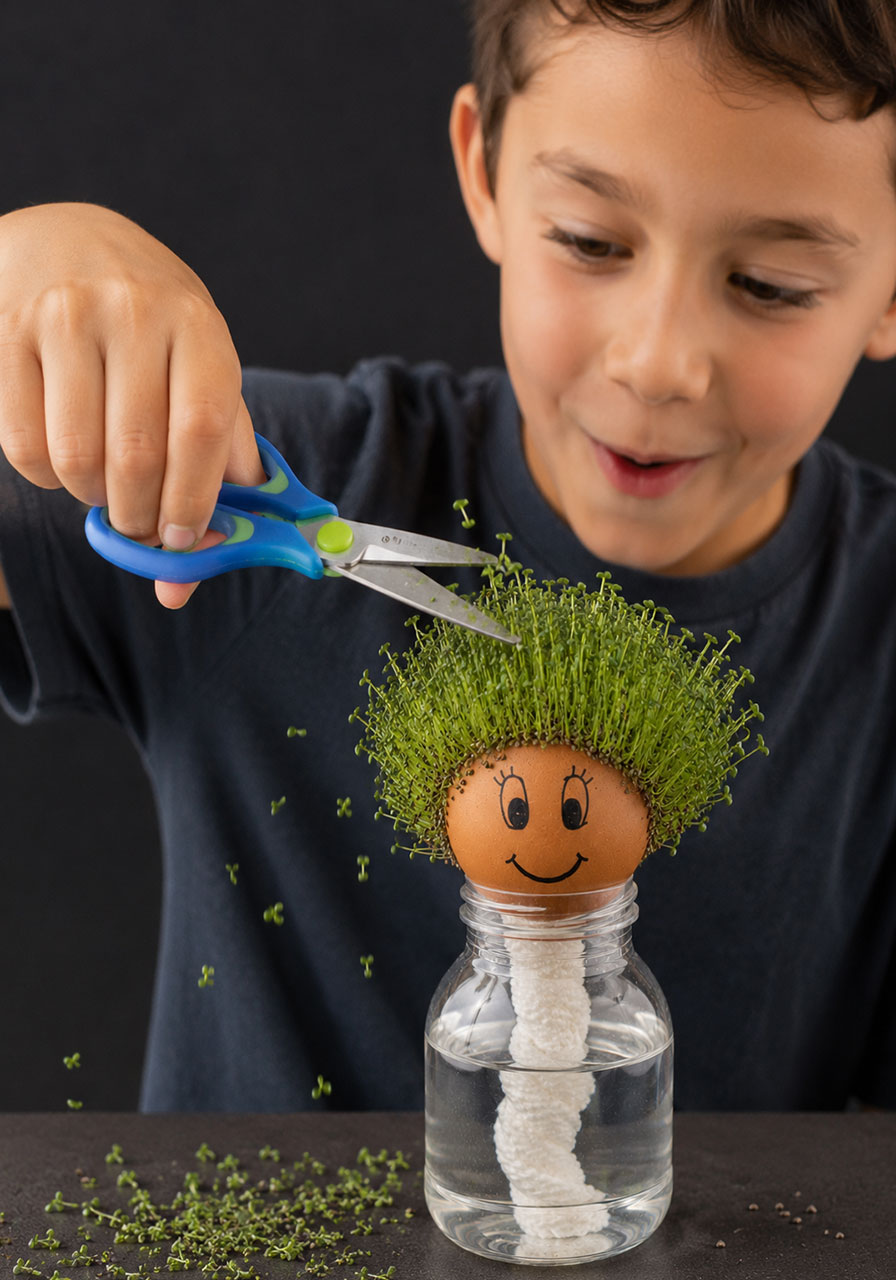
Day 26 and beyond: With regular trims and watering, the “hair” keeps regrowing, letting kids repeat the trimming experience multiple times.
Day 38: This is a great point to introduce extension activities, like having kids mist the seeds with a spray bottle instead of just pouring water, or start a simple growth journal.
Day 50+: Eventually, the sprouts will start to slow down, dry out, and the activity naturally winds down. This is actually a valuable teaching moment too – it opens the door to a conversation about life cycles, and the idea that you can always start a new head and begin again.
What Kids Are Actually Learning
This activity looks simple, but there’s a real curriculum hiding inside it.
Cause and effect: Water and light in, growth out. Kids see the direct result of their care, every single day.
Patience and responsibility: Nothing happens overnight. Kids learn to check in, re-wet the paper towel, and wait – a skill that’s harder to teach than it sounds.
Early plant science: Germination, growth stages, and basic plant needs all show up in a way that’s visual and hands-on, not just something read in a book.
Daily care routines: This mirrors the same skills used in caring for classroom pets or garden plots, just in a much smaller, lower-stakes form.
Observation and journaling: Teachers, this pairs beautifully with a simple daily observation log, where kids draw or write what they notice each day.
Fun Variations to Try
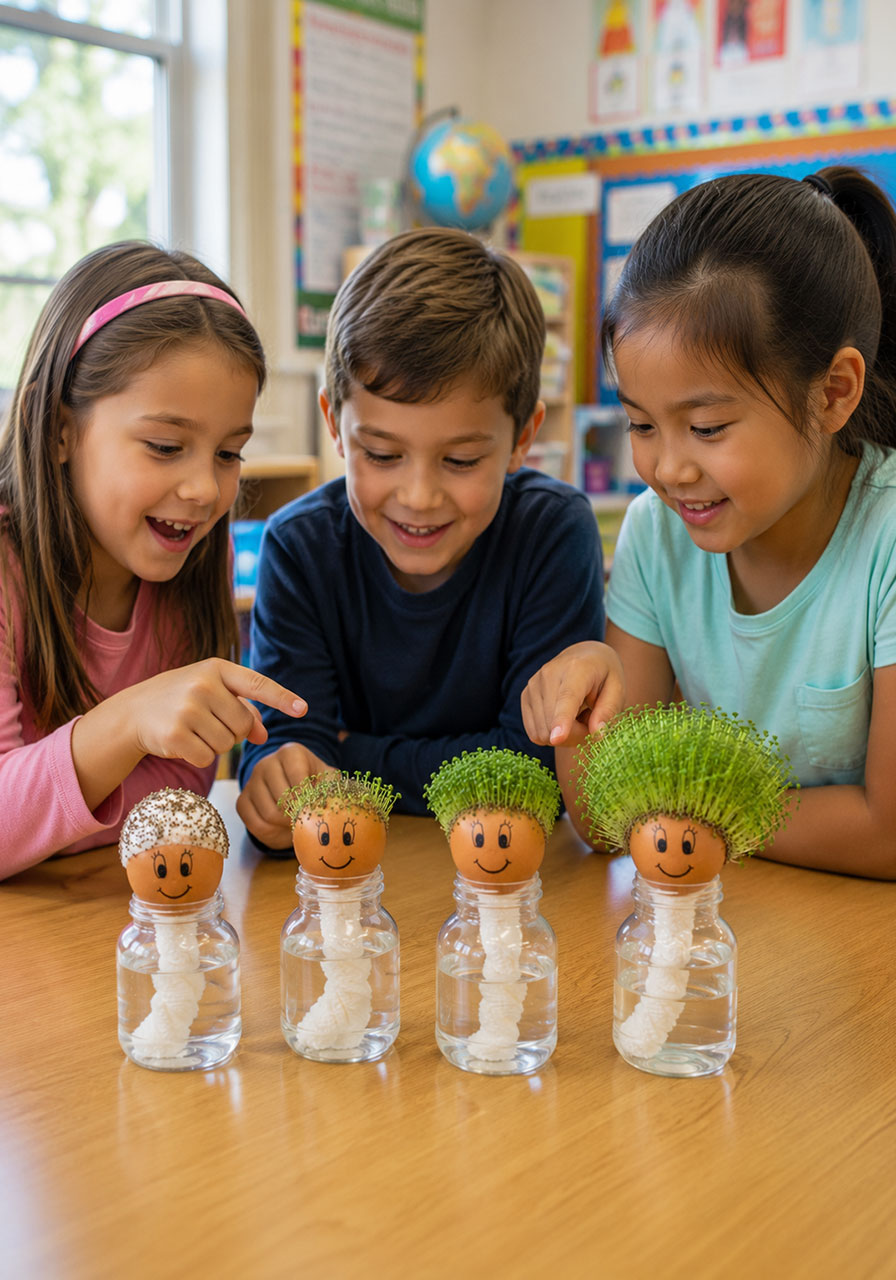
Give each kid their own head so they can compare growth rates side by side.
Try different seeds (grass seed, alfalfa, or wheatgrass) and have kids predict which will sprout fastest.
Turn it into a classroom growth chart, tracking sprout height in centimeters each day.
Style the “hair” into different looks after each trim, just for fun.
Frequently Asked Questions
How long does it take for the chia seeds to sprout?
You’ll usually see the first sprouts within 2 to 4 days, with full, thick growth by around day 12 to 13.
Do I need to use an egg, or can I use something else?
An egg or a small potato both work great. Potatoes are sturdier and require zero prep, which makes them the easier choice for younger kids or a full classroom.
How often do I need to water it?
Check the paper towel daily and re-wet it whenever it starts to feel dry. The water in the cup below helps keep it damp between checks, but it still needs regular attention.
Can this activity be repeated?
Yes. Since the sprouts grow back after trimming, one head can be trimmed and regrown several times before it’s ready to be retired.
Is this messy?
Not really. The chia seeds stick to the damp paper towel rather than scattering everywhere, which makes cleanup simple.
Ready to Grow One?
This is exactly the kind of activity that earns a permanent spot in your STEM activity rotation. It’s simple enough for a five-year-old to help set up, but rich enough to spark real conversations about science, patience, and growth.
Grab an egg or a potato, sprinkle on some chia seeds, and give your new little friend a name. In just a few days, you’ll have a windowsill full of wonder.
