
Picture this: your kids draw a tiny heart on a plate, you pour in some water, and seconds later, that heart peels itself right off the plate and floats on the surface like a little rubber sticker. No glue, no tricks, no fuss.
This is the Dry Erase Floating Ink Experiment, and it might just be the easiest, most jaw-dropping STEM activity you’ll ever set up. You already have everything you need sitting in a junk drawer somewhere. Total prep time is under five minutes, and the “wow” factor lasts a lot longer than that.
Whether you’re a teacher looking for a science center activity that will actually hold your students’ attention, or a parent hunting for something to do on a rainy afternoon, this one delivers. Let’s get into it.
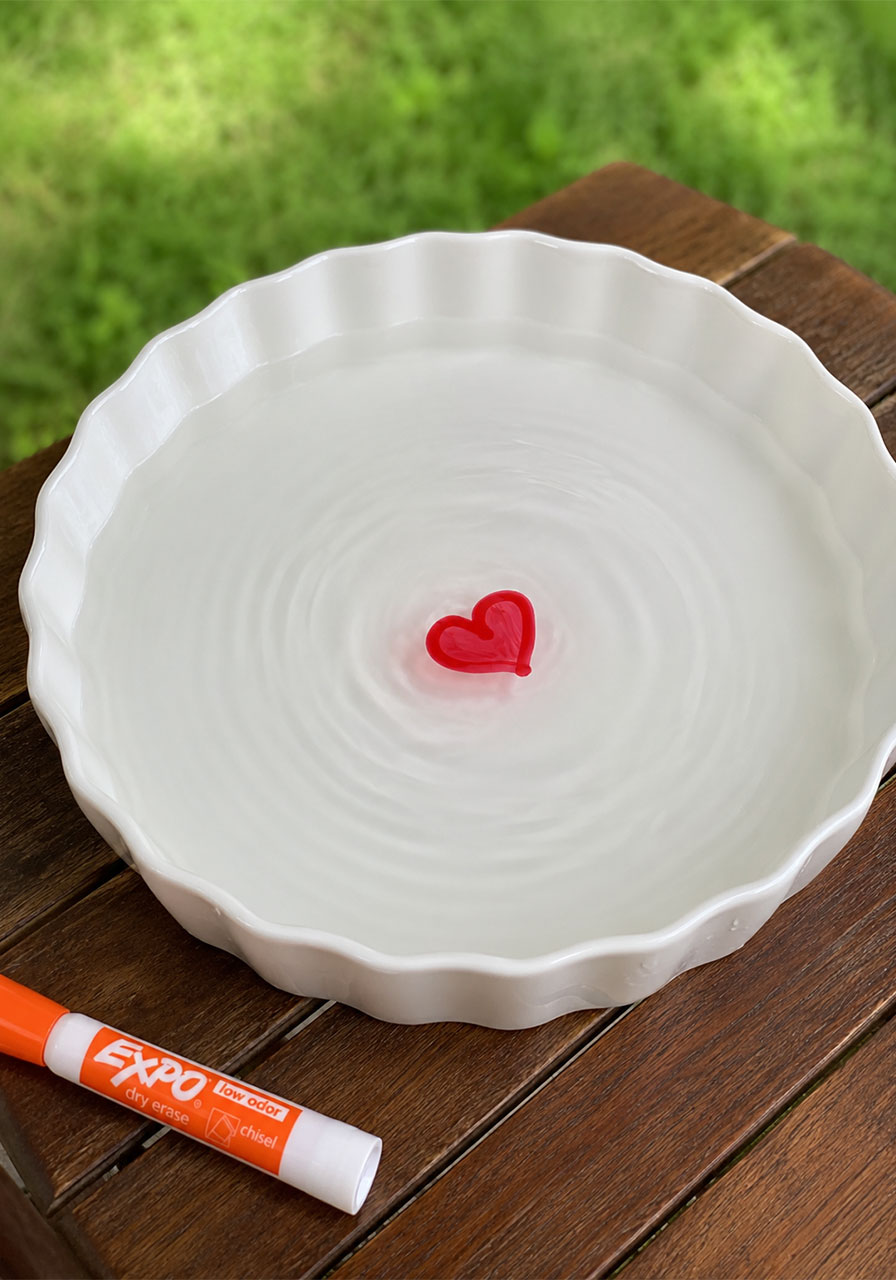
Why This Experiment Works So Well
Kids learn best when they’re having fun without realizing they’re learning. This activity checks that box perfectly.
It looks like magic, but it’s real chemistry. Dry-erase ink is designed to release from smooth surfaces, and water is the perfect way to demonstrate that property in action.
It also invites real scientific thinking. Kids naturally start asking questions: Why did the blue one float but the black one didn’t? Does it matter how thick I draw? What if I use a different plate? Those are genuine hypothesis-and-test questions, and they come from the kids themselves.
Best of all, it’s nearly impossible to mess up. Even a “failed” drawing that doesn’t lift off teaches something, because now you’re troubleshooting together.

What You’ll Need
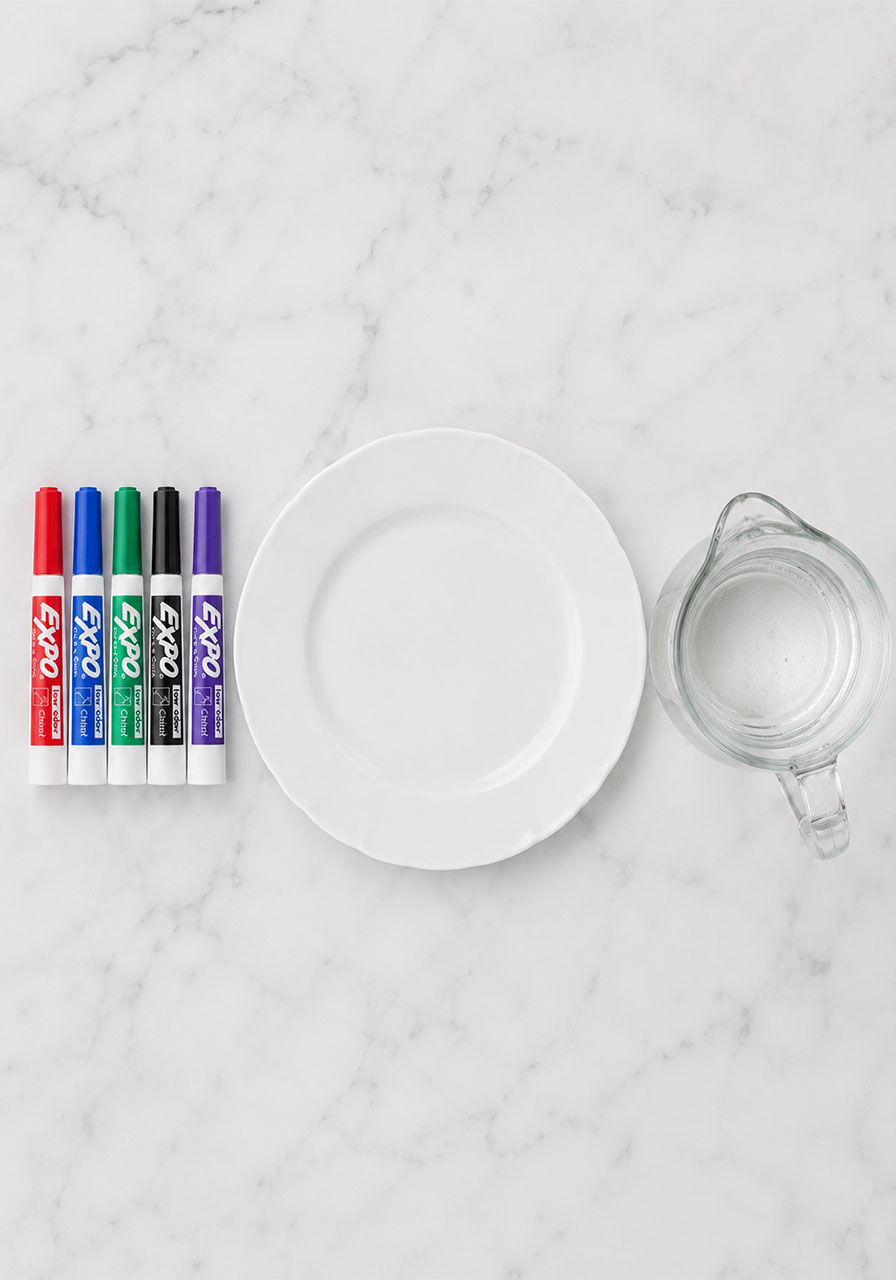
Dry erase markers (a mix of colors works best, since results vary by color)
A smooth, non-porous surface: a white ceramic dish, a dinner plate, a glass baking dish, or even the back of a metal spoon
A pitcher or jug of water
A towel or splash mat to protect your work surface
Optional: a medicine dropper for a slower, more controlled pour
A quick note on plates: not all surfaces perform the same. A textured or shiny ceramic dish with a bit of a rim tends to work better than a flat plastic plate, because it holds more water and keeps the ink from sticking to the bottom. If you only have plastic plates on hand, don’t worry, they can still work. You’ll just want to test a shape first.
How to Make Dry Erase Ink Float: Step by Step
1. Test your marker first.
Scribble a quick line on a scrap surface to make sure the ink is flowing well. A dried-out marker won’t leave enough ink to lift.
2. Draw your shape.
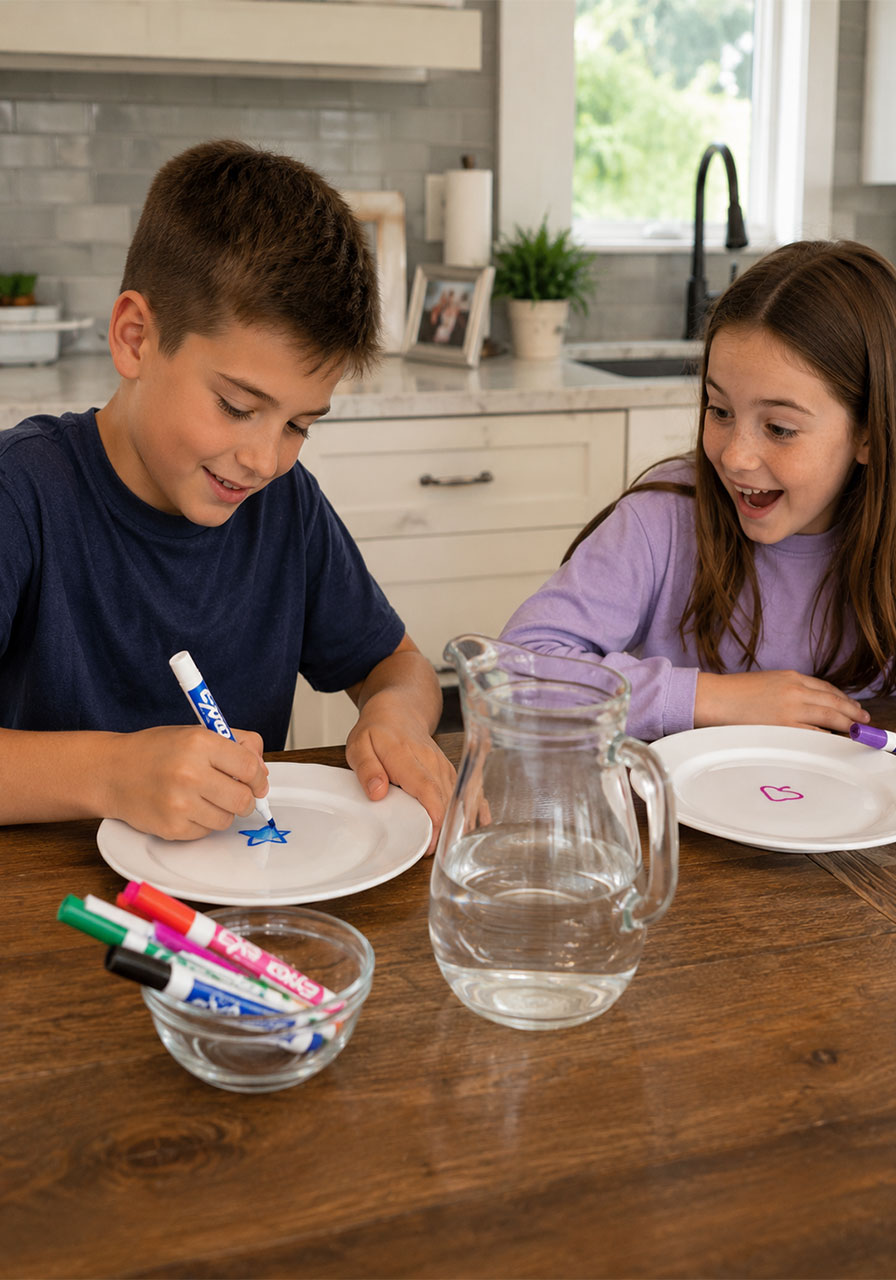
Use your dry erase marker to draw a simple shape, letter, or small picture directly on your plate or dish. Hearts, stars, and simple stick figures work great for beginners.
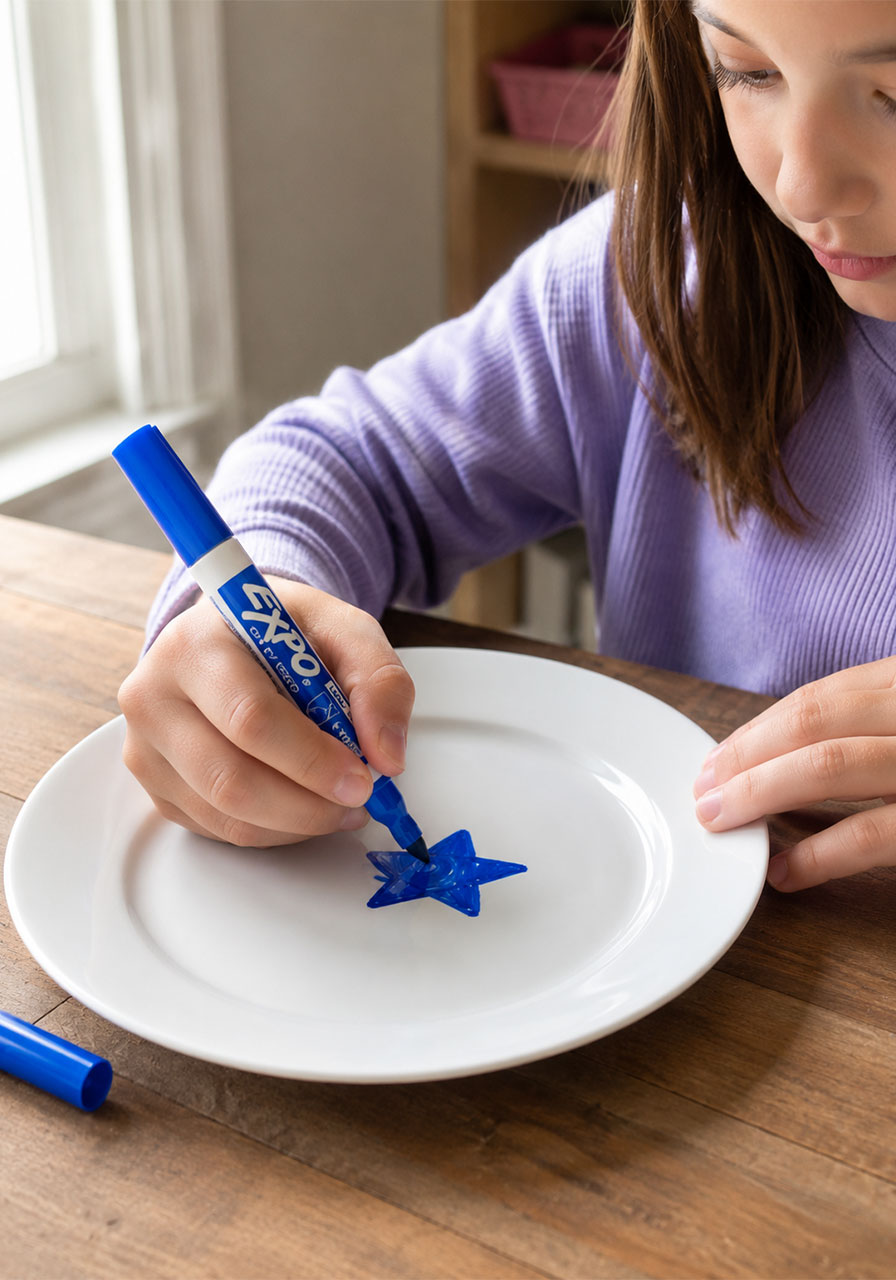
3. Press down with a solid layer of ink.
Don’t just outline the shape, fill it in. A thicker, more solid layer of ink lifts off far more reliably than a thin scribble.
4. Pour water slowly along the edge of your drawing.
Aim the water near the outer edge of the shape rather than directly on top of it. Add the water gradually rather than all at once.
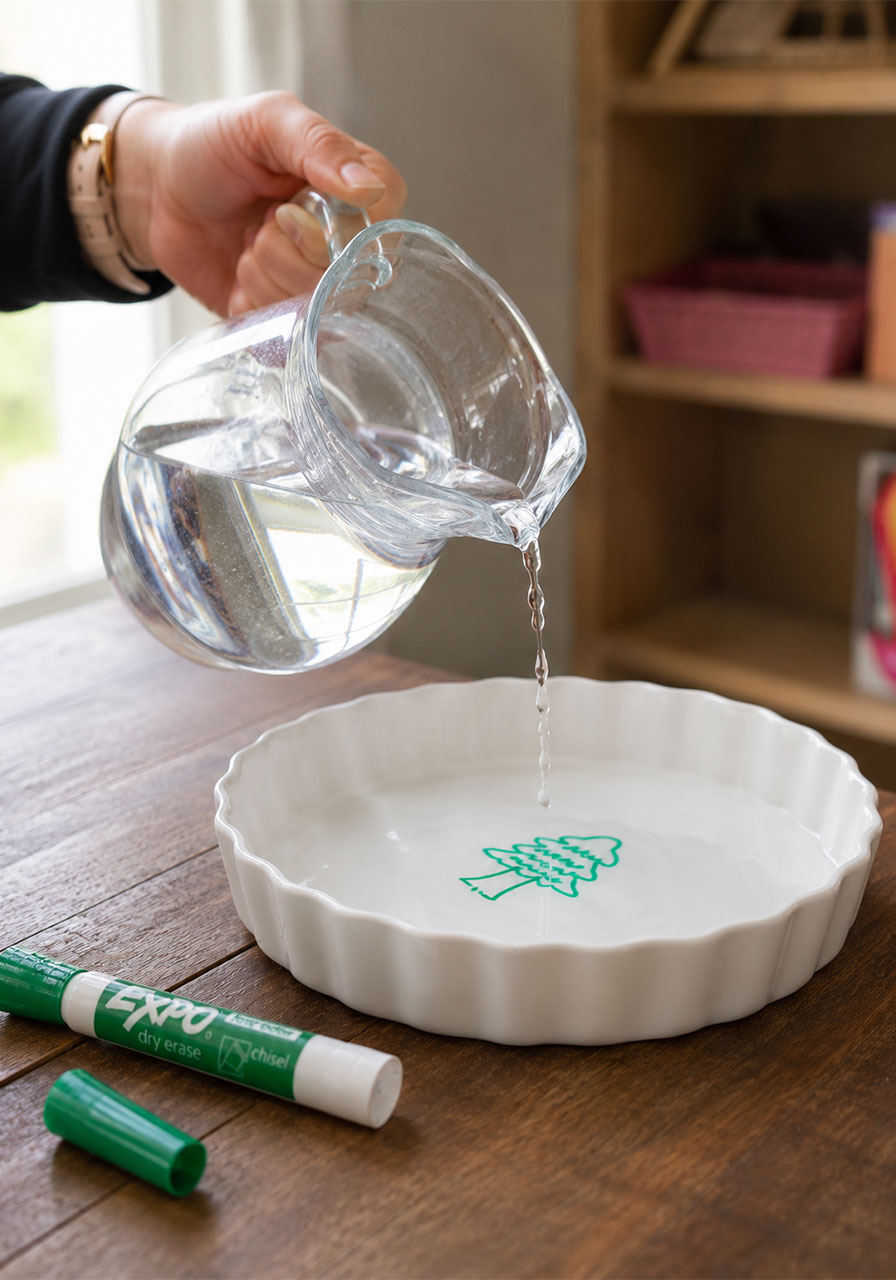
5. Watch closely.
Within a few seconds, you should see the edges of your drawing start to curl and lift away from the plate.
6. Keep adding water until it floats free.
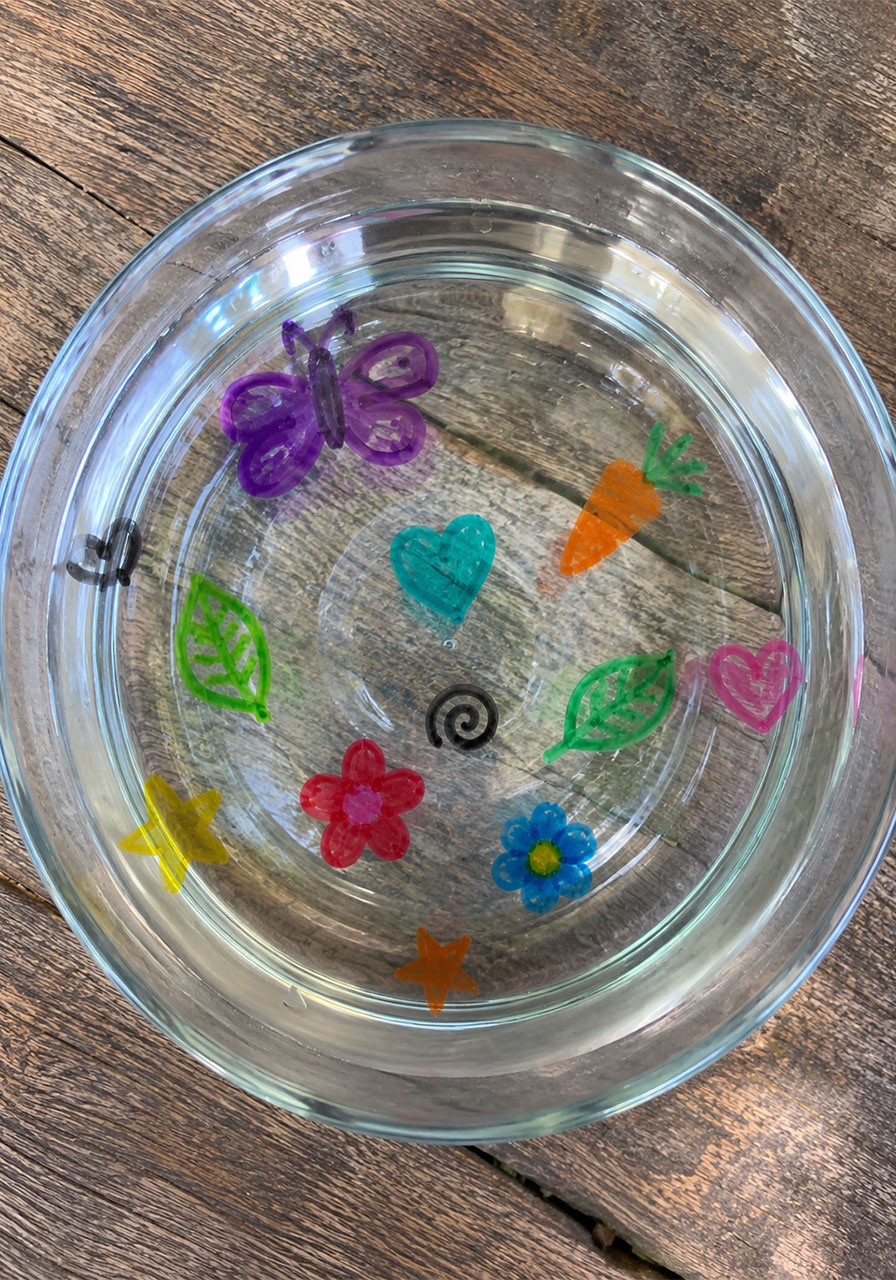
As the water level rises, your drawing will detach completely and float on the surface like a little film.
Some drawings will only lift partway, and some might not budge at all on the first try. That’s completely normal, and honestly, it’s part of the fun. Dry the dish, try again, and treat every attempt as a new trial.
Pro Tips for the Best Results
Go thick, not thin. A bold, heavily-inked shape floats far more reliably than a light sketch. Encourage kids to color in their shapes completely rather than just outlining them.
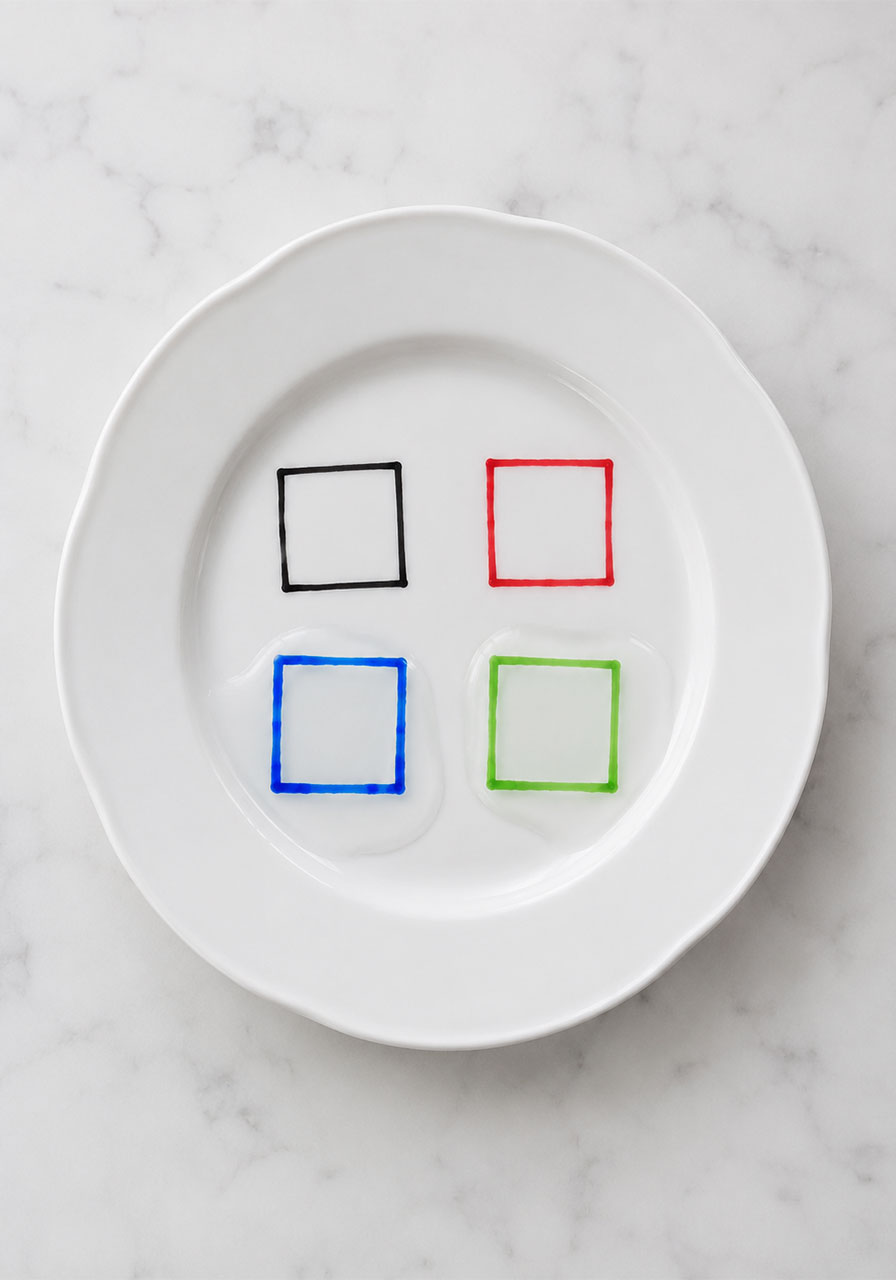
Choose your colors wisely. Black ink tends to be the least reliable floater, while brighter colors like green, blue, and purple tend to lift more consistently. This is a great built-in variable for kids to test.
Pour gently. A slow, steady pour along the edge of the plate gives the ink time to react with the water. Pouring too fast or too directly on top of the drawing can wash it away instead of letting it lift intact.
Try a spoon for a mini version. For a smaller-scale, tabletop version of this experiment, draw a tiny shape on the back of a metal spoon, then dip it into a cup or bowl of water. It’s a great option if you’re short on plates or want to run several trials side by side.
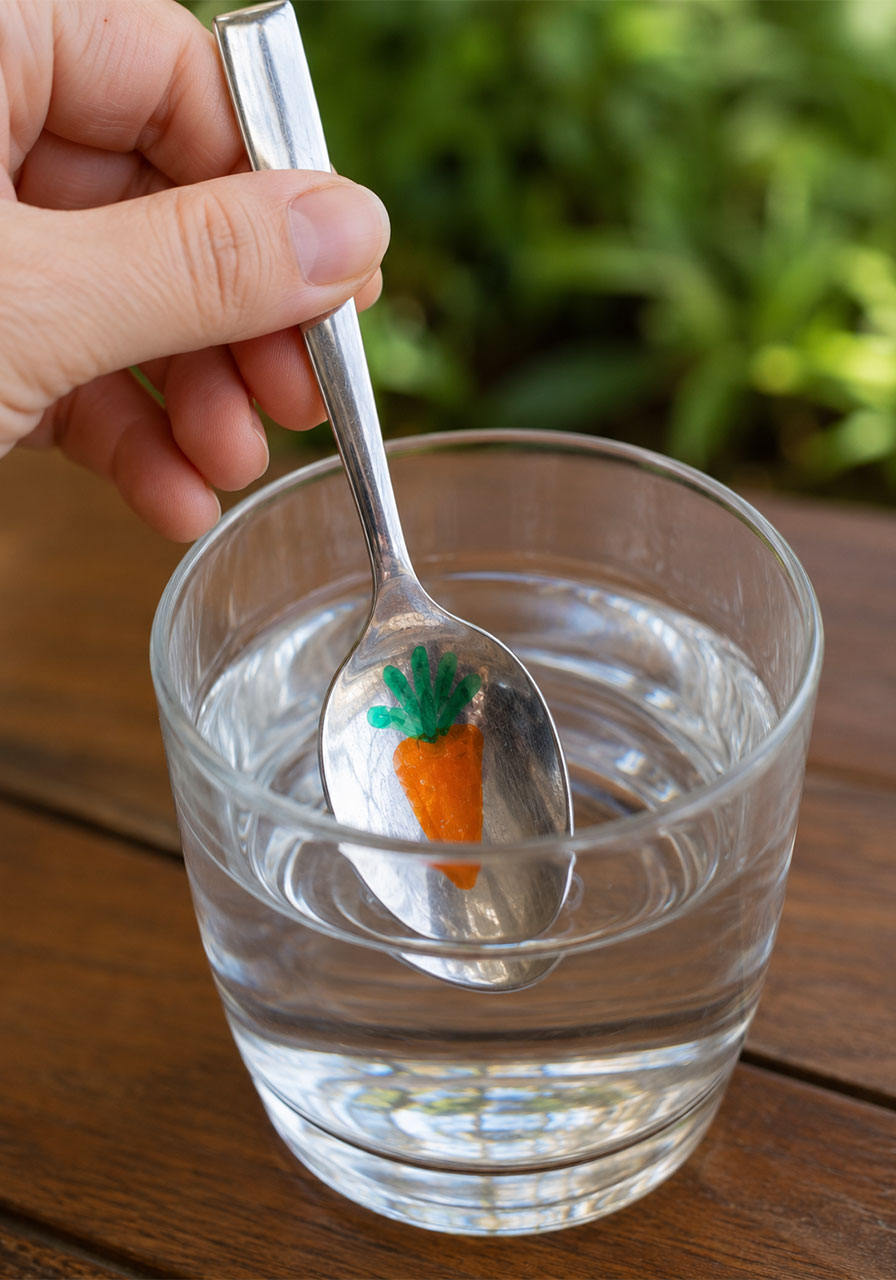
You can pick up the floating shapes. Once your drawing is floating, try lifting it gently with your finger. It will deflate and look like a thin strip of rubber. Set it back on the water’s surface and give it a small jiggle, and it will puff back up into its original shape. Kids find this part almost as exciting as the initial float.
Turn It Into a Real Science Investigation
This experiment is a fantastic jumping-off point for teaching the scientific method, because it comes with built-in variables to test. Here are some simple questions to explore with your class or your own kids.
Does color make a difference? Draw the same shape in several different marker colors and see which ones lift off first, and which ones (if any) don’t lift at all.
Does the surface matter? Try the same drawing on a ceramic plate, a glass dish, and a plastic plate. Record which surface performs best.
Does shape matter? Compare a solid filled-in shape against an outline-only drawing, or a simple shape against a detailed one like a stick figure or written letter.
Does water temperature matter? Repeat the experiment with cold water, room-temperature water, and warm water, and compare the results.
Have kids make a prediction before each trial, then record what actually happened. This turns a fun party trick into a genuine hands-on lesson in forming a hypothesis and testing it.
The Science Behind the Float
This experiment isn’t magic, it’s chemistry, and it’s actually a great chance to teach kids something they can apply to everyday objects they already use.
Most classrooms have a whiteboard, and most whiteboards get written on with a dry-erase marker. That ink wipes away cleanly without leaving a mark, and there’s a specific reason for that.
Dry-erase markers are made with a solvent, usually a type of alcohol, which dissolves the color pigment and gives the ink its color. They also contain a resin, and this resin is the real key to the whole experiment.
In a dry-erase marker, that resin is an oily silicone polymer. Its job is to act as a release agent. It makes the ink slippery so that it never fully bonds to a smooth surface like a whiteboard, a ceramic plate, or a piece of glass. That’s exactly why the ink can be wiped off so easily, and it’s also exactly why it lifts away so easily when water gets underneath it.
This is also why dry-erase ink behaves so differently on fabric. Clothing has a porous, textured surface, so instead of sliding right off, the ink soaks into the tiny fibers and stains permanently. A true permanent marker uses a different kind of resin, an acrylic polymer that acts as a binding agent instead of a release agent, gluing the ink firmly to whatever it touches. The only real difference between an erasable marker and a permanent one comes down to that one ingredient.
So when your drawing floats free on the water, what you’re really watching is that silicone release agent doing exactly what it was designed to do, just in a much more visual and exciting way than wiping a whiteboard clean.
Safety Notes for Teachers and Parents
This activity is low-mess and low-risk, but a few simple precautions will make it even smoother.
Always supervise young children around water, even in small amounts.
Protect your table or floor with a towel or splash mat, since some water will inevitably spill during pouring.
Dry-erase ink can still stain fabric, so consider having kids wear an old shirt or smock, and keep the activity away from carpet if possible.
Wash hands after handling markers, especially with younger children who may touch their face during the activity.
More Fun Ways to Use This Trick
Once you’ve got the basic float down, there’s plenty of room to make the activity even more memorable.
Floating name tags. Have each child write and float their own initial or name, then take a photo of everyone’s floating letters together.
Themed shapes. Tie the activity to a season or unit, snowflakes in winter, hearts for a holiday party, bugs and flowers for a spring science unit.
A group challenge. Give everyone the same shape and see whose drawing lifts off first, or floats the longest without breaking apart.
A sensory follow-up. After the shapes float, let kids gently touch and reshape them with their fingers, then talk as a group about why the shape deflates and re-inflates.
Frequently Asked Questions
Why didn’t my drawing float?
The most common reason is that the ink layer was too thin, or the marker was starting to dry out. Try pressing down harder, filling in the shape more solidly, and using a fresher marker.
Can I use regular whiteboard markers, or does it have to be a specific brand?
Standard dry-erase markers should work, since the key ingredient is the silicone resin found in most dry-erase formulas. Results can vary slightly between brands and even between colors within the same brand, which makes for a great built-in class experiment.
Is this experiment safe for young children?
Yes, with adult supervision. The materials are the same dry-erase markers already common in classrooms and homes, and the only real hazard is spilled water.
Does the water need to be a specific temperature?
No specific temperature is required, though it’s worth having kids test hot, cold, and room-temperature water to see if it changes the results.
What’s the best surface to use if I don’t have a ceramic dish?
Any smooth, non-porous surface should work reasonably well, including glass baking dishes, laminate tabletops, or the back of a metal spoon for a smaller version.
Ready to Give It a Try?
Grab a handful of dry-erase markers, a plate, and a pitcher of water, and you’ve got a science activity that’s ready in minutes and memorable for a lot longer. It’s hands-on, it’s visual, and it turns a simple household item into a genuine lesson in chemistry.
Try it once, and don’t be surprised if your students or your own kids ask to do it again and again, testing new colors, new shapes, and new surfaces every time.
