
If you’ve ever caught a student flipping a water bottle under their desk (again), you already know how obsessed kids are with this trend.
Good news: that obsession is actually a goldmine for your STEM block.
Bottle flipping isn’t just a hallway distraction. It’s a genuinely fascinating physics experiment hiding inside a viral trend, and it’s one of the easiest, cheapest, most engaging STEM challenges you can run in an elementary classroom.
In this activity, students test different bottle sizes and water levels, collect real data, calculate percentages, and then design their own bottle-flip experiment using materials like beans, rice, and marbles instead of water.
Yes, it gets a little messy. But the payoff is a room full of kids who are genuinely excited about data collection, and that almost never happens by accident.
Here’s exactly how to set it up, run it, and avoid the mistakes that can turn a fun challenge into a soggy mess.
Why This STEM Challenge Works So Well
Every kid already knows what bottle flipping is. That built-in interest means you skip the “why should I care” phase entirely and jump straight into engagement.
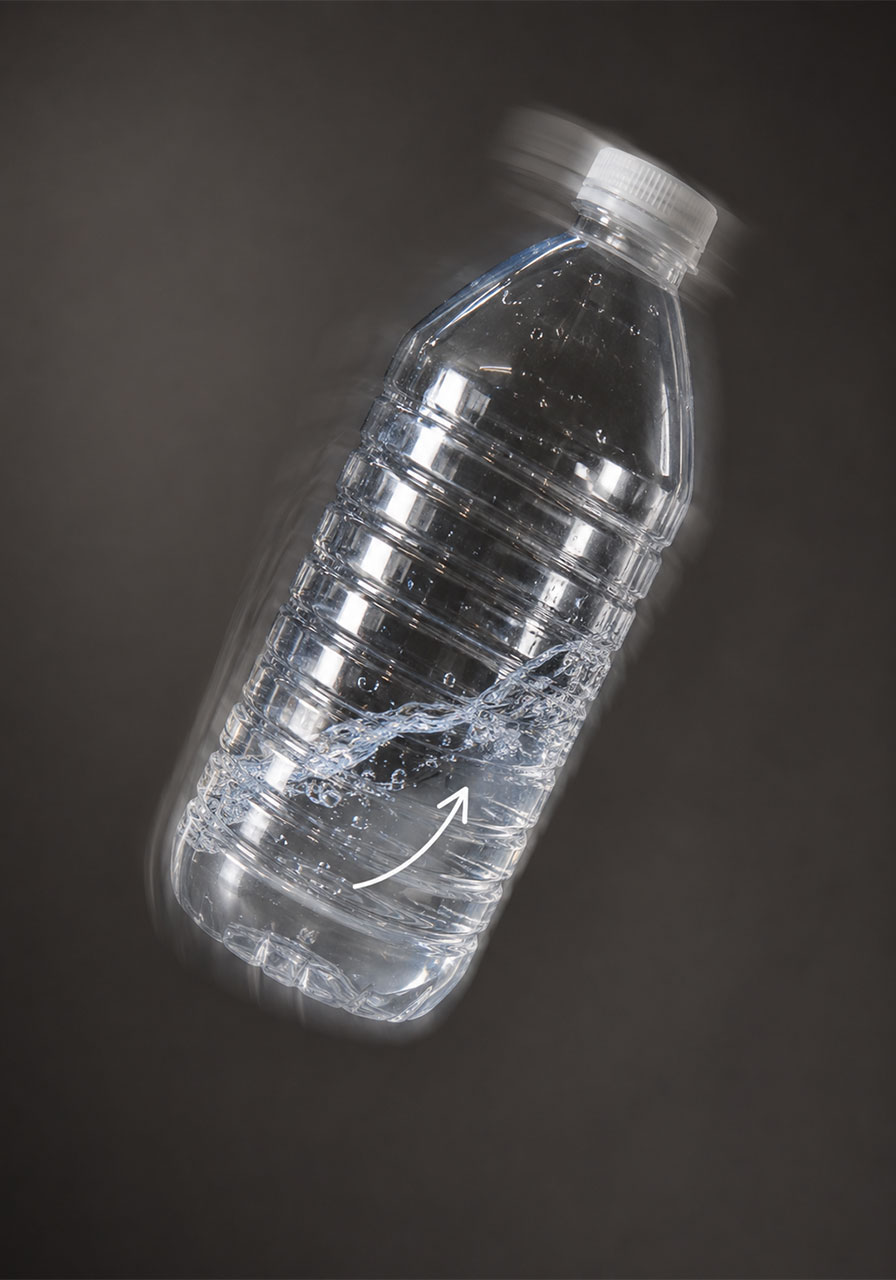
It also happens to be secretly loaded with real science. A partially filled bottle flips successfully because the water sloshes inside it, shifting how the bottle’s mass is distributed as it spins through the air.
That shifting mass slows the bottle’s spin at just the right moment, making it far more likely to land upright. An empty bottle or a completely full bottle can’t do this, because there’s no room for anything to move around inside.
Translation for your classroom: this is angular momentum and moment of inertia in action, wrapped inside an activity that feels more like recess than a lesson.
Best for: Grades 3-6, STEM class, indoor or outdoor science stations
Time to Play: Two class periods (roughly 45-60 minutes each)
Group Size: Works great in teams of 2-4 students

What You’ll Need
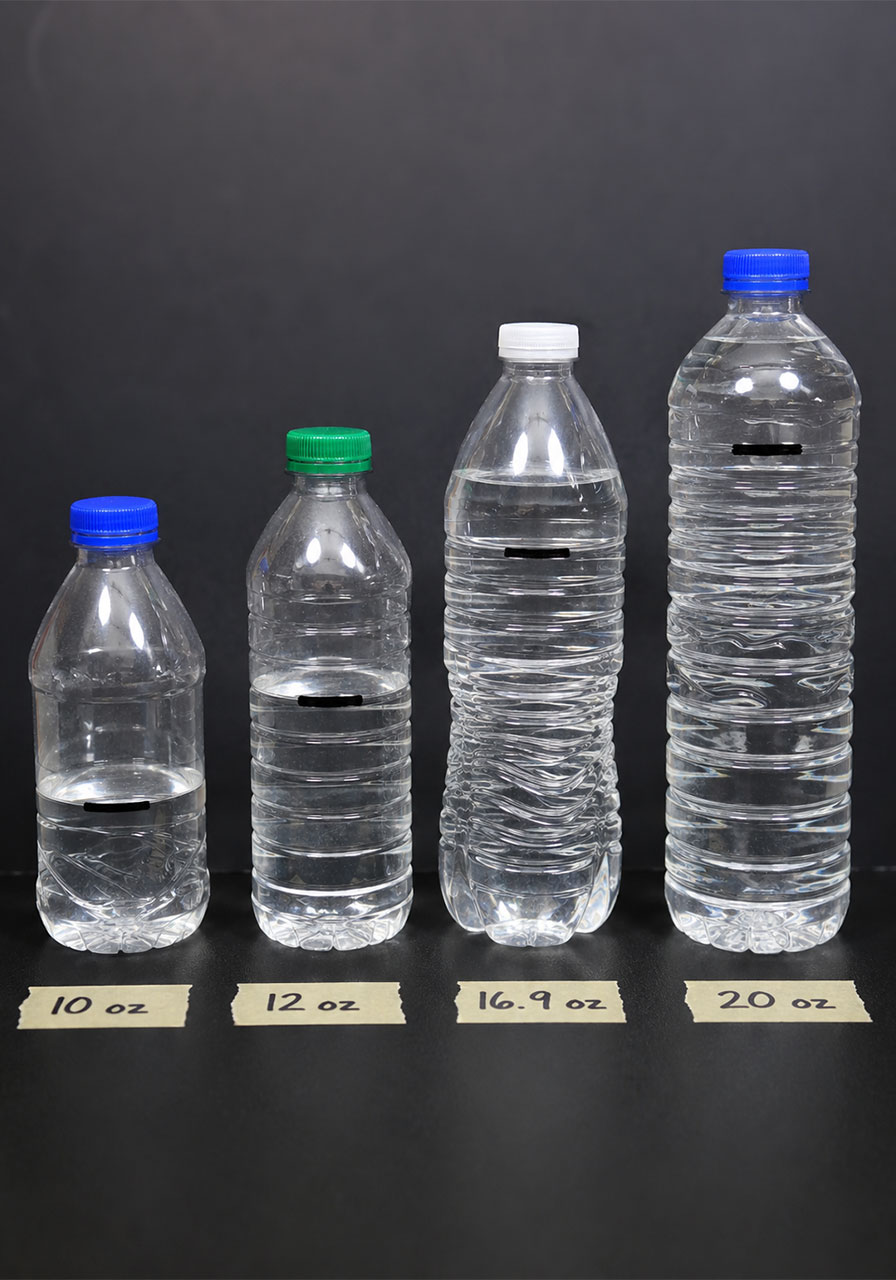
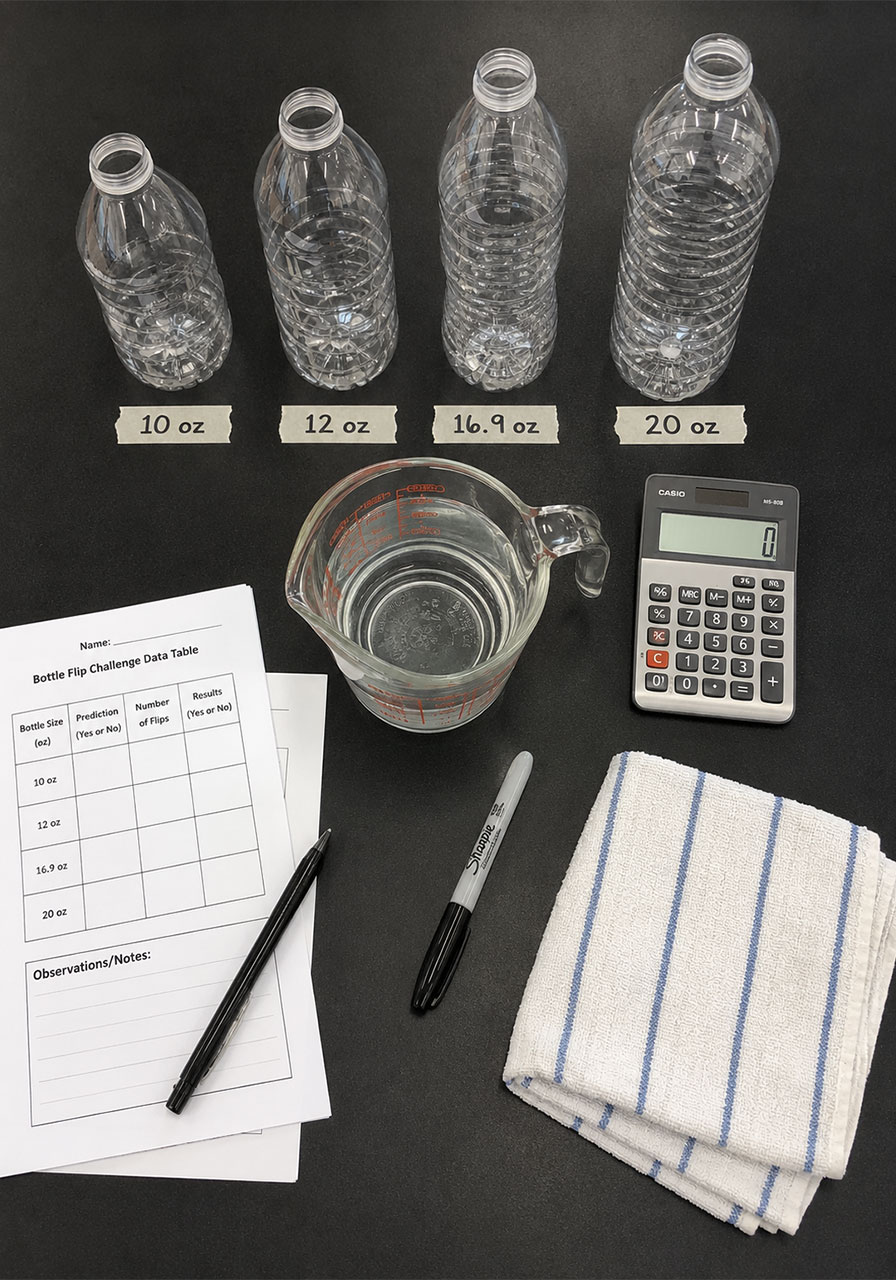
Empty plastic water bottles in four different sizes (10 oz, 12 oz, 16.9 oz, and 20 oz work well – aim for 8 bottles of each size)
Water
A large measuring cup or pitcher with a pouring spout (a squeezed paper cup works in a pinch)
Old towels (real fabric towels, not paper – you’ll thank yourself later)
A permanent marker for labeling bottles
Calculators
Printed data table sheets, one per team
Fillers for the design challenge: beans, sand, marbles, rice, candy corn, or beads all work well
Money-saving tip: You don’t need to buy anything for the bottles. Send a note home asking families to save empty bottles in the specific sizes you need. Parents are usually thrilled to have a reason to hand over recycling instead of tossing it.
Step 1: Prep Your Water Level Markings (10 Minutes)
Skip the ruler. Because bottles vary in height and shape, measuring by inches will throw off your data and confuse your students.
Instead, measure by ounces of water. It’s faster, and it keeps the experiment mathematically fair across every bottle size.
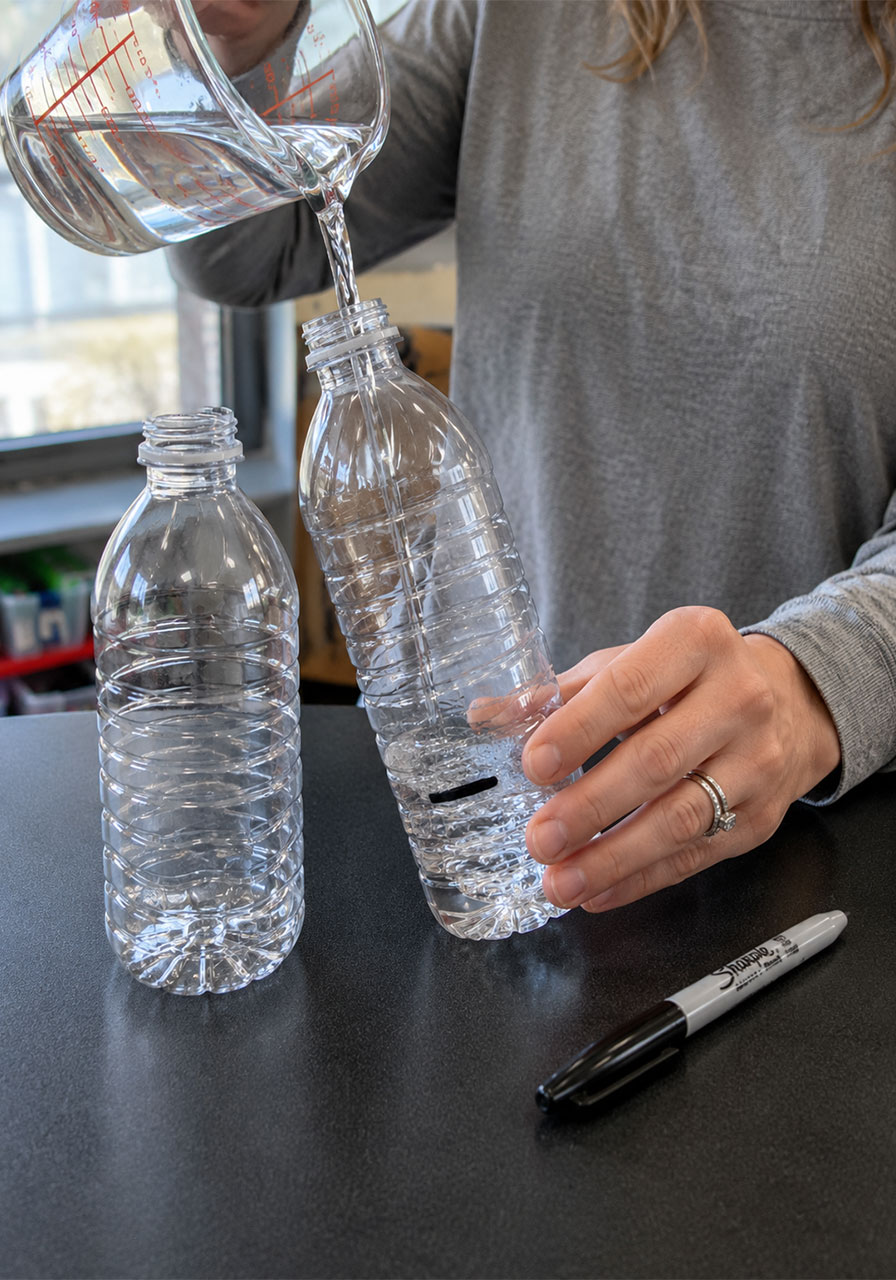
1. Take one bottle of each size and pour in water equal to one-quarter of its total volume. Mark the water line with your marker.
2. Add water until you reach the halfway point, and mark that line too.
3. Repeat until you’ve marked one-quarter, one-half, three-quarters, and completely full.
4. Lay your marked bottle beside an unmarked one of the same size, line up the bottoms, and copy the markings across. Repeat for every remaining bottle.
5. Label each bottle by size in permanent marker so students can sort them quickly.
This whole process takes about ten minutes, and your markings don’t need to be perfect. Close enough is genuinely close enough here.
Step 2: Set Up Your Teams
Here’s a lesson learned the hard way: don’t assign just one student per team as the “official flipper.” It sounds efficient on paper, but it backfires fast.
When only one student gets to flip, everyone else loses interest within minutes, and that one student ends up exhausted after 15 rounds per water level across four different bottles. That’s a lot of flipping for one kid.
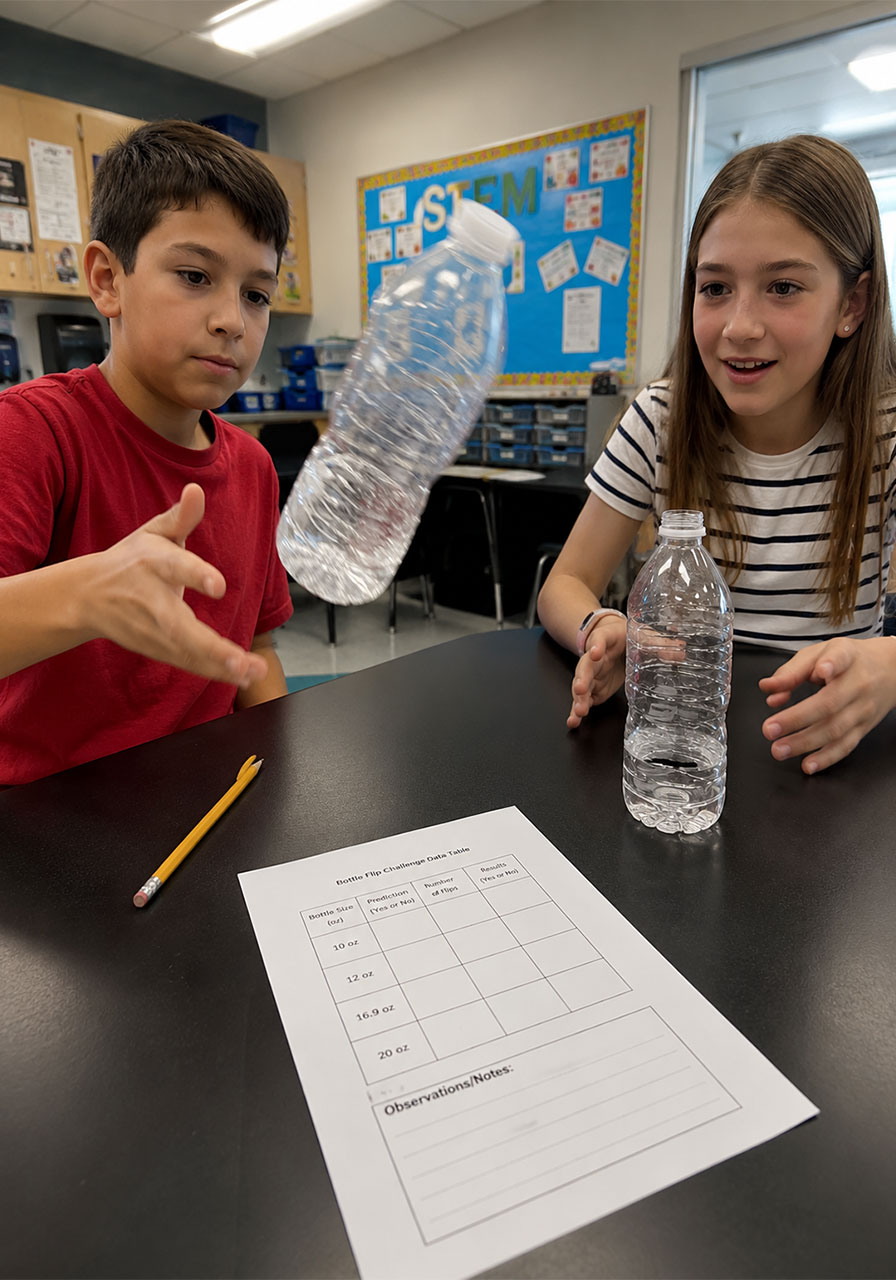
Instead, pair students up. Each partner flips their bottle five times and records how many times it lands upright.
Once both partners in a pair finish, combine two pairs into a team of four. That team then totals their results together and uses the larger, more reliable number for their analysis.
This keeps every single student actively involved instead of watching from the sidelines.
Step 3: Collect and Analyze the Data
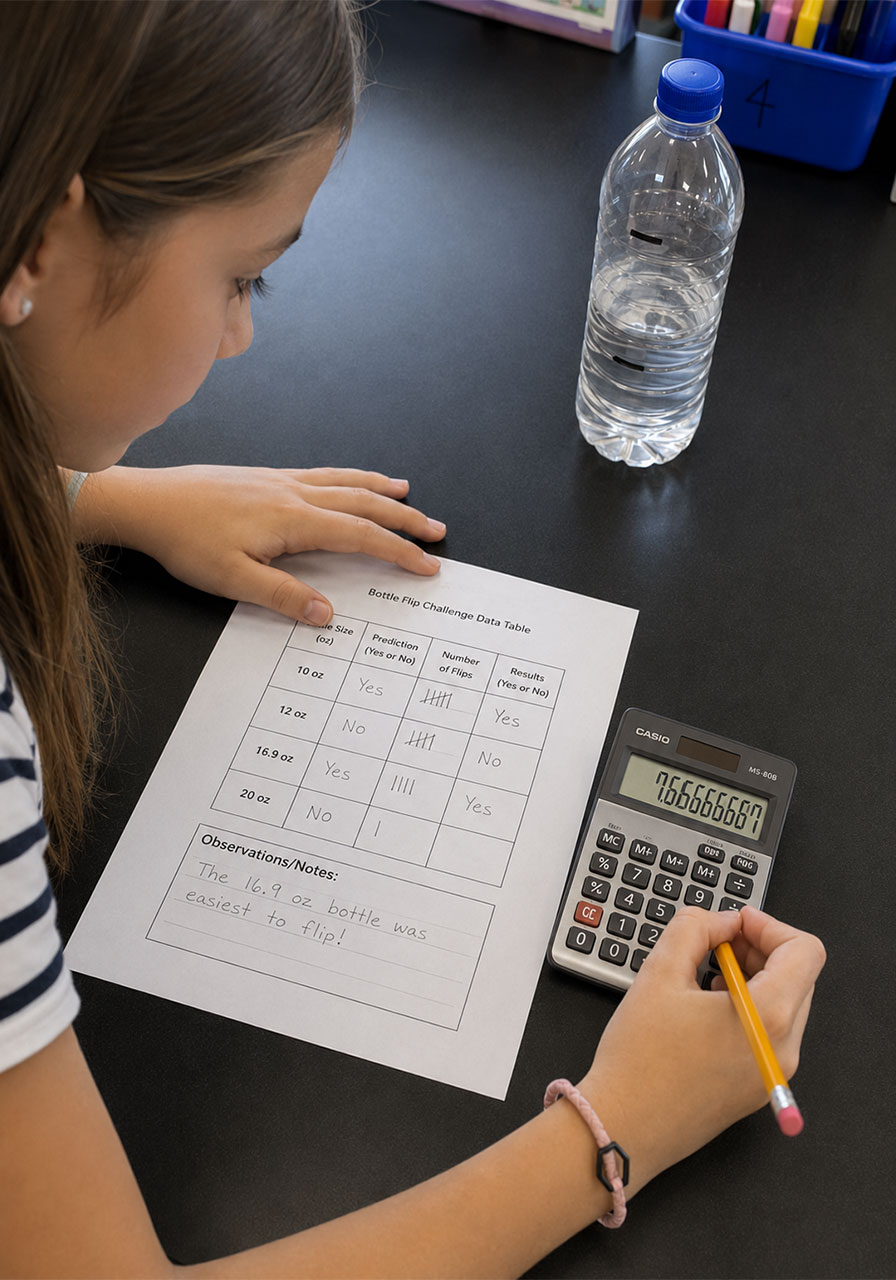
Give each team a data table with columns for the bottle size, water level, number of successful landings, and total number of flips.
Once the flipping rounds are done, have students turn their results into a fraction: successful landings out of total flips.
Then have them convert that fraction into a percentage. This single step is where the real math learning happens, and it gives every team a clear, comparable number.
Once every bottle size and water level has a percentage attached to it, students can quickly spot patterns. Which bottle size landed most often? Which water level was the sweet spot?
Most classes discover the same thing the original bottle-flip trend proved: somewhere around one-quarter to one-third full tends to win, while empty and completely full bottles are nearly impossible to land.
A Quick Word About Spills (Because They Will Happen)
Let’s be honest about something upfront: this activity involves water, elementary-aged kids, and small bottle openings. Spills are not a possibility. They’re a guarantee.
The good news is that it’s just water, so a few soggy sleeves are nothing to stress over. Lean into it and laugh along with your students when it happens.
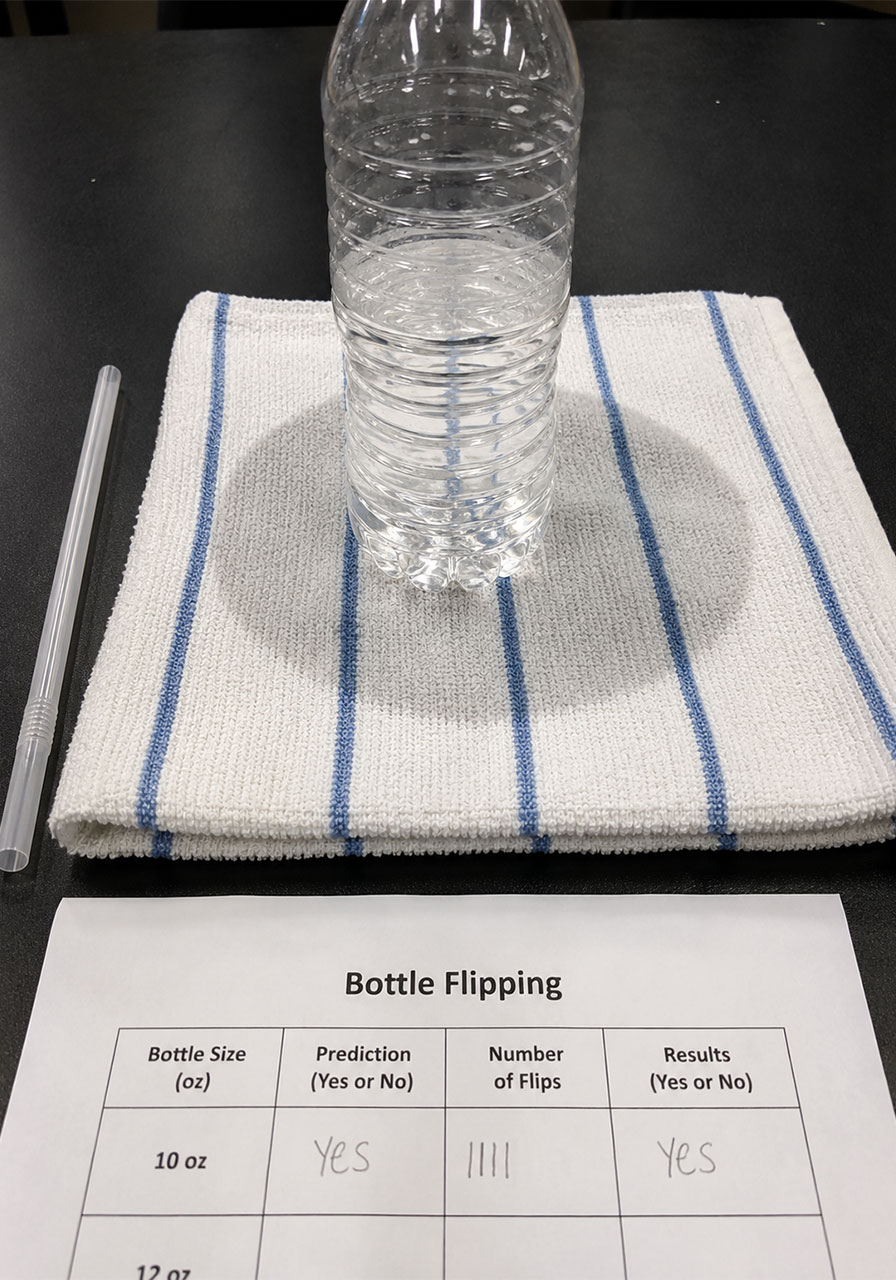
Real fabric towels handle the cleanup far better than paper towels, which tend to shred and fall apart under repeated wiping. Keep a stack at every table.
Also worth mentioning to your students ahead of time: always double-check that bottle caps are screwed on tight before flipping. A loose cap turns a simple toss into a surprise shower for whoever’s sitting closest.
Step 4: The Design-Your-Own Challenge
This is the part where the engagement level shoots through the roof.
Once students have collected their water data, challenge them to design their own version of the experiment using something other than water.
Give teams a short list of options to brainstorm from:
- Fill the bottle as full as possible
- Test water levels beyond the ones you already tried
- Fill the bottle with something other than water entirely
Spoiler: nearly every team will vote for option three. Wacky fillers win every single time.
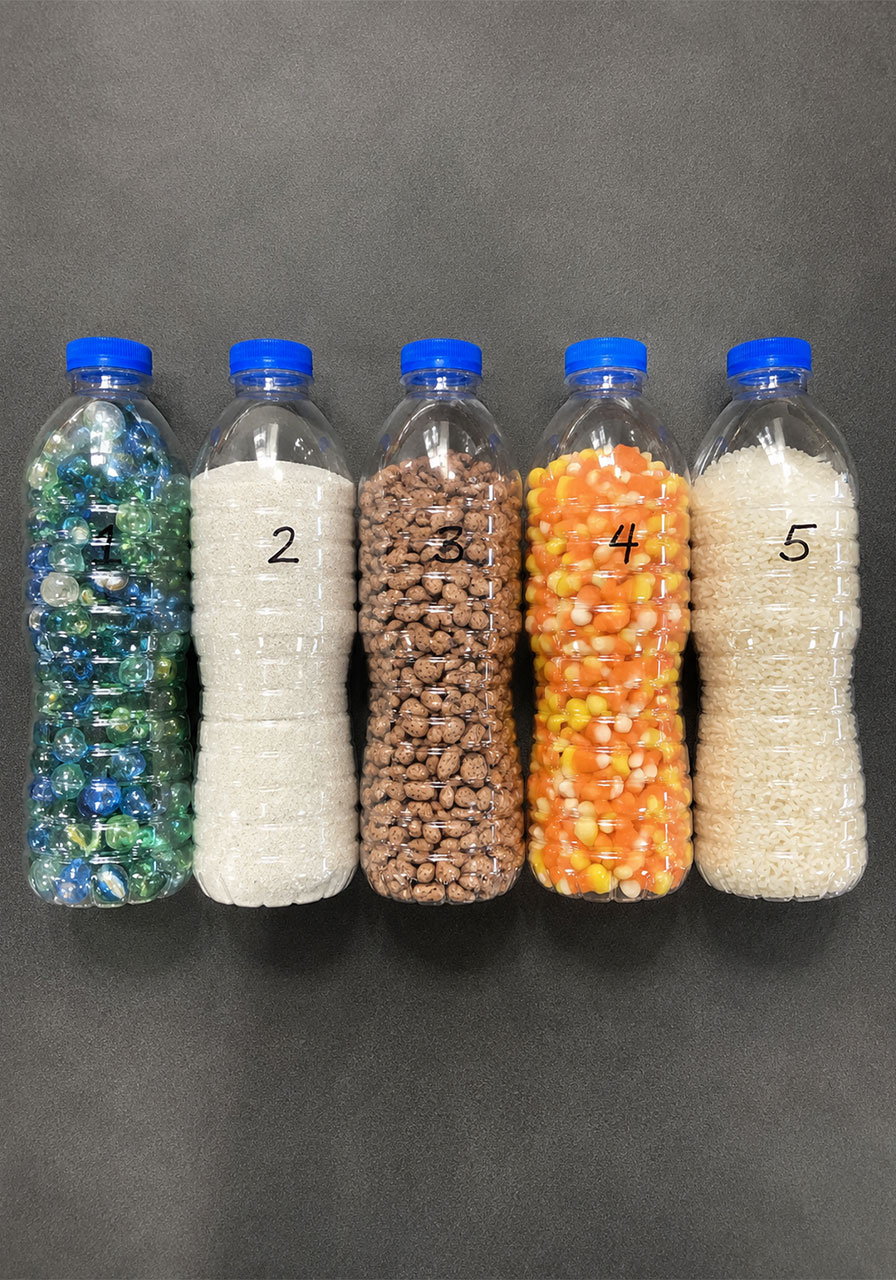
Great options to offer include dried beans, sand, marbles, rice, beads, and candy corn. Each material has a different weight and texture, which changes how it moves inside the bottle and how the bottle lands.
Set a few ground rules to keep the challenge focused:
1. Each team may choose only two filler materials to test.
2. Their data table must include space for both a fraction and a percentage.
3. The team must invent and write down their own flipping rules.
4. Their data table must include a space to record their conclusion.
What students typically discover: weight matters more than material. Sand and dried beans tend to perform well because they shift and settle predictably. Rice and candy corn are notoriously difficult to land, since they’re light and don’t settle as cleanly. Marbles have enough weight but tend to clunk against the table and simply skid instead of landing.
Pro Tip
Keep an eye on any filler that got splashed with water during the first round of the experiment. Candy corn in particular has a tendency to clump into one solid, sticky mass once it’s damp, which throws off the weight distribution completely and ruins that trial.
If a bottle still has water droplets inside from an earlier round, dry it out completely before adding a dry filler like candy or rice.
Fun Variation
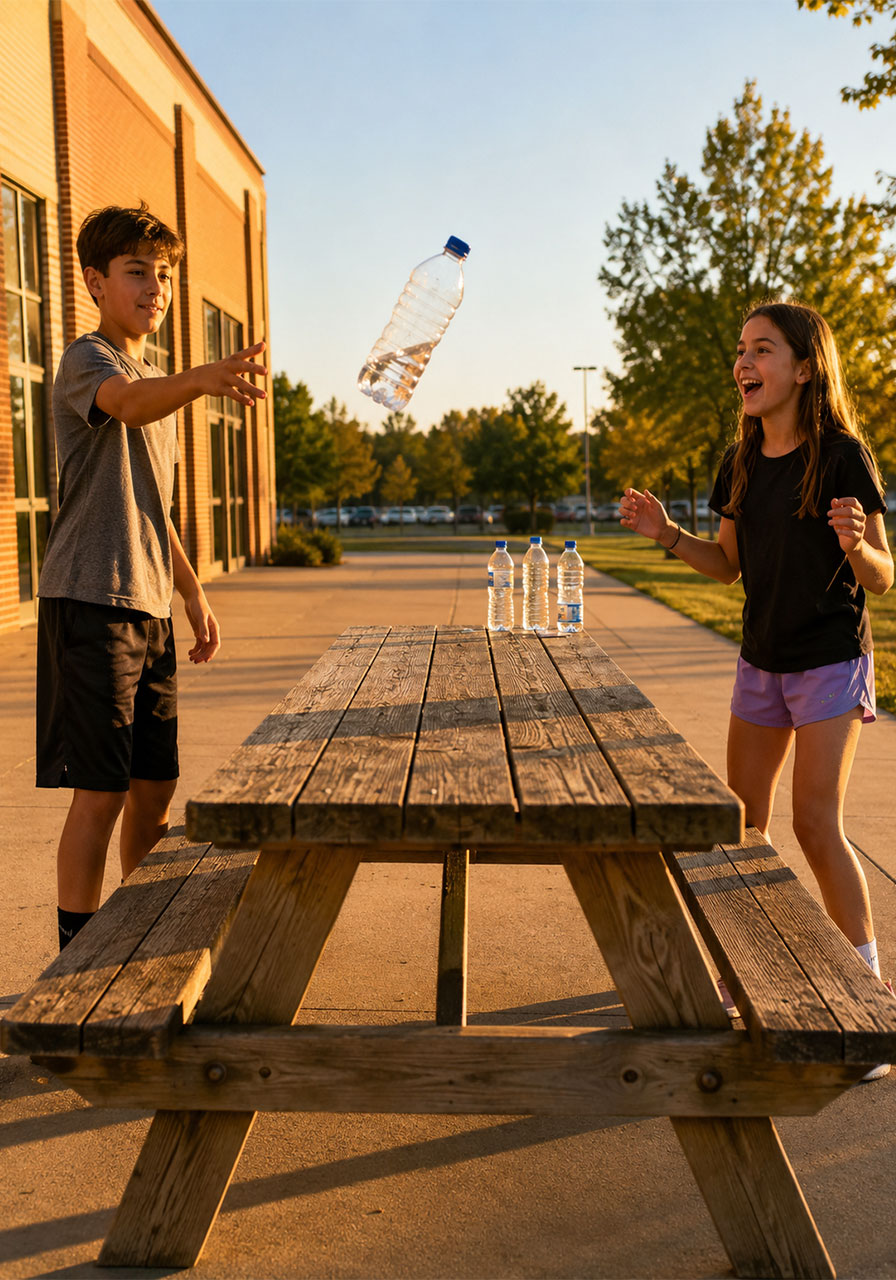
Take this challenge outside on a warm day. Bottle flipping on a sidewalk or picnic table sounds completely different from flipping on a classroom desk, and the change of scenery keeps the energy high for a second round later in the year.
Why This Activity Is Worth the Prep
Total prep time for this entire challenge comes in at well under thirty minutes, and most of the materials are things families will happily donate.
In exchange, you get two full class periods of genuine, hands-on engagement with real physics concepts, real data collection, and real math application, all wrapped inside an activity your students already think is cool.
That’s the kind of trade every busy teacher can get behind.
Add this one to your STEM rotation, and don’t be surprised when your students start requesting a rematch.
