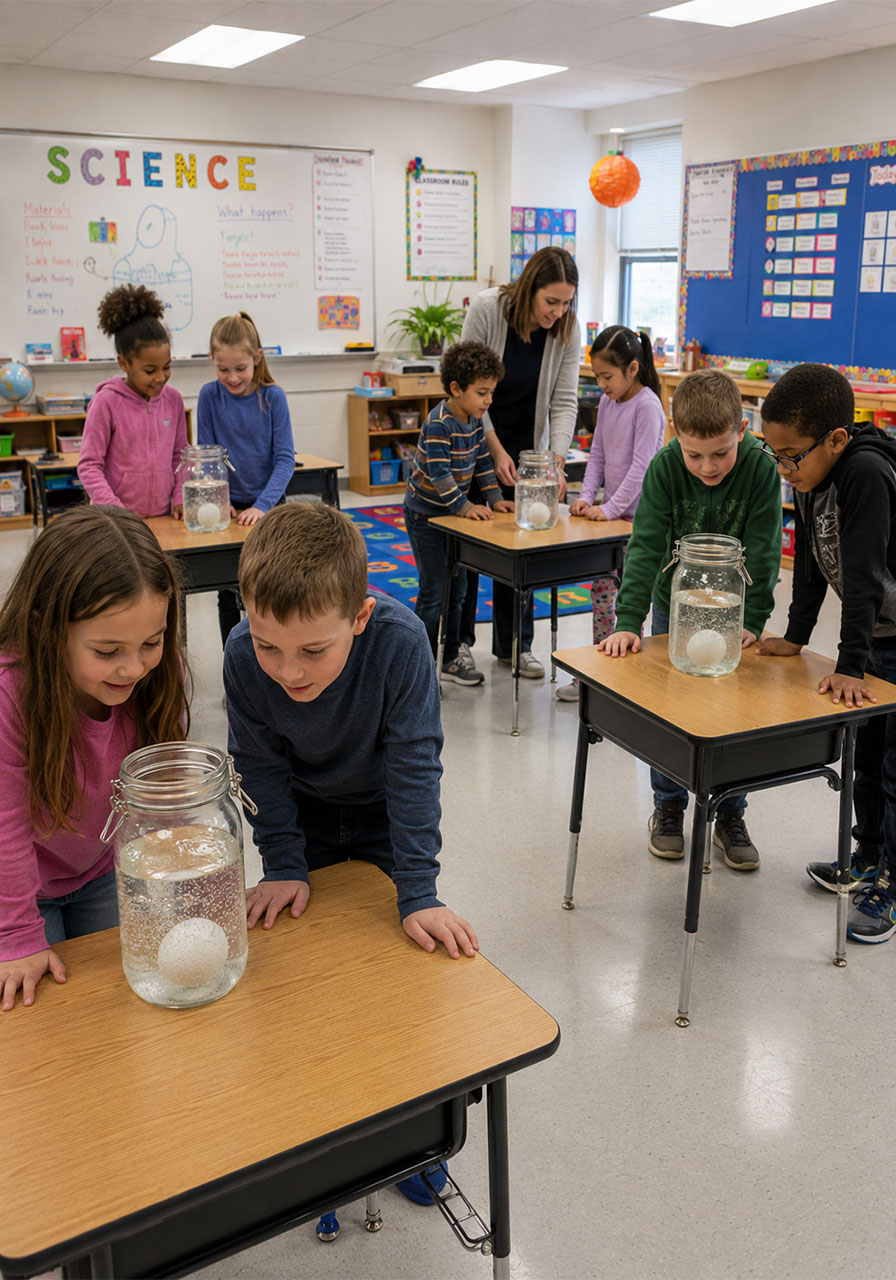
It starts out looking like nothing more than an ordinary egg from your fridge.
But drop that egg into one simple mixture, and things get weird fast.
The shell starts fizzing. Tiny bubbles cling to every inch of the surface. Over the next few days, the hard shell slowly dissolves away, leaving behind something soft, squishy, and almost see-through.
Then comes the best part.
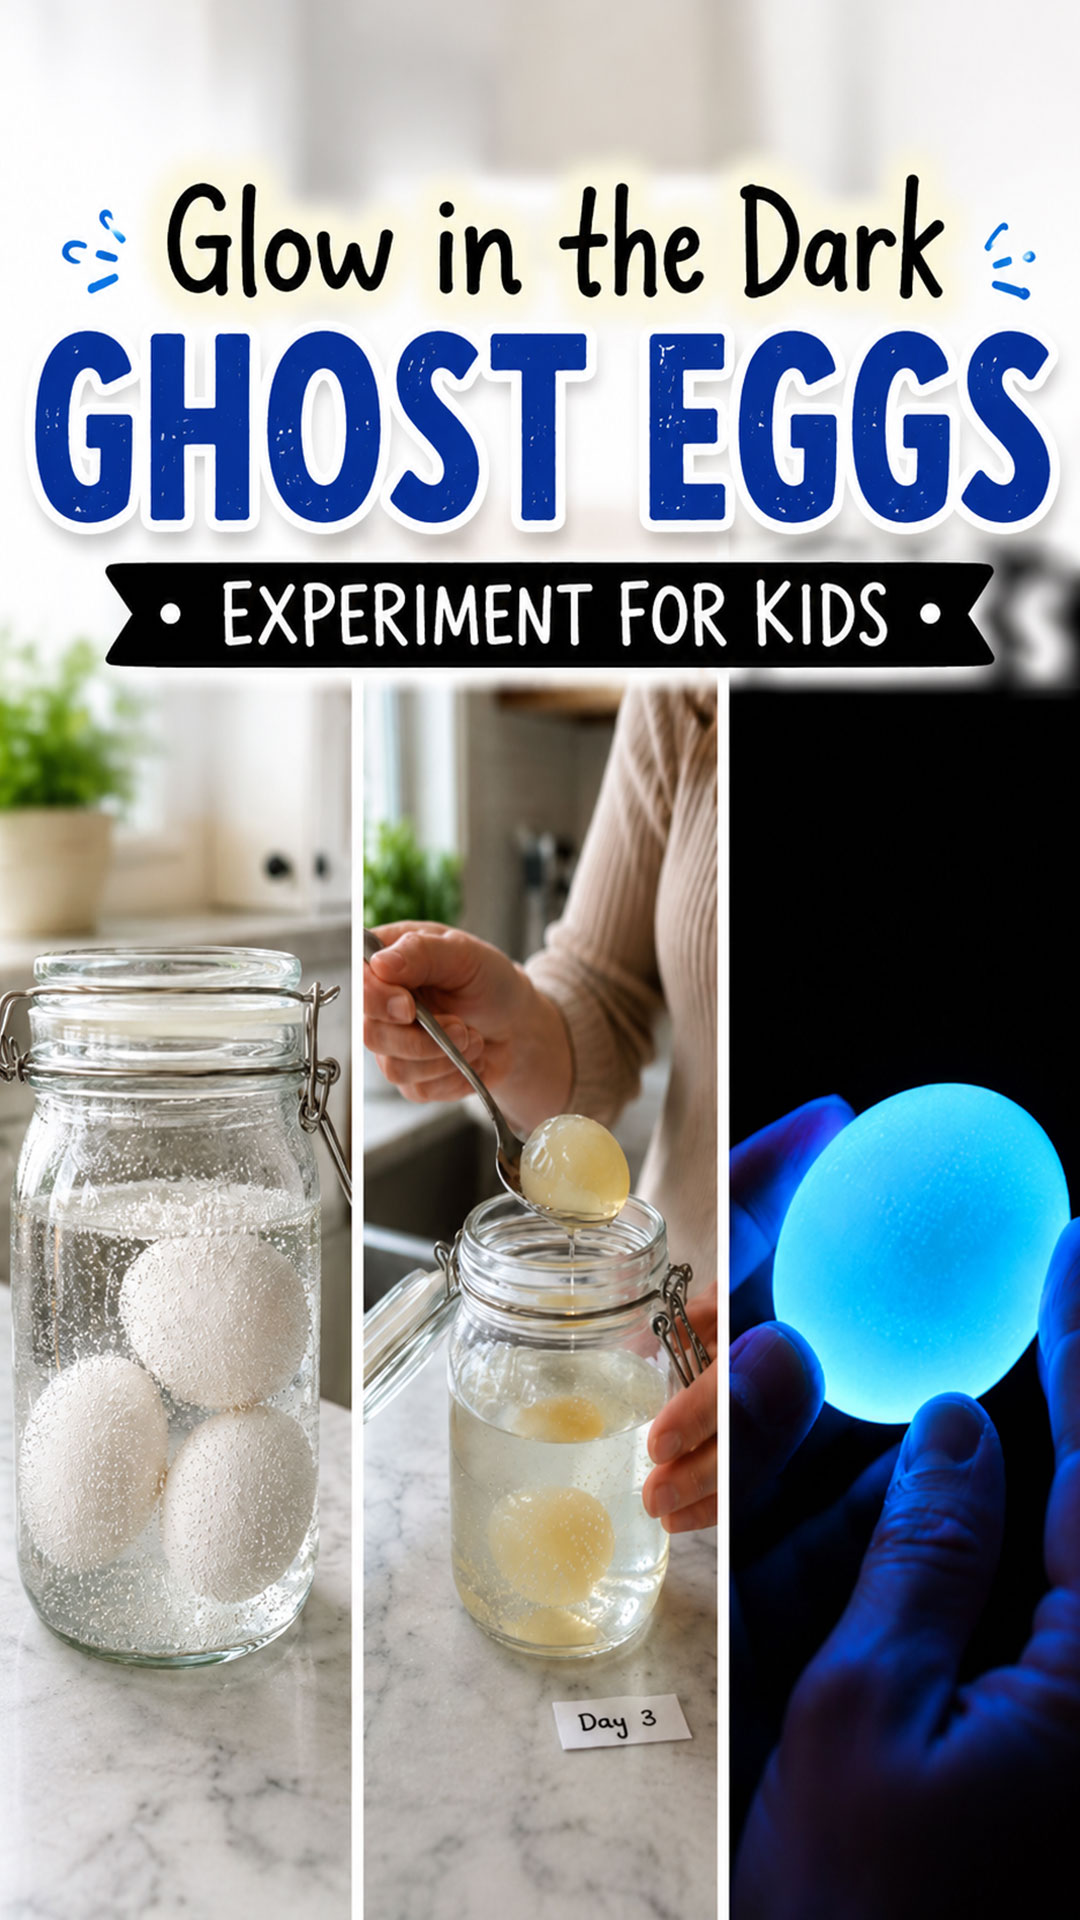
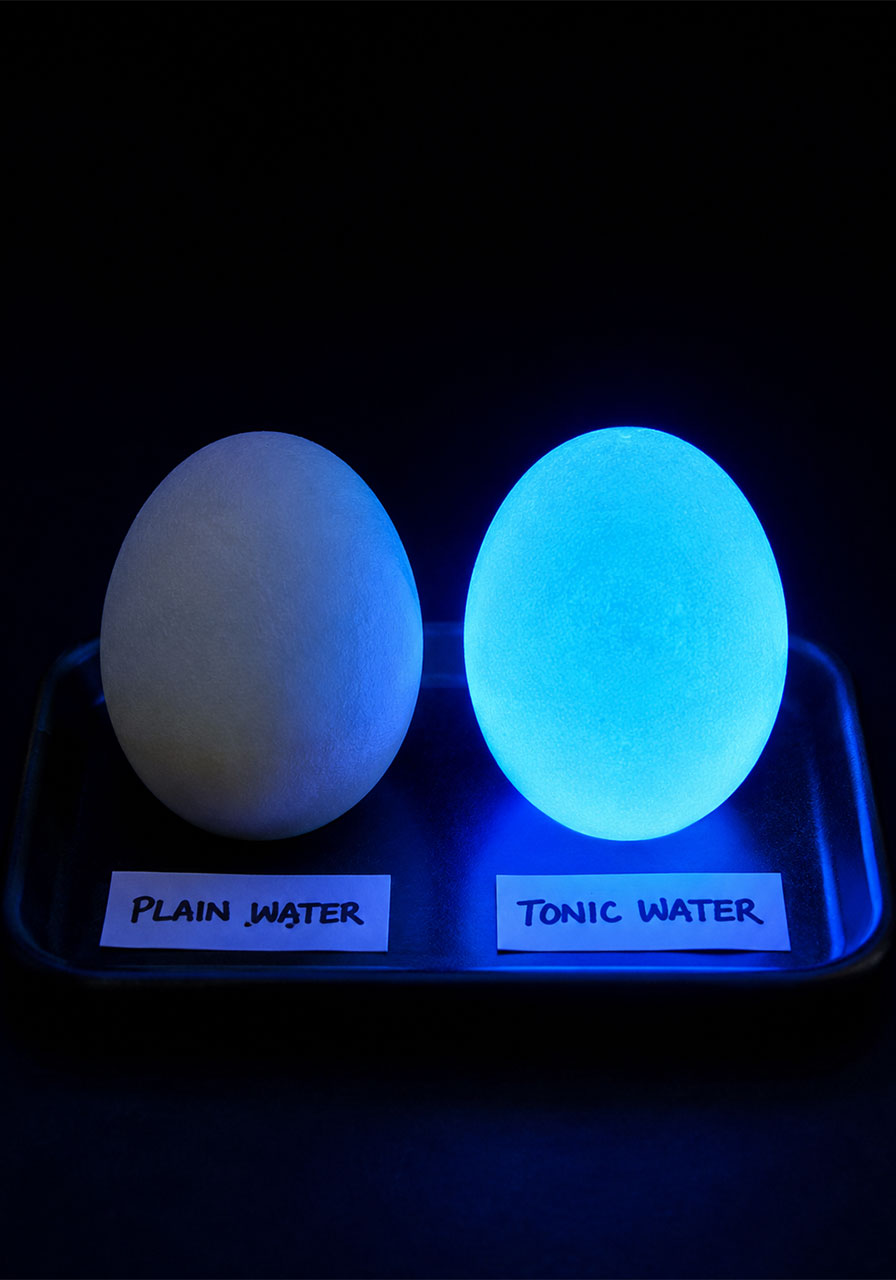
Turn off the lights, flip on a blacklight, and that “ghost egg” starts to glow.
This glow in the dark ghost eggs experiment is one of those rare STEM activities that actually earns the word “magical.” Kids don’t just do it once and move on. They check on it every single day, watching the shell disappear a little more each time. It’s part chemistry lesson, part science experiment, and part Halloween party trick all rolled into one.
Whether you’re a teacher looking for a hands-on STEM activity that will actually hold a classroom’s attention, or a parent hunting for a screen-free project that feels like real science, this one delivers every time.
Best for: Classrooms, homeschool science units, Halloween activities, rainy day boredom-busters
Age Range: 5 and up (with adult supervision for handling and blacklight use)
Prep Time: 5 minutes
Reaction Time: 2–3 days
Mess Level: Low (as long as the jar stays sealed)
Why This Experiment Works So Well for Kids
Most science experiments happen in seconds. Mix two things, watch a reaction, done.
This one is different. It unfolds slowly, over the course of several days, which is exactly what makes it so powerful for young learners.
Kids have to wait. They have to observe. They have to notice small changes day by day. That kind of patience and observation is a real scientific skill, and this experiment teaches it without kids even realizing they’re learning anything.
By the time the shell is fully gone, they’ve been invested in this “experiment” for days. That anticipation is what makes the final glowing reveal hit so much harder.
If your group loves fizzy science reactions like this one, they’ll also love these baking soda and vinegar experiments, which offer a similar bubbly payoff with a completely different twist.

Supplies You’ll Need
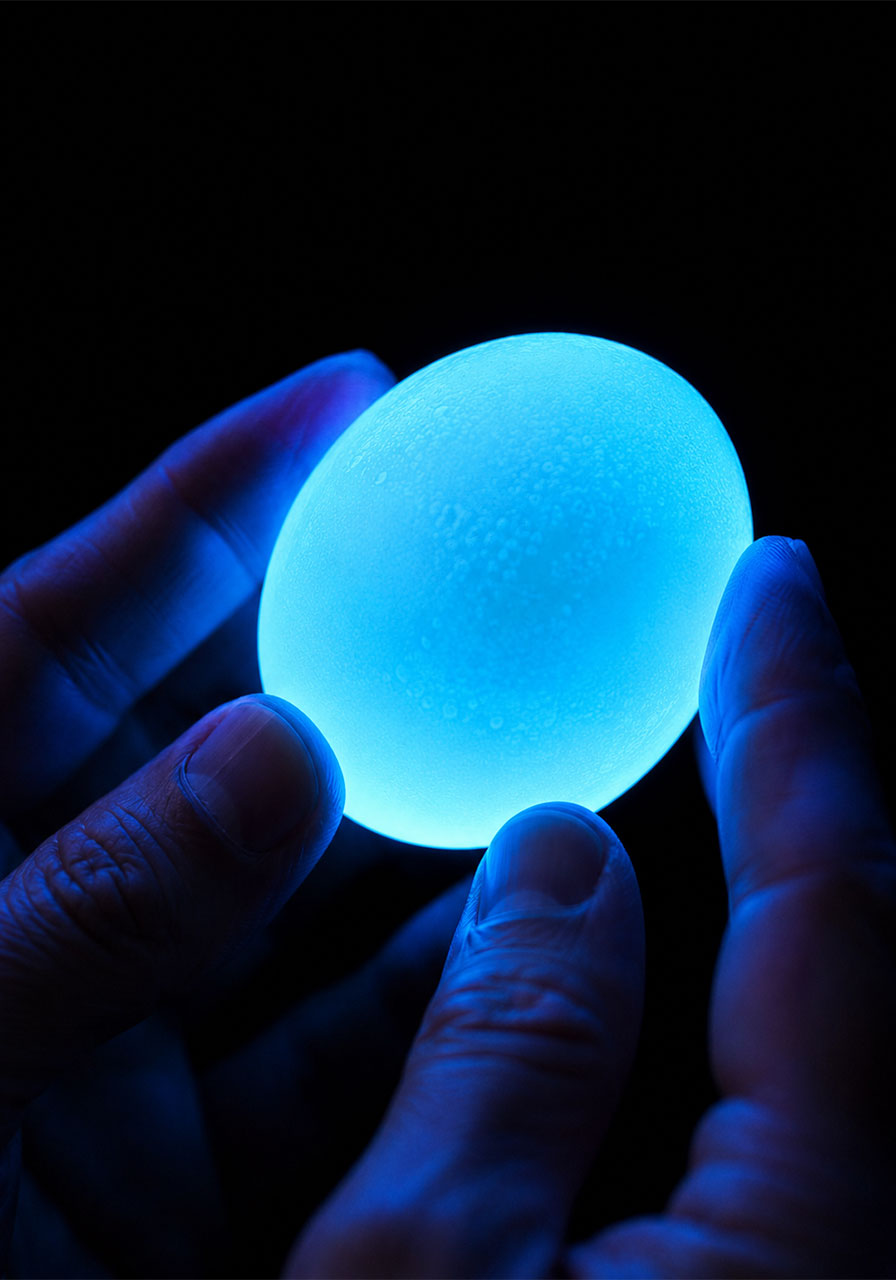
The best part about this experiment is how few supplies it actually takes. You likely have most of this on hand already.
Raw eggs (as many as you want to transform)
White vinegar
Tonic water (must contain quinine – check the label)
A clear jar or container with a lid
A blacklight (a small UV flashlight works great)
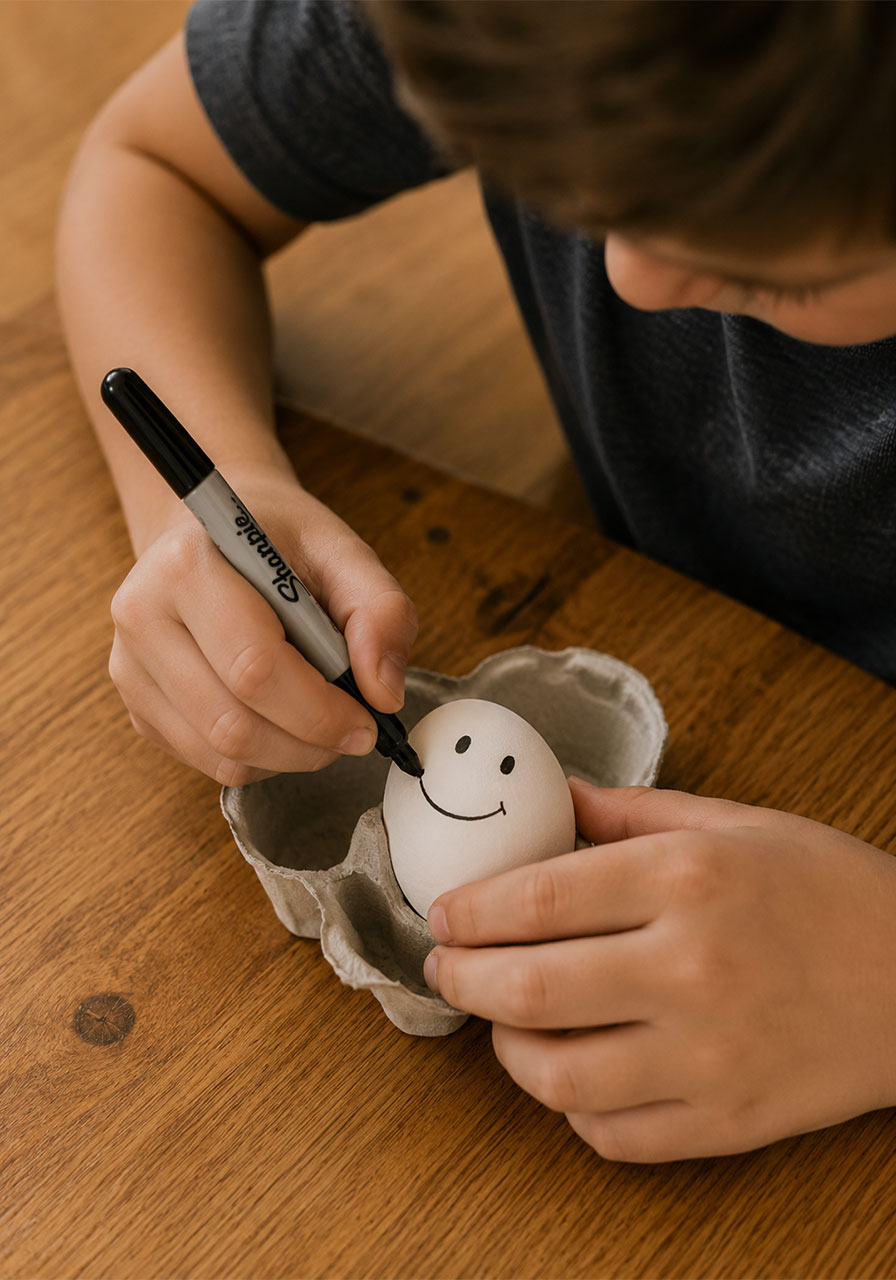
A sharpie, optional, for drawing faces or designs on the eggs before soaking
A quick note on tonic water: Not all tonic waters are created equal here. The glow effect comes from quinine, an ingredient found in classic tonic water. Diet or flavored versions sometimes leave it out, so double check the label before you buy.
How to Make Glow in the Dark Ghost Eggs
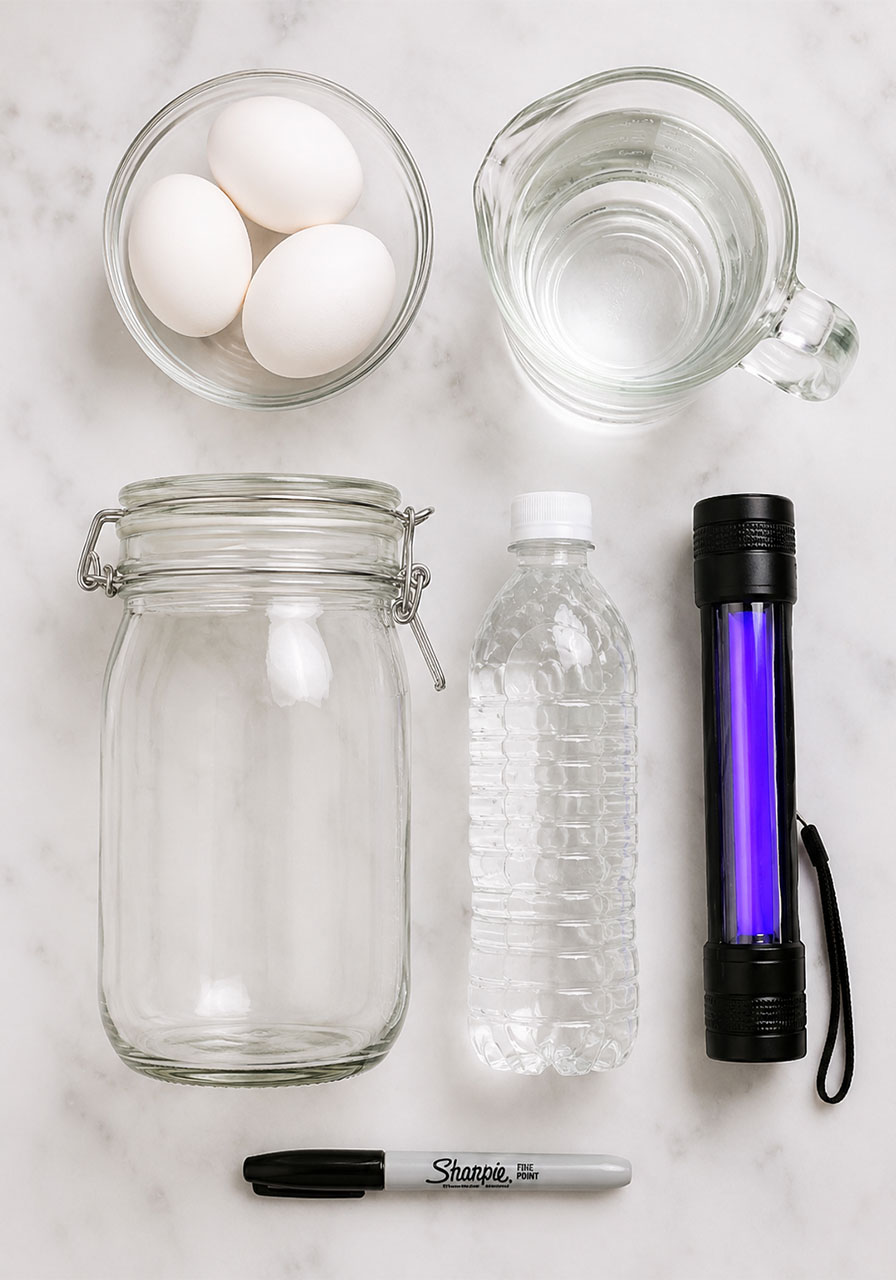
This experiment breaks down into five simple steps. None of them require anything complicated, which makes this a perfect activity to hand off to kids with just a little bit of supervision.
Step 1: Prepare the Mixture
Fill a clear jar about three-quarters full using equal parts vinegar and tonic water. Using a clear jar matters here, since part of the fun is watching the reaction happen in real time.
Step 2: Add the Eggs
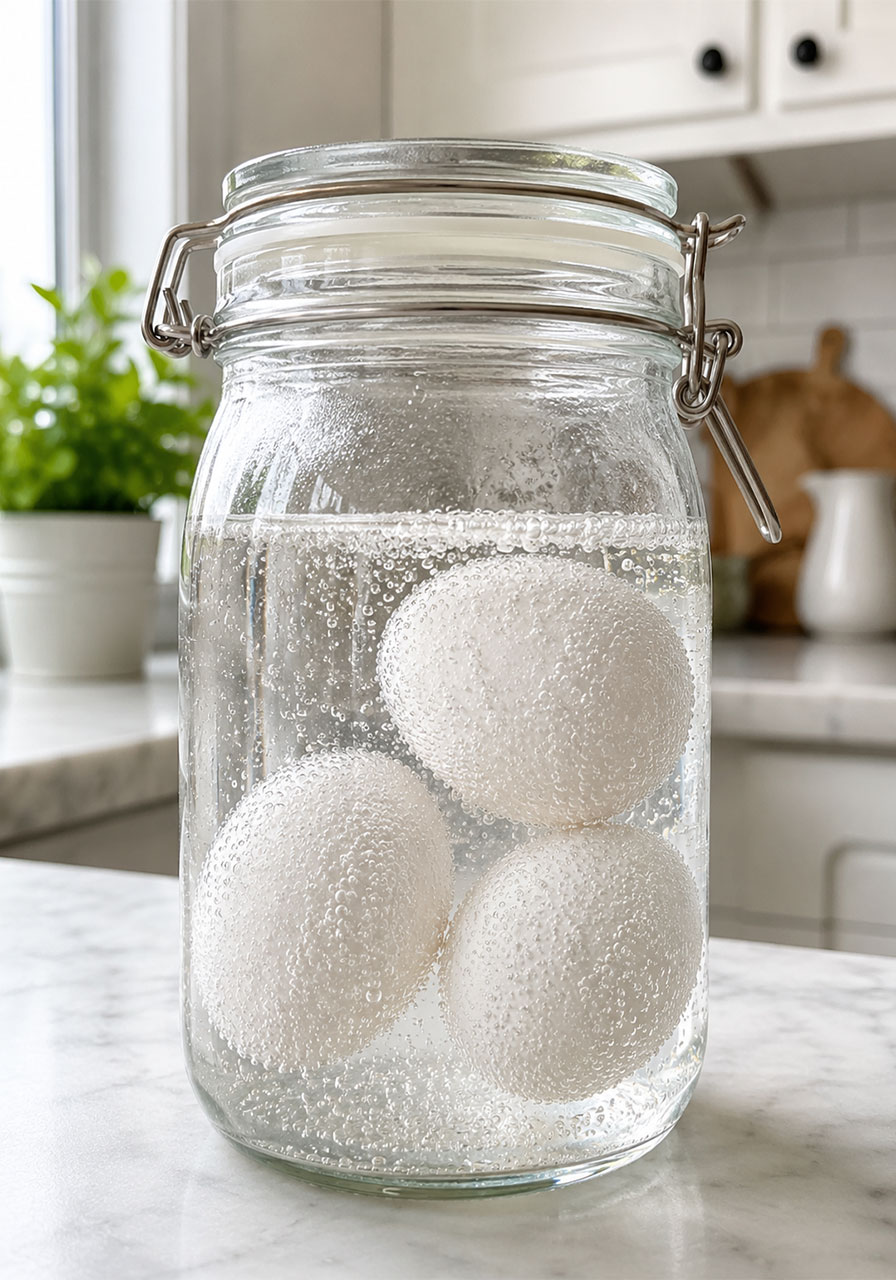
Carefully lower the raw eggs into the jar. Make sure every egg is fully submerged in the liquid. If an egg is peeking out above the surface, it won’t dissolve evenly.
Step 3: Watch the Reaction Begin
Almost immediately, tiny bubbles will start clinging to the shell. This is the vinegar going to work on the eggshell, and it’s a great moment to pause and ask kids what they think is happening.
Step 4: Let It Sit and Observe
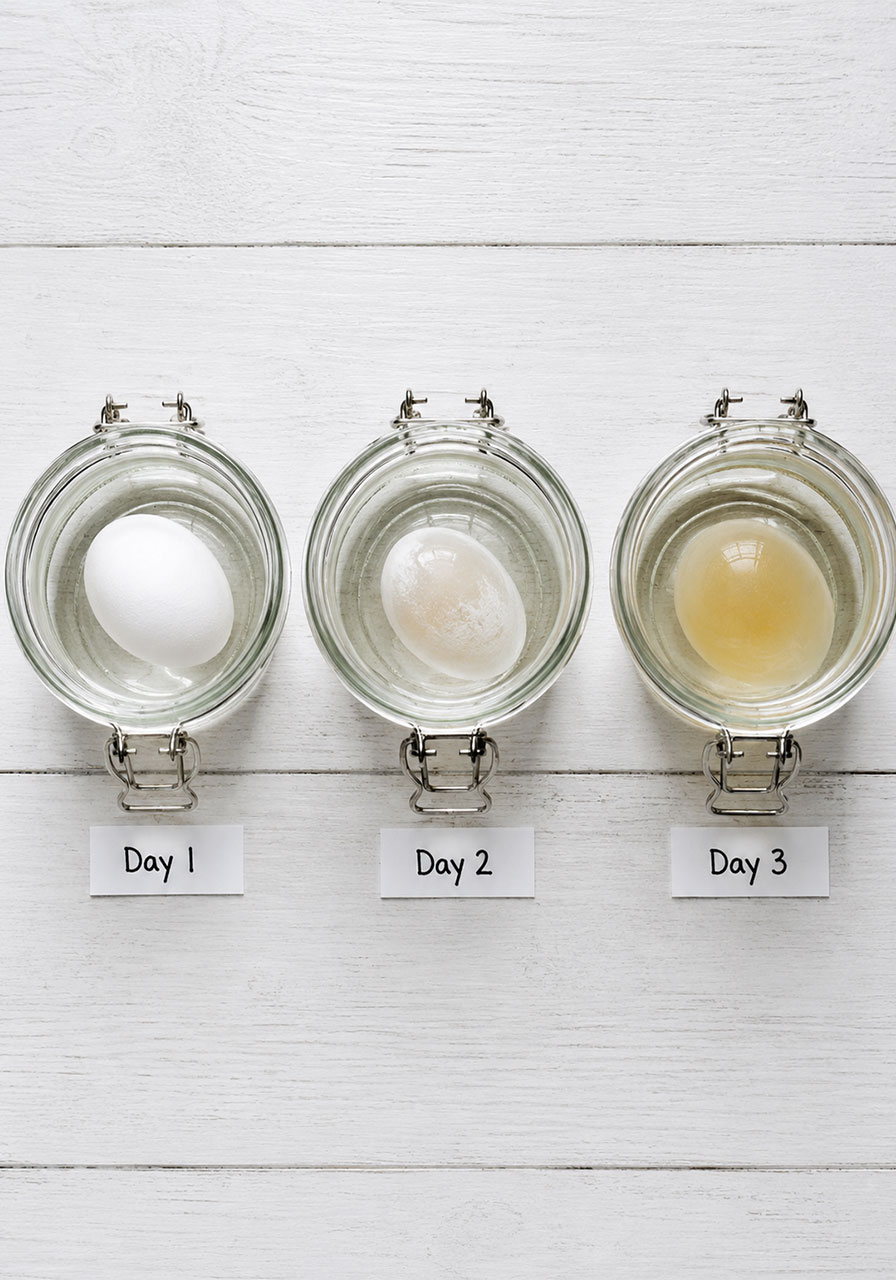
Place the jar somewhere it can sit undisturbed for 2 to 3 days. This is the anticipation-building phase, and it’s where the real learning happens.
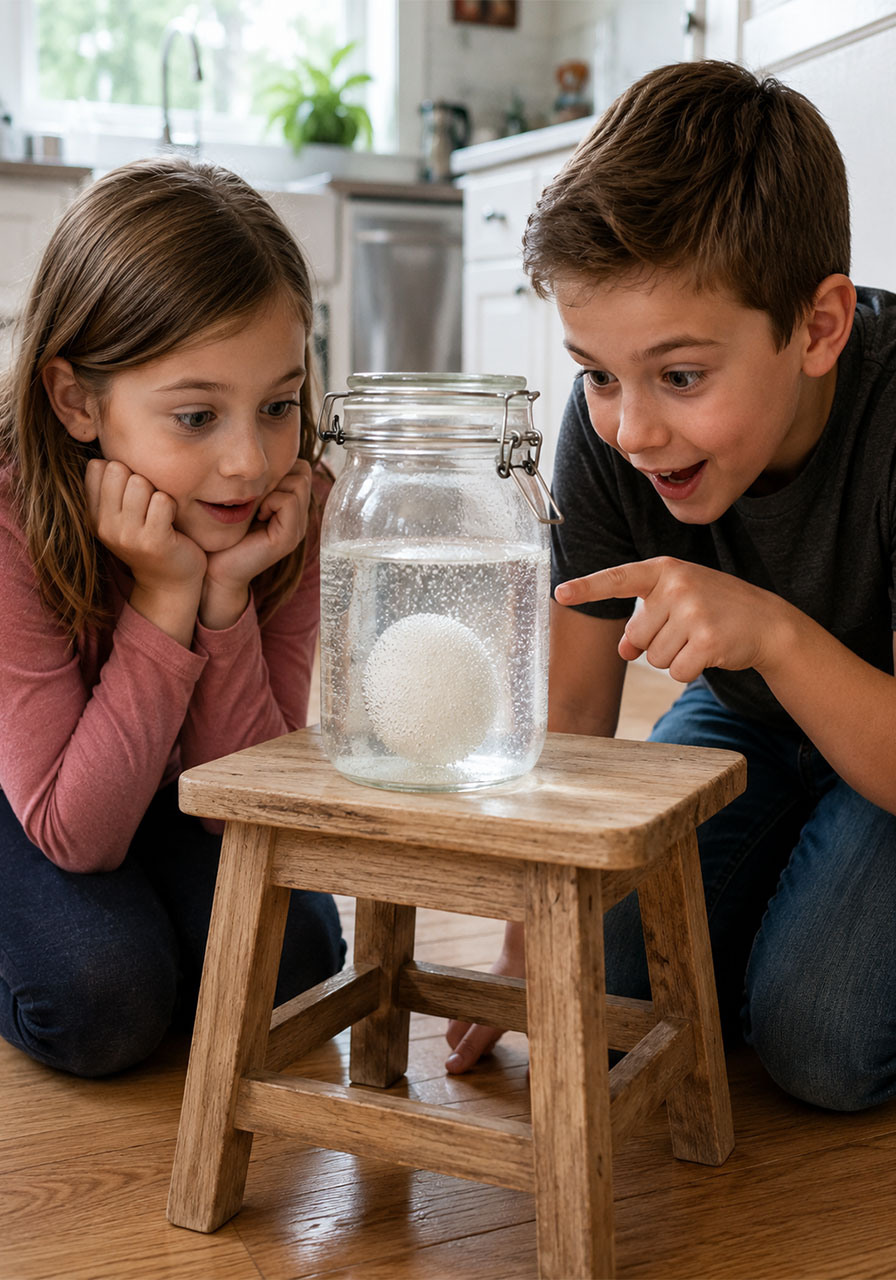
Encourage kids to check on the jar once or twice a day. Have them describe what’s different. Is the shell thinner? Are there fewer bubbles? Does the egg look different than it did yesterday?
This daily check-in turns a simple experiment into an ongoing science journal activity, which is a great bonus for teachers looking to extend the lesson.
Step 5: Reveal the Ghost Eggs
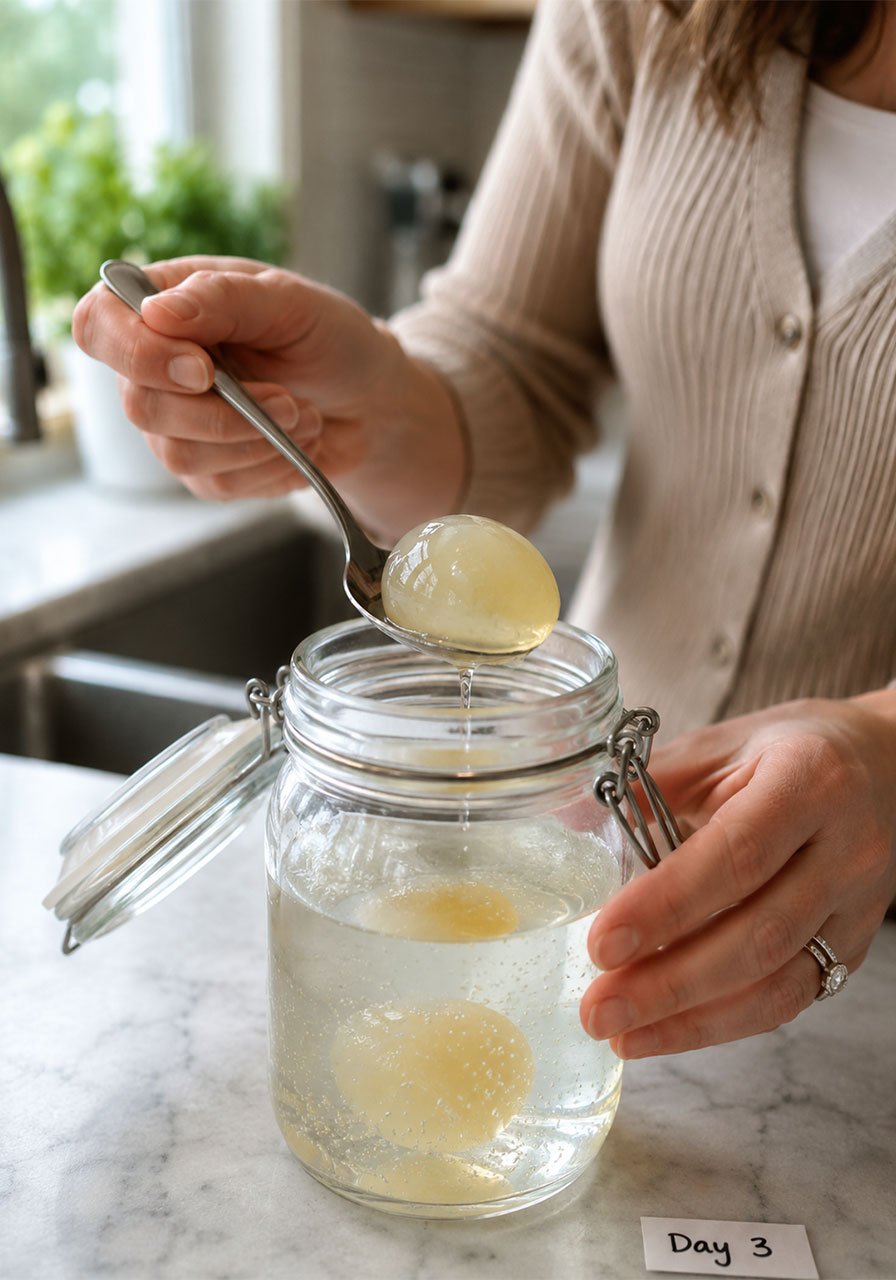
Once the shell has fully dissolved, carefully remove the egg from the jar using a spoon. Handle it gently. Without its hard shell, the egg is held together only by a thin membrane, and it will feel soft and squishy.
Now for the reveal: turn off the lights and shine a blacklight on the egg. That’s when the glow kicks in, and it’s genuinely a “whoa” moment every single time.
What’s Actually Happening? The Science Behind Ghost Eggs
Kids love the glow, but teachers and parents will love this part just as much, because there’s real chemistry happening here that’s worth explaining out loud.
Why does the eggshell disappear?
An eggshell is made mostly of calcium carbonate. Vinegar is a mild acid, and when acid meets calcium carbonate, a chemical reaction takes place. The shell slowly breaks down, and those bubbles you see are carbon dioxide gas escaping as a byproduct of the reaction.
Once the shell is fully dissolved, what’s left is the egg’s inner membrane, which is flexible enough to hold the egg’s shape without the hard shell around it.
Why does the egg glow under a blacklight?
This is the twist that makes the experiment so memorable. Tonic water contains an ingredient called quinine, and quinine happens to glow bright blue under UV light.
As the egg sits in the vinegar and tonic water mixture, that quinine seeps into the egg through the membrane. So when you shine a blacklight on it later, the egg glows because it has literally absorbed a glowing compound.
This is a fantastic real-world example of fluorescence, and it’s a great jumping-off point for older kids to talk about how certain chemicals react to different types of light.
Tips for the Best Results
A few small details make a big difference with this experiment.
Use a fresh mixture for the best glow. Old tonic water that’s gone flat may not produce as strong of a glow effect.
Handle finished eggs gently. Without their shells, these eggs are fragile. A little squeeze can burst the membrane, so treat the final result like a water balloon, not a hard-boiled egg.
Keep the jar sealed while it sits. This keeps the mixture from evaporating too quickly and helps the reaction stay consistent over the full 2 to 3 days.
Do this activity somewhere spill-friendly. Vinegar has a strong smell, and the eggs can be messy if they burst, so a kitchen counter or an outdoor table works better than the living room carpet.
Ways to Extend the Activity
Once the basic experiment is done, there are plenty of ways to stretch it into a longer lesson or a more advanced project.
Draw faces or designs on the eggs with a sharpie before soaking them, since the drawing will stay visible even after the shell dissolves.
Test different liquids side by side. Try plain water or club soda next to the tonic water mixture and compare the results.
Keep one egg untouched as a control, then compare the size, texture, and bounce of the treated egg versus the regular one.
Have kids record daily observations in a simple science journal, tracking bubble activity and shell thickness over the 2 to 3 day period.
Turn it into a mini presentation, where kids explain to the class or family why the shell disappeared and why the egg glows.
A Few Safety Notes
This is a low-risk experiment, but a few reminders go a long way, especially in a classroom setting with multiple kids handling the materials.
Raw eggs can carry bacteria, so have kids wash their hands after handling the eggs, both before and after the experiment. The finished “ghost egg” should not be eaten. This is a science project, not a snack.
Vinegar is safe to handle but can sting if it gets in eyes, so keep it away from younger kids during the pouring step.
Blacklights are generally safe for short viewing periods, but avoid staring directly into the bulb, and supervise younger children while it’s in use.
Why This Experiment Is a STEM Activity Favorite
Teachers and parents are always on the hunt for STEM activities that check a lot of boxes at once. This one manages to combine chemistry, patience, observation skills, and a genuinely exciting payoff, all using ingredients that are already sitting in most kitchens.
It’s the kind of activity that turns “science class” into something kids actually look forward to. And because it plays out over several days, it naturally becomes part of the daily routine, rather than a one-and-done demo.
With a jar, a few eggs, and a little patience, you’ve got a science lesson that feels more like a magic trick, and that’s exactly the kind of activity that makes learning stick.