
Your students are going to swear you performed a magic trick.
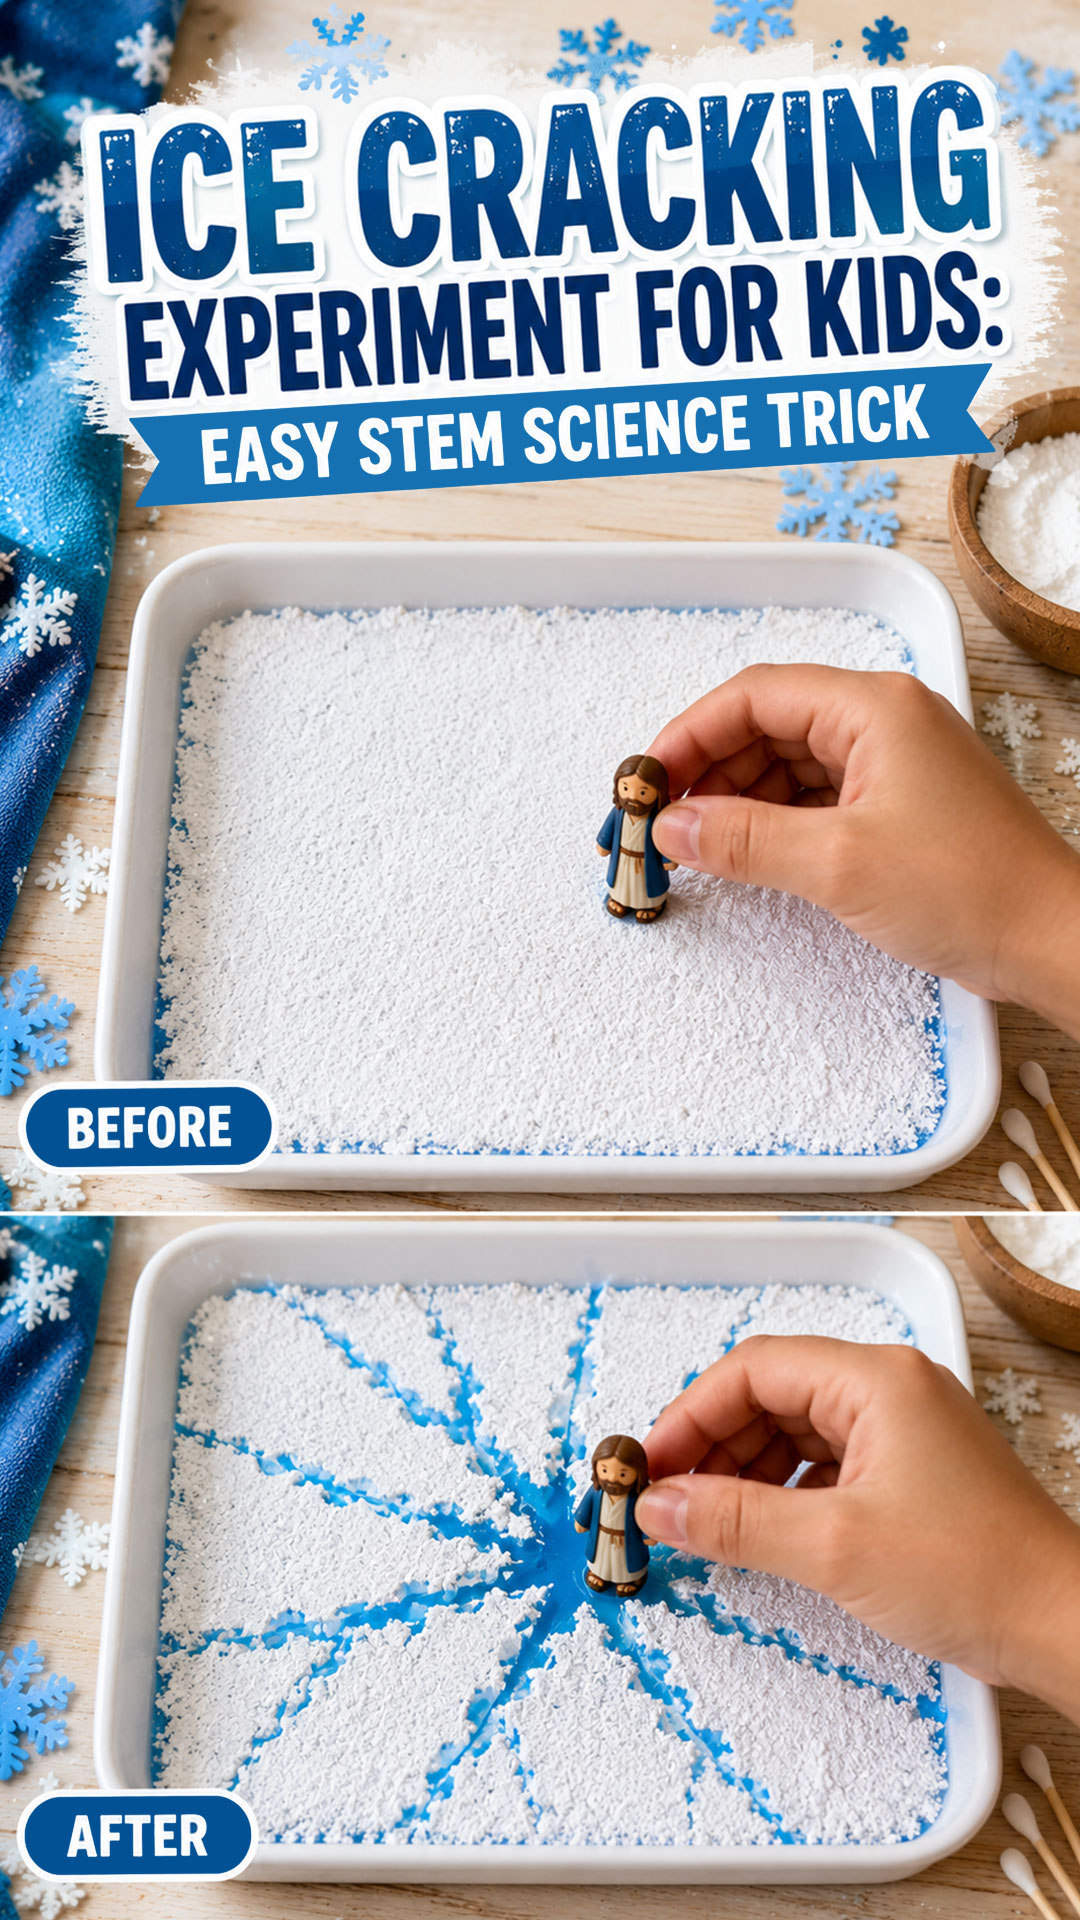
One second you have a smooth, frosty-looking blue surface. The next second, a single touch sends cracks shooting across it like a frozen lake giving way. It looks exactly like ice splitting apart in slow motion.
Except there’s no freezer involved. No ice cubes. No cold at all.
What you’re actually looking at is a simple, powerful demonstration of surface tension, and it’s one of the most satisfying science activities you can pull off with things already sitting in your kitchen or supply closet.
This is exactly the kind of hands-on STEM activity that keeps kids talking about “science day” for weeks. It’s visual, it’s a little dramatic, and it teaches a real scientific concept without a single worksheet involved.
Why Teachers and Parents Keep Coming Back to This One
Surface tension is one of those concepts that’s hard to explain with just words. Kids nod along, but it doesn’t really click until they see it in action.
This experiment fixes that instantly. The “cracking” effect gives kids a visual they will actually remember, which makes it perfect for classroom science stations, homeschool lessons, STEM night booths, or a rainy-day activity that still counts as educational.
It also happens to be extremely low-prep. You likely have every material already at home.

What You’ll Need
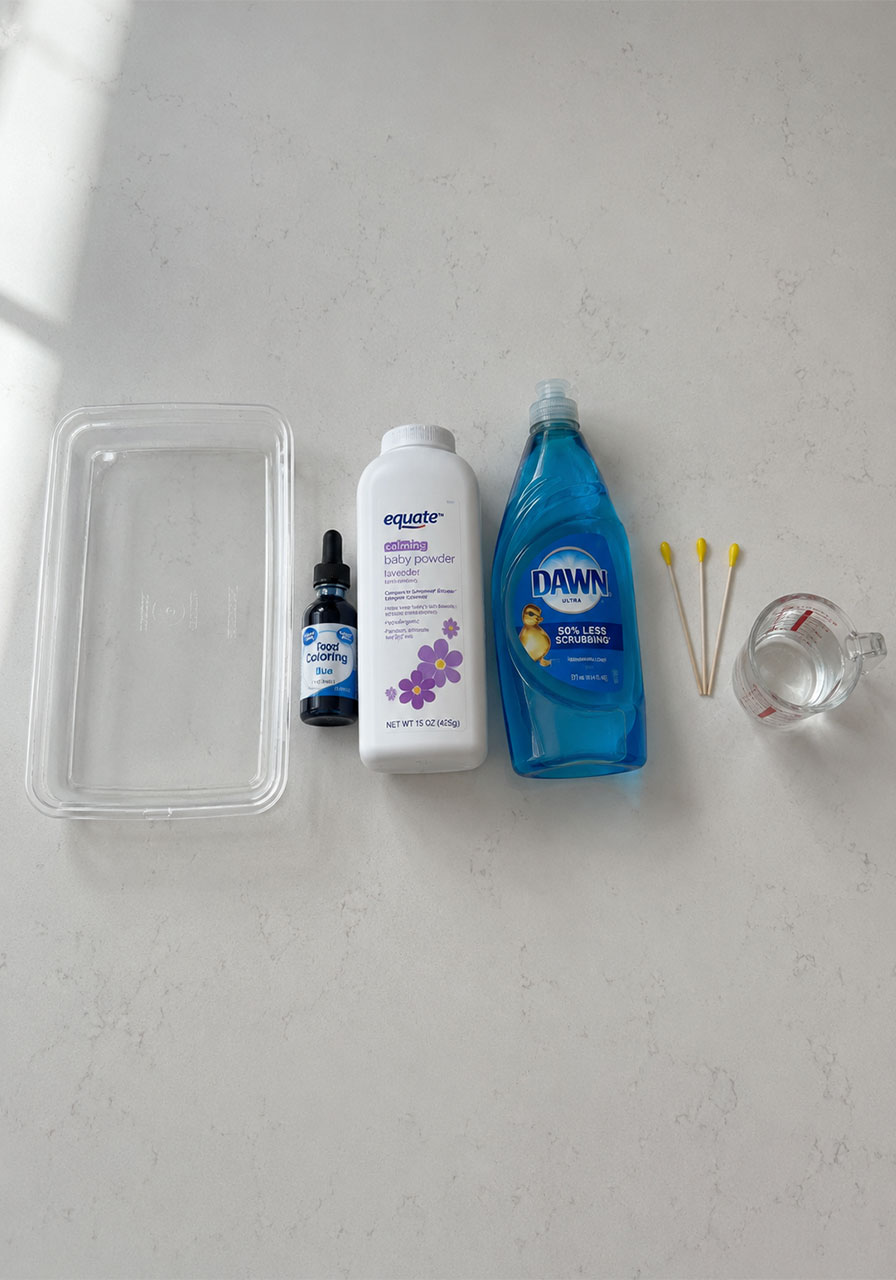
A shallow, clear plastic tray or container
Water
Blue liquid food coloring
Baby powder (or cornstarch works as a substitute)
Dish soap
Cotton swabs
That’s the entire list. No special science kit required.
How to Set Up the Ice Cracking Experiment
Follow these steps in order. The setup matters, so don’t skip ahead.
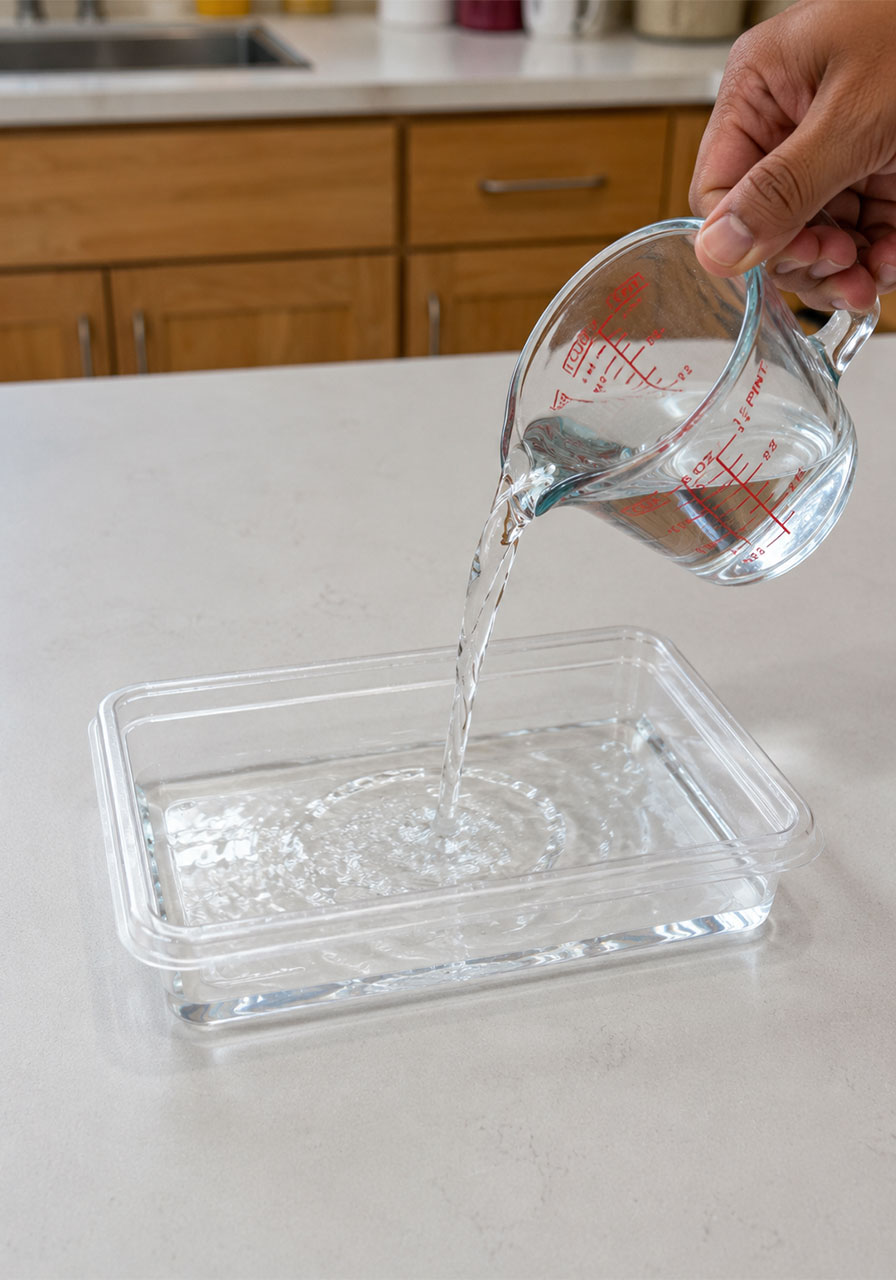
Step 1: Fill your tray with water
Pour a shallow layer of water into your clear tray. You don’t need it deep, just enough to fully cover the bottom in a smooth layer.
Step 2: Add the blue food coloring
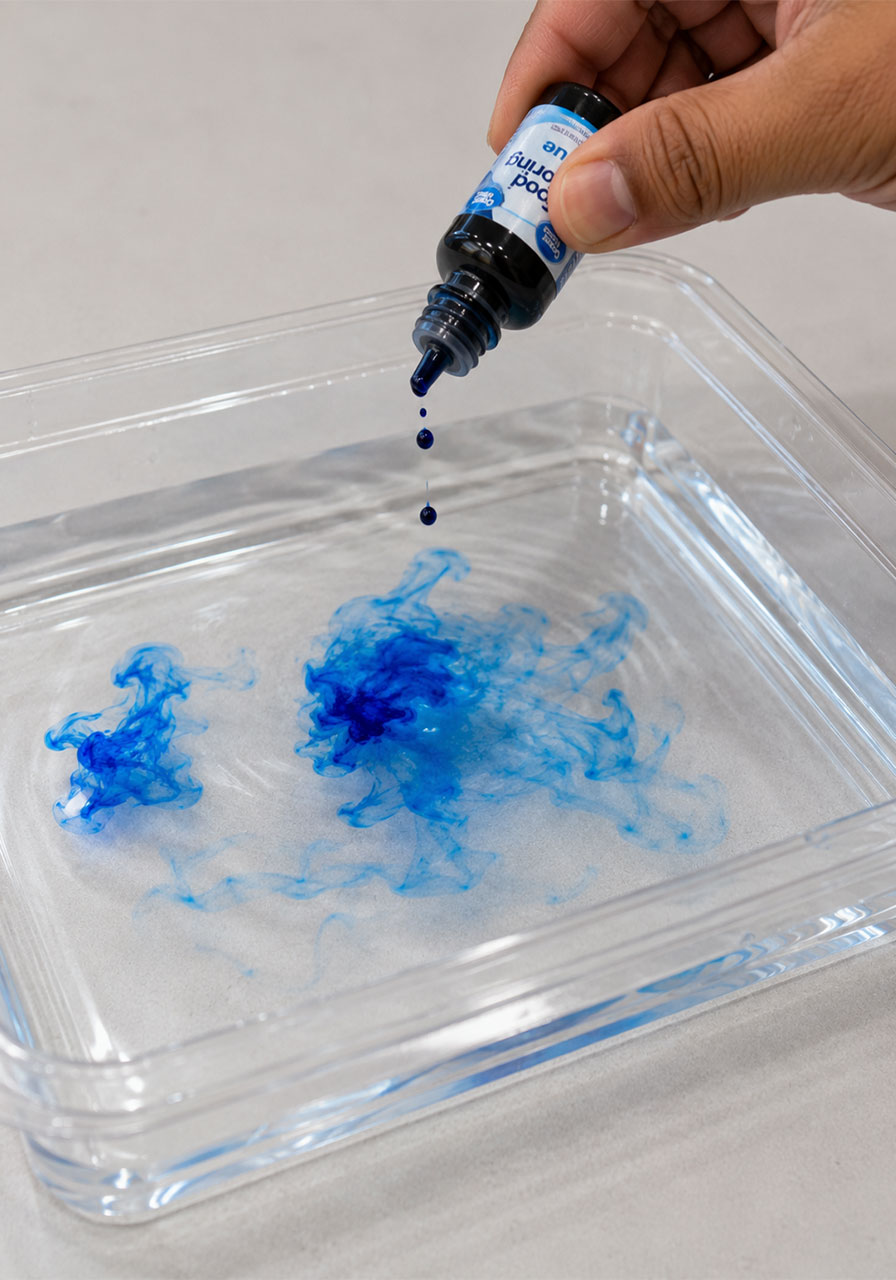
Add a few drops of blue food coloring directly into the water. Let it sit for a moment so kids can see the color start to bloom and spread on its own before mixing.
Then gently swirl or stir until the water turns a solid, even blue. This is your “ice” base.
Step 3: Sprinkle powder over the surface
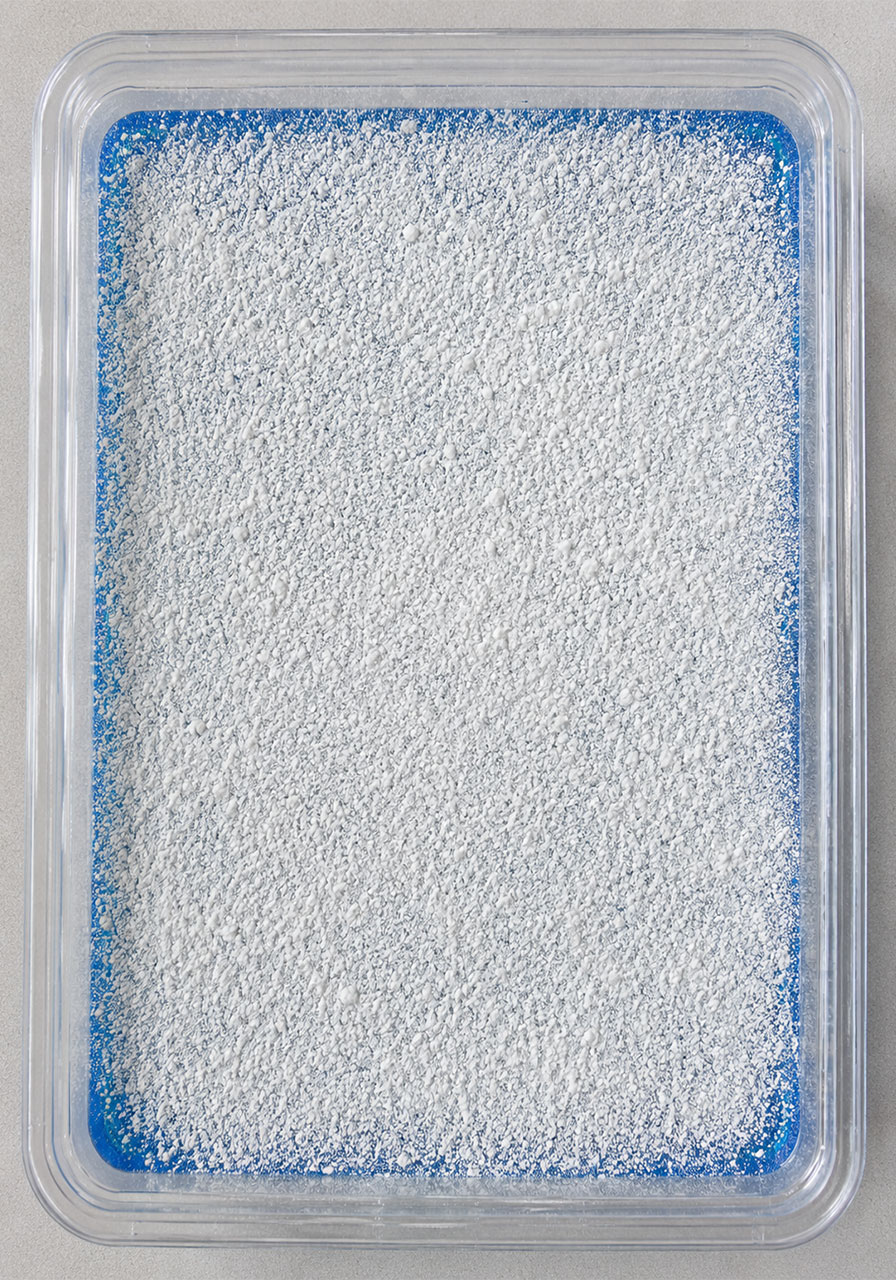
Sprinkle a generous, even layer of baby powder over the entire surface of the blue water.
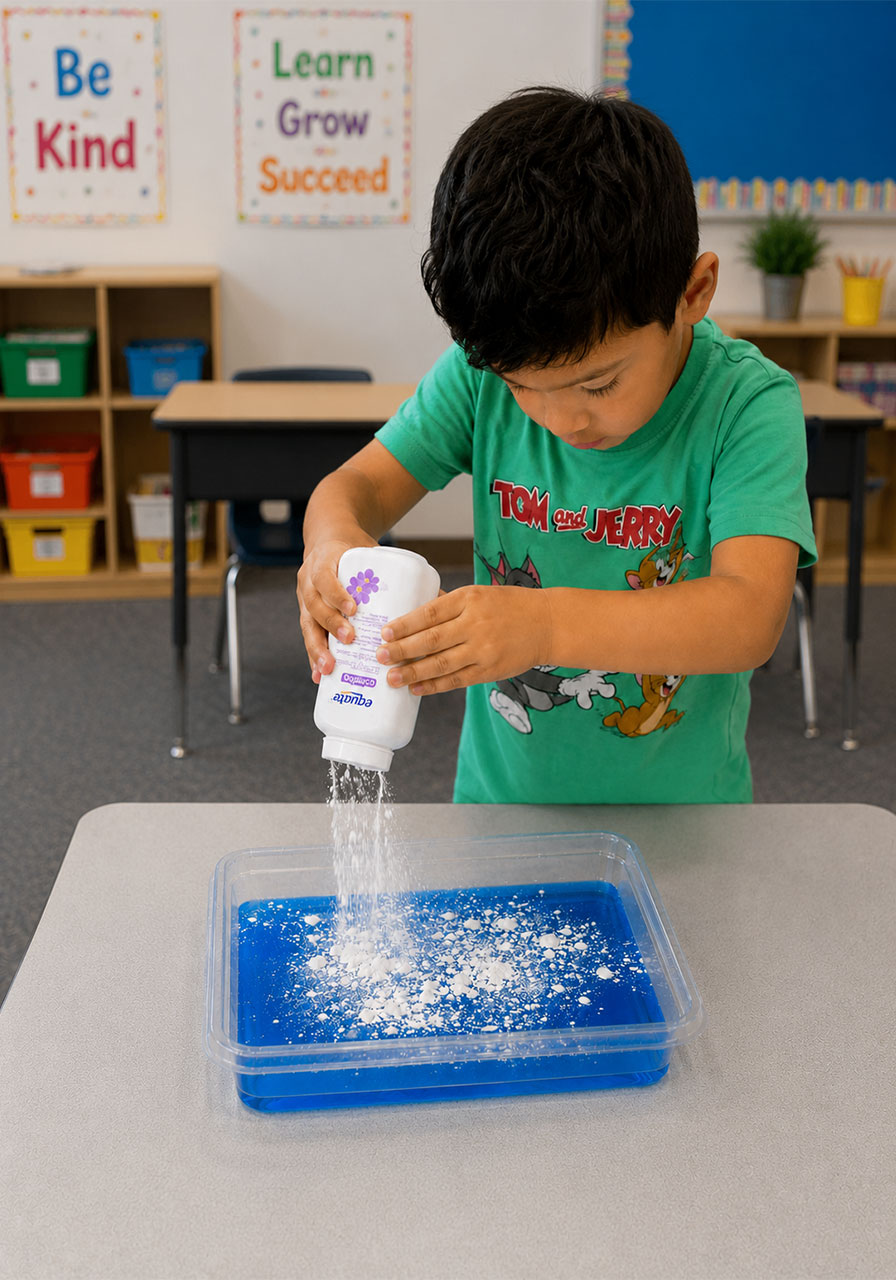
Don’t rush this part. The powder needs to form a full, unbroken layer across the top for the cracking effect to look dramatic. Kids genuinely love this step, so let them take the lead on shaking the bottle.
Step 4: Dip a cotton swab in dish soap
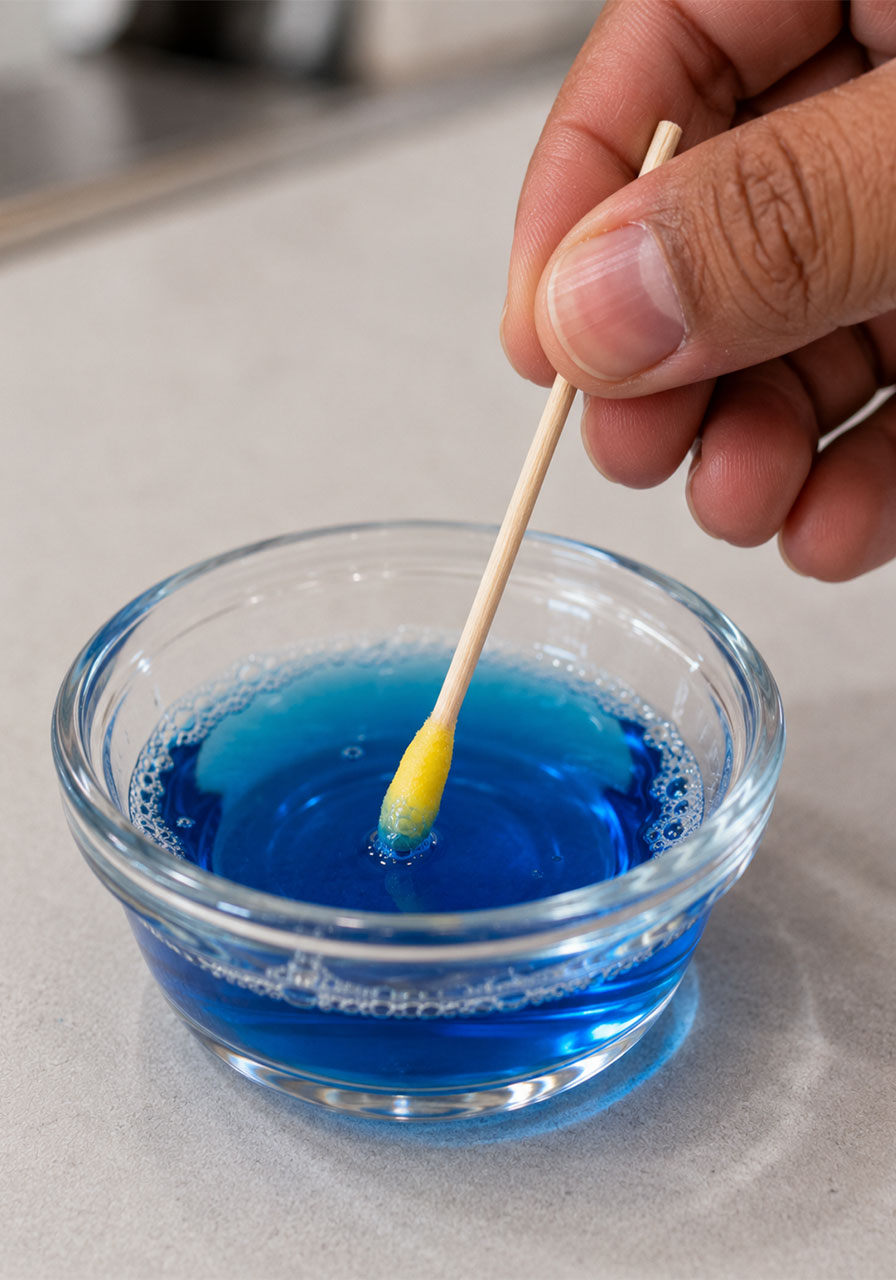
Dip the tip of a cotton swab into plain dish soap. You only need a small amount on the tip, not a heavy coating.
Step 5: Touch the swab to the powder layer and watch it crack
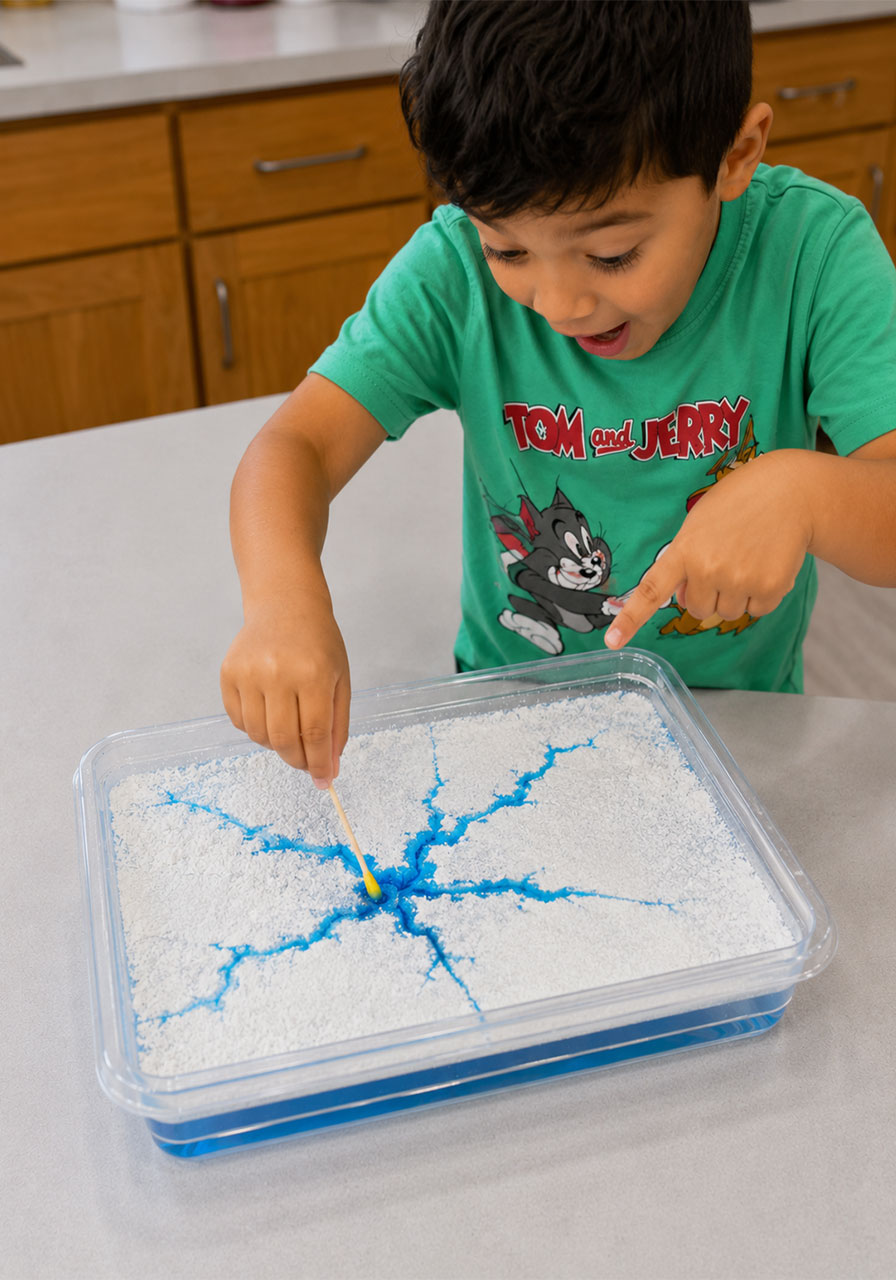
Gently touch the soapy tip of the cotton swab to one spot on the powder-covered surface.
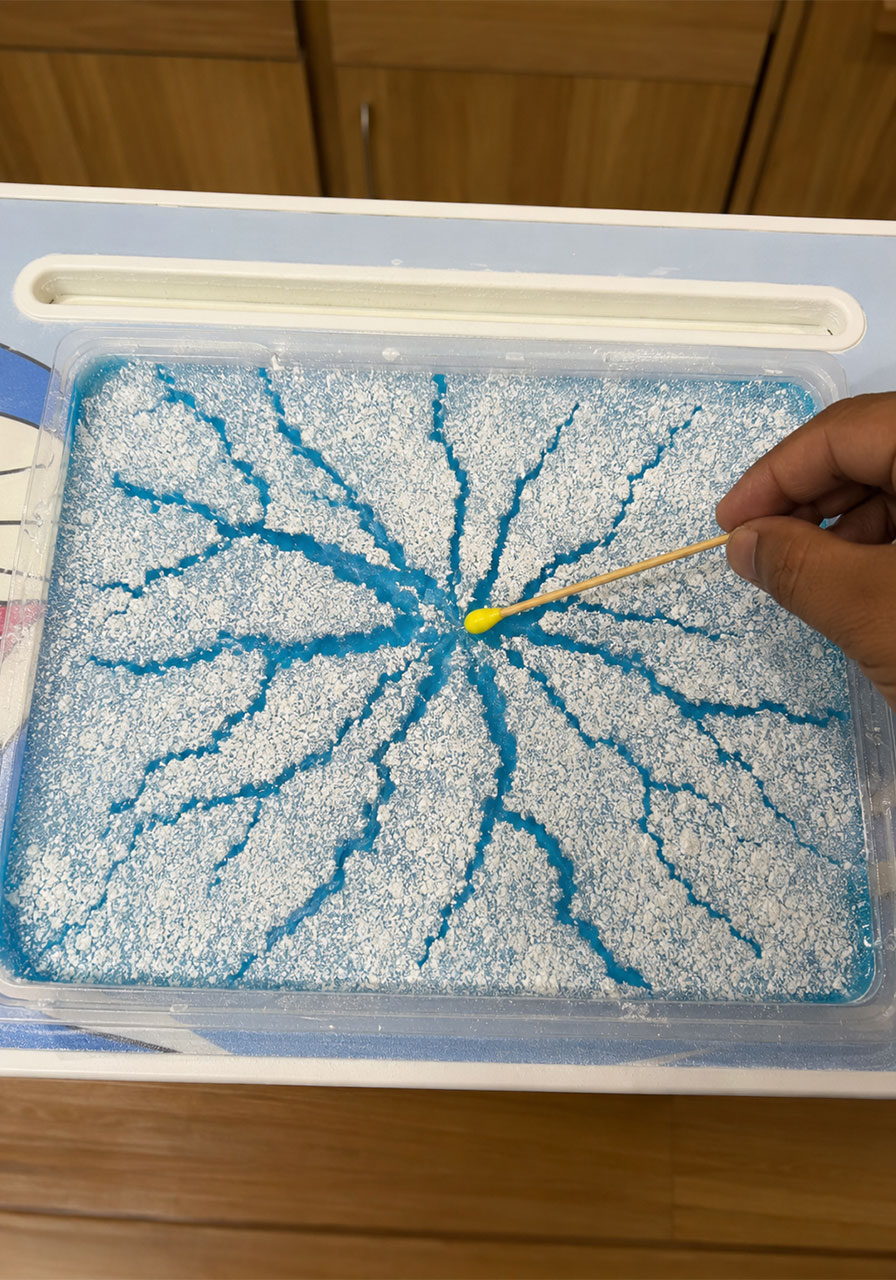
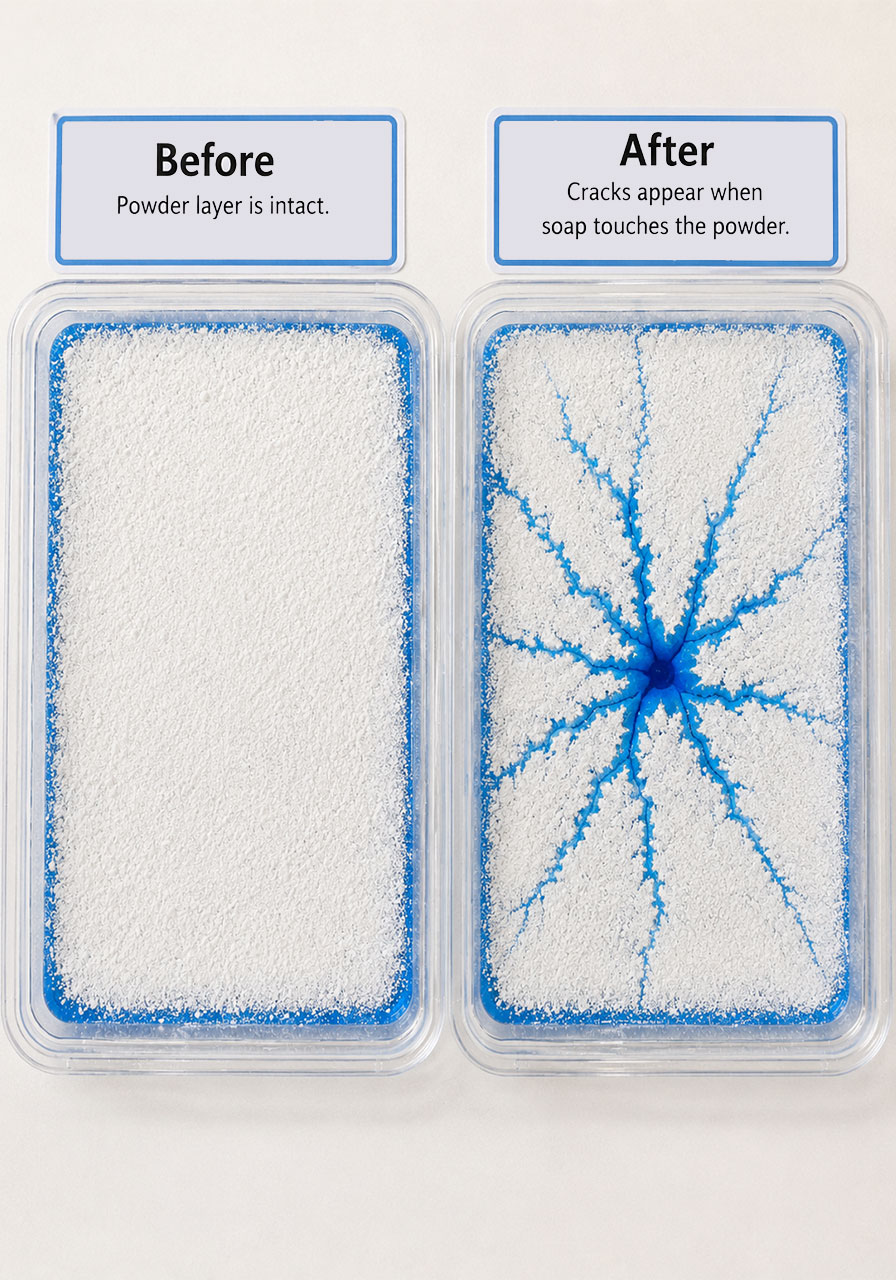
Watch closely. Within a second, the powder will split and shoot outward from that point in jagged, spiky lines, revealing the blue water underneath. It looks exactly like a sheet of ice cracking under pressure.
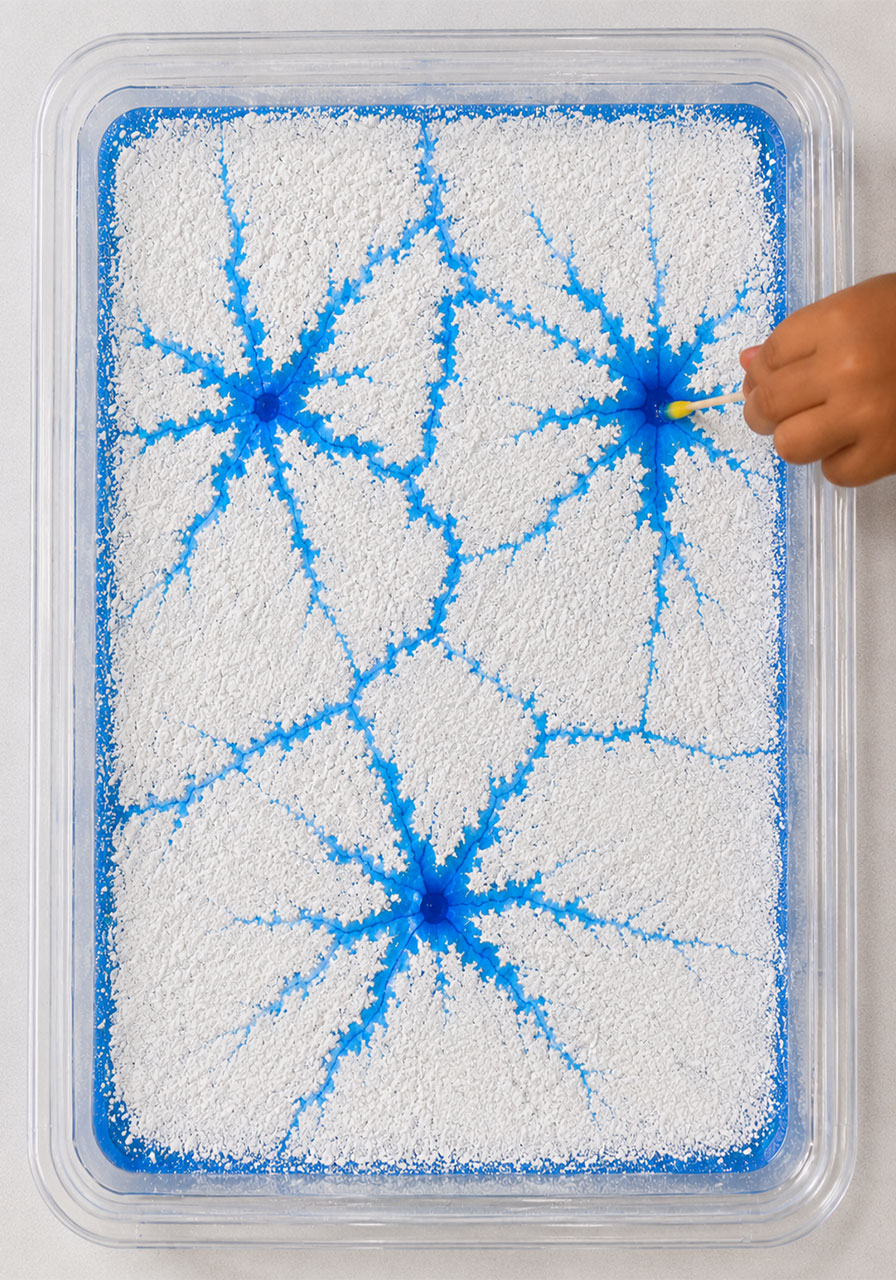
Kids can repeat this at different points on the surface to create multiple “cracks” branching across the tray.
The Science Behind It (Explain This Part, It’s the Best Part)
Here’s what’s actually happening, in kid-friendly terms you can use in class.
Water molecules are naturally attracted to each other. At the surface, they pull together so tightly that they form a kind of invisible “skin.” This is called surface tension, and it’s strong enough to hold up the light layer of powder floating on top.
Dish soap breaks that skin. Soap molecules slip in between the water molecules and disrupt the bonds holding that surface tension together. The moment the soap touches the water, the tension collapses at that exact spot and rushes outward, dragging the powder along with it.
That’s the “crack.” It’s not ice breaking. It’s surface tension disappearing in real time.
This is the same basic principle behind the classic pepper-and-soap experiment, but the powder-and-food-coloring version gives you a much bigger, more visual payoff, which is exactly why it photographs and films so well for a class demo or a STEM night table.
Pro Tip
Let the water sit undisturbed for 20 to 30 seconds after sprinkling the powder before you touch it with soap. A completely still surface gives you a cleaner, more dramatic crack pattern than a surface that’s still rippling.
Fun Variation
Try touching the soap swab to different spots on the same tray. Each new touch point sends cracks racing toward the ones already there, and where two cracks meet, they stop each other. This is a great way to sneak in a conversation about pressure and force without kids even realizing they’re getting a mini physics lesson.
Make It a Full Lesson, Not Just a Demo
Since this experiment sets up in under five minutes, you have plenty of room left in your lesson plan or activity block to build around it.
Before you touch the soap to the water, ask kids to guess what will happen. Will the powder sink? Will it dissolve? Will it stay put? Write down predictions. This turns a fun demo into an actual experiment with a hypothesis, which is a great habit to build early.
Afterward, ask them to describe what they saw in their own words. You’ll often get answers like “it exploded” or “it broke like glass,” which is a great entry point into introducing the real vocabulary: surface tension, molecules, and cohesion.
Safety Notes
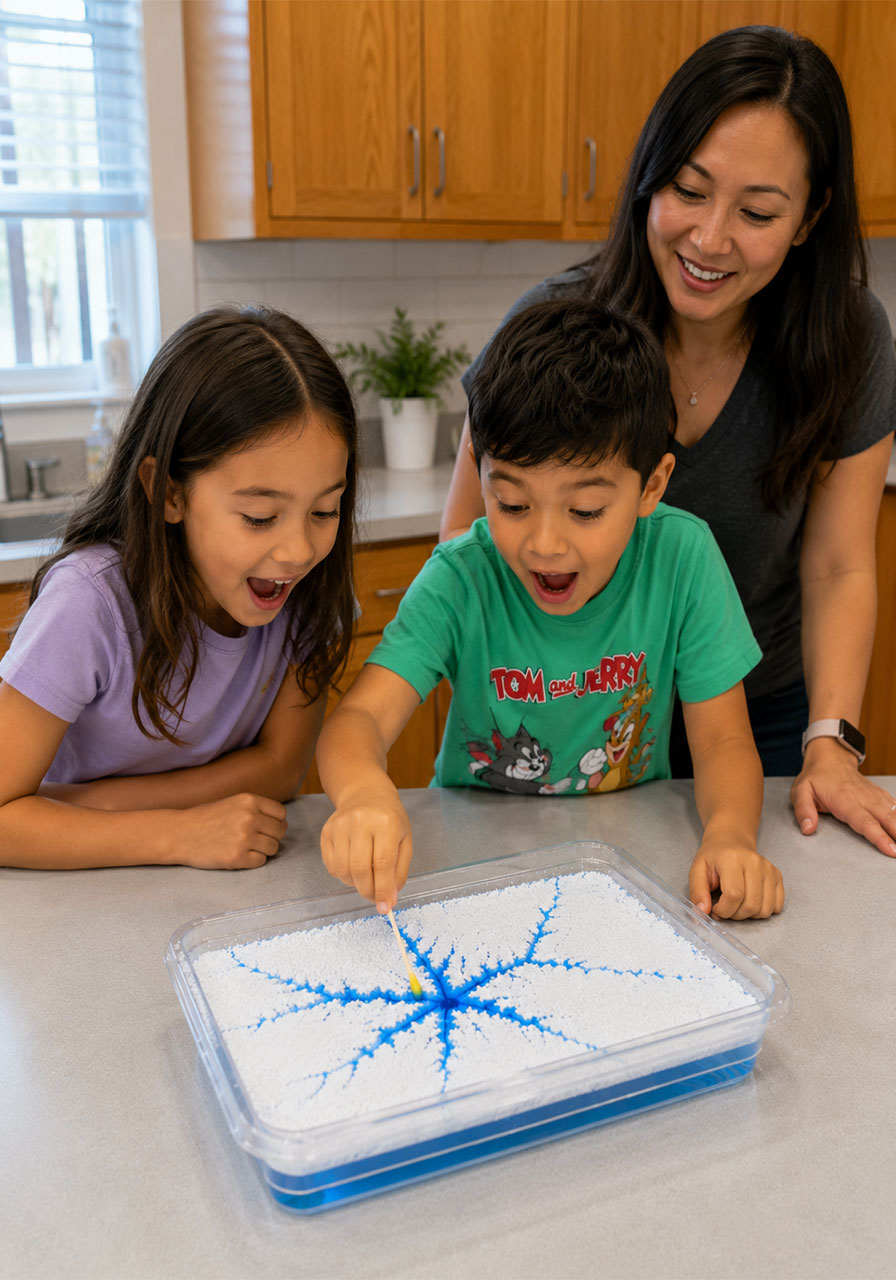
This activity is very low-risk, but a few reminders are worth passing along, especially with younger kids.
Use washable food coloring to avoid staining hands, clothes, or countertops. Keep the soap away from eyes, and have kids wash their hands after the activity since dish soap can dry out skin with repeated contact. As always, adult supervision is recommended for young children handling small containers of liquid.
Frequently Asked Questions
Can I use something other than baby powder?
Yes. Cornstarch works as a substitute if you don’t have baby powder on hand. Both create the same floating layer effect on the water’s surface.
Why didn’t my powder crack?
This usually means either the powder layer was too thin, or there wasn’t enough soap on the swab tip. Make sure the powder fully covers the surface before touching it with soap, and don’t be afraid to use a slightly heavier dab of soap.
Is this safe for young children?
Yes, with adult supervision. All materials are non-toxic, but young children should still be supervised around small liquid containers and should wash their hands after handling the dish soap.
How long does the setup last before it stops working?
The tray can be reset for multiple rounds. Simply sprinkle a fresh layer of powder over the same blue water and you’re ready to crack it again.
Final Thoughts
Some of the best science lessons don’t come from a textbook. They come from a moment of genuine surprise, like watching “ice” crack open in a plastic tray with nothing but a cotton swab and a dab of soap.
This experiment gives kids that moment, and it gives you an easy, low-cost, high-impact activity you can pull out again and again, whether it’s for a classroom unit on states of matter, a STEM fair table, or just a rainy afternoon that needs saving.
Because the best learning happens when kids don’t even realize they’re learning.
