
If you’ve ever needed a science activity that keeps kids fully engaged from start to finish, the Galaxy Jar is about to become your new go-to. It looks like magic. It’s actually chemistry and physics working together in a mason jar. And it takes less time to make than it takes to read this post.
This is one of those rare activities that checks every box: it’s simple enough for a rainy afternoon at home, structured enough for a classroom science station, and impressive enough that kids will want to show it off to everyone who walks in the door.
We’ve made dozens of these jars with our own kids, and no two ever turn out the same. That’s actually the best part. Every jar becomes its own tiny, swirling galaxy, and every kid gets to feel like a scientist and an artist at the same time.
Below, we’ll walk you through exactly how to make one, explain the simple science behind why it works, and share the small tweaks that make a big difference in how the final jar looks.
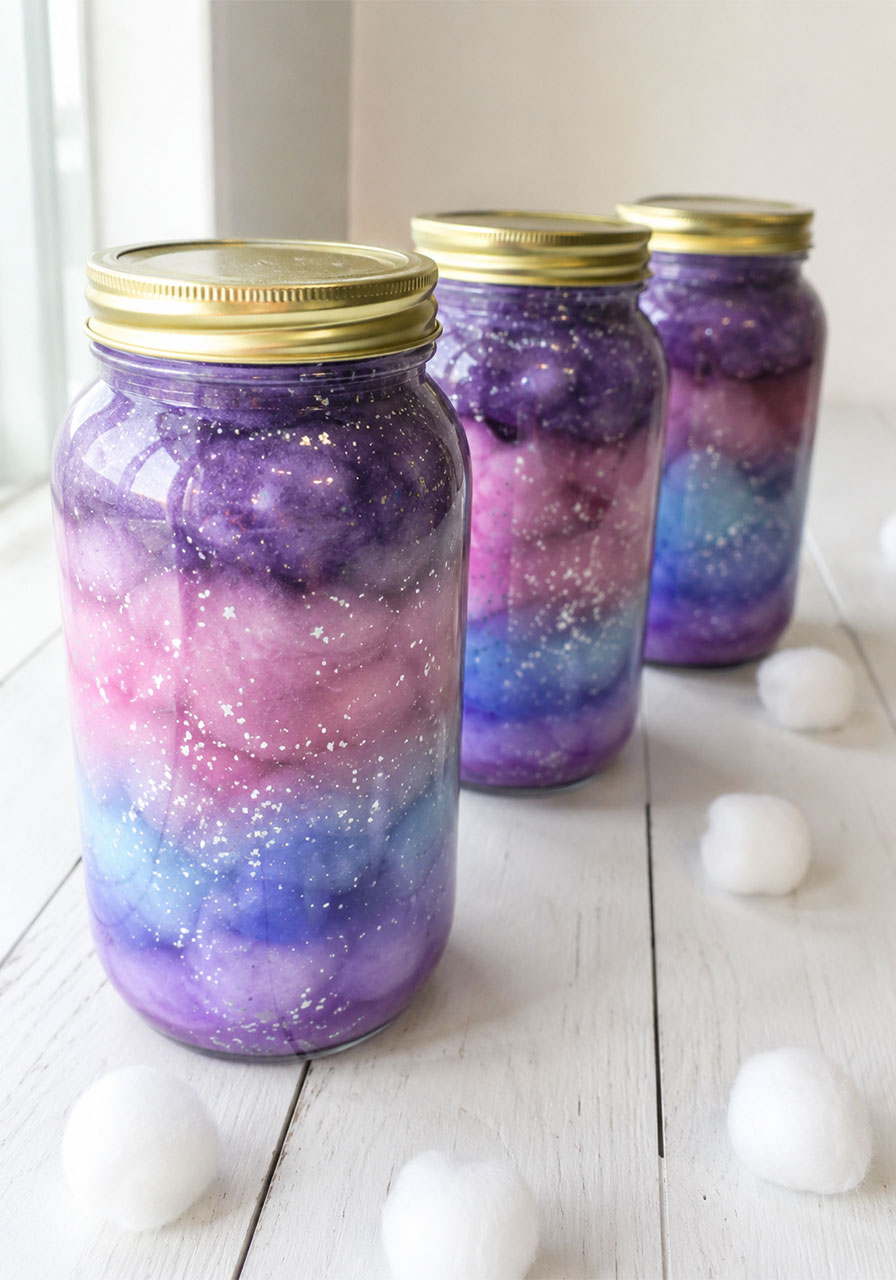
Why This Activity Works So Well for Kids
Before we get to the steps, let’s talk about why this activity is worth your time (beyond the fact that it’s genuinely fun).
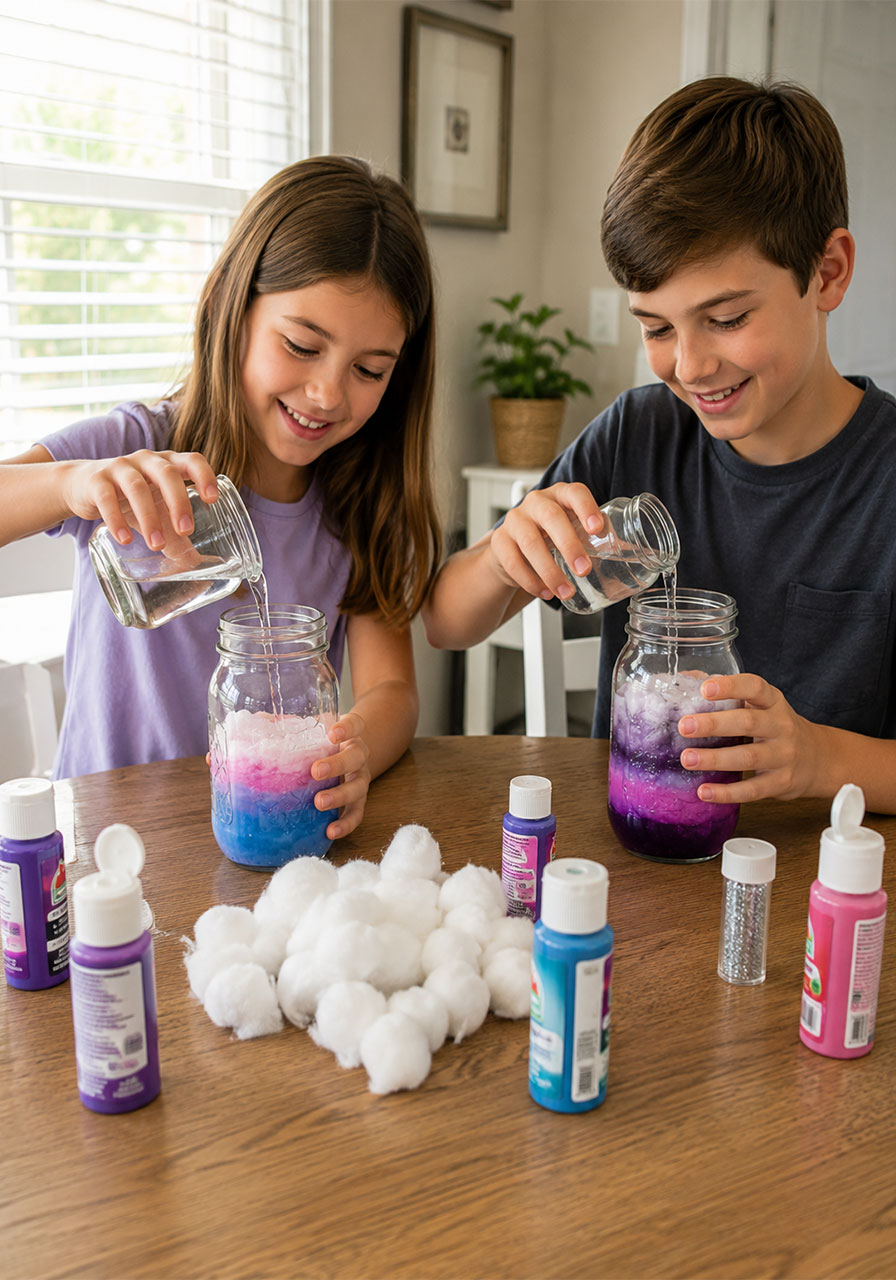
Galaxy Jars are a fantastic, low-effort way to introduce real scientific concepts to young learners without ever feeling like a lecture. As the cotton balls soak up the colored water, kids are watching absorption happen in real time. As the colors settle into layers, they’re seeing density and diffusion at work, since heavier, more saturated liquid sinks while lighter water stays near the top.
There’s also a built-in lesson in patience and observation. Kids have to slow down, watch the color spread, and decide when it’s time to add the next layer. That’s a small but meaningful practice in following a process step by step, which matters just as much as the science itself.
For teachers, this makes an excellent addition to any space unit, a color-mixing lesson, or a simple states-of-matter discussion. For parents, it’s a screen-free activity that holds a child’s attention for a solid stretch of time, which is worth its weight in gold on its own.

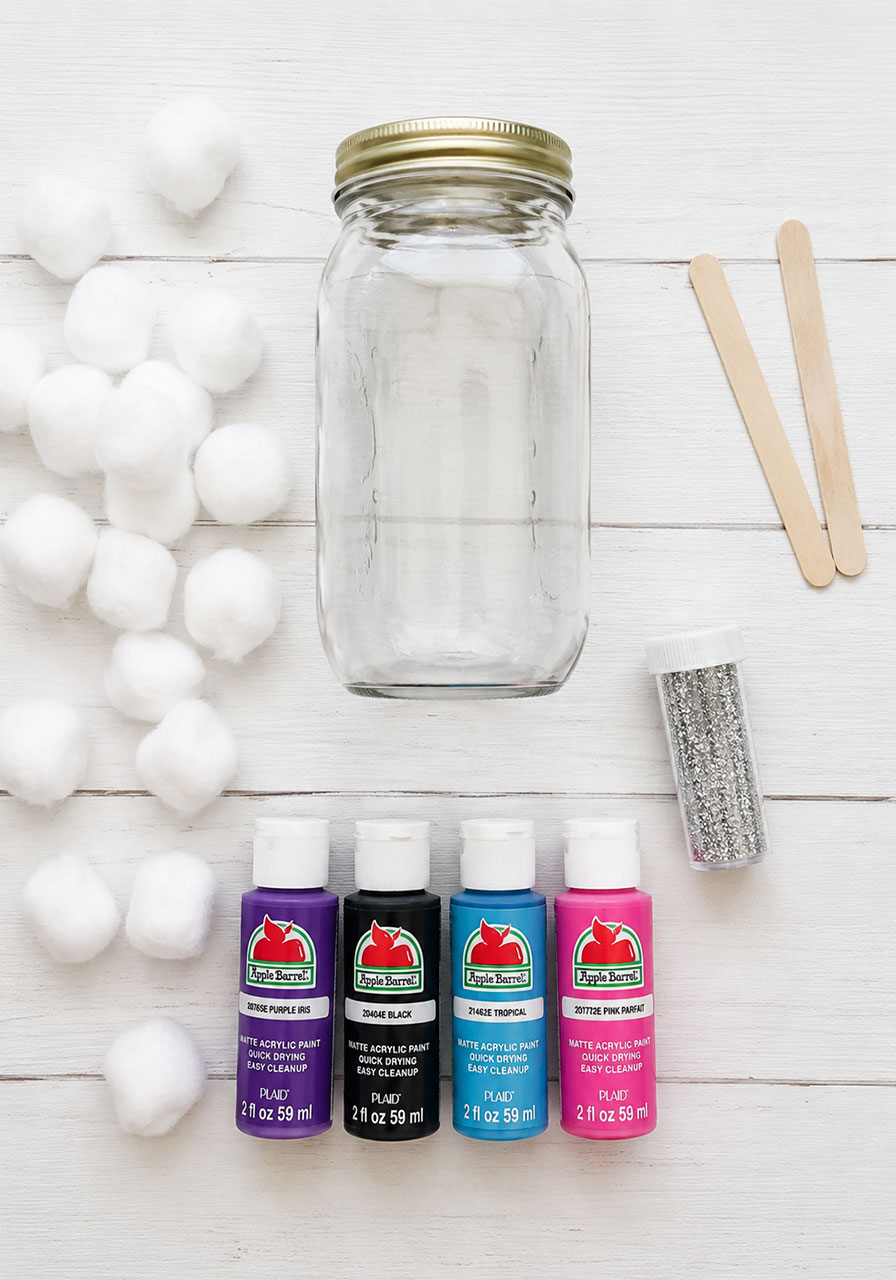
What You’ll Need
Best for: Kids ages 4 and up, with adult supervision for younger children.
Time to Make: About 10-15 minutes per jar.
Time to Set: A few hours to fully settle for the clearest layered look, though jars look great almost immediately.
Here’s your shopping list:
1 mason jar per child (quart size works great, but any clear jar with a lid will do)
Craft paint in pink, blue, black, and purple
Cotton balls, about 40-50 per jar
Water
Silver glitter
Craft sticks (optional, but helpful for younger kids)
A quick note on supplies: acrylic craft paint works best because it’s affordable, easy to clean up, and mixes smoothly with water. You do not need anything fancy here. A basic four-pack of craft paint from a craft store is all it takes.
How to Make a Galaxy Jar, Step by Step
Follow these steps in order for the best layered effect. We’ll also flag the small details that tend to trip people up, so you can skip the trial and error we went through.
Step 1: Add your first layer of water and glitter.
Fill the jar about a quarter of the way with water. Add a generous pinch of silver glitter directly into the water.
Step 2: Add your first color.
Squeeze in your first paint color. A gentle circular swirl as you squeeze helps the color spread more naturally before you seal the jar.
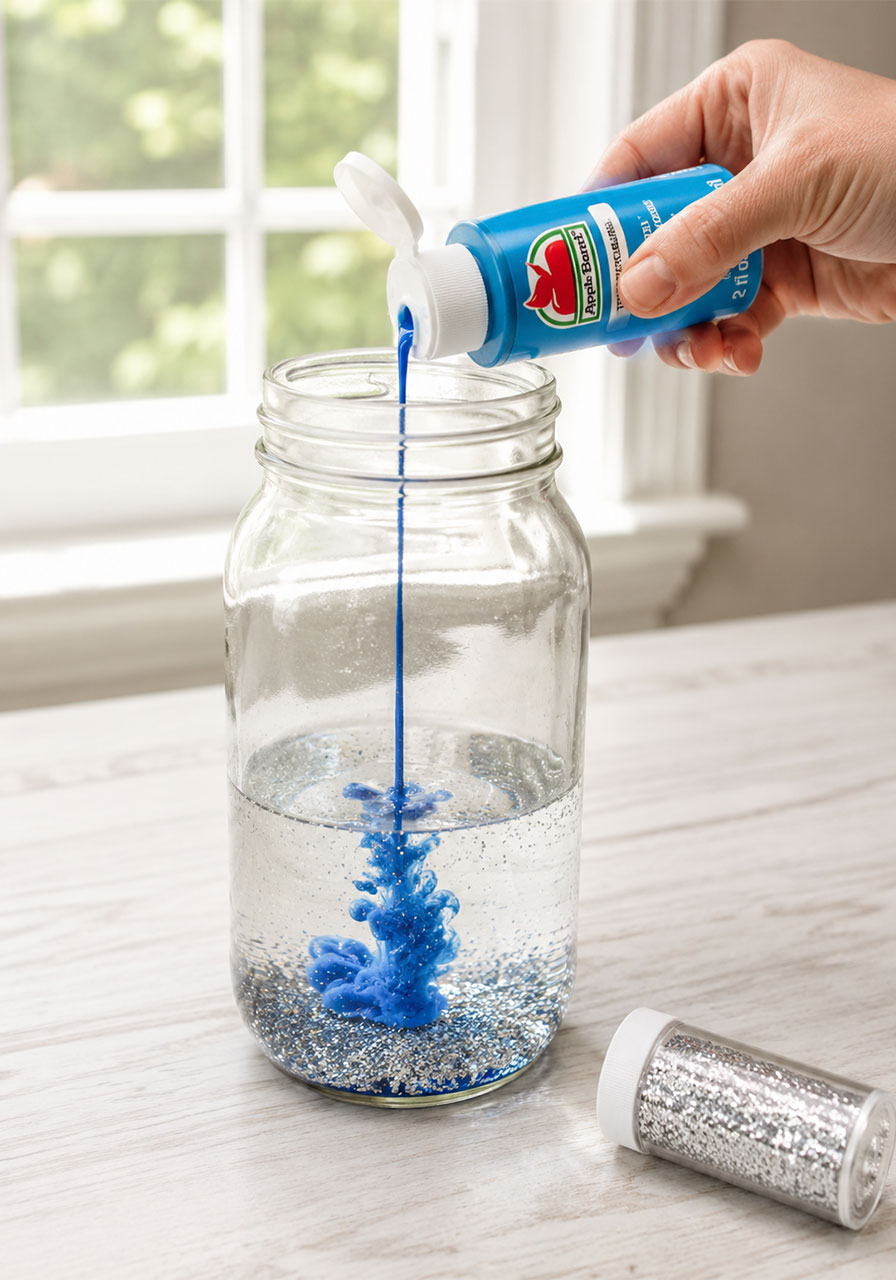
Step 3: Seal and shake.
Screw the lid on tight and give the jar a good shake. This blends the paint, glitter, and water into one solid layer of color.
Step 4: Add your cotton layer.
Remove the lid and stretch your cotton balls thin before placing them into the jar. Stretching them out is the key step here. A tightly packed cotton ball won’t absorb color evenly, and it will leave you with dense white clumps instead of that soft, cloudy galaxy look.
Use a craft stick to gently push the cotton toward the edges of the jar. Keep it loose. Pressing it down too firmly will compact it and stop it from soaking up water properly.
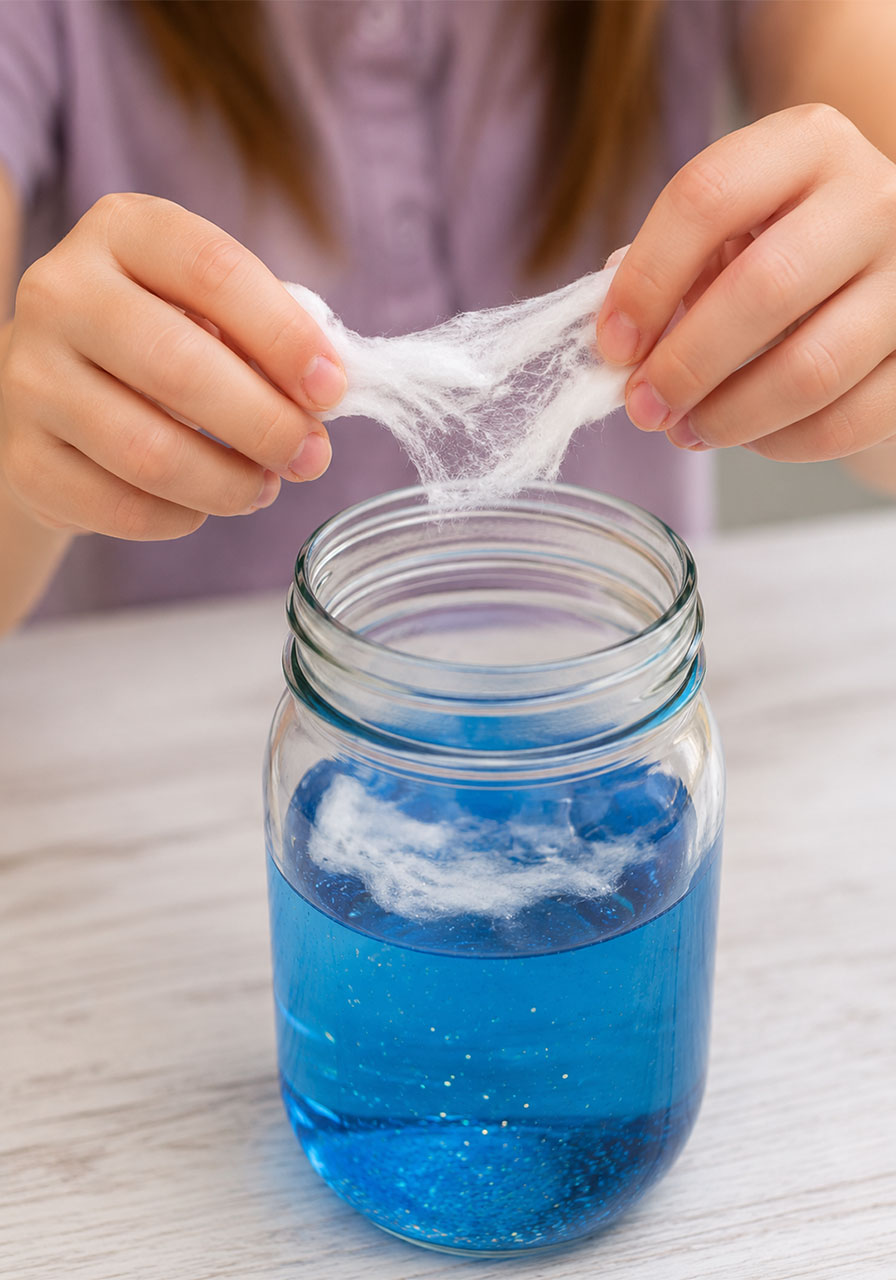
Step 5: Let the cotton absorb the color.
Give it a minute. You’ll actually see the cotton pull the colored water upward, which is the absorption process happening right in front of your child’s eyes. This is a great moment to pause and ask, “Where do you think the water is going?”
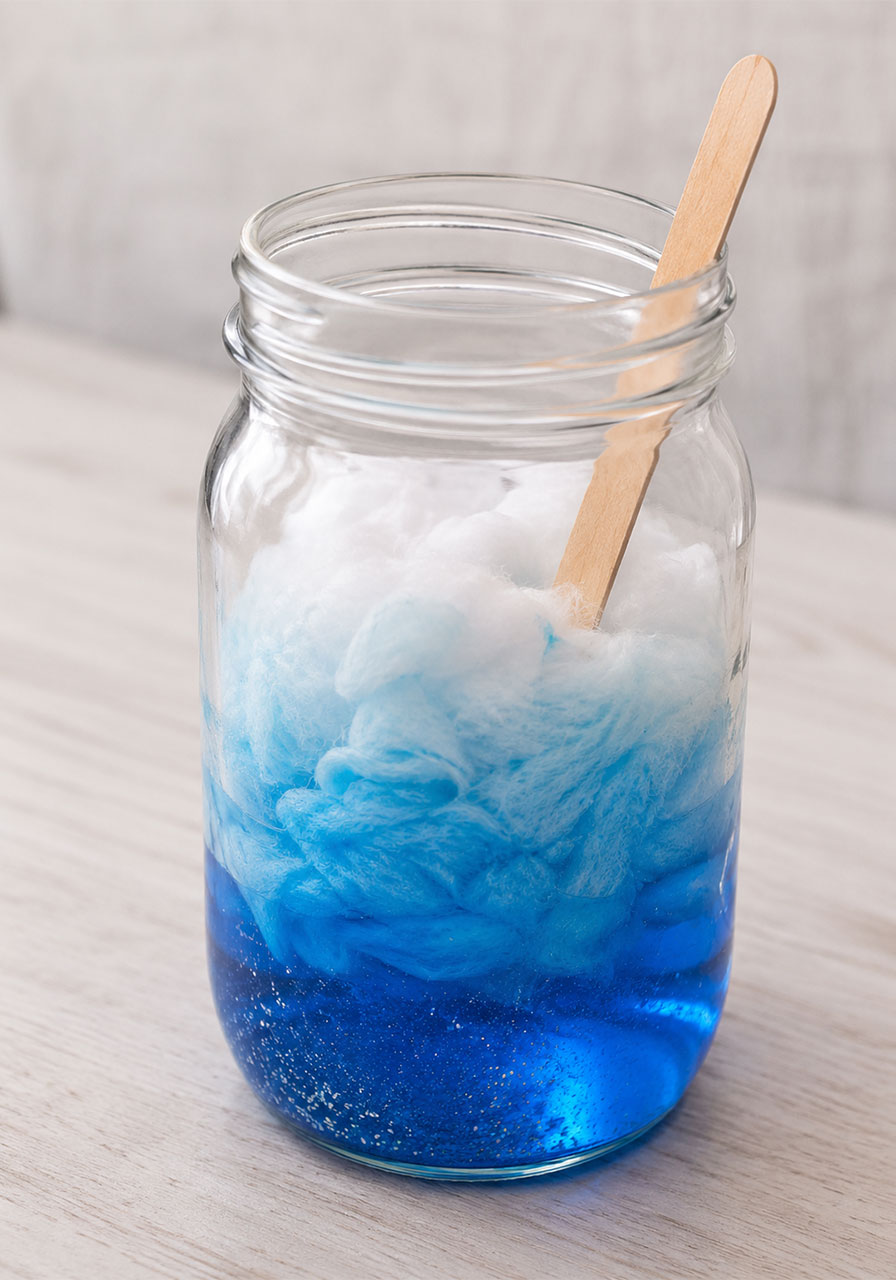
Step 6: Add your next layer.
Once most of the water has soaked into the cotton, pour in more water to about a third of the jar. Add your next paint color and another small pinch of glitter if you’d like extra sparkle.
Gently twist the jar back and forth at the neck to help the new color blend slightly with the layer below. You’re not trying to mix the colors completely, just soften the line between them for a smoother, more natural gradient.
Step 7: Repeat the pattern.
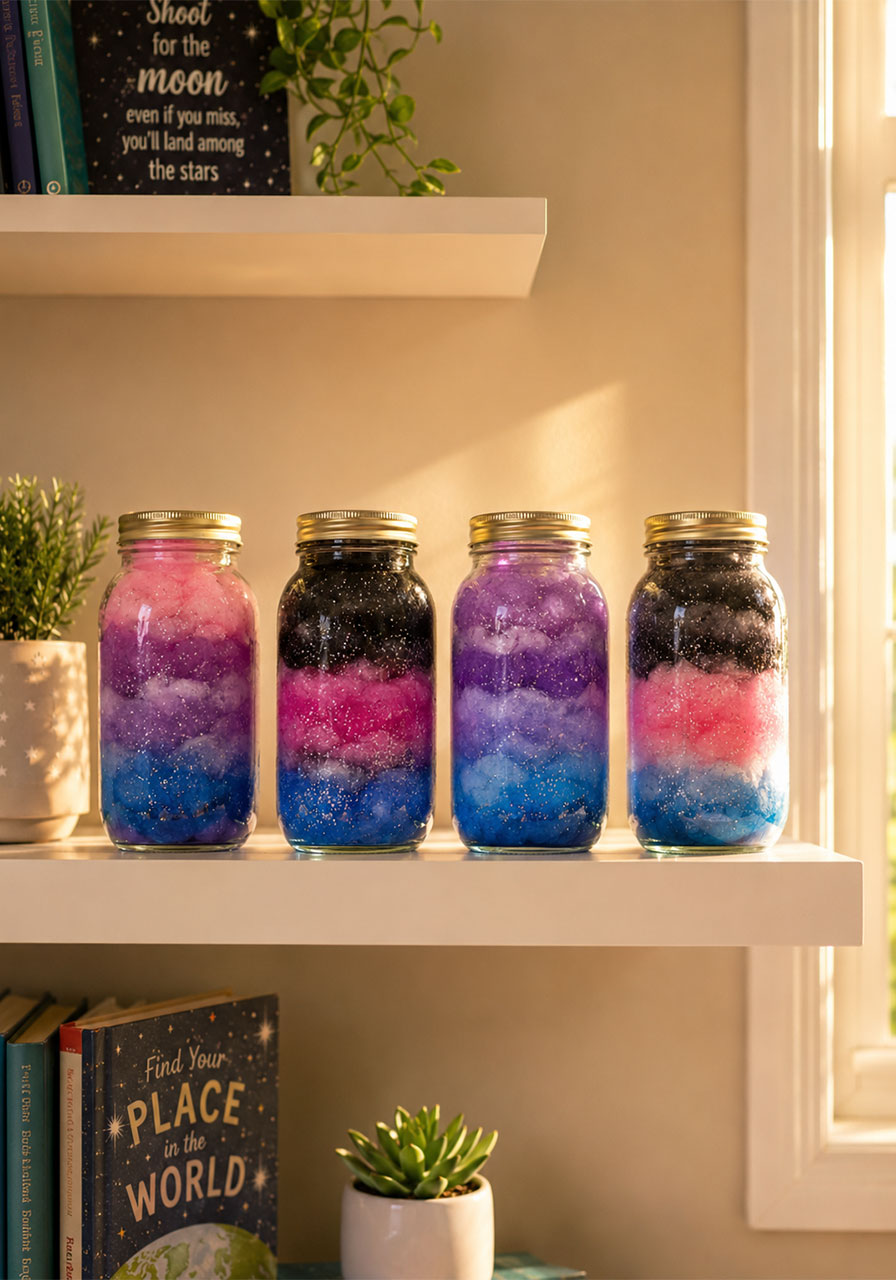
Continue alternating cotton and colored water layers until you reach the top of the jar. A color order that works beautifully is blue, pink, purple, then black, with an optional final swirl of pink or blue at the very top.
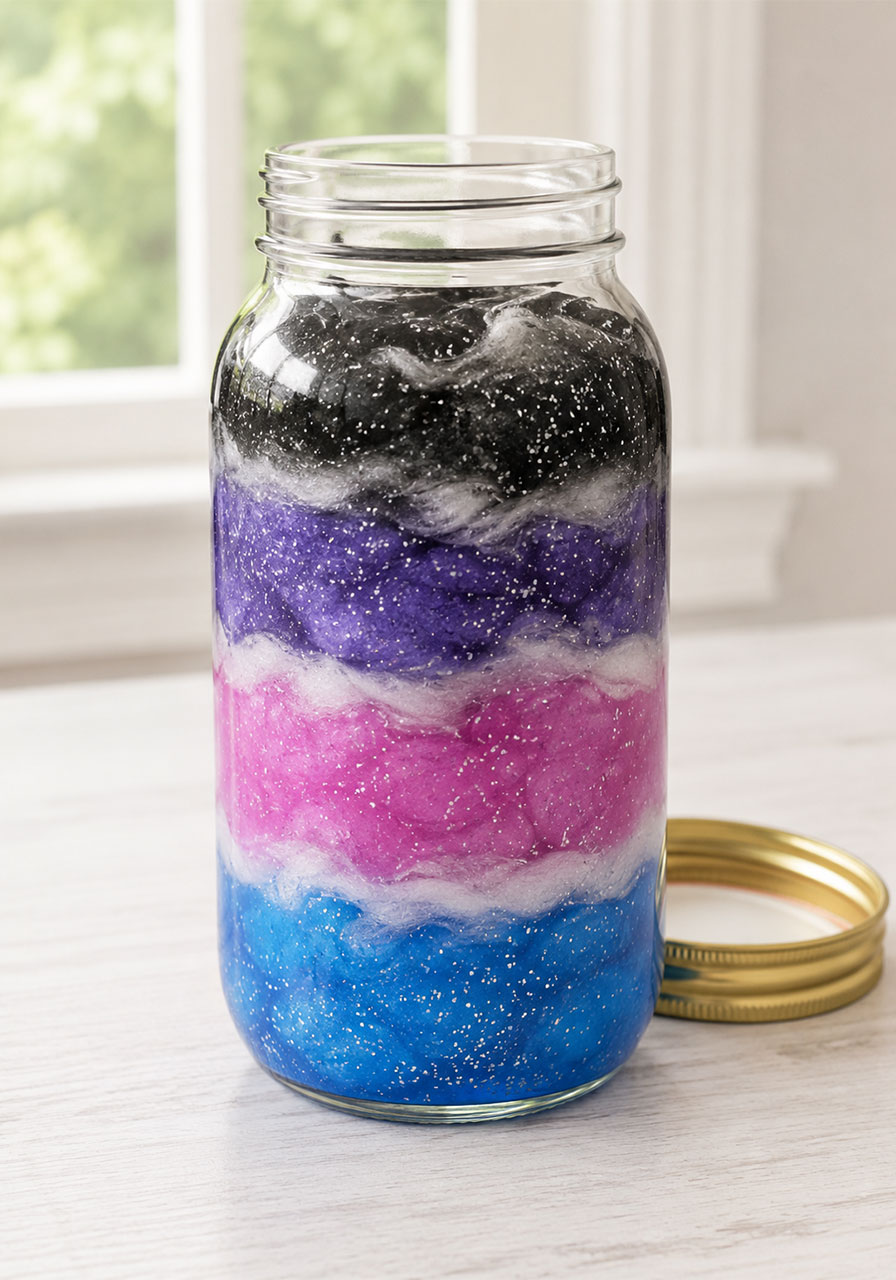
Step 8: Finish with cotton on top.
Add one final loose layer of cotton at the top of the jar. Do not compact it down. Screw the lid on securely.
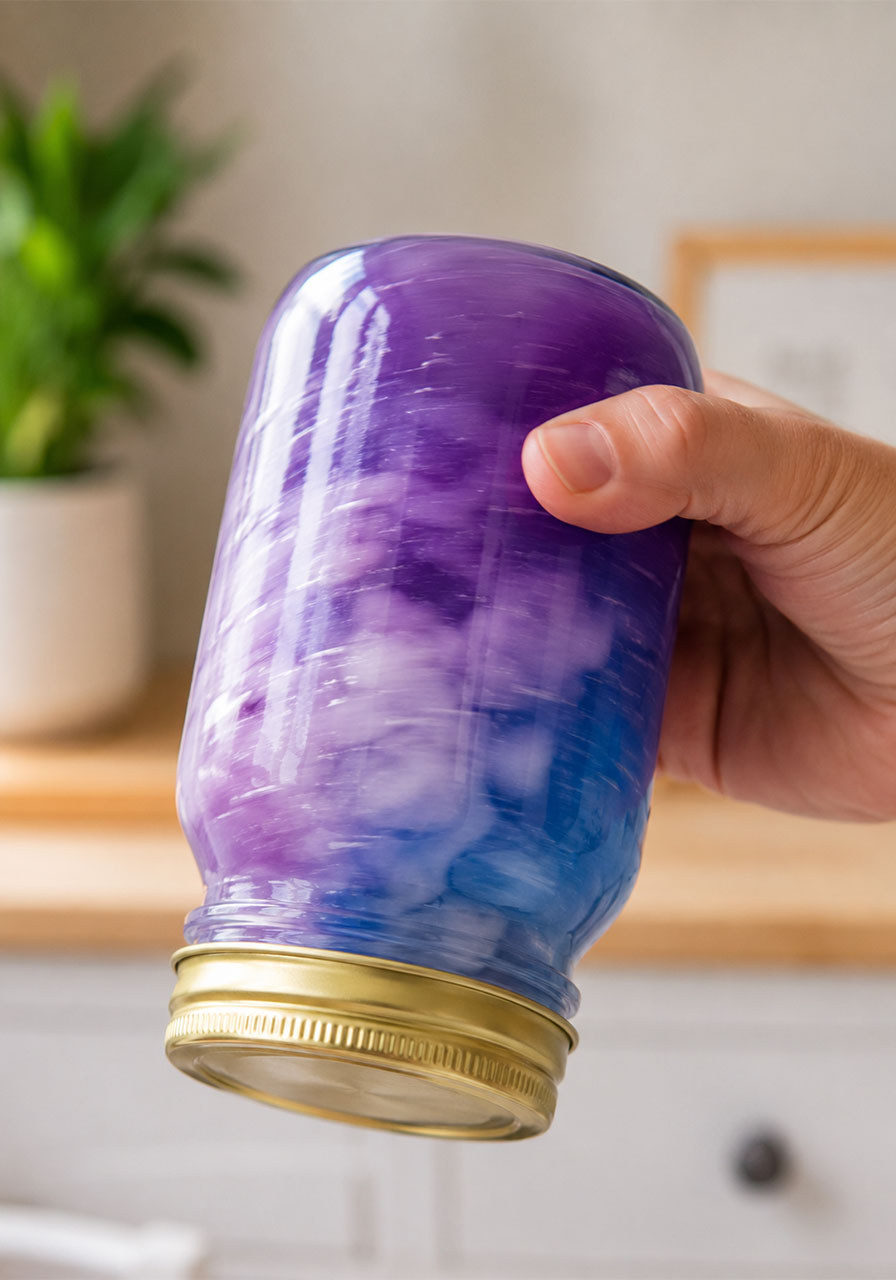
Step 9 (optional, but worth doing): Flip it.
Turn the jar upside down once or twice and give it a gentle spin. This creates a beautiful swirling motion as the layers shift, and it’s honestly one of the most satisfying parts of the whole activity.
Pro Tips for the Best-Looking Jars
After making a full set of these with our own kids, a few small lessons stood out.
Stretch the cotton as thin as you possibly can before adding it. Thicker clumps absorb unevenly and can leave your jar looking cloudy instead of dreamy.
Less paint is more. A small squeeze of paint per layer goes a long way. Adding too much at once will make your colors muddy instead of vibrant and distinct.
Let each layer settle for a minute or two before adding the next one. Rushing the process is the most common reason jars come out looking muddled instead of cleanly layered.
If a layer isn’t turning out the way you hoped, don’t panic. You can always add another layer of cotton on top to help clean up the look before continuing.
Easy Variations to Try
Once you’ve made your first jar, these small changes can help you customize the activity for different ages, lessons, or occasions.
For younger kids, use fewer colors, just two or three, so the process is simpler and easier to manage independently.
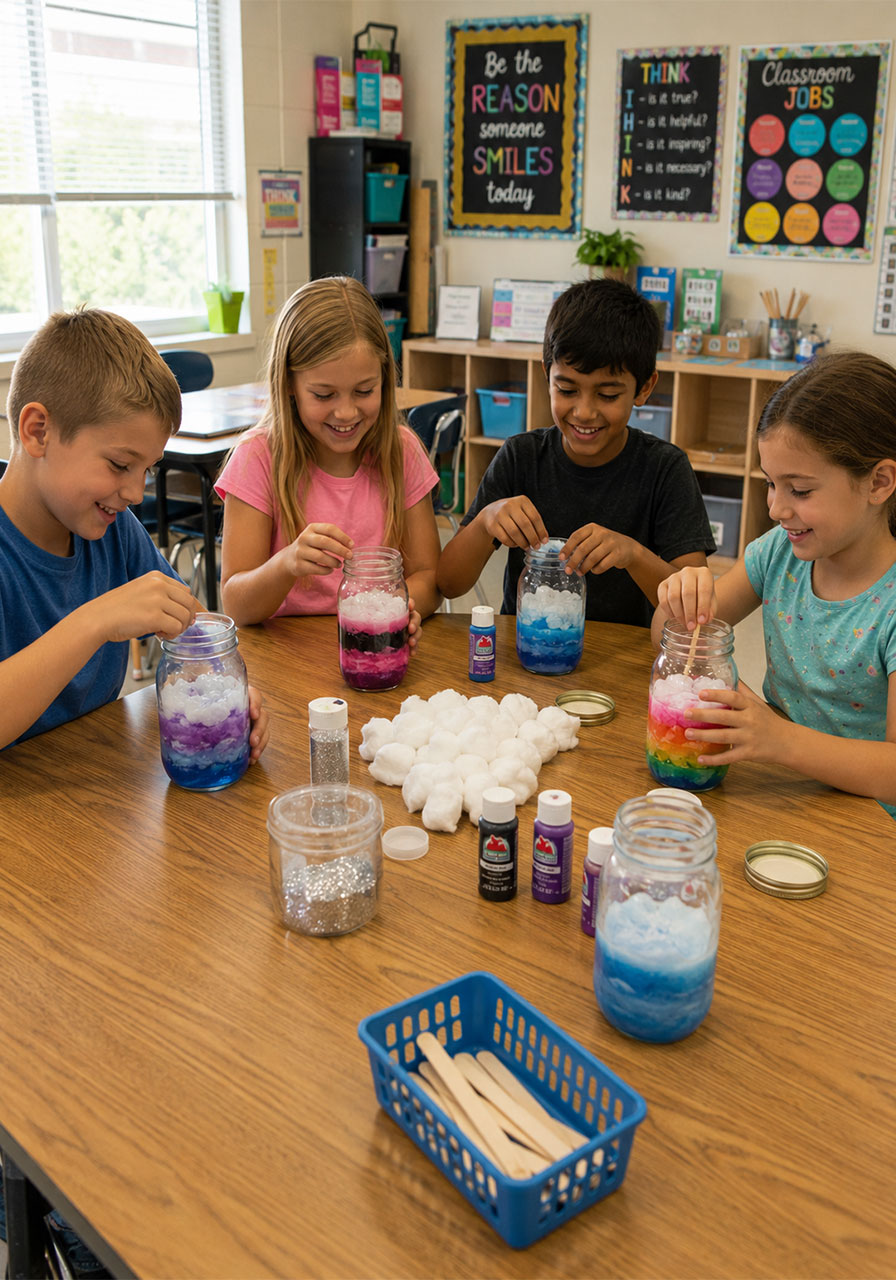
For a classroom setting, assign each table a different color palette. This gives every group a slightly different result and turns the activity into a natural discussion starter when jars are compared side by side.
For a nighttime sky theme instead of a galaxy look, stick to black, deep blue, and white, then add a few small foam stars before sealing the jar.
For older kids, turn this into a mini experiment. Have them predict how the layers will settle before flipping the jar, then compare their prediction to the actual result.
A Few Common Questions
Do the cotton balls stay in the jar permanently?
Yes. The cotton stays inside and becomes part of the galaxy effect, holding the color and giving the jar its soft, cloudy texture.
Will the colors eventually mix together completely?
Over time, the layers may soften slightly, but a well-made jar holds its layered look for weeks or even months on a shelf.
Is this safe for younger children?
Yes, with adult supervision. Craft paint is non-toxic, but as with any craft activity involving small parts and paint, younger kids should be supervised throughout.
Can this be turned into a full lesson plan?
Absolutely. Pair it with a short discussion on absorption, density, or the color wheel, and you’ve got a complete, hands-on science lesson that takes less than half an hour start to finish.
Bringing It All Together
The Galaxy Jar is proof that some of the best learning happens when kids don’t even realize they’re learning. It’s colorful, it’s calming to make, and it results in something they’ll want to keep on a shelf and show off for weeks.
Whether you’re planning a themed unit on space, looking for a simple after-school project, or just need something engaging for a Saturday afternoon, this is an activity you’ll find yourself coming back to again and again.
