
Looking for a science activity that actually delivers on the “wow” factor? This oil and water science experiment is one of the easiest, most satisfying STEM activities you can set up at home or in the classroom. It takes just a few pantry staples, and it works for toddlers all the way up to tweens.
If you’ve been searching for a no-fuss way to teach density in a way that actually sticks, this is it. Kids get to squeeze, squirt, and swirl colorful liquids while quietly absorbing a real scientific concept. That’s the kind of learning that sneaks up on them.
Best of all, this activity checks three boxes at once. It’s a genuine science experiment. It’s a fine motor skill builder. And honestly, it’s a little bit of art too, since the swirling colors look genuinely beautiful in the glasses.
Why This Experiment Works So Well
Teachers and parents are always hunting for activities that are both meaningful and easy to pull off. This one is a rare combination of both.
There’s no complicated science background required. You don’t need a chemistry degree or a classroom lab to make this work. Everything happens with ingredients you likely already have in your kitchen.
Kids are naturally drawn to anything that feels a little mysterious. Watching colorful water droplets sink through oil, form little bubbles, and refuse to mix is genuinely surprising, even for adults who already know why it happens.
This is also a fantastic activity for building fine motor skills. Squeezing a pipette or syringe with control takes real hand strength and coordination, which makes this a sneaky-good activity for preschoolers working on those skills.

Best For
This activity works for an incredibly wide age range. It’s ideal for toddlers and preschoolers around 2 to 3 years old who are working on pipette or syringe control.
It also holds up beautifully for older kids. Elementary-age students and even upper elementary or middle schoolers enjoy experimenting with variables like drop size, color combinations, and mixing speed.
This is a kid-friendly activity appropriate for home, classroom, or homeschool settings. There is no upper age limit here. Even older kids find it satisfying to watch the colors swirl and settle.
Time to Play
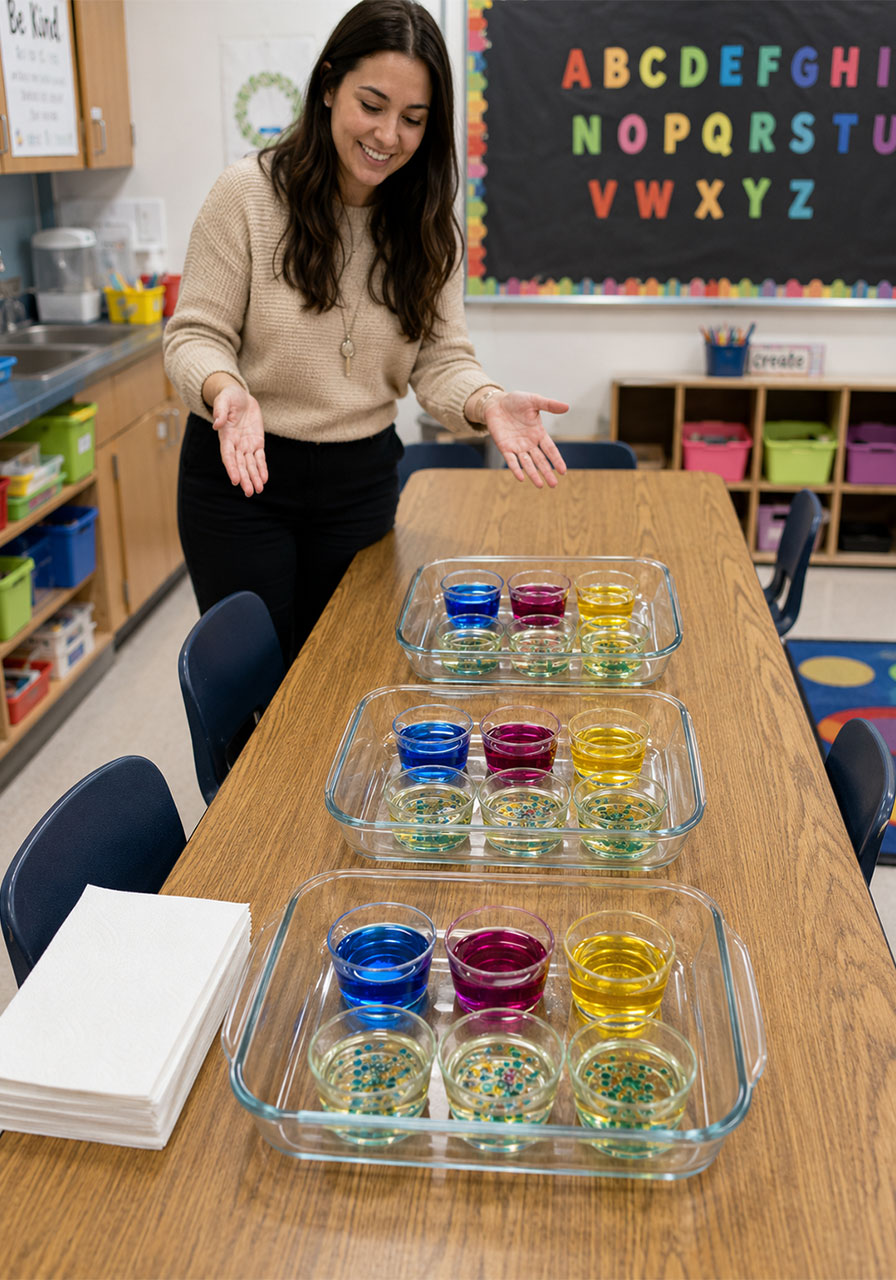
Setup takes about 5 to 10 minutes. The activity itself can run anywhere from 15 minutes to much longer, depending on how many colors and variations you offer.
What You’ll Need
Vegetable oil (an affordable, easy-to-find option)
Water
Food coloring or liquid watercolor
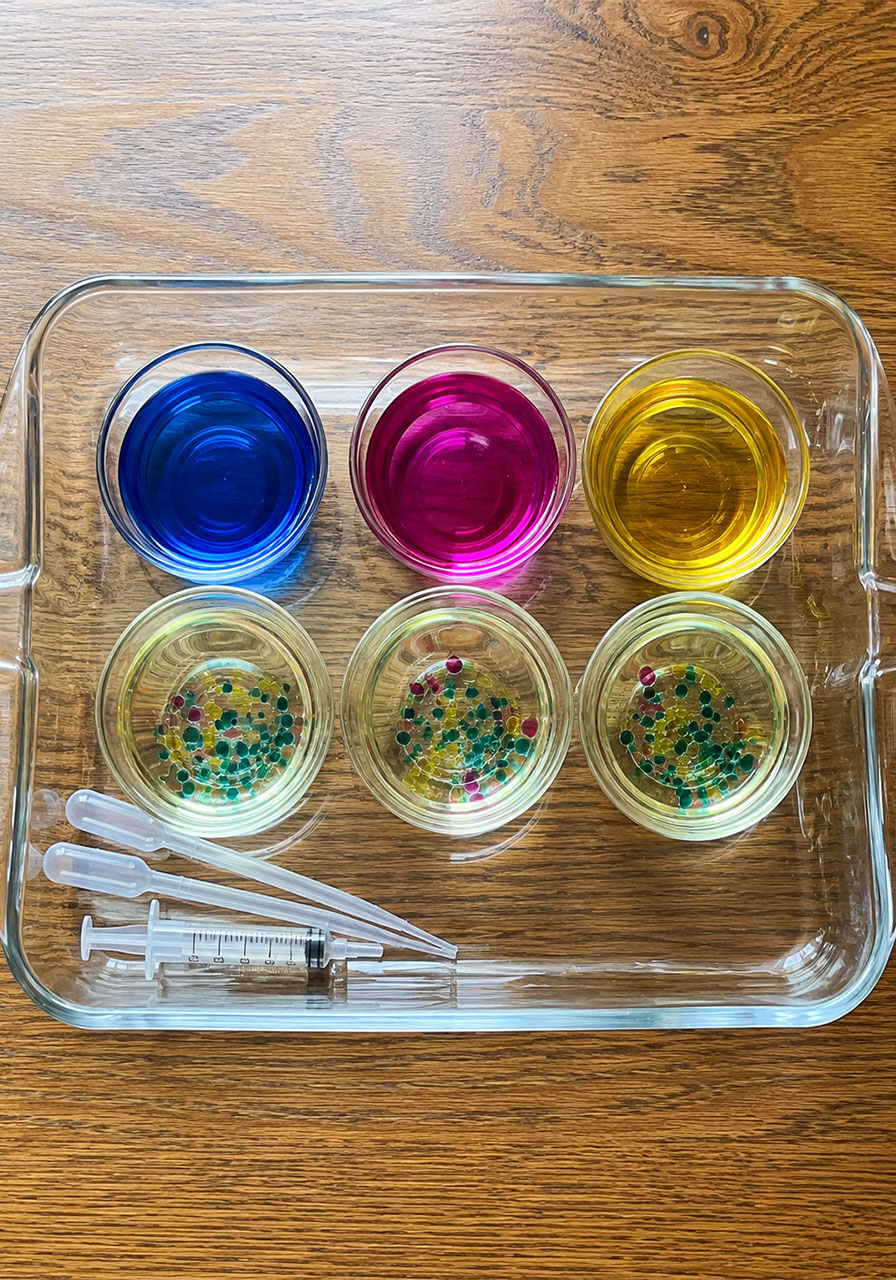
Small glasses or bowls, one for each color
Pipettes or syringes (leftover medicine syringes work great)
A cookie sheet, tray, or shallow dish to catch spills
This list looks long, but almost everything on it is a basic pantry item. If you’re setting this up for a classroom, these supplies are inexpensive enough to prep for a whole group without breaking your supply budget.
How to Set It Up
1. Place your small glasses on the cookie sheet or tray. This catches any spills and keeps cleanup simple.
2. Fill each glass with about half a cup of vegetable oil.
3. In a separate cup, mix a few drops of food coloring into a few tablespoons of water. A little goes a long way, and you can always mix more as needed.
4. Set out your pipettes or syringes next to the tray.
That’s it. Setup is genuinely that simple, which is exactly why this activity works so well for busy parents and teachers who don’t have time for elaborate prep.
How to Play: Step-by-Step Instructions
The first time you try this experiment with a child, it helps to model it for them first.
1. Show the child the pipette or syringe and explain that you’ll use it to pick up some of the colored water.
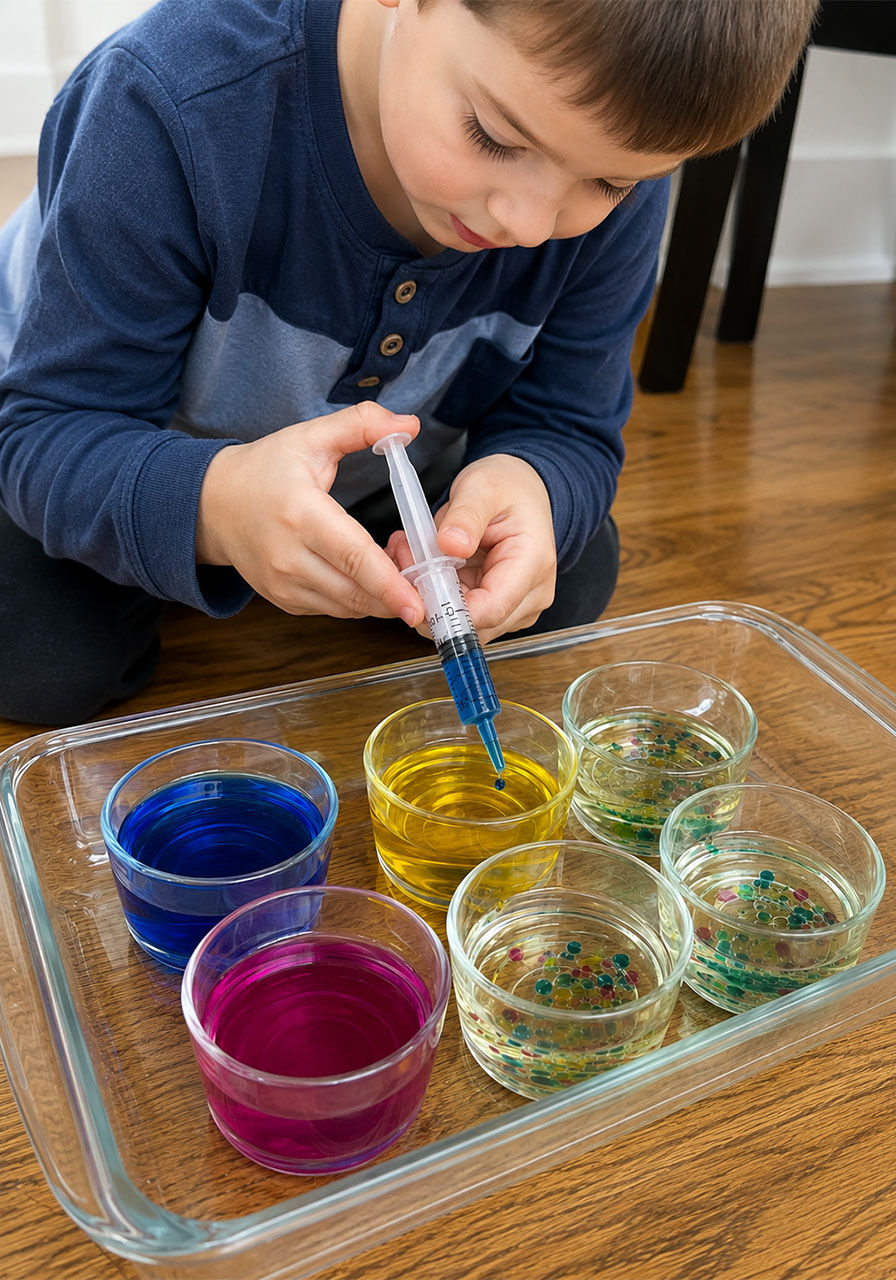
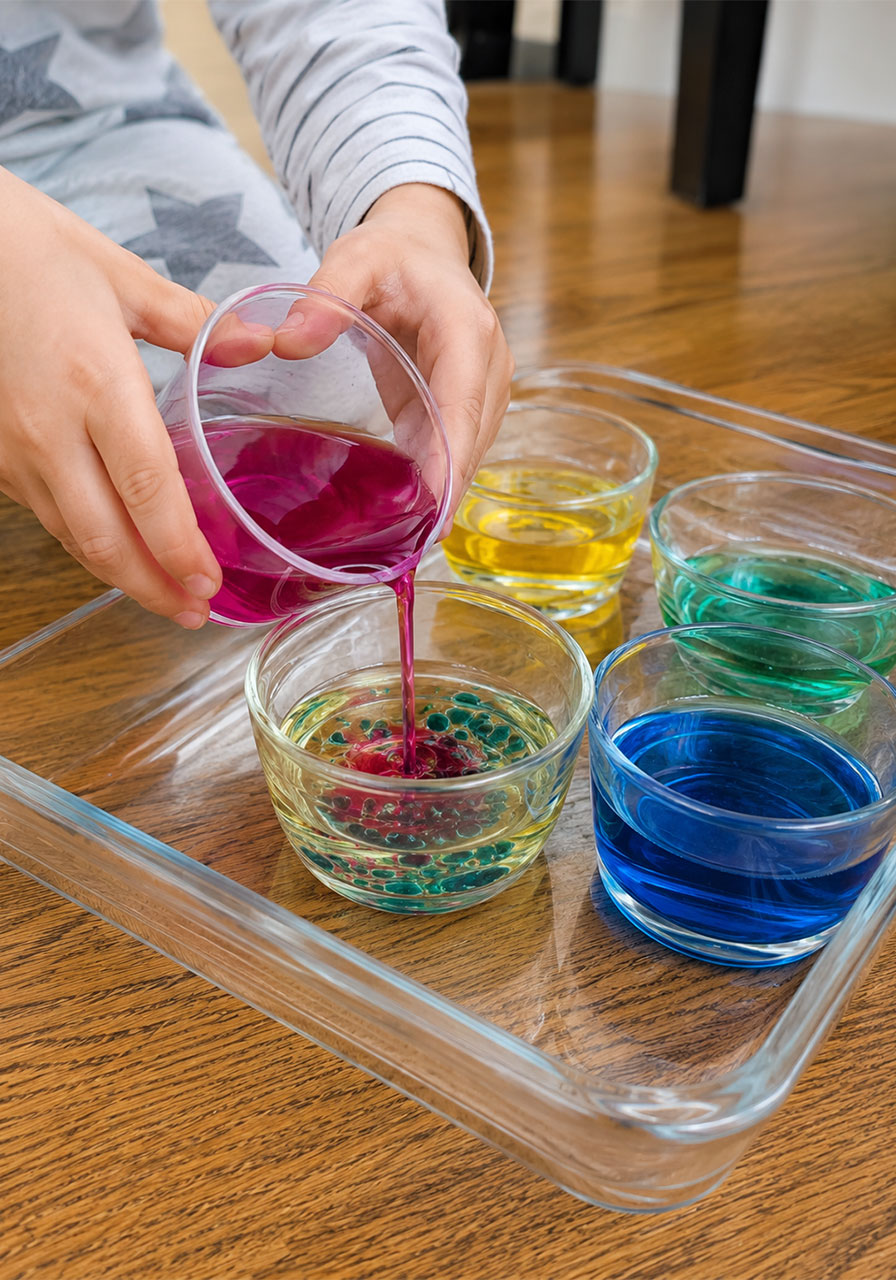
2. Demonstrate squeezing a small amount of colored water gently into a glass of oil.
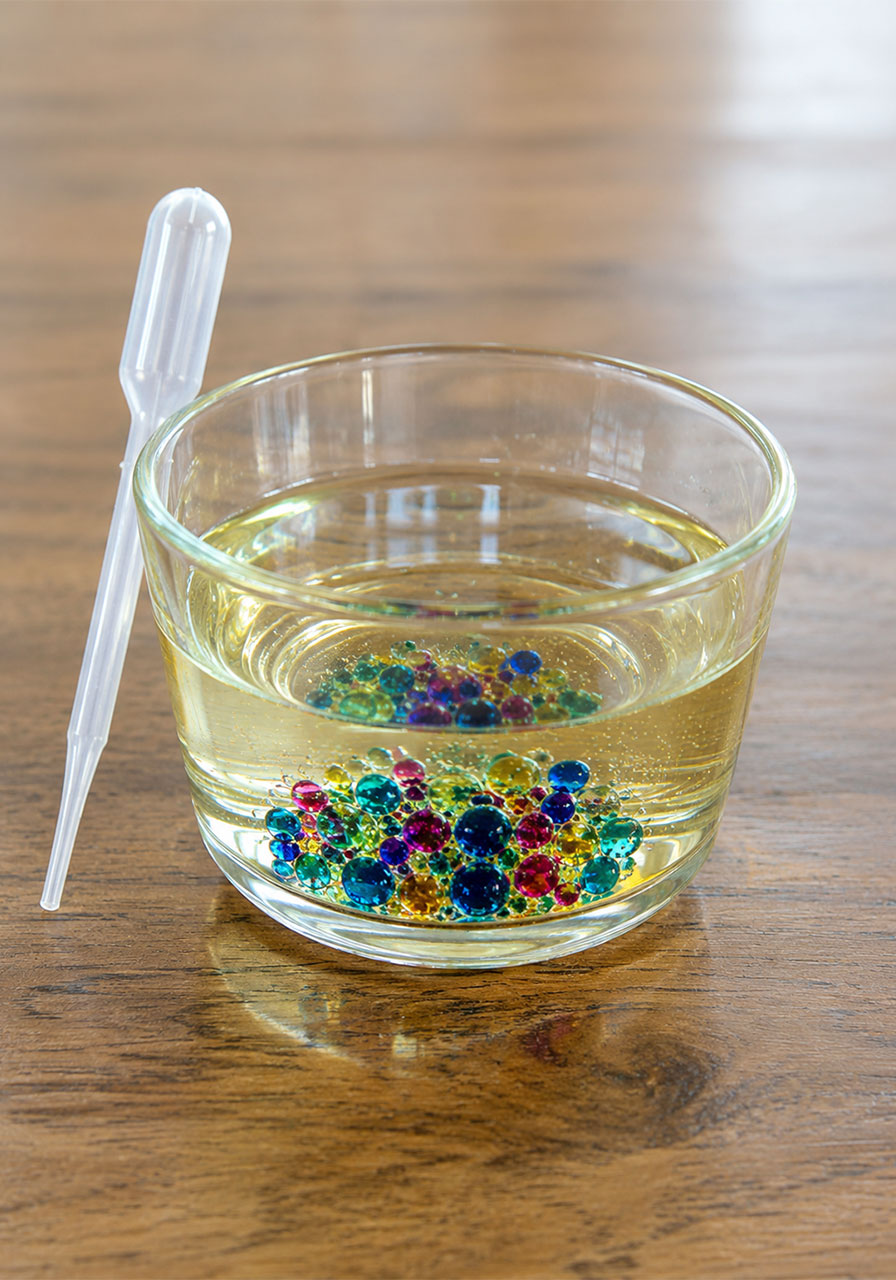
3. Watch together as the colored droplets sink through the oil, forming little beads and bubbles.
4. Invite the child to try it themselves, using their own pipette and a fresh glass of oil.
5. Let them experiment freely. They can try different colors, different drop sizes, or even try stirring the water into the oil to see what changes.
Safety note: Always supervise young children when using small parts like pipettes or syringes, and use non-toxic food coloring throughout.
The Science Behind the Fun
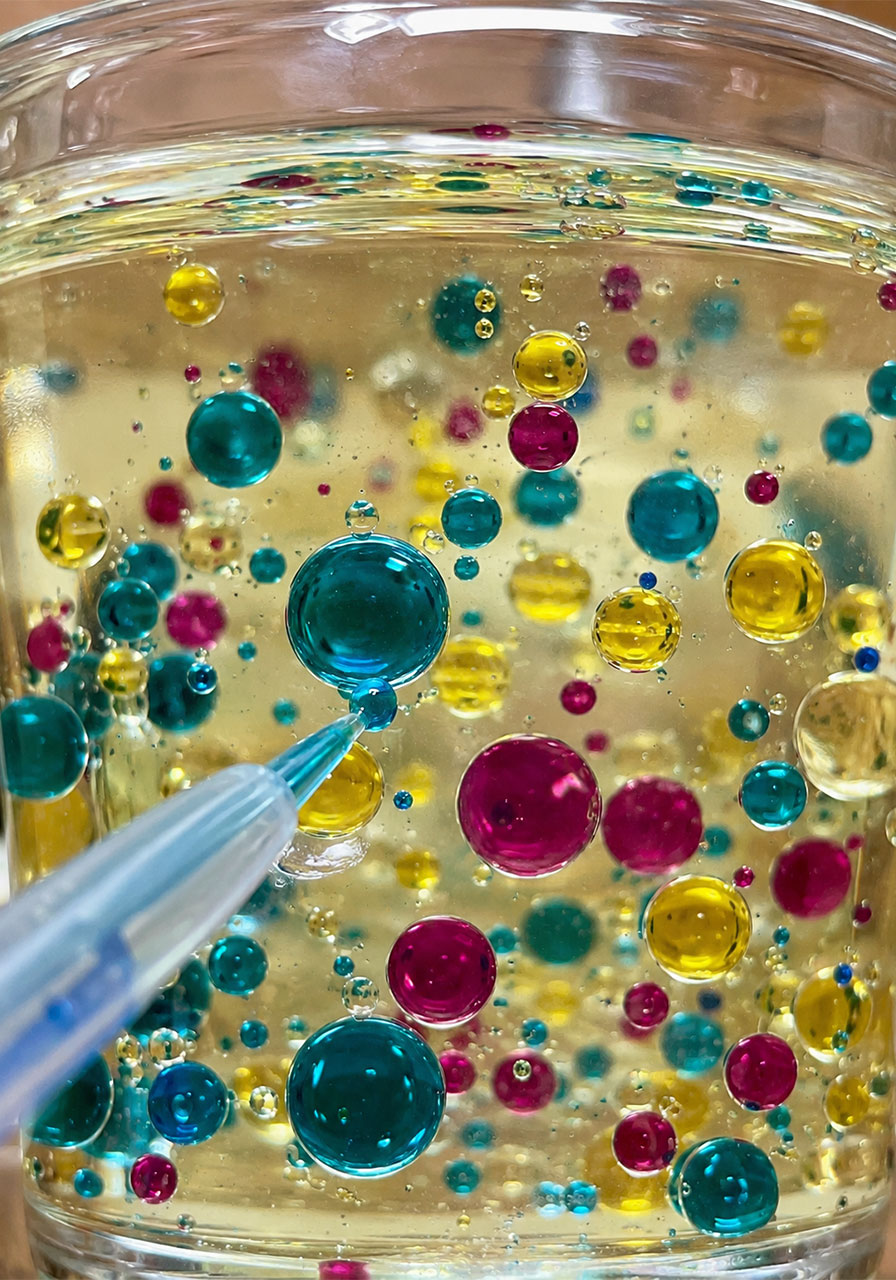
Here’s the real science, explained simply enough to share with even your youngest scientists. Oil and water do not mix because they have different densities.
Water is denser than oil, which is why the colorful water droplets sink straight to the bottom of the glass instead of floating or blending in. This is also why you’ll see the droplets form round beads instead of spreading out evenly.
For a classroom setting, this is a perfect, low-pressure introduction to the concept of density and why certain liquids separate rather than combine. You don’t need to get into deep chemistry to make this land. The visual is teaching the lesson for you.
Questions to Ask While They Experiment
This activity becomes even more valuable when you turn it into a conversation. Try asking open-ended questions while the child works.
“Why do you think that’s happening?”
“What do you notice about the size of the bubbles?”
“Can you make the droplets bigger or smaller?”
These questions encourage kids to think like real scientists. They’re observing, predicting, and testing, which are the exact skills that early STEM education is built around.
Ways to Extend the Experiment
Once the basic experiment is done, there are plenty of ways to keep the learning going. Try varying the amount of water dropped into each glass to see how the results change.
Experiment with mixing multiple colors into a single glass and watch what happens when the droplets meet at the bottom.
Try stirring the water directly into the oil with a spoon. Ask the child to predict what will happen before they try it, then compare their guess to the actual result.
For older kids, this is a great moment to introduce the word “density” directly and connect it to other everyday examples, like why oil floats on top of salad dressing before you shake it.
Is There a Best Age for This Activity?
Think in terms of developmental stage rather than a strict age cutoff. This activity works well for any child who can manage a pipette or syringe, which for many kids lands somewhere between 2 and 3 years old.
That said, there really isn’t an upper age limit. Older elementary students and even middle schoolers enjoy this activity, especially when you frame it around testing variables and making predictions rather than just squeezing color into oil.
Pro Tip
If you’re running this activity with a group, prep a few extra cups of colored water ahead of time. Kids tend to go through their supply faster than you’d expect once they get into a rhythm.
Fun Variation
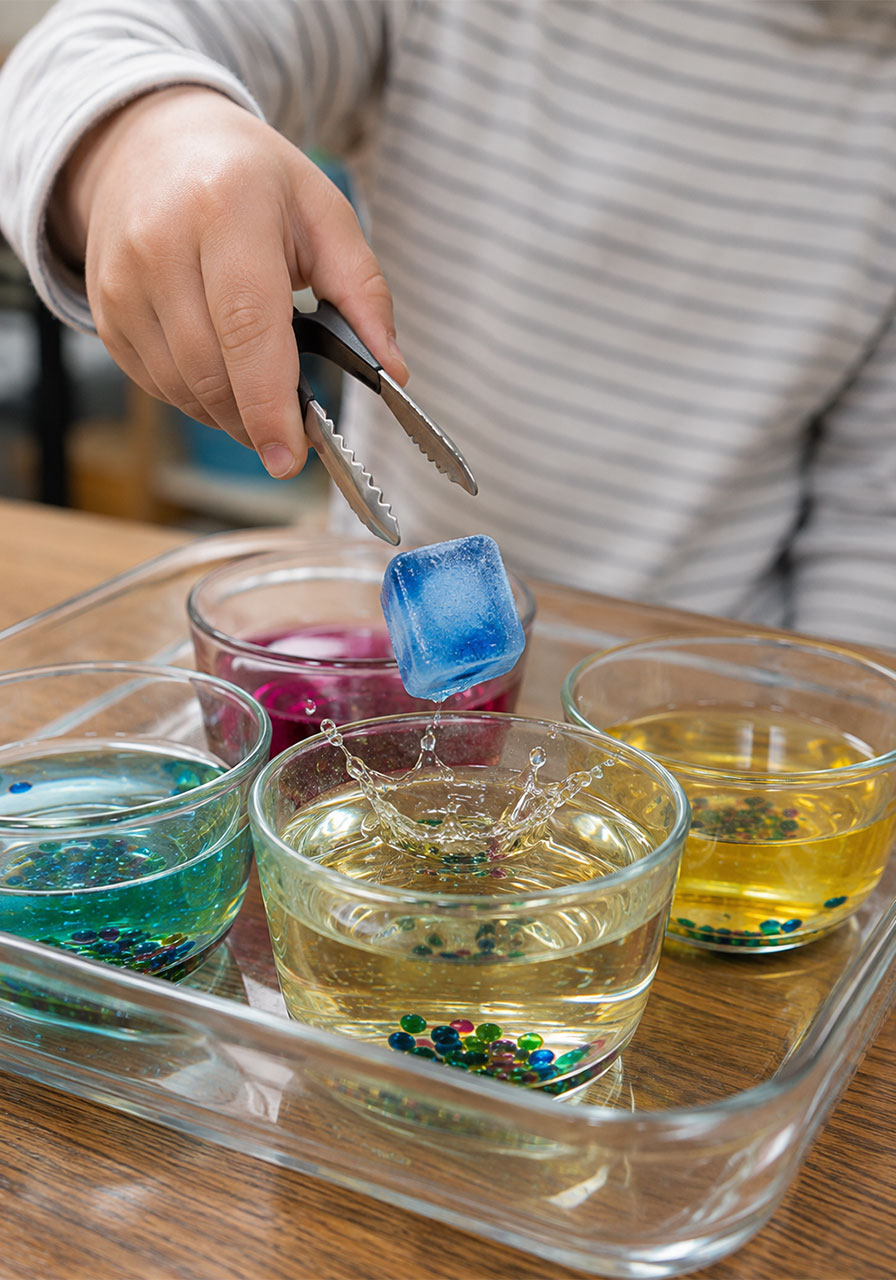
Try freezing small amounts of colored water into ice cubes, then drop the cubes into the oil and watch them melt and sink in real time. This adds a whole new layer of observation to the experiment.
Final Thoughts
This oil and water science experiment proves that the best STEM activities don’t need to be complicated or expensive. With a few simple supplies and a little bit of guided curiosity, you can turn a kitchen table into a genuine science lab.
Whether you’re a teacher looking for a low-prep classroom activity or a parent hoping to fill an afternoon with something educational and genuinely fun, this one delivers every time.
