
Stuck inside on a rainy afternoon with kids who need something to do right now? This Baking Soda Growing Tree is the answer.
It uses ingredients you already have in your kitchen. It takes about 15 minutes of hands-on setup. And it delivers a genuinely impressive result: a sparkling, crystal-covered “tree” that looks like something from a science museum gift shop.
This is one of our favorite go-to STEM activities for teachers and parents alike. It is simple enough for a classroom of wiggly second graders, yet fascinating enough that even skeptical tweens will want to check on it every hour.
Best of all, the “wait and watch” nature of this project means you get a calm, quiet stretch of time while the magic happens. No constant supervision needed. Just curiosity, a little patience, and a beautiful payoff.
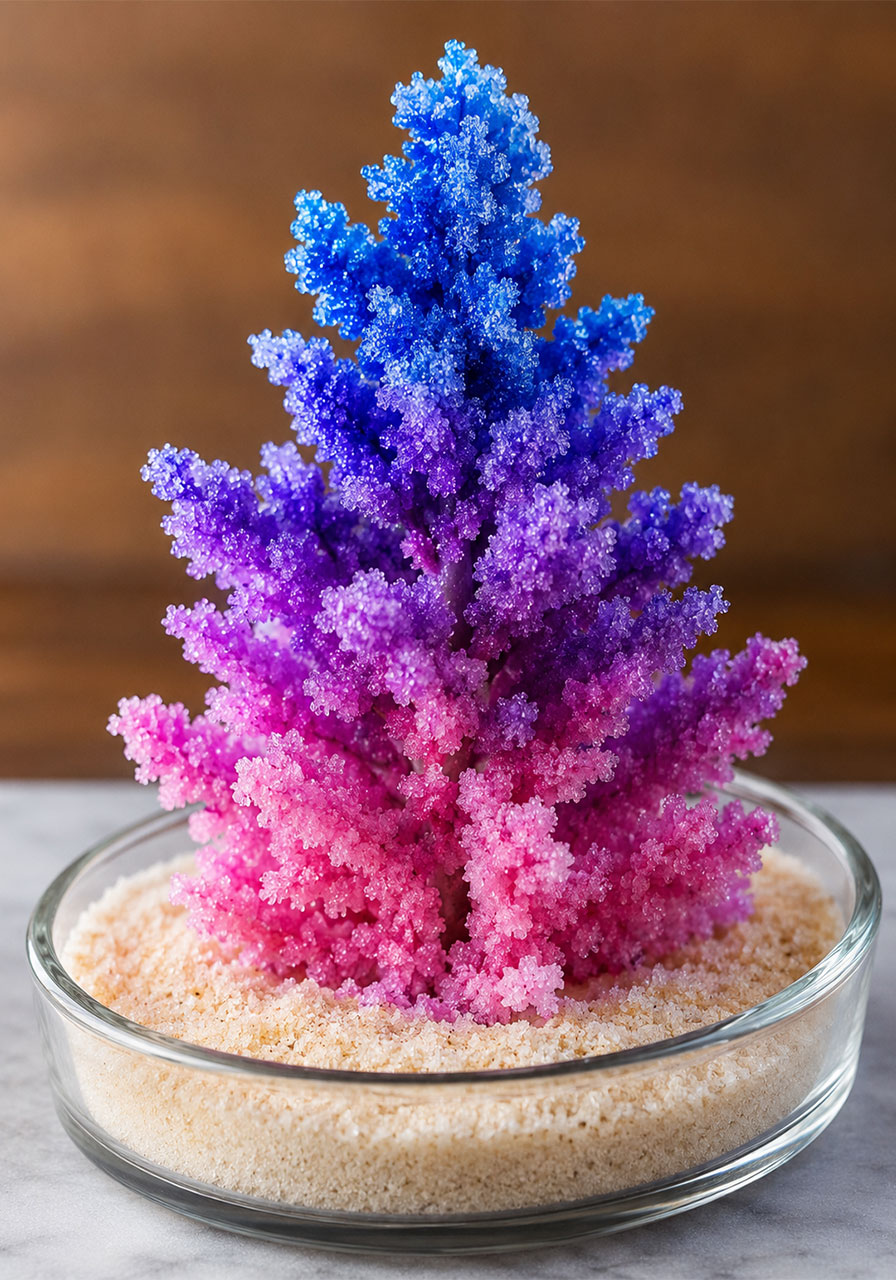
Why This Activity Works So Well
Baking soda dissolves into warm water more easily than it does in cold water. As that water slowly evaporates, the dissolved baking soda has nowhere to go. It comes back out of the solution as solid crystals.
Those crystals need something to grab onto. That’s where your pipe cleaner or twig comes in. The rough, fuzzy surface gives the crystals a place to cling and build, branch by branch, into a tree shape.
This is a real, observable chemistry process called supersaturation and recrystallization. You do not need to say those words to a five-year-old. You just need to let them watch it happen.
For classrooms, this project pairs beautifully with lessons on states of matter, solutions, and evaporation. For home, it is a low-mess way to fill an afternoon with genuine wonder.

Quick Overview
Best for: Ages 4 and up, with adult help for younger kids. Perfect for classrooms, homeschool science, or rainy-day boredom busters.
Active Time: 15 to 20 minutes
Wait Time: 4 to 8 hours, or overnight for the biggest crystals
Mess Level: Low. Baking soda wipes away easily with a damp cloth.
What You’ll Need
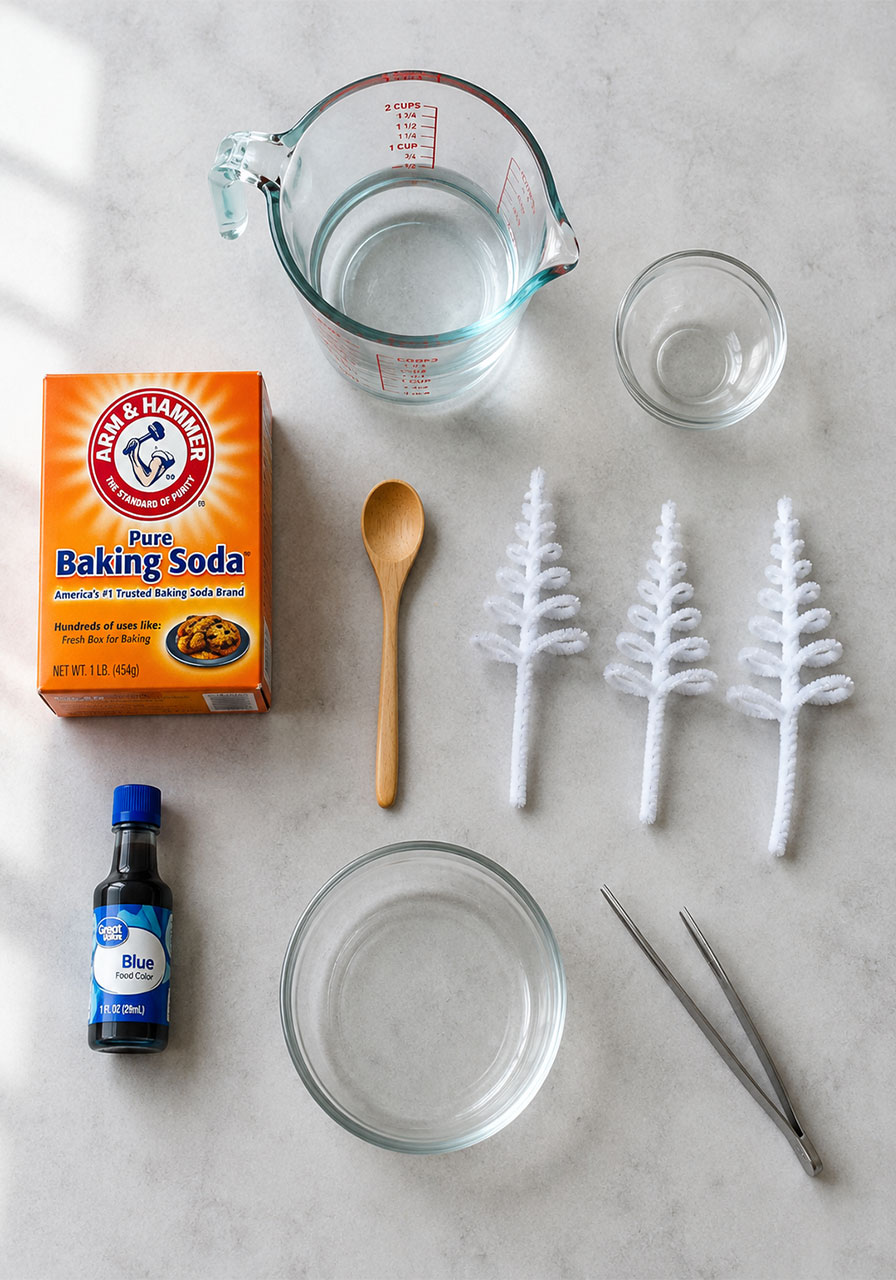
Baking soda (sodium bicarbonate) – the star of the show
Warm water, not boiling
A shallow glass dish or small jar to act as the base
A small cup for mixing
A spoon for stirring
Pipe cleaners, or a small twig for a more natural look
Food coloring or liquid watercolor (optional, but highly recommended for the “wow” factor)
A pinch of table salt (optional, changes the crystal texture)
Tweezers or a toothpick, for small adjustments
Sand, or extra baking soda, to create a stable base layer in the dish
Step-by-Step Directions
Step 1: Set up your space.
Lay a towel down on your work surface. Gather all your materials so everything is within reach before you start.
A tidy setup means less scrambling once the solution is mixed and you need to move quickly.
Step 2: Warm your water.
Heat water until it is comfortably warm to the touch, but not boiling. Test it with your wrist the way you would test a baby bottle.
Warm water dissolves baking soda much faster than cold water, which means faster, better results.

Step 3: Mix your solution.
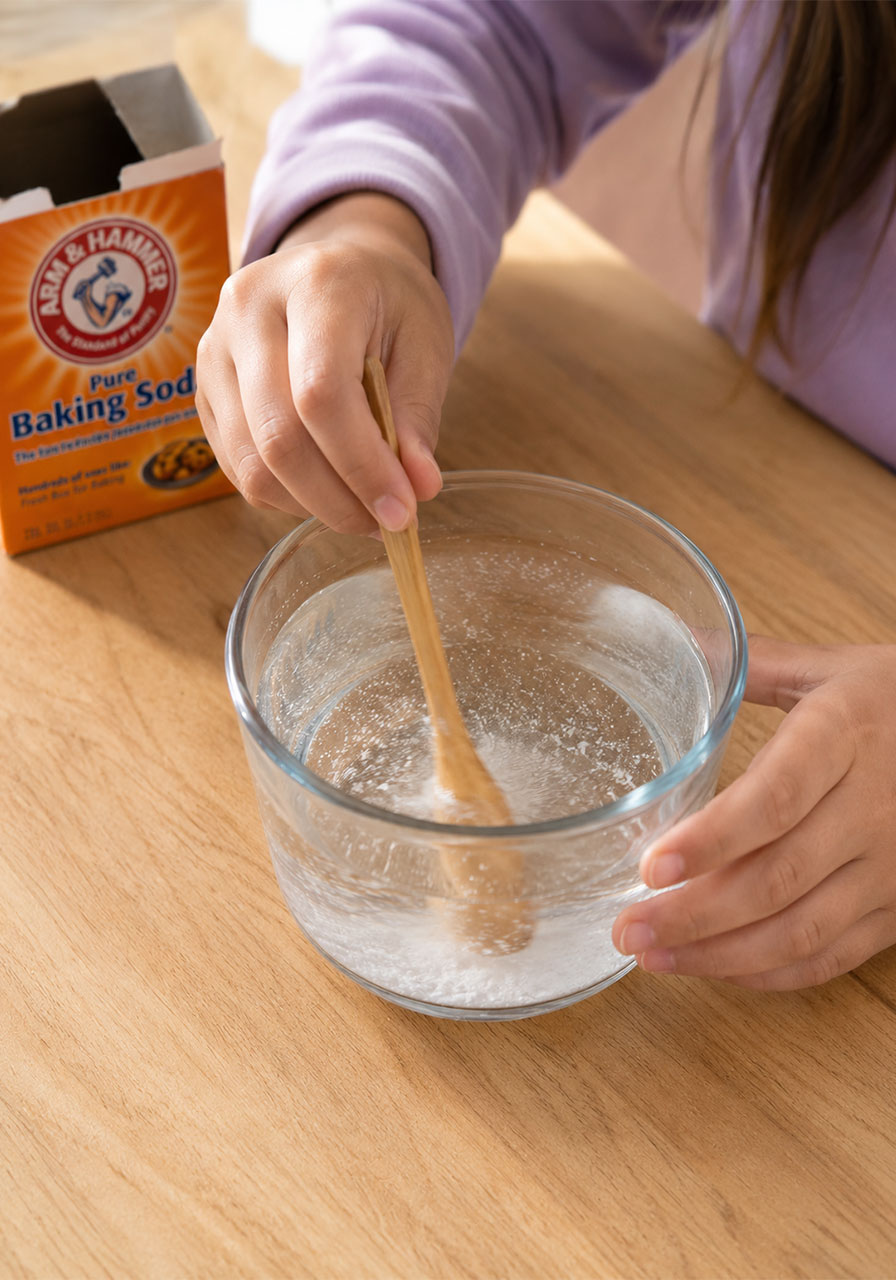
Pour about 2 to 3 tablespoons of baking soda into your mixing cup for every cup of warm water you use.
Slowly add the warm water and stir steadily. Keep stirring until the mixture looks clear rather than cloudy.
If you still see undissolved granules sitting at the bottom, add a small splash more warm water and keep stirring.
Step 4: Add color, if you’re using it.
Stir in a drop or two of food coloring or liquid watercolor now, along with a pinch of salt if desired.
Go easy on the coloring. A little goes a long way, and too much can mask the sparkly white crystal texture you’re going for.
Step 5: Create a base and anchor your tree.
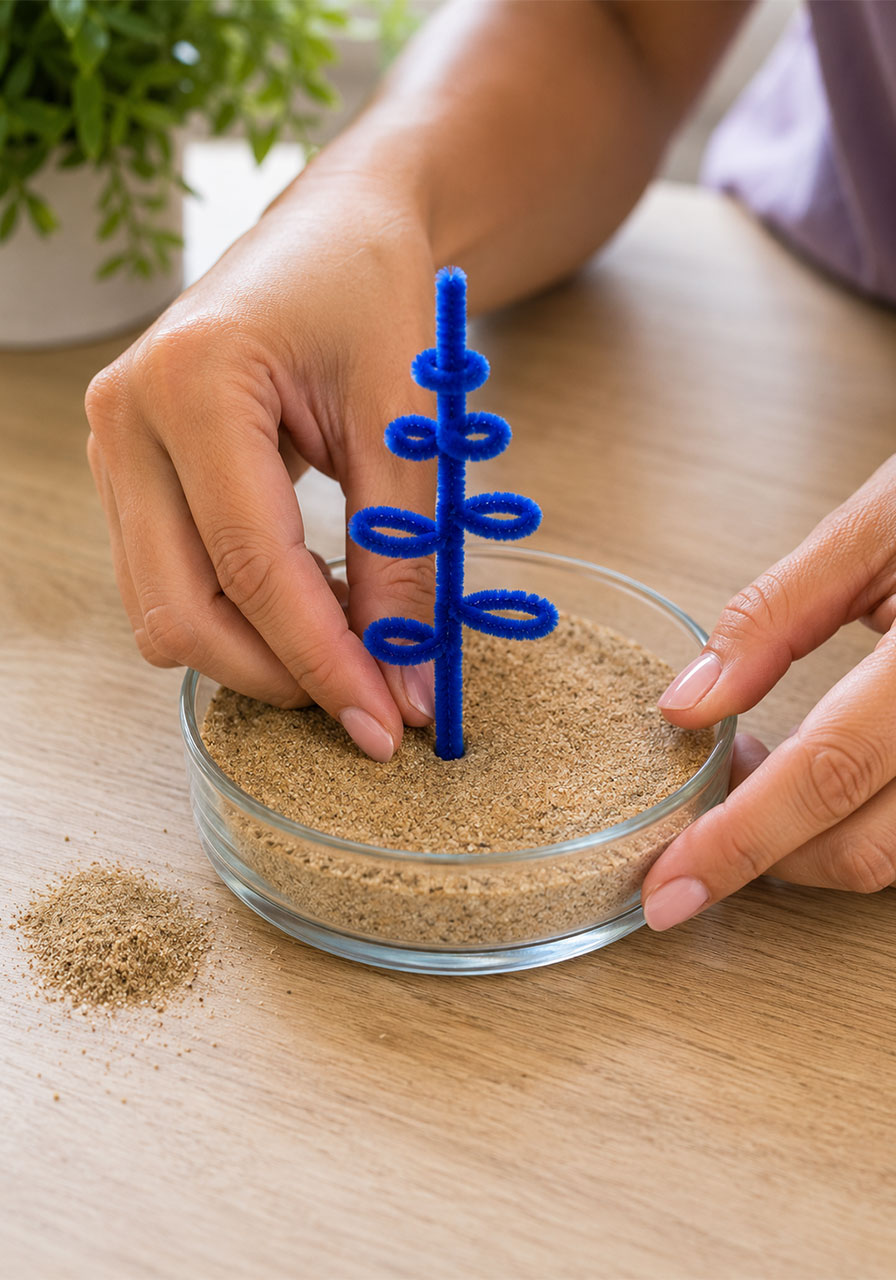
Pour a layer of dry sand (or a thick layer of plain baking soda) about 1 inch deep into the bottom of your shallow dish or jar.
Twist your pipe cleaner into a rough tree shape, or use a small twig instead for a more natural look. Push the base of the tree firmly down into the sand or baking soda layer so it stands upright on its own.
Give it a gentle wiggle test. It should not tip over when liquid is poured in.
Step 6: Pour the solution around the base.
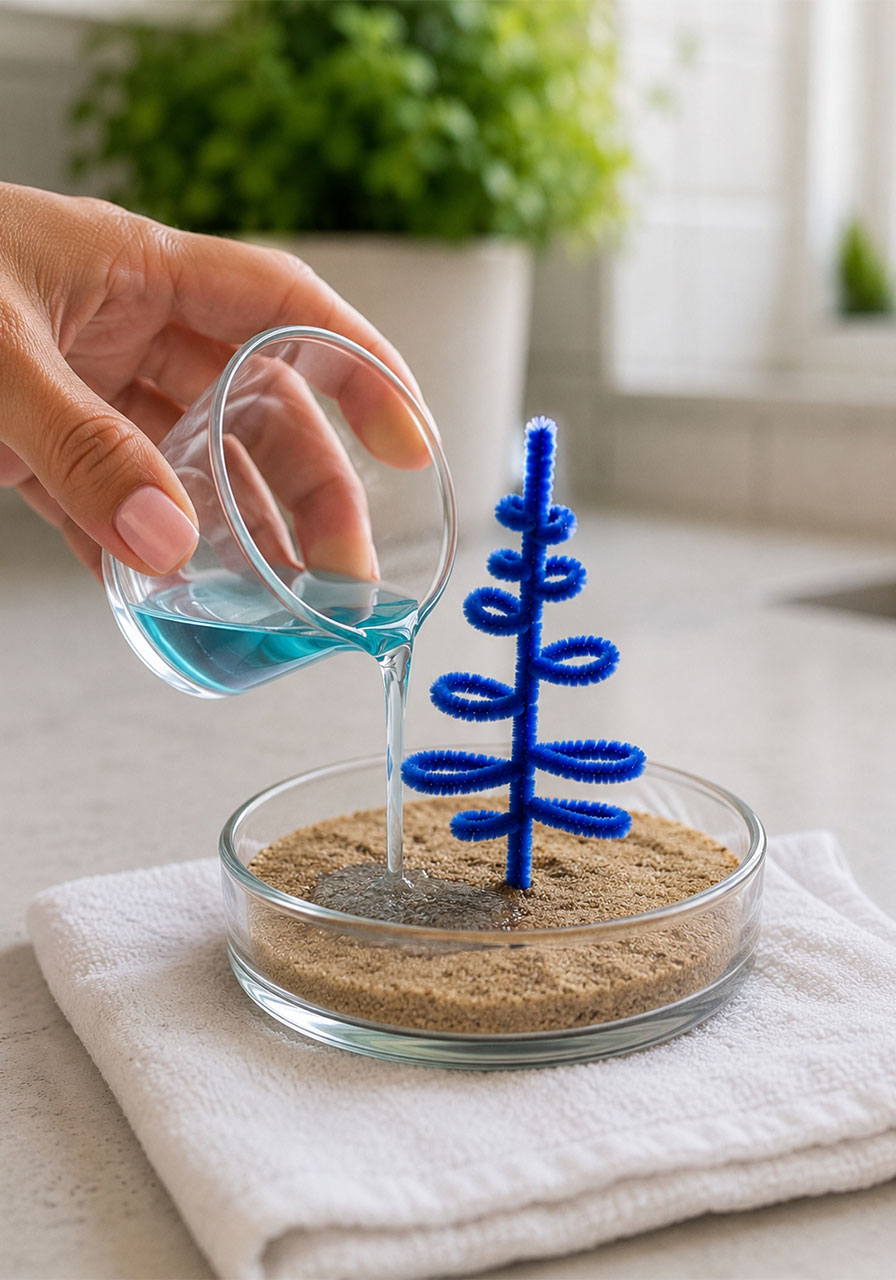
Pour your warm baking soda solution slowly over the sand or baking soda bed, soaking it thoroughly so it wicks up into the base of the tree.
Pour carefully to avoid knocking the tree over. The solution should soak the base layer completely but should not fully submerge the top branches.
Step 7: Watch and wait.
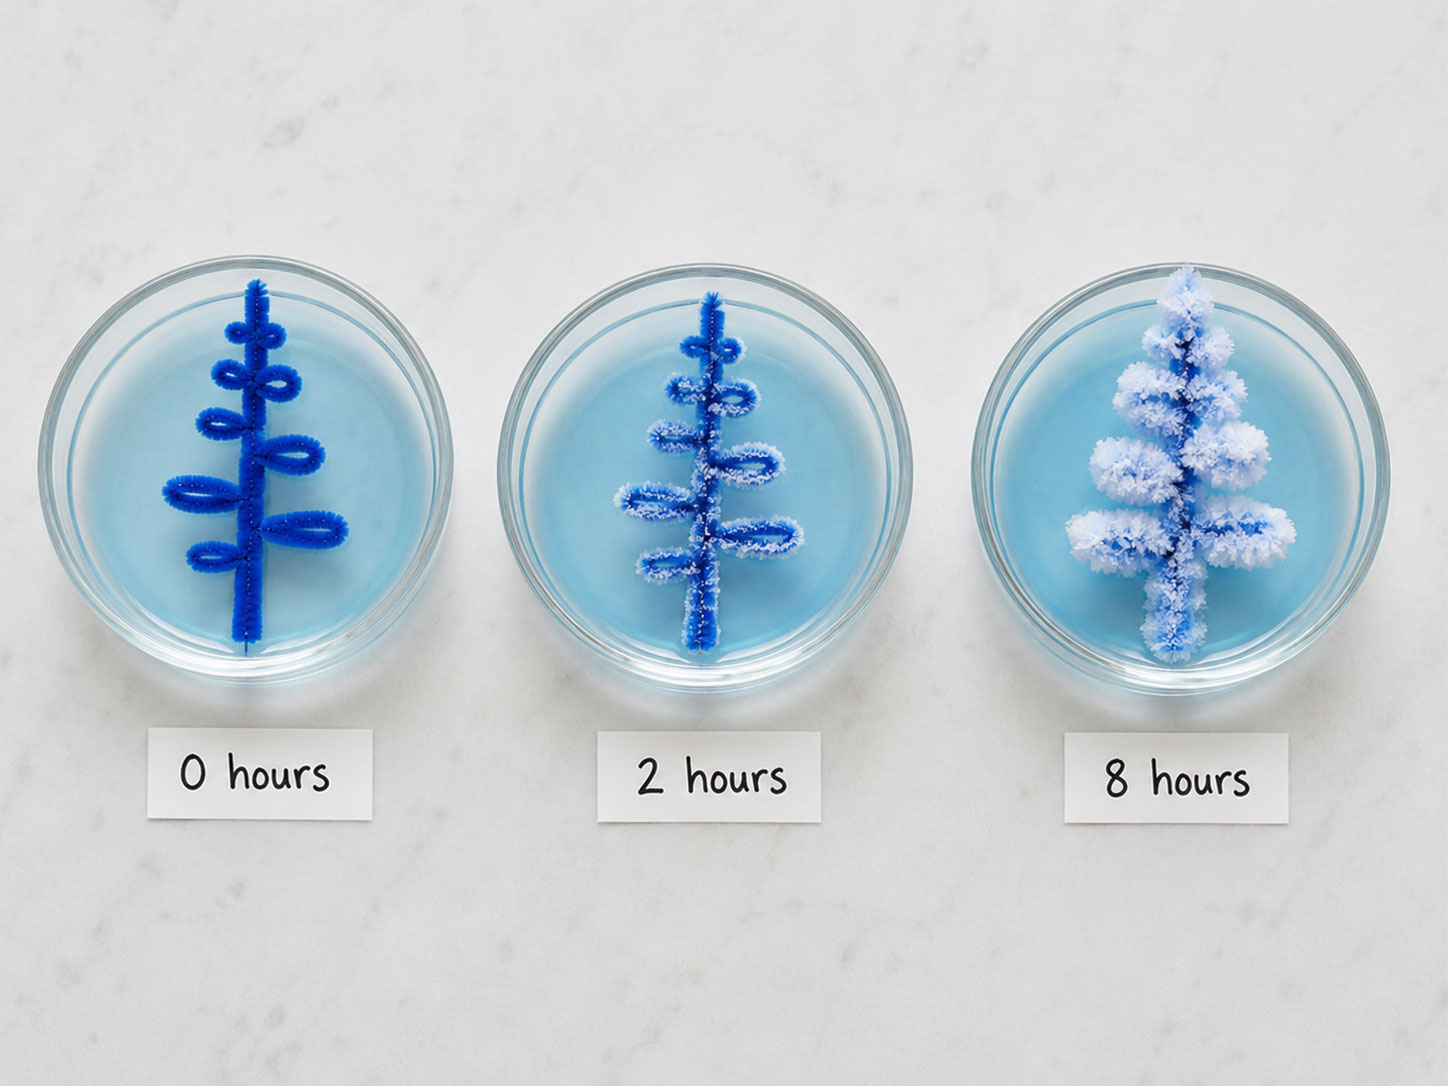
Check back every 15 to 30 minutes at first. You’ll start to notice tiny white crystals forming along the base and lower branches.
This is the best part for kids. Encourage them to take photos at each check-in so they can see the progress over time.
Step 8: Make small adjustments as needed.
If a branch tips over or crystals clump strangely, gently nudge things back into place using tweezers or a toothpick.
Move slowly here. The early crystals are delicate and can break if handled roughly.
Step 9: Let it rest.
Leave the tree completely undisturbed for several hours. Overnight gives the thickest, most impressive crystal coverage.
The longer you wait, the bigger and more dramatic the final result will be.
Step 10: Enjoy or preserve your tree.
Once you’re happy with the crystal growth, you can remove the tree and let it air-dry on a towel, or leave it in the dish for continued observation.
Pro Tip
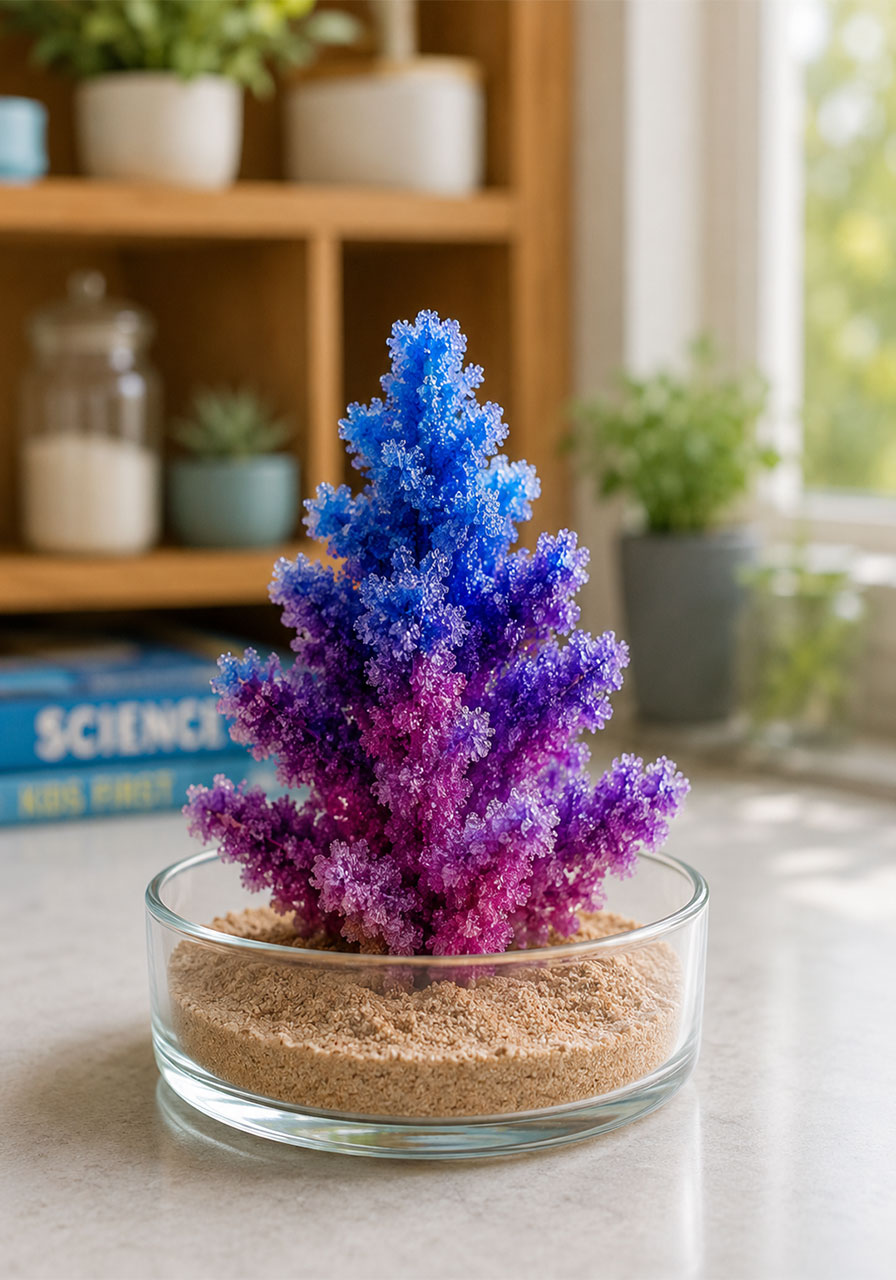
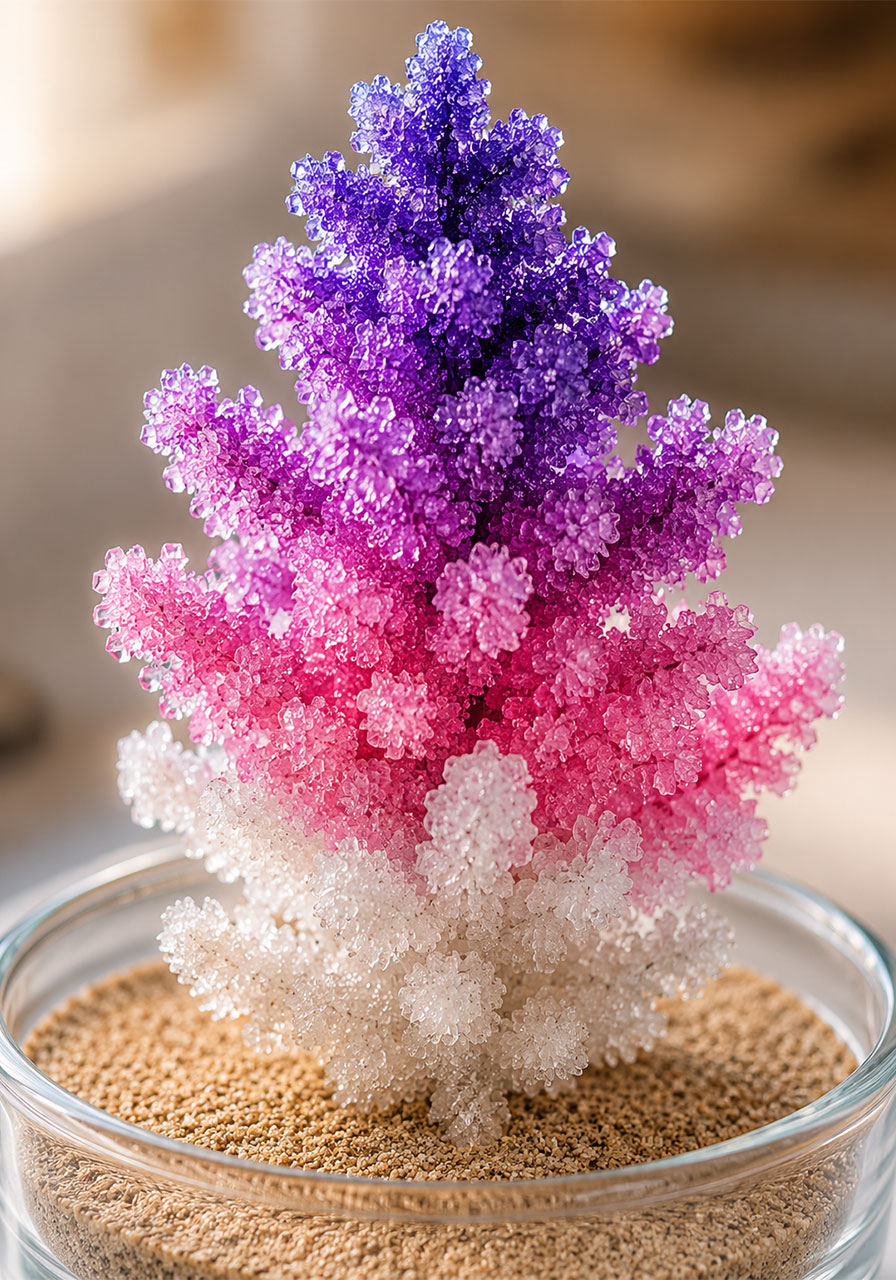
Try a two-layer pour for a stunning ombre effect. Pour a plain, uncolored solution first and let a few hours pass. Then pour a colored solution on top.
You’ll get a tree with a white base and vibrant, colored crystals higher up, exactly like a real ombre Christmas tree ornament.
The Simple Science Behind It
This project is a clear, visual lesson in cause and effect, which makes it a favorite among teachers.
Warm water can hold more dissolved baking soda than cool water can. As the water slowly evaporates off, it can no longer hold onto all that dissolved baking soda.
The extra baking soda has to go somewhere. It solidifies again, forming crystals wherever it can find a rough surface to grip, like your pipe cleaner or twig.
Along the way, kids also practice fine motor skills while shaping the tree and using tweezers. They build patience while checking in over several hours. And they practice real scientific observation by tracking size, shape, and timing.
Troubleshooting Common Issues
Crystals are forming too slowly. Your solution may need more baking soda, or your room may be too cool. Try adding a touch more baking soda, or move the dish to a warmer spot.
In a warm room, you should see the very first crystals appear within 30 to 60 minutes.
The tree keeps falling over. The base likely is not anchored well enough. Add extra pipe cleaner twists at the bottom, or wedge a twig firmly against the rim of the dish.
Pouring very slowly also helps prevent the tree from shifting.
The solution stays cloudy and never clears. This usually means you added too much baking soda for the amount of water used. Stir in a little more warm water until the mixture clears.
Crystals are forming unevenly. Dust, oil, or residue on your pipe cleaner or twig can interfere with crystal formation. Rinse and fully dry your base material before you start.
Easy Variations to Try
Layered color bands. Pour a plain solution first, let some crystals form, then pour a different colored solution afterward. This creates striking color bands as new crystals build on top of older ones.
Different tree shapes. Twist pipe cleaners tightly for a dense, full look, or loosely for a wispier, airy tree. A real twig gives you a naturally rough surface that crystals love to grip.
A mini crystal forest. Set up several small twigs in the same dish. The trees will compete for the dissolved baking soda, creating a fun miniature landscape effect.
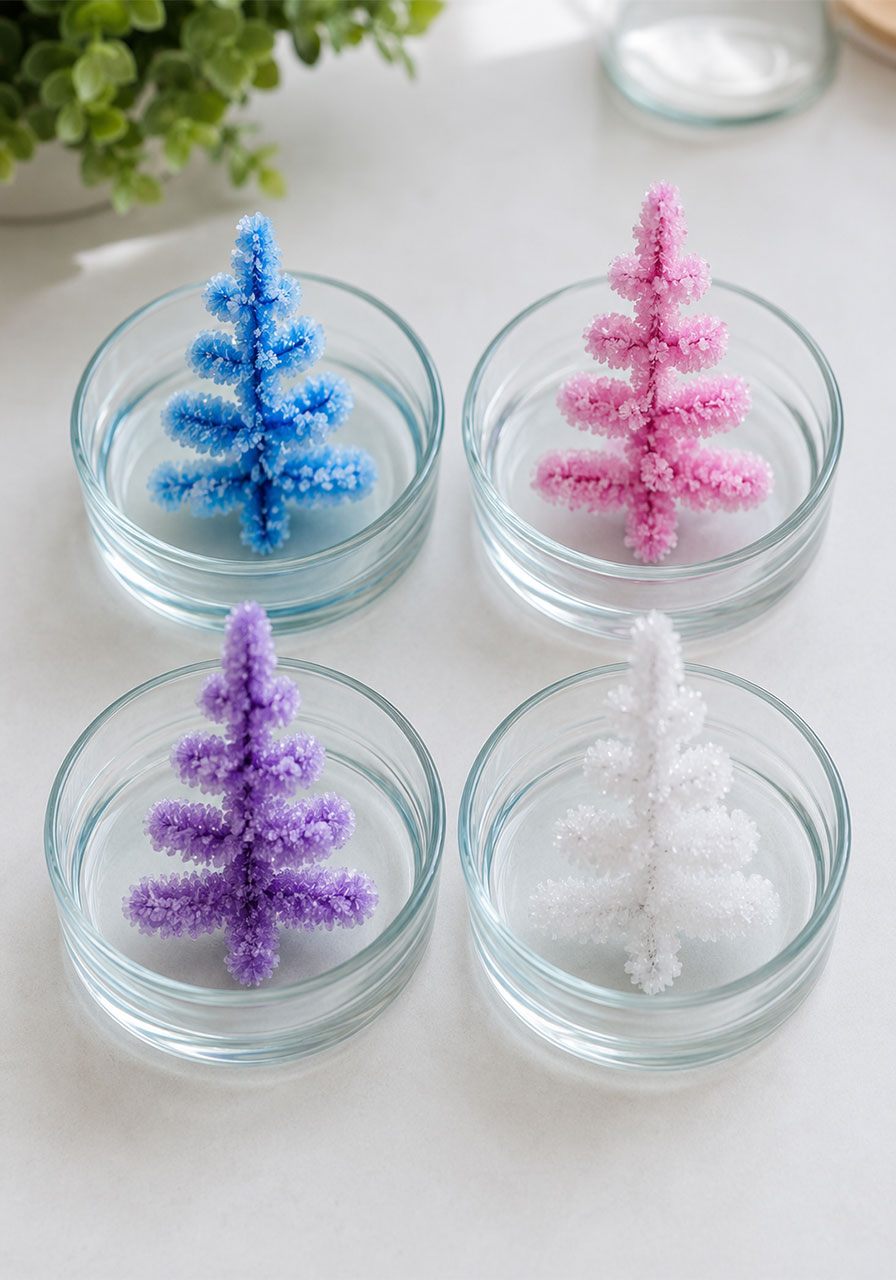
A pre-tinted base. Dip the tip of your pipe cleaner or twig in diluted food coloring before you build your solution. This tints the very first crystals that form.
Storing Your Finished Crystal Tree
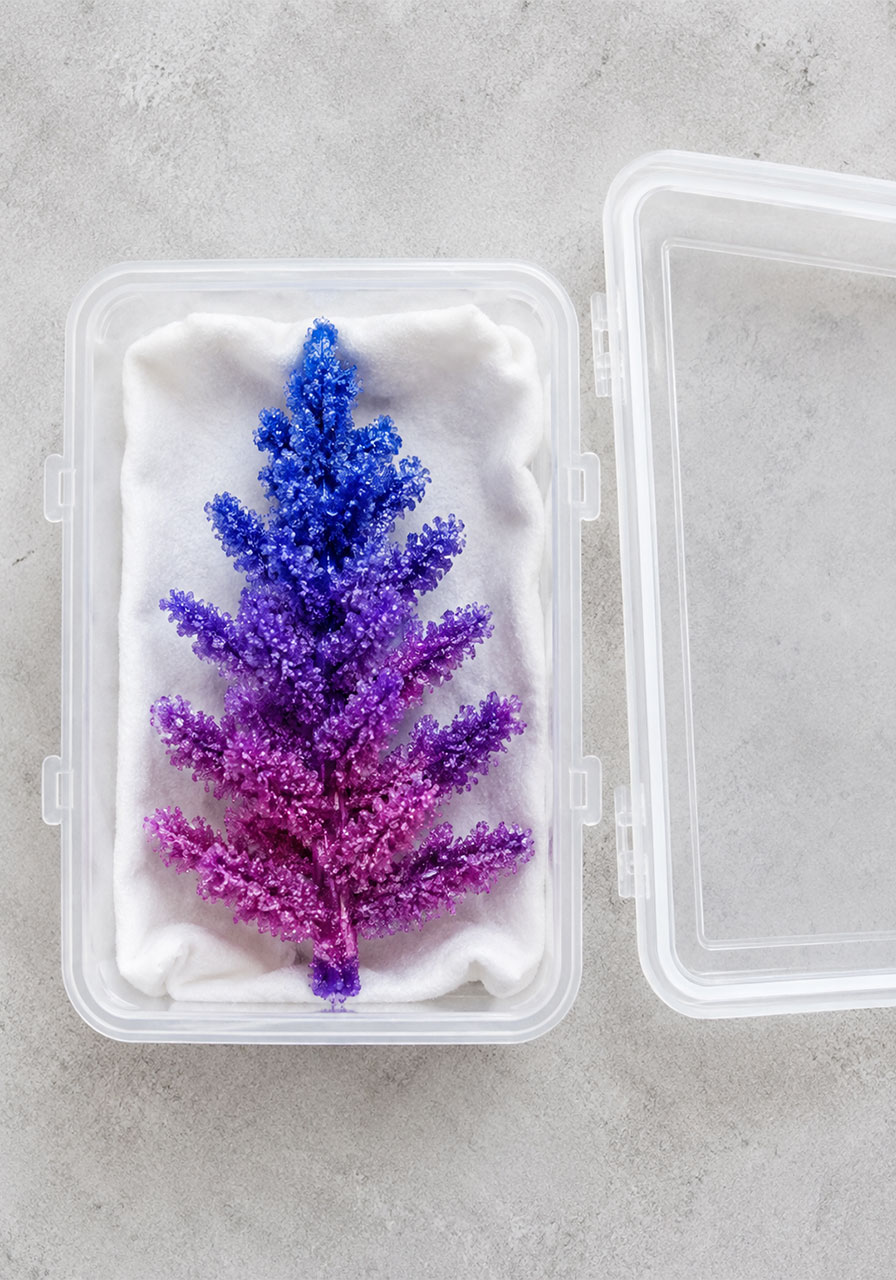
To keep your tree long-term, let it dry fully on a towel for at least 24 hours before storing or displaying it.
Keep it in a small box or on a shelf away from humidity. Crystals can slowly soften or lose shape in damp conditions.
Your dish and cup can be washed and reused right away. Baking soda residue rinses away easily with warm water.
Frequently Asked Questions
Will this make a big mess?
Not really. Expect a few small drips when pouring, and any dried residue wipes up easily with a damp cloth. This is far less messy than a typical paint or glue project.
Is this safe for young kids?
Yes, with supervision. All the ingredients are common kitchen items. An adult should handle warming the water and help younger children with pouring.
Can I use cold water instead?
You can, but warm water dissolves baking soda much faster and gives clearer, more reliable results. Cold water will work, just more slowly.
How do I get the best colors?
Add just one or two drops of food coloring or liquid watercolor. Too much dye can hide the sparkly white crystal texture that makes this project so eye-catching.
How long will the finished crystals last?
As long as they stay dry, crystal trees can last for months on a shelf. Humidity is their main enemy, so keep them somewhere cool and dry.
A Final Note
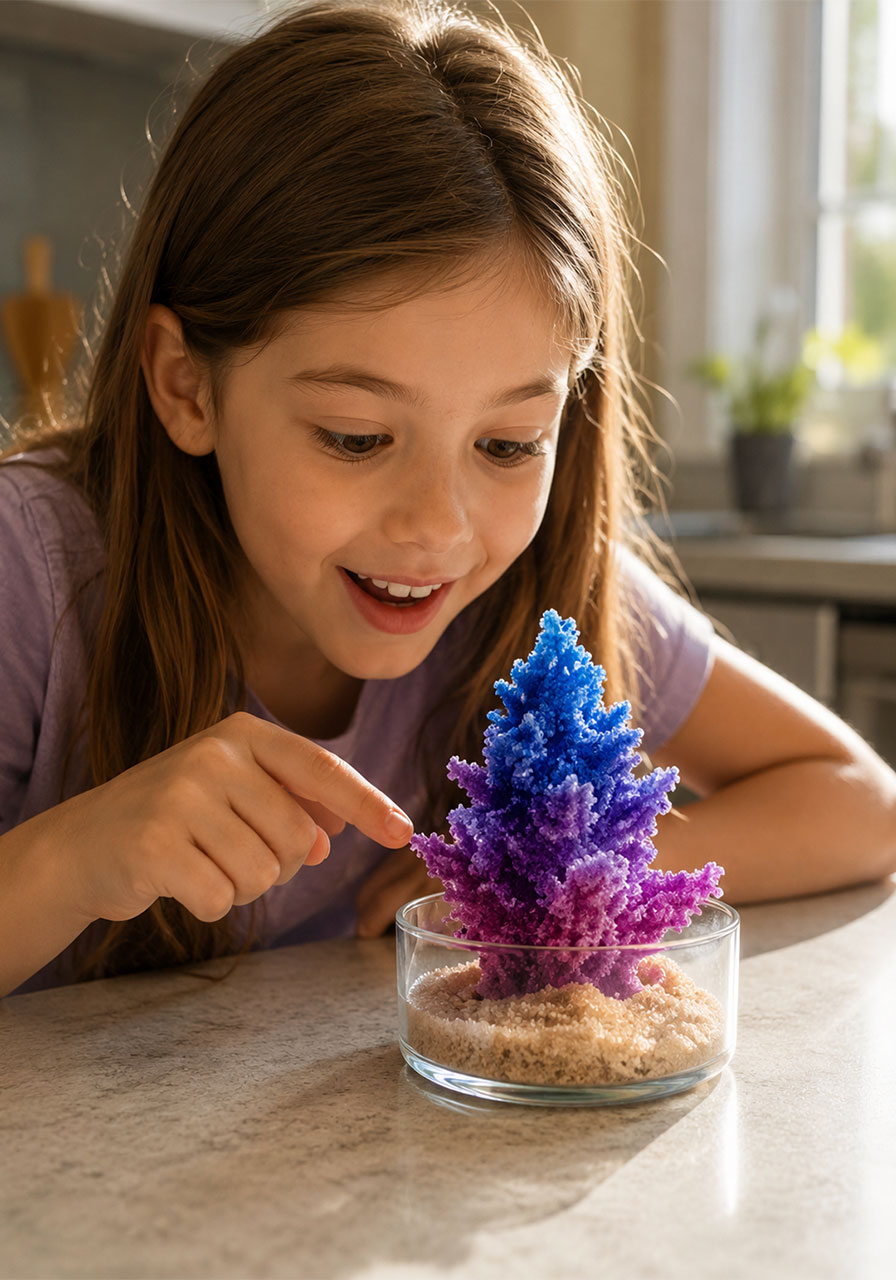
Your first attempt may not be picture-perfect, and that’s completely normal. Treat it as practice and pay attention to the small wins along the way, like the moment the solution turns clear or the first tiny crystal appears.
If a branch tips or breaks, don’t worry. New crystals will often grow right over the gap within a few hours.
This is a slow, quiet kind of science, and that’s exactly what makes it so satisfying for a rainy afternoon at home or a science center in the classroom.
