
If your students or kids already love making slime, get ready to blow their minds. This color-changing slime doesn’t just stretch, squish, and satisfy – it actually changes color right before their eyes when it hits sunlight or a UV light.
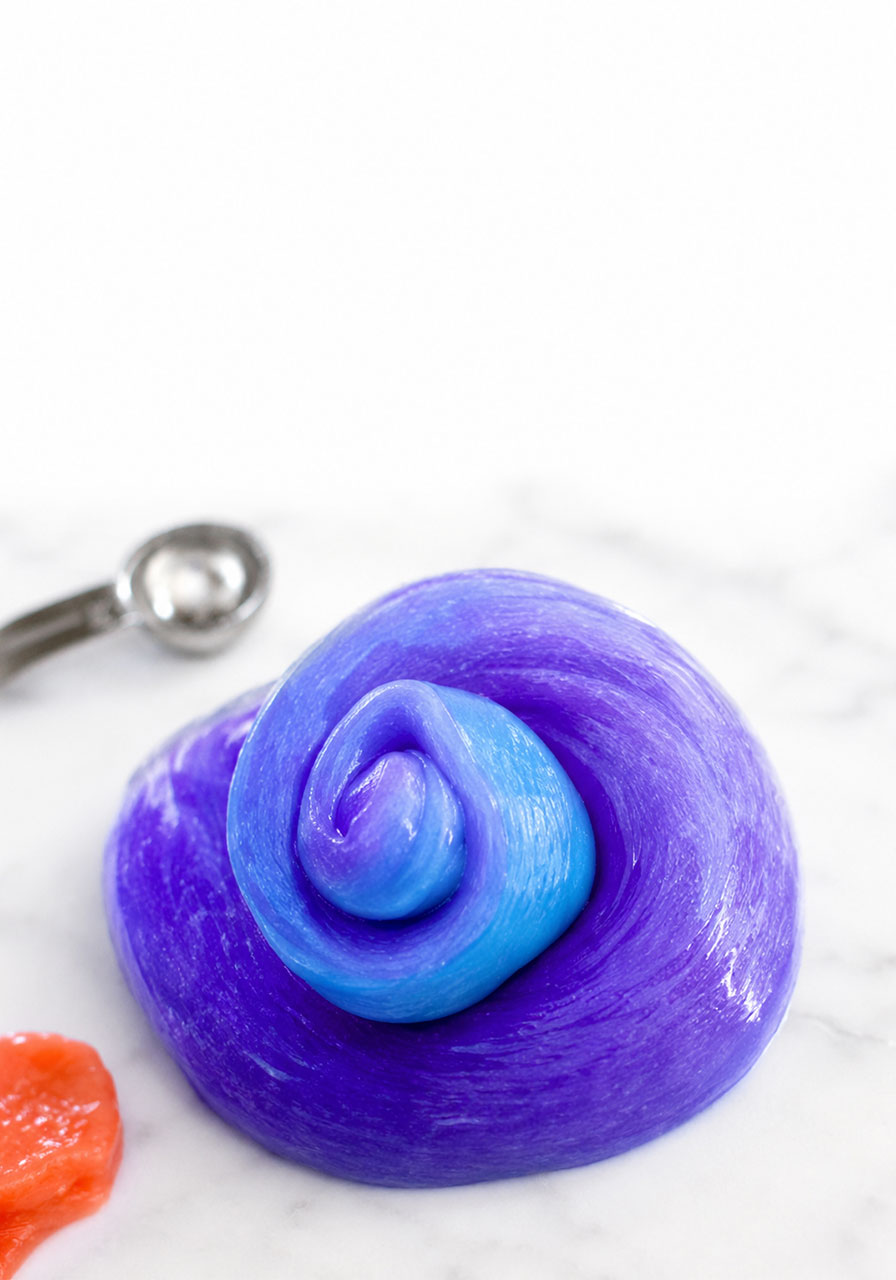
One second it’s a soft blue. The next, it’s a deep purple. It’s part craft project, part science experiment, and 100% guaranteed to get a room full of “whoa!” reactions.
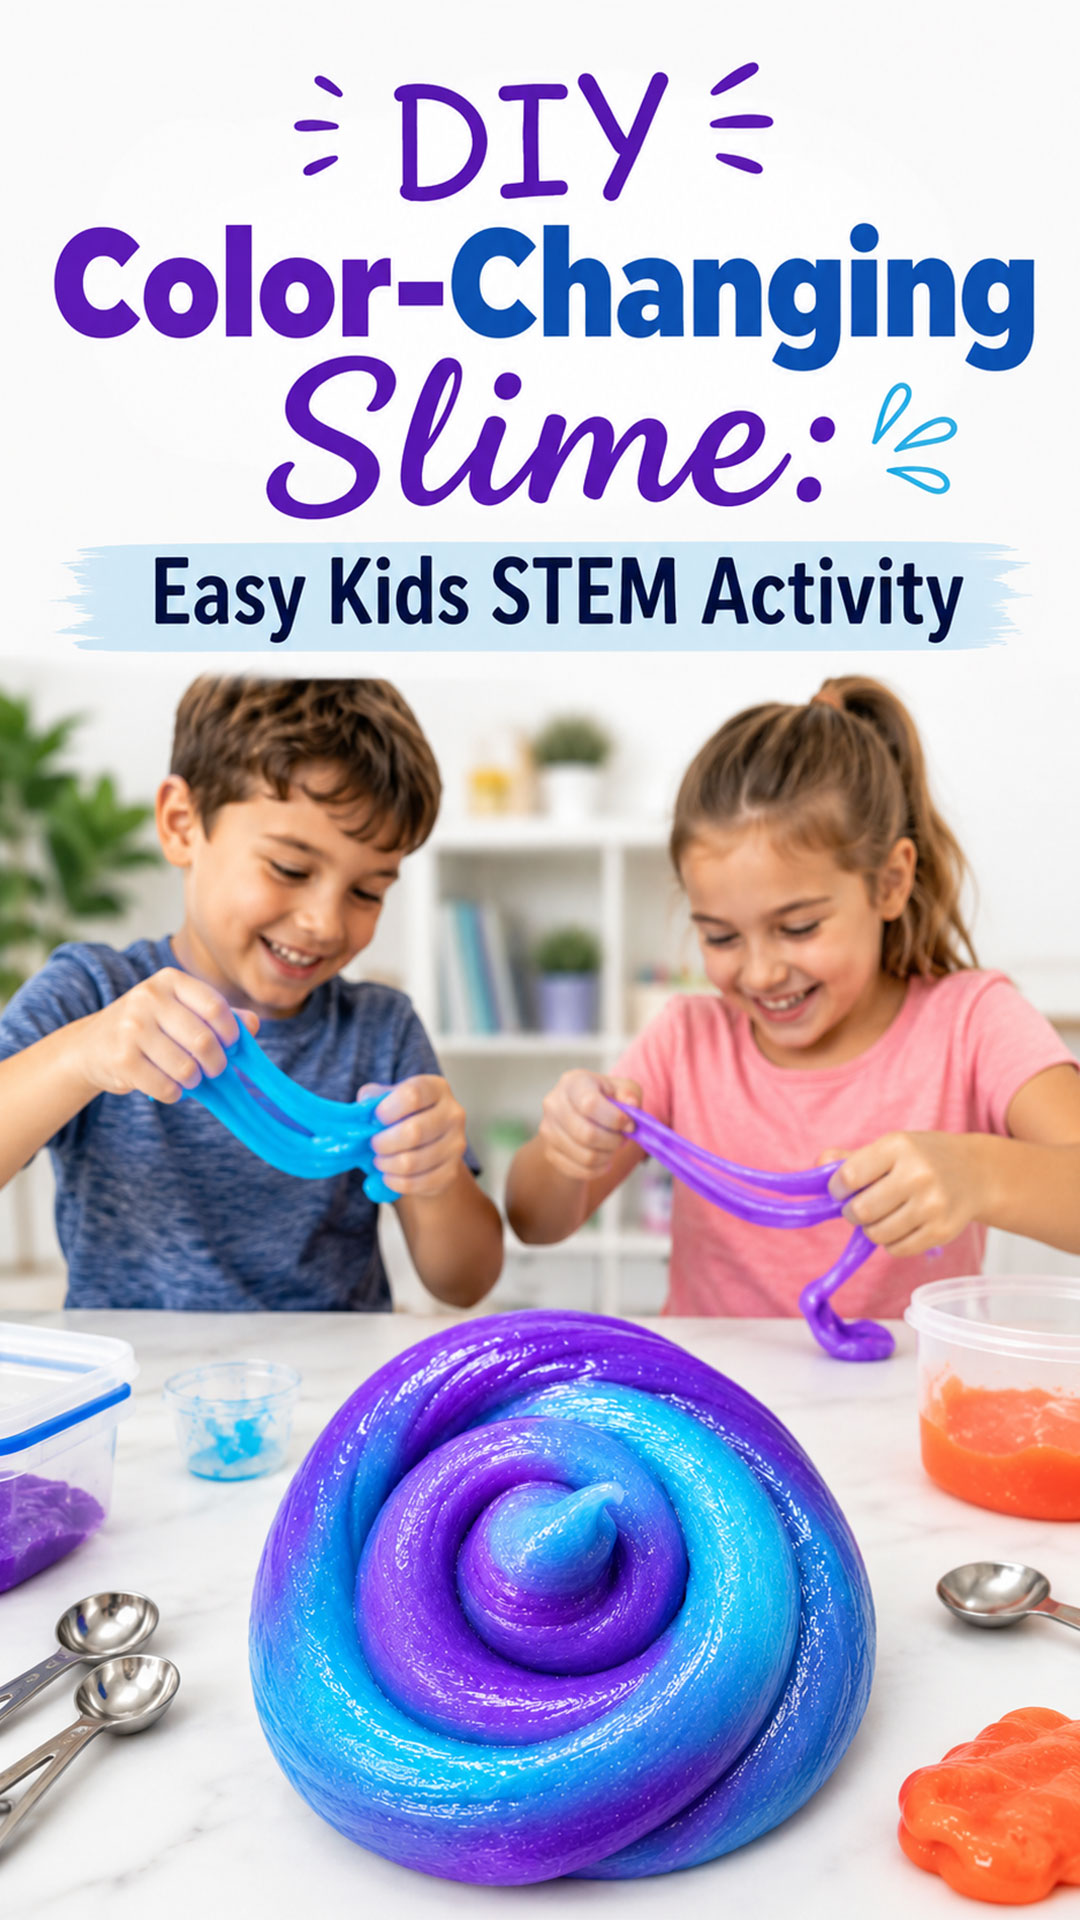
Better yet, this is a simple, low-mess activity you can pull together with just a handful of supplies. No lab equipment required – just a few household items and a sunny window.
Why This Is a Perfect STEM Activity for Kids
Teachers and parents are always on the hunt for hands-on science activities that don’t feel like a chore to set up. This one checks every box.
It’s inexpensive, it uses ingredients you likely already have, and it takes less than 15 minutes from start to finish. That makes it perfect for a classroom science station, an after-school activity, or a rainy-day project at home.
It’s also a sneaky-good way to introduce real scientific concepts. Kids get to see a chemical reaction (the glue thickening into slime) and a physical color change (the UV reaction) happen in the same activity.
Best for: Classrooms, homeschool science lessons, birthday parties, and rainy-day boredom busters.
Time to Make: About 10–15 minutes.
Best Age Range: Ages 5 and up, with adult supervision for younger children.

What You’ll Need
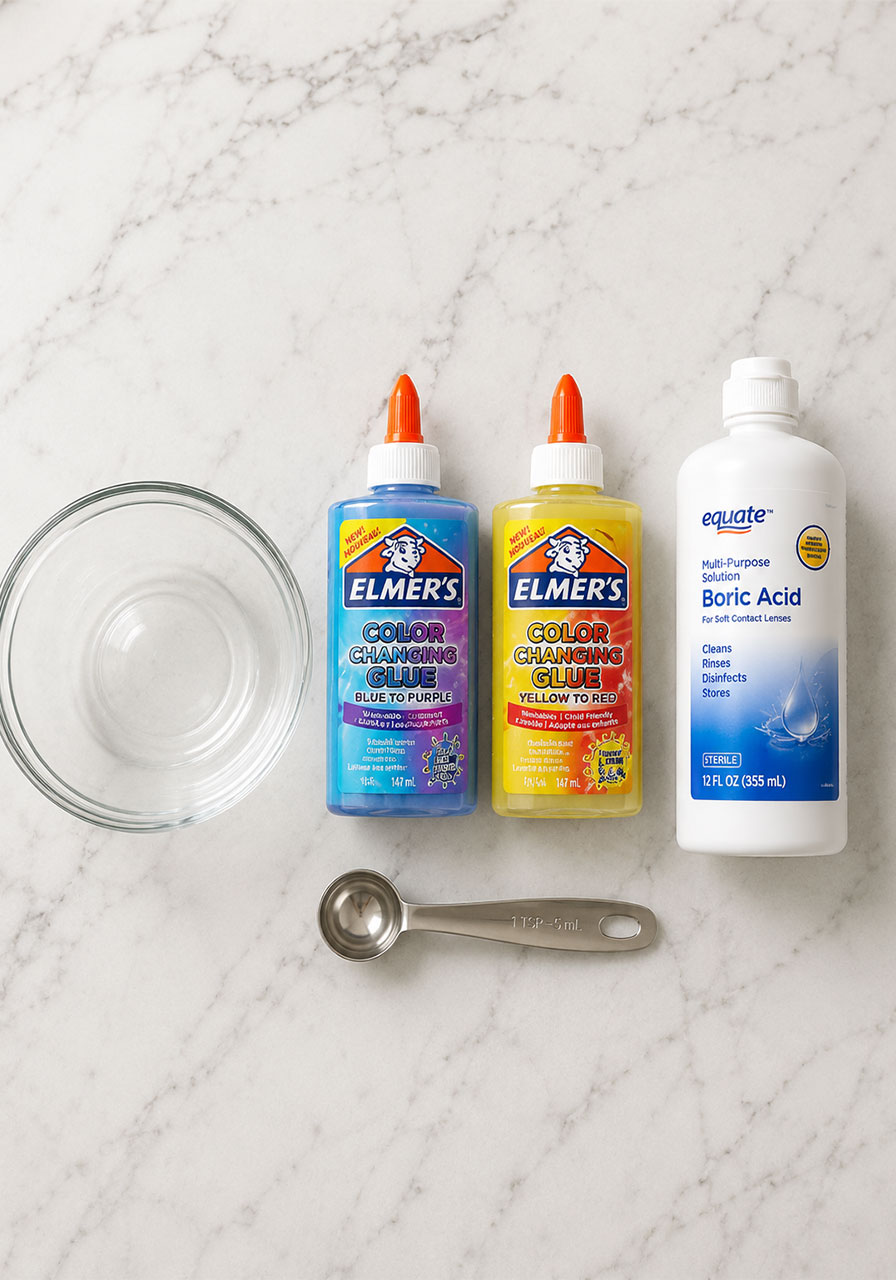
1 bottle (6 ounces) of color-changing glue (Elmer’s makes a blue-to-purple and a yellow-to-red version)
About ¼ cup of warm water
½ teaspoon of baking soda
1 tablespoon of contact lens solution (this is the key ingredient – make sure it contains boric acid, or your slime won’t set)
Optional: tiny toys, glitter, or foil confetti for extra sparkle
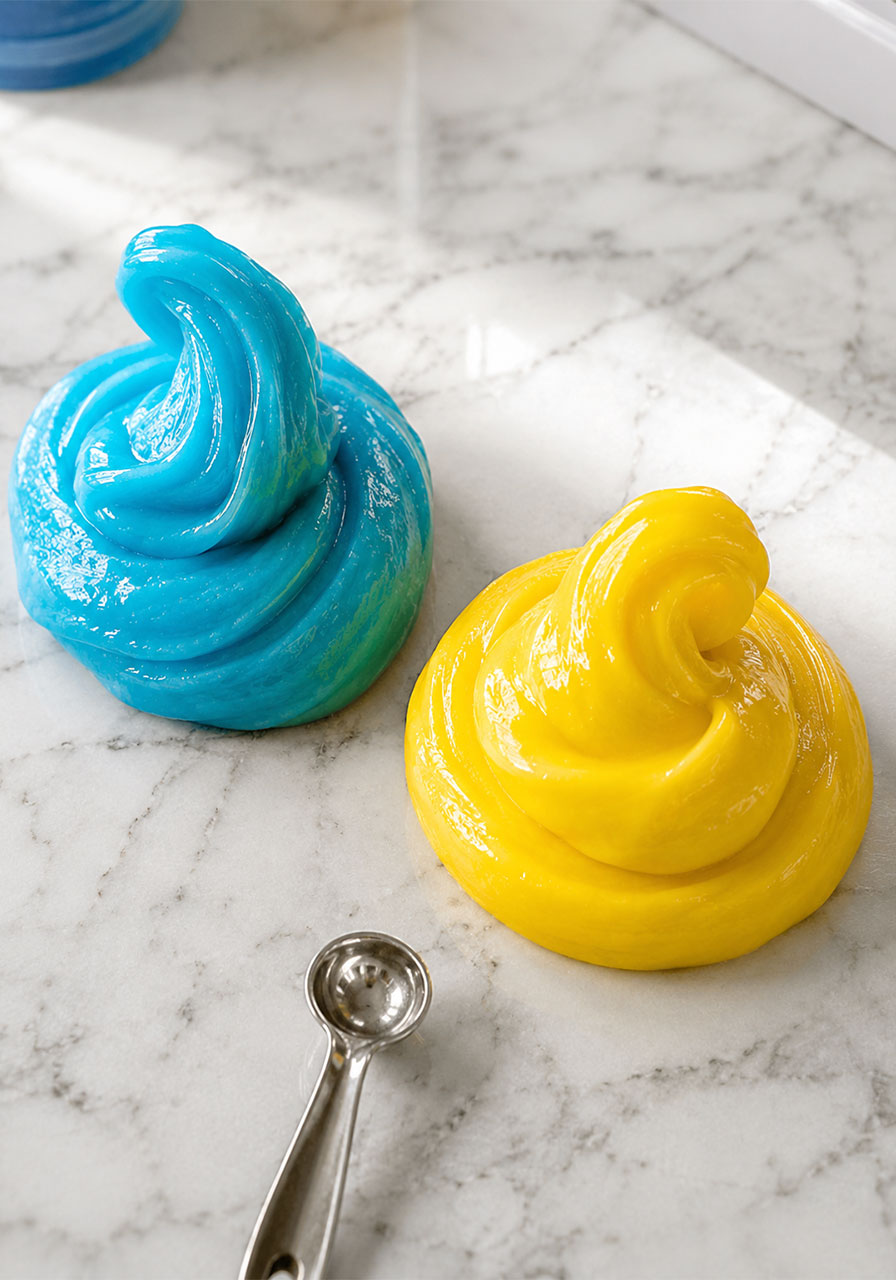
Pro Tip: Grab both the blue-to-purple and the yellow-to-red glue if you can. Making two batches side by side lets kids compare how each color transforms differently in the sun.
How to Make Color-Changing Slime
Follow these steps in order for a smooth, non-sticky slime every time.
1. Squeeze the entire bottle of glue into a large mixing bowl. Let the kids do this part – it’s oddly satisfying and always gets a laugh.
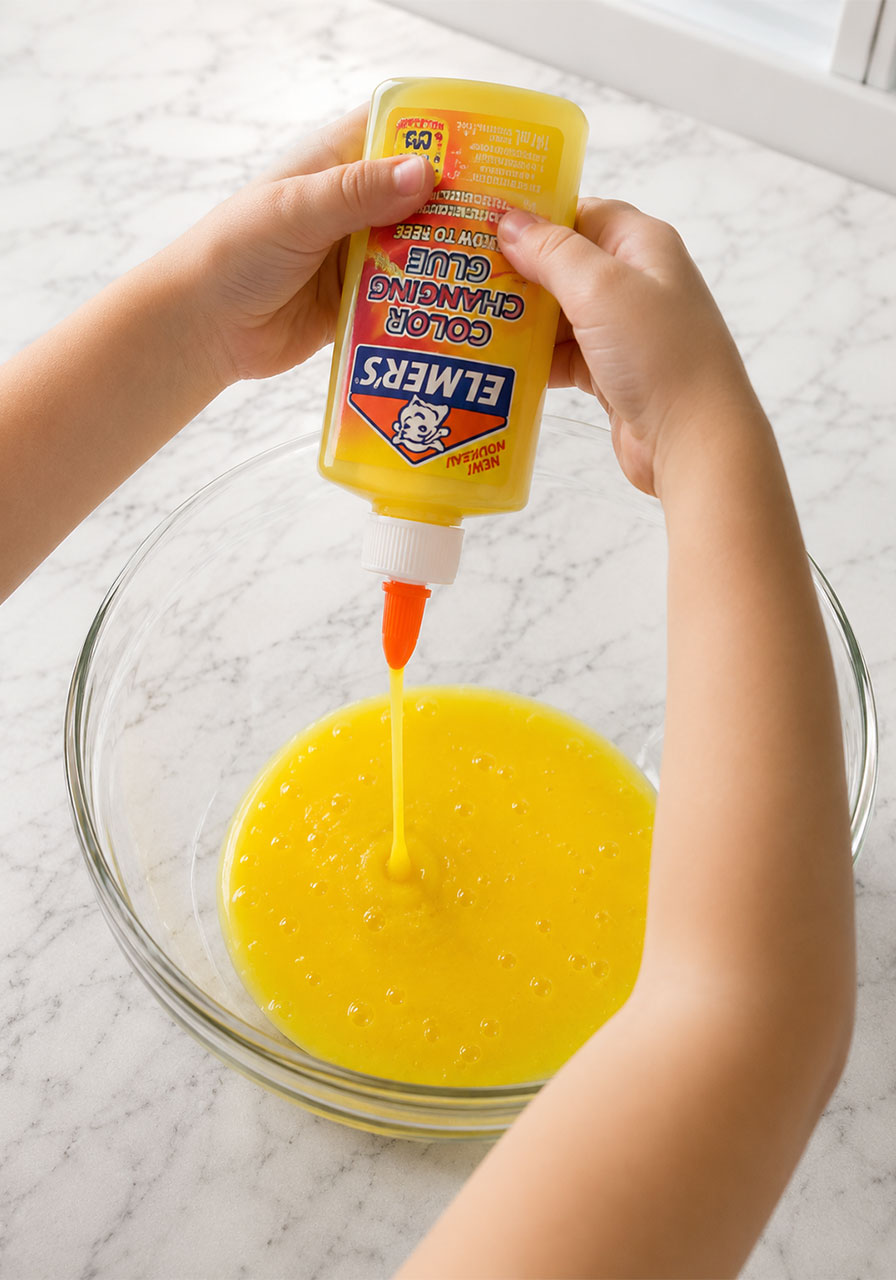
2. Fill the empty glue bottle with warm water until it’s about one-third full. Screw the cap back on and shake well to loosen any leftover glue inside the bottle.
3. Pour the water-glue mixture into the bowl and stir until fully combined.
4. Add the baking soda to the bowl and stir it in thoroughly. This step helps activate the slime texture, so don’t skip it.
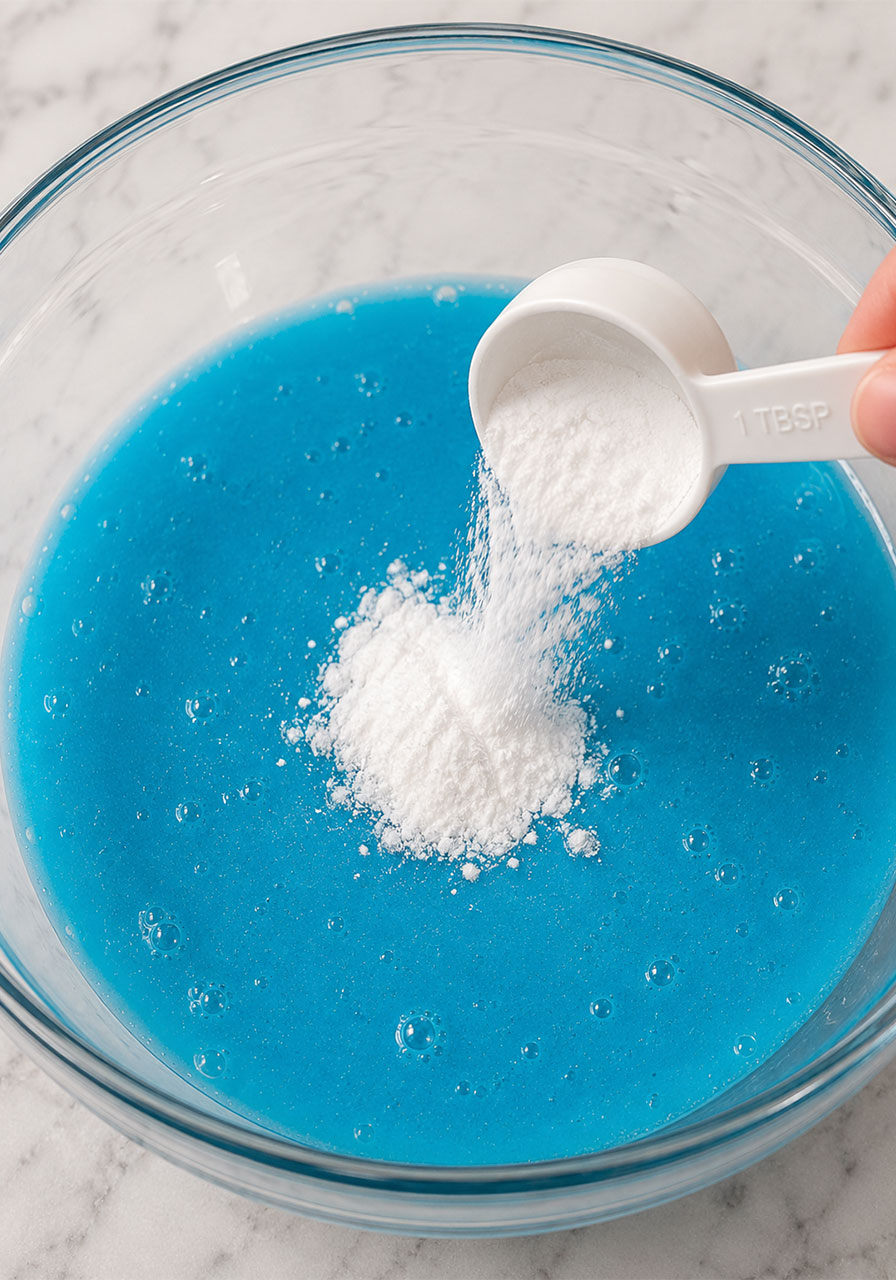
5. If you’re adding glitter, foil confetti, or tiny toys, stir them in now, before the mixture thickens.
6. Slowly add the contact lens solution, stirring after each small pour. Add just enough to bring the mixture together into a soft, cohesive ball. Glitter glue typically needs a bit more solution than regular glue, so add it gradually and watch the texture change.
7. Once a soft ball forms, lift the slime out of the bowl and leave any leftover liquid behind. It will feel sticky at first – that’s completely normal.
8. Knead the slime with your hands for one to two minutes, until it’s smooth, stretchy, and no longer sticky to the touch.
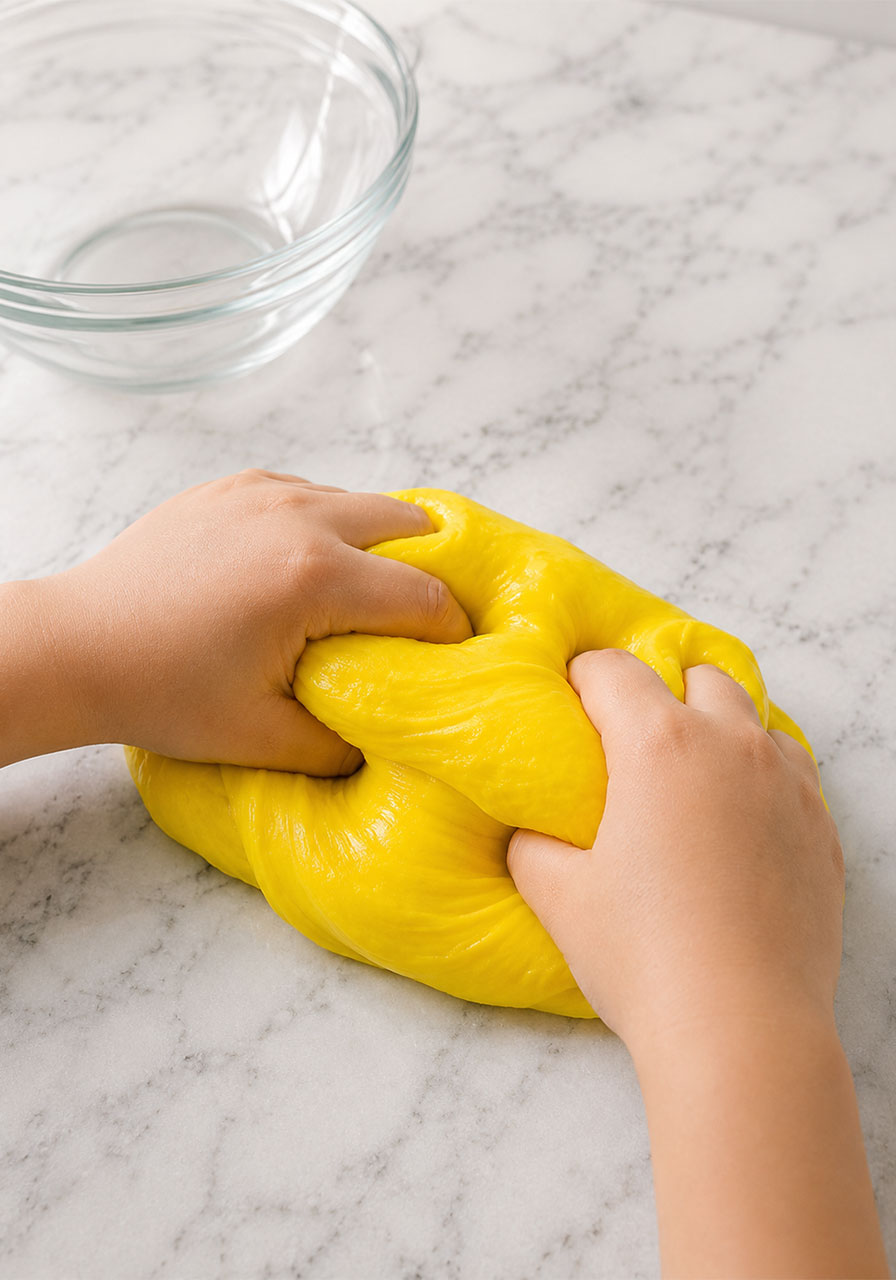
9. Take your slime outside (or hold it under a UV flashlight) and watch it transform colors right in front of you.
Pro Tip: If your slime still feels sticky after kneading, add contact lens solution just a few drops at a time and knead again. It’s much easier to add a little more than to fix slime that’s turned rubbery from too much solution.
The Science Behind the Color Change
This is where the real STEM magic happens, and it’s worth pausing to explain to your kids or students.
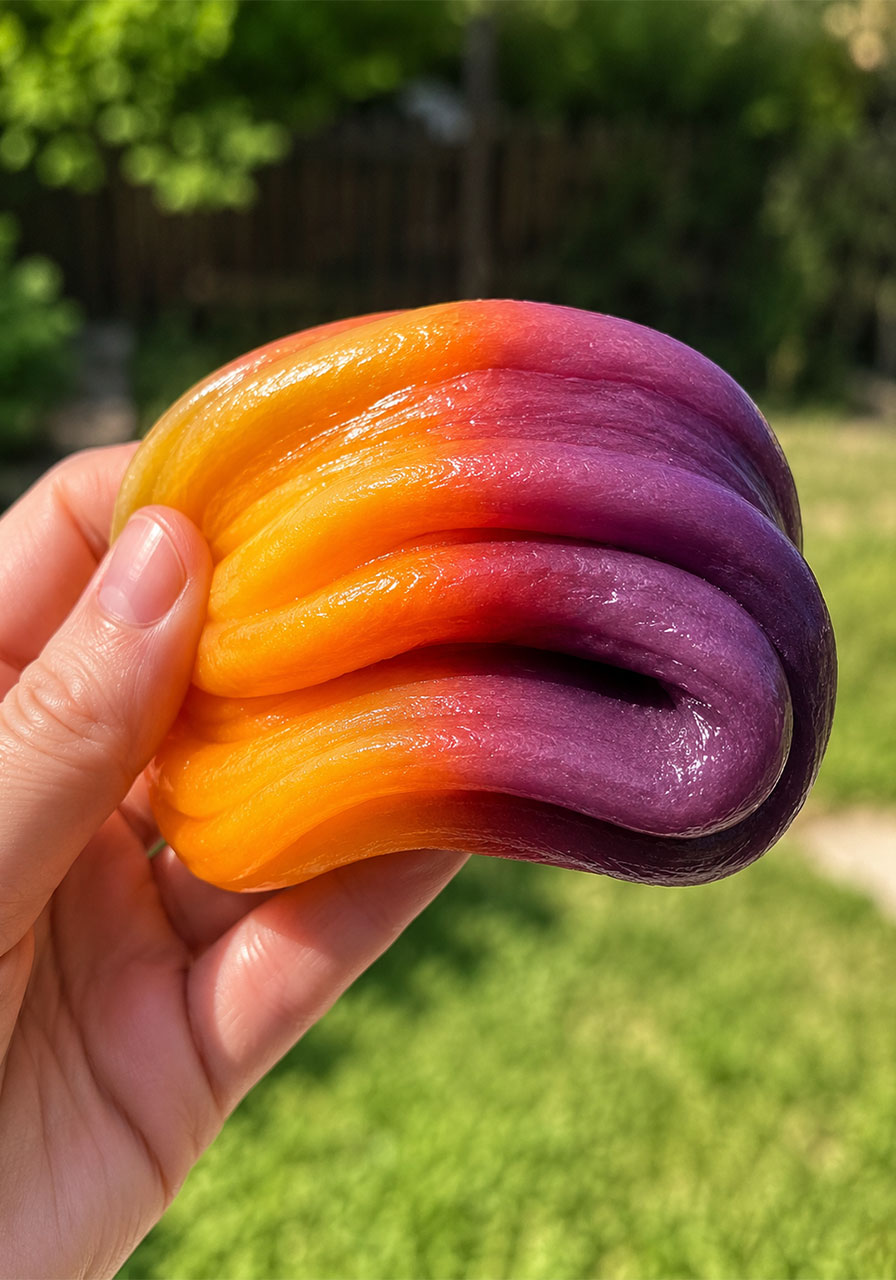
The color-changing glue contains a special photochromic pigment. Photochromic simply means “light-changing.” These pigments are molecules that physically change shape when they absorb UV rays from sunlight.
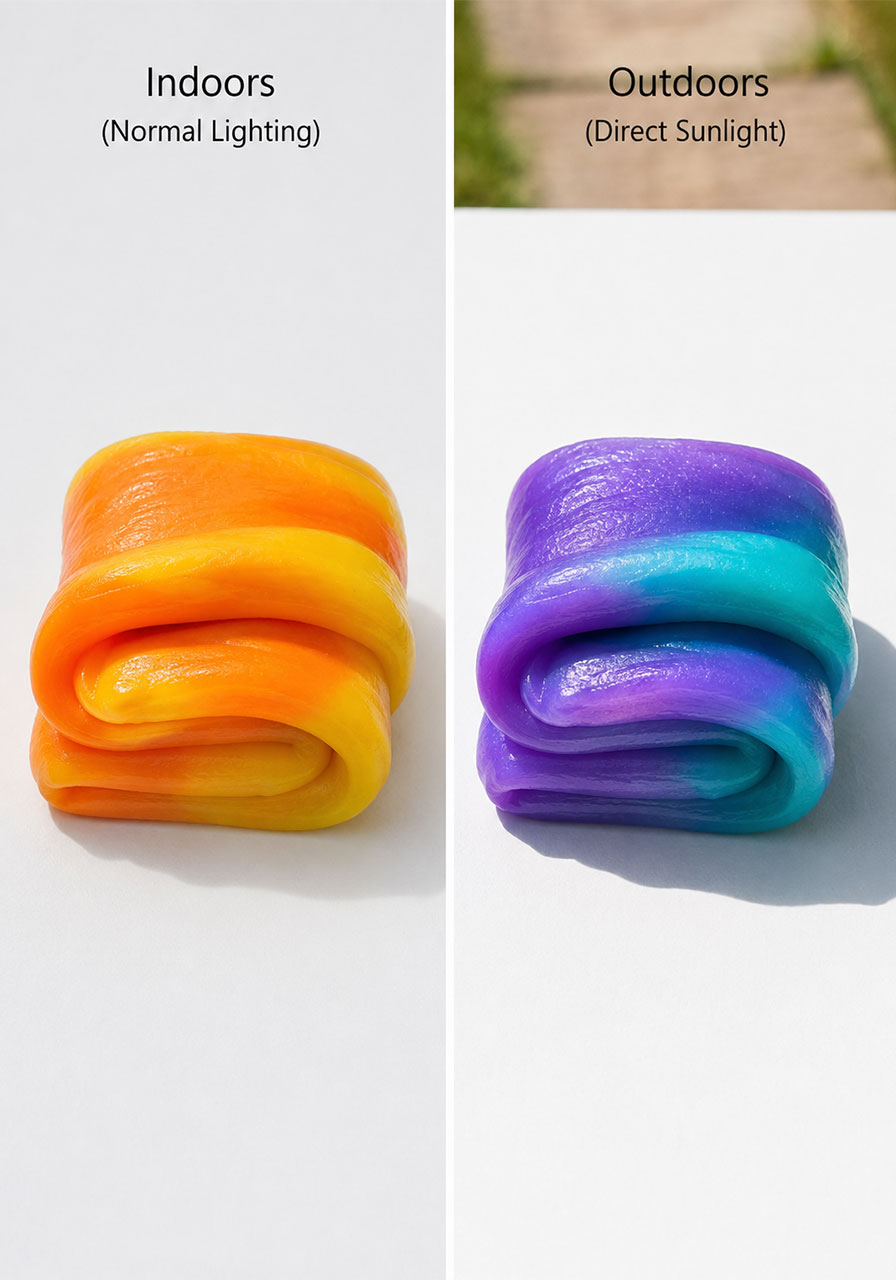
When the molecule changes shape, it also changes which wavelengths of light it absorbs and reflects. That shift is what your eyes see as a brand-new color.
Once the slime is moved back into shade or indoor light, the molecules relax back to their original shape, and the color fades back to normal. It’s a completely reversible reaction, so kids can repeat the “trick” again and again.
This is the exact same science behind transition lenses in eyeglasses that darken outdoors and then fade back to clear inside.
Fun Ways to Extend the Learning
If you want to turn this from a fun craft into a full science lesson, try adding a few of these extension activities.
Have kids predict what color they think the slime will turn before they take it outside. This introduces the idea of forming a hypothesis.
Time how long it takes for the slime to fully change color, and then time how long it takes to fade back once it’s back inside. Compare the results between the blue-to-purple batch and the yellow-to-red batch.
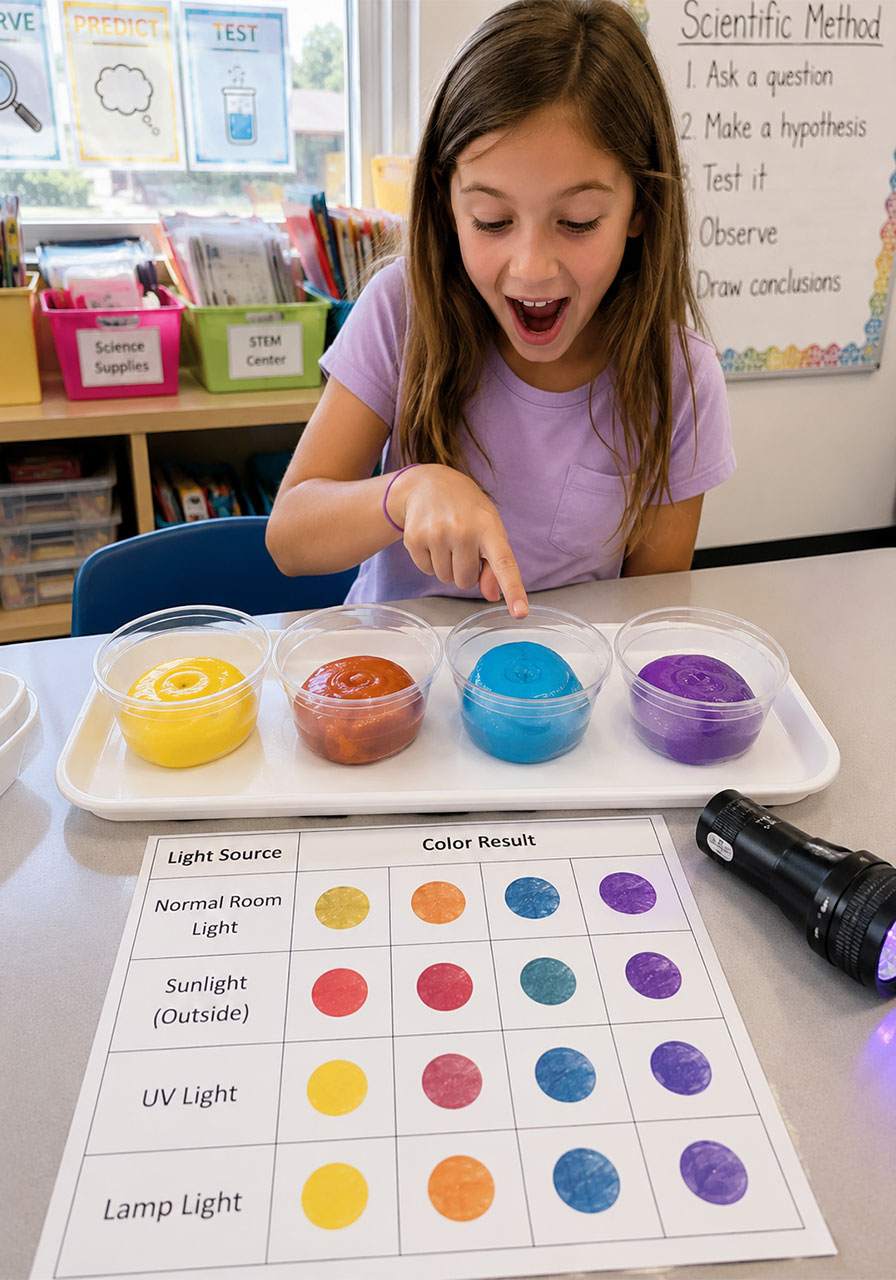
Try testing the slime under different light sources: direct sunlight, a shaded porch, a UV flashlight, and a regular indoor lamp. Have kids chart which sources trigger the color change and which don’t.
Safety Notes to Keep in Mind
This activity is generally very safe and non-toxic, but a few reminders will help keep things running smoothly.
Always supervise young children during slime-making, especially around the contact lens solution and baking soda.
Slime is not edible and should never be put in the mouth. This is especially important with younger kids or students who may still put things in their mouths out of curiosity.
If anyone in your group has sensitive skin, consider having them wear gloves, since some kids react to prolonged contact with the ingredients.
How to Store Your Slime
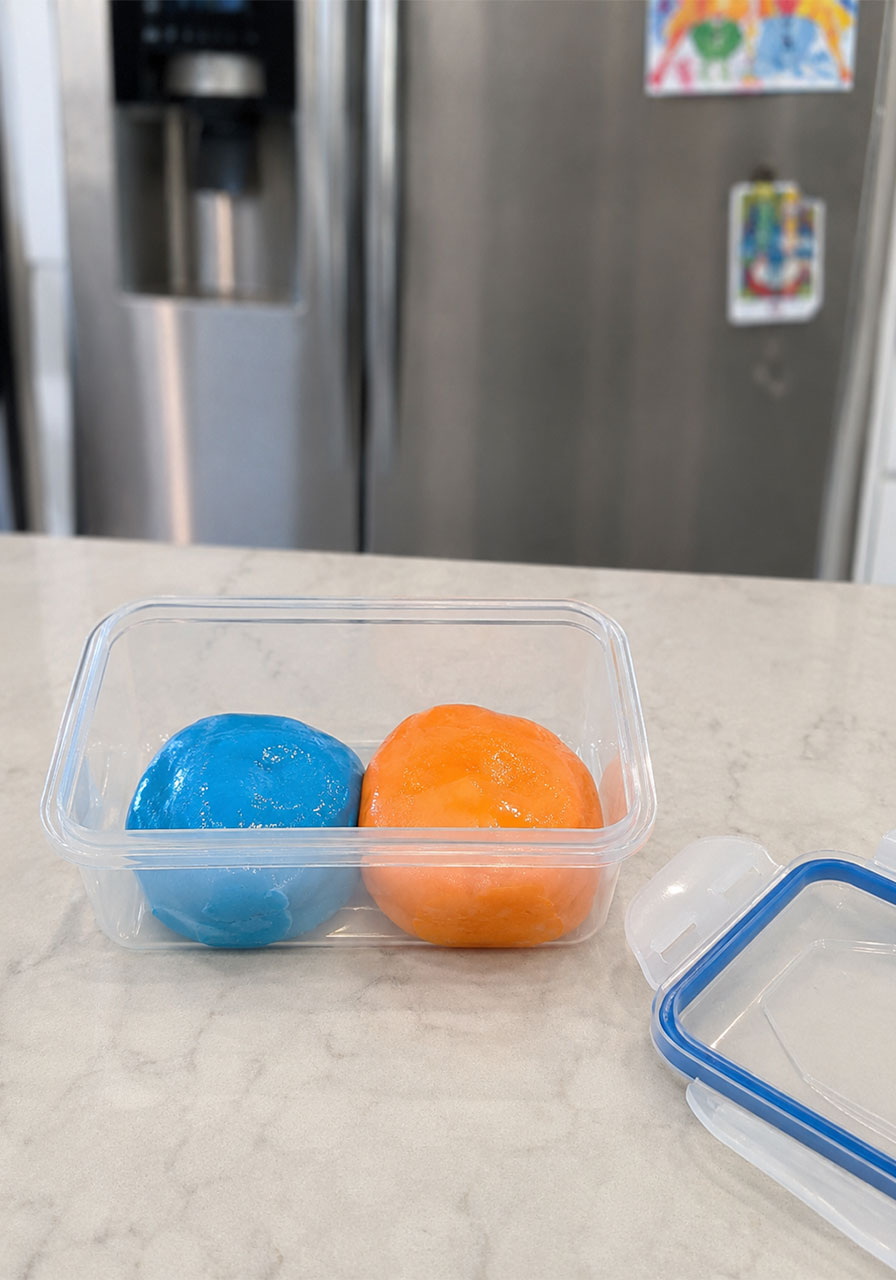
To keep your color-changing slime fresh and stretchy for repeat play, store it in an airtight container in the refrigerator when it’s not in use.
Slime that’s left out uncovered will dry out within a day or two, so always seal it back up right after playtime ends.
With proper storage, this slime can last for a couple of weeks of repeated stretching, squishing, and color-changing fun.
Frequently Asked Questions
Can I use regular glue instead of color-changing glue?
No. The color-changing effect only works with glue that contains the special photochromic pigment. Regular white glue will make great classic slime, but it won’t change colors.
What if I don’t have contact lens solution with boric acid?
Boric acid is what helps the glue firm up into slime, so this ingredient is essential. Double-check the label on your contact solution bottle before you start, since some formulas don’t include it.
Why is my slime too sticky?
This almost always means it needs a bit more contact lens solution. Add it in small amounts, kneading between each addition, until the stickiness disappears.
Does this work with an indoor UV light instead of sunlight?
Yes! A black light or UV flashlight works just as well as direct sunlight, which makes this a great activity for cloudy days or indoor classrooms.
Ready to Watch the Magic Happen?
This is exactly the kind of activity that turns “I’m bored” into “can we make more?” It’s simple enough for a quick classroom demo, but engaging enough to hold a curious kid’s attention for a full afternoon.
Grab a bottle of color-changing glue, gather your kids or students, and get ready to watch their faces light up right along with the slime.
