
Ever had a kid ask “but why does it rain?” and realized you didn’t have a great answer? This one experiment fixes that – for good.
The Cloud in a Jar experiment turns a mason jar, some warm water, and a handful of ice cubes into a real, working model of how clouds form in the sky. No lab coat required.
It takes less than five minutes. You already have everything you need in your kitchen. And it delivers that priceless moment when a kid’s eyes go wide because they just made weather happen with their own hands.
Whether you’re a teacher looking for a five-minute science hook before recess, or a parent trying to survive a rainy Saturday afternoon, this one’s a keeper.
Best For, Time, and Age Range
Best for: Classrooms, homeschool science, rainy-day activities, and curious kids ages 4 and up.
Time to Try: 5-10 minutes, including setup.
Group Size: Works for one curious kid or a full class of 25 gathered around a demo table.

A Quick Safety Note
This experiment uses warm water, so it’s a job for an adult to handle the pouring. Kids can absolutely help with every other step – but keep little hands away from the hot water itself.
Once the water is in the jar and the lid is on, the rest is completely hands-on and hands-safe.
What You’ll Need
A clear glass jar with a lid (a pint or quart-size mason jar works great)
Warm water (adult-poured)
A handful of ice cubes
Optional: aerosol hairspray or a spray canister of water for a bigger, more visible cloud effect
Optional: a drop of blue food coloring, for a fun visual twist
That’s genuinely it. No trip to the craft store, no special order online – just open your fridge and your junk drawer.
How to Make a Cloud in a Jar
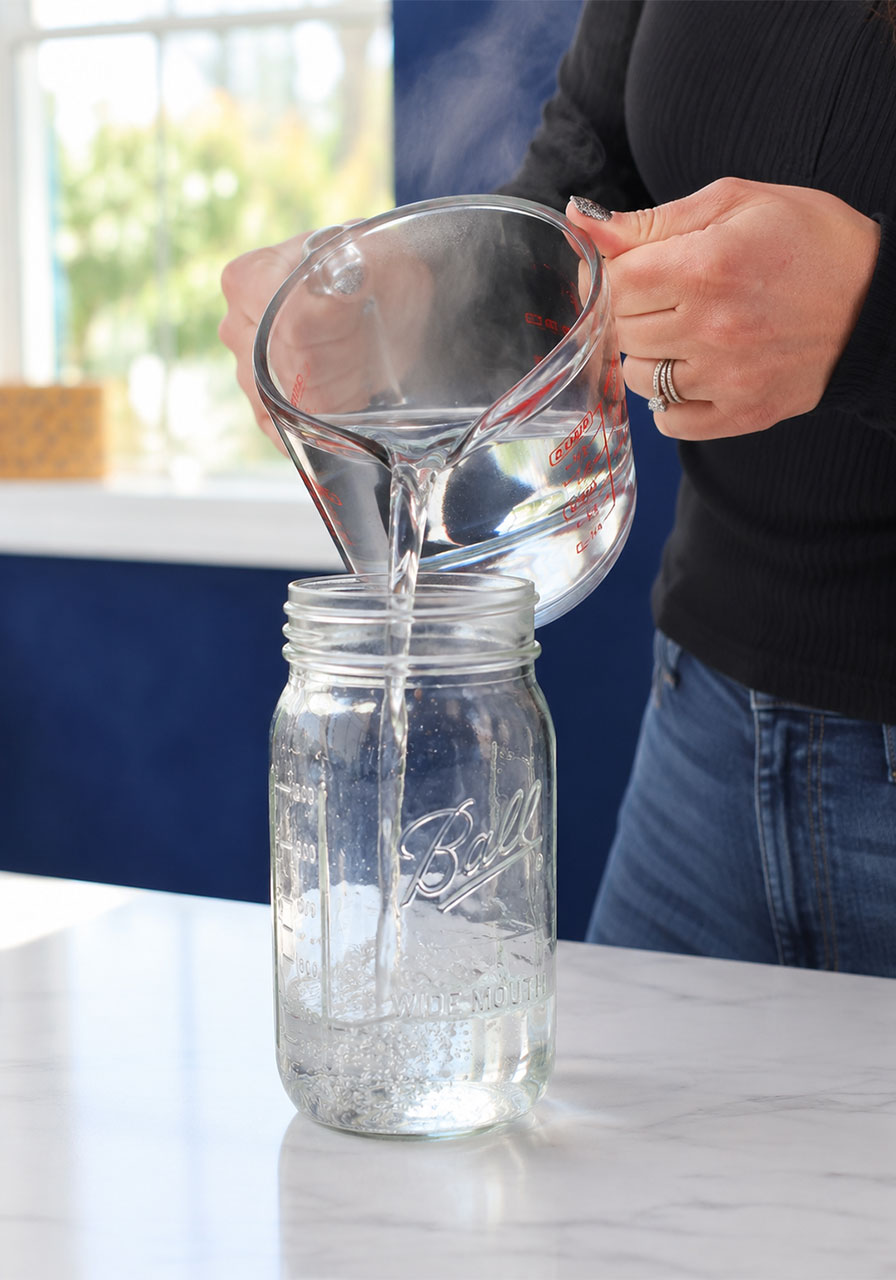
1. Have an adult pour 1-2 inches of warm water into the jar. Give it a gentle swirl to warm up the air inside.
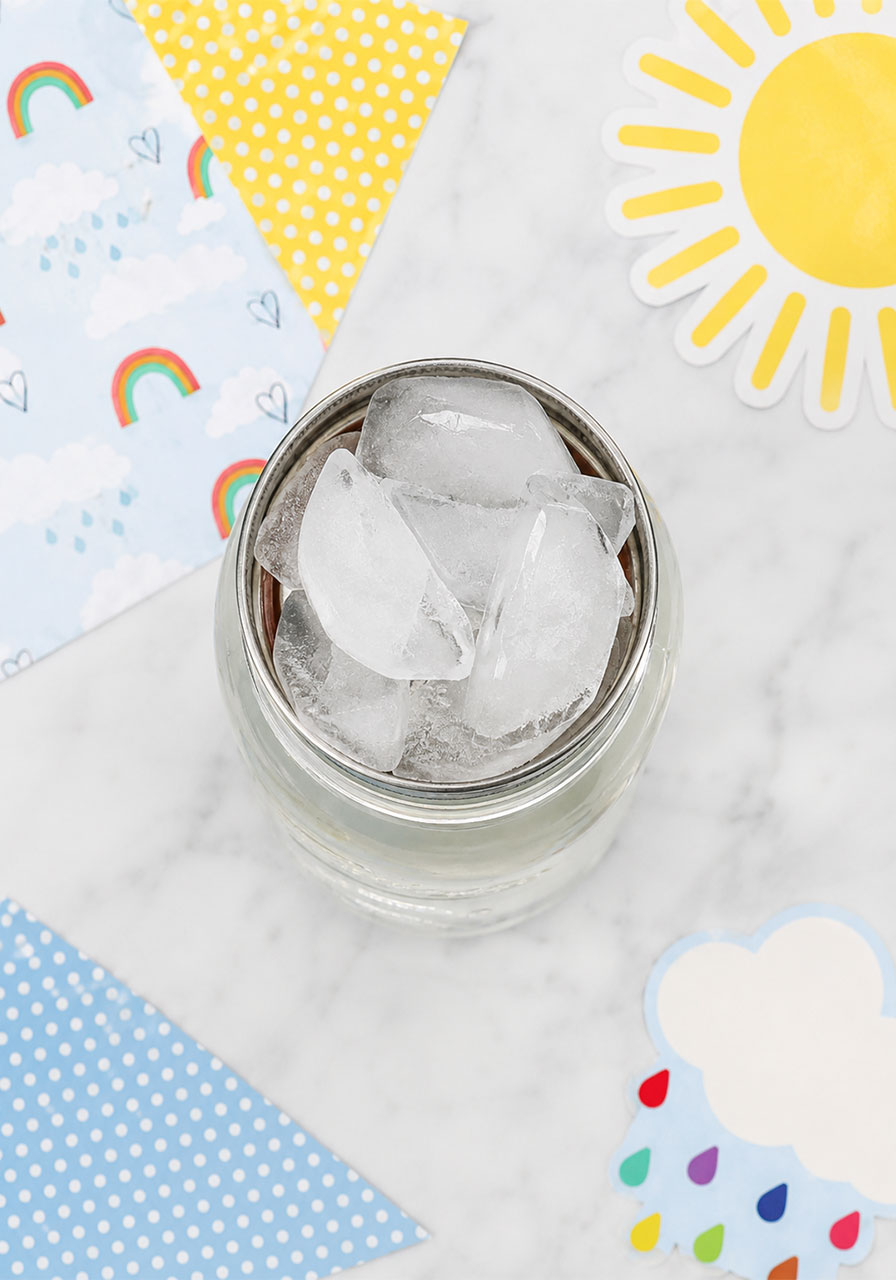
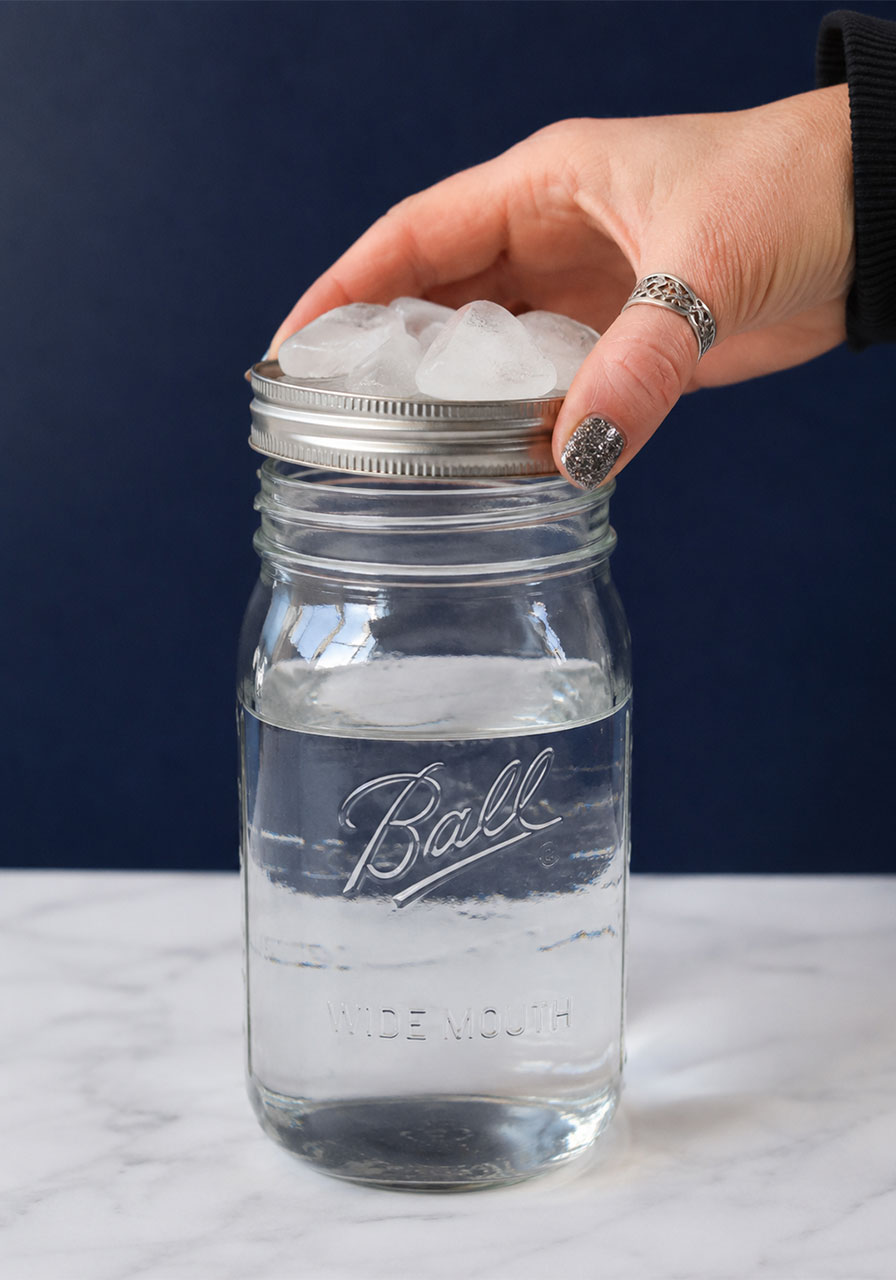
2. Turn the lid upside down and set it on top of the jar like a little tray.
3. Pile a few ice cubes directly onto the upside-down lid, so the cold sits right above the warm, moist air below.
4. Let the jar sit undisturbed for about 30 seconds. This gives the warm air time to rise and meet the cold air trapped under the lid.
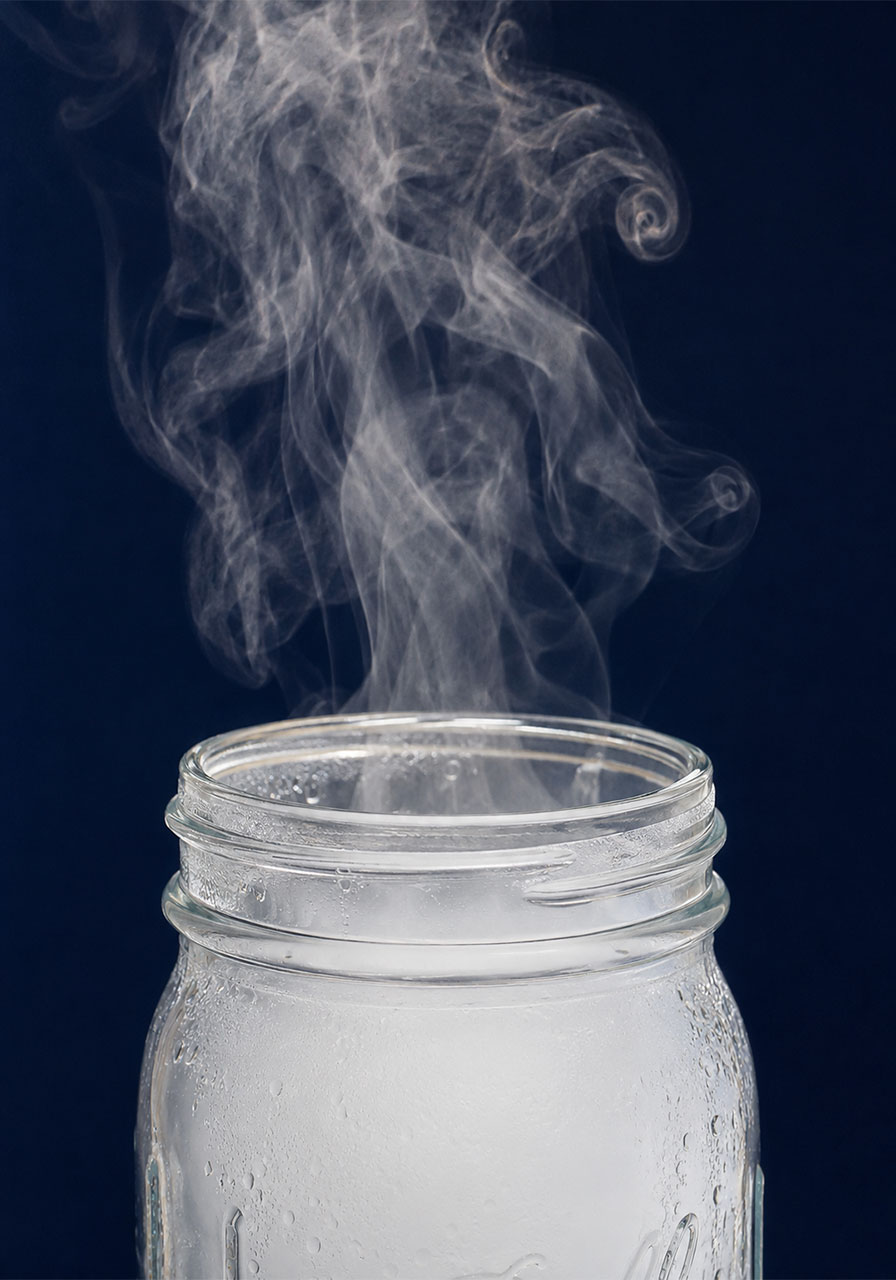
5. Lift the lid off, and watch closely – you’ll see thin wisps of vapor curling and rising out of the jar’s opening.
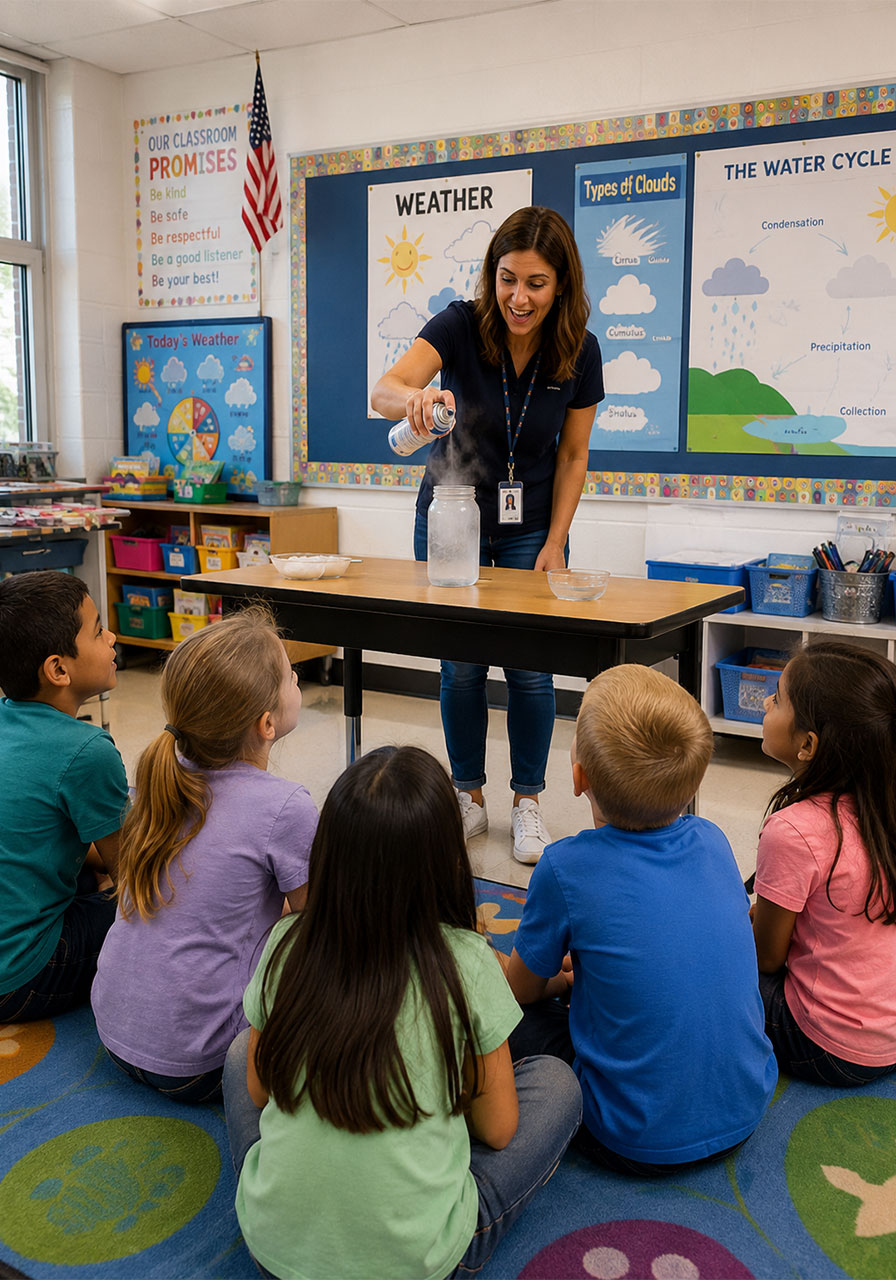
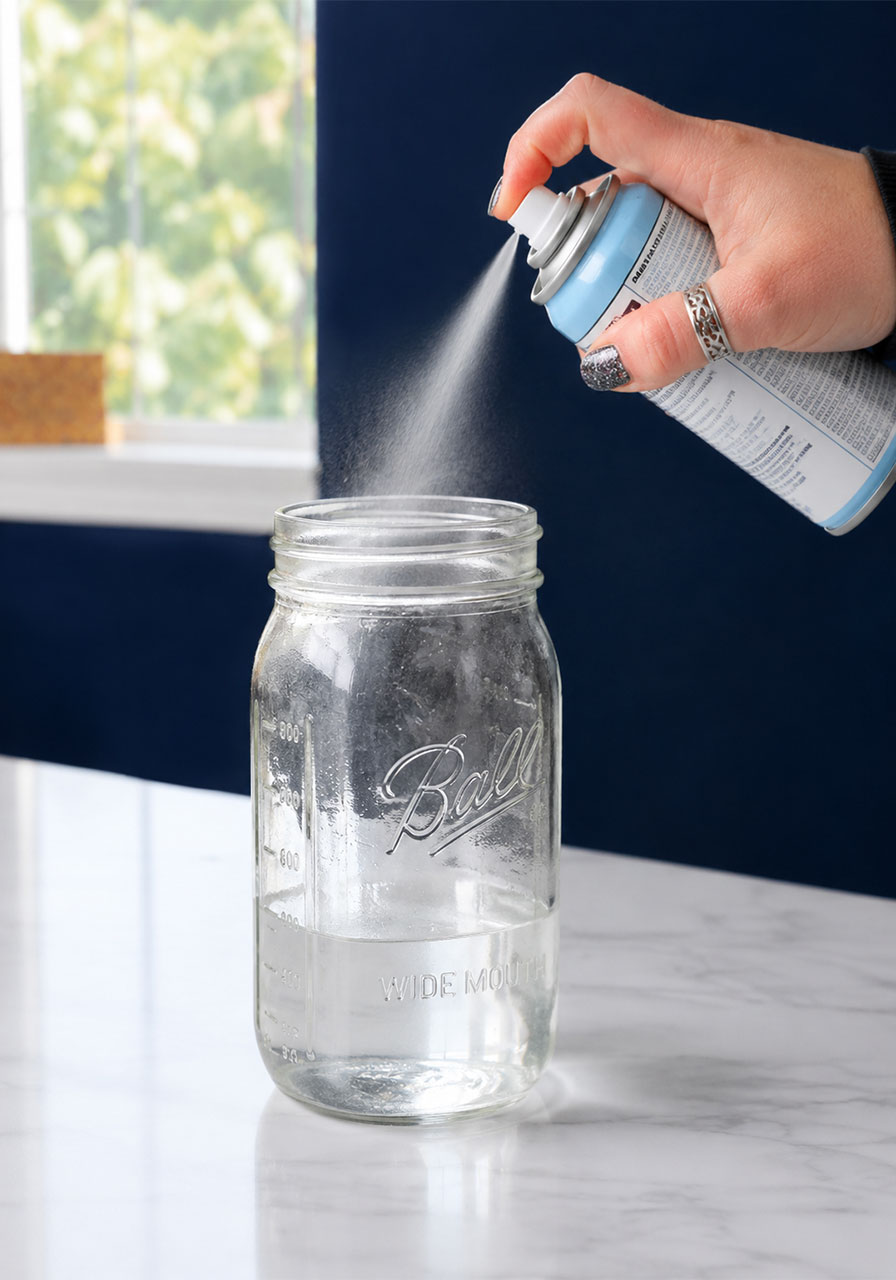
6. For a more dramatic version, quickly mist a short burst of aerosol spray inside the jar right before you replace the lid with the ice on top. Those tiny particles give the water vapor something to cling to, which makes the cloud effect noticeably bigger and easier to see.
What You’ll Actually See (So You’re Not Disappointed)
Let’s set honest expectations here, because that matters to us.
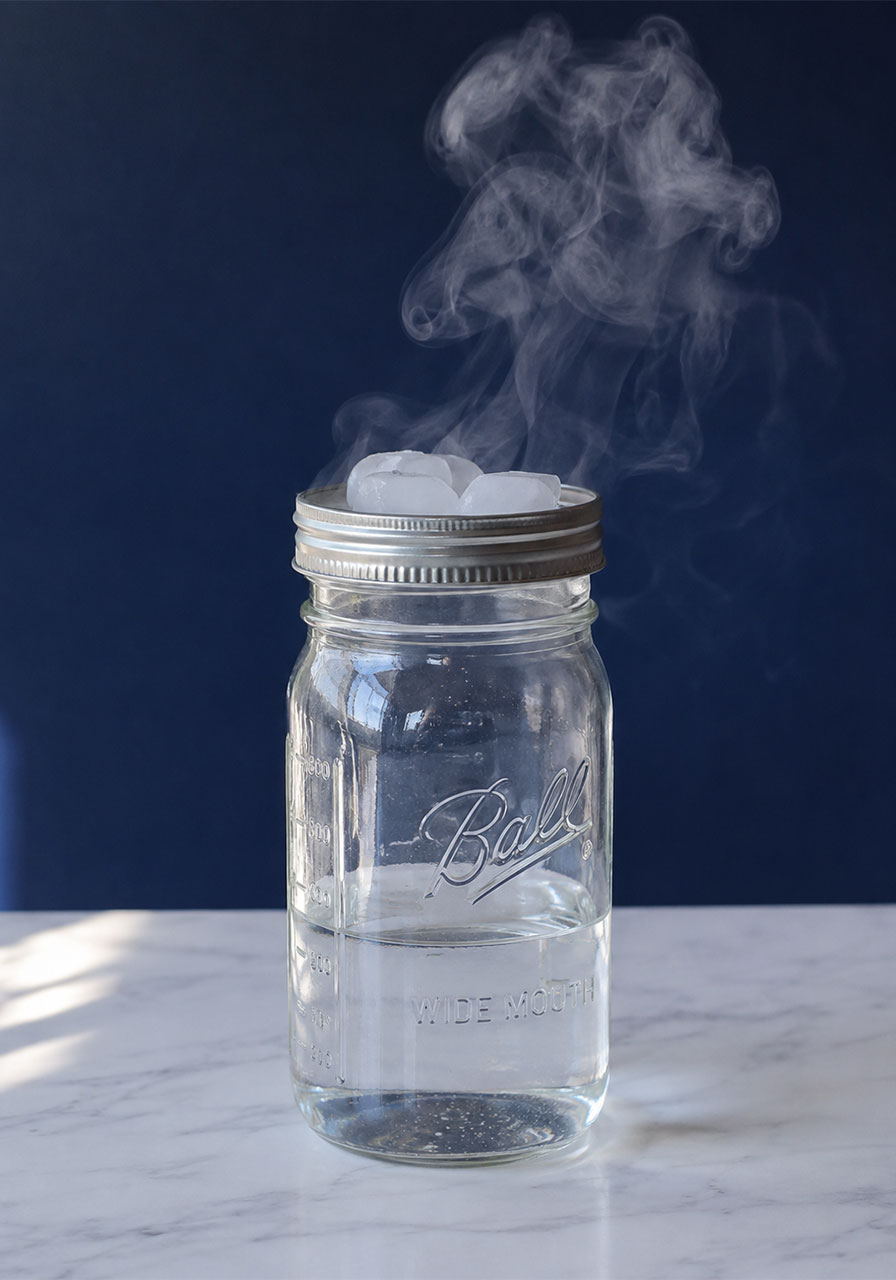
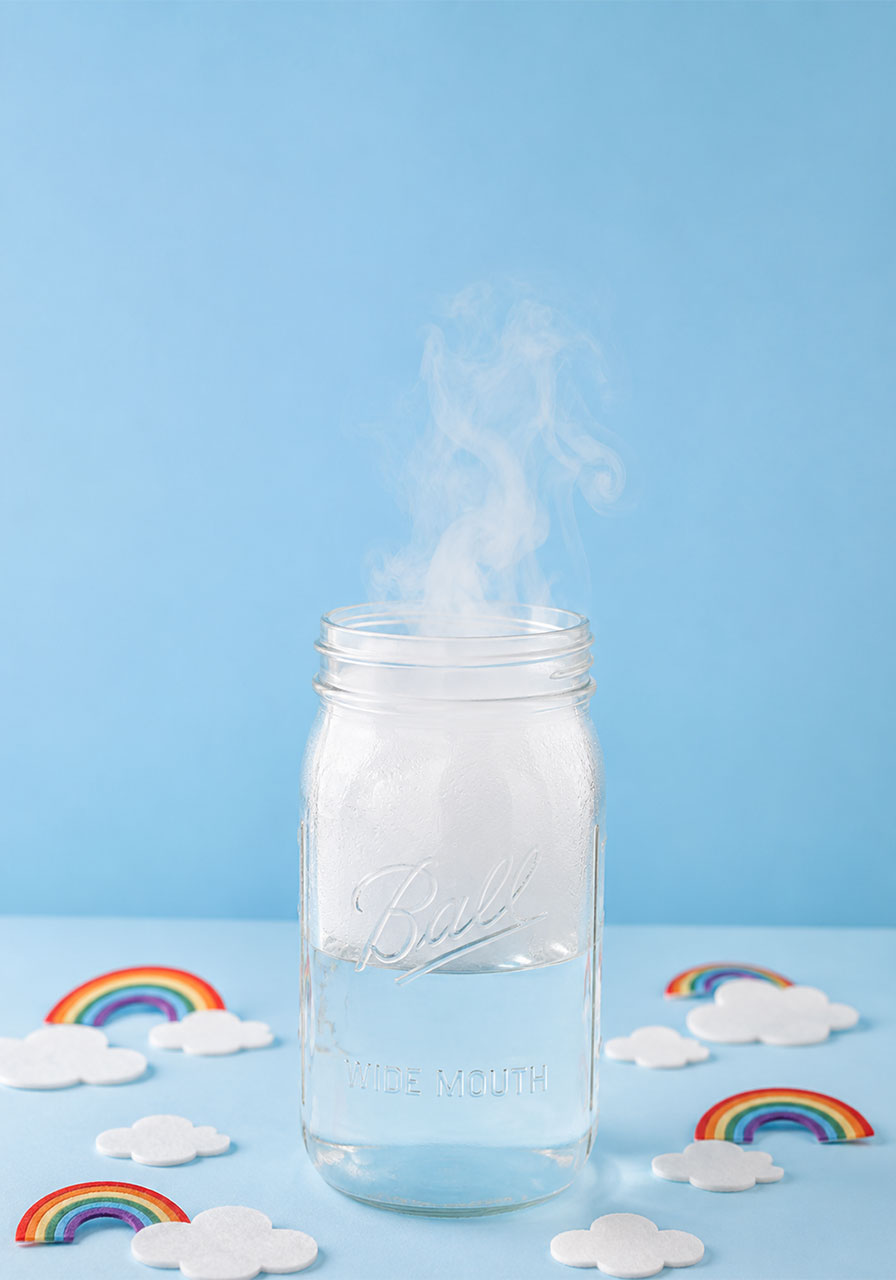
You will not get a solid, puffy cloud sitting frozen inside the jar like a snow globe. What you’ll actually see is a soft, swirling wisp of mist or vapor drifting up and out of the jar opening – more like steam off a cup of tea than a cartoon cloud.
That’s not a flaw. That’s real condensation happening right in front of you, and it’s genuinely satisfying to watch, especially the moment it drifts upward and disappears – just like a real cloud evaporating into clear sky.
If you want a bigger, thicker effect for photos or a classroom demo, the aerosol spray step above is what makes the biggest visible difference.
The Science Behind the Cloud
This experiment is a simple, physical demonstration of three big weather concepts, and it’s worth walking kids through each one.
Evaporation: The warm water in the jar releases water vapor – water in its gas form – into the air above it.
Condensation: When that warm, moist air rises and hits the cold air sitting under the icy lid, the water vapor cools rapidly and condenses back into tiny liquid droplets.
Condensation nuclei: In the real atmosphere, water droplets need tiny particles – dust, pollen, salt – to condense around. The aerosol spray in this experiment mimics that role, giving the vapor something to grab onto so droplets form faster and are easier to see.
You can also point out convection in action: warm air rises, cool air sinks, and that’s exactly why the “cloud” floats upward and out of the jar the moment you lift the lid.
Why This Works So Well With Kids
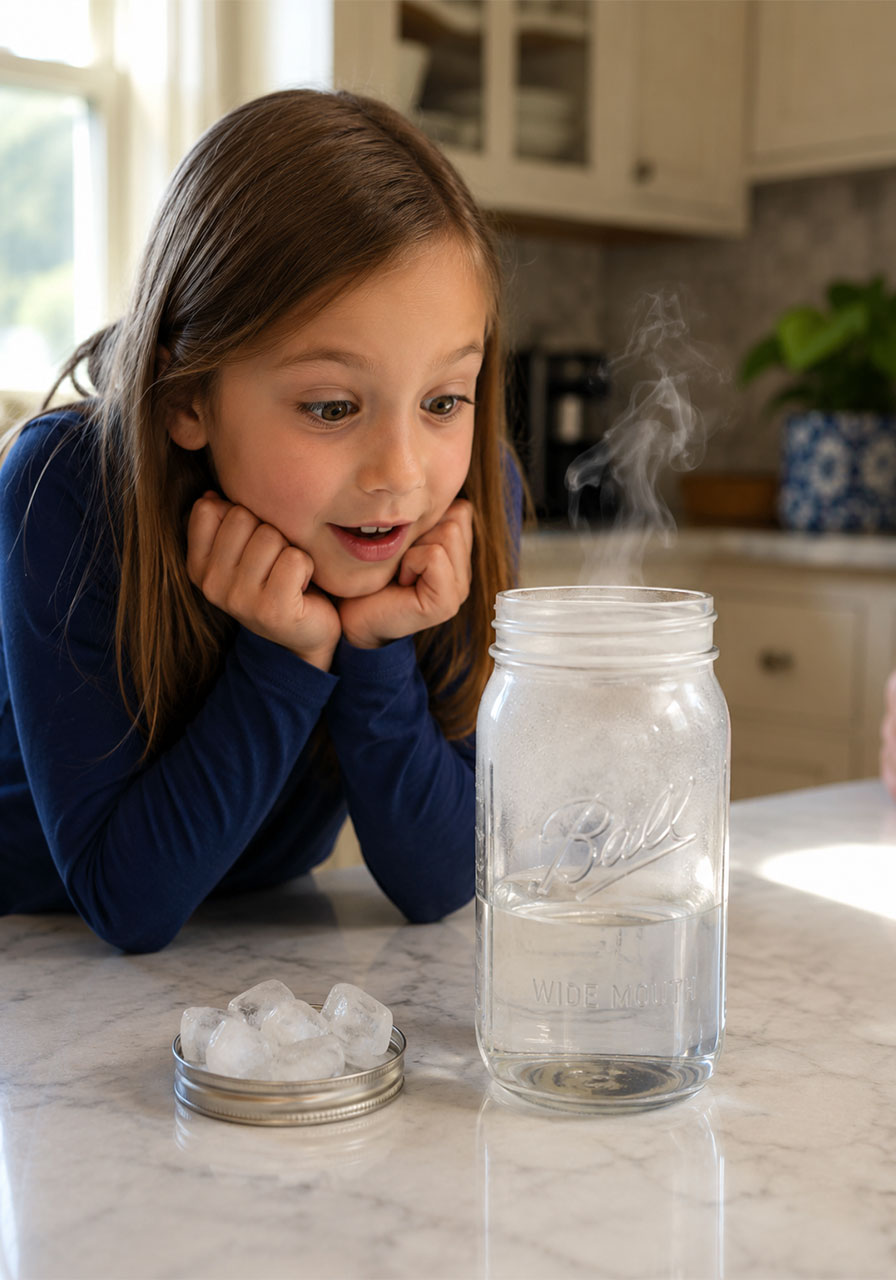
The real magic of this experiment isn’t the science – it’s the moment the lid comes off.
Kids get to physically watch weather happen at eye level, instead of just reading about it in a textbook. That hands-on, “I saw it with my own eyes” moment is what makes concepts like evaporation and condensation actually stick.
Teachers, this is a fantastic five-minute hook before a weather or water cycle unit. Parents, this is your go-to answer the next time “I’m bored” turns into an opportunity.
Fair warning either way: the second the cloud drifts out, you will hear “can we do it again?” At least twice.
Pro Tips and Fun Variations
Pro Tip: Use a dark background or a dark piece of paper behind the jar when you do this. It makes the wisps of vapor far easier to see and photograph.
Fun Variation: Add a single drop of blue food coloring to the warm water first. It won’t change the cloud, but it makes the “before” jar look extra weather-themed and fun for younger kids.
Try This Twist: Repeat the experiment with colder water and compare the results. Ask kids to predict first – does a bigger difference in temperature make a bigger cloud, or a smaller one?
Classroom Extension: Use a stopwatch to time how long the vapor lingers before it fully disappears. Have kids log their guesses beforehand and compare to the actual time.
Extend the Learning
If you’re using this in a classroom or homeschool setting, a few discussion questions go a long way:
- Where else do we see evaporation and condensation in everyday life? (Think: a foggy bathroom mirror, or dew on grass in the morning.)
- Why do clouds form high up in the sky, where the air is naturally colder?
- What do you think would happen if we skipped the ice altogether?
These questions turn a fun five-minute demo into a real discussion about the water cycle, and they’re a great way to check what actually stuck.
Frequently Asked Questions
Do I have to use aerosol spray?
No. You’ll still see a light wisp of vapor with just warm water and ice. The spray simply makes the effect bigger and more dramatic, which is helpful for a classroom demo where kids are watching from a few feet away.
Is this safe for young kids?
Yes, as long as an adult handles pouring the warm water. Every other step is completely safe for kids to do themselves.
Why didn’t my cloud look like the photo?
Real condensation looks like soft, drifting wisps of mist, not a solid puffy cloud sitting in the jar. If your jar produced any visible vapor at all, your experiment worked exactly as it should.
Can I reuse the jar right away?
Yes. Dry it out, and you’re ready to run it again in just a couple of minutes.
Final Thought
This is one of those experiments that proves science doesn’t need a lab, a textbook, or a big budget – just a jar, a little warm water, and five minutes of your time.
Grab a jar, boil the kettle, and let your kids make their own weather this afternoon. It’s a small moment, but it’s the kind that sticks with a curious kid for years.
