
If pencil-and-paper worksheets aren’t cutting it anymore, we’ve got a science activity that will actually get your kids (or your whole classroom) excited to learn.
Meet the hoop glider – sometimes called a ring wing glider. It looks nothing like the paper airplanes you made as a kid, but it flies smoother, straighter, and honestly, it’s way more fun to watch.
Better yet, it teaches real physics concepts like lift, drag, and aerodynamics without a single boring lecture. Your students or kids will be too busy flying gliders across the room to notice they’re learning.
Here’s exactly how to make one, why it works, and how to turn it into a full hands-on science experiment.
What Is a Hoop Glider, and Why Does It Fly So Well?
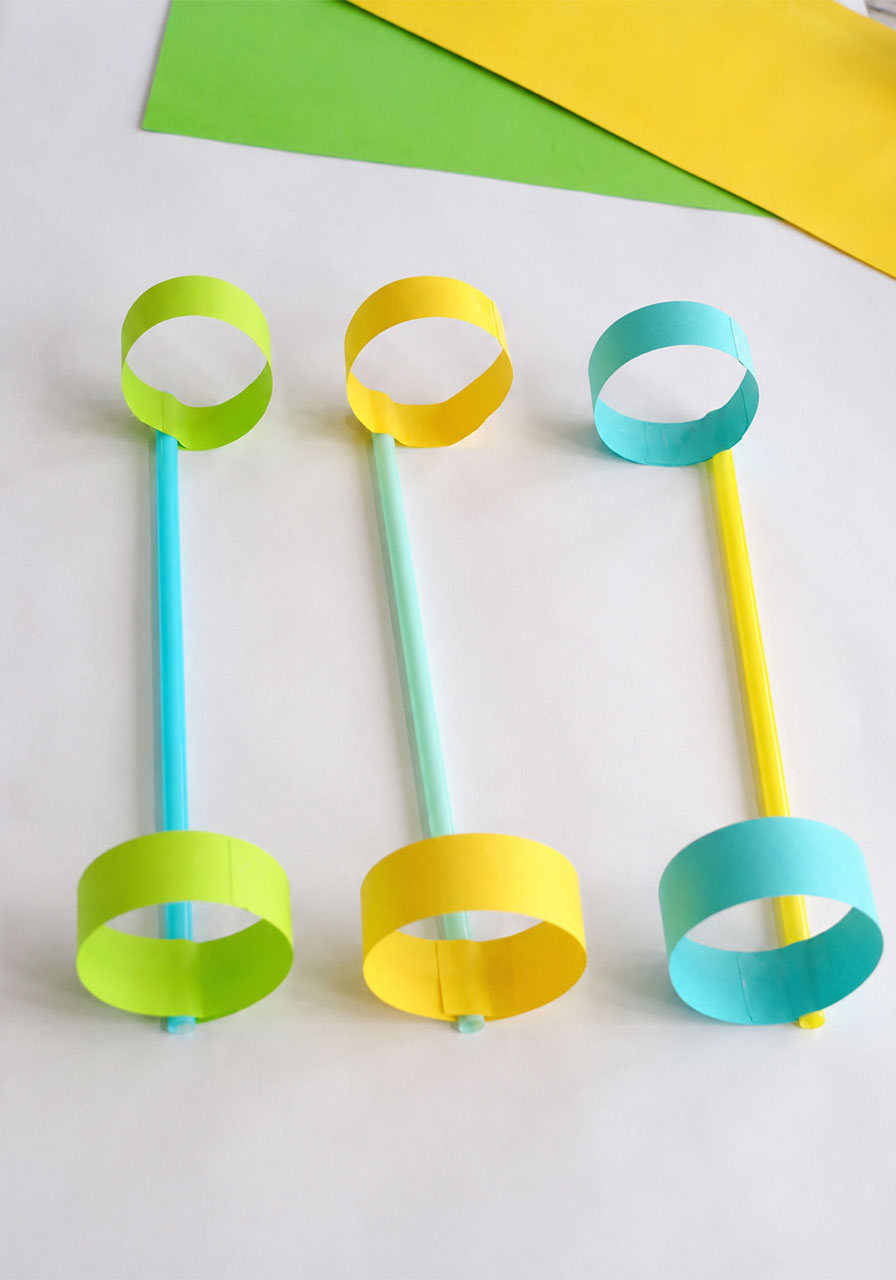
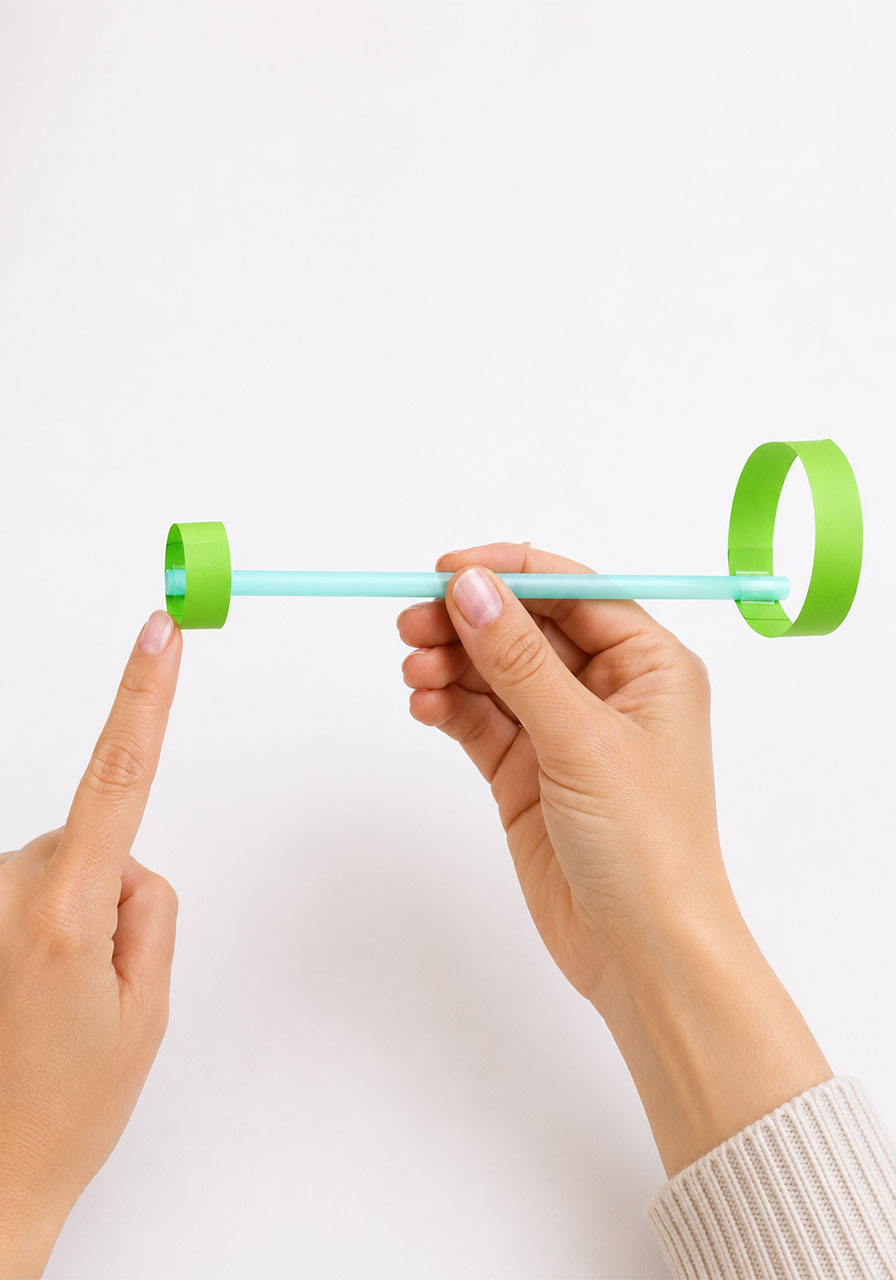
A hoop glider is a simple flying model made from a straw and two paper rings instead of traditional folded wings.
Unlike a classic paper airplane, a hoop glider doesn’t rely on a flat, folded wing shape to stay in the air. Instead, the circular hoops create a curved surface that air can flow around evenly on all sides.
This even airflow reduces drag and helps the glider stay balanced mid-flight. That’s why hoop gliders tend to fly farther and straighter than traditional paper planes, even in the hands of a first-time builder.
It’s a fantastic example of how changing the shape of an object changes the way it moves through the air. That’s a real aerodynamics concept, made simple enough for a five-year-old to build.

Best For
Homeschool science lessons, classroom STEM activities, rainy day boredom-busters, and any parent or teacher looking for a low-mess, high-engagement science project.
Time to Make
About 10 to 15 minutes per glider. Plan for a bit longer if you’re making several to compare designs, which we highly recommend.
Ages
Perfect for ages 5 to 14. Younger kids will need a little help measuring and cutting, while older kids can measure, build, and test independently.
What You’ll Need
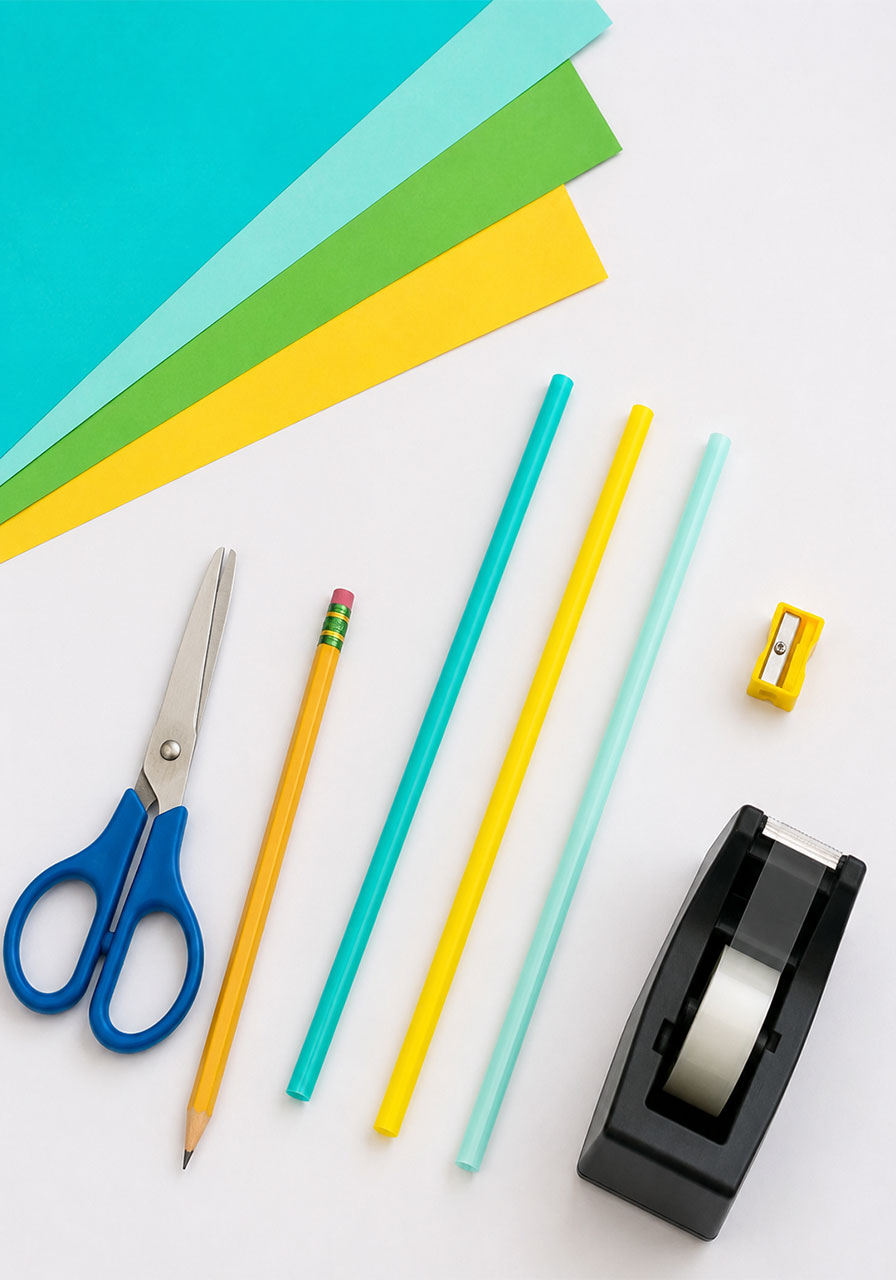
Straws (plastic or paper both work)
Paper or lightweight card, in any color
Scissors
Tape
Ruler
Pencil
A quick tip: thicker straws, like the wide ones that come with frozen drinks, tend to hold their shape better than thin ones. If you only have thin straws on hand, don’t worry, they’ll still work just fine.
As for paper, any printer paper or craft paper will do the job. If you want to get your kids extra invested, let them decorate or color their paper before cutting, so every glider looks unique.
How to Make a Hoop Glider: Step-by-Step Instructions
Follow these steps carefully. Getting the measurements right is what makes the difference between a glider that soars and one that flops.
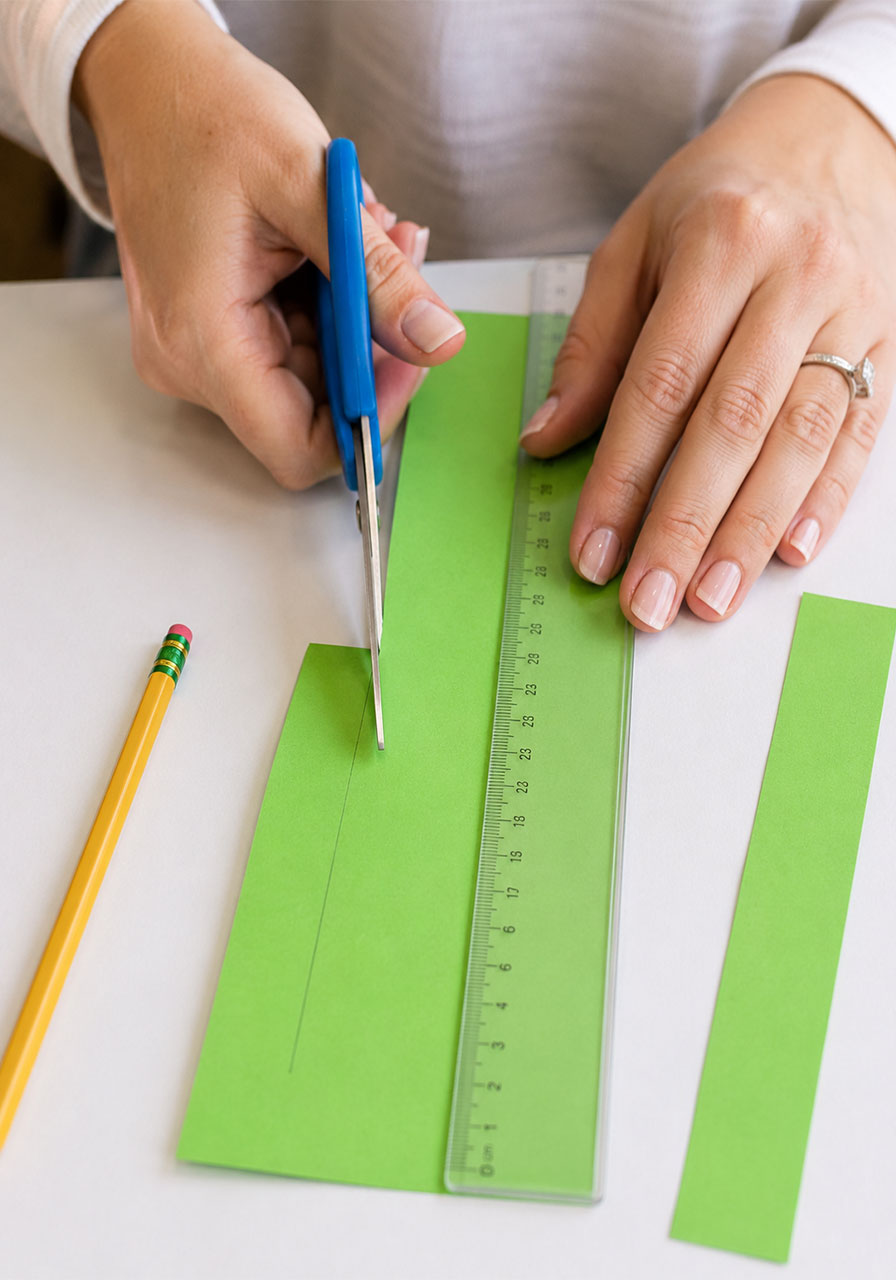
1. Cut two strips of paper, both 2 centimeters wide. One strip should be 15 centimeters long, and the other 20 centimeters long.
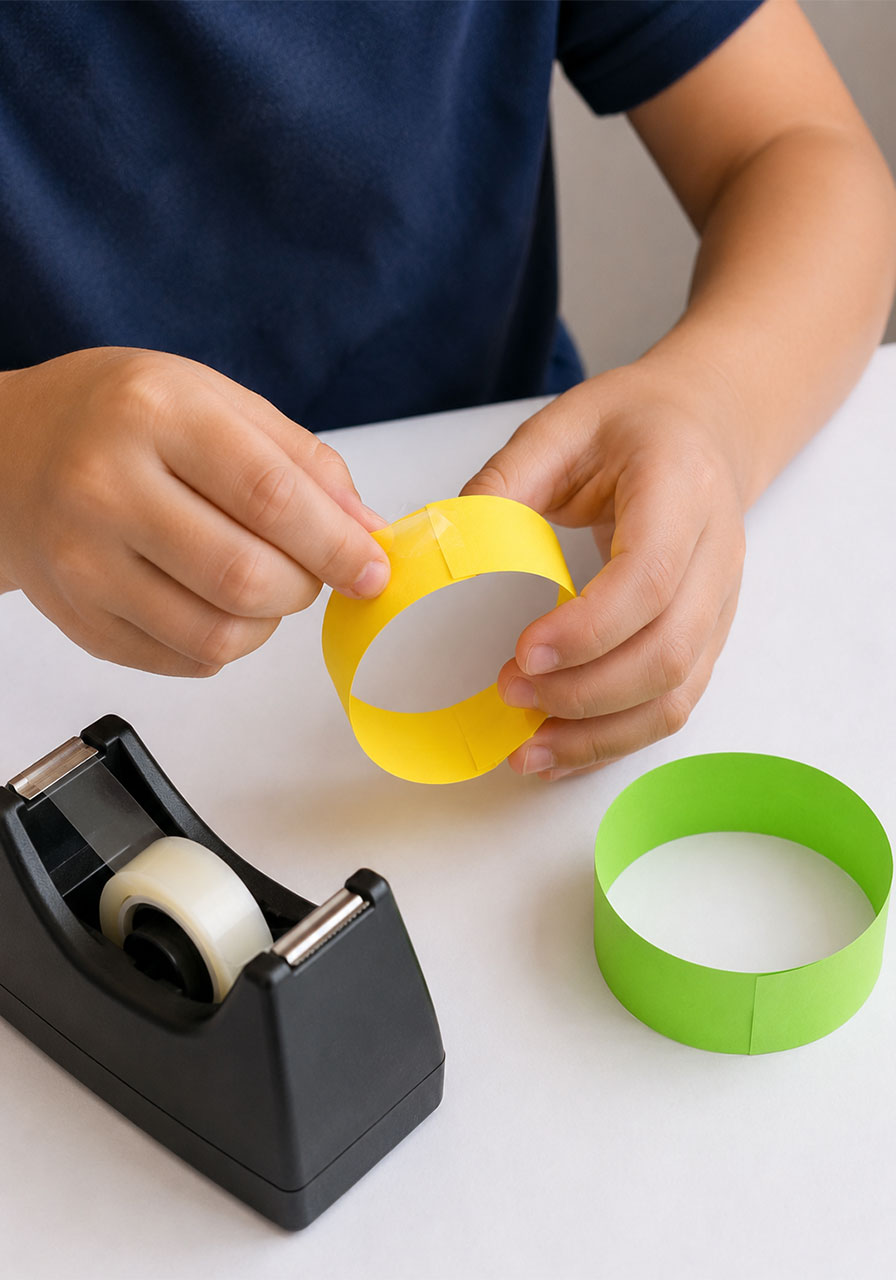
2. Tape each strip into a loop. You should end up with one small hoop and one larger hoop.
3. Tape the small hoop to one end of the straw. This will be the front of your glider.
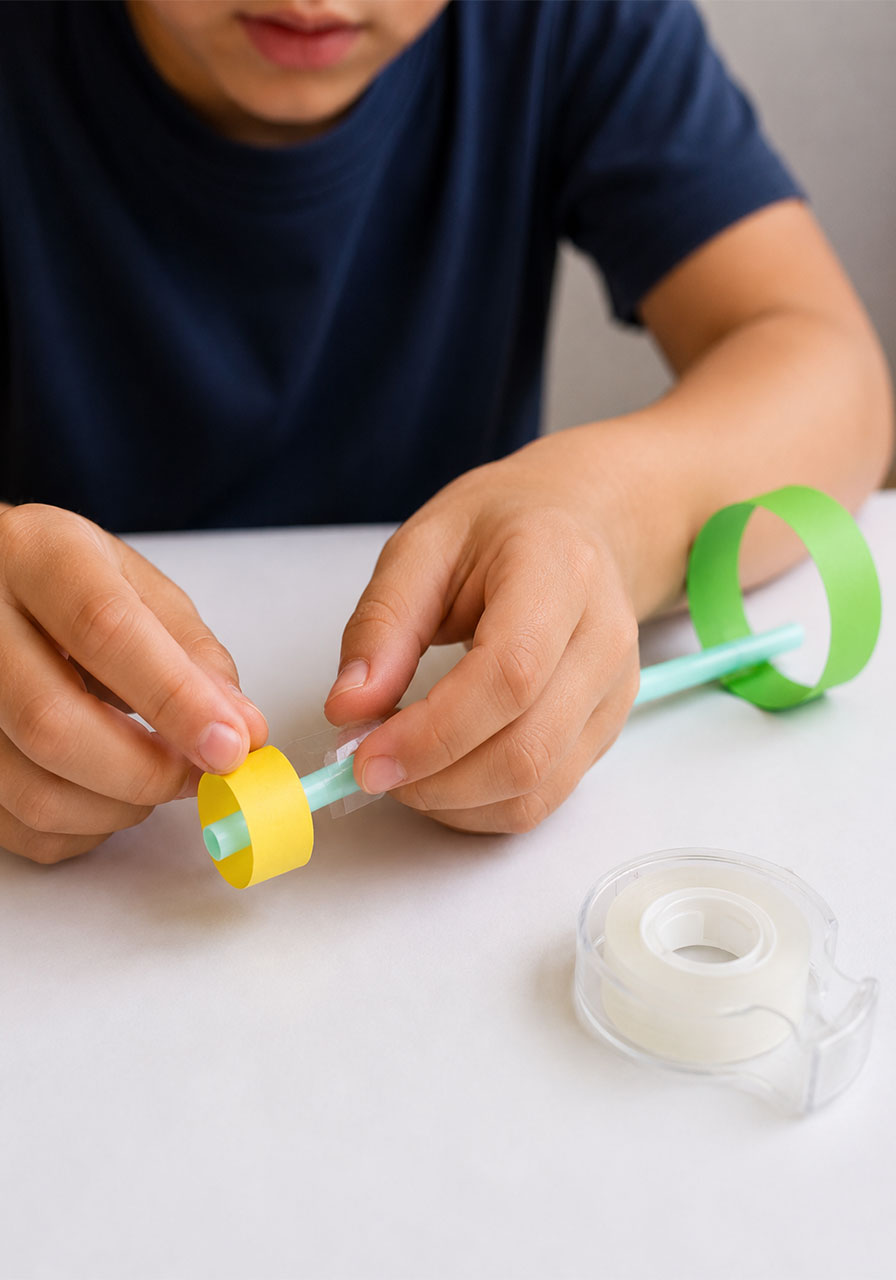
4. Tape the large hoop to the other end of the straw. This will be the back of your glider.
5. Line up both hoops so they sit straight and centered on the straw, not tilted or crooked. This step matters more than it looks. A crooked hoop will send your glider veering off to one side instead of flying straight.
And that’s it. Your hoop glider is ready for takeoff.
How to Fly Your Hoop Glider
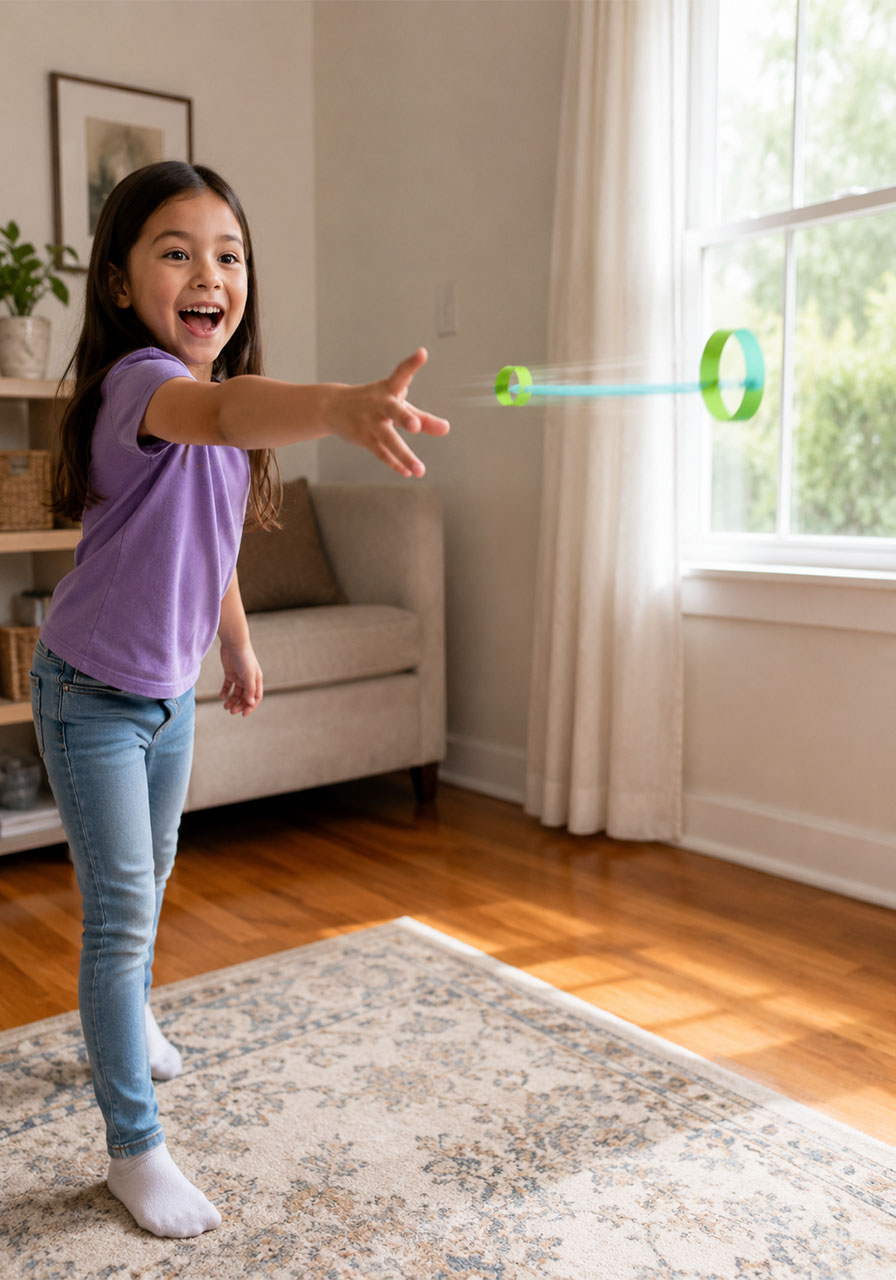
Hold the straw near the small hoop, with the small ring facing forward. Throw it gently, the same way you’d throw a small dart, rather than snapping your wrist like you would with a normal paper airplane.
You’ll notice it glides smoothly through the air, often much farther than expected. That’s the small hoop cutting through the air efficiently, while the larger hoop stabilizes the flight from behind, similar to how feathers stabilize an arrow.
Turn It Into a Real STEM Experiment
Building one hoop glider is fun. Building several and testing them against each other is where the real learning happens.
This is a great opportunity to introduce your kids or students to the scientific method: ask a question, make a prediction, test it, and record the results.
Here are some easy variables to test:
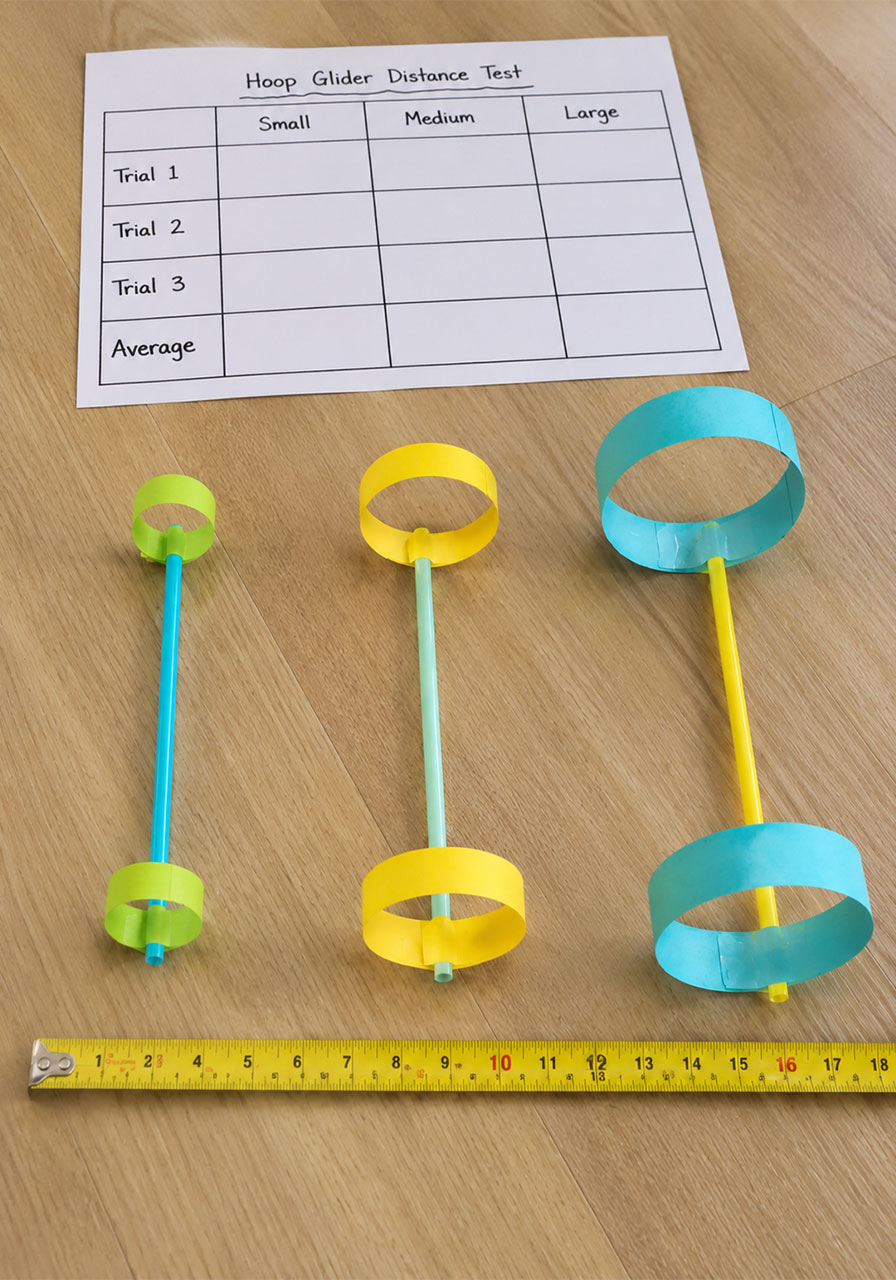
Ring size: What happens if you make both hoops bigger or smaller?
Number of rings: Does adding a third hoop change how it flies?
Ring shape: Try folding the loops into squares instead of circles. Does it still fly as well?
Straw length: Does a longer or shorter straw change the distance or stability?
Have your kids predict what they think will happen before each test, then measure how far each glider actually flies. You can use a simple tape measure and mark the landing spot with a sticky note or piece of tape.
Encourage them to fly each design at least three times and average the results. This teaches an important science lesson on its own: one test isn’t enough to draw a real conclusion.
Why This Works So Well for Classrooms and Homeschool Groups
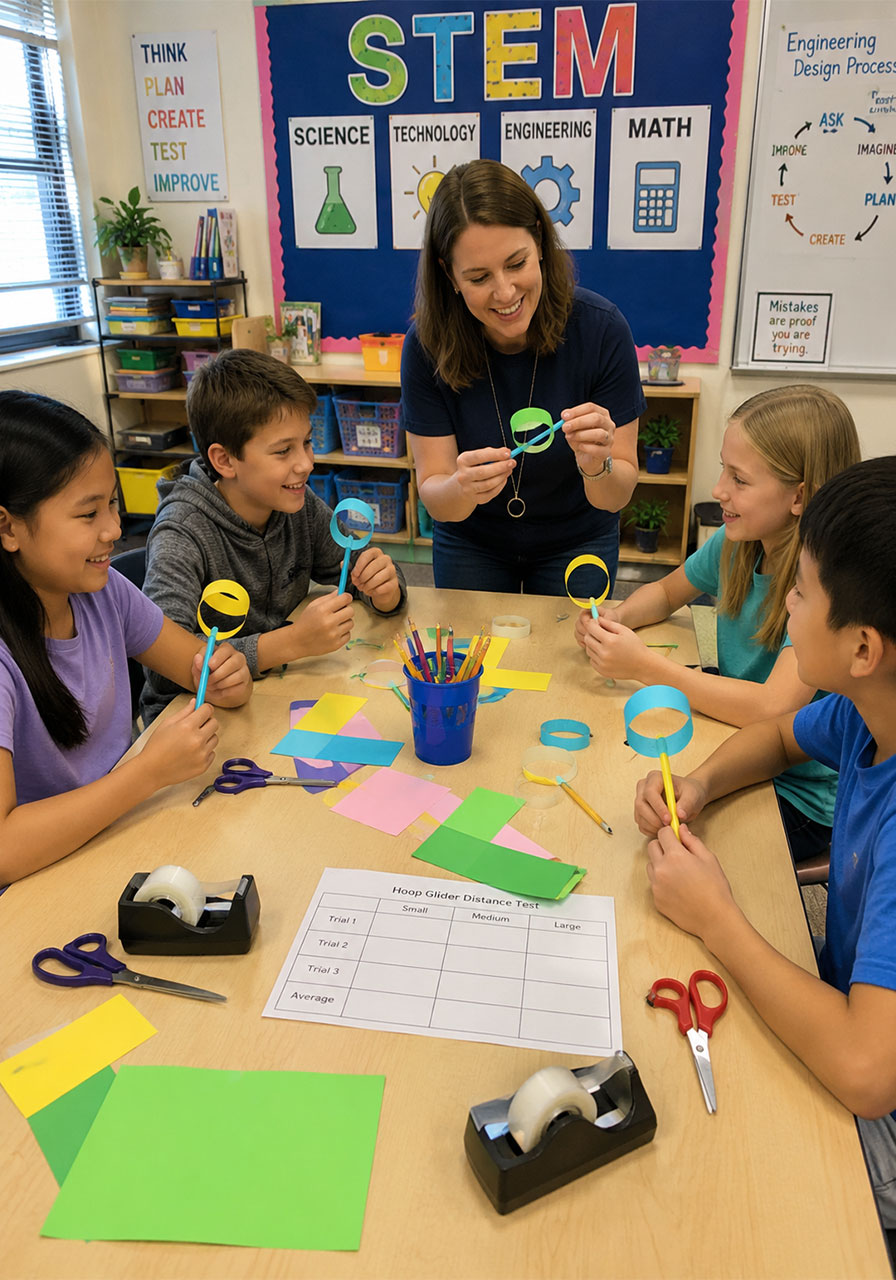
One of the best things about the hoop glider is that it naturally works for multiple age groups and skill levels at the same time.
Younger kids can focus on building and flying, while older kids can take on measuring, recording data, and comparing results across a chart. That makes it an easy activity to run with mixed-age siblings or a classroom full of different skill levels.
It also uses materials most homes and classrooms already have on hand, so there’s no need for a special supply run before you get started.
Pro Tip
If your gliders keep veering to one side, check that both hoops are taped on straight and centered. Even a slightly crooked hoop is usually the culprit behind a wobbly flight.
Fun Variation
Have each child build two gliders with a different hoop size, then host a mini “science fair” style competition to see whose design flies the farthest. It’s a simple way to make the experiment feel like a real event, not just a worksheet with extra steps.
Frequently Asked Questions
Do I need special paper to make a hoop glider?
No. Regular printer paper or lightweight craft paper both work well. Avoid paper that’s too thick or stiff, since it will be harder to shape into a smooth loop.
Why does my glider keep flying to one side instead of straight?
This usually means one of the hoops isn’t centered on the straw, or the two hoops aren’t lined up with each other. Take a moment to straighten both hoops before testing again.
Is this activity messy?
Not at all. You just need scissors, tape, and paper, so cleanup takes seconds.
Can this be done as a group activity?
Yes, it’s an excellent group or classroom activity since kids can build their own gliders and then compare results together.
Final Thoughts
The hoop glider proves that some of the best science lessons come from the simplest materials. With just a straw, some paper, and a few minutes of building time, you’ve got a hands-on activity that teaches real aerodynamics concepts while keeping kids fully engaged.
Keep a few straws and spare paper on hand, because once your kids fly their first hoop glider, they’ll want to build another one, and another, testing new designs each time.
