
If you’re a teacher hunting for a hands-on science moment that makes an entire classroom gasp, or a parent trying to fill a rainy afternoon with something more exciting than a screen, this is the experiment for you.
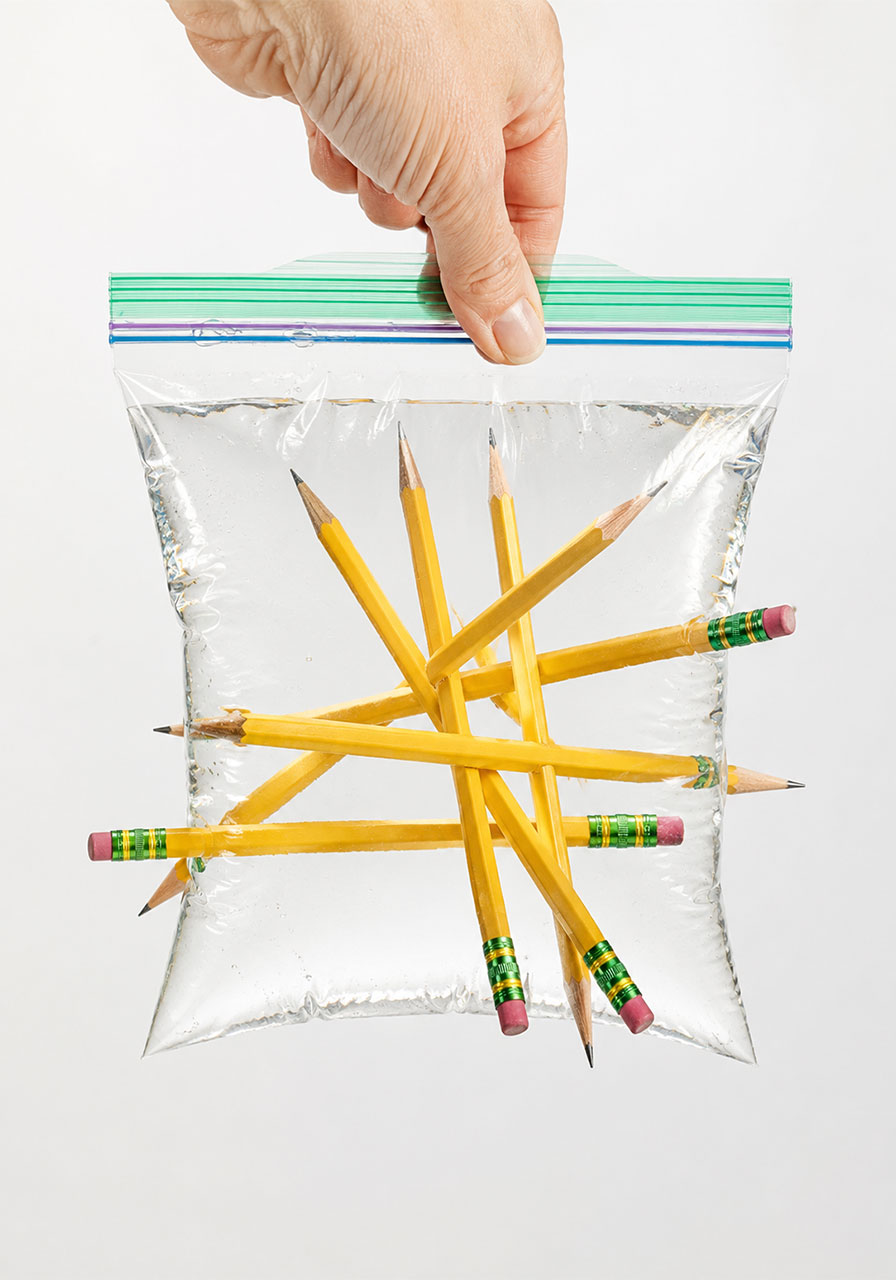
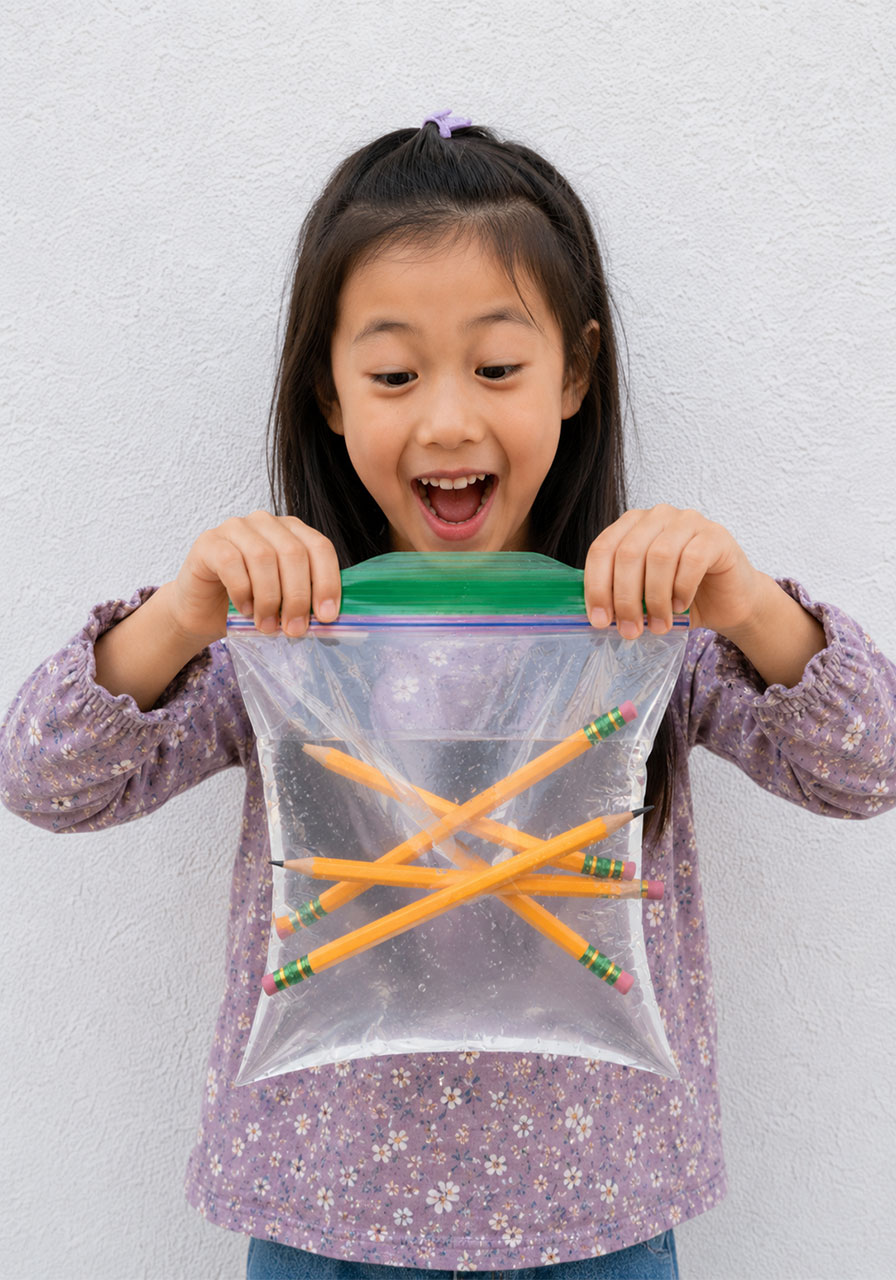
The Pencil in Water Bag Experiment looks like straight-up magic. You push a sharpened pencil clean through a bag full of water, and somehow, not a single drop leaks out. Kids stare at it like you’ve broken the laws of physics.
Here’s the best part: you’ve probably already got everything you need sitting in a kitchen drawer.
Below, we’ll walk you through exactly how to set it up, how to keep it mess-free, and the real science explanation you can share with your kids or students afterward, because a great STEM activity always answers the question, “wait, why did that work?”
Why This Experiment Is a Must-Try for Classrooms and Homes
This is one of those rare activities that checks every box. It’s fast. It’s cheap. It’s genuinely impressive. And it teaches a real science concept without ever feeling like a lecture.
Teachers love it because it can be set up as a demo in under five minutes, with zero cleanup drama if you follow our tips below.
Parents love it because it turns a boring afternoon into a “wait, do that again!” moment, and it works just as well for a solo curious kid as it does for a backyard full of them.
It’s also a fantastic gateway into talking about polymers, molecules, and material science, big words that suddenly feel a lot more approachable once a kid has watched them in action.

Activity Snapshot
Best for: Ages 4 and up, with adult help for the pencil-poking step
Time to Complete: 5 to 10 minutes
Mess Level: Low, especially if you set up over a sink or outdoors
Group Size: Works for one curious kid or a full classroom taking turns
What You’ll Need
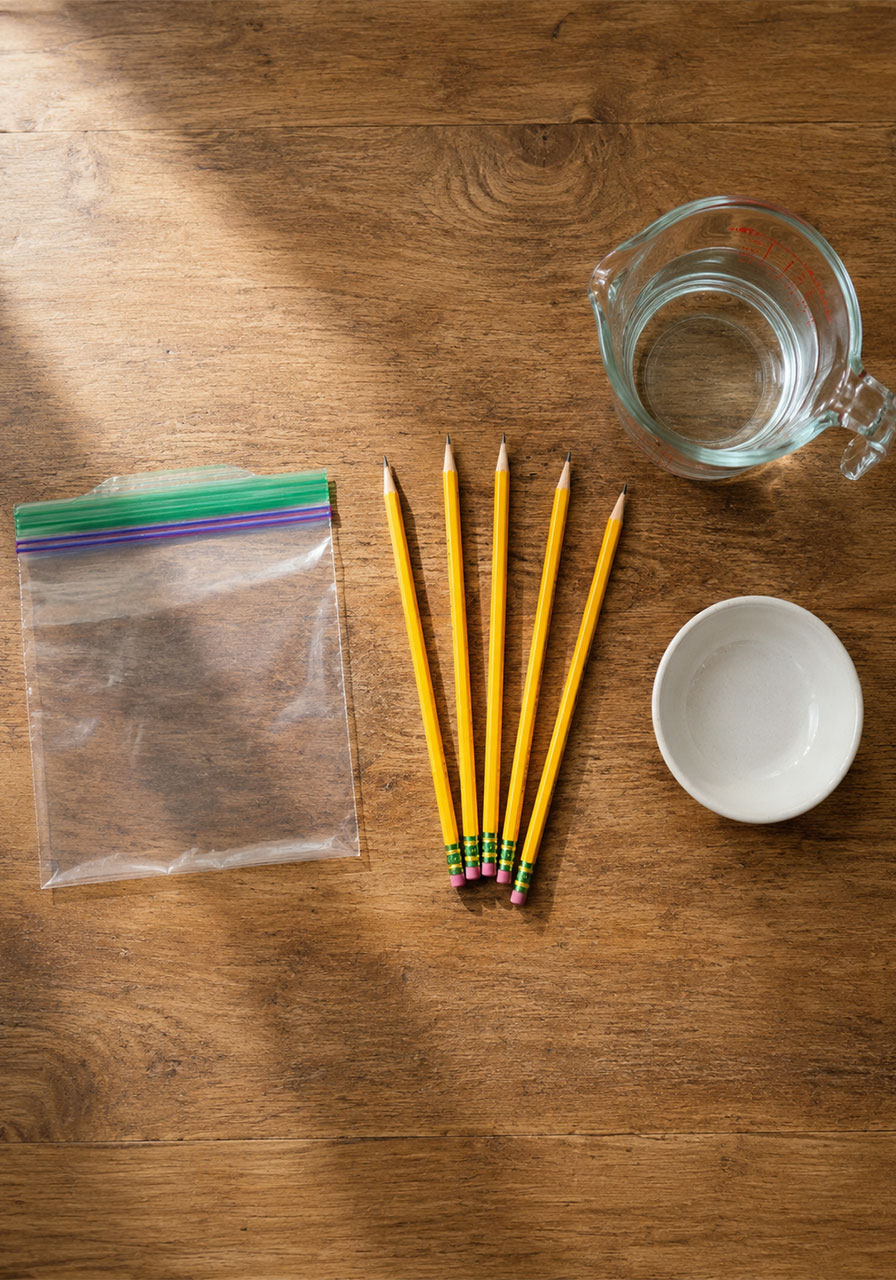
A quart or gallon-size zipper sandwich bag (a sturdy, name-brand bag works best)
Water
Several sharpened pencils (the sharper the tip, the cleaner the poke)
A sink, large bowl, or outdoor space, just in case of a leak
That’s genuinely it. No prep the night before, no trip to the craft store.
How to Do the Pencil in Water Bag Experiment
Follow these steps in order, and don’t skip the water level tip in step one, it’s the difference between a perfect demo and a soggy countertop.
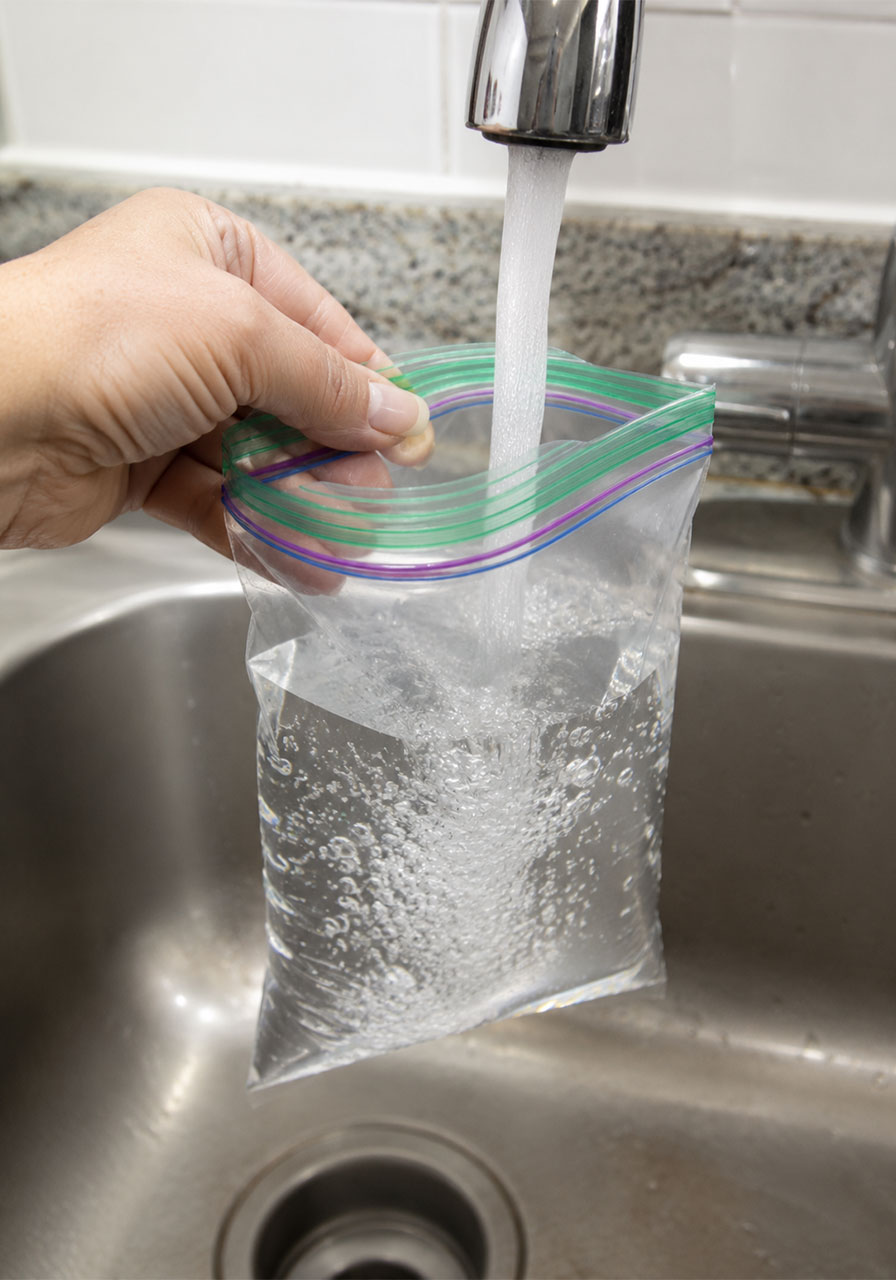
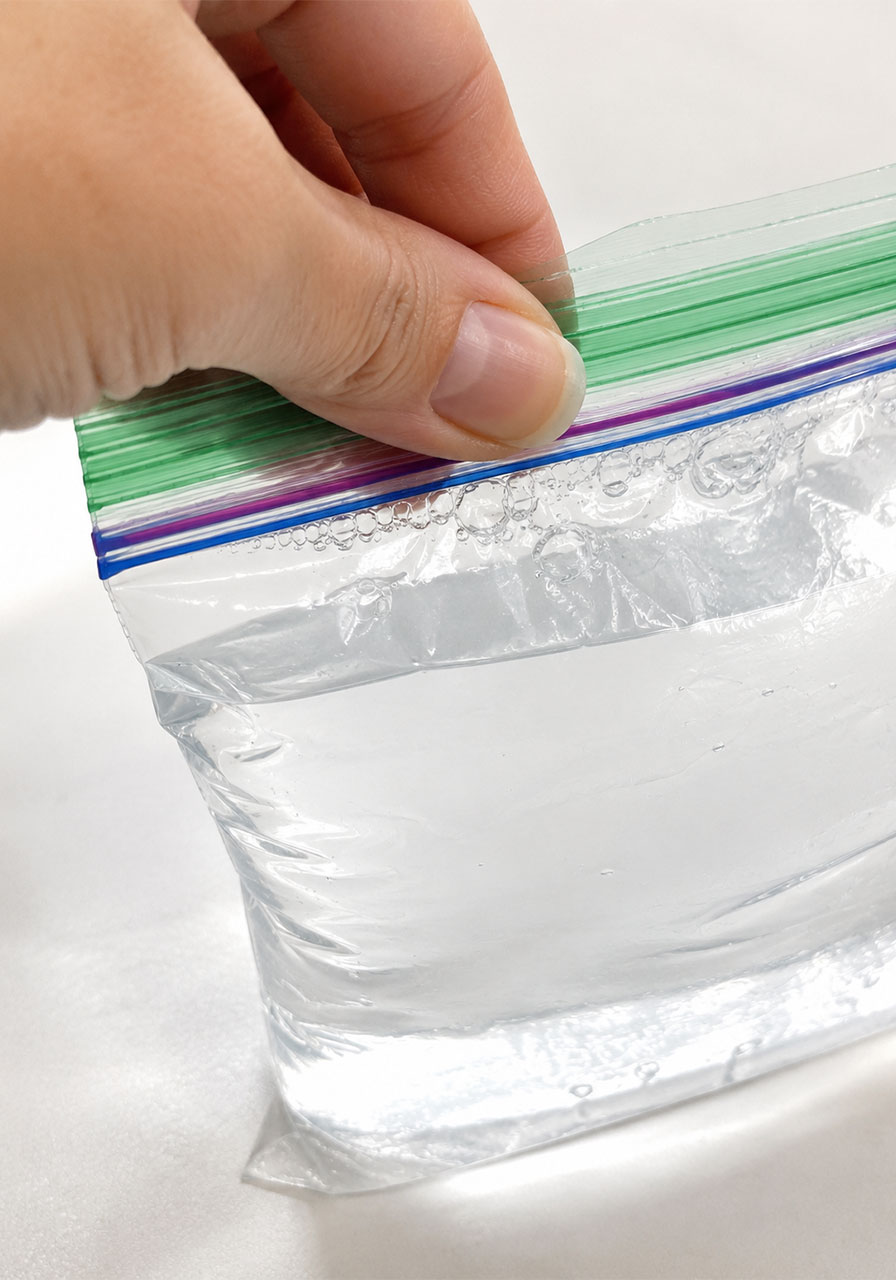
Step 1: Fill the bag with water.
Hold the bag over a sink and fill it with water until it’s about three-quarters full. Leave a little room at the top so you can seal it tightly. Press out any extra air before you zip it closed.
Step 2: Seal the bag completely.
Double-check the zipper seal along the entire top edge. A half-sealed bag is the number one cause of a surprise puddle later.
Step 3: Choose your entry point.
Pick a sharpened pencil and decide where on the bag you want to push it through. Aim for the middle of the bag, away from the seams, since the seams are the weakest part of the plastic.
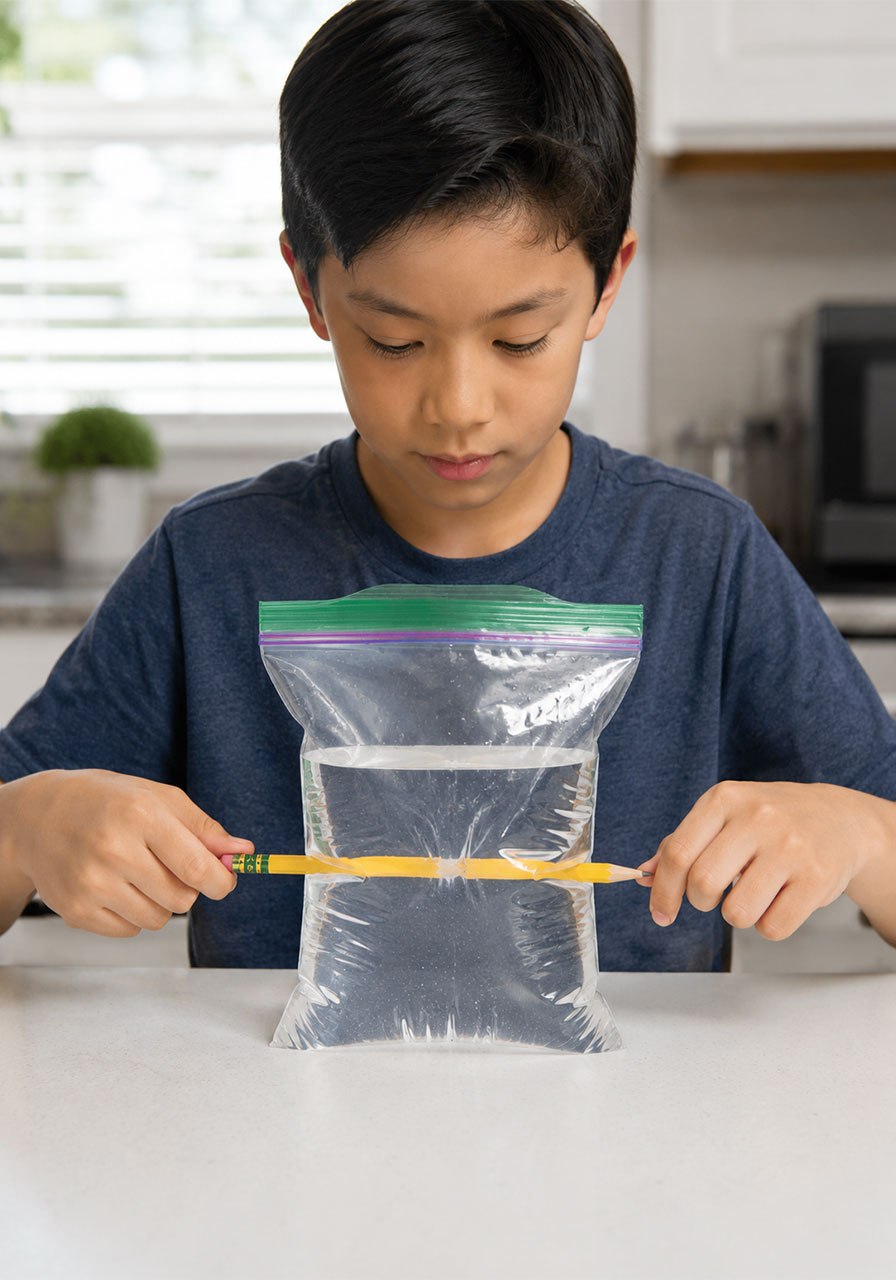
Step 4: Push the pencil through one side only.
With steady pressure, push the pencil through one side of the bag and stop once the tip pokes out the other side. Do not push it all the way out the second side, or water will pour out both ends.
Step 5: Add more pencils.
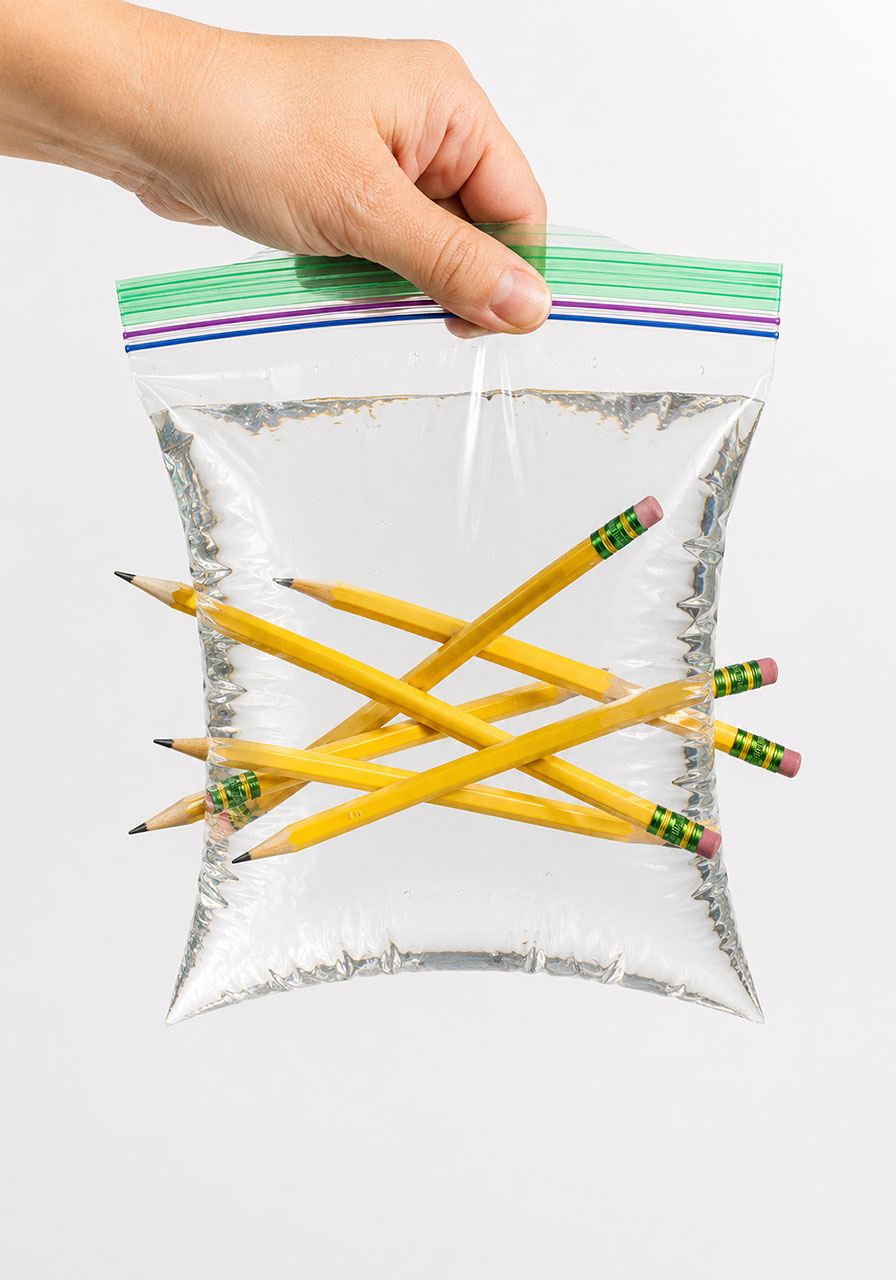
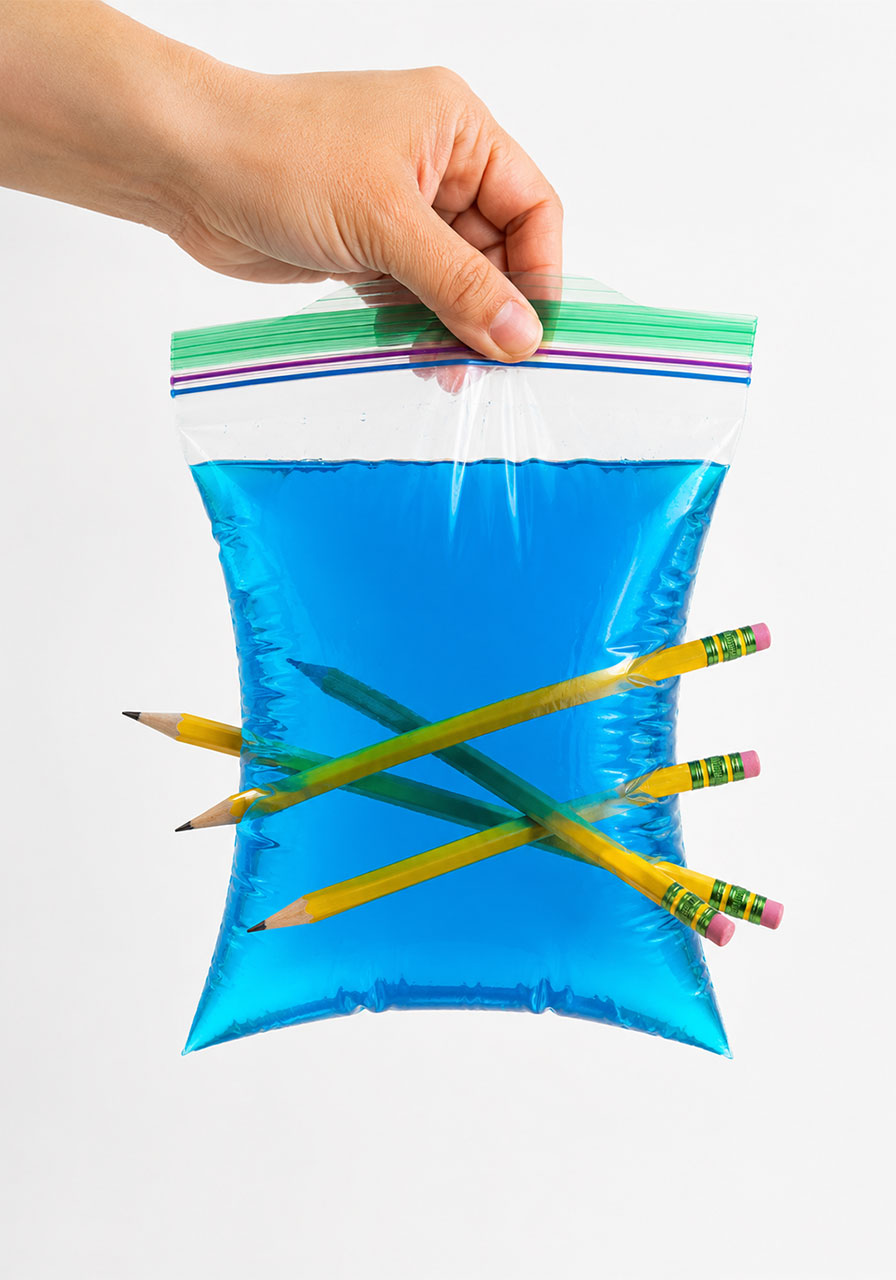
Repeat with additional pencils in different spots around the bag. You’ll be amazed at how many you can add, often six, eight, or even more, without a single leak.
Step 6: Hold the bag up and admire your work.
Lift the bag by the top and let the kids see it from every angle. This is the big reveal moment, so let it breathe.
Why Doesn’t the Bag Leak? The Real Science Explained
This is the part that turns a fun trick into an actual STEM lesson, and it’s simpler than it sounds.
Plastic sandwich bags are made of long chains of molecules called polymers. Think of them like a stretchy net of tiny interlinked chains.
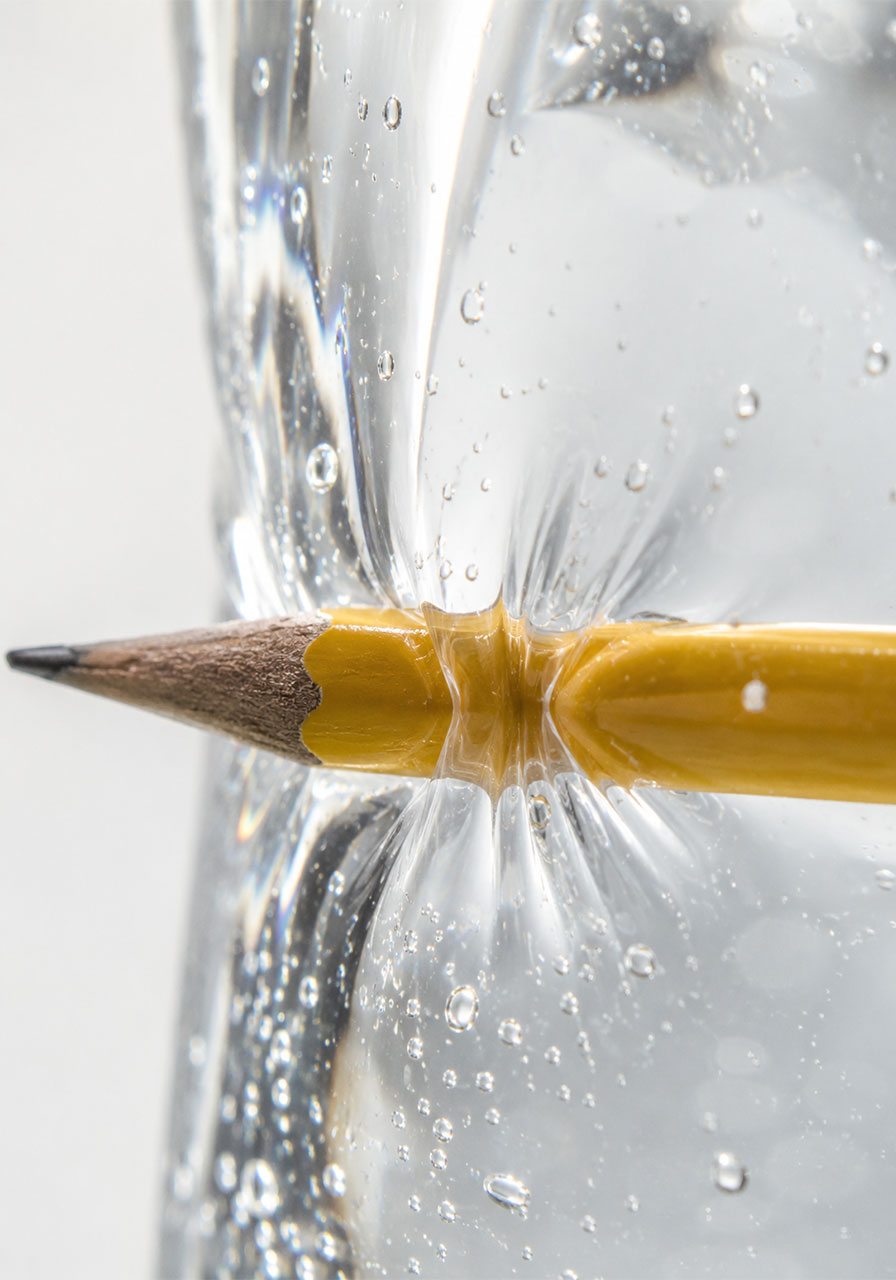
When a sharp pencil pushes through the plastic, it doesn’t rip a clean hole the way scissors would. Instead, it slides between the polymer chains and gently separates them.
Those stretchy chains then wrap themselves snugly around the pencil, almost like the plastic is hugging it. That tight seal is what keeps the water from escaping through the gap.
According to kid science expert Steve Spangler, this same self-sealing effect is what makes the classic “leak-proof bag” trick work, no matter how many pencils you add. It’s a satisfying, visual way to introduce the idea that materials can behave in surprising, flexible ways at a molecular level.
For older kids or a classroom setting, this is a great jumping-off point to introduce vocabulary like polymer, molecule, and elasticity, all wrapped inside a demo they’ll actually remember.
Pro Tips for a Perfect, No-Leak Demo
A few small details make a big difference here, so don’t skip these.
Use a fresh, sturdy bag. Cheaper, thinner bags are more likely to tear instead of sealing around the pencil.
Make sure your pencils are properly sharpened. A dull tip is more likely to tear the plastic than glide through it.
Push the pencil straight through in one smooth motion instead of wiggling it back and forth, which can widen the hole and cause a leak.
Always set up over a sink, a large bowl, or outside. Even with a solid technique, an occasional first-try leak is normal, and it’s a lot more fun to laugh about than to mop up.
Fun Variations to Try
Once you’ve mastered the basic version, try these twists to keep the wow factor going.
Add a few drops of food coloring to the water before sealing the bag for a more colorful, eye-catching demo.
Have kids predict how many pencils they think the bag can hold before it leaks, then test it together and compare guesses. This turns the activity into a simple hypothesis-and-test exercise.
Try different pencil sizes, golf pencils, standard pencils, and even wooden skewers, and talk about whether the tip shape changes the result.
Frequently Asked Questions
Is this experiment safe for young kids?
Yes, with adult supervision for the actual pencil-pushing step. Young kids can help fill the bag, choose pencils, and count how many go in, while an adult or older child handles the poking.
Why did my bag leak?
The most common causes are a dull pencil tip, pushing the pencil through near the seam instead of the middle of the bag, or a thin, lower-quality bag. Try a sharper pencil and a sturdier bag, and aim for the flat center of the bag.
Can I reuse the bag afterward?
Once you’re done, simply pull the pencils out over a sink, the small holes will let the water drain, and you can toss the bag or recycle it where available.
What age group is this best for?
This works wonderfully for preschoolers through upper elementary kids. Younger children love the visual surprise, while older kids can engage more with the actual polymer science behind it.
Wrap-Up
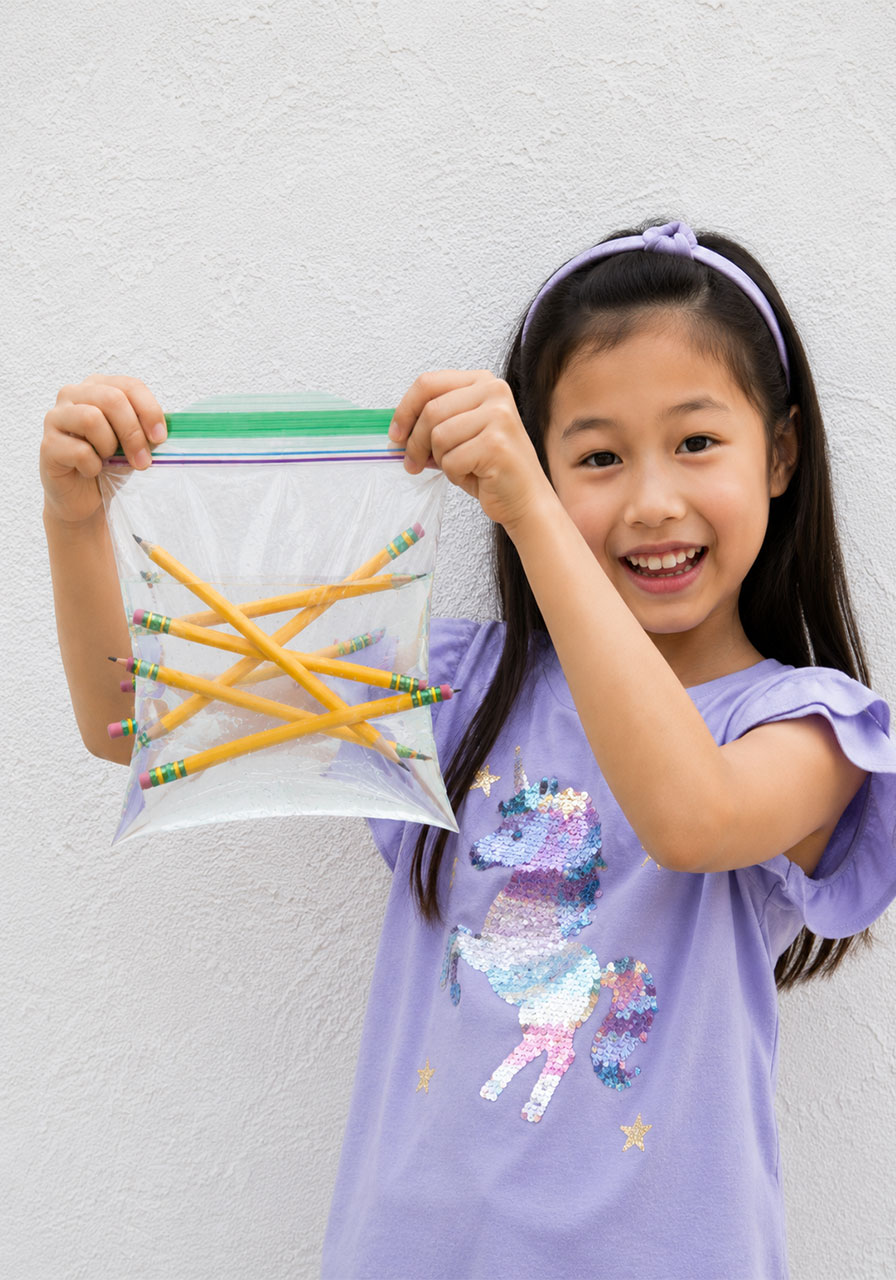
The Pencil in Water Bag Experiment is proof that some of the best STEM moments don’t need a fancy kit or a long setup. Just a bag, a few pencils, and water can turn into a genuine “how did that happen?” experience that sparks real curiosity.
Keep this one in your back pocket for a rainy day, a classroom science block, or whenever you need a five-minute activity that actually teaches something. Because the best learning moments are the ones kids ask to repeat.
