
Raise your hand if you’ve ever scrambled the night before Earth Day looking for an activity that’s actually hands-on, actually teaches something, and doesn’t require a trip to the craft store for fifteen weird supplies.
This one checks every box.
The Oil Spill Clean-Up Experiment is one of those rare STEM activities that looks like play but sneaks in a real science lesson. Kids get to splash around with oil, water, and a pile of random household items. What they walk away with is a genuine understanding of why oil spills are such a massive environmental problem, and why cleaning them up is so incredibly hard.
Best of all, you probably already own everything you need.
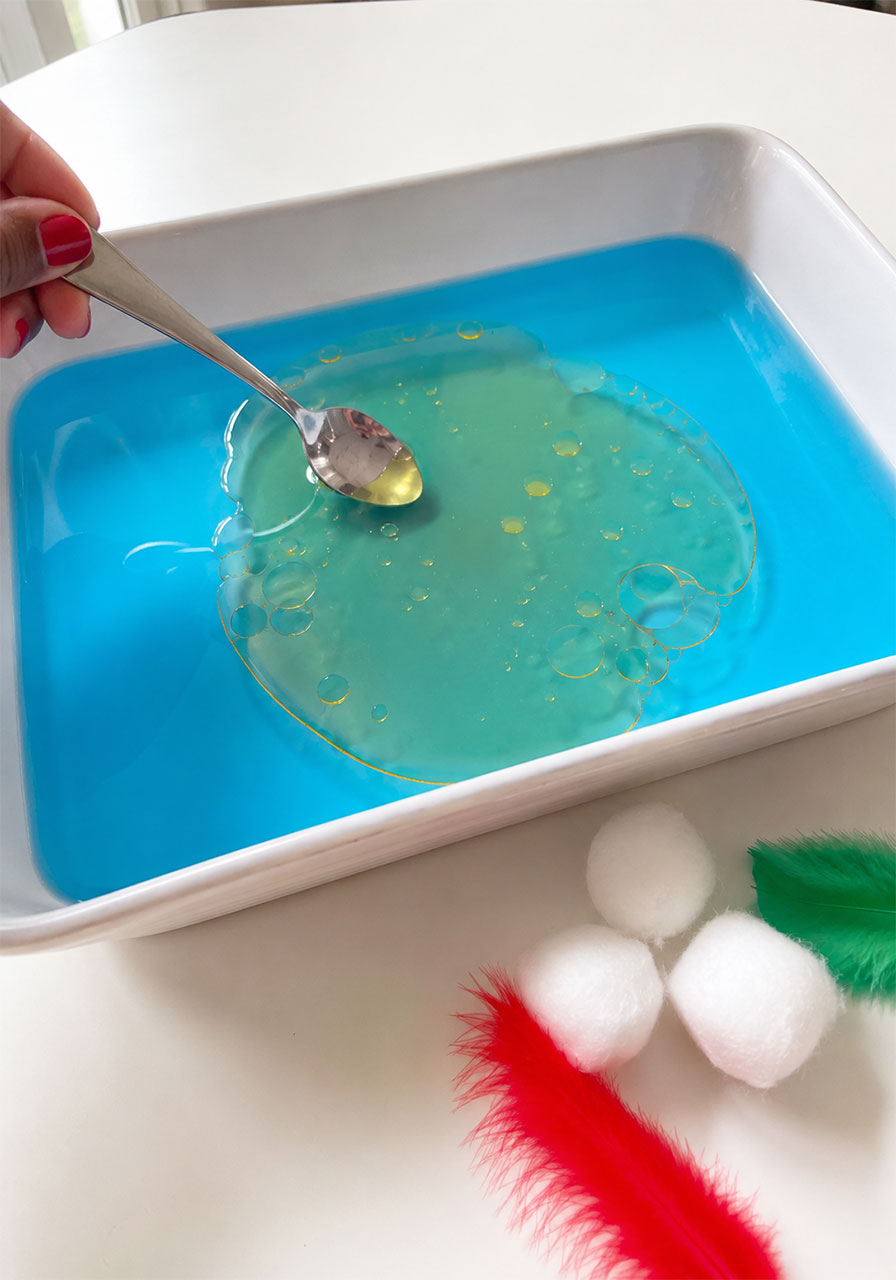
Why This Activity Belongs on Your Earth Day Lesson Plan
Oil spills are one of the most talked-about environmental disasters, but most kids only hear the term without ever understanding what actually happens.
This experiment fixes that. It turns an abstract news headline into something kids can see, touch, and (try to) fix with their own hands.
Along the way, they’ll pick up real vocabulary and real science concepts, including polarity, surfactants, and absorption, without ever feeling like they’re sitting through a lecture.
It’s the kind of activity that makes a teacher look like the classroom hero and a parent look like the most fun person in the house.

What Is an Oil Spill, Anyway?
Before diving into the experiment, it helps to give kids a quick, simple explanation of what an oil spill actually is.
An oil spill happens when liquid petroleum leaks into the environment, most often into oceans or other waterways.
This usually happens because of:
- Offshore drilling accidents
- Oil tanker spills
- Pipeline leaks
- Ships releasing waste oil
Because oil is lighter than water and does not mix with it, it spreads out fast across the surface. It coats everything in its path, from rocks and sand to plants and animals.
Why Oil Spills Cause So Much Damage
This is the part that really sticks with kids once they see it in action during the experiment.
Oil spills cause serious harm in several ways:
- They damage marine plants and animals
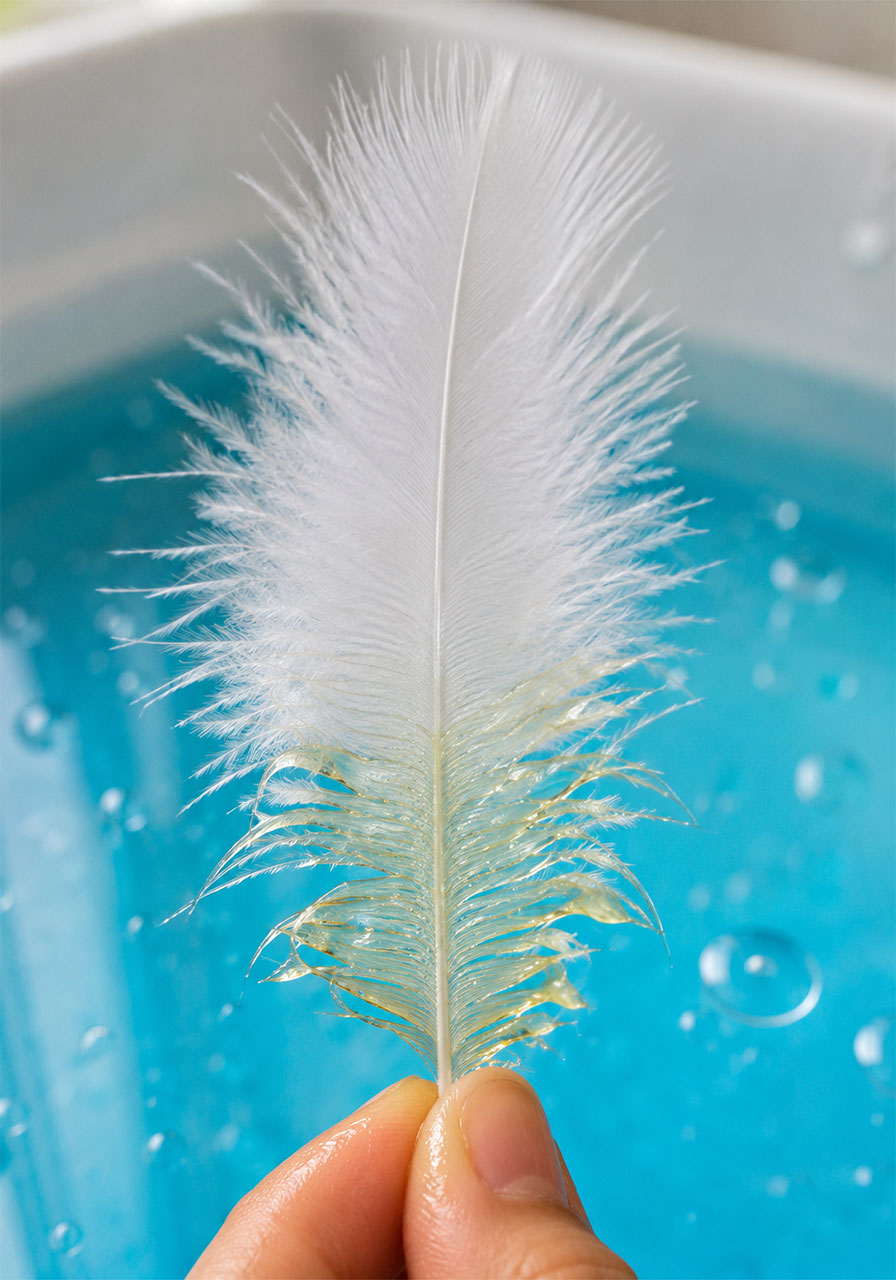
- Birds’ feathers become coated in oil, making it hard for them to fly or stay warm
- Animals often swallow oil while trying to clean themselves
- Shoreline habitats get contaminated and take years to recover
Some spills take years, sometimes decades, before the local ecosystem fully bounces back.
That’s exactly why teaching kids about prevention and cleanup matters so much, and why this experiment is such a meaningful way to start that conversation early.
Oil Spill Clean-Up Experiment: What You’ll Need
Best for: Preschool through upper elementary, homeschool groups, and classroom science stations.
Time to Play: 20-30 minutes.
Group Size: Works for one child or a whole classroom split into small groups.
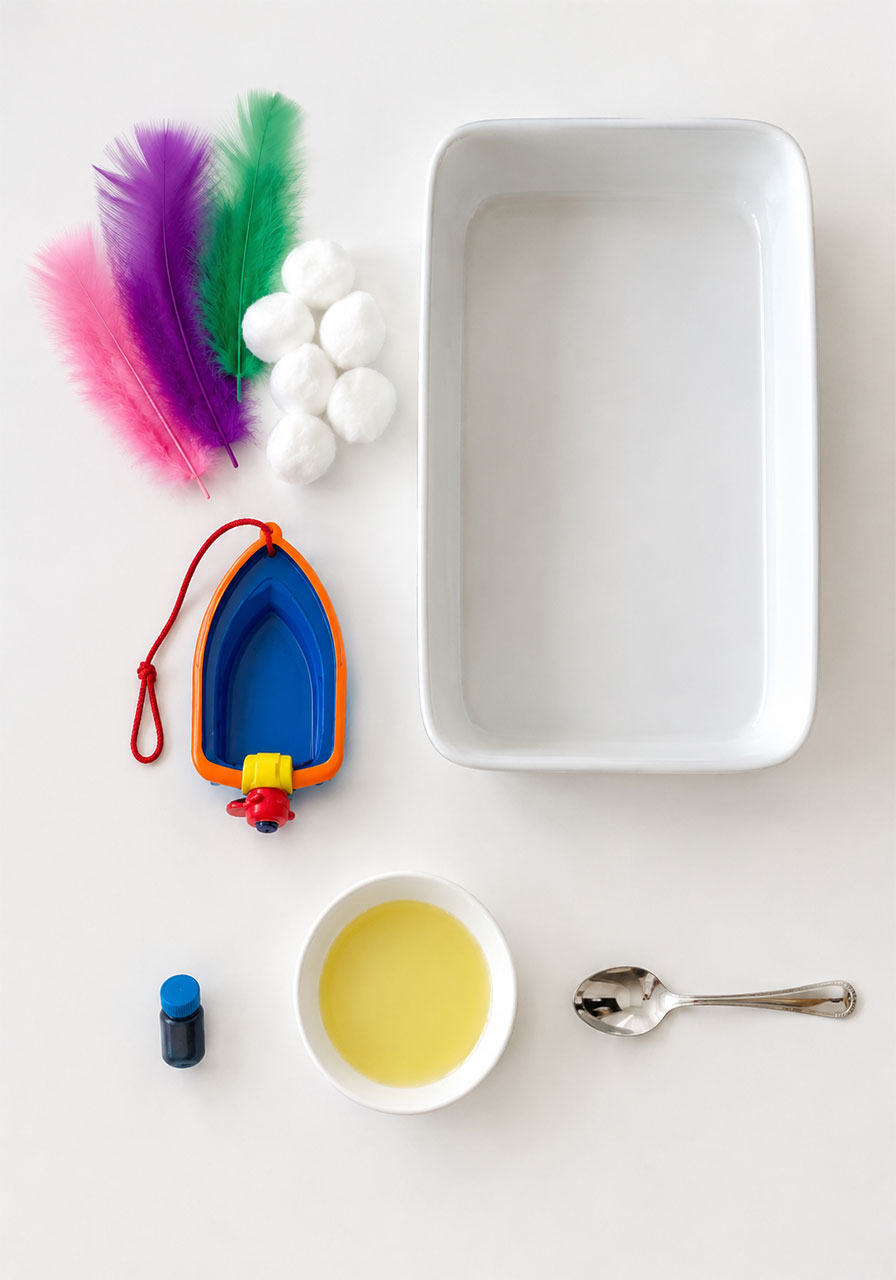
Gather these supplies before you start:
- A shallow pan or container of water
- Blue food coloring (optional, but it makes the “ocean” look extra convincing)
- Vegetable oil (older students with supervision can use motor oil instead)
- Cotton balls
- Paper towels
- A spoon
- Dish soap
- A sponge (optional)
- Feathers (great for demonstrating the impact on birds)
- A medicine dropper or small skimmer (optional, for extra clean-up tools to test)
- A small toy boat (optional, but it makes “spilling” the oil way more fun)
This experiment also pairs beautifully with a read-aloud science book on oceans or oil spills if you want to add a literacy connection to your lesson.
How to Set Up the Experiment
Follow these steps in order so nothing gets confusing once the kids are excited and ready to go.
Step 1: Prepare the “Ocean”
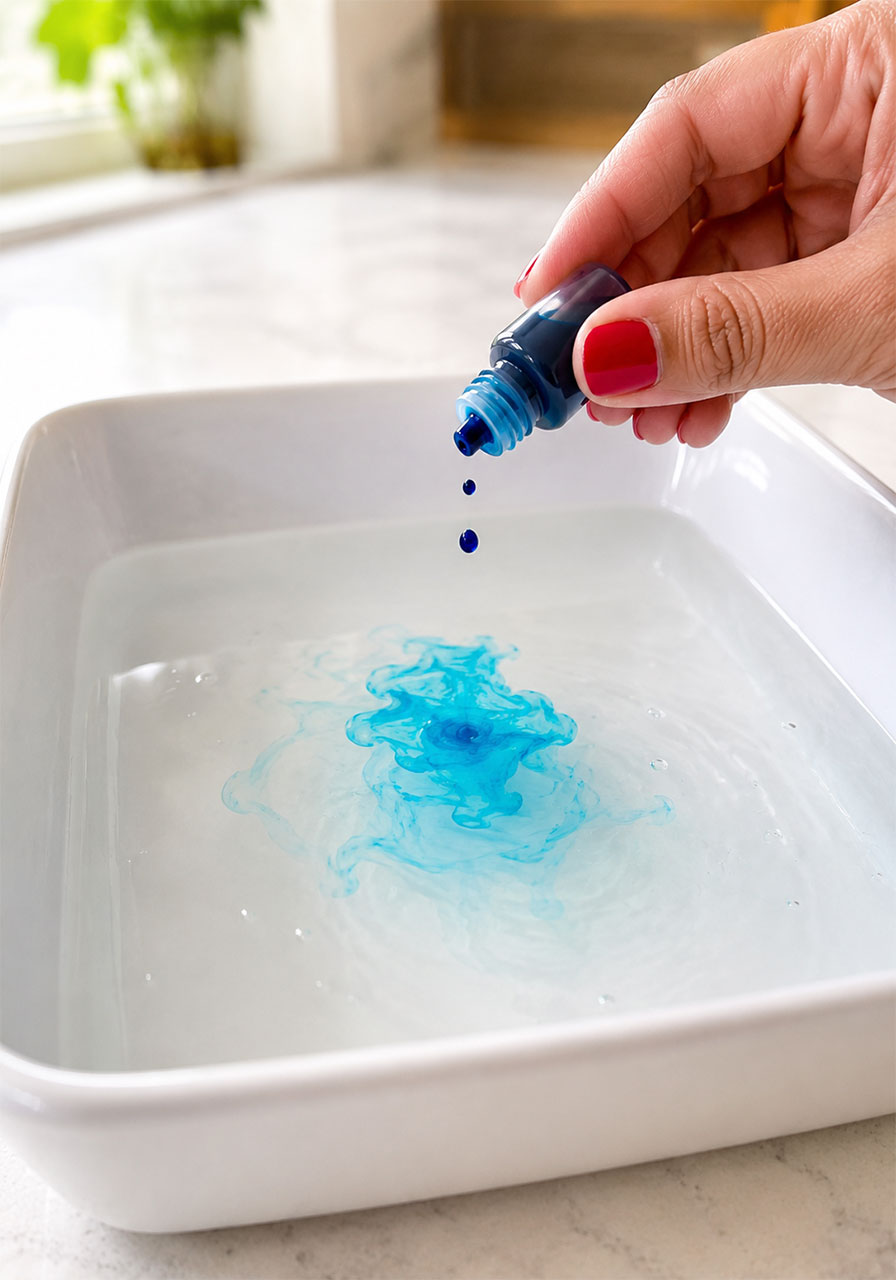
Fill a shallow pan with water and stir in a few drops of blue food coloring. This transforms your plain water into a mini ocean, which makes the whole activity feel more real to younger kids.
Step 2: Create the Oil Spill
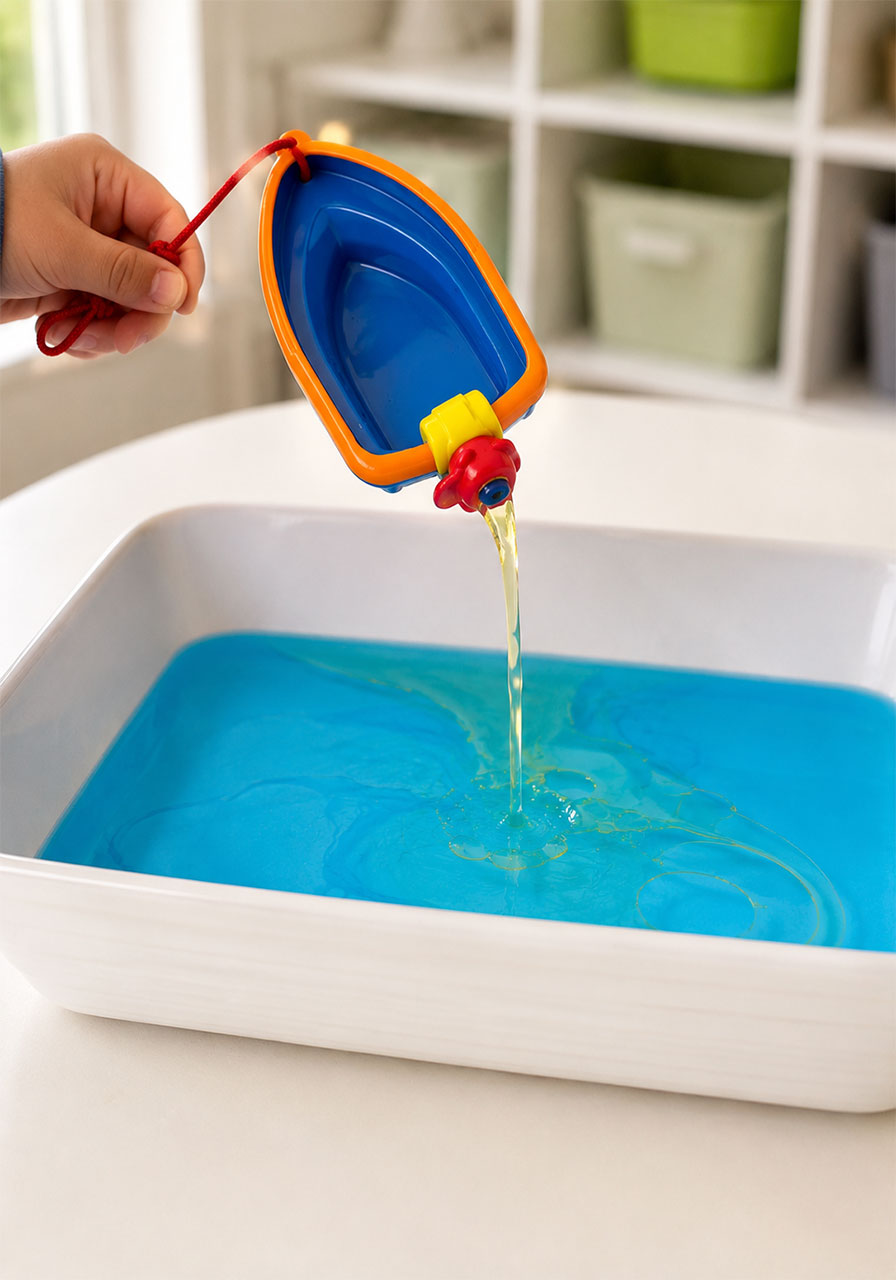
Pour about ¼ cup of vegetable oil into the water.
For extra drama, pour the oil from a small toy boat, or let a kid “accidentally” spill it in. Either way, have everyone watch closely as the oil spreads out and floats on top of the water instead of sinking or mixing in.
This is the perfect moment to pause and ask: “Why do you think the oil is staying on top instead of sinking?”
Step 3: Make a Hypothesis
Before testing any clean-up tools, ask each child to predict which material they think will clean up the oil best.
Have them write down or say their guess out loud. This step is a simple way to build real scientific thinking into the activity, and kids love finding out if they were right.
Step 4: Test Different Clean-Up Methods
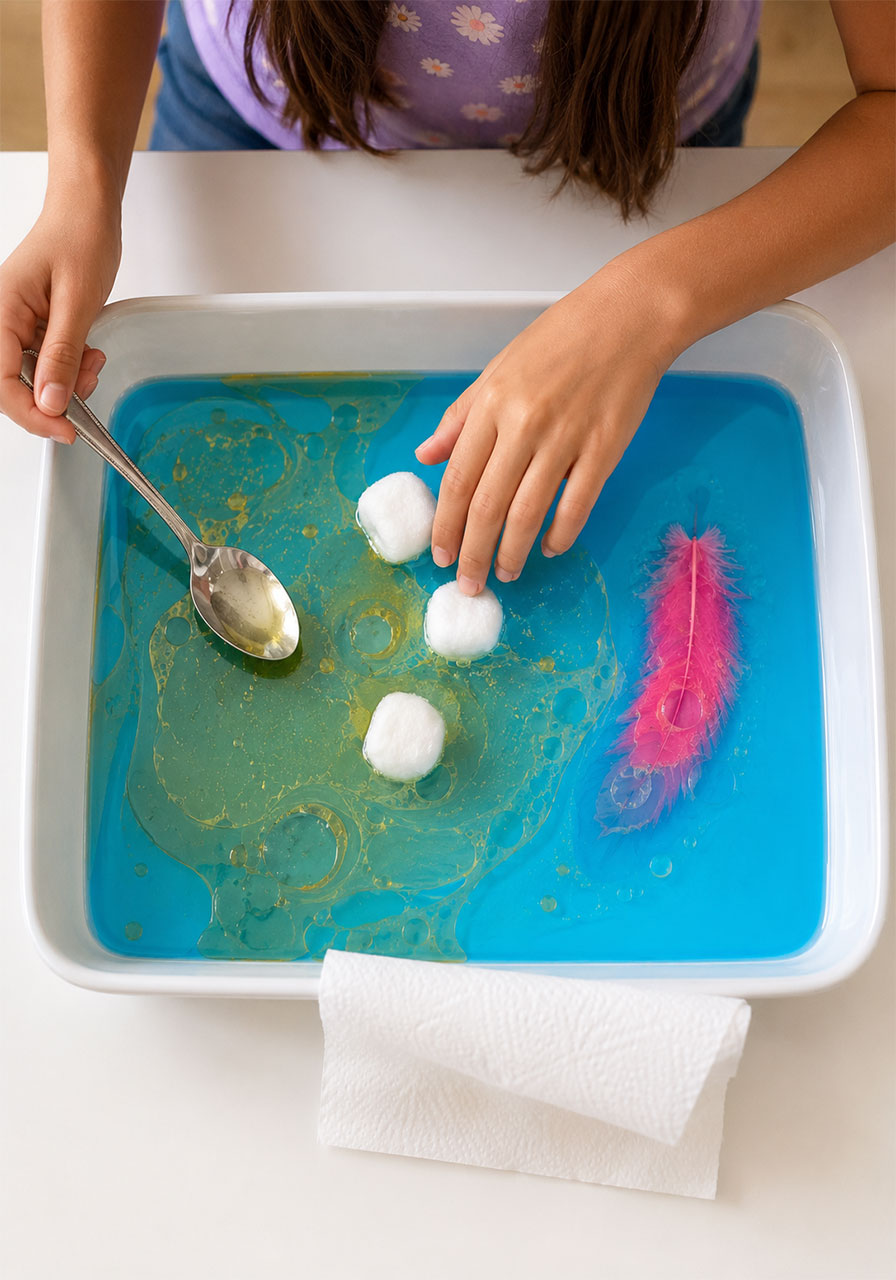
Now it’s time to experiment. Let kids try removing the oil using each of these tools, one at a time:
1. A spoon, to see if scooping alone works
2. Cotton balls, to test absorption
3. Paper towels, to test absorption from a flat surface
4. A sponge, to compare against the cotton balls
5. A feather, to see how oil affects a bird’s ability to stay clean and dry
6. A medicine dropper or skimmer, to test more precise tools
After each tool, have kids observe and describe what worked and what didn’t.
Step 5: Bring in the Dish Soap
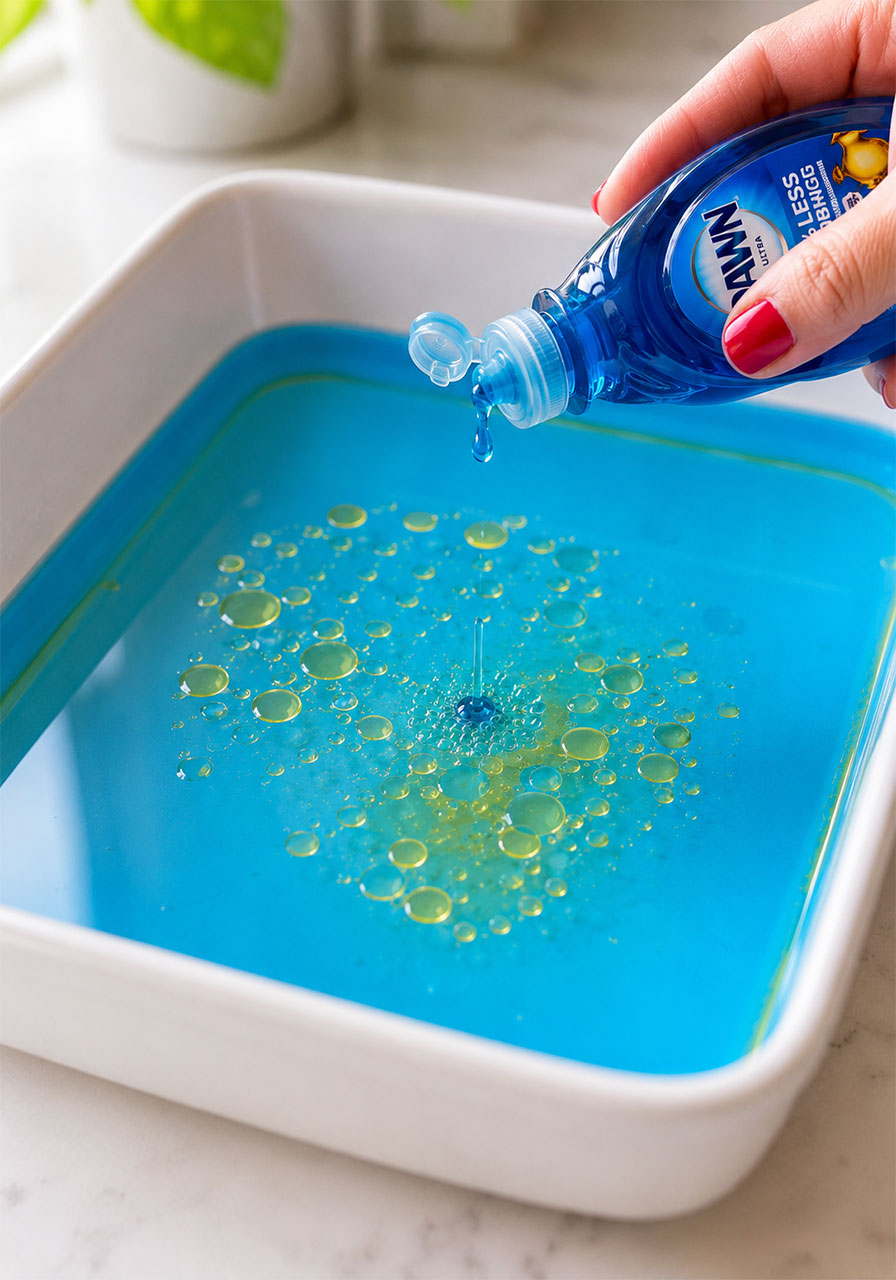
Add a small amount of dish soap directly onto the remaining oil and watch what happens.
This step mimics what real clean-up crews use in actual oil spill response efforts, and it’s usually the moment that gets the biggest reaction from kids.
For an extra powerful lesson, try dipping a feather in oil first, then attempt to clean it with soap and water. Kids quickly realize just how difficult and messy this process really is, which mirrors exactly what happens to birds and wildlife after a real spill.
What Kids Will Notice During the Experiment
By the end of the activity, most kids will have discovered several things on their own:
- Oil floats on top of water instead of mixing in
- Some materials absorb oil much better than others
- Cleanup is slow, messy, and never perfectly complete
- Feathers and fur are especially hard to clean once oil gets on them
These observations naturally lead into bigger conversations about real environmental challenges, which is exactly the kind of critical thinking Earth Day activities should spark.
The Science Behind the Experiment
This activity is a hands-on way to teach a concept called polarity.
Water molecules are polar, meaning they have a slightly positive end and a slightly negative end. Oil molecules are nonpolar, meaning they don’t have that same charge difference.
Because of this difference, oil and water simply do not mix. Instead, the oil floats on top of the water, which is exactly what kids observe when they pour it into the pan.
Dish soap works because it acts as a surfactant. A surfactant helps break oil into smaller droplets, allowing it to mix with water so it can eventually be rinsed away.
This is the same basic principle used in real oil spill cleanup efforts, just on a massive scale.
Real-World Connection: The Deepwater Horizon Oil Spill
To help kids understand the bigger picture, it’s worth introducing one of the most well-known oil spills in history: the Deepwater Horizon oil spill of 2010.
Here are a few key facts to share, depending on the age group:
- Over 4.9 million barrels of oil were released into the Gulf of Mexico
- 11 workers lost their lives in the initial explosion
- Wildlife and coastal ecosystems were affected for years afterward
Connecting the hands-on experiment to a real historical event helps kids understand just how massive and difficult these cleanups truly are, especially compared to the small pan of oil they just cleaned up themselves.
Why This Is Such a Powerful Earth Day Activity
This experiment teaches far more than a single science concept.
Kids walk away with:
- A stronger sense of environmental responsibility
- Real problem-solving experience through trial and error
- A clearer understanding of how human actions impact the planet
It’s a meaningful way to connect classroom science to real-world issues, which is exactly what makes Earth Day lessons stick with kids long after the activity is over.
Ways to Extend the Learning
If your class or your kids are hooked, there are plenty of ways to keep the lesson going:
- Research real oil spill cleanup methods used by professionals today
- Learn about specific marine animals affected by oil spills, like sea otters and pelicans
- Challenge kids to design their own “better” cleanup tool using household materials
- Have kids write a short paragraph or journal entry about ways to protect the environment
These extensions work especially well for teachers looking to turn a single activity into a multi-day lesson plan.
Tips for Making This Experiment a Success
A few small adjustments can make this activity run even smoother, whether you’re doing it with one child at home or a full classroom.
Lay down old newspaper or a plastic tablecloth first. Oil clean-up on the table is nowhere near as fun as oil clean-up in the pan.
Keep paper towels within arm’s reach the entire time. Little hands get oily fast.
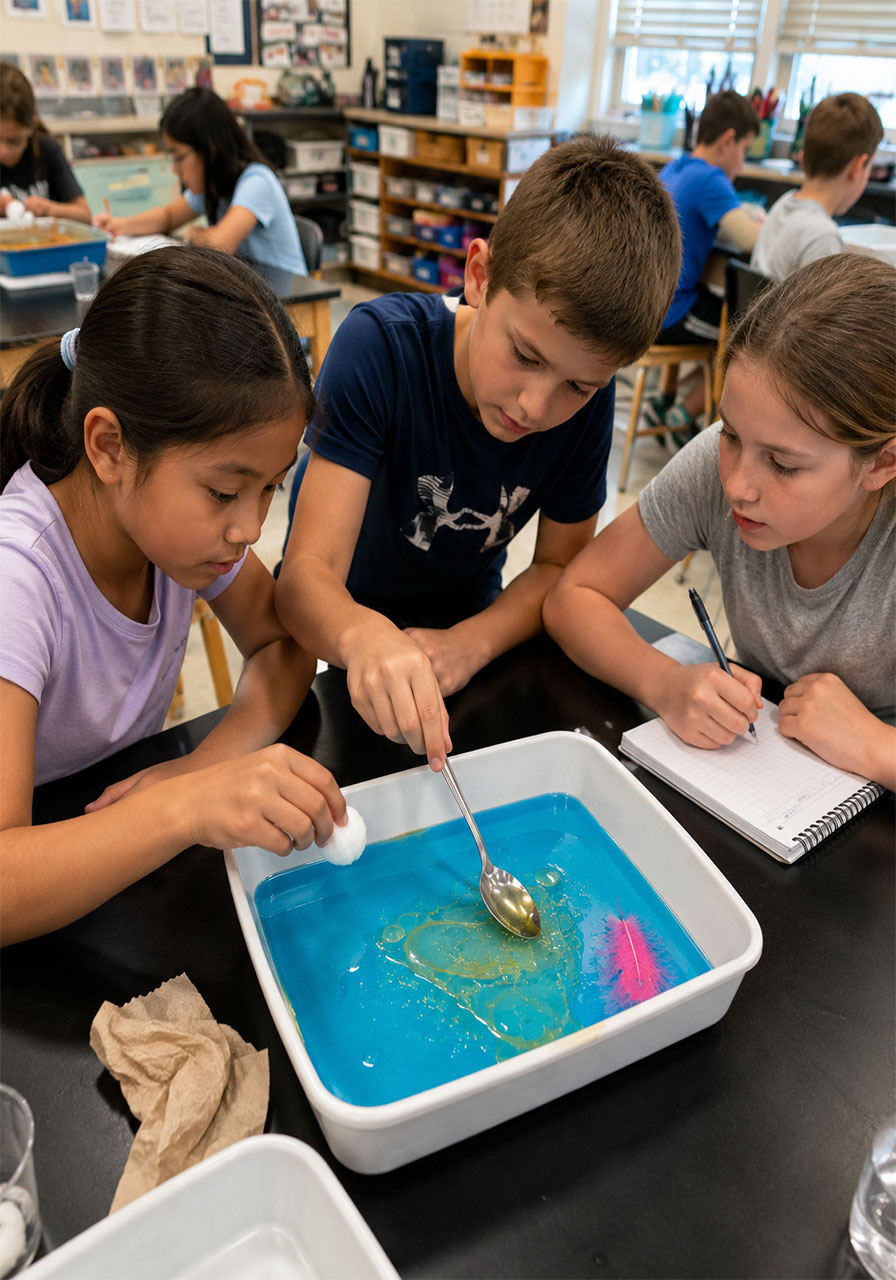
If you’re running this in a classroom, set up multiple stations with a pan at each one so small groups can test their own hypotheses at the same time.
For younger kids, guide the conversation with simple questions like “Is the oil floating or sinking?” For older kids, push further with questions like “Why do you think soap works but water alone doesn’t?”
Bring Real Science to Your Next Earth Day Lesson
This Oil Spill Clean-Up Experiment proves that some of the most powerful science lessons come from the simplest supplies.
With just a pan of water, a little oil, and a handful of household items, kids get a front-row seat to one of the most important environmental lessons out there.
Save this activity for your Earth Day lineup, and get ready for a science lesson your kids or students will still be talking about long after the mess is cleaned up.
