
Looking for a hands-on science experiment that will have your kids (or students) shouting “whoa!” in about two minutes flat? This hot and cold balloon experiment is exactly that.
All you need is a water bottle, a balloon, and two bowls of water. That’s it. No fancy lab equipment. No confusing instructions. Just pure, jaw-dropping science that happens right before your eyes.
Watching a balloon inflate itself with zero blowing involved is one of those moments that turns “I don’t like science” into “wait, can we do that again?” It’s a classic teacher favorite and a parent lifesaver for rainy days, homeschool units, or when you just need 15 minutes of quiet, focused wonder.
In this guide, we’ll walk you through exactly how to set it up, what to expect, and the simple science that makes it work. We’ll also cover common questions, easy variations, and tips to make sure your first try is a successful one.
Why This Experiment Works So Well for Kids
Before we get into the steps, let’s talk about why this particular experiment is such a hit with kids of almost any age.
First, it’s visual. Kids don’t have to imagine what’s happening. They watch the balloon puff up in real time, which makes the concept of air expansion click instantly, even for kids who struggle with more abstract science lessons.
Second, it’s fast. You don’t need to wait hours or days for results. The balloon inflates within seconds of placing the bottle in hot water, which keeps young attention spans locked in.
Third, it’s repeatable. Once you set it up, you can do it again and again, testing different temperatures and comparing results. This makes it perfect for teaching the scientific method, not just a one-time “wow” moment.

What You’ll Need
Gather these simple household items before you start. Chances are you already have most of them in your kitchen.
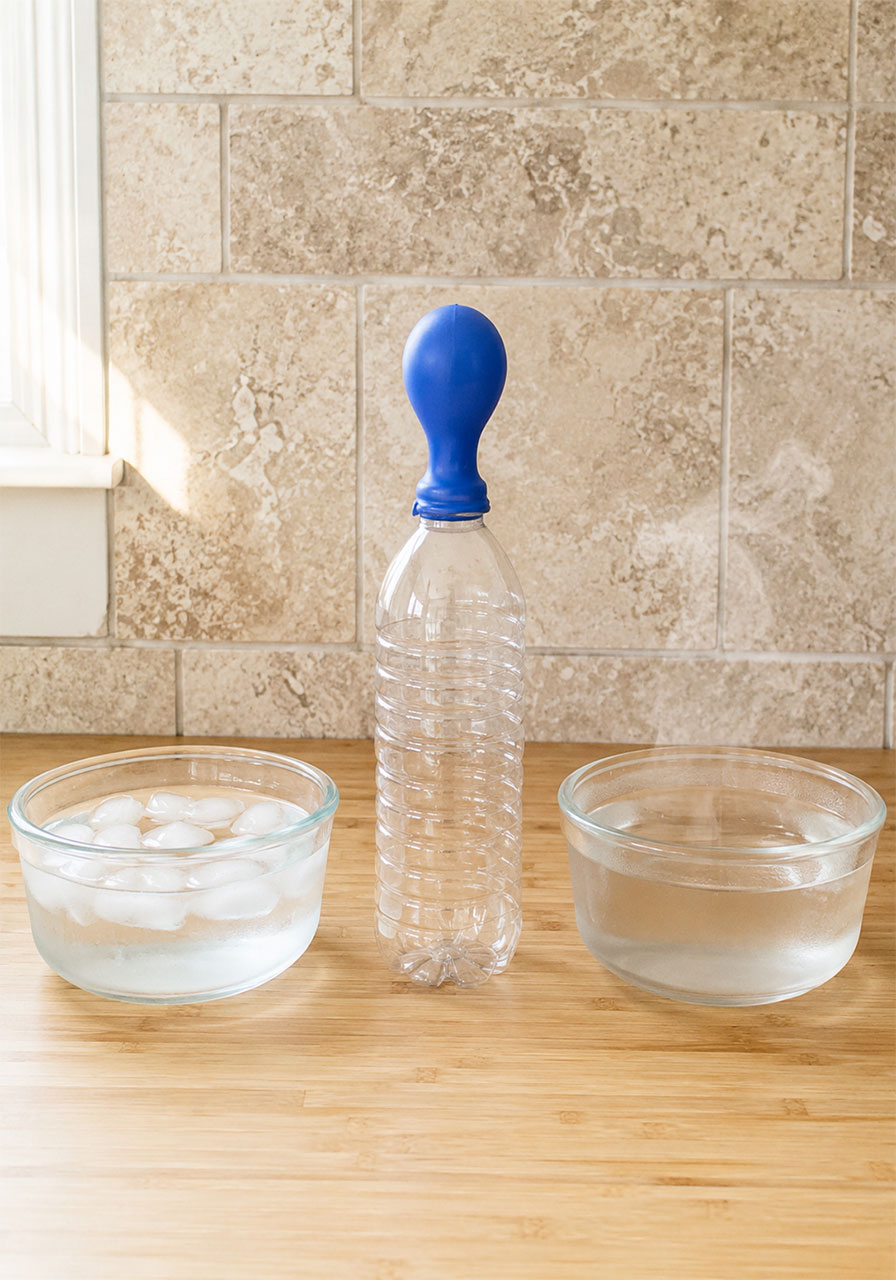
- An empty plastic water bottle
- A balloon (a regular round balloon works great)
- Two bowls or containers, large enough to stand the bottle upright in
- Hot water (straight from the tap is fine, it does not need to be boiling)
- Cold water and a handful of ice cubes
That’s the full list. No special equipment, no trip to the craft store, no printables needed. Just a quick setup using things you likely already have on hand.
Step-by-Step Instructions
Follow these steps in order for the clearest, most reliable results. This experiment is simple enough for kids to help set up themselves, with adult supervision for the hot water.
Step 1: Stretch the balloon first.
Blow the balloon up a few times, then let the air back out. This loosens up the rubber so it inflates more easily once the real experiment begins.
Step 2: Fill your two containers.
Fill one bowl with cold water and add a handful of ice cubes. Fill the other bowl with hot water from the tap. You want a clear temperature difference between the two.
Step 3: Attach the balloon.
Stretch the open end of the balloon over the mouth of the empty water bottle, making sure it forms a tight, sealed fit. No air should be able to escape around the edges.
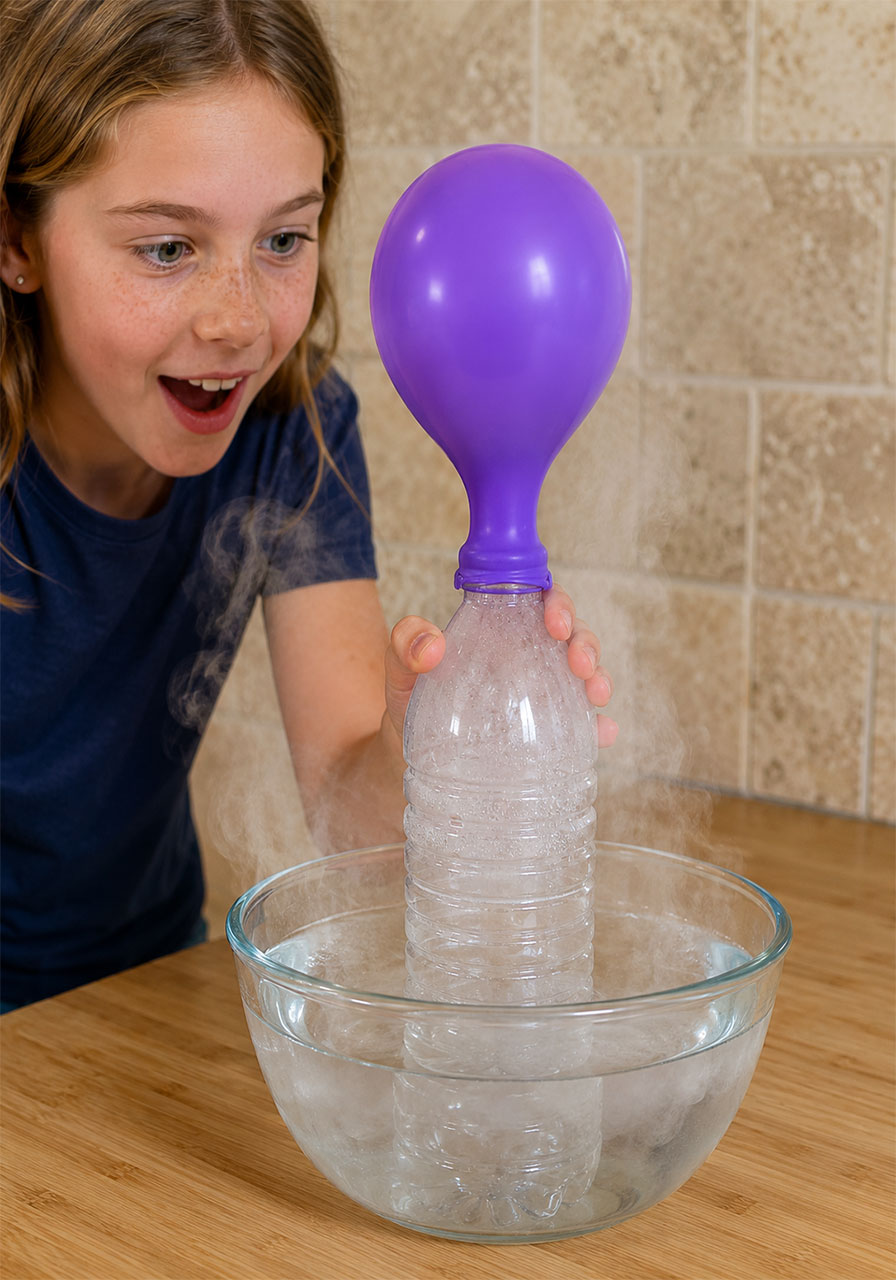
Step 4: Stand the bottle in the hot water.
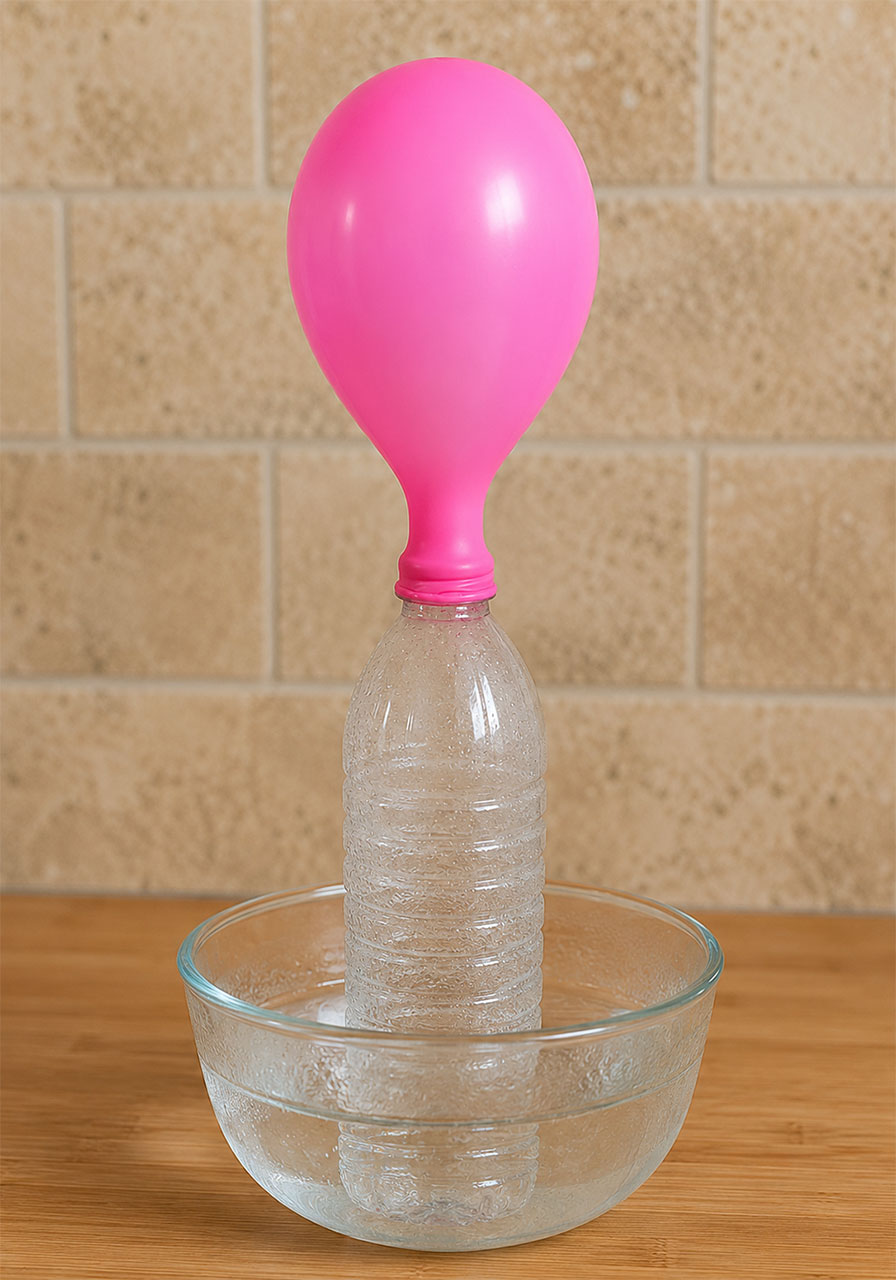
Place the bottle upright in the bowl of hot water. Watch closely, because the balloon will start to inflate almost immediately, standing straight up on its own with no blowing required.
Step 5: Move the bottle to the ice water.
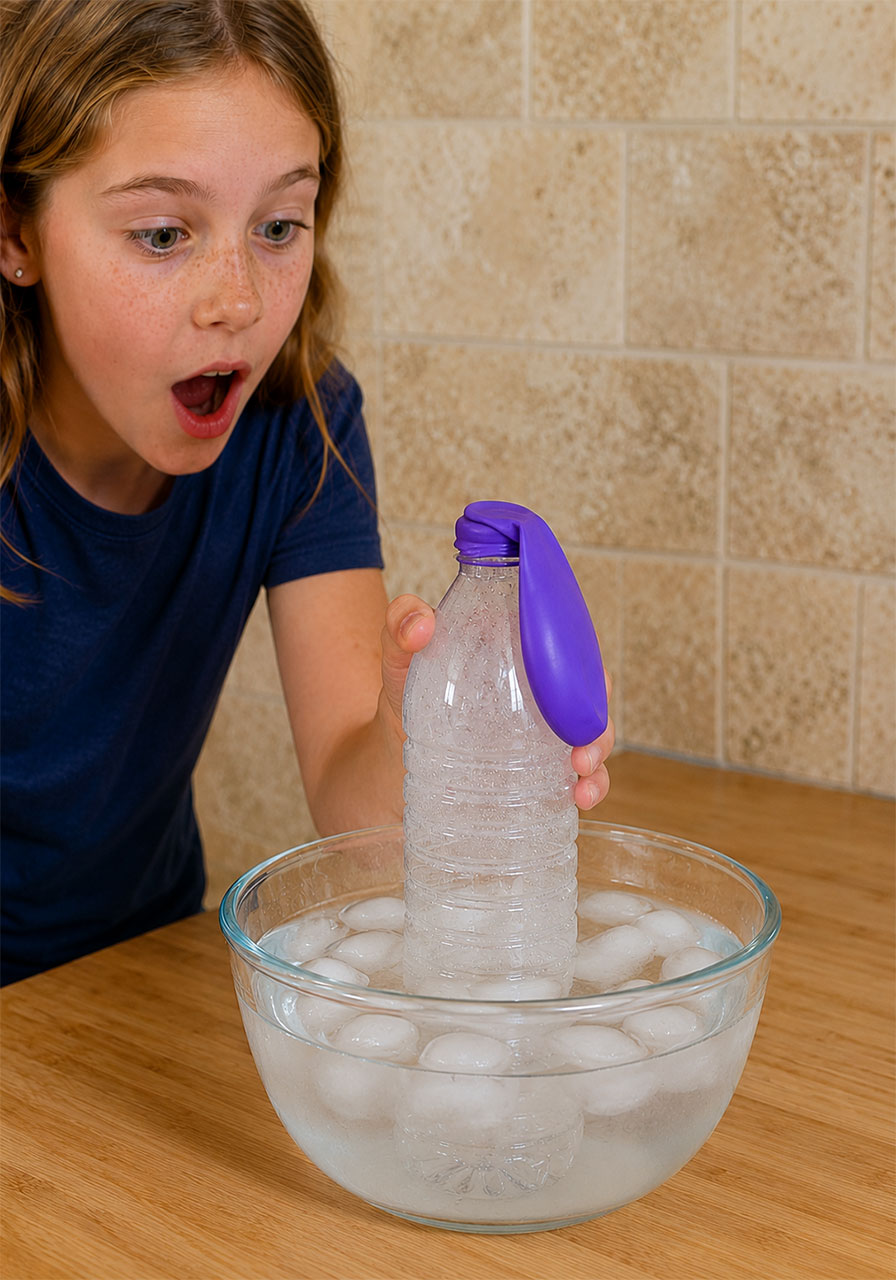
Once the balloon has fully inflated, lift the bottle out and place it into the bowl of ice water instead. Watch what happens to the balloon this time.
Step 6: Compare and repeat.
Move the bottle back and forth between the hot and cold water a few times. Ask your kids to predict what will happen each time before it happens.
The first time the balloon puffs up, expect some genuine surprise. Most kids assume you have to blow into a balloon to inflate it, so watching it happen entirely on its own is a memorable moment.
What You Should See Happening
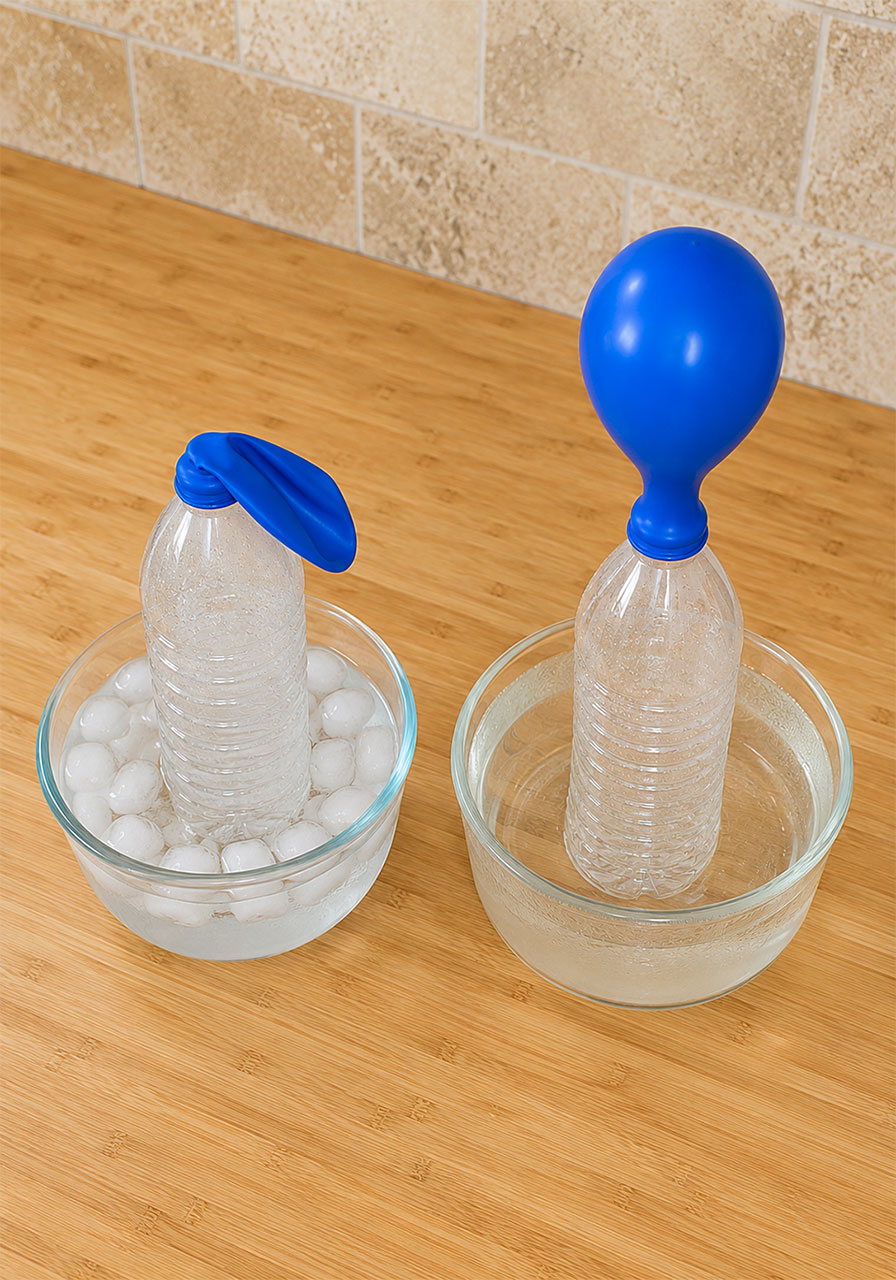
When the bottle goes into the hot water, the balloon should inflate and stand upright within just a few seconds. It won’t get huge like a balloon you’d blow up for a party, but it will visibly puff up and hold its shape.
When you move the bottle into the ice water, the opposite happens. The balloon deflates and goes limp again, sometimes even getting sucked slightly into the bottle opening.
If you want to switch things up, you can try this with a small water balloon instead of a regular balloon. Because water balloons are already stretched and slightly heavier, they tend to stand up tall and straight when inflated, which looks a little different from a regular balloon but demonstrates the exact same science.
The Science Behind It: Why Does This Happen?
This is the best part, and it is easier to explain than you might think. No advanced vocabulary required, just a simple concept about how air behaves.
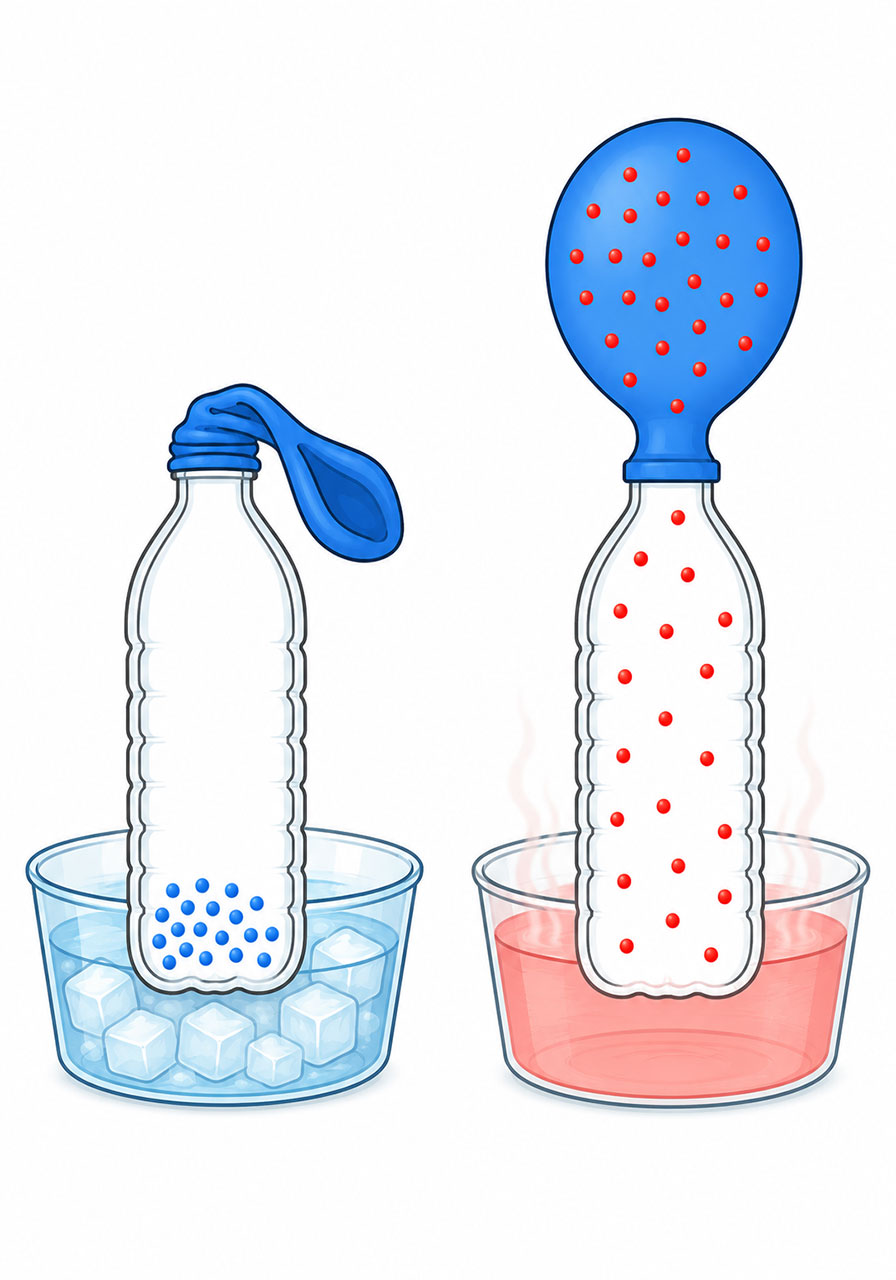
Air is made up of tiny molecules that are constantly moving. When those molecules are cold, they move slowly and stay close together. When they’re heated up, they move faster and spread further apart.
Here’s a helpful way to picture it for kids: imagine the air molecules are a group of children in a small room. When they’re calm and sleepy (cold), they sit close together and take up very little space. But once they get excited and start running around (heated up), they need a lot more room to move.
That’s exactly what happens inside the bottle. When you place it in hot water, the air molecules trapped inside heat up, start moving faster, and spread out. Since the air is sealed inside by the balloon, it has nowhere to expand except into the balloon itself, which is why it inflates.
When you move the bottle to the ice water, the opposite happens. The air molecules cool down, slow their movement, and pull back closer together. This takes up less space, so the balloon deflates as the air retreats back into the bottle.
This is the same basic principle behind why hot air balloons rise, why warm air in a house tends to gather near the ceiling, and why weather patterns form the way they do. Once kids see it happen with a simple balloon, those bigger concepts become much easier to understand later on.
Tips for a Successful Experiment
A few small details can make a big difference in how well this experiment turns out, especially if you’re running it with a group of kids or in a classroom setting.
Make sure the balloon is sealed tightly around the bottle opening. Even a small gap will let air escape, and the balloon won’t inflate properly. Twist the balloon opening slightly as you stretch it over the bottle to get a snug fit.
Use water that’s noticeably hot, but you don’t need boiling water and shouldn’t use it around young kids anyway. Hot tap water works perfectly well and is much safer to handle.
Give the ice water a minute to actually get cold before you start. If the “cold” bowl is only lukewarm, the contrast won’t be as dramatic and the deflation will be harder to notice.
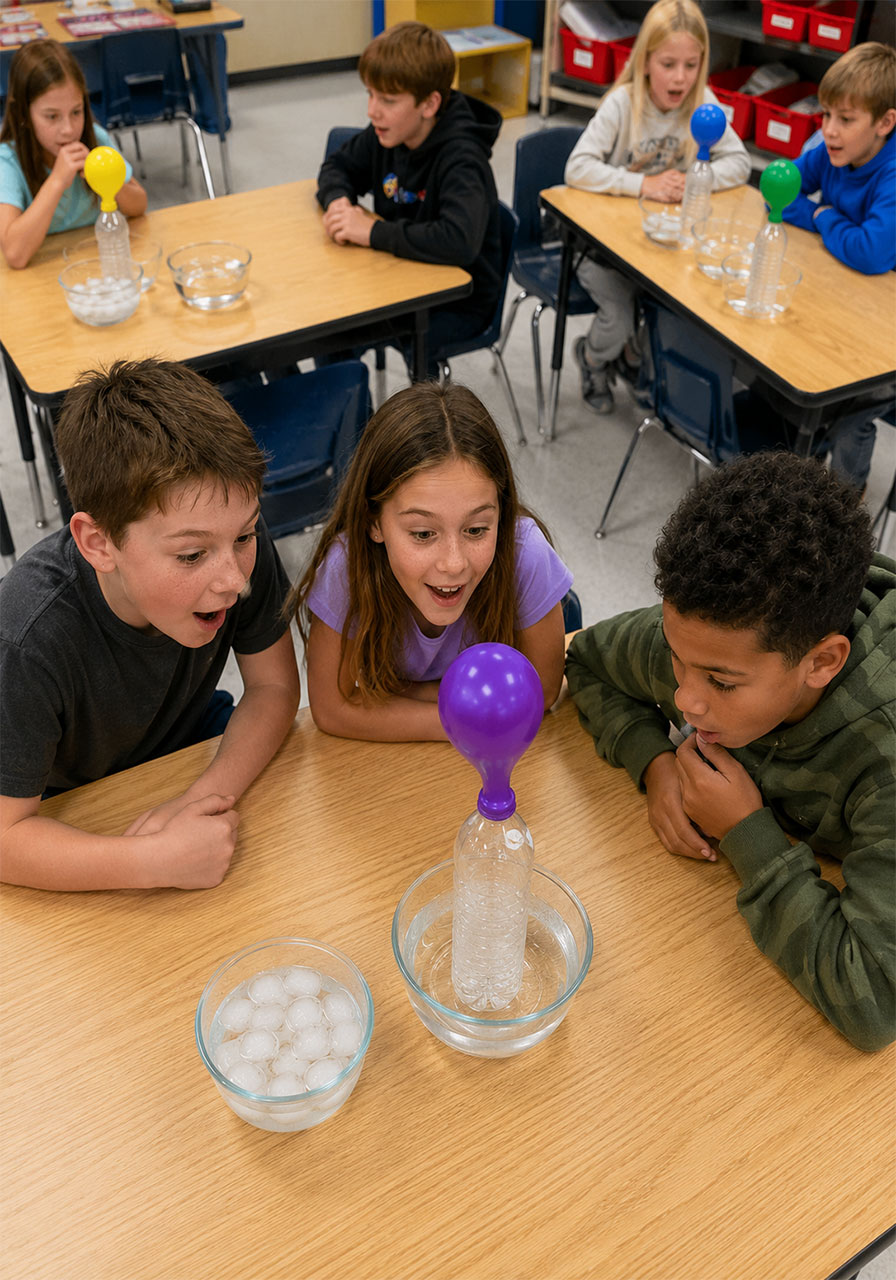
If you’re doing this with a classroom or larger group, consider setting up several stations so kids can work in small teams. This turns a simple demo into a hands-on investigation where everyone gets to be the scientist.
Easy Variations to Try Next
Once you’ve run the basic experiment, there are several simple ways to extend the learning and turn it into a full mini science unit.
Try testing different water temperatures. Use lukewarm water instead of hot, and see if the balloon still inflates. This is a great way to introduce the idea of testing variables, one of the core skills in the scientific method.
Time how long it takes for the balloon to fully inflate at different temperatures, and have kids record their results. Even young kids can compare “faster” versus “slower” and start building basic data tracking skills.
Compare a regular balloon to a small water balloon side by side, and talk about why their shapes end up looking different even though the same science is at work in both.
Ask kids to predict what would happen if you used a bigger bottle, or a smaller one. Then actually test it out. Predicting before observing is one of the simplest ways to build real scientific thinking, even with preschool and elementary age kids.
Frequently Asked Questions
Does the water need to be boiling hot?
No. Hot tap water works just fine and is much safer, especially for younger kids. Boiling water is not necessary and adds unnecessary risk.
Why won’t my balloon inflate?
The most common reason is a loose seal between the balloon and the bottle opening. Double check that the balloon is stretched tightly over the mouth of the bottle with no gaps for air to escape.
Can I reuse the same setup multiple times?
Yes. Simply reheat the water or add fresh ice as needed, and you can repeat the experiment as many times as you like.
What age group is this experiment best for?
This works well for preschoolers through upper elementary kids. Younger children can enjoy watching the reaction, while older kids can dig deeper into the science and try the variations above.
Is this experiment safe?
Yes, as long as an adult handles the hot water. The water does not need to be dangerously hot, so a supervising adult and hot tap water is all that’s required.
Keep the Science Going
Once your kids have seen how heat makes air expand and cold makes it contract, they’ll start noticing this pattern everywhere, from why a bag of chips puffs up on a plane to why hot air balloons float. That’s the real win here: turning one quick kitchen experiment into a lasting curiosity about how the world works.
If this experiment was a hit, it pairs perfectly with other simple air and weather experiments that build on the same core idea, giving kids a chance to connect the dots between different science concepts using activities they already understand.
